Bring your 2D logos to life with 3D rendering.
Hey folks,
in my first tutorial I want to show you how to bring life into your 2D logos by rendering them in a 3D software. To do this, I use 3 different softwares: Adobe Illustrator, Rhino3D and Keyshot 5.
All of them are available for a time-limited evaluation :-)

The screenshots contain German language, but I translated anything important in my text.
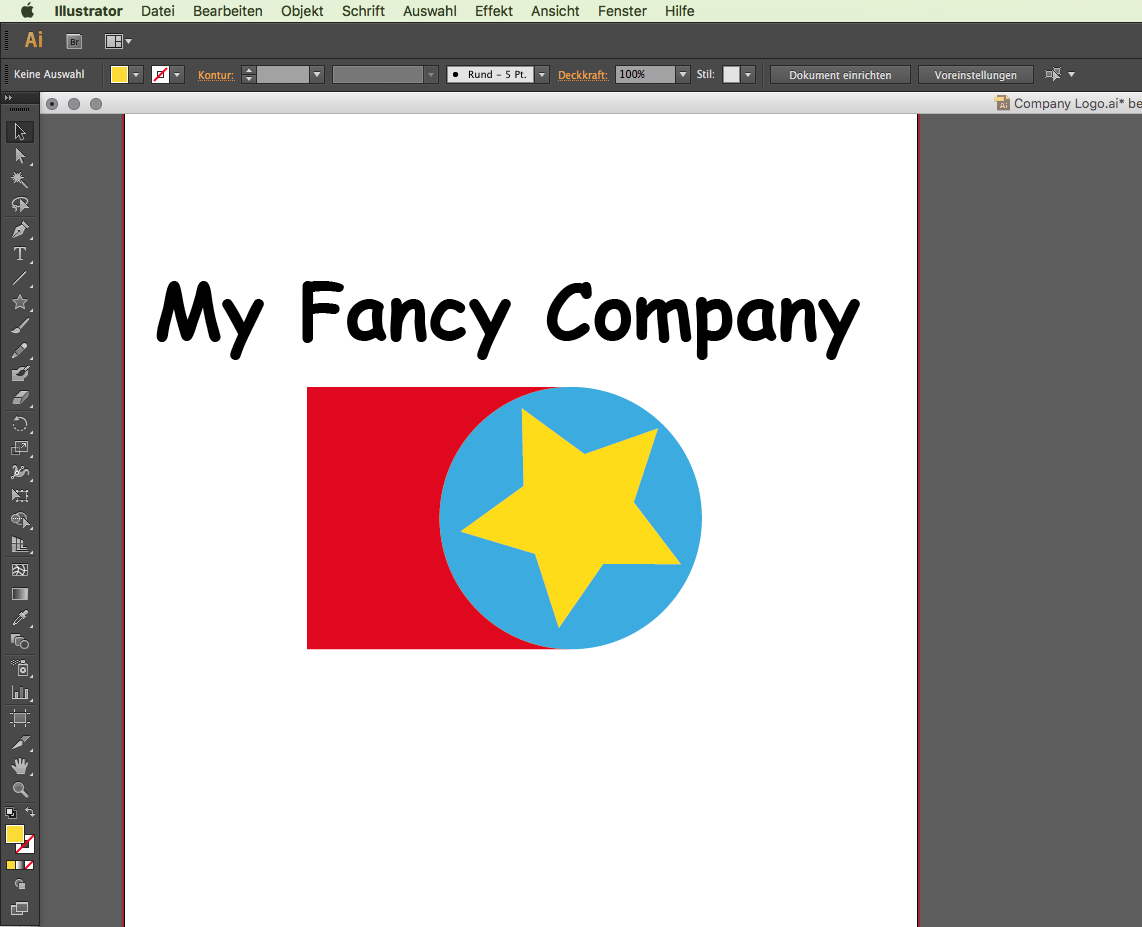
We start with a simple logo I created in about a minute. I will not show you how to create logos in Illustrator here, please refer to any other tutorial for this. And yes, this is Comic Sans. I chose a lame design on purpose to encourage and empower your own creativity without setting high standards. This should feel like playing with toy bricks, just play around with your imagination :)
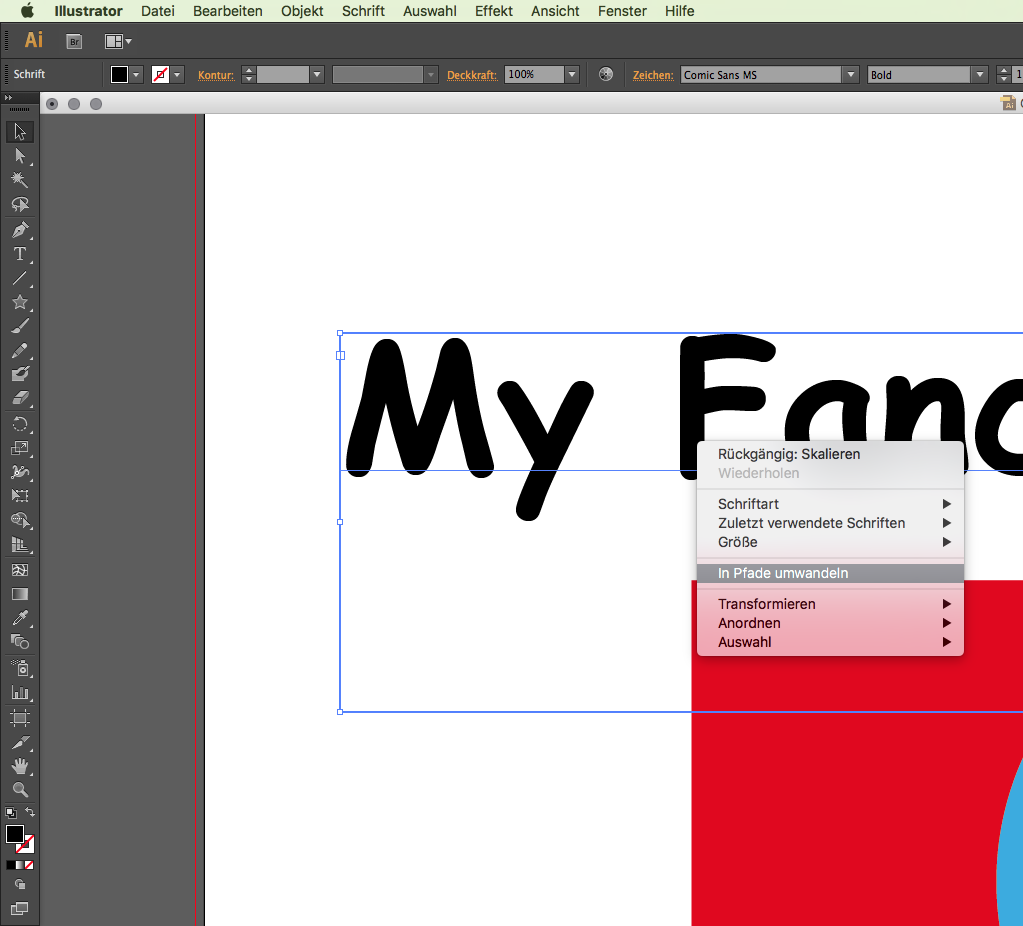
Once your logo is finished, it is important to vectorize all texts. Please note, that this will make you unable to alter the text anymore since now the information has been transformed into vectors.
Do this by selecting your text and hit CTRL+SHIFT+O or CMD+SHIFT+O. Right click and “Create outline” does the same.
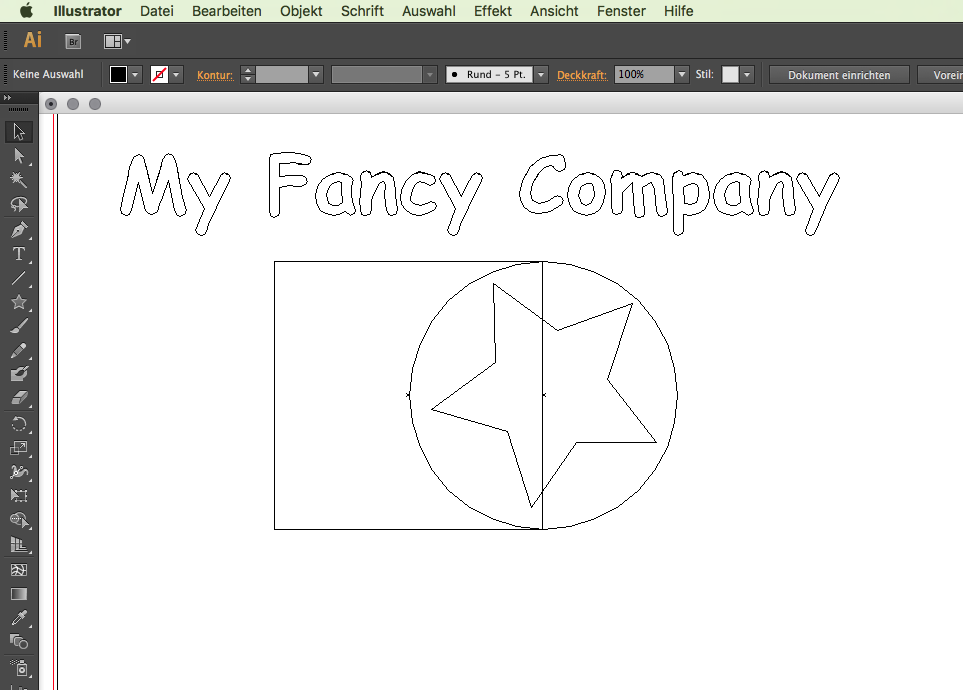
Hit CMD+Y or CTRL+Y to switch to outline mode. Here you’ll see the “mechanics” of my logo, which will be interesting later. You see that theres actually a red square which is covered by the blue circle. But it remains a red square after all ;-)
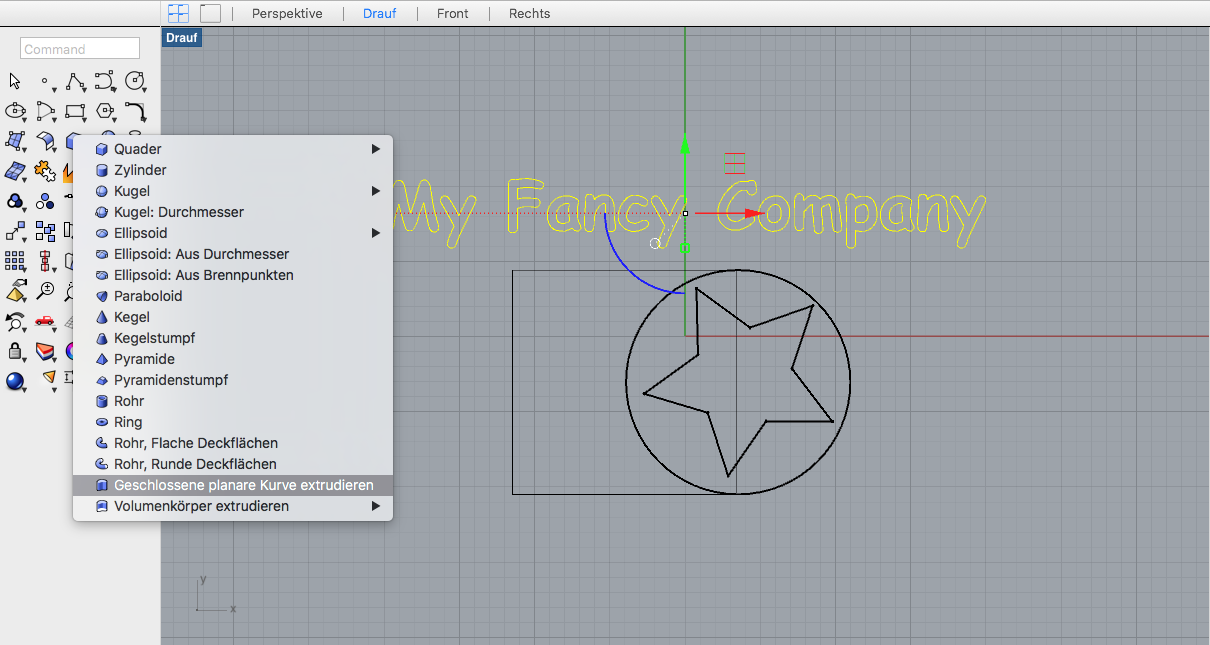
Now we’re done here. Save your file in the native .ai file format and open it in Rhino3D. Just leave the Standard Scaling option as it is and import your file.
This should look like this now, we got 4 windows, each one looking from another view. Front and right is just showing lines, that’s because our logo is still 2D.

To change this, I select the text and click the cube-symbol and hold it for a second. A menu appears and I select “Extrude closed curve”. Now we can enter a number or just drag to extrude the letters. I prefer numbers over dragging, so I enter 5 and hit enter.
Voilà, our first 3D content is here! Right click on the “Perspective” Window and choose “Rendered” or “Shaded” to view it in its whole grace.
Should look like this:

Remember, when I told you, that our red surface is a red square after all? This will be important now, so that we create the 3D body we want.
At first, create surfaces from the curves we got. Do this by selecting all the stuff under the text, click and hold the surface-symbol and select “Create surface from planar curves”

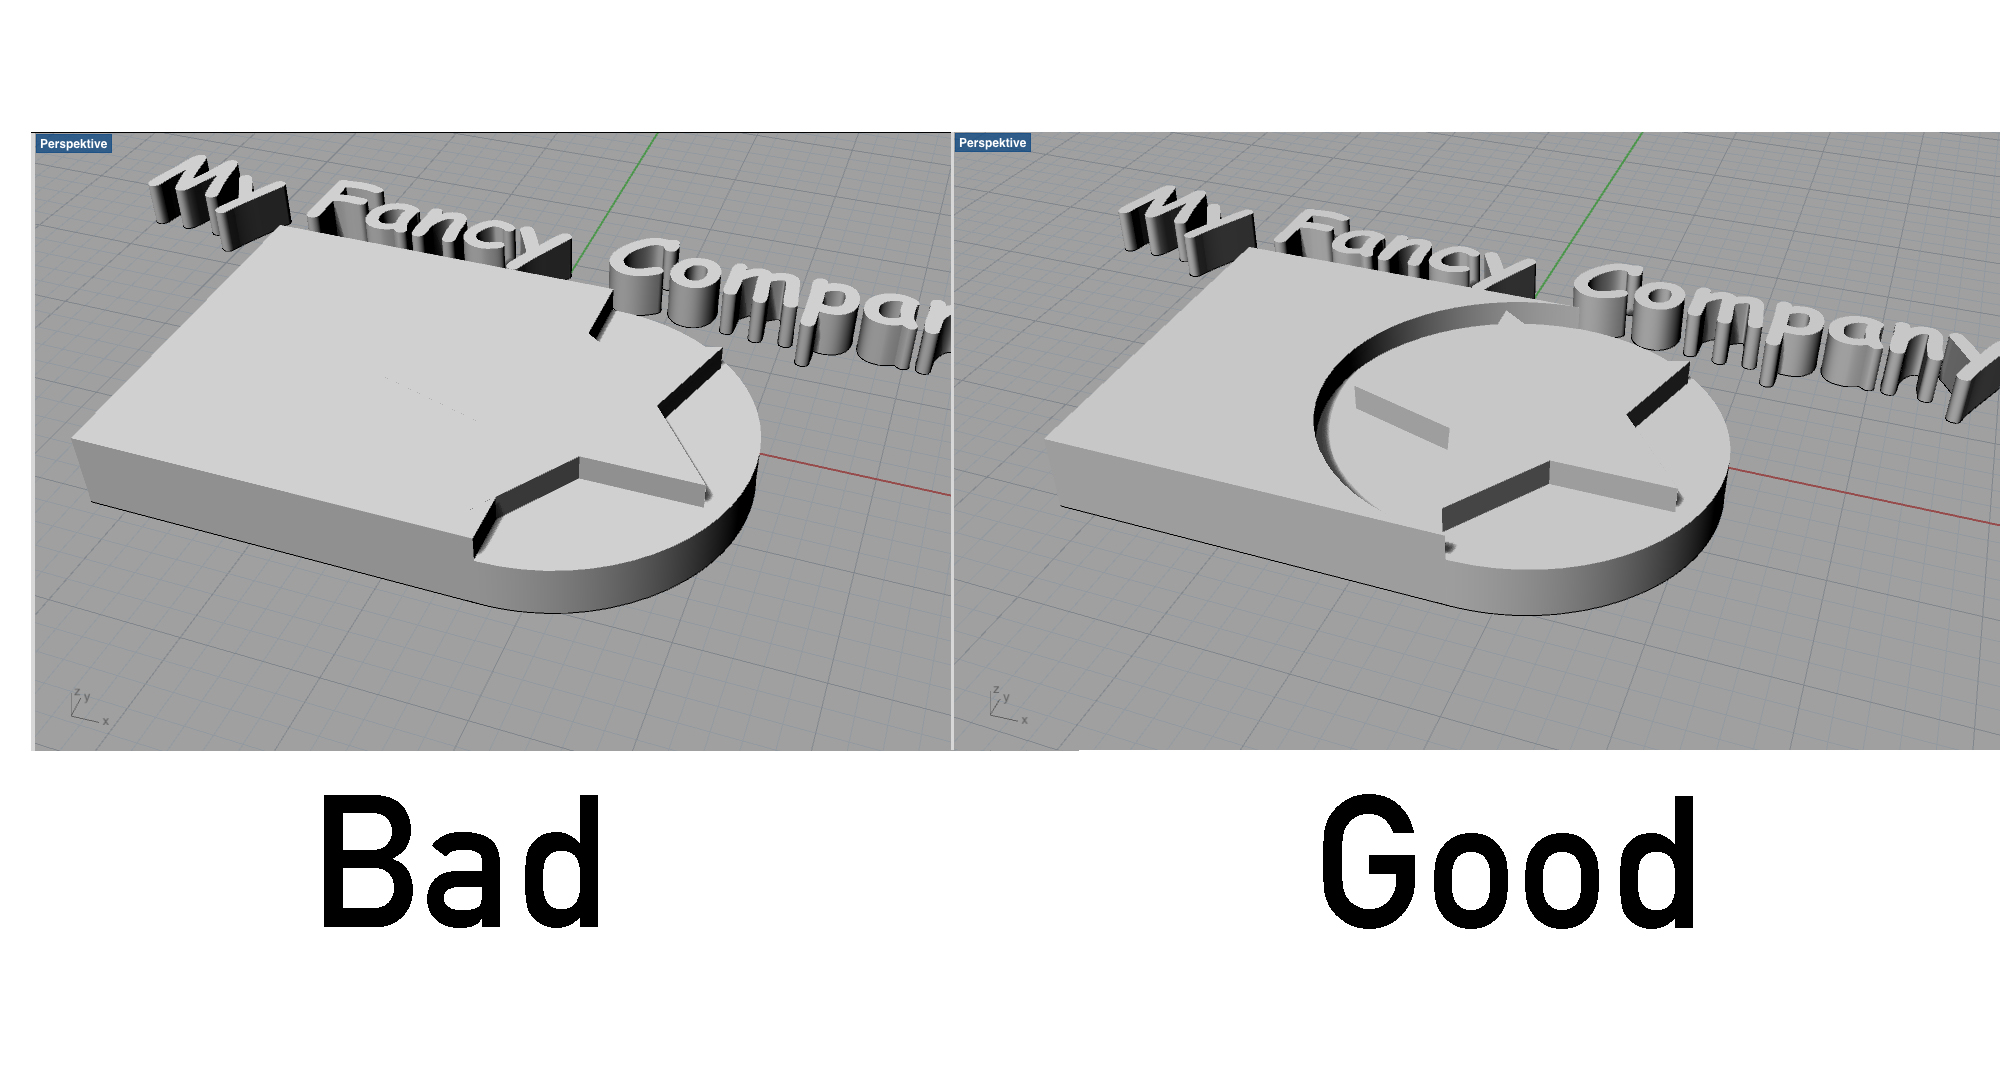
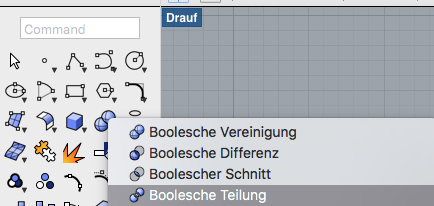
The quick and dirty way to bring our square into our desired shape is the Boolean Split. Select it in the menu by holding the symbol with the two spheres, click the square, hit enter, click the circle and hit enter again.
Now you created two new surfaces. You can or can not delete the half-circle if you like, but this is the quick and DIRTY way, we’ll just leave it here. On more complex logos you might want to work cleaner.

Please note: The surface is now how we want it, the curve is still a square. That's okay :)
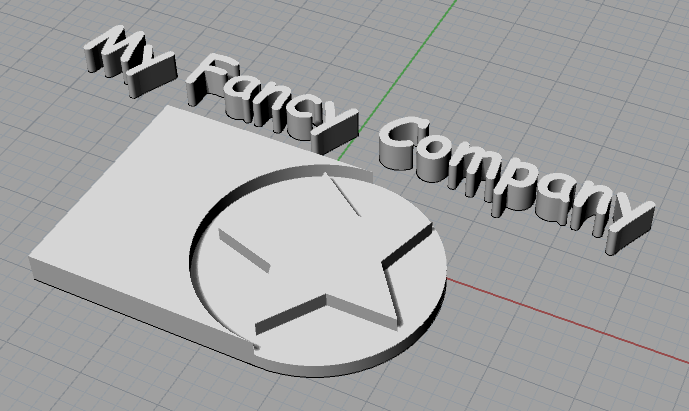
Now we can select the freshly created surface, click and hold the cube-symbol and select “Extrude surface”. We enter a number again and are done here, too.
Do the same with the circle and the star and were done here (the circle is obviously half the height of the rest), and here we go!
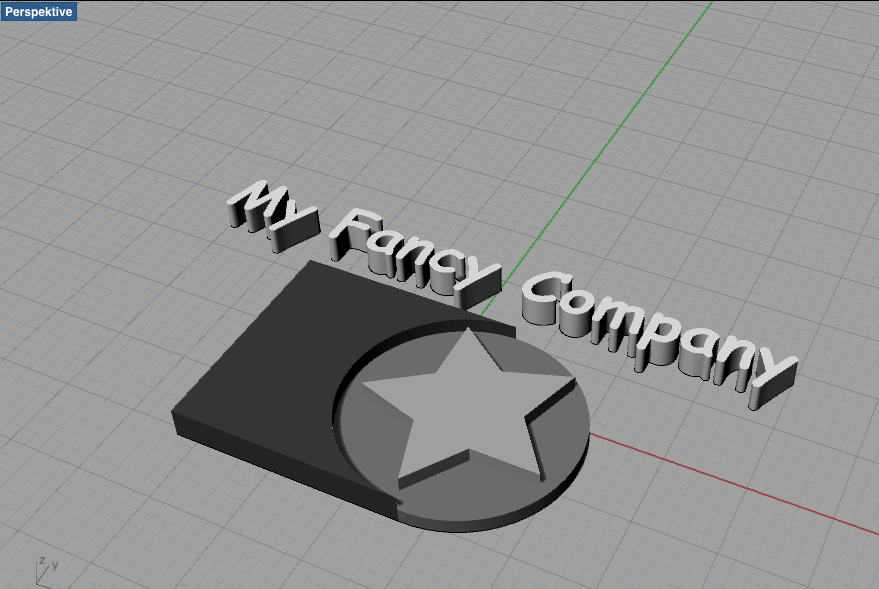
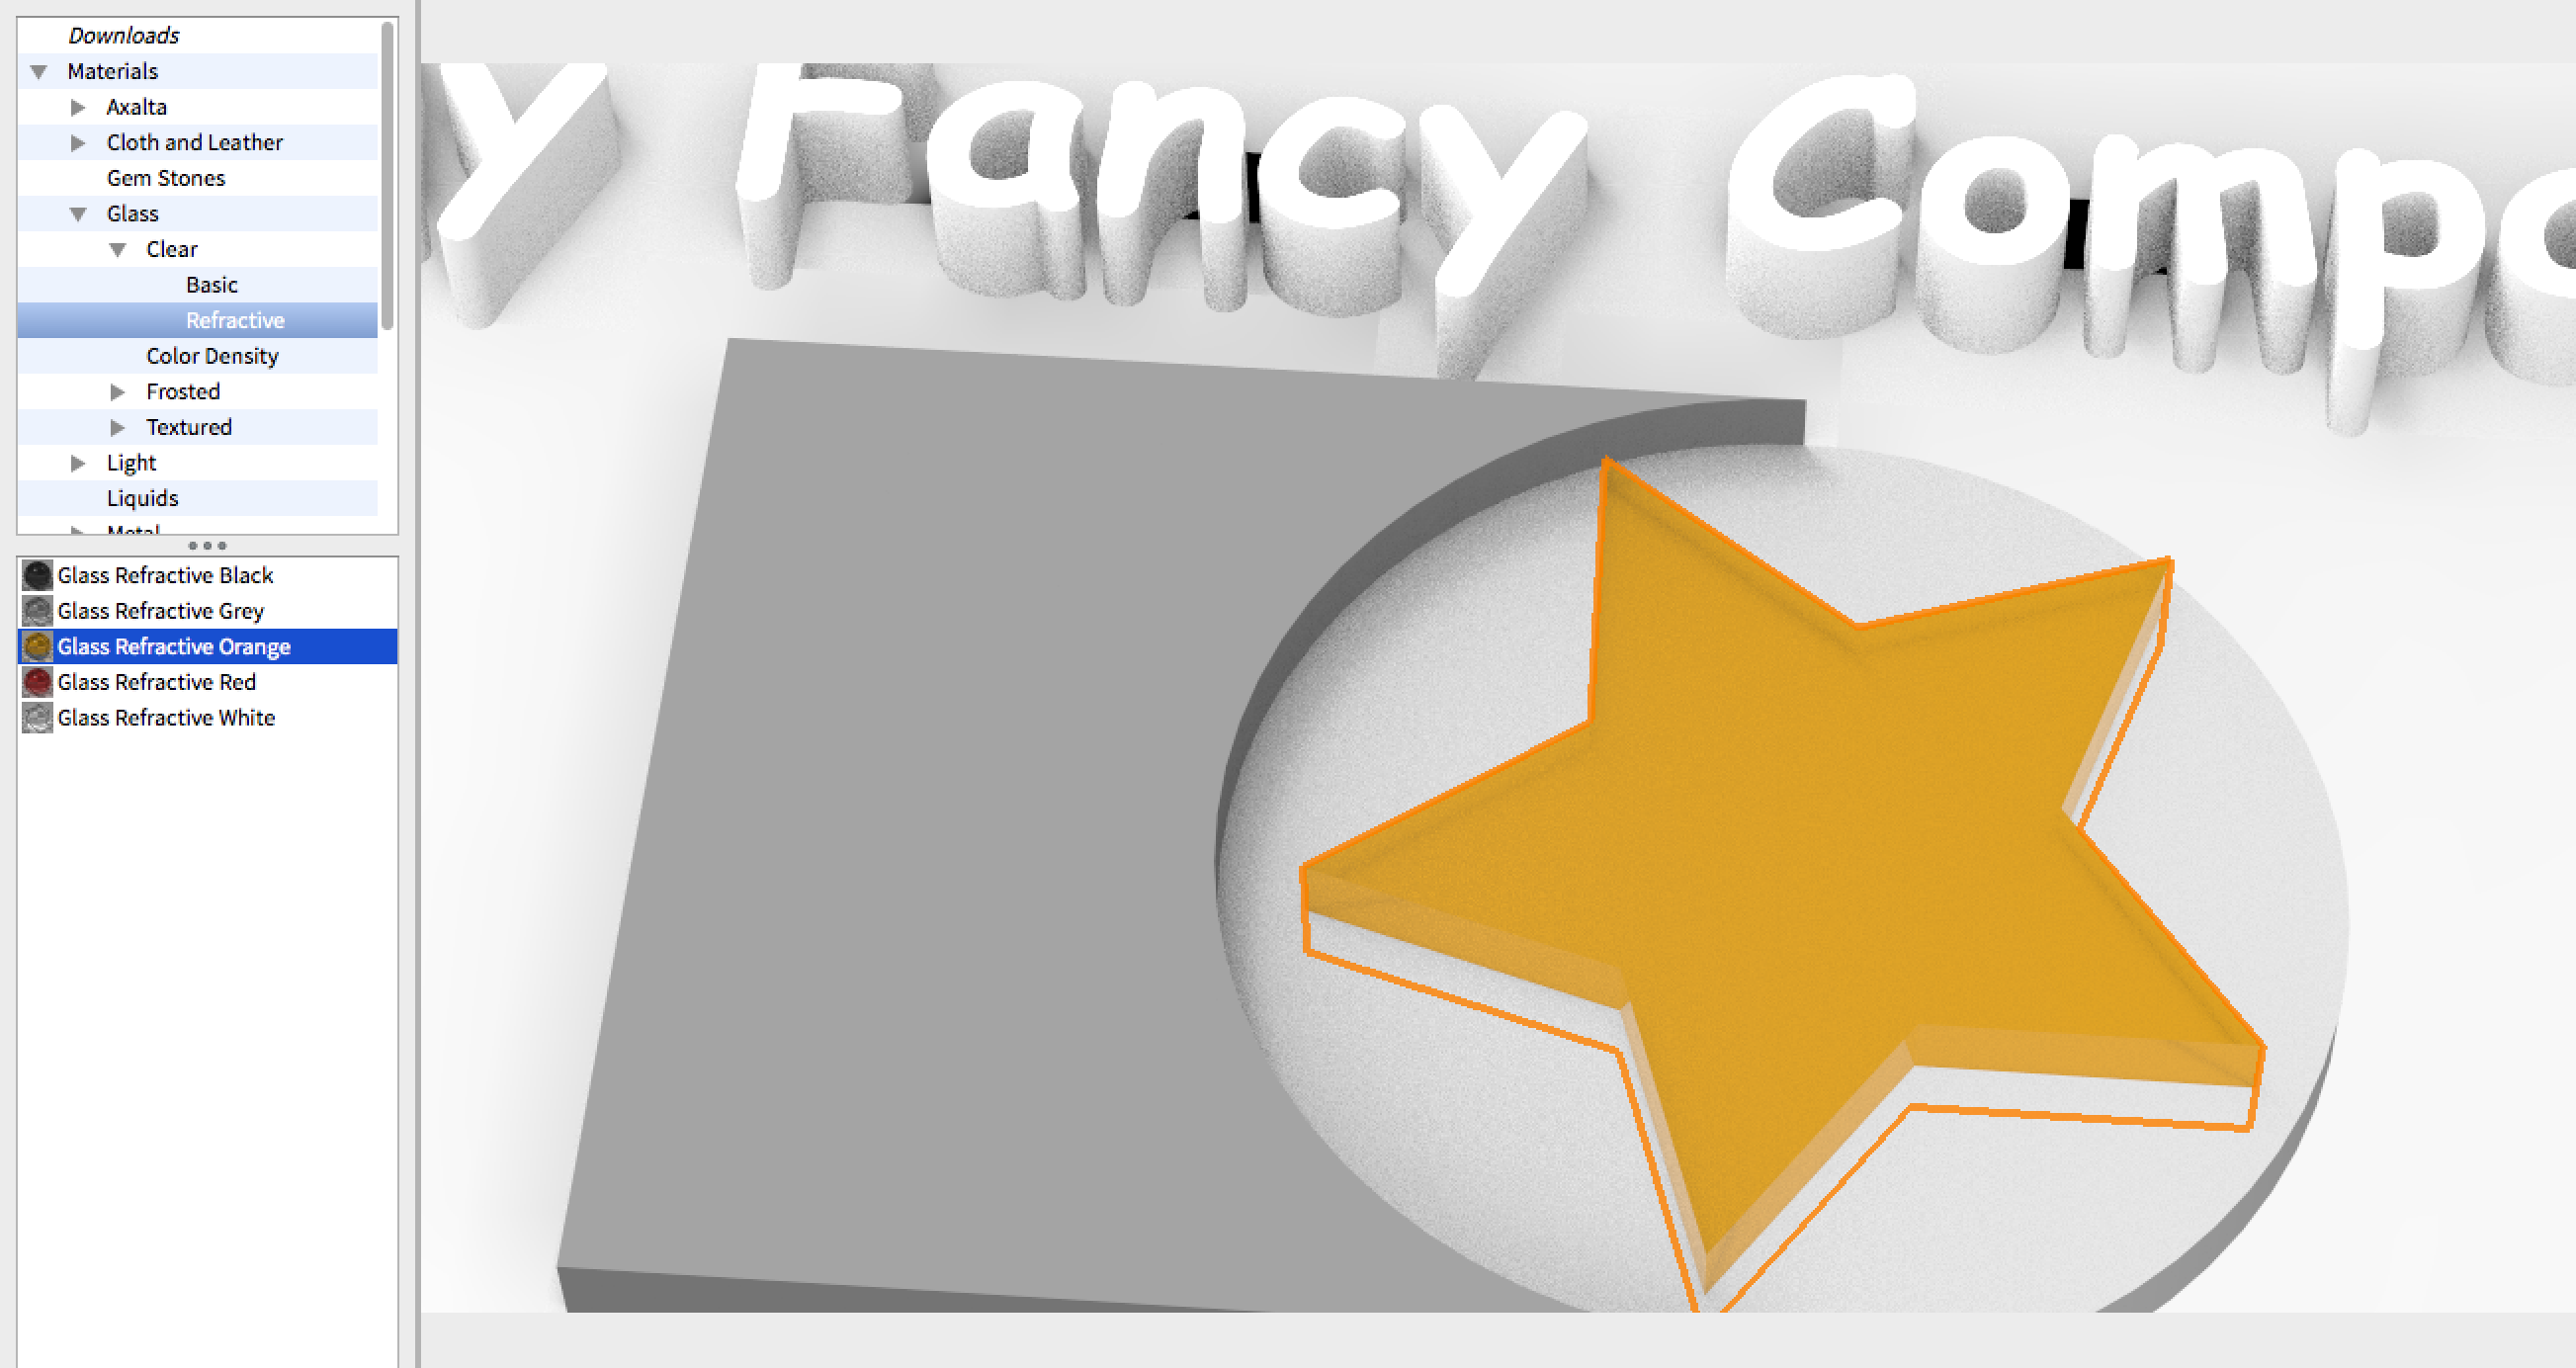
Now we have to think about, which objects will have a different material when rendering. For now, every object is white, which means that Keyshot will recognize it as one object, leaving us with only one option for a material. To prevent this, we give our different objects different colors.
Select your extrusions how you’d like to colorize them and take a look at the menu to your right. Select “Material” and "assign by objetct". Then, choose a color. The color doesn’t matter, it is just meant for separation.

In my case, I just selected some 0% black, 25% black, 50% black and 75% black, as it was quickest :)
If it looks like this, you’re good to go. Save your 3dm file and open Keyshot.
In Keyshot, import your model. This should look like this now:

Your fan should start spinning now since the software is live-rendering all the time. To stop this, hit SHIFT+P. Do this anytime you're not editing anything on the model to save energy/battery. Once the live render is paused, you'll be unable to make changes to your model.
On your left, you see the material database. I’d like to encourage you, to play around a bit. Now, the fun begins.
For example, I made the star from yellow glass and the circle from anodized blue aluminum. Sounds good, but it turns out that transparent yellow glass turns green on blue surfaces :)

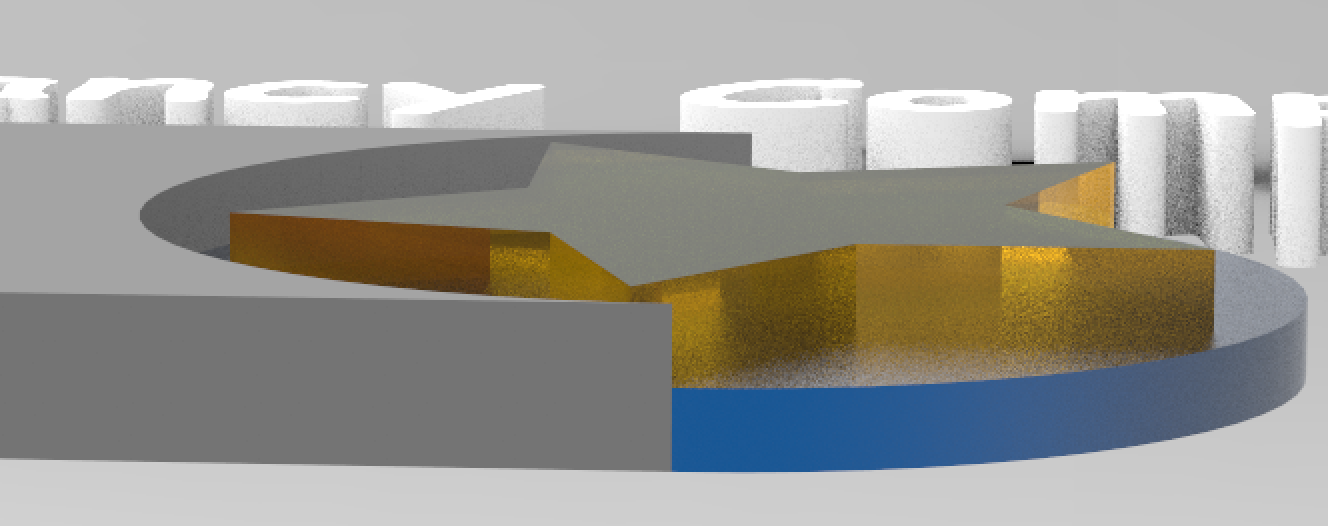
...so we better go for an opaque plastic material.

You’re totally free now. Do what you like by simply dragging and dropping and playing around. Move the camera with your mouse and hold CMD to move the lighting.
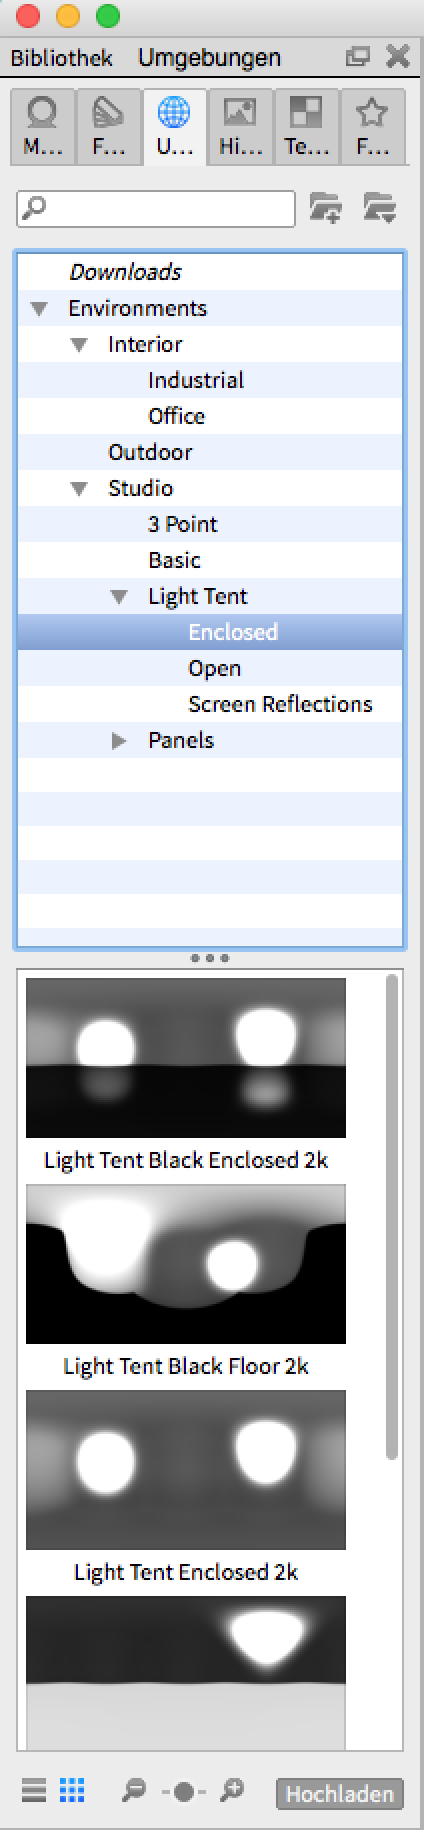
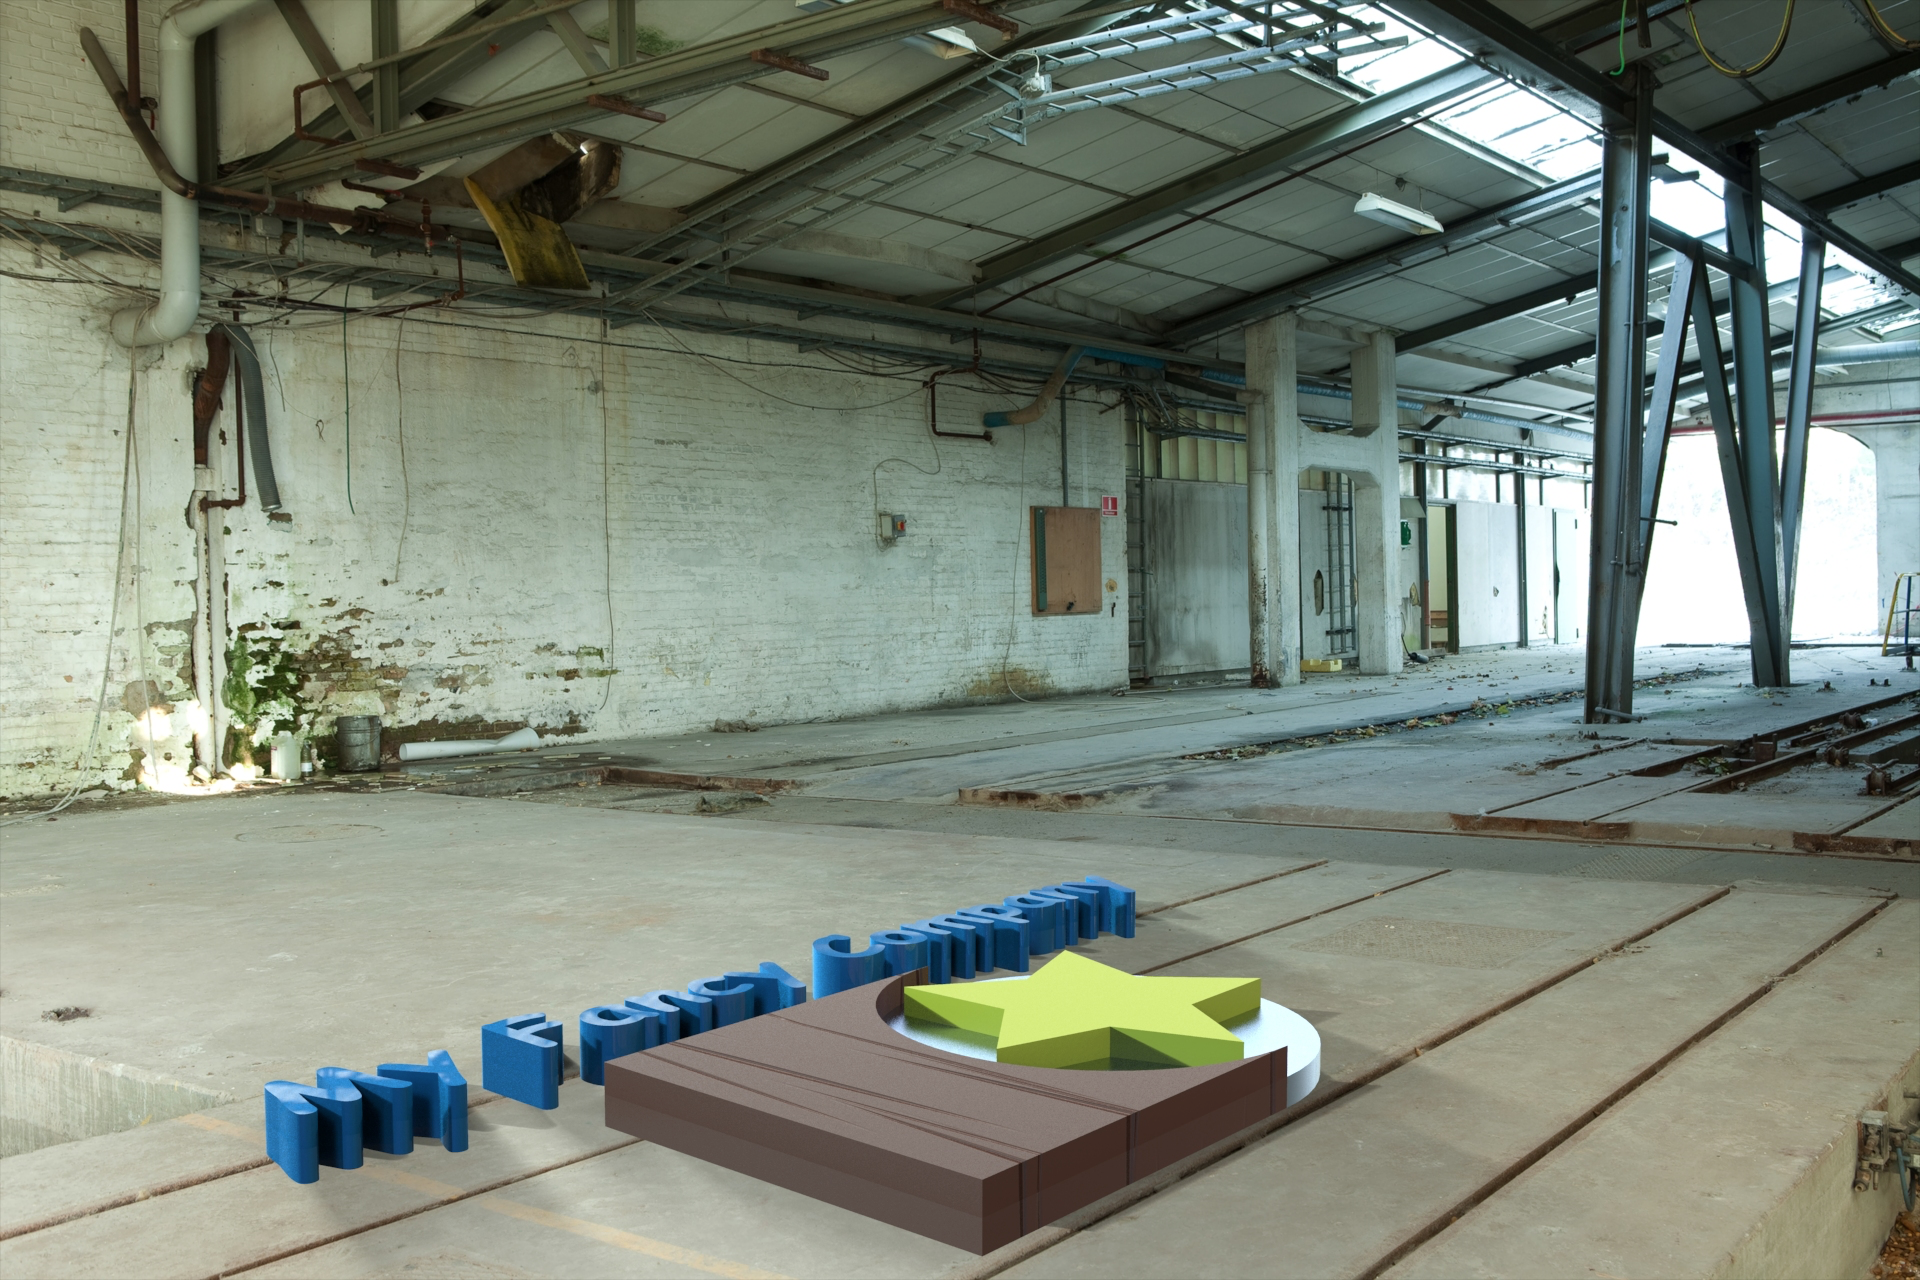
Once you’re done with the materials, choose an environment where you want to “photograph” your logo in. Do this by selecting the environments-menu and drag and drop again.
When your scenery is like you wish, go to the render screen in the menu bar and render your picture. This means you are taking a "photo" of your new 3D model and export it as a JPEG. If you are not sure about your system's performance, I recommend starting with a low resolution to see how much time it will take.

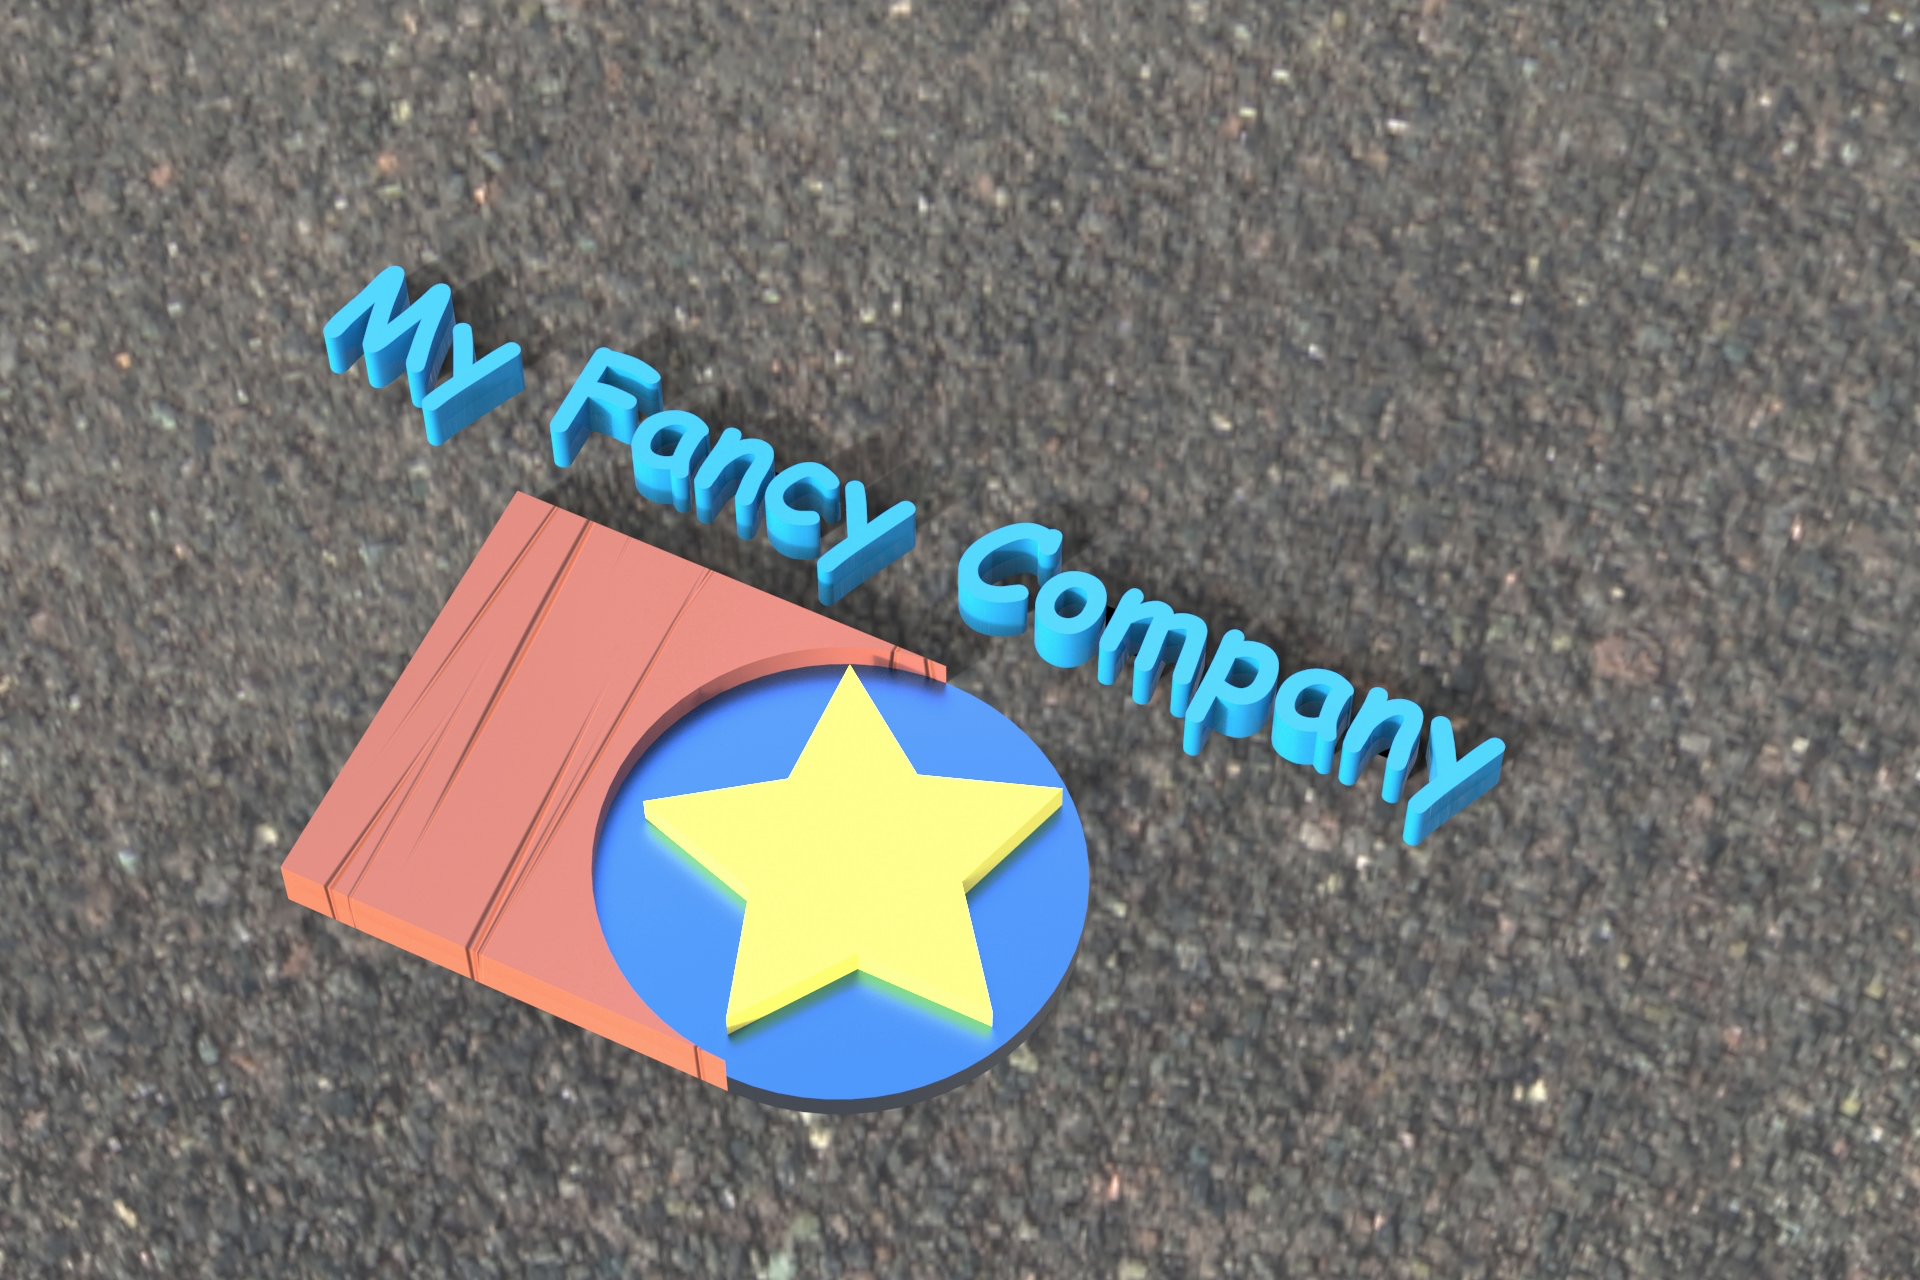
So here we go. Once you're a bit familiar with the tools, you'll be able to create stuff like this in no time.

I hope you enjoyed it. I'd love to get some feedback on my first guide. If you have any questions, just ask. I'll do my best to find some answers :)