How to Make Peacock Handicraft from Used Paper
Used paper should not be wasted, because it can be made a variety of children's workshops to develop their creativity and intelligence, of course, also the taste of art and beauty. For example, colorful paper both from magazine materials and colored paper pieces can be made of peach-shaped sculpture that is simple, easy to make but beautiful.
Materials and Tools
Required In making handicrafts this is required:
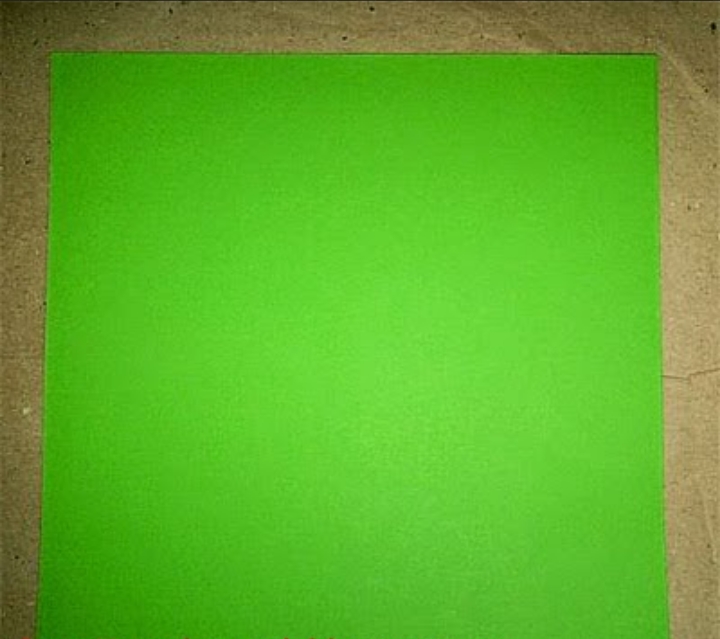
A thin sheet of paper (HVS or magazine, or origami paper) size 20 x 20 cm, here I use green paper, later used to make wings.
A thick piece of paper (I use paper bufallo for paperback) size 10 cm x 6 cm, here I use a night blue color that will be used later to make body, head and tail peacock.
A piece of paper a bit thick 24 cm x 15 cm, I use a yellow color that will be used as a base to sit the peacock that has been made.
Glue strong paper, to taste.
Scissor.
Cutter.
Rulers.
Steps to Make Peacock from Paper
Here is a step to create a peacock like the picture below.
- Prepare paper size 20 cm x 20 cm to make wings. The actual size can be changed according to taste, as well as color. You may use colors other than green. Notice the following step 1 image.
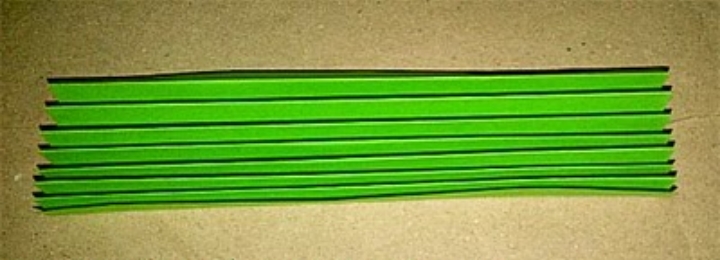
- Fold the paper like a fold of accordion, about 1cm wide for each fold. Next fold it in half so as to form like a chinese fan. See the image of step 2 below.
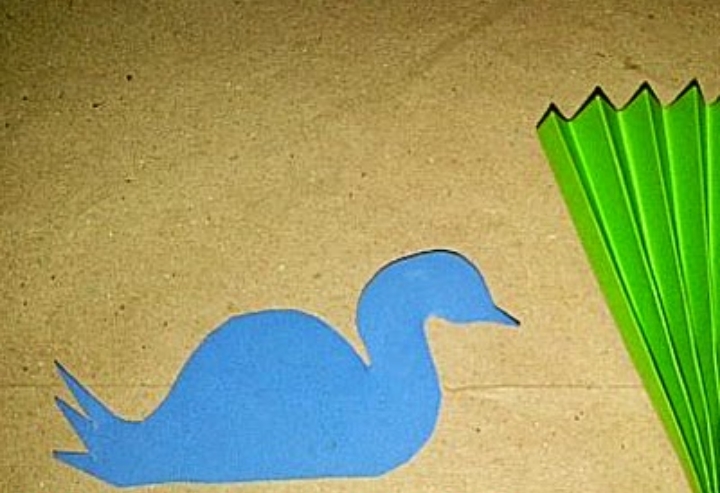
- Next from a piece of paper size 10 cm x 6 cm, make a peacock body. To facilitate the child, help him make his sketch (ouline) first. Do not worry if the shape is not too good. The most important is the shape of the head with the beak, body and tail. In fact, their way of drawing and cutting the imperfect will make unique peacock made by children. See step 3 drawing below.
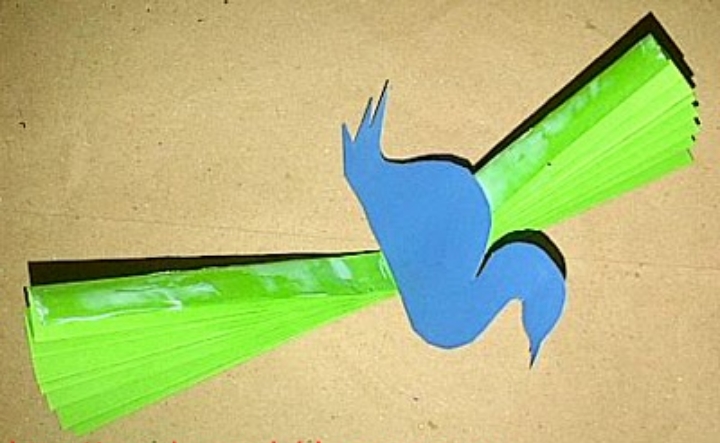
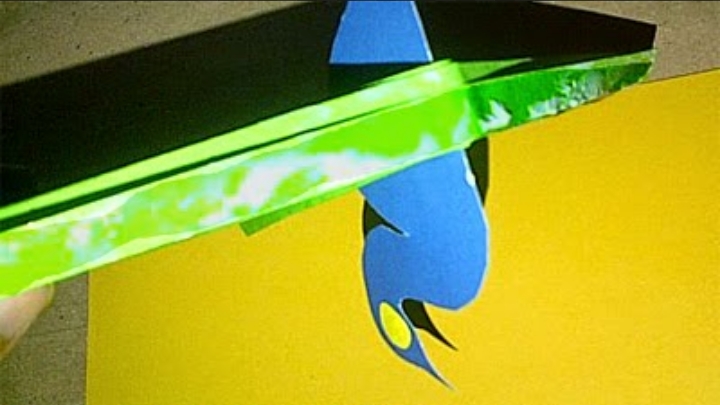
- Next, apply glue to the inside of the wing folds. We will attach the body of a peacock by slipping it between the sides of the fold. Consider the following step 4 images.
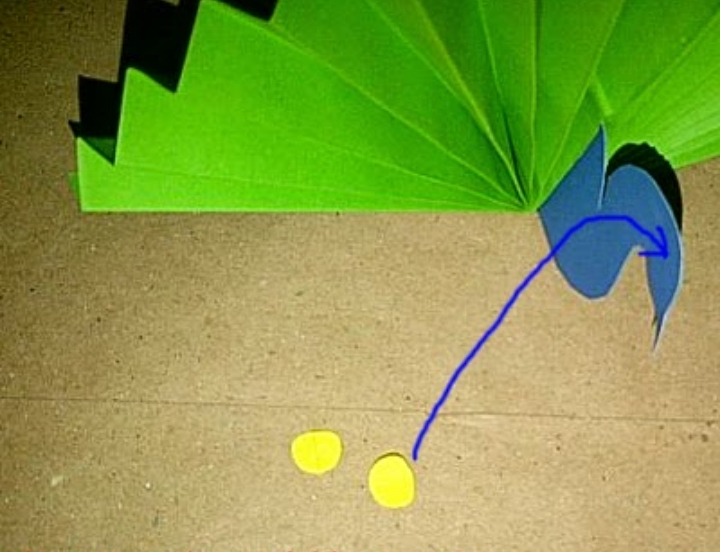
- From the rest of the other pieces of paper, make two small circles to give the eyes of a peacock. attach it with glue to the appropriate place on the left and right side of the peacock's head. Look at step 5.
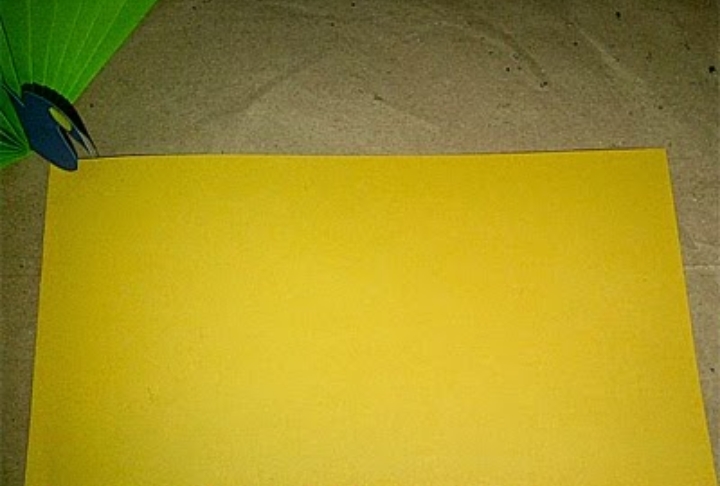
- Prepare a thick piece of paper size 24 cm x 15 cm. We will make it the base to put the peacock that has been formed before. Notice the following step 6 image.
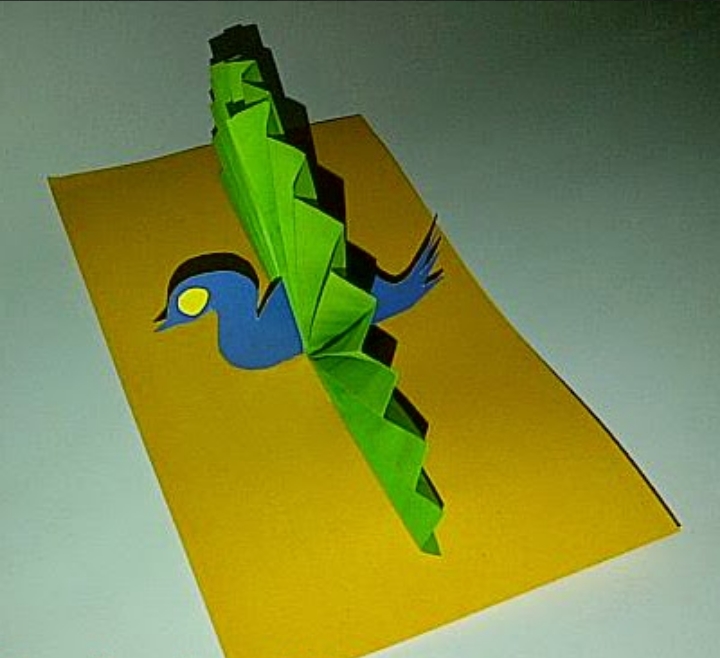
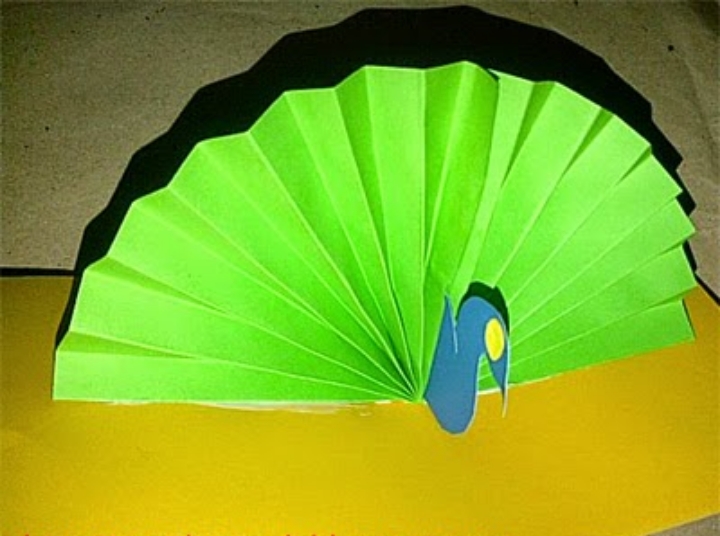
- Prepare the peacock by giving the glue the underside of the wings fold. The peacock will be united with the base paper for the holder. Take a look at this step 7 image.
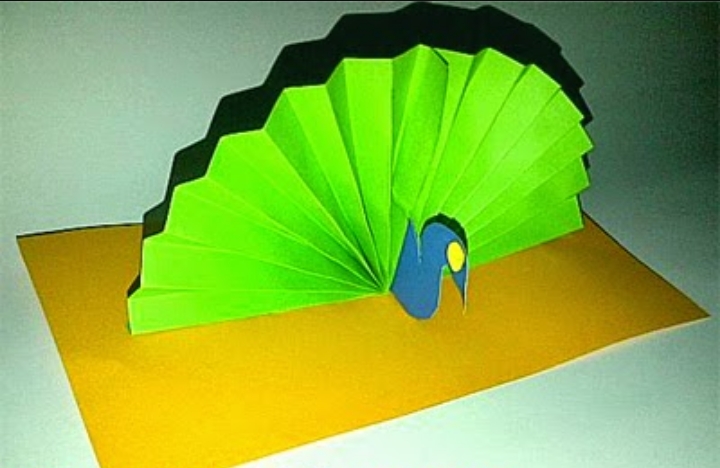
- Estimate the best position for the peacock when it is taped onto the pre-prepared paper. If you think it is balanced left-right and front-back, glue the peacock on the paper that became the base. Notice the picture in step 8 below.
Well, it's finished the peacock of handicraft (papercraft) from this paper material. How? Surely the children can make it is not? Thus the steps how to make crafts simple and easy from paper materials used. Hopefully useful and inspiring.
Congratulations @little-jhonmaks! You received a personal award!
Click here to view your Board
Congratulations @little-jhonmaks! You received a personal award!
You can view your badges on your Steem Board and compare to others on the Steem Ranking
Vote for @Steemitboard as a witness to get one more award and increased upvotes!