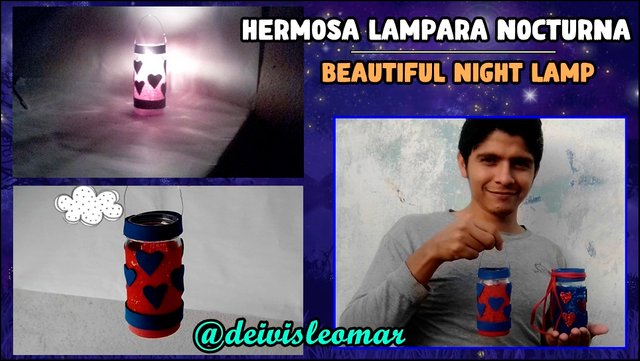
Transformando un simple envase de vidrio en una hermosa lampara nocturna @deivisleomar | Transforming a simple glass container into a beautiful night light by @deivisleomar
Aveces tenemos objetos en nuestra casa que no sabemos como usarlos para sacarle provecho y terminamos tirándolos a la basura, pero hoy quiero mostrarte que puedes hacer o en que puedes transformar un simple objeto de vidrio vació.
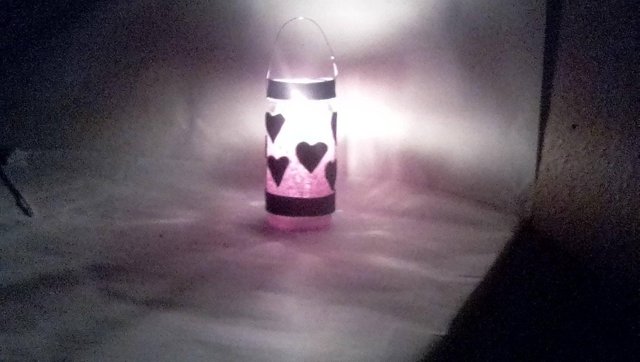
Esta es una hermosa lampara que hice usando un simple envase de vidrio, alambre y algunos objetos fácil de conseguir, así que esperas? VAMOS!! te muestro los materiales y los pasos a seguir para elaborarla.
Hey there my artist friends, I hope you are doing well today.
Sometimes we have objects in our house that we don't know how to use them and we end up throwing them away, but today I want to show you what you can do or what you can transform a simple empty glass object into.
This is a beautiful lamp I made using a simple glass container, wire and some easy to find objects, so what are you waiting for? LET'S GO! I show you the materials and the steps to follow to make it.


• 1 Envase de vidrio pequeño con tapa (envase de mayonesa).
• Tijera.
• 1 Pincel.
• Pintura al frio color rojo.
•Alambre.
• Silicón.
•Foami color azul.
• 1 Vela pequeña.
• Small glass container with lid (mayonnaise container).
• Scissors.
• 1 Paintbrush.
• Cold paint red color.
• Wire.
• Silicone.
• Foami blue color.
• 1 small candle.


PASO 1:
Con el pincel y la pintura al frio roja, pintamos nuestro envase de vidrio en forma de puntos dejando un espacio de 1 o 2 centímetros en la parte superior e inferior del envase.
STEP 1:
With the brush and the red cold paint, we paint our glass container in the form of dots leaving a space of 1 or 2 centimeters at the top and bottom of the container.

PASO 2:
Con la tijera recortamos 10 corazones pequeños y 2 tiras de foami azul.
PASO 3:
Pegar una de las tiras de foami azul a la parte superior del envase en forma de circulo.
STEP 2:
With the scissors cut out 10 small hearts and 2 strips of blue foami.
STEP 3:
Glue one of the blue foami strips to the top of the container in the shape of a circle.

PASO 4:
Pegamos la tapa del envase en la parte inferior (usar el silicón).
PASO 5:
Pegar la tira restante del foami azul en la parte inferior del envase en forma de circulo.
STEP 4:
Glue the lid to the bottom of the container (use the silicone).
STEP 5:
Glue the remaining strip of blue foami to the bottom of the container in the shape of a circle.

PASO 6:
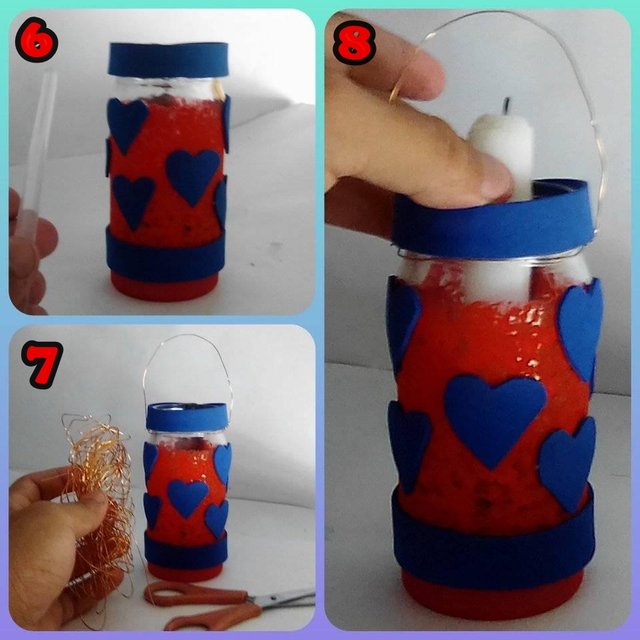
Pegar los corazones en todo el envase de la forma que más prefiera (usar el silicón)
PASO 7:
Tomamos el alambre y rodeamos la parte superior de la lámpara formando un circulo “esta será nuestra asa”, ahora cortamos el alambre restante.
PASO 8:
Introducimos una vela pequeña dentro del envase para así dejar lista nuestra lámpara nocturna.
STEP 6:
Glue the hearts all over the container in the way you prefer (use silicone).
STEP 7:
We take the wire and surround the top of the lamp forming a circle "this will be our handle", now we cut the remaining wire.
STEP 8:
Insert a small candle inside the container to prepare our night lamp.


Todas las fotos son de mi propiedad, editadas en photoscape, traductor usado DeepL.
All photos are my own, edited in photoscape, translator used DeepL.

Te quedó muy bien la lámpara, pero falta tu cartel de DraftCrearte. Puedes chequear el siguiente post y ver las reglas para post de calidad.
https://steemit.com/hive-109427/@roseri/create-quality-content-for-draftcreate-6-quality-publications-will-be-chosen-each-week
Ok, estaré corrigiendo el post, gracias por tu apoyo.