Bell joint using a play-machine.
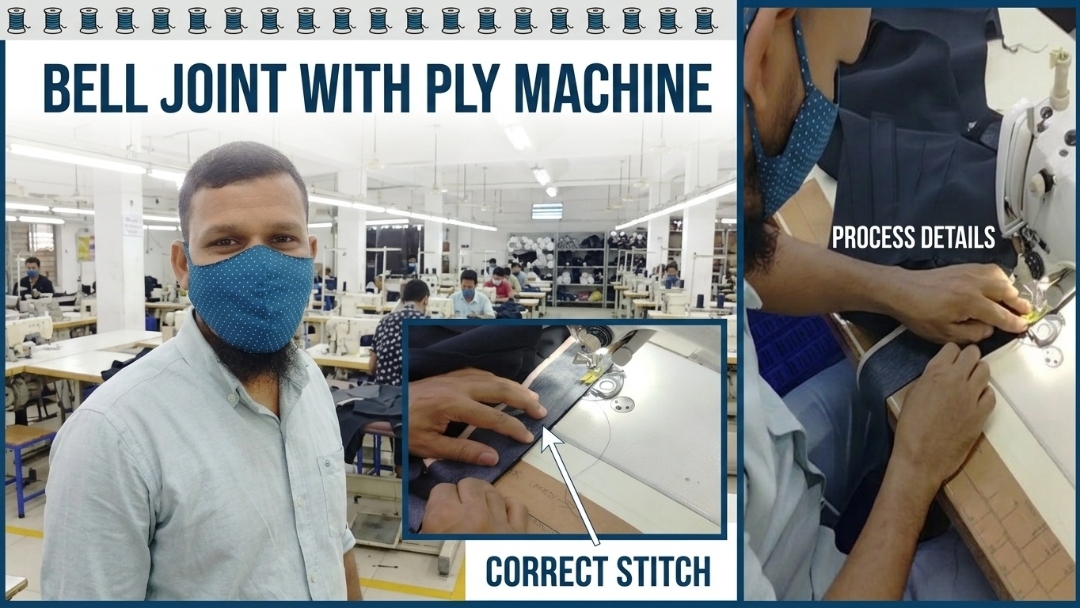
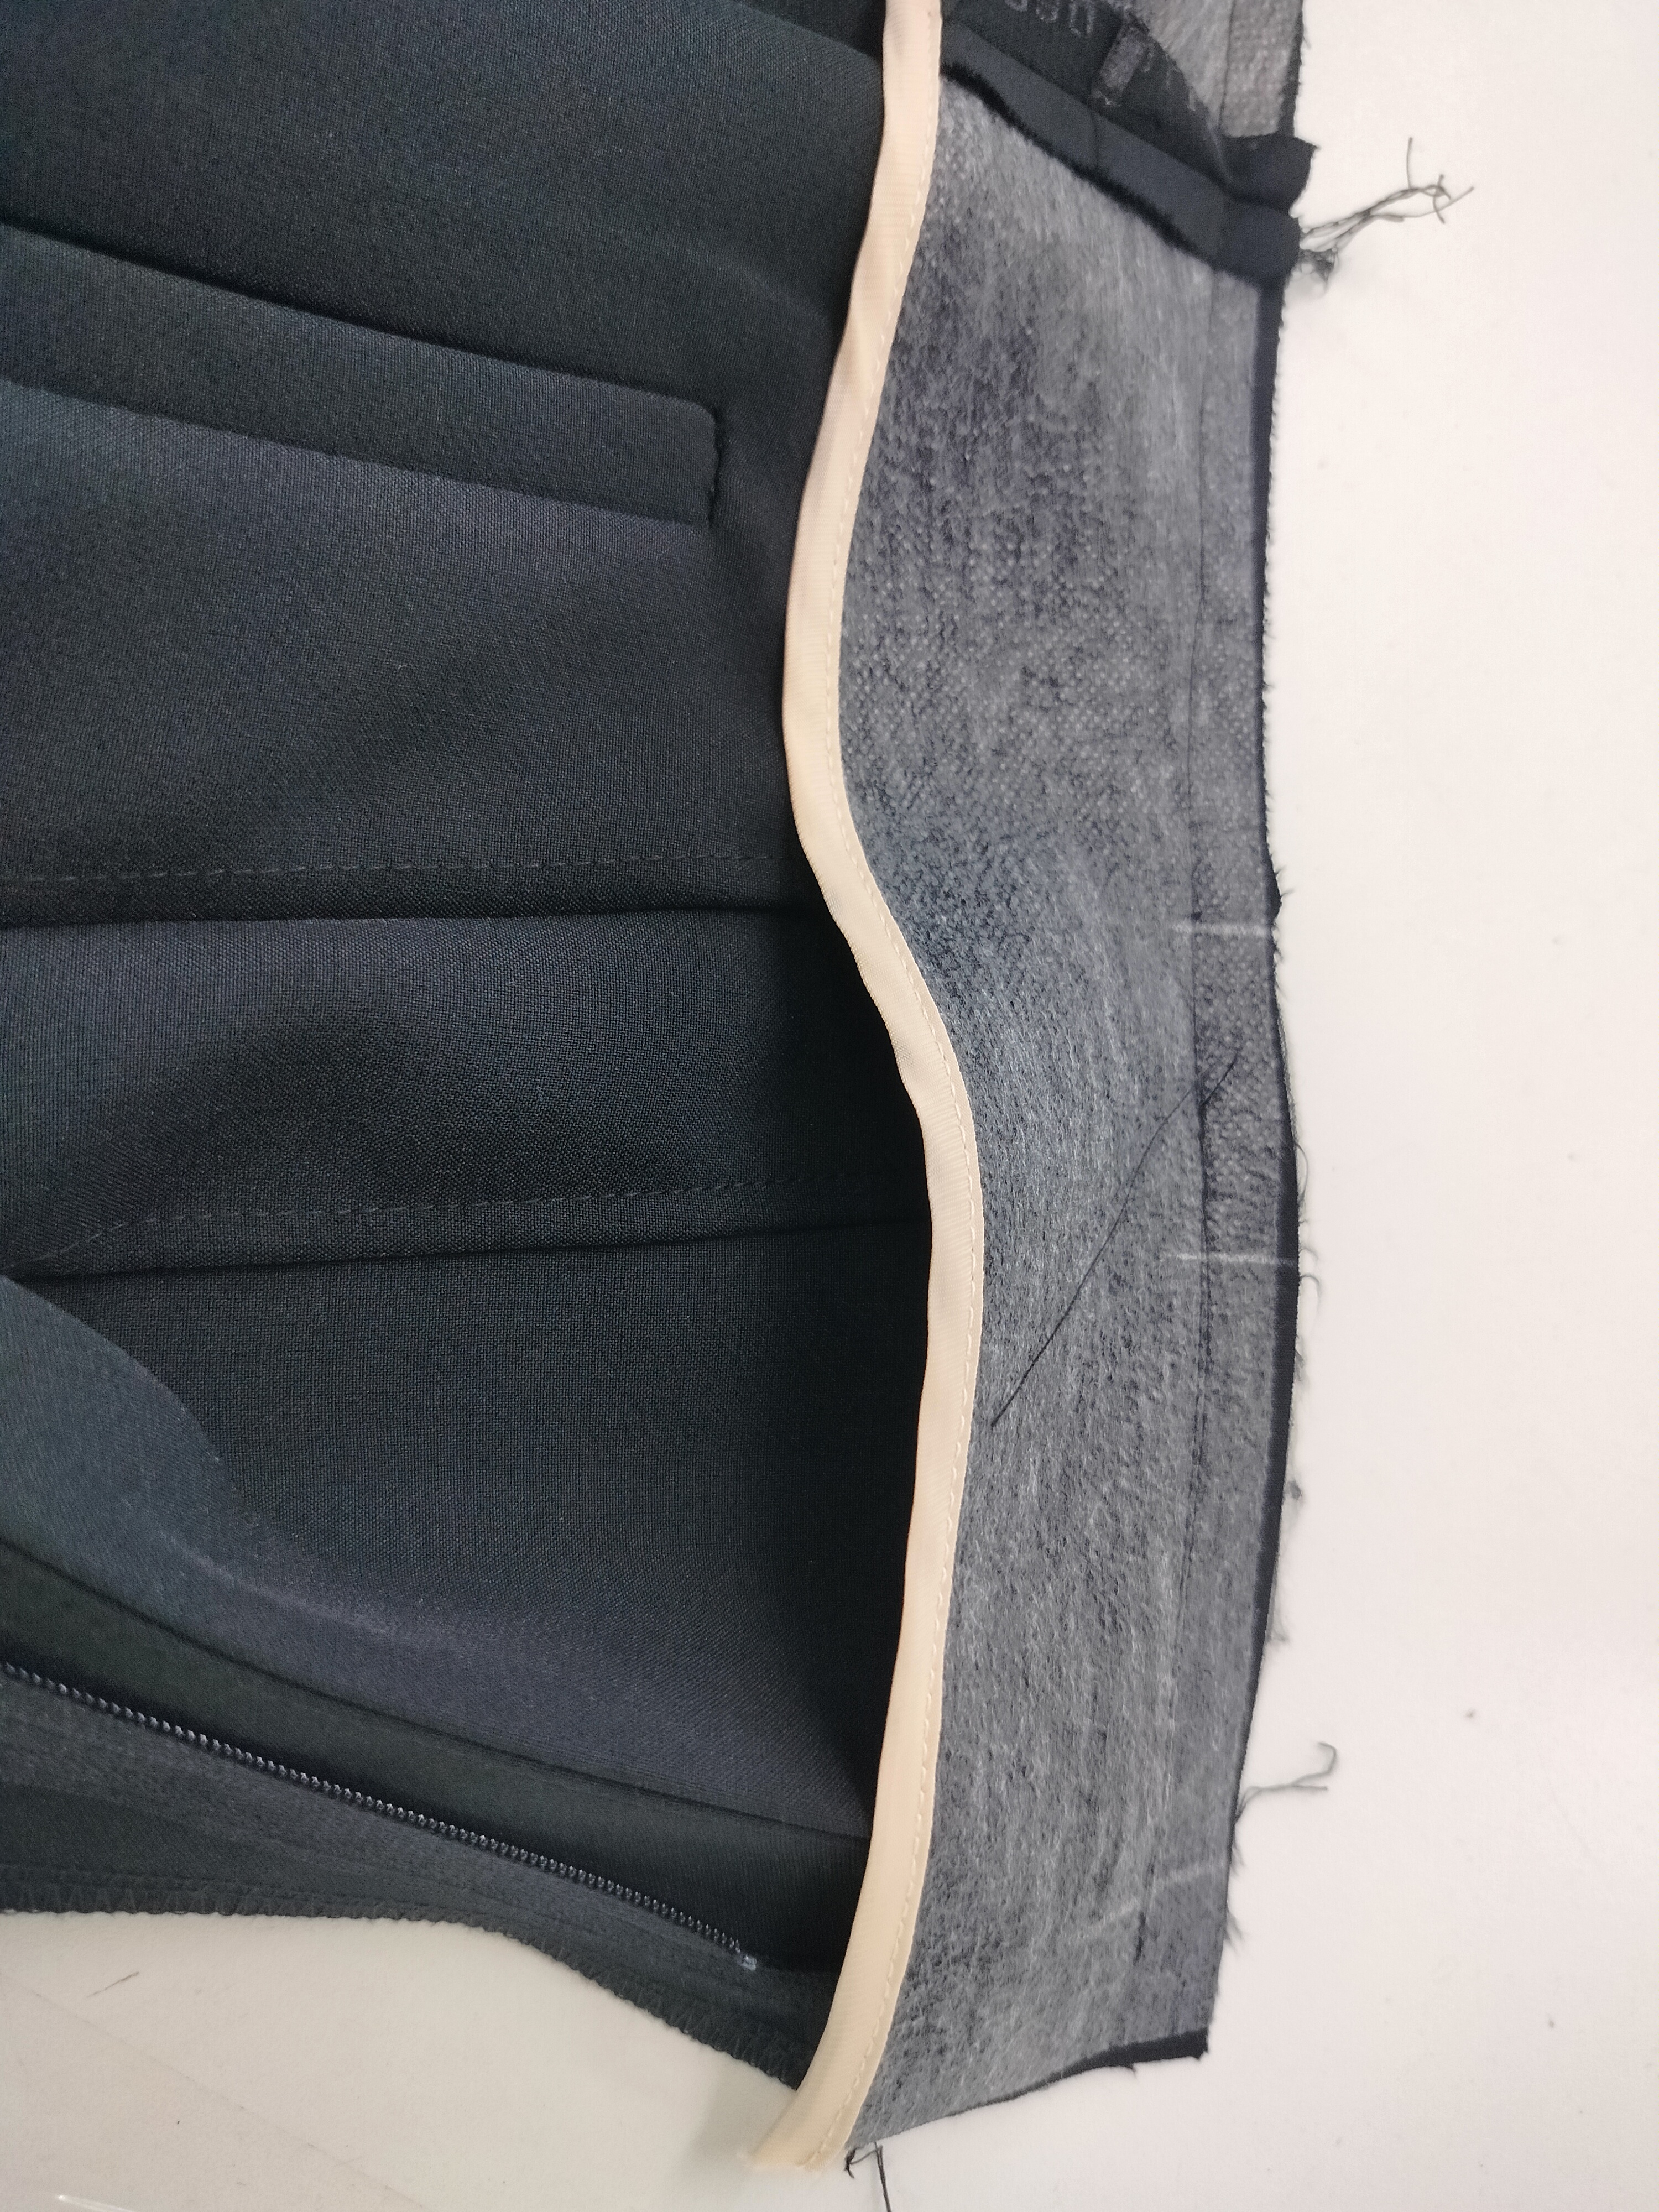
Working in the garment sector gives you the opportunity to learn and teach something new every day. Today I will show you an important process. This is how to make a bell joint with the help of a ply machine. In this video, detailed steps have been highlighted that will make your work easier and more perfect. I hope you all like it.
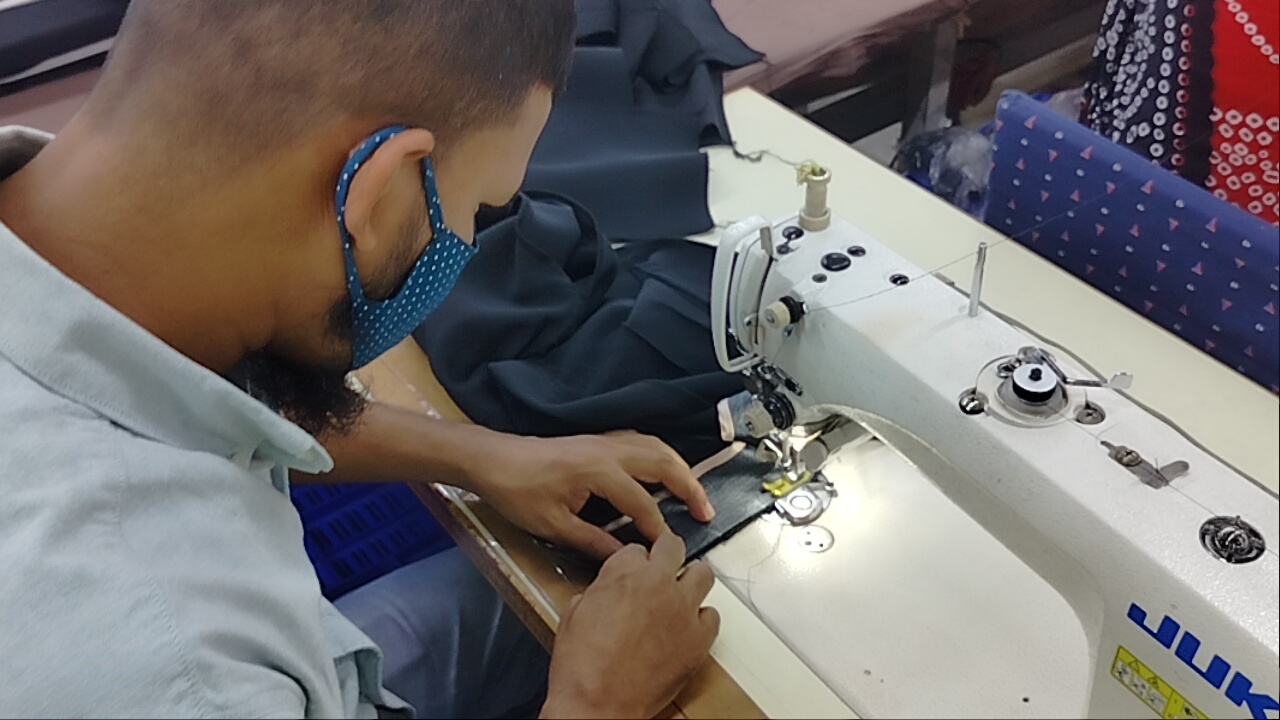
As you can see, I am presenting this entire process to you. Our goal is to show you how to make a perfect bell joint. An operator wearing a mask is carefully placing the cloth on the machine. This is the beginning of the work.
 |  |
|---|
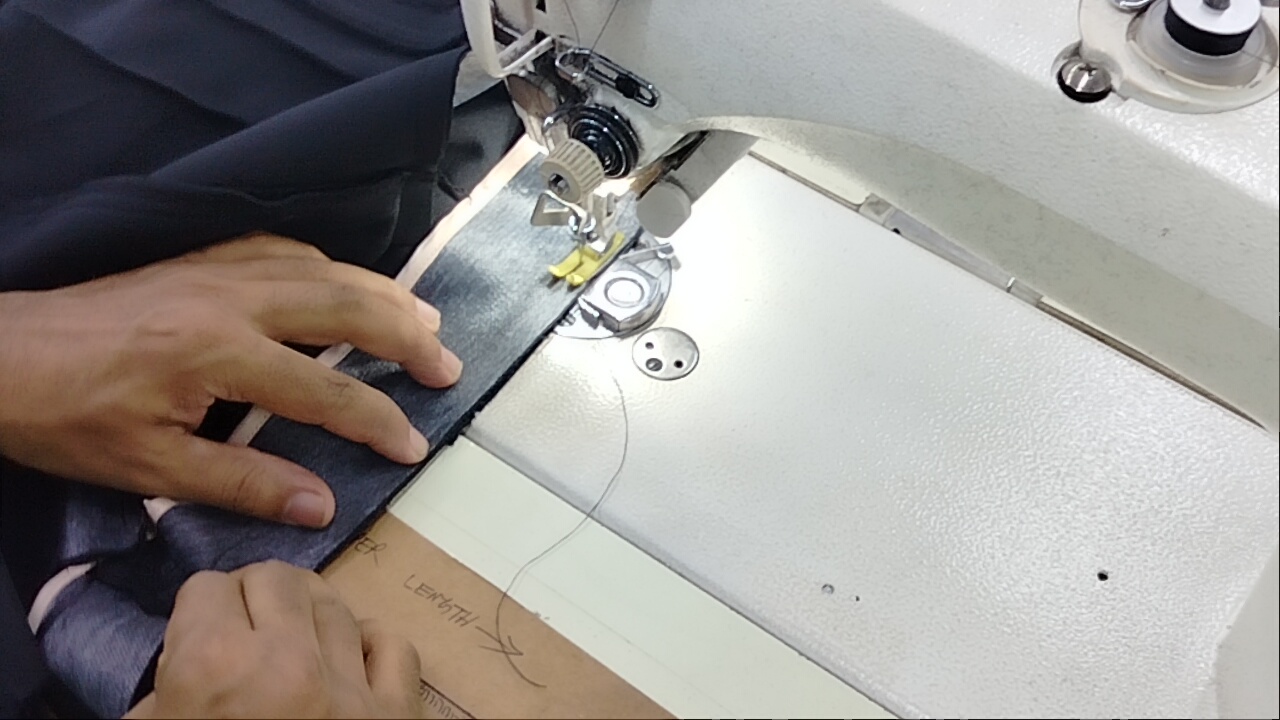
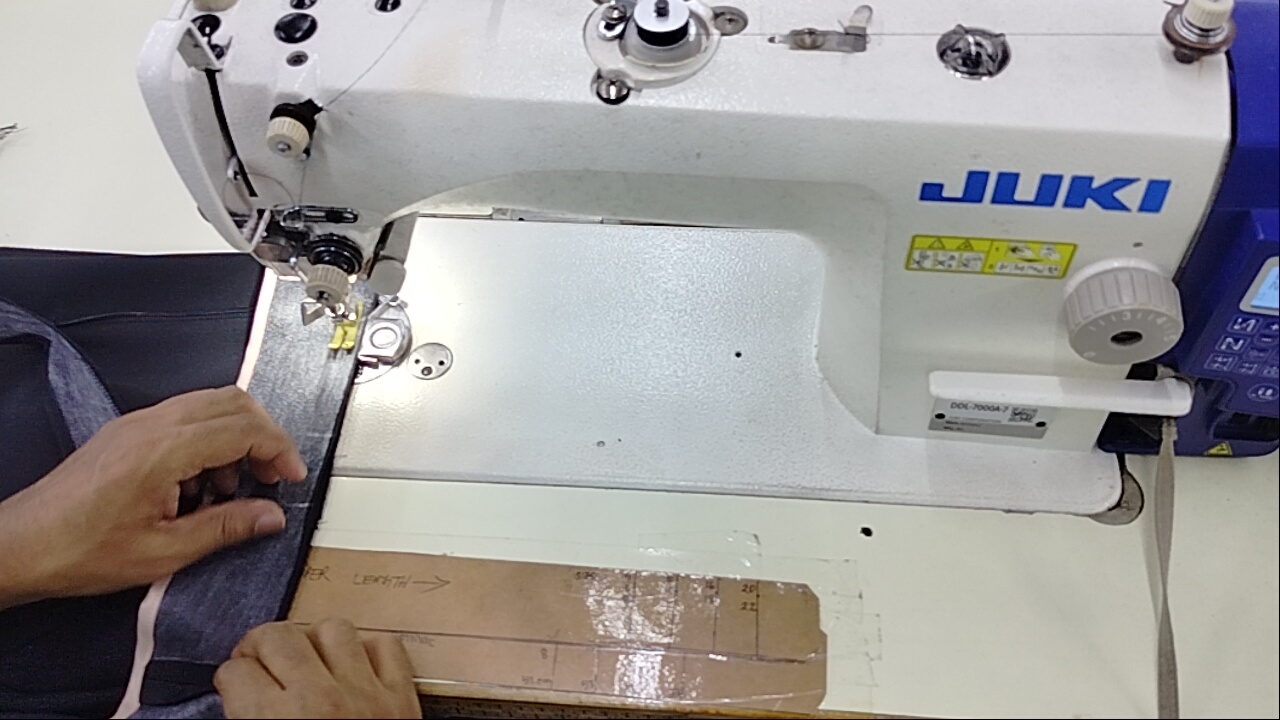
The lower part of the machine is shown where specific marks and guides are used. With the help of this guide, the cloth is kept straight and the correct distance is maintained. The pictures clearly show how the cloth is kept straight by hand and the foot of the machine works properly on the cloth to ensure correct stitches. This is very important.
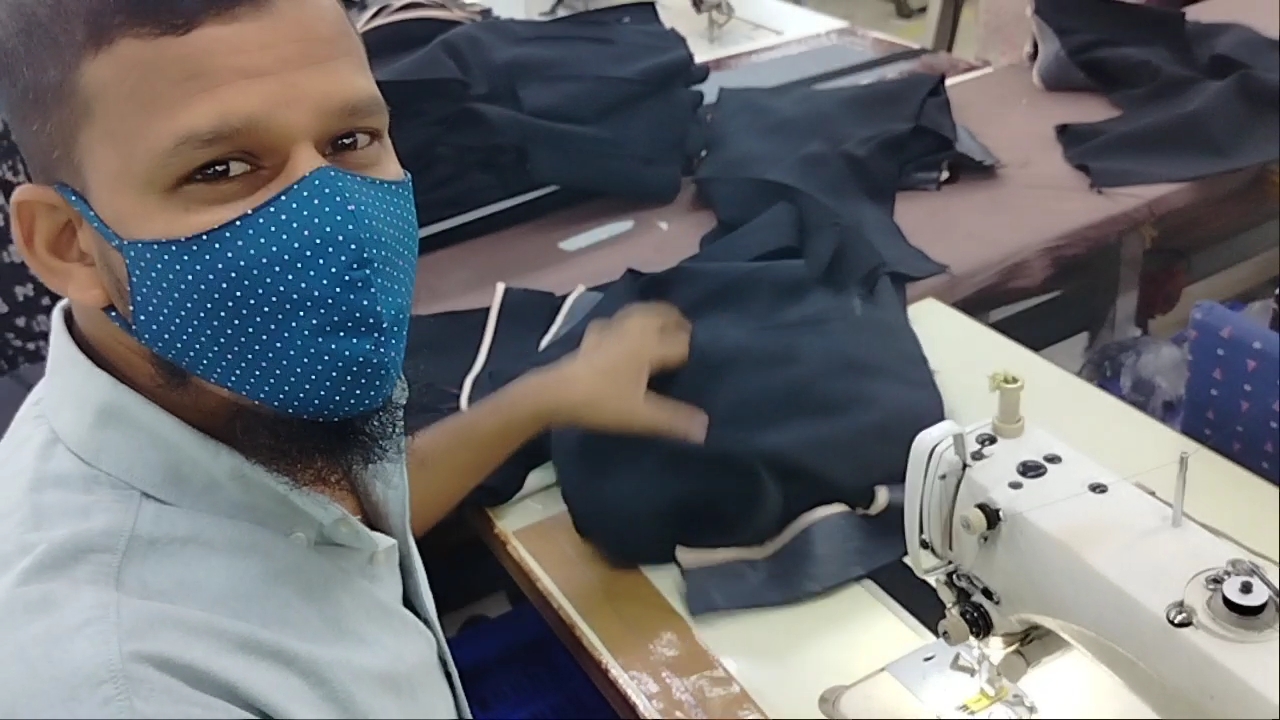
The last step is shown here. Here the operator is perfectly joining the cloth. If we follow each step of the work precisely, we can get excellent results. By watching this video, you can easily acquire the skill of making a bell joint with the help of a ply machine. This was my arrangement for today, I hope you all enjoy it, Insha'Allah.
| Camera used:- | Mobile Realme-9. |
|---|---|
| Location:- | Dhaka Bangladesh. |
| Photographer:- | @limon88. |
Posted with Speem
Your post have been rewarded by the Speak on Steem curator team!
Curated by @marvinvelasquez
The video is a great addition to your post; I just recommend that you don't end it abruptly—it detracts from the overall look of the work. Good luck!
Thank you so much brother 💕