Tutorial # 1 | Create Your Headers Through Canva | Guidelines by @sameer07
Hi Friends, i hope all members will be fine and enjoying your life by the grace of the God. I hope all members doing great work on this platform and enjoying this wonderful platform. I'm also fine and enjoying myself with steemit.
Meet me First, my name is Abdul Sameer and @sameer07 on this wonderful platform. I'm from Pakistan. I belong to Muslim community. Food Processing and Preservation Technology is my profession. I'm a Food Technologist.
Today, here's my first post in this wonderful community that is developed by @sameer07 and @faran-nabeel. In this post i will show you how to make Header for our post from Canva.
In this post i will give you tutorial how to edit header by using canva. As you know that Canva is best platform that is used for Graphic Designing. I will give you step by step tutorial.
So let's start,

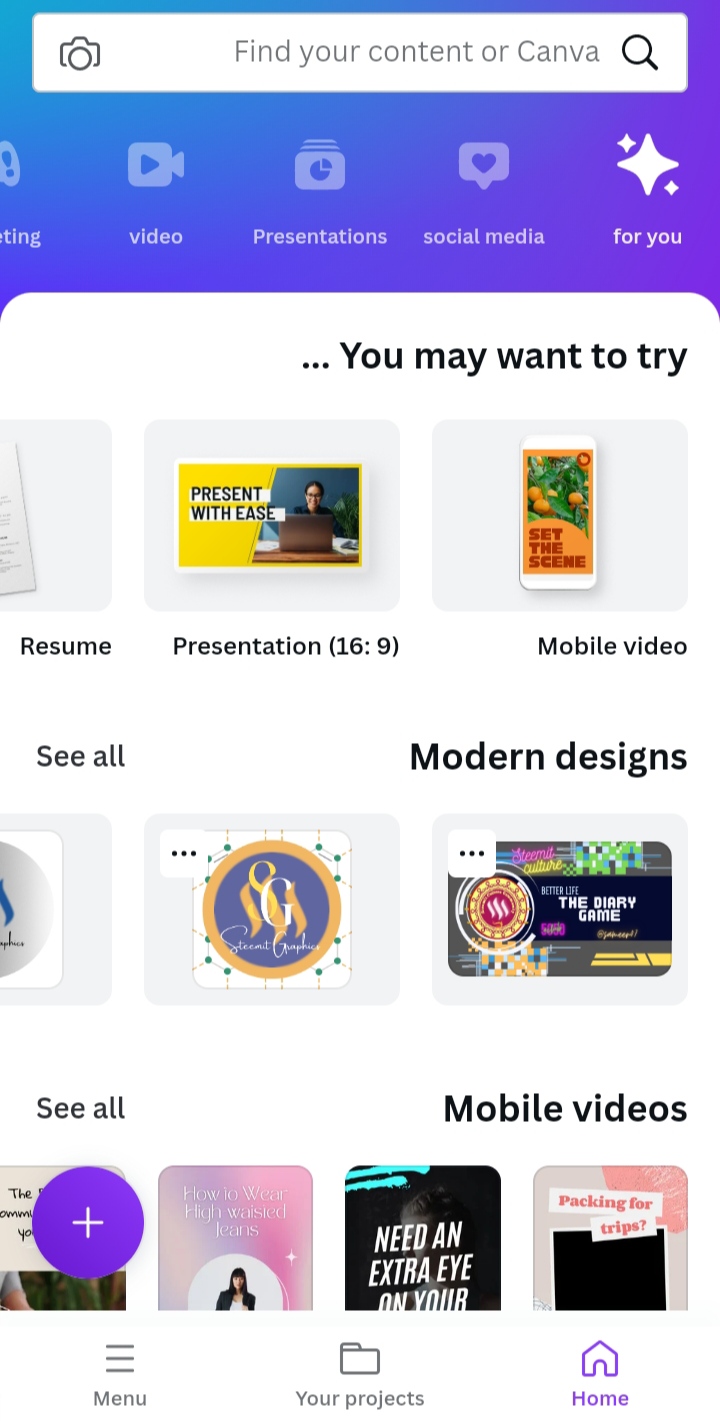
Step 1: First of all we need to install Canva and open canva platform for developing Header. But I mostly used Canva Web.
 |  |
|---|
After landing on canva, We see that type of interface in our mobiles.
Step 2:
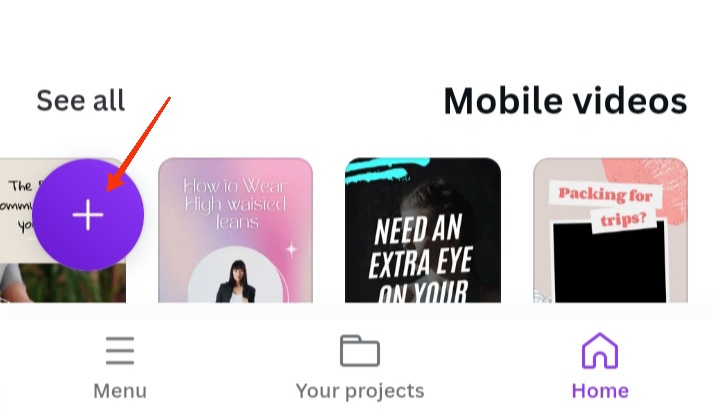
In this step, i just click on blue button.
Step 3:
 |  |
|---|
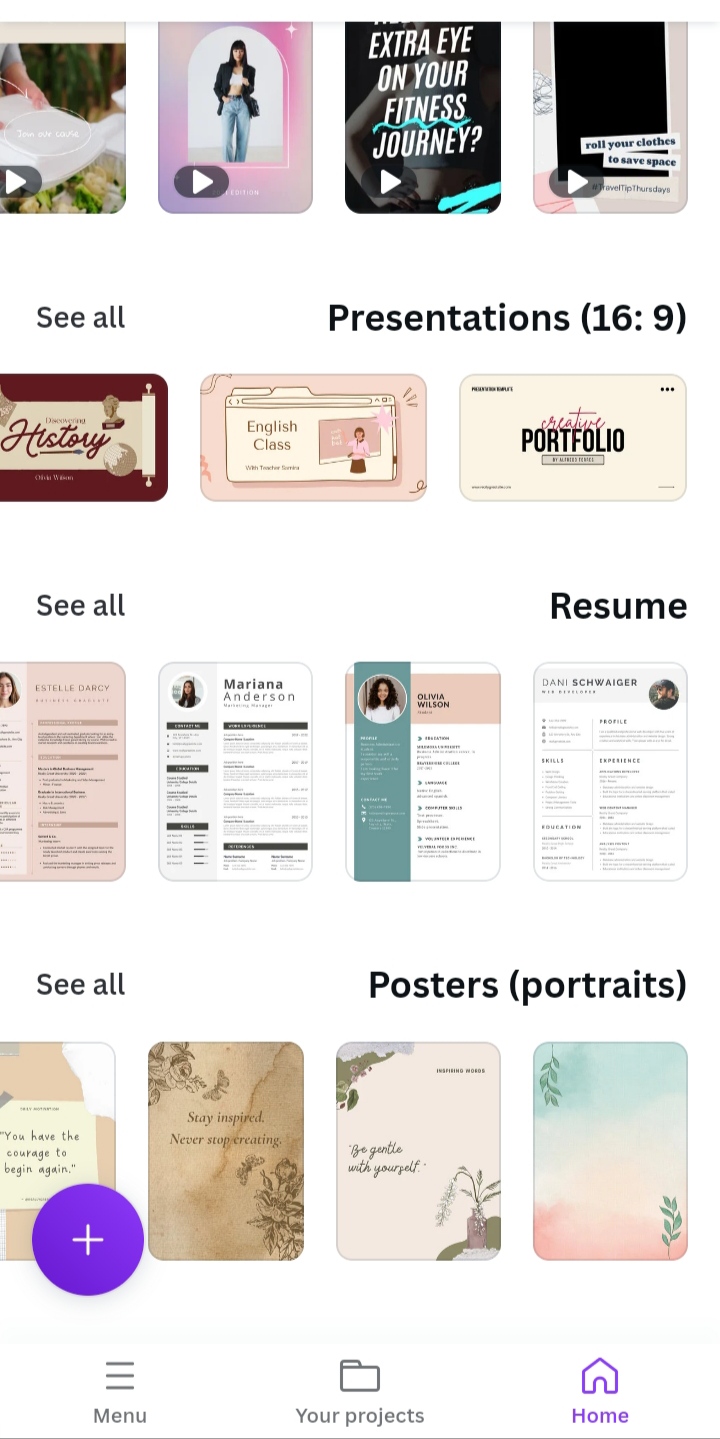
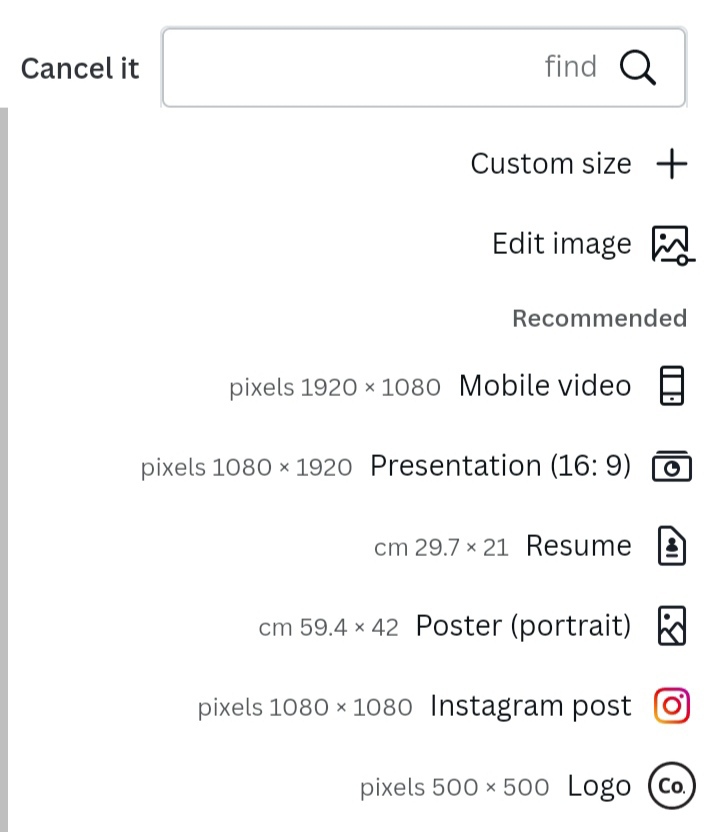
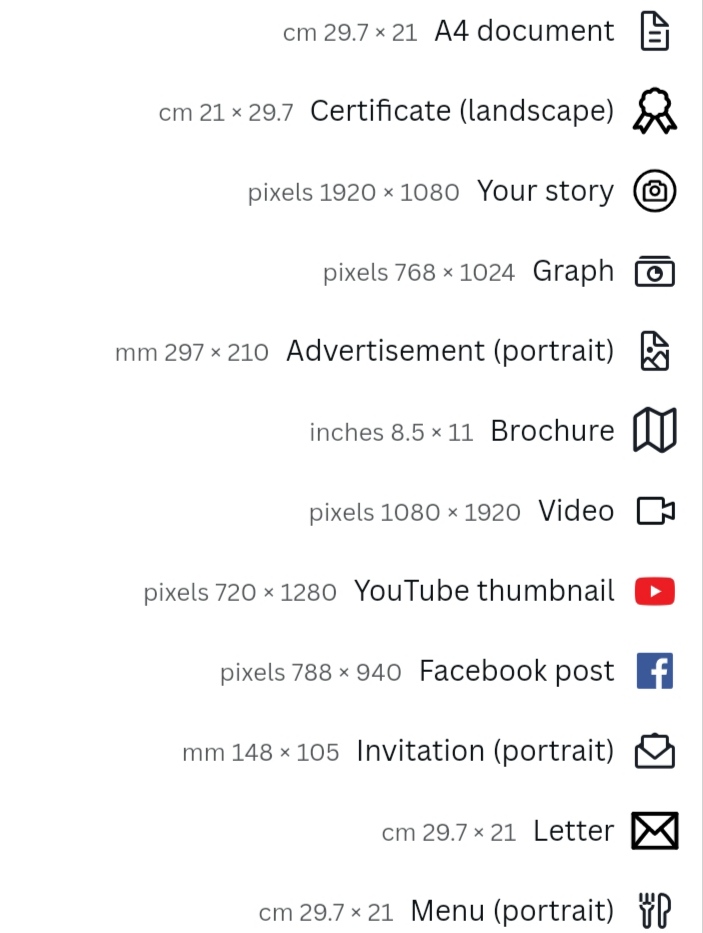
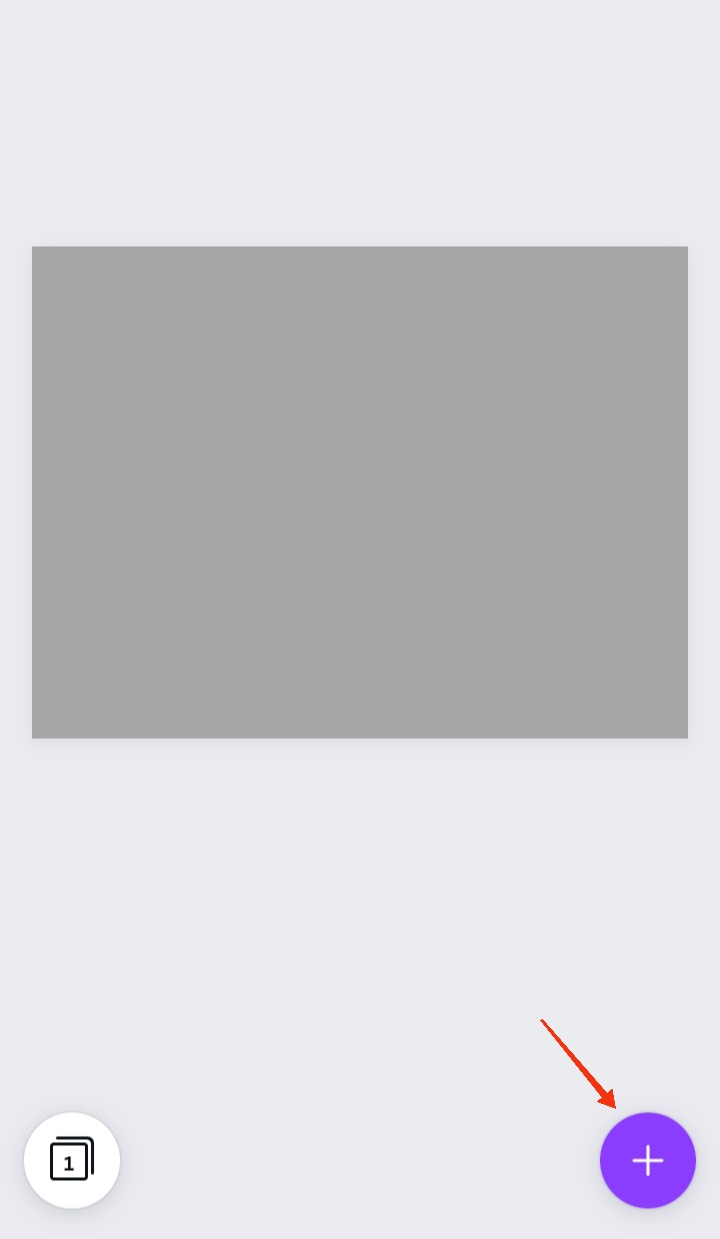
After clicking on blue button, we see new interface that you can see that in picture.
Step 4:
 |
|---|
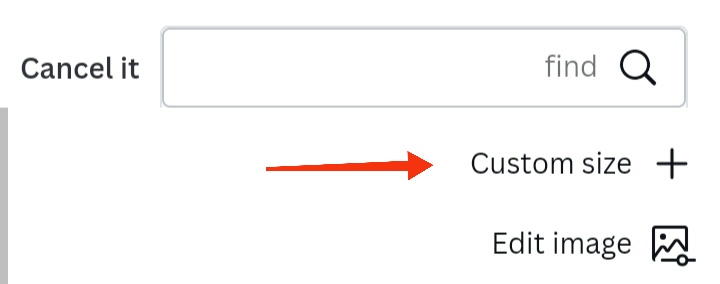
After this we need to click on custom size image,
Step 5:
 |
|---|
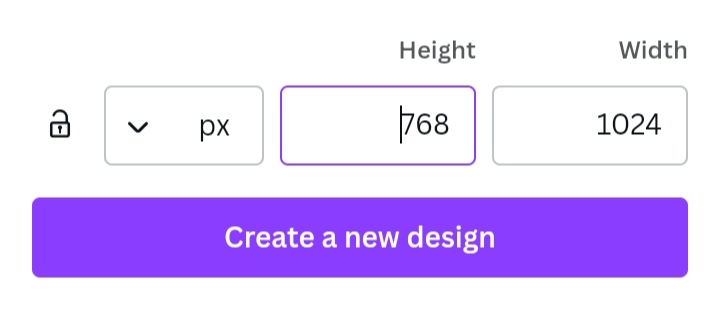
In next step,i just added size of header which we want to create. But i mostly used this size header.
Step 6:
 |
|---|
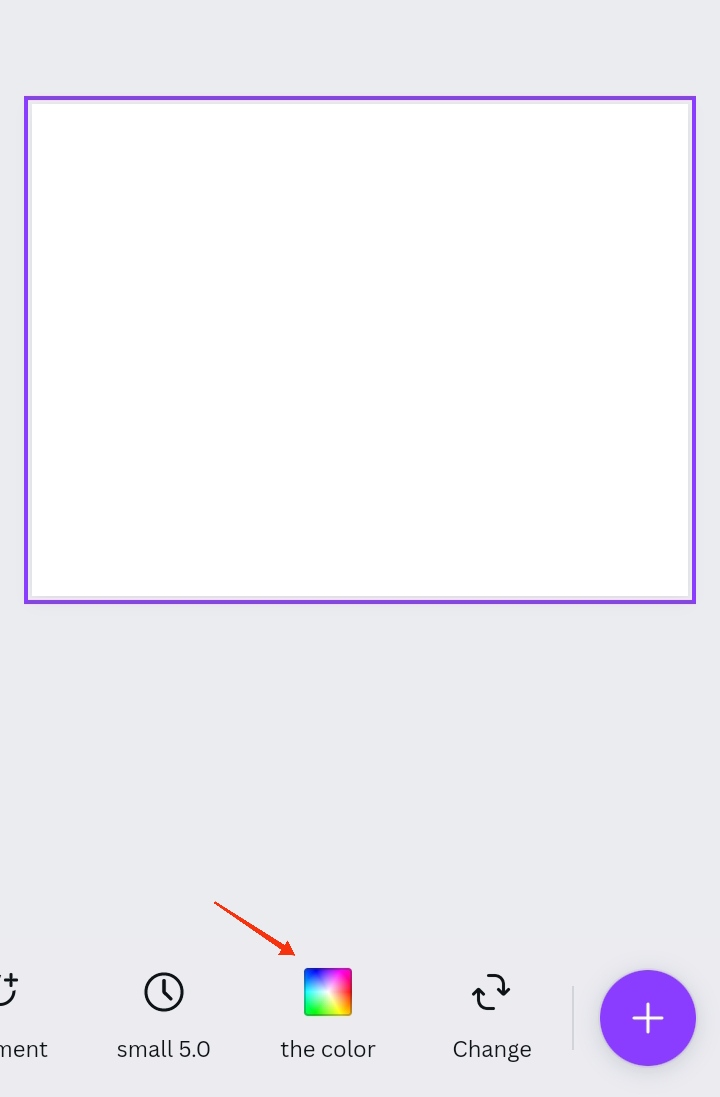
After this you can see that type of interface on your screen. Then you click on colour button that you can see that below.
Step 7:
 |  |
|---|
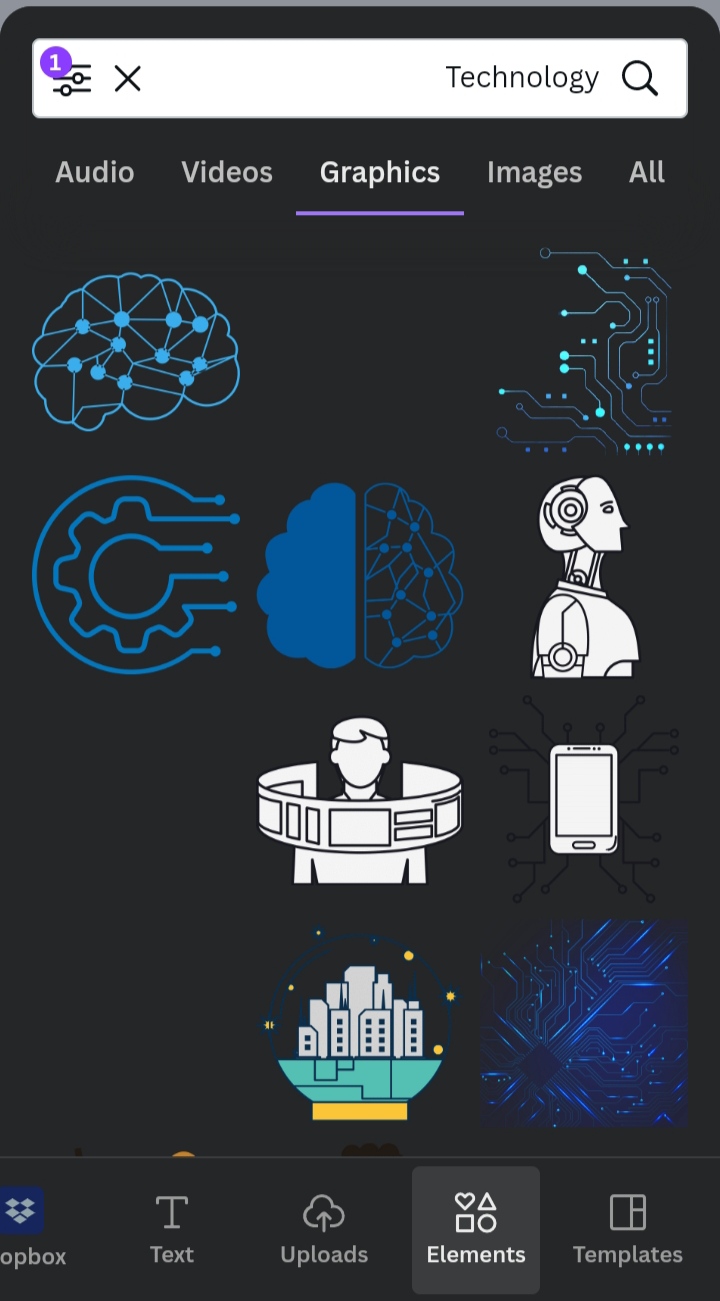
After selection of colour, i again click on blue button,that we see that below. After this we can see new interface. I used search option and i searched Technology, then i go graphic and selected.
Step 8:
 |  |
|---|
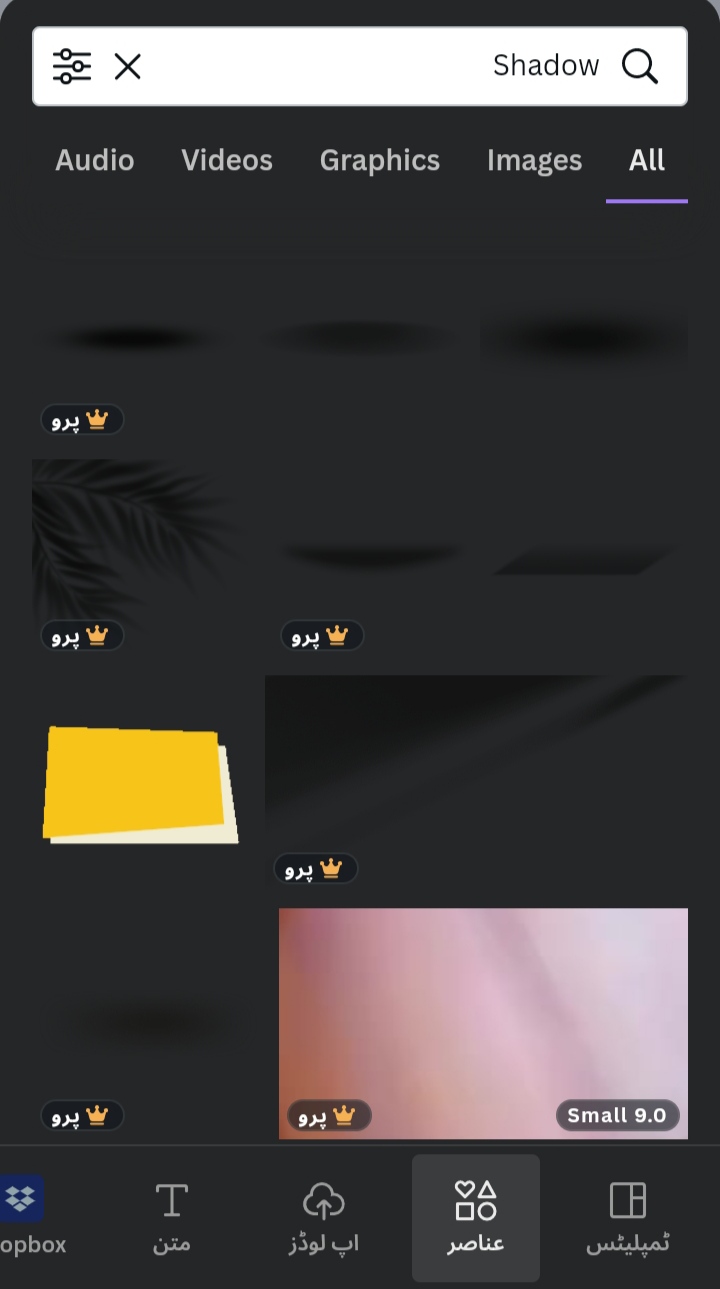
After selection of graphic, we just want to select shadow on header for more designing. I used a shadow and spread it all over the header.
Step 9:
 |  |
|---|
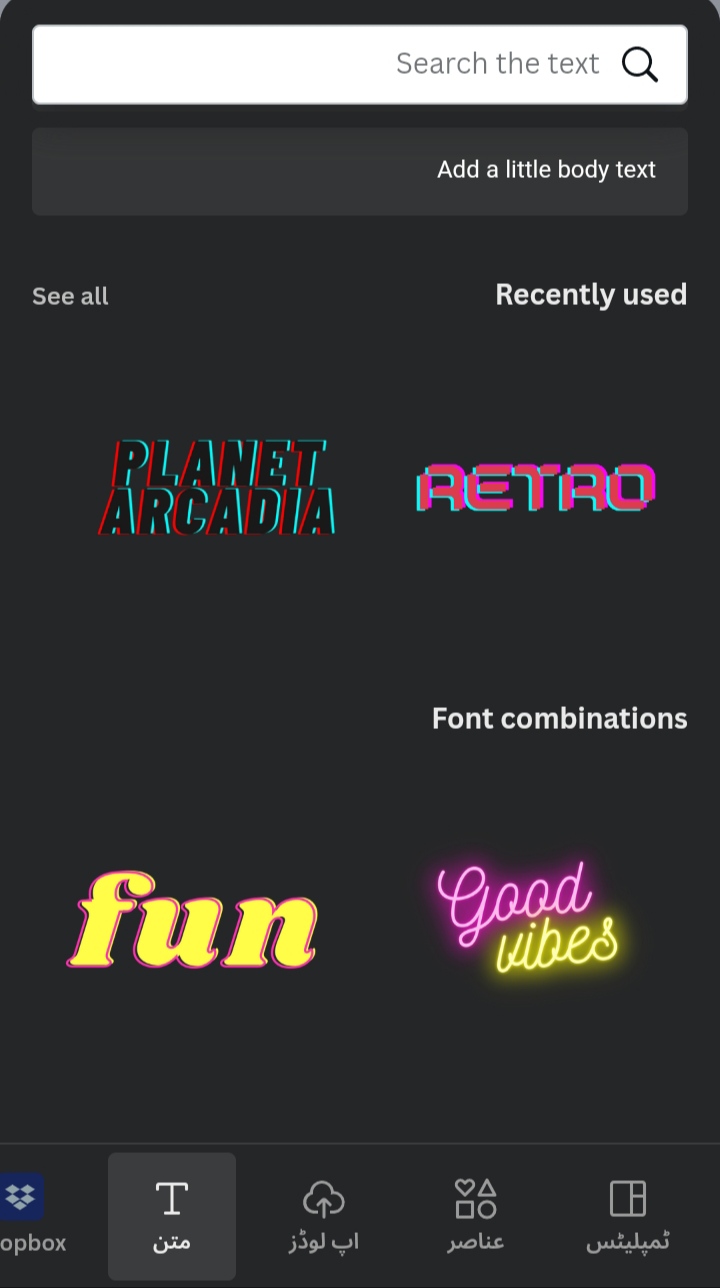
After this I add font style for our header Designing. By font we describe our topic of post.
As, in right side picture i used font and edit it in my words according to my header.
Step 10:
 |  |
|---|
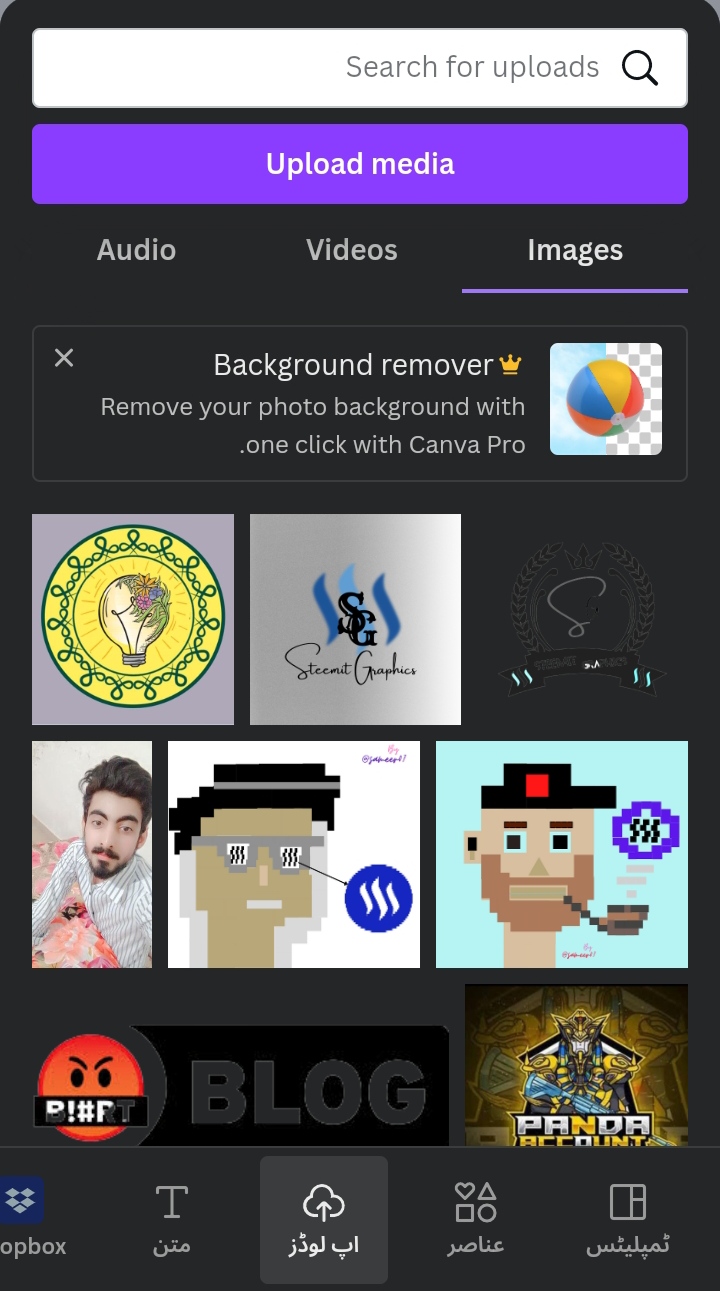
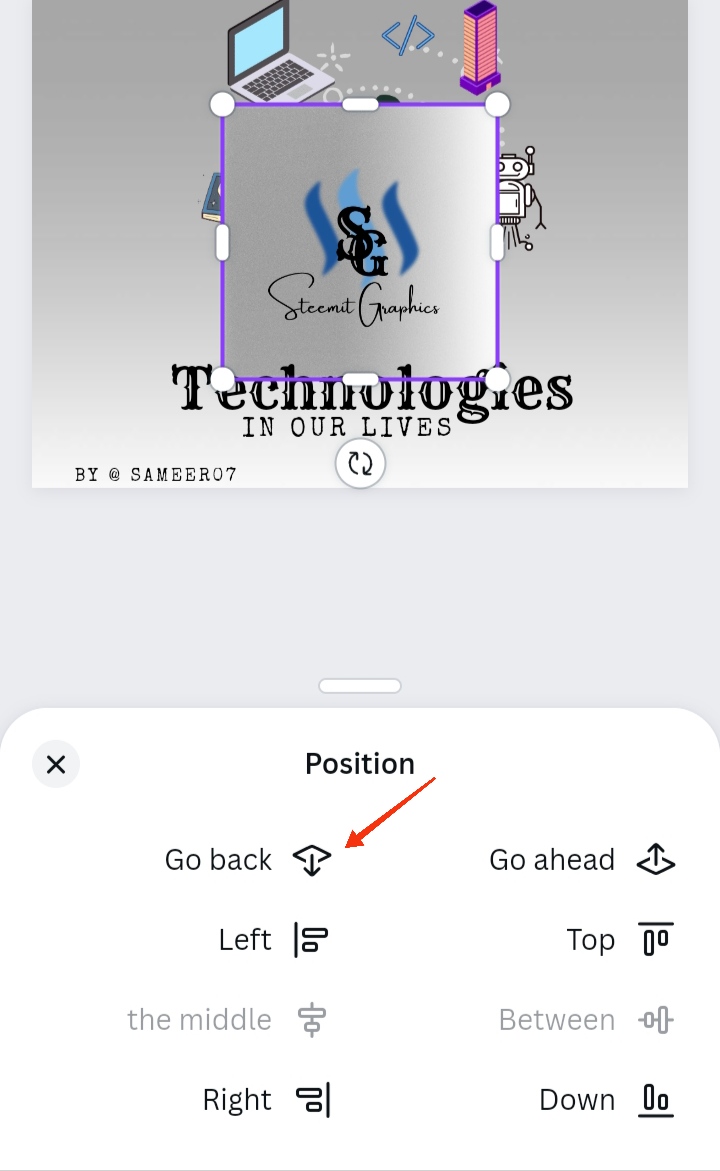
After this, I again click on blue button and upload our picture for more designing. But i upload our community logo for enhance the beauty and set it on background on click go back.
Step 11:
 |  |
|---|
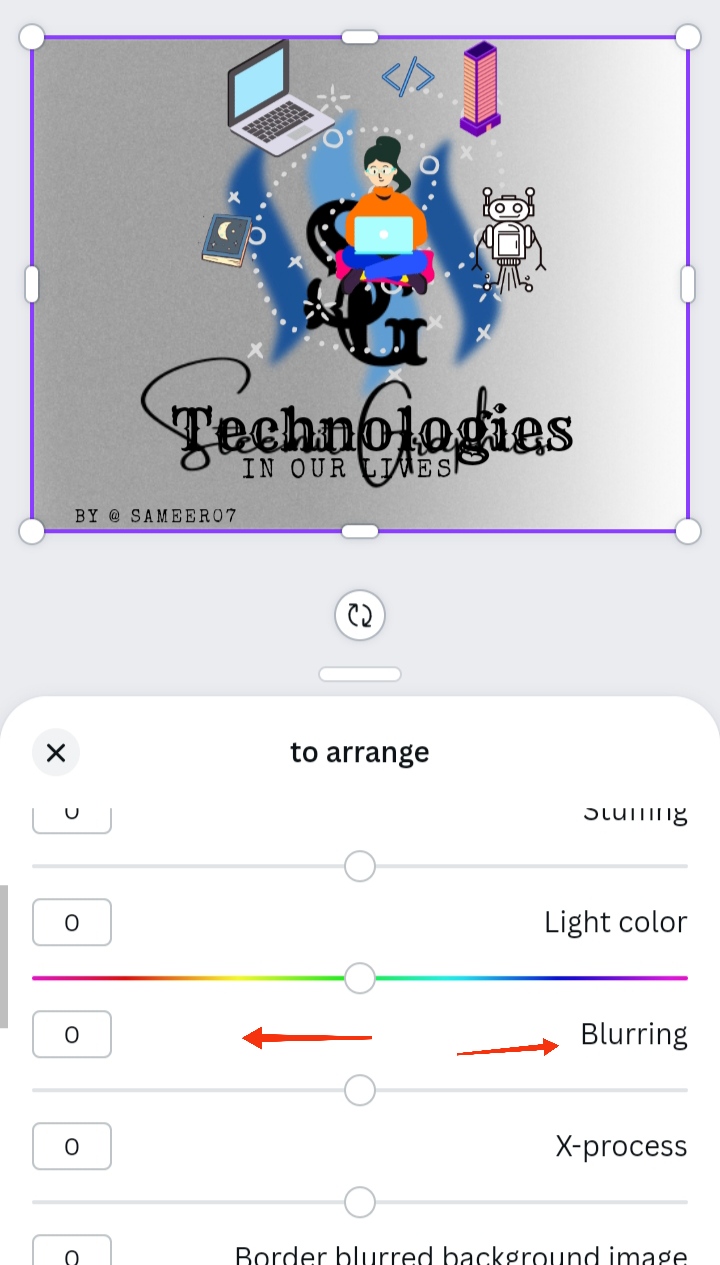
After this, click on Range option and decrease blurring range.
Step 12:
After this, I used logo of our community at the top right corner same as step 10.
 |
|---|
Now you can see that, my header is ready, i used very simple method for create header from Canva.
Now this is end of my first tutorial. I hope all member will really like and love my first tutorial. If anyone has any questions about my tutorial they can ask me in the comments section. Waiting for your response...
Thanks for reading and visiting my Blog 🙂 |
|---|
Best Regards 💞
@sameer07
@hive-123895 | @faran-nabeel | @aaliarubab

Publisher : @sameer07
Wao Amazing✨ Very Good Work Brother❤.You Have Explained All These Thing Very Well.Thanks For Sharing With Us⭐
Thanks for your review..
That's really brilliant job and this tutorial is very helpful for our community members.
Now members follow your pattern and write tutorials.
Thank you so much you do a great job .
Thanks
Good explanation 😄
Thanks
Thank you for contributing to #LearnWithSteem theme. This post has been upvoted by @daytona475 using @steemcurator09 account. We encourage you to keep publishing quality and original content in the Steemit ecosystem to earn support for your content.
Regards,
Team #Sevengers
The #learnwithsteem tag focuses on teaching through tutorials and lessons some knowledge, skill or profession that you have. Please avoid using it if it's not about that. Thank you!
Thank you so much sameer fpr sharing this tutorial with us. it is very useful to us.
Thanks for your review
Well-done 😃...
This is very helpful guidelines for is and i really appreciate you because you maka a helping post for us.
Thanks dear friend
Nice sammer you always do your best for every community ans now you make your own community connections dear..
Thanks for your good words..
That's really good tutorial and you explain good and also write as well thanks for sharing this.
Thanks for your review...
Thank you for sharing guidelines to make header through canva web page. i also try it thanks for sharing this post.
Thanks for your review 🙂
Dear @sameer07 Thank you for sharing your Quality Blog with our community. Your Post Information has been given below: