Week- 45 Let's do it...Do It Yourself👉Craft, Creativity, Drawing, origami, DIY, Recycling and more
Assalamualikum, everyone(Peace be upon you). |
|---|
I'm @jubayedhossen91 from @bangladesh.
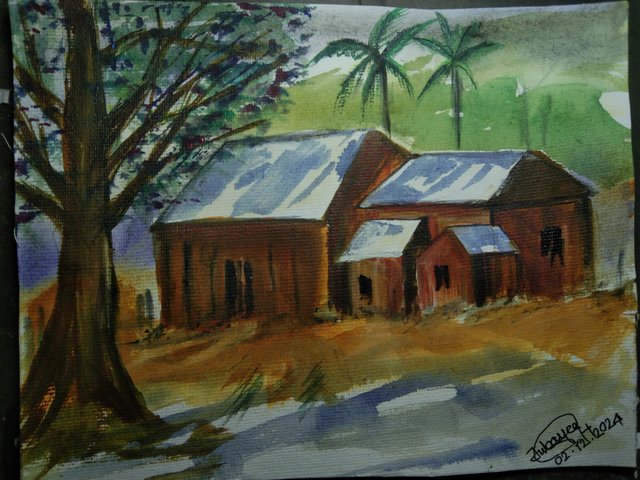
Hi friends, How are you? I hope everyone is doing well. By the grace of Allah Ta'ala, I am also doing well. I'm delighted to share my activities. In fact, I always endeavor to display my paintings for you to see. Without a doubt, we can claim that the honorable @mesola has created a lovely contest in this community. She has my sincere gratitude for this endeavor. Everybody has untapped abilities. Our Steemit platform provides a safe space for us to show our talents and engage in all creative endeavors. I'm attempting to use nature to construct village dwellings today. I went through multiple phases to finish this painting. I'm attempting to illustrate each step using relevant images.

Ingredients |
|---|
- Art paper
- Colors
- Paint brush
- Wood Pencil and
- Water

A Step-by-Step Guide to Creating a Village Scene-
Step 1: Laying the Foundation with Pencil |
|---|
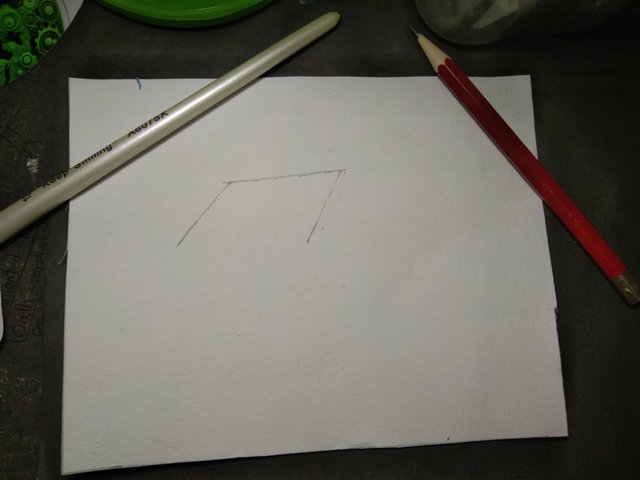
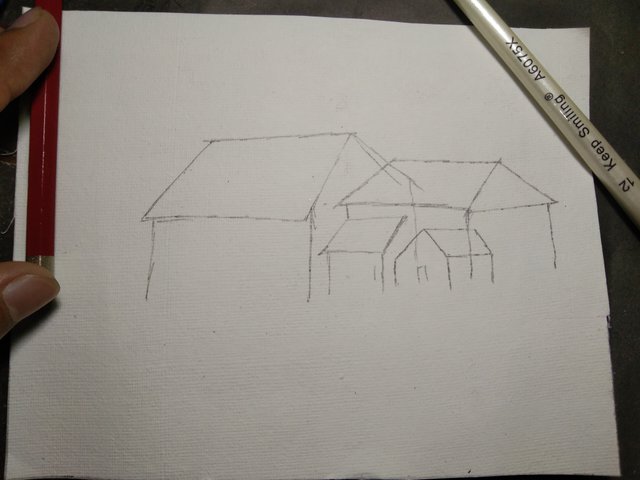
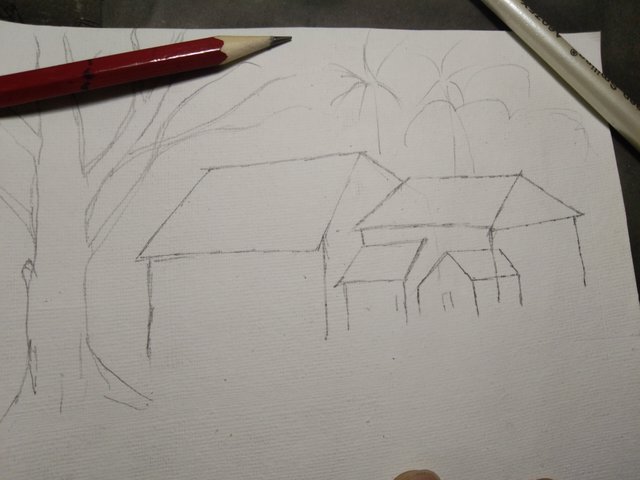
I began this work by carefully selecting and cutting a suitable piece of paper to serve as the canvas. With a wooden pencil in hand, I meticulously sketched the outlines of the houses. To ensure accurate proportions, I first marked the approximate dimensions of the largest house using cross-shaped lines. Building upon this framework, I drew a substantial house and then added two smaller ones to create a charming village setting.

Step 2: Adding Natural Elements. |
|---|
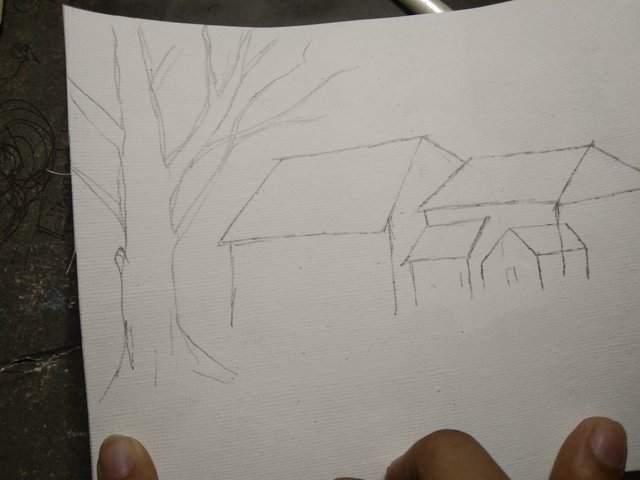
To bring the scene to life, I incorporated various natural elements. I sketched several trees, including a prominent large tree and a few smaller ones. I give close attention to the details of each tree, striving to capture their unique shapes and textures. To complete the landscape, I added two distinctive betel nut trees and some patches of green grass.

Step 3: Preparing the Paper for Paint. |
|---|
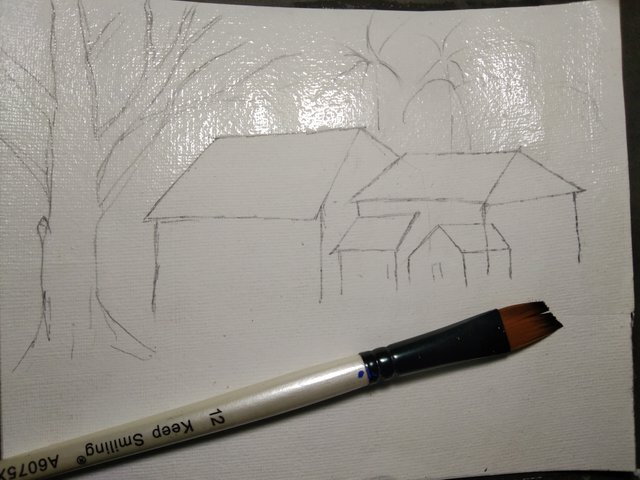
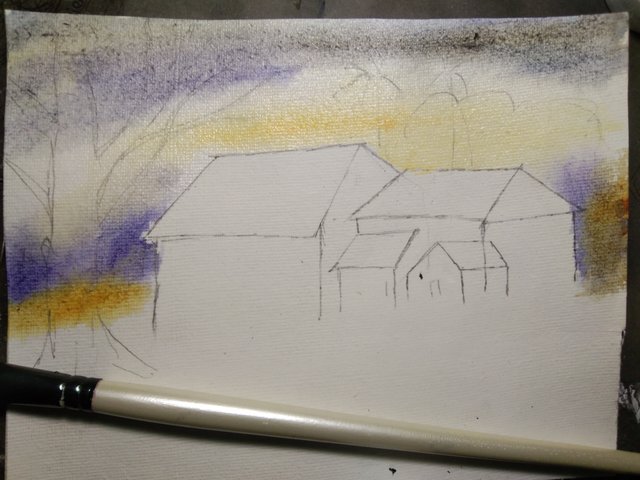
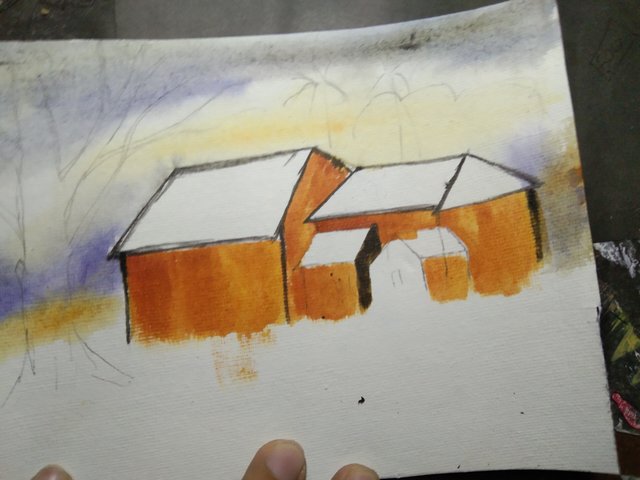
Once the pencil sketch was complete, I turned my attention to the painting process. For coloring I took zero, one and three size paint brush. I took different colors, Among them are blue, black, brown, white and red. Also, if necessary, I have made other colors using these colors. At the beginning of painting, I took water in the paint and applied water to the outer part of the house. I smoothed the first paper with water. Next I painted over it light purple, black and blue. It features some sky and tree shapes. I then applied a wash of light purple, black, and blue, establishing the basic tones for the sky and tree shapes.

Step 4: Painting the Houses. |
|---|
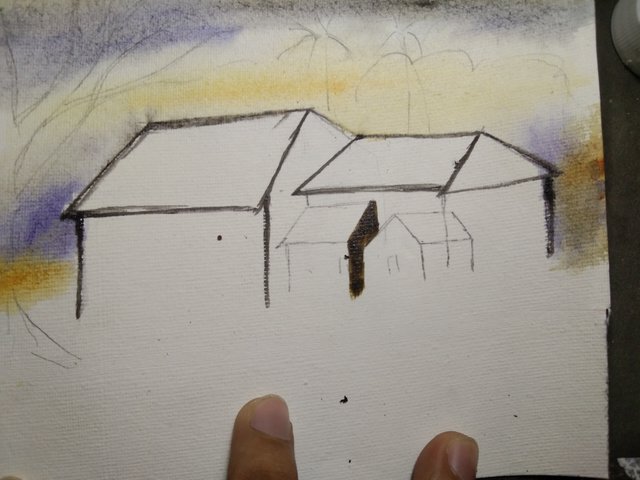
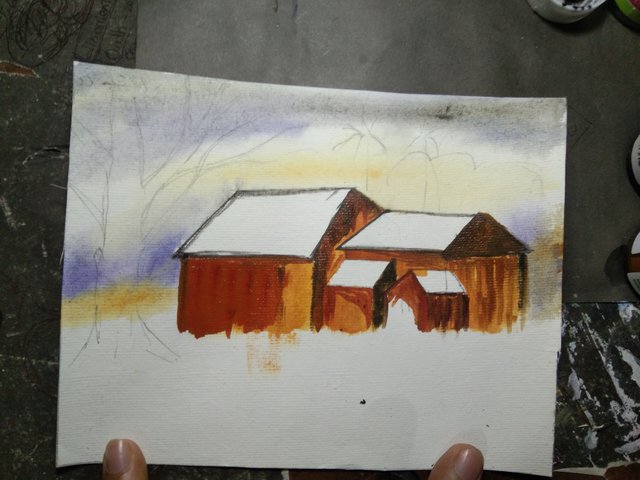
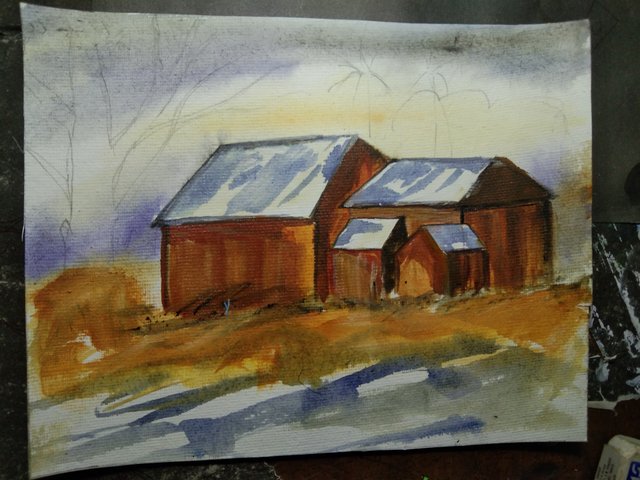
The heart of the painting process involved bringing the houses to life. I carefully selected and applied a variety of colors to achieve a realistic and visually appealing effect. I began by painting the sides of the houses with black paint, followed by a gradual application of brown, red, and black to the individual rooms. This meticulous layering of colors added depth, dimension, and a sense of realism to the structures.

Step 5: Adding the Finishing Touches. |
|---|
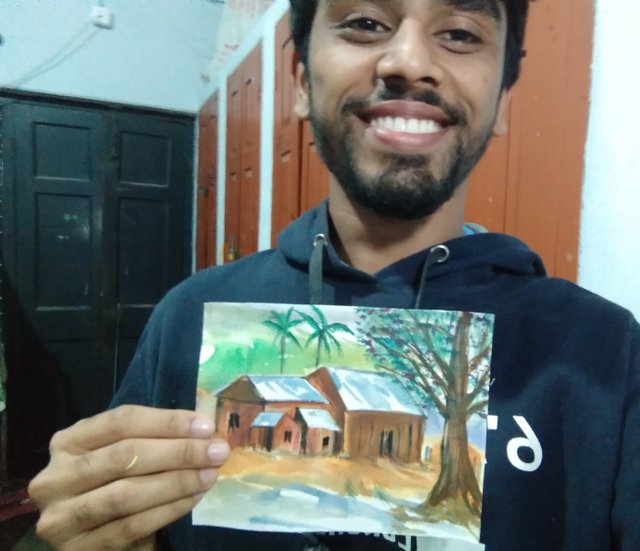
With the houses completed, I turned my attention to the landscape. The large tree, a prominent feature of the scene, was painted with great care. I used a combination of black, brown, and white to create the intricate branches, and then added various colors to the leaves, bringing them to life. The betel nut trees and grassy areas were also painted with attention to detail, adding a touch of natural beauty to the composition.
To enhance the overall visual impact, I carefully considered the color palette and added color to any areas that appeared too plain or lacked depth. This final touch helped to create a harmonious and visually pleasing scene.
As a final touch, I captured a selfie with my completed painting, commemorating my artistic achievement and sharing the beauty of their creation with others.


I hope you all enjoyed my post. It's time to leave. Keep me in your prays. See you soon in another blog, In sha Allah.
Now I would like to invite three of my friends @tonmoy2002 ,@zisha-hafiz and @shahriar33 to participate in this beautiful contest.


You always represent some incredible art on this platform. Every time, I am surprised by your masterpiece. You are blessed, bhaia, for having this great talent in you. I always pray for your success and also keep me in your prayers. Thank you so much for inviting me to this amazing contest.