Learn With Steem | The Importance Of Quality & Original content and How to Applying Basic Mardownstyles - Recalped!
Hello, steemians.
Welcome to this blog today. In this article, I will be writing to you the importance of creating Quality & Original content, and how to create Quality and Original content. Now, journey with me to the end to see what I've got here.
As we all know, "Steemit is a blockchain-based blogging and social media website, which rewards its users with the cryptocurrency STEEM, SBD, and TRX for publishing and curating content."
As a blogging platform where people, most at times called 'steemians' do share their content; we are expected to share quality and original content. See below the importance of sharing quality and original content.
Sharing Quality and Original Content - The Importance.

There are many important aspects of sharing quality and original content. Here are just a few of them.
- Attraction & Attention
- Engagements
- Getting Higher Votes From The Steemit Team(If Visited)
Tips On How To write a Quality and Original Content On Steemit. [Applying Markdown Styles]
Like I said earlier, the platform has provided some selected HTML codes that can be used to present quality content. Below, I will explain how they work and how to use them.
Text-justify - [Text Alignment]
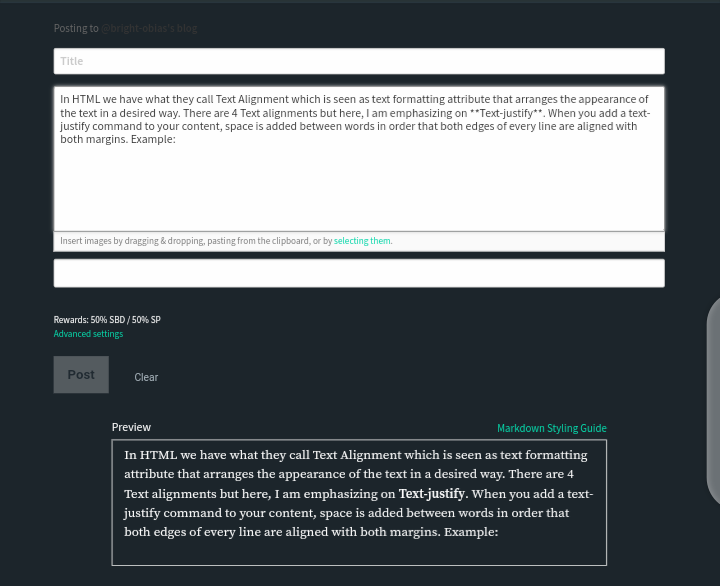
In HTML we have what they call Text Alignment which is seen as a text formatting attribute that arranges the appearance of the text in the desired way. There are 4 Text alignments but here, I am emphasizing Text-justify.
When you add a text-justify command to your content, space is added between words in order that both edges of every line are aligned with both margins. Example:
- Before Aligning 👇
- After Aligning 👇
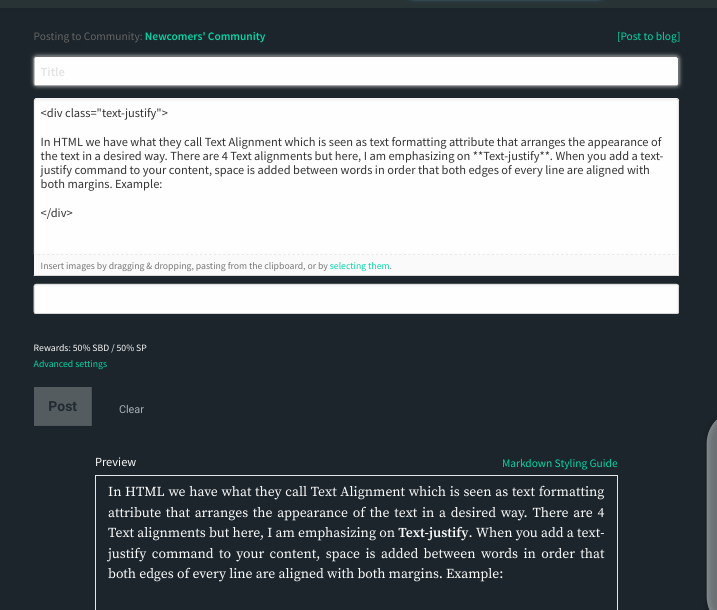
<div class="text-justify"> at the beginning of your content and close with this tag 👉 </div>. Example is shown on the second image above.Headlines and Sub-headlines
Headlines are very important styles for bloggers as they help to arrange your post by headings for easy reading.
In HTML they have tag h1 - h6. Here in steemit, you can use the symbol #. You create a headline by inserting # before the Word for your heading and the number of hashtag increase the heading size will decrease. See the Example below.
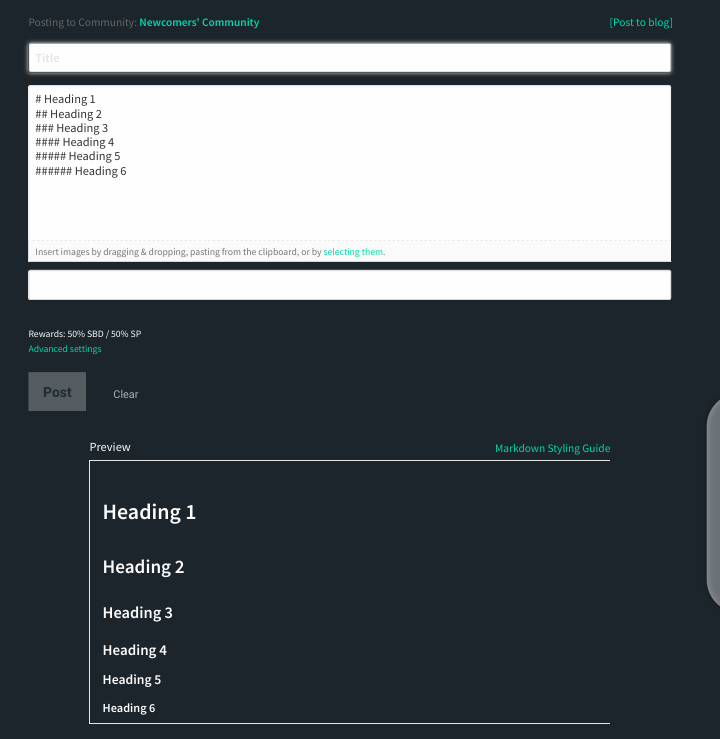
# Makes the text a headline but after adding the hashtag, you space it. Just like this 👉 #`Heading. You can also check the above image for clear understanding.Italic and Bold Text
This is another markdown style very important in terms of highlighting text. It is sometimes used to highlight very important words on content. Example:
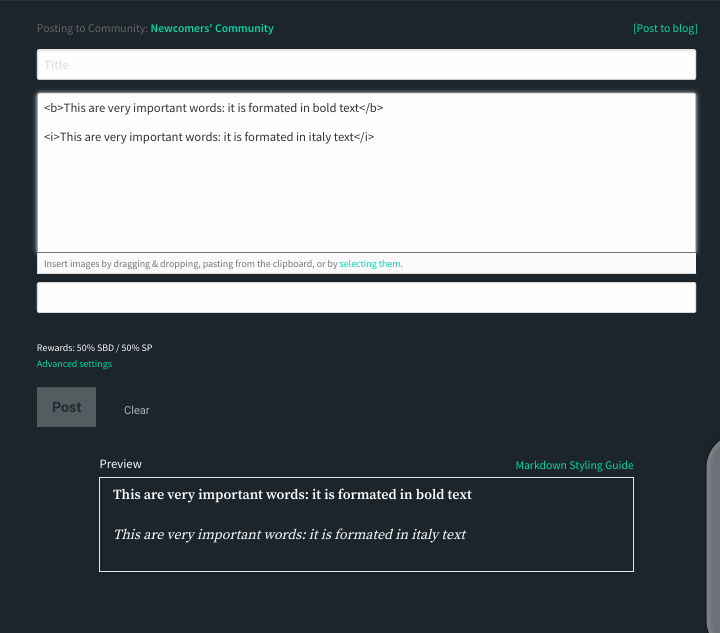
* at the beginning and at the end of the text just like the one on the image above. On the aspect of making the text italic. You just add 1 👉 * like i did on the image aboveCreating a Table.
Adding tables to your content is also important. You can add a table using either the HTML tags or using the format for steemit. Example Method 1:
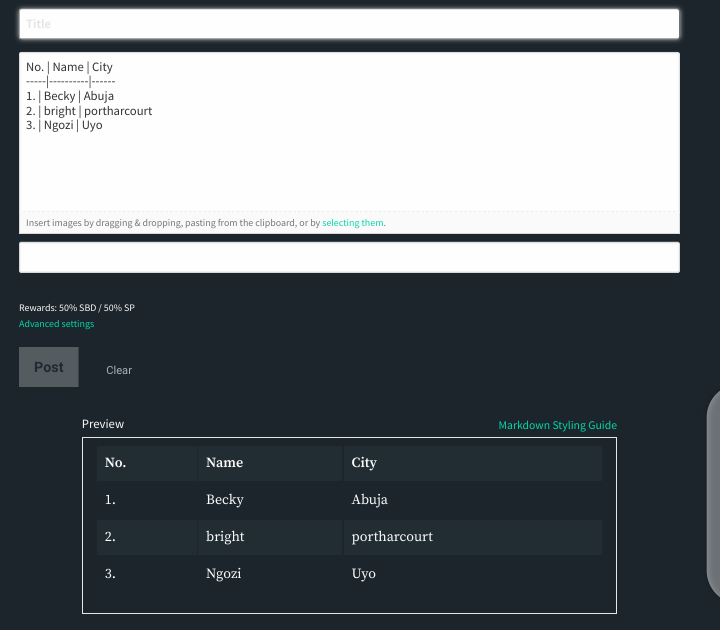
Header 1 | Header 2 ------ | ------ Cell 1 | Cell 2 and add as many cells as you want.
Example using Method 2:
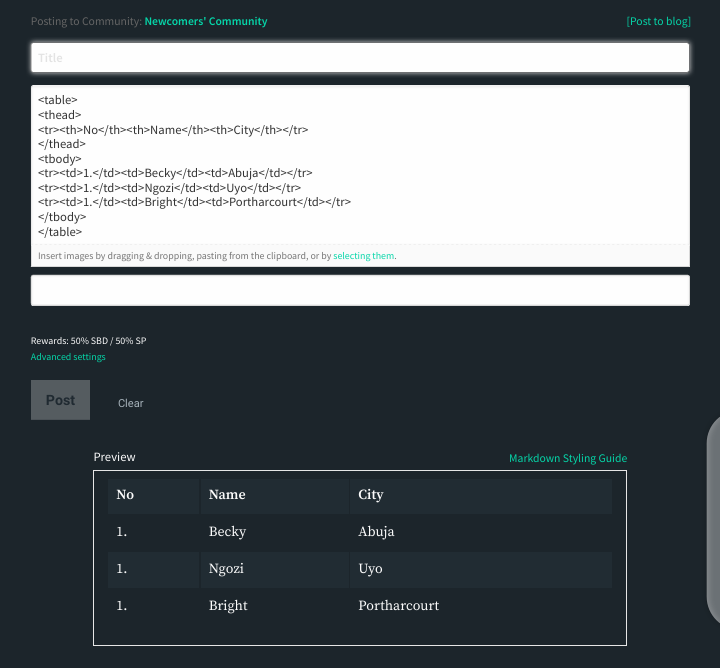
<table> The table rows are defined with the tag <tr>. A table header is goes with the tag <th> and table headings are usaully bold and centered. Then A table data/cell is defined with the tag <td>. You can use the above image for clearer understanding.Centered Text
Centering a text in your content is also a way of making it look attractive. Example of a centered text.

<center> add your text here </center> to align textBullet Points - [Unordered List & Ordered List]
This is another amazing style to consider in your content as it helps to list out items in your content. Example for Unordered list:
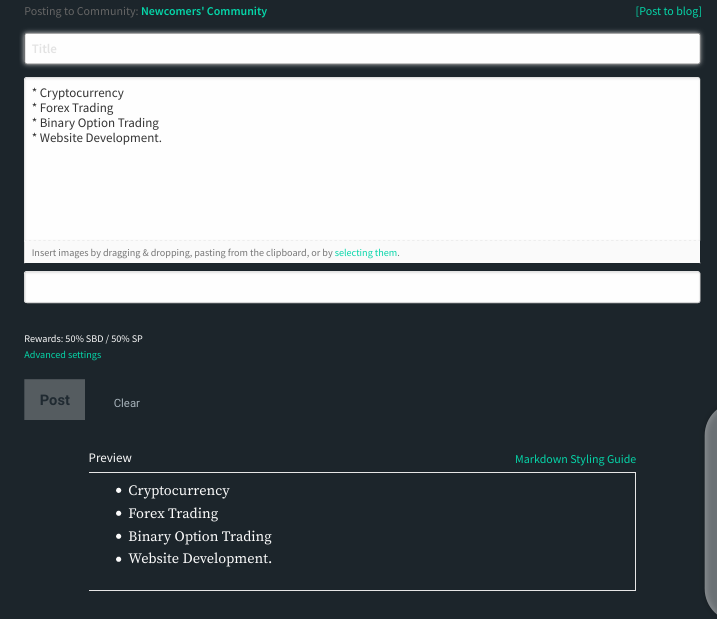
* at the front of the item you wish to list then with a one click space like i did on the image above.Example for ordered list bullet point:
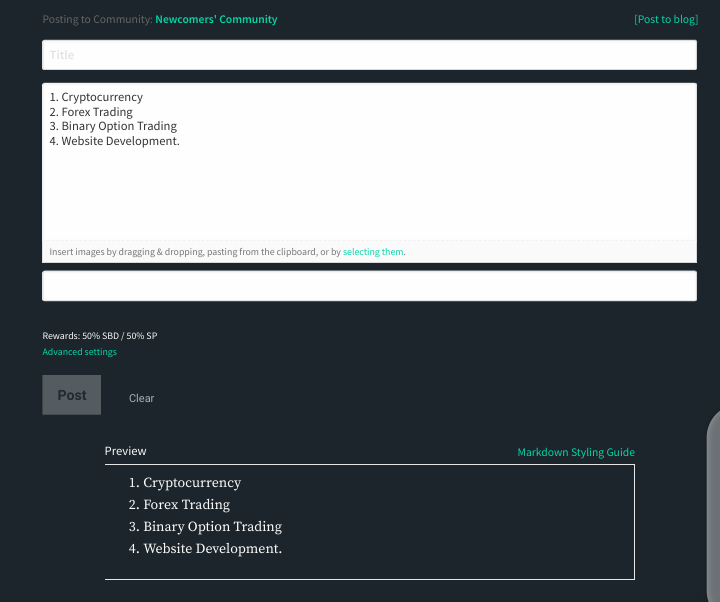
An ordered list is a way of listing items according to Numbers. It always starts with the number '1'. You can easily add numbers as you preview from the one above.
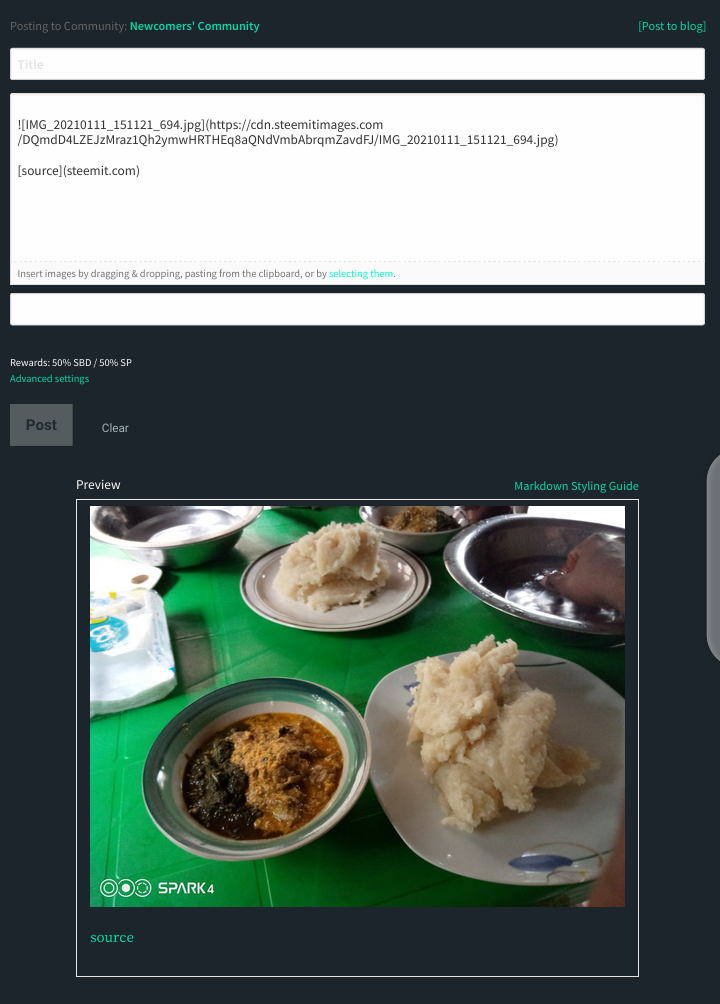
Adding Source & Links to your Contents
Adding source and links is very imperative as much as the platform is concerned. Steemit is very strict on any plagiarized content. You are flagged if you indulge in it. Example of a sourced content:
Quotation and Citation
These two are very much important in terms of making sure you not plagiarising. In your article you might decide to use content by other authors, this is where this attribute comes in. See Example of Quoted and cited words.
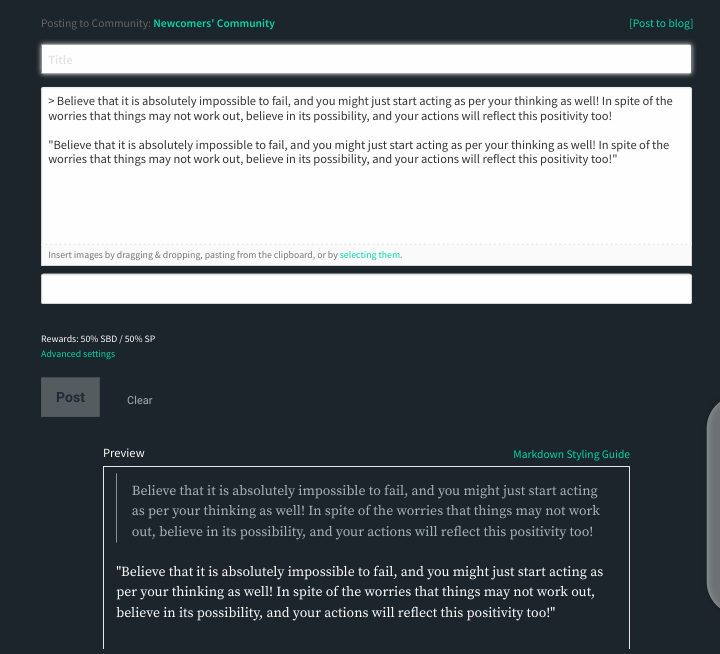
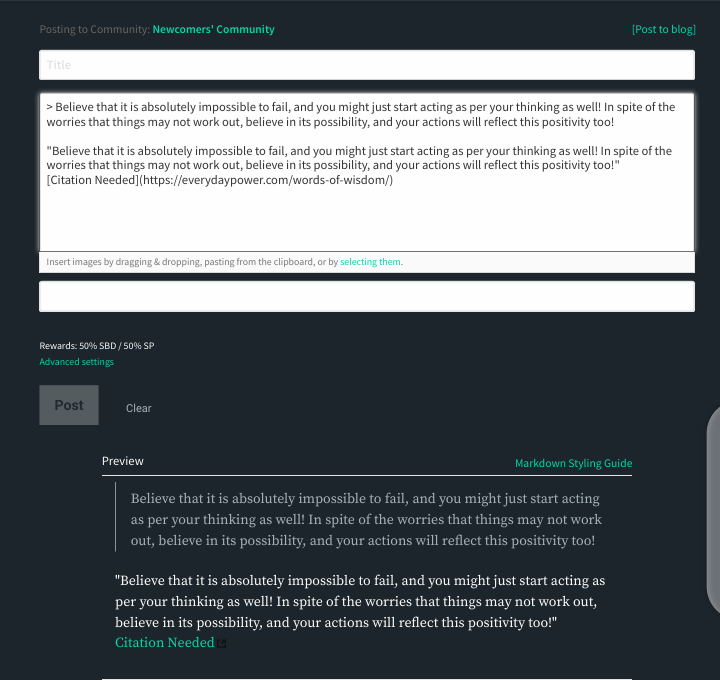
> in front of the text. You can use the above image for a clear understanding.Example of a Proper Citation.
Here, i would like to stop. The aim of writing this article is so we can all become great content developers for steemit platform. These markdown styles are just a few of all the listed markdown styles for this platform. I recommend you go through the below links for views of markdown styles.
- Markdown Styles Guide by github.com
- Applying Markdown styles By @cryptokannon
Thanks for reading through to the end. Thanks to @steemcurator01, @steemitblog, and @cryptokannon for their supports, I so much appreciate...

Much love and Regards from @bright-obias
Good points made Sir, can you please add how to align pictures left and right.
Hi, @yuceetoria, The post consist of the basic markdown styles. But if you actually need that part of the styles, then below I will show you how to apply the styles in your article.
To align text/picture left, you will use this 👉 div class="pull-left" it will be enclosed in greater than and less than sign, like this:
<div class="pull-left">. This is for the opening tag, and this 👉</div>for the closing tag.The same is applied when aligning to right, all you have to do is to change the
pull-lefttopull-right.Note: The text/picture that you are aligning should be in between the opening and the closing tag like this:
<div class="text-justify">Text/Picture Here</div>. I think with this small explanation, you can now align a text/picture. Any difficulty, do well to reply to this comment. Thank you.Ok, thank you very much. I have tried several times to do this particular Markdown but don't get it right. Now I think I can do it with your explanation.
Great! If you encounter any difficulty, you can reply to comment so I can help you out...
Bagaimana cara membuat garis tebal pembatas sub-judul di bawah. Terimakasih.
Hello @armandmeuruno, so sorry for the late response. If you want to make a sub-heading. You can either use the h1 - h6 tags.
Thank you @bright-obias I really need to practice this picture alignment too.
You are welcome dear. I am so happy that you found it helpful...
Muy buen post esto me ayudara como guia para mi logro 4.ya que no lo e podido terminar gracias amigo @obias-brillantes
Thank you, I am glad that you found it helpful...
Well understood sir
What kind of contents are well received..based ln your pervious blogs?
Woow great,you really took time and made the content very easy to read and understand.i do appreciate your heart work sir
Yeah, I am glad you have it useful, thank you for coming around
Infact am very grateful for this article because its just what I need at this time. I have been asking questions a lot on the Markdown Styles. @bright-obias I appreciate you. Am applying them immediately in my articles.
Thank you! I am glad you found it useful
A very useful post @bright-obias, especially for newcomers like me on Steemit. I have joined the Steemit Nursery Community for several days and continue to learn so that I can provide useful posts for all. Thanks for sharing
Thank you! I Am happy that you found it useful...
thanks for the guide and I can understand little by little to make a neat post postingan
Very educative and timely for Newbies like me
Thanks sir @brightobias for guiding us to make quality content.
Excelente post para los recién llegados, gracias por compartirlo saludos cordiales.
This is so educative and so helpful. Thank you so much @bright-obias
Thank you! I'm glad you found it useful...