HOW I TURN SIMPLE THINGS TO EXTRA WITH TOUCH OF CREATIVITY?
Have you always felt excited of accepting gifts? I have the same feeling, too! But what I love the most is wrapping gifts to give to someone who’s special.
Today, let me share that special thing for special person.
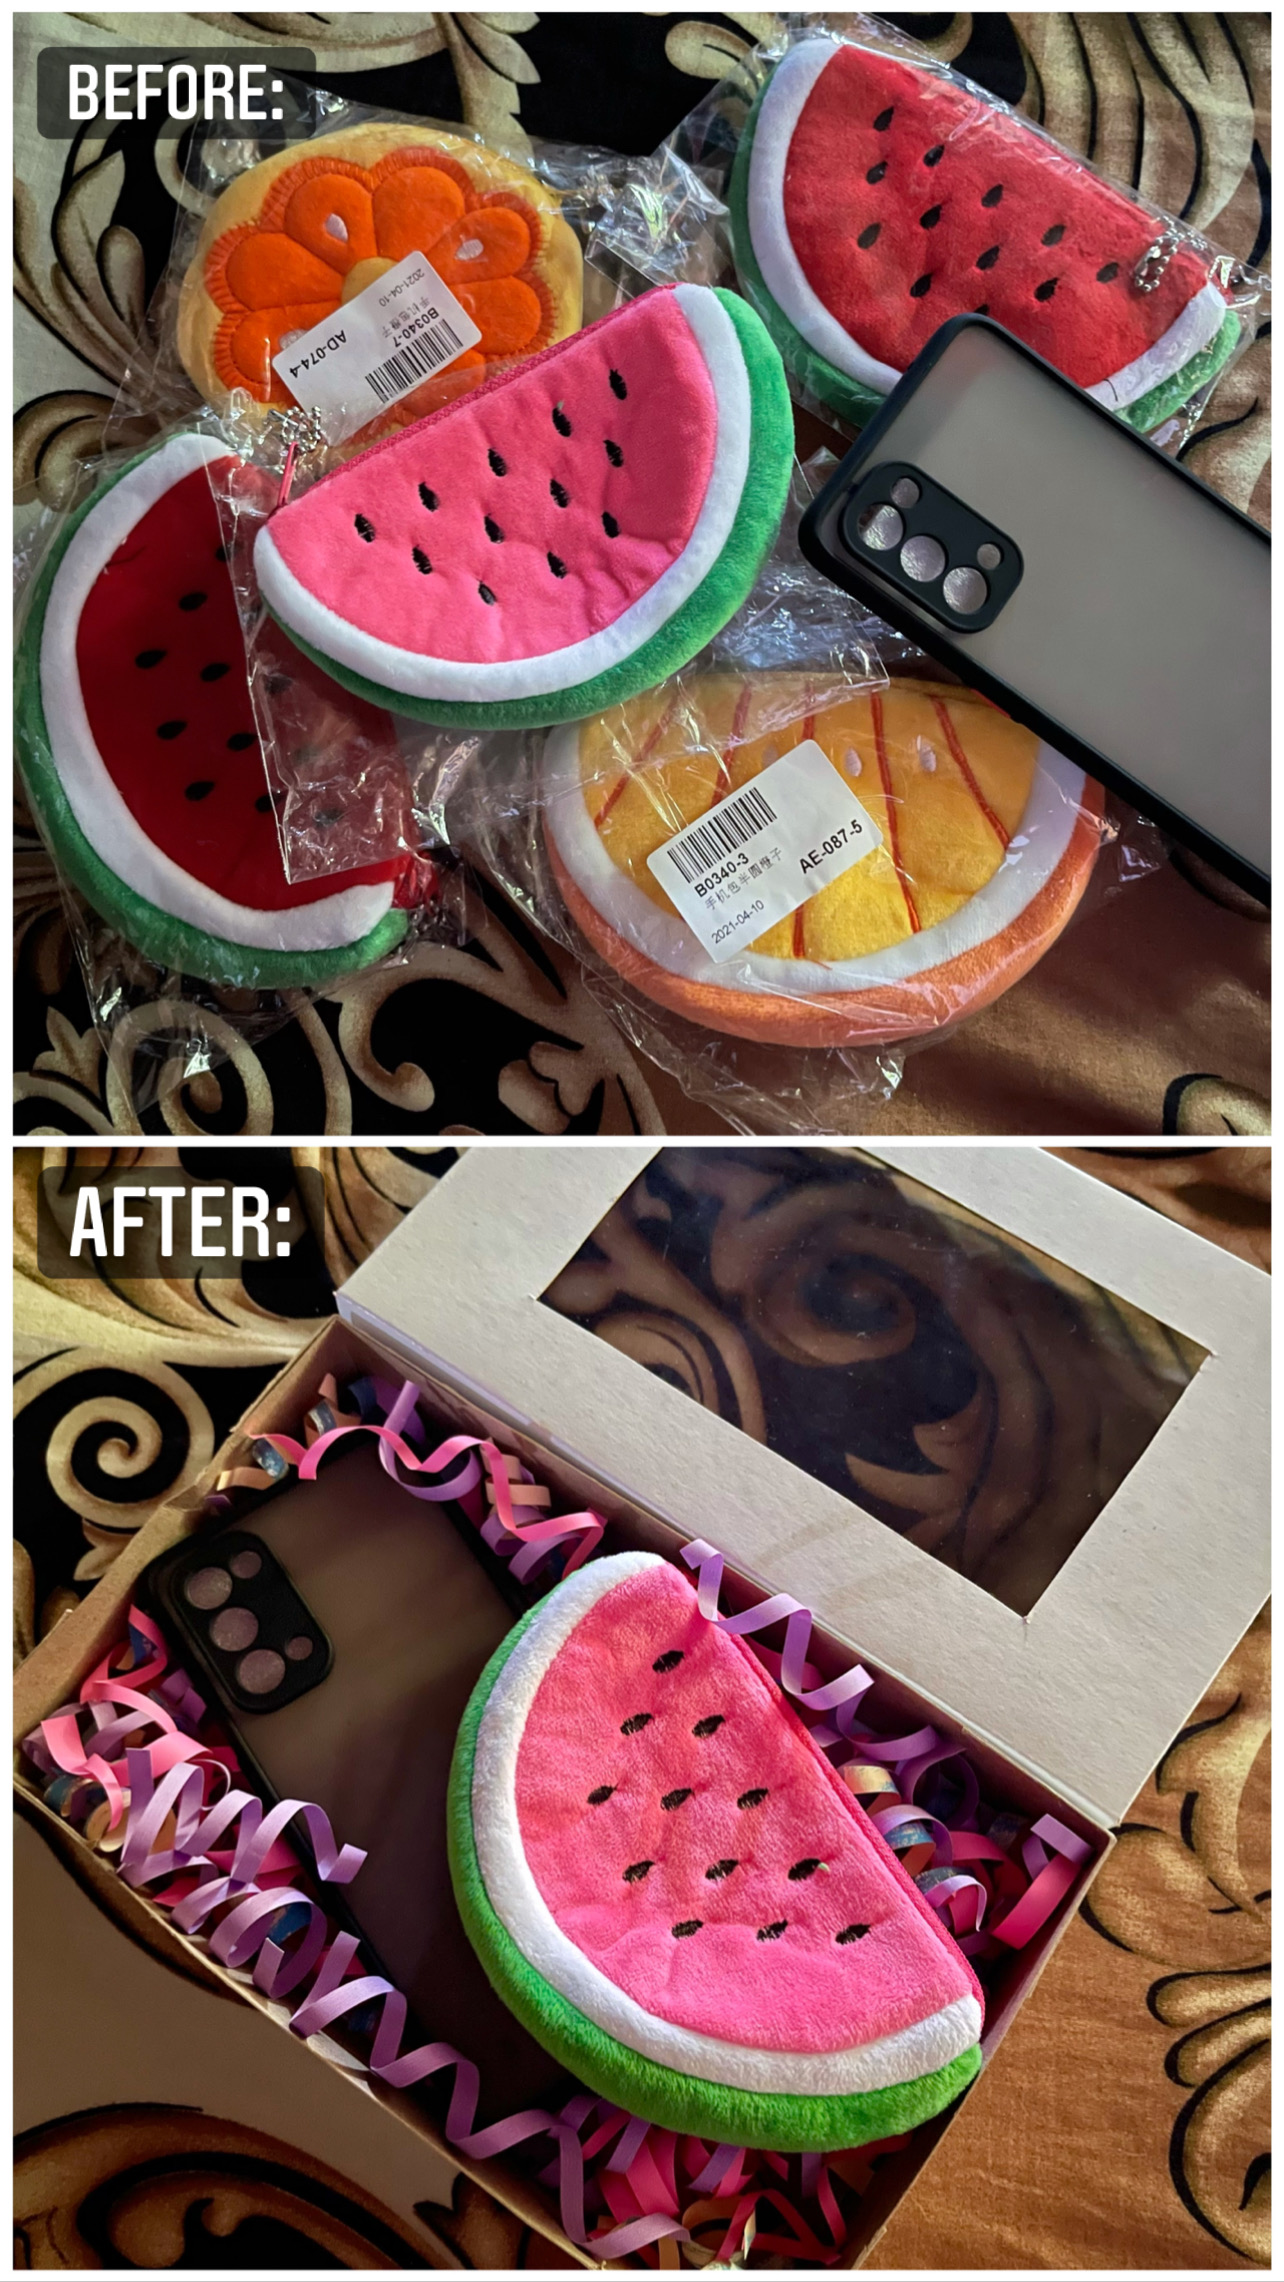
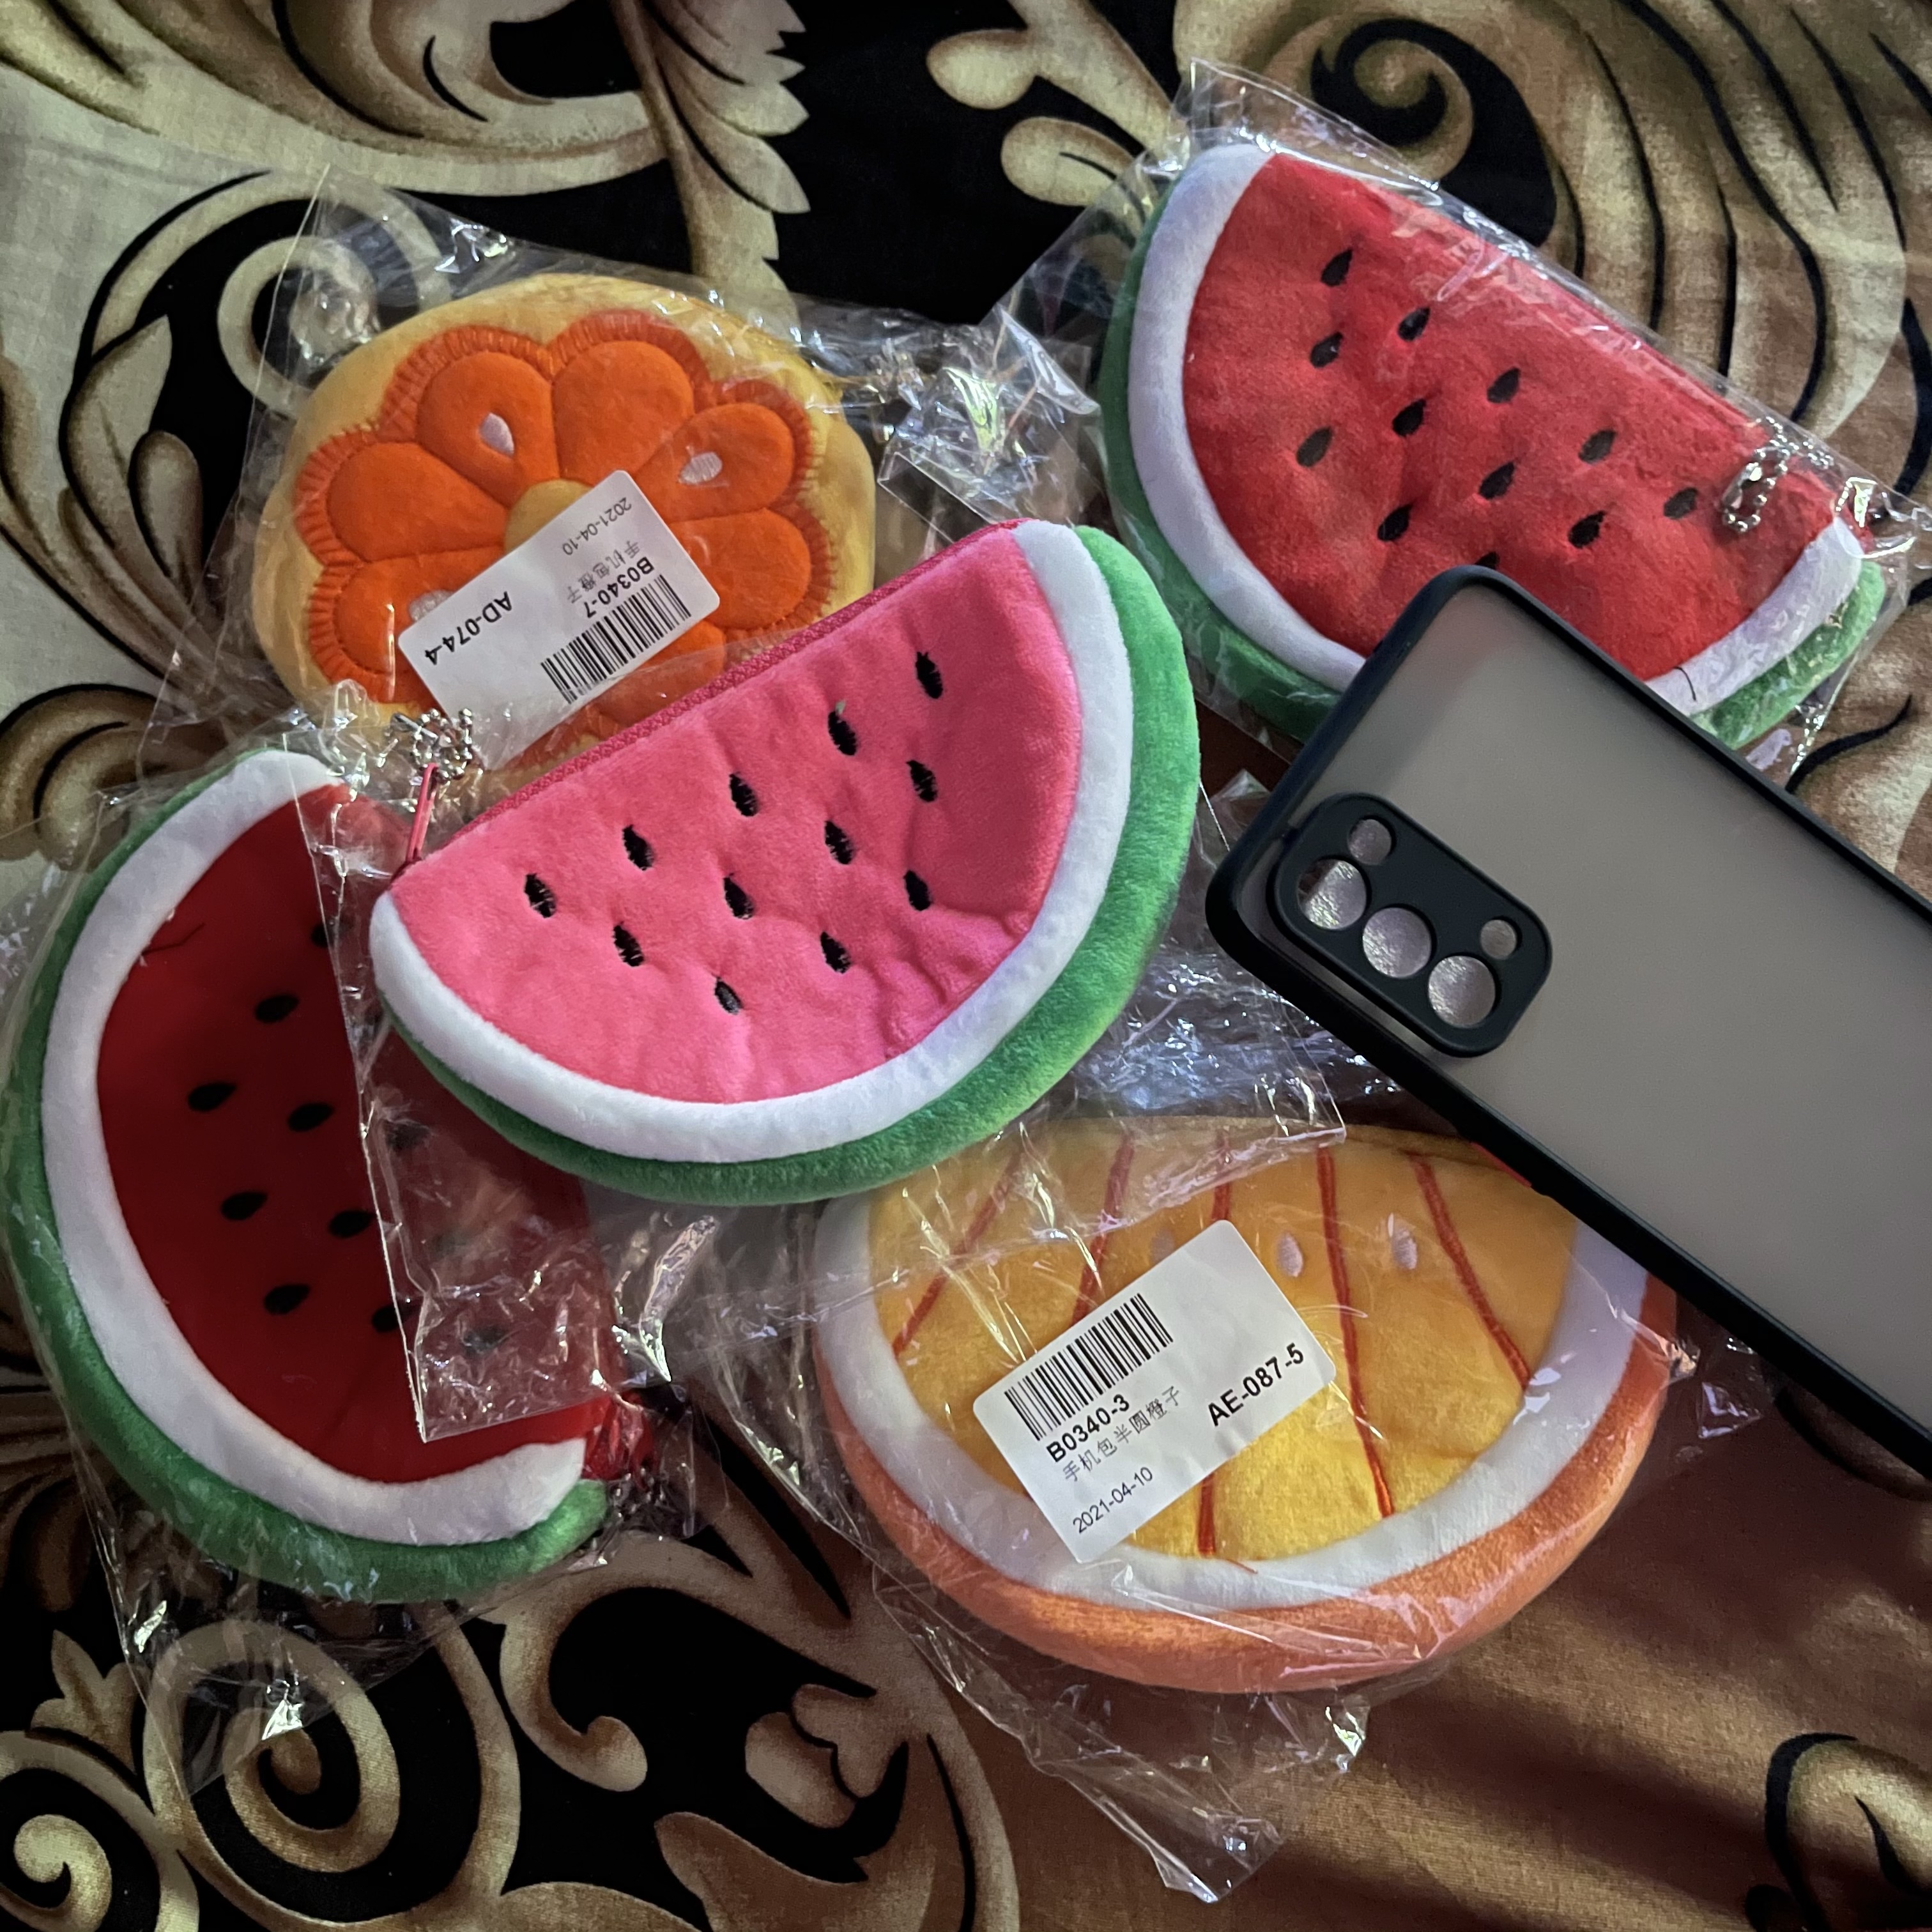
For my gift items, I bought this coin purse online including the phone case as I find buying things online easier and you can save more, too (just being practical). These items was delivered with their separate plastic wrap. And to make it more cute and special, I decided to make a box for it and add some colors to fill the happy-surprise box.
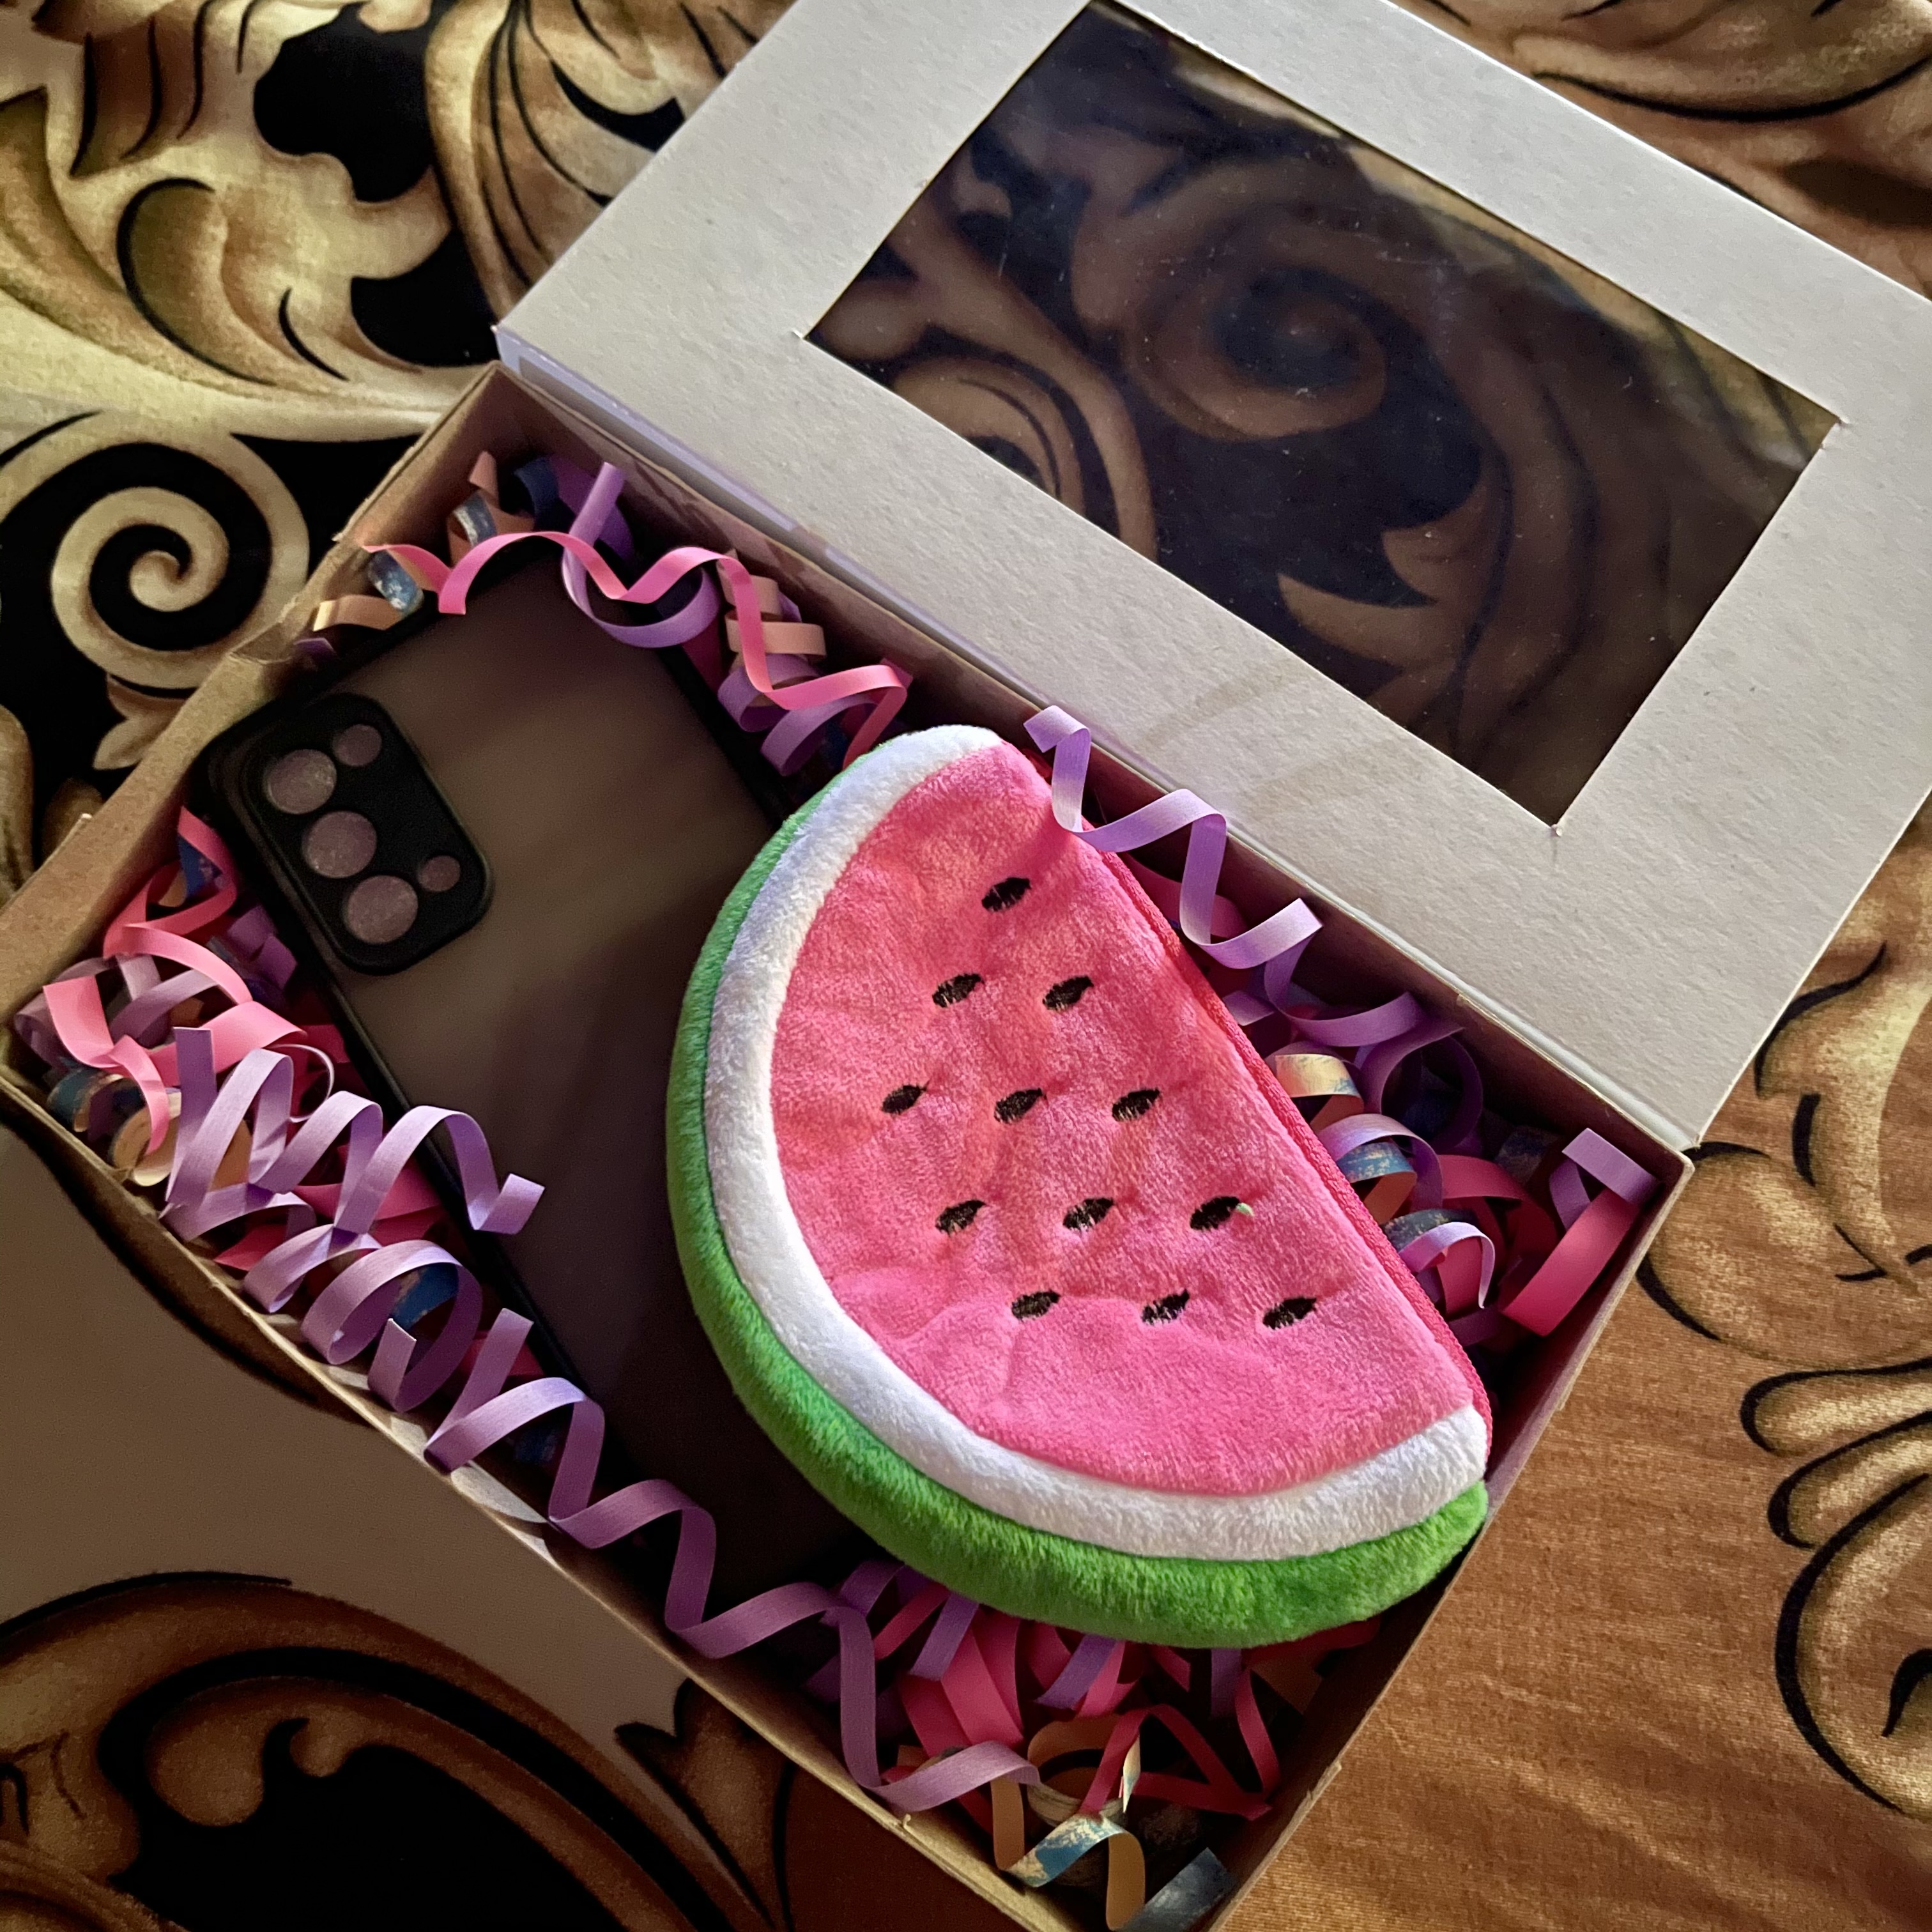
Here’s a peek for the final product. Now, let me show you how I did it!
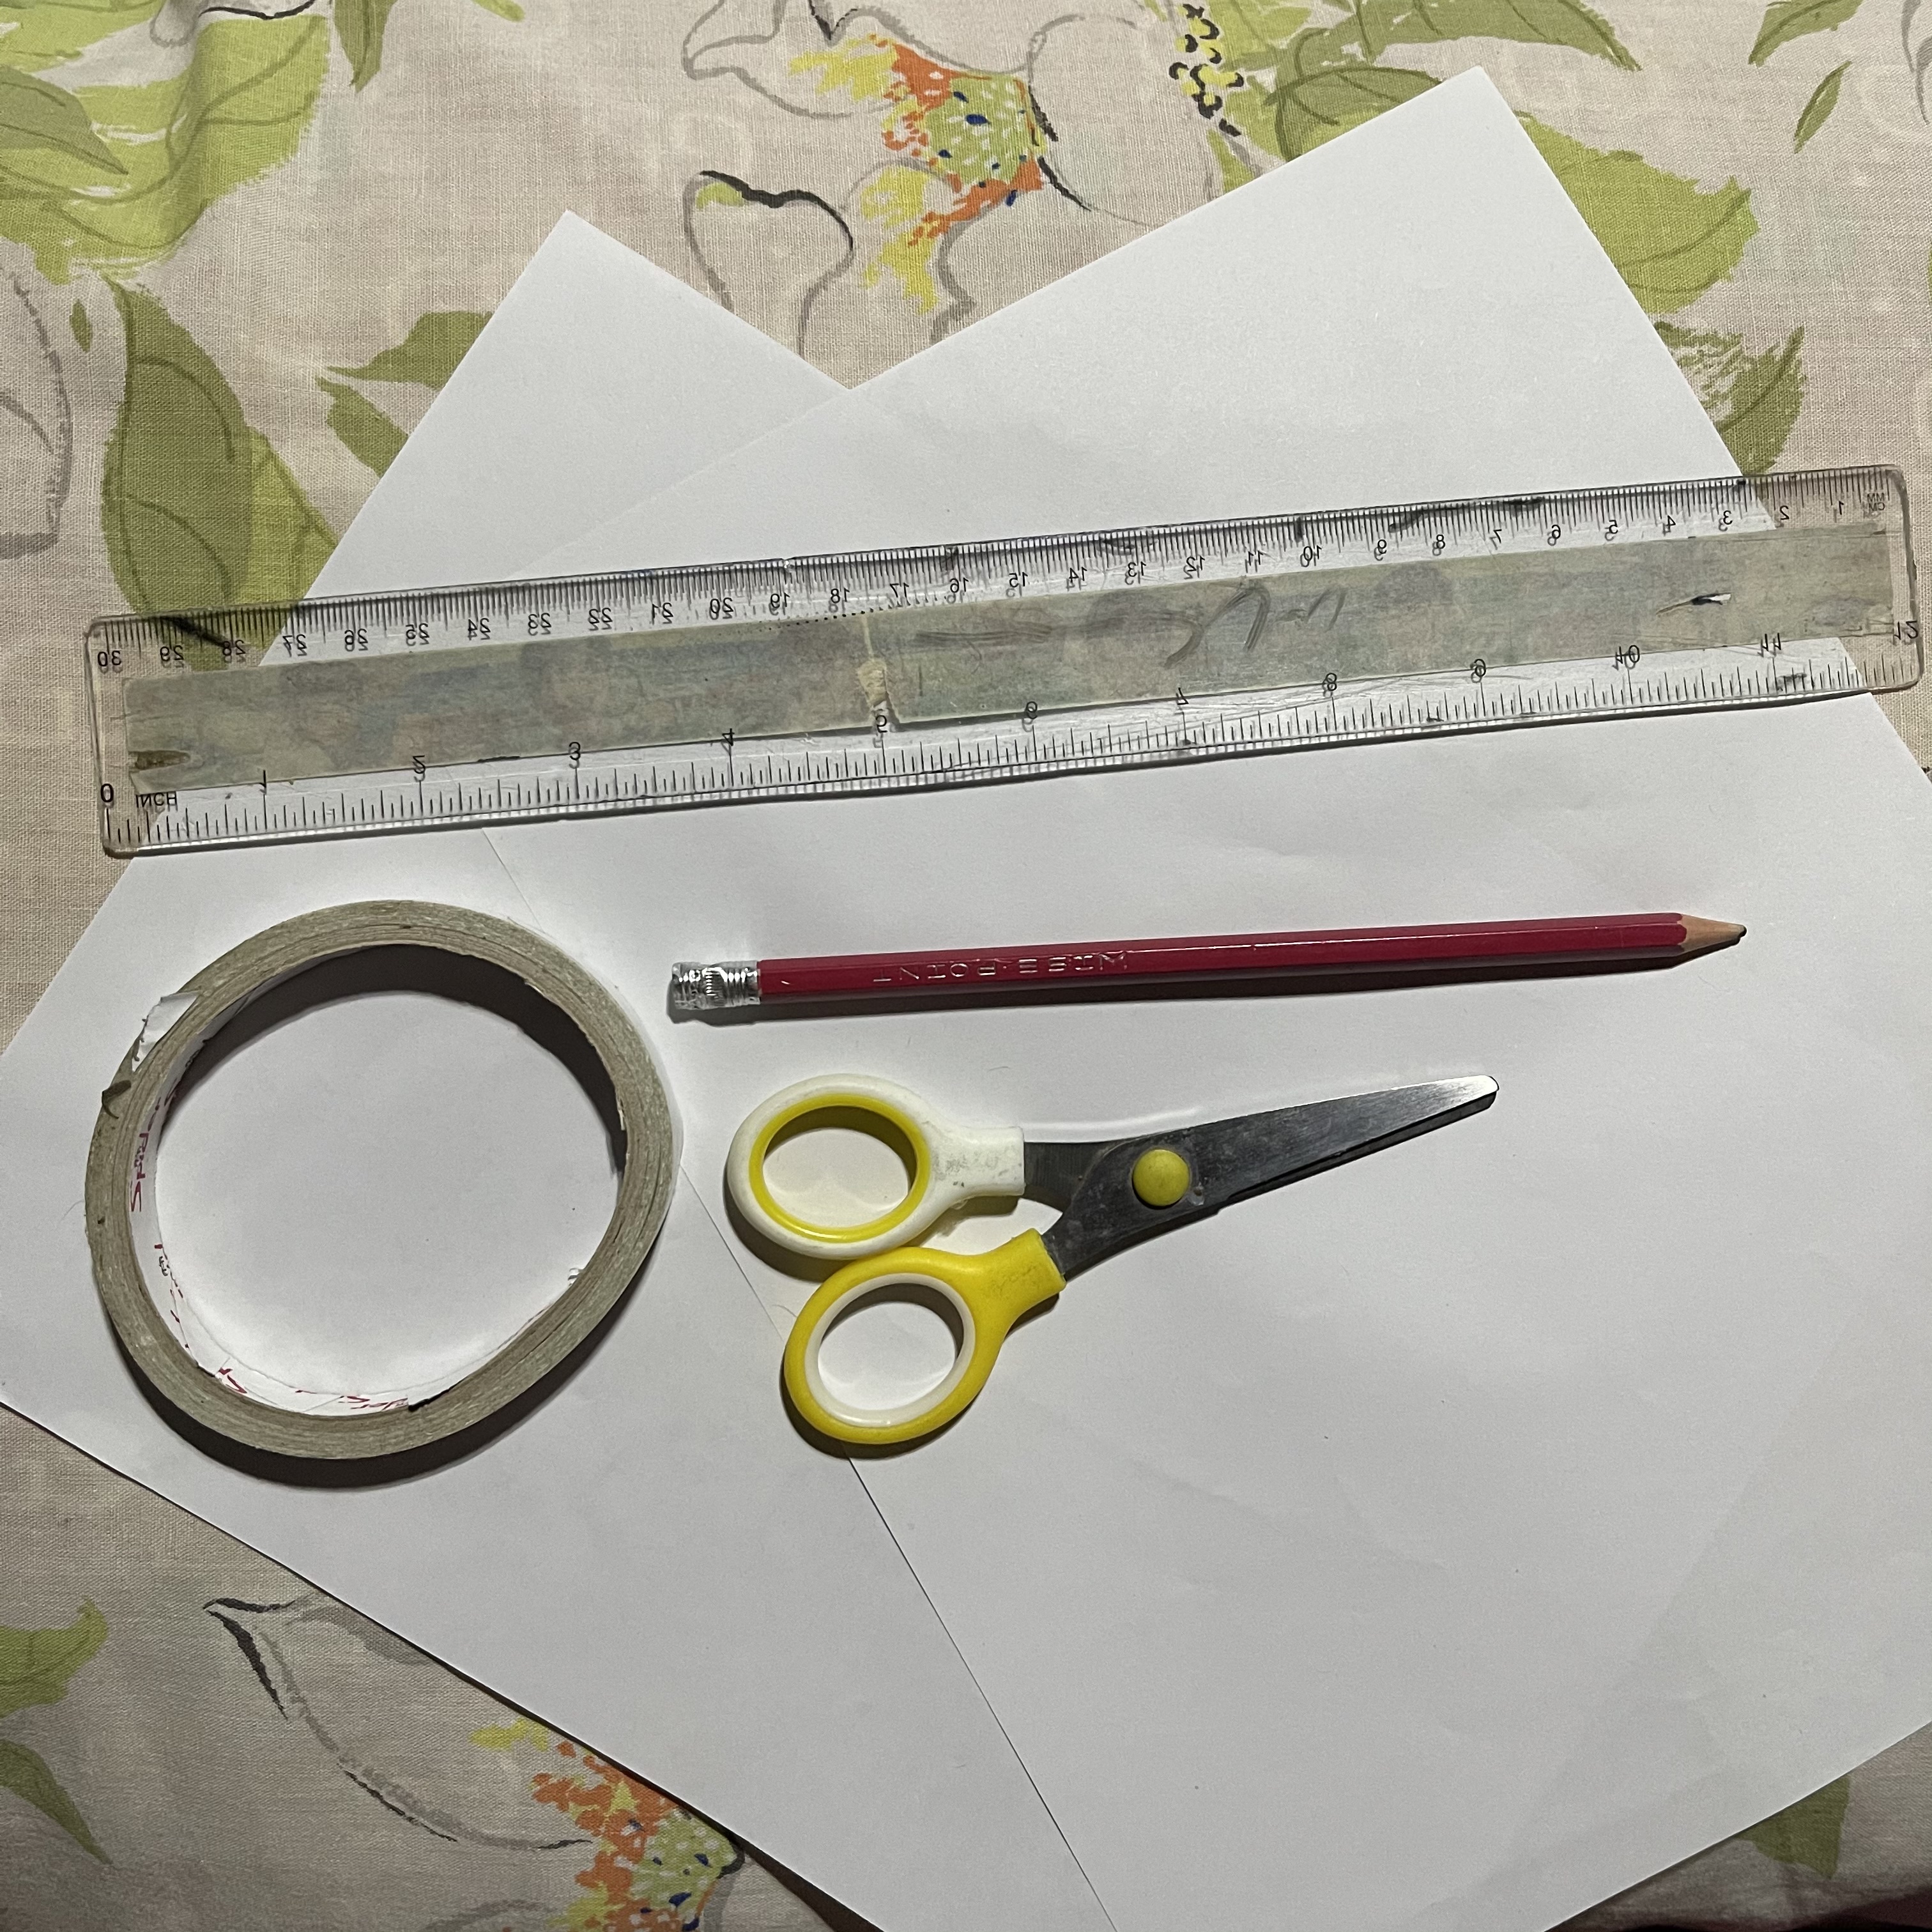
Materials and Tools used:
• Cardboard/Folder
• scissors/cutter
• pencil
• ruler
• double sided tape/glue
• thick plastic cover/transparent book cover.
• colored papers/craft papers
STEP-BY-STEP PROCEDURE:
First, get ready your tools and materials.
Put the card board or folder/a4 sized carton in a flat surface.
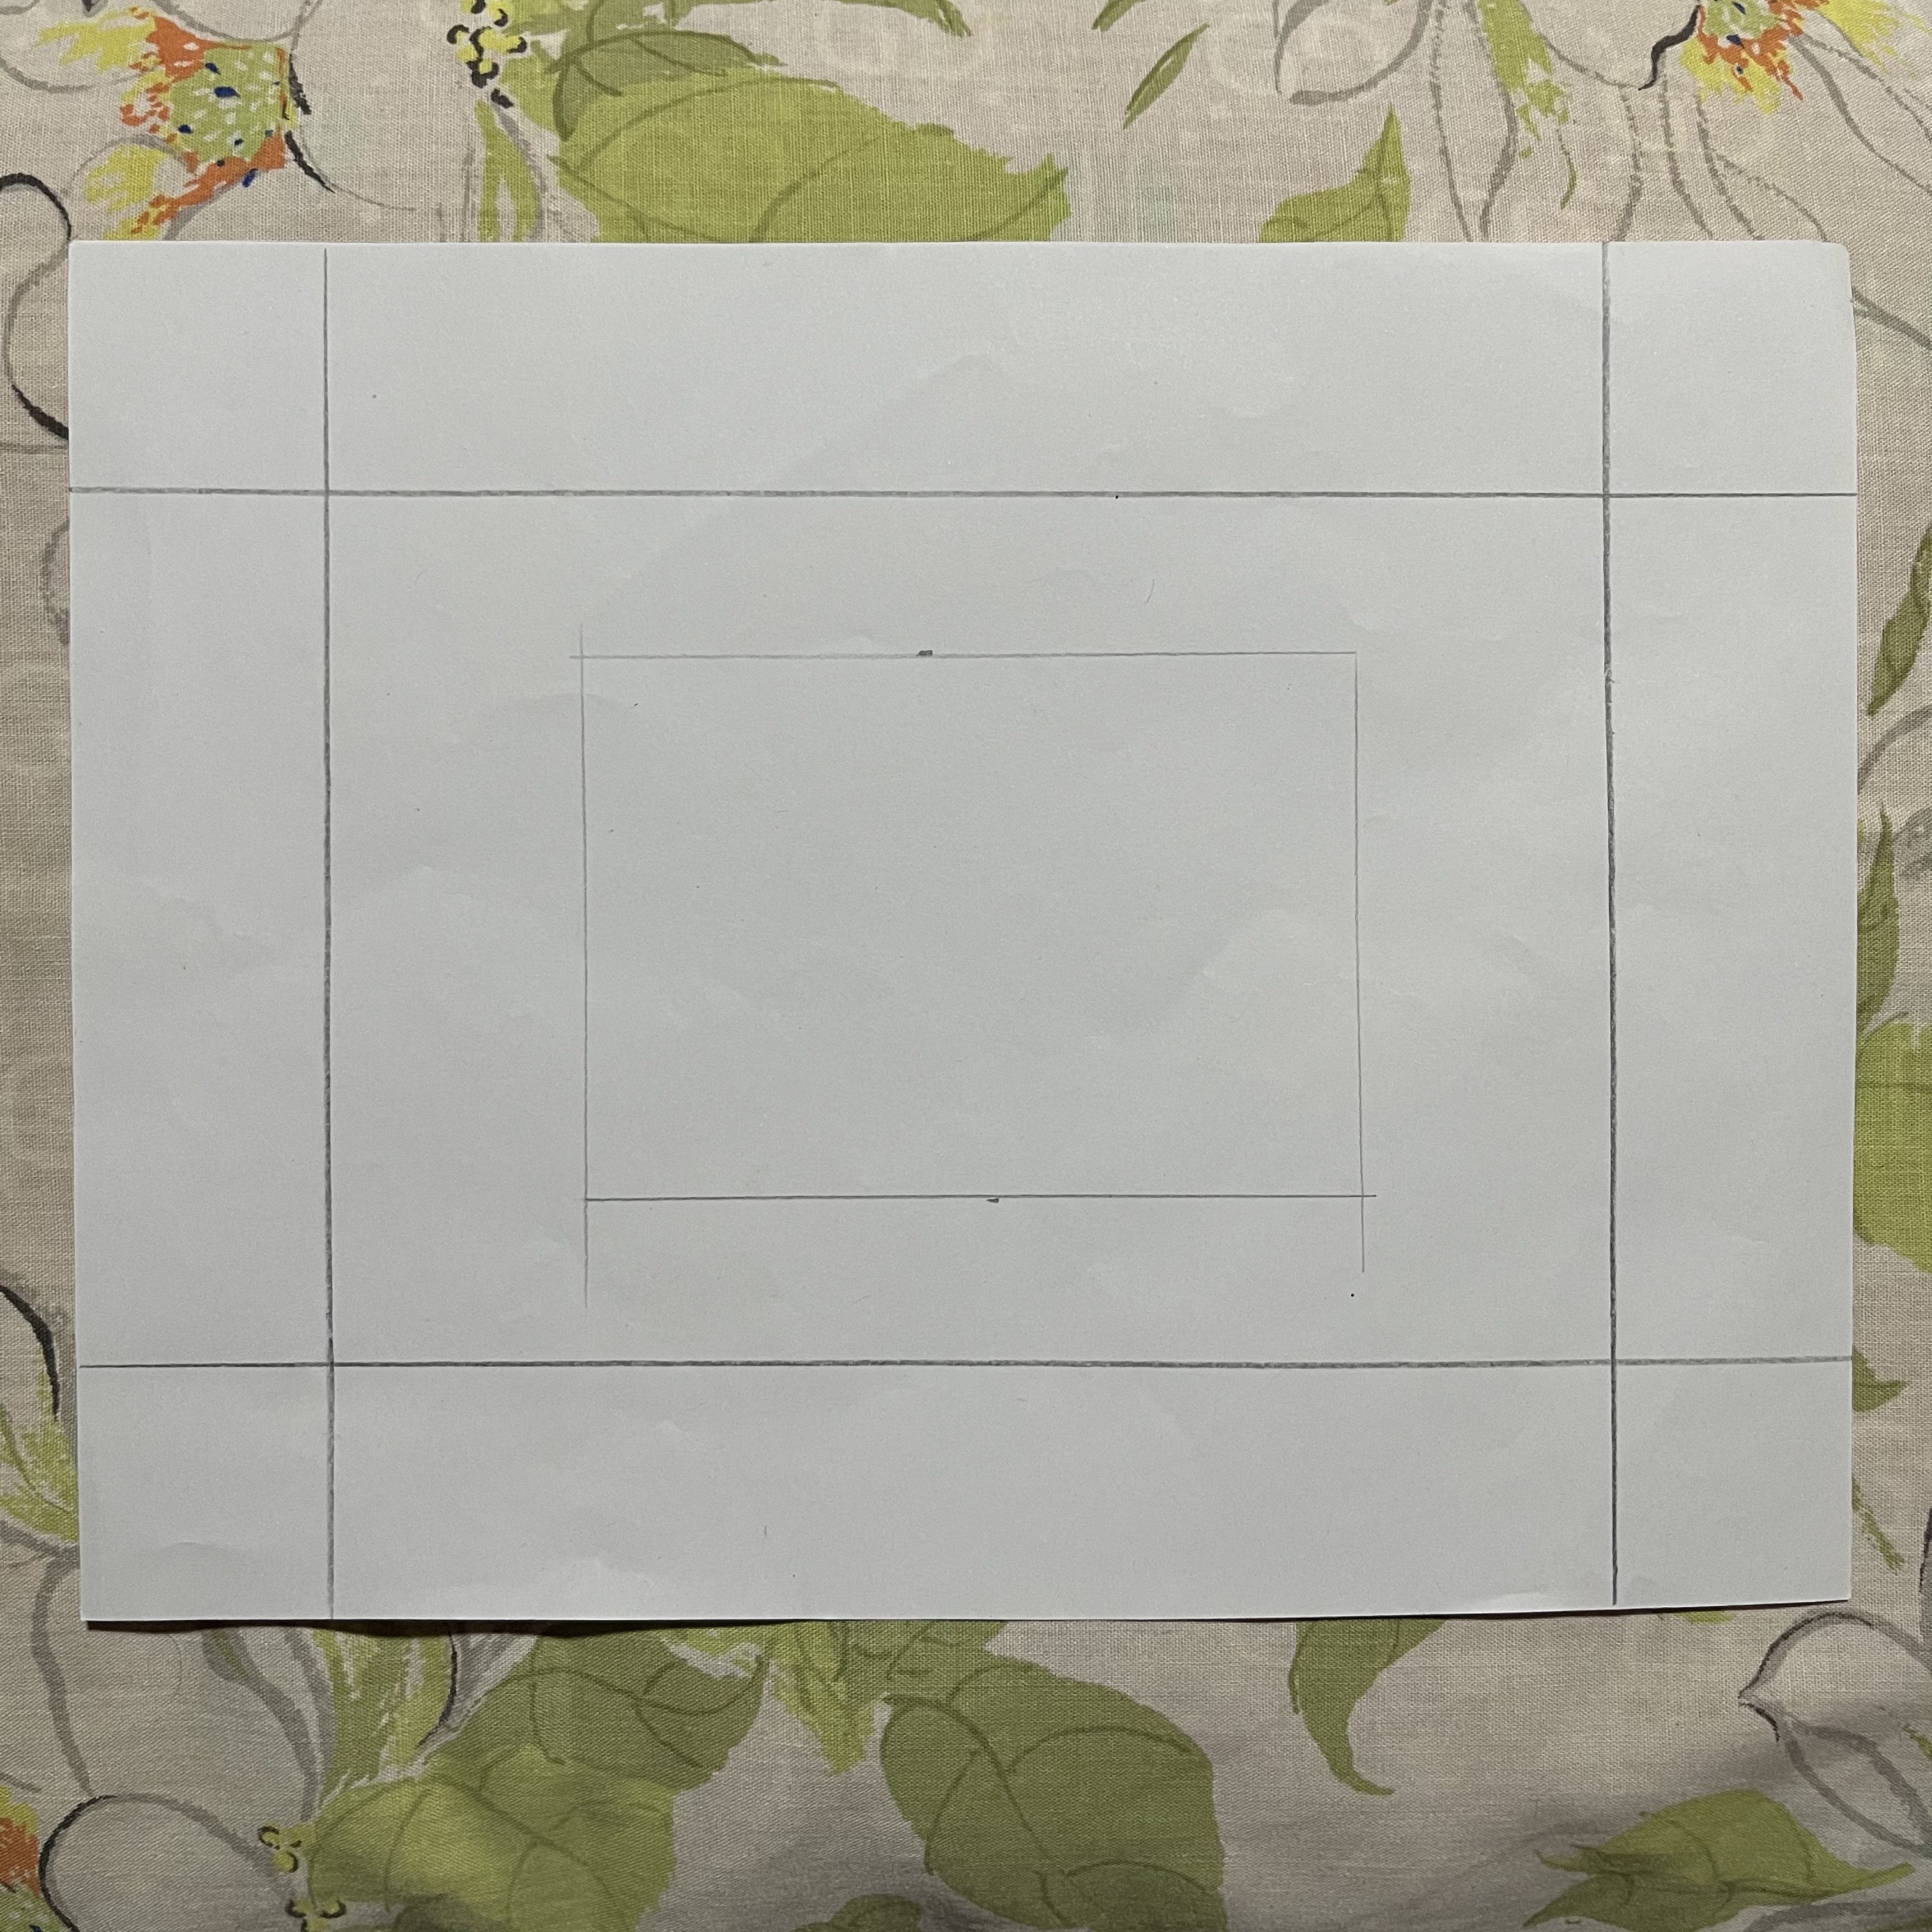
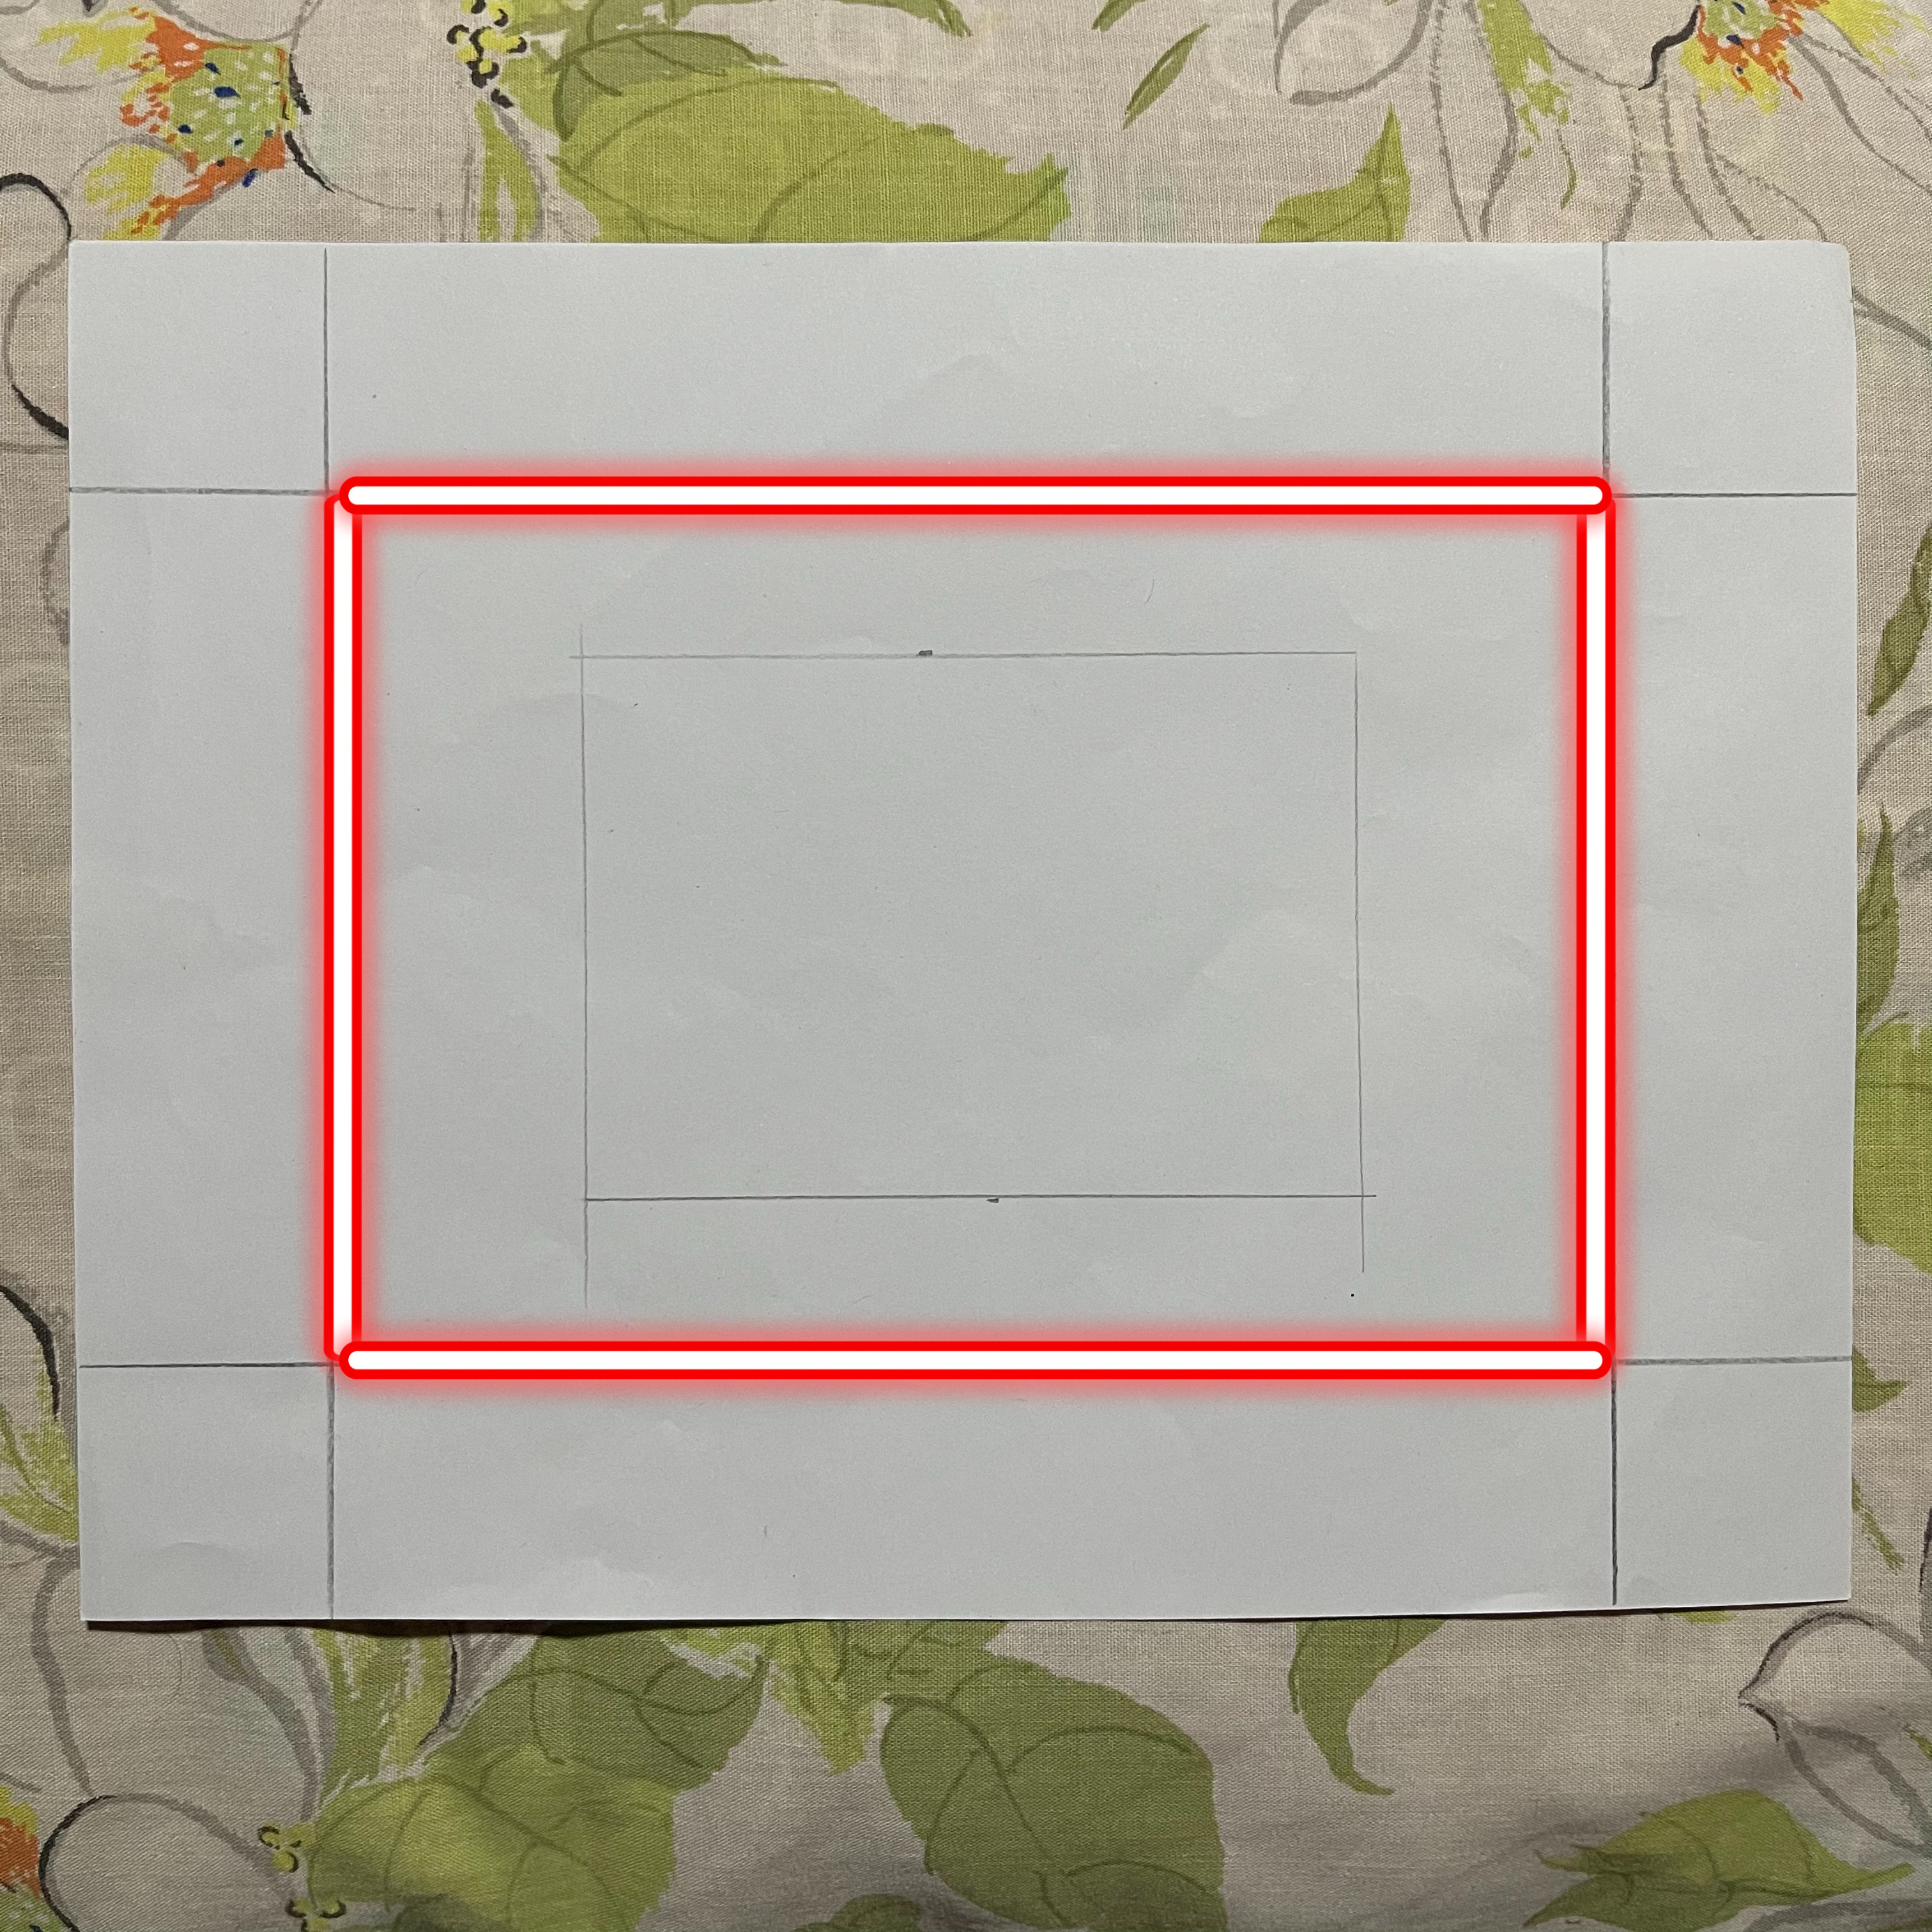
Mark the sides using pencil and ruler.
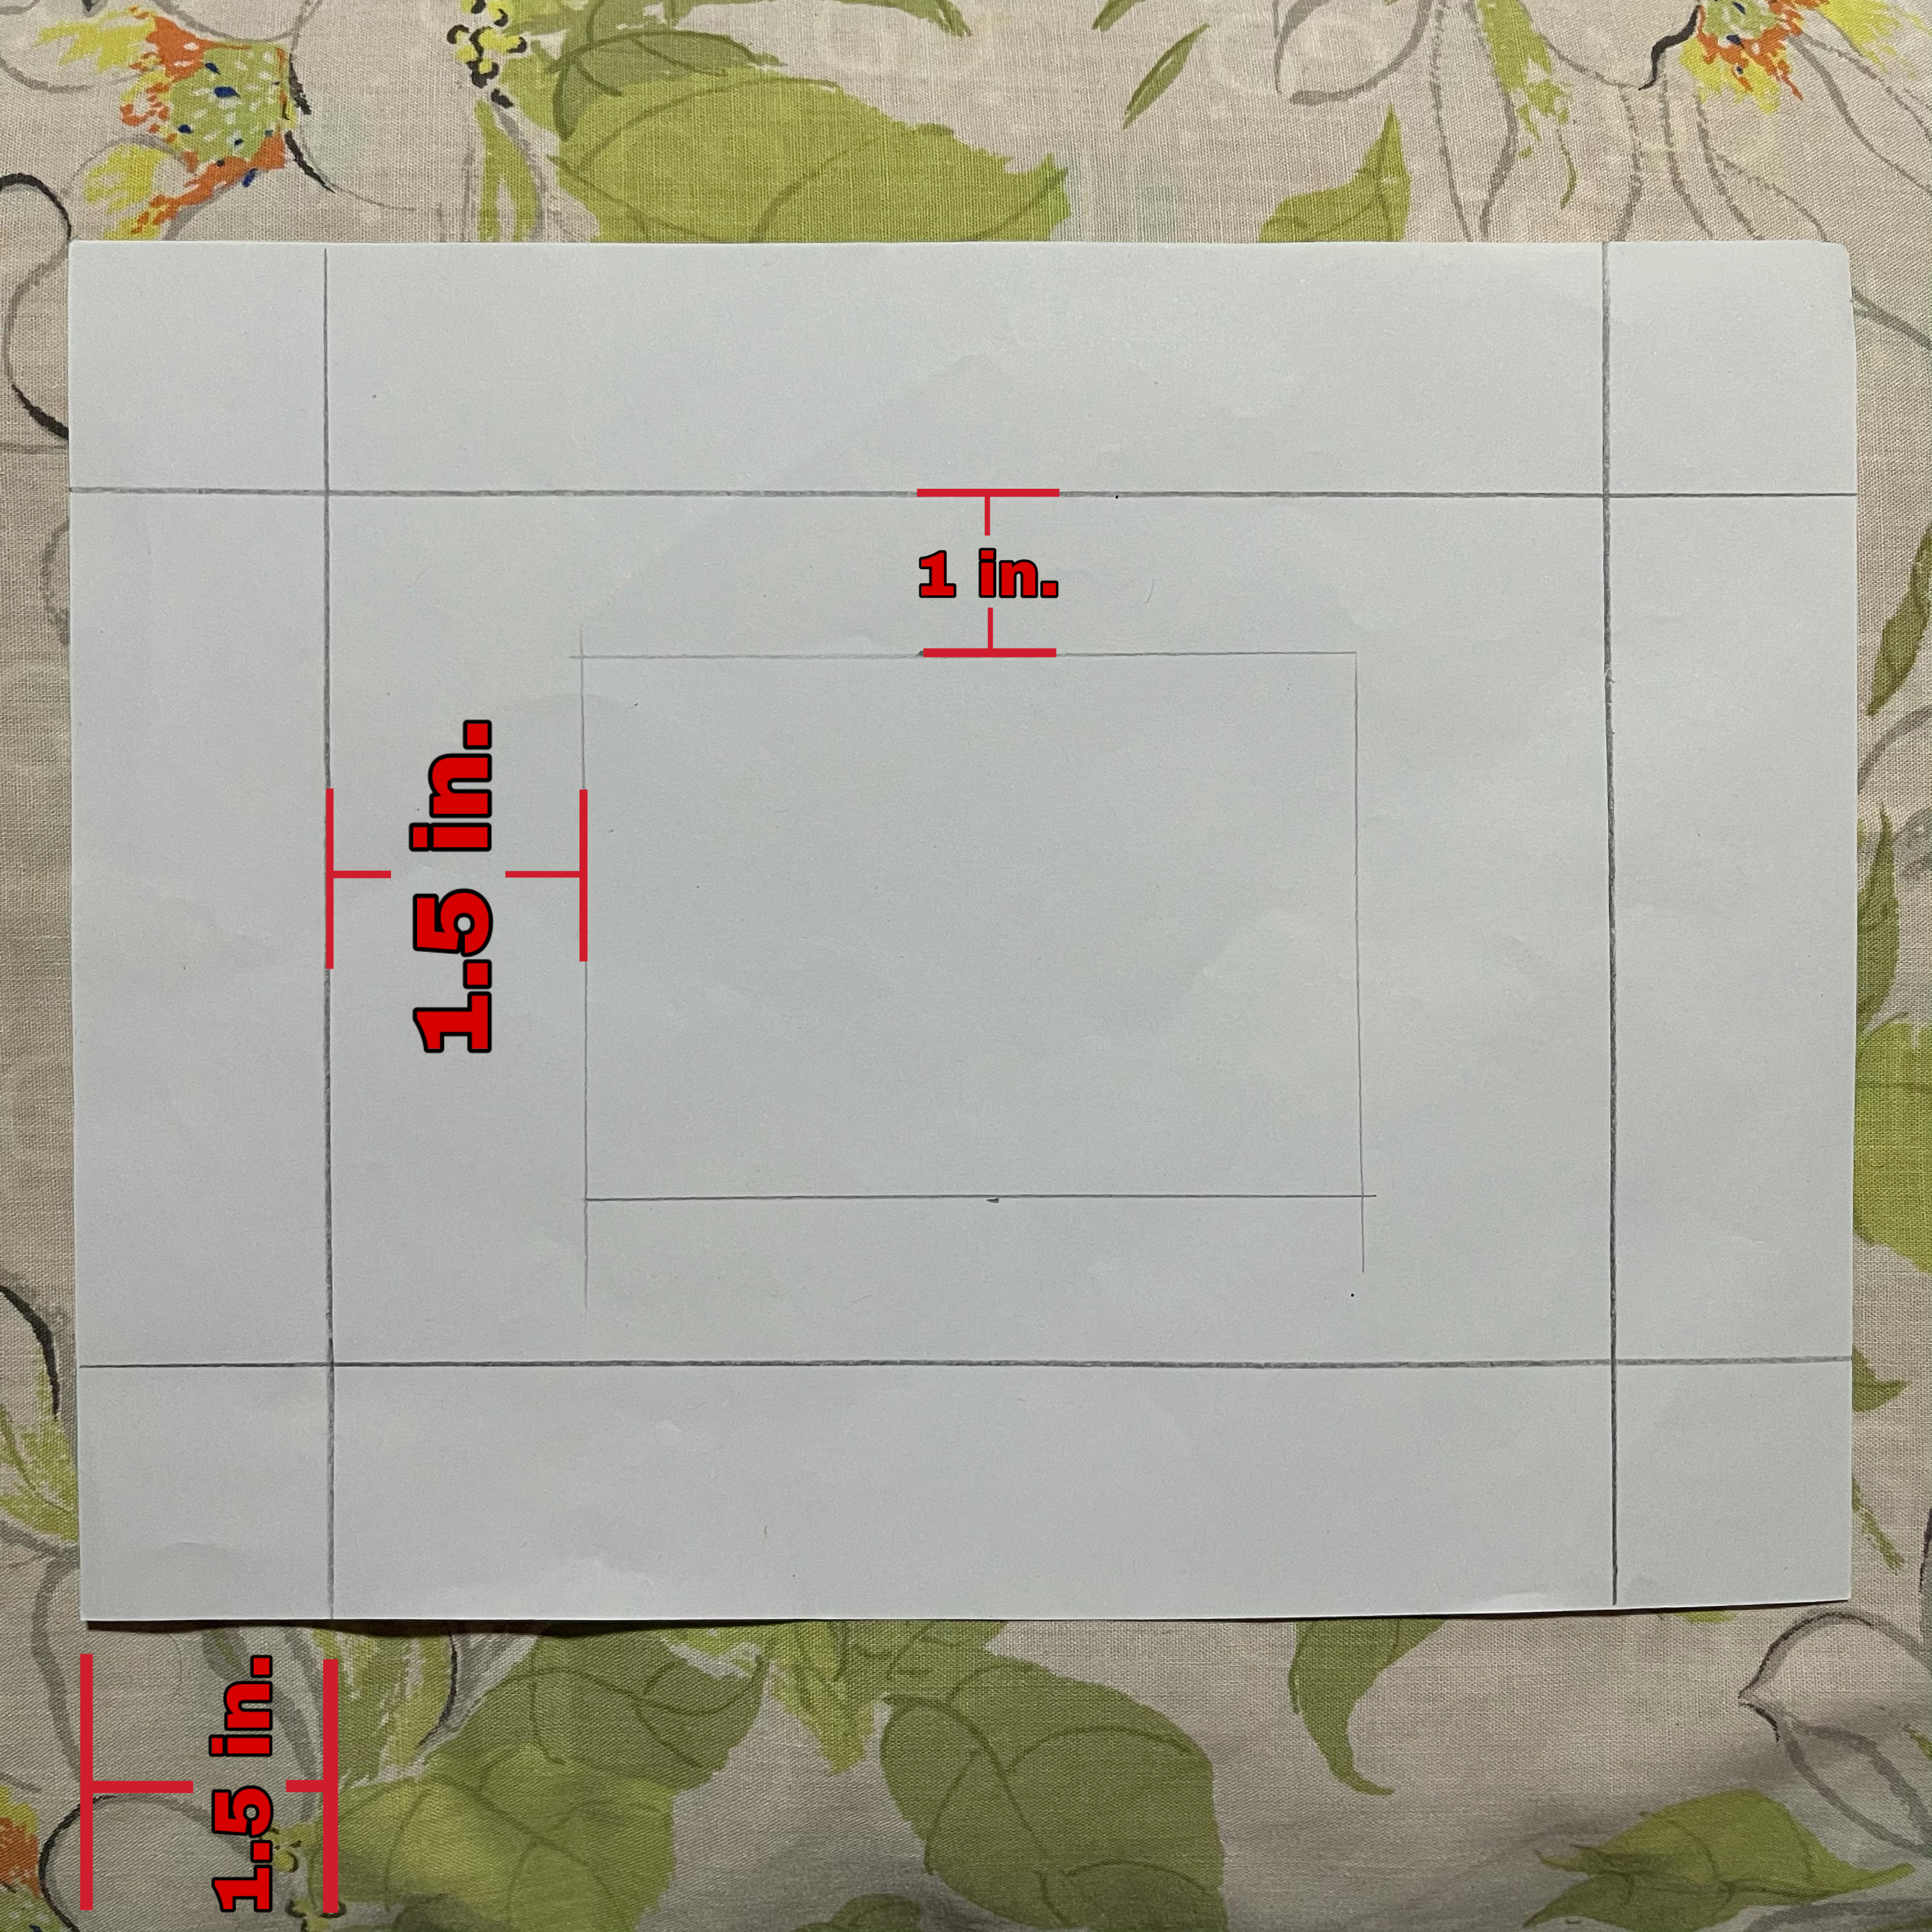
This are the exact measurements I used in making the cover for the gift box.
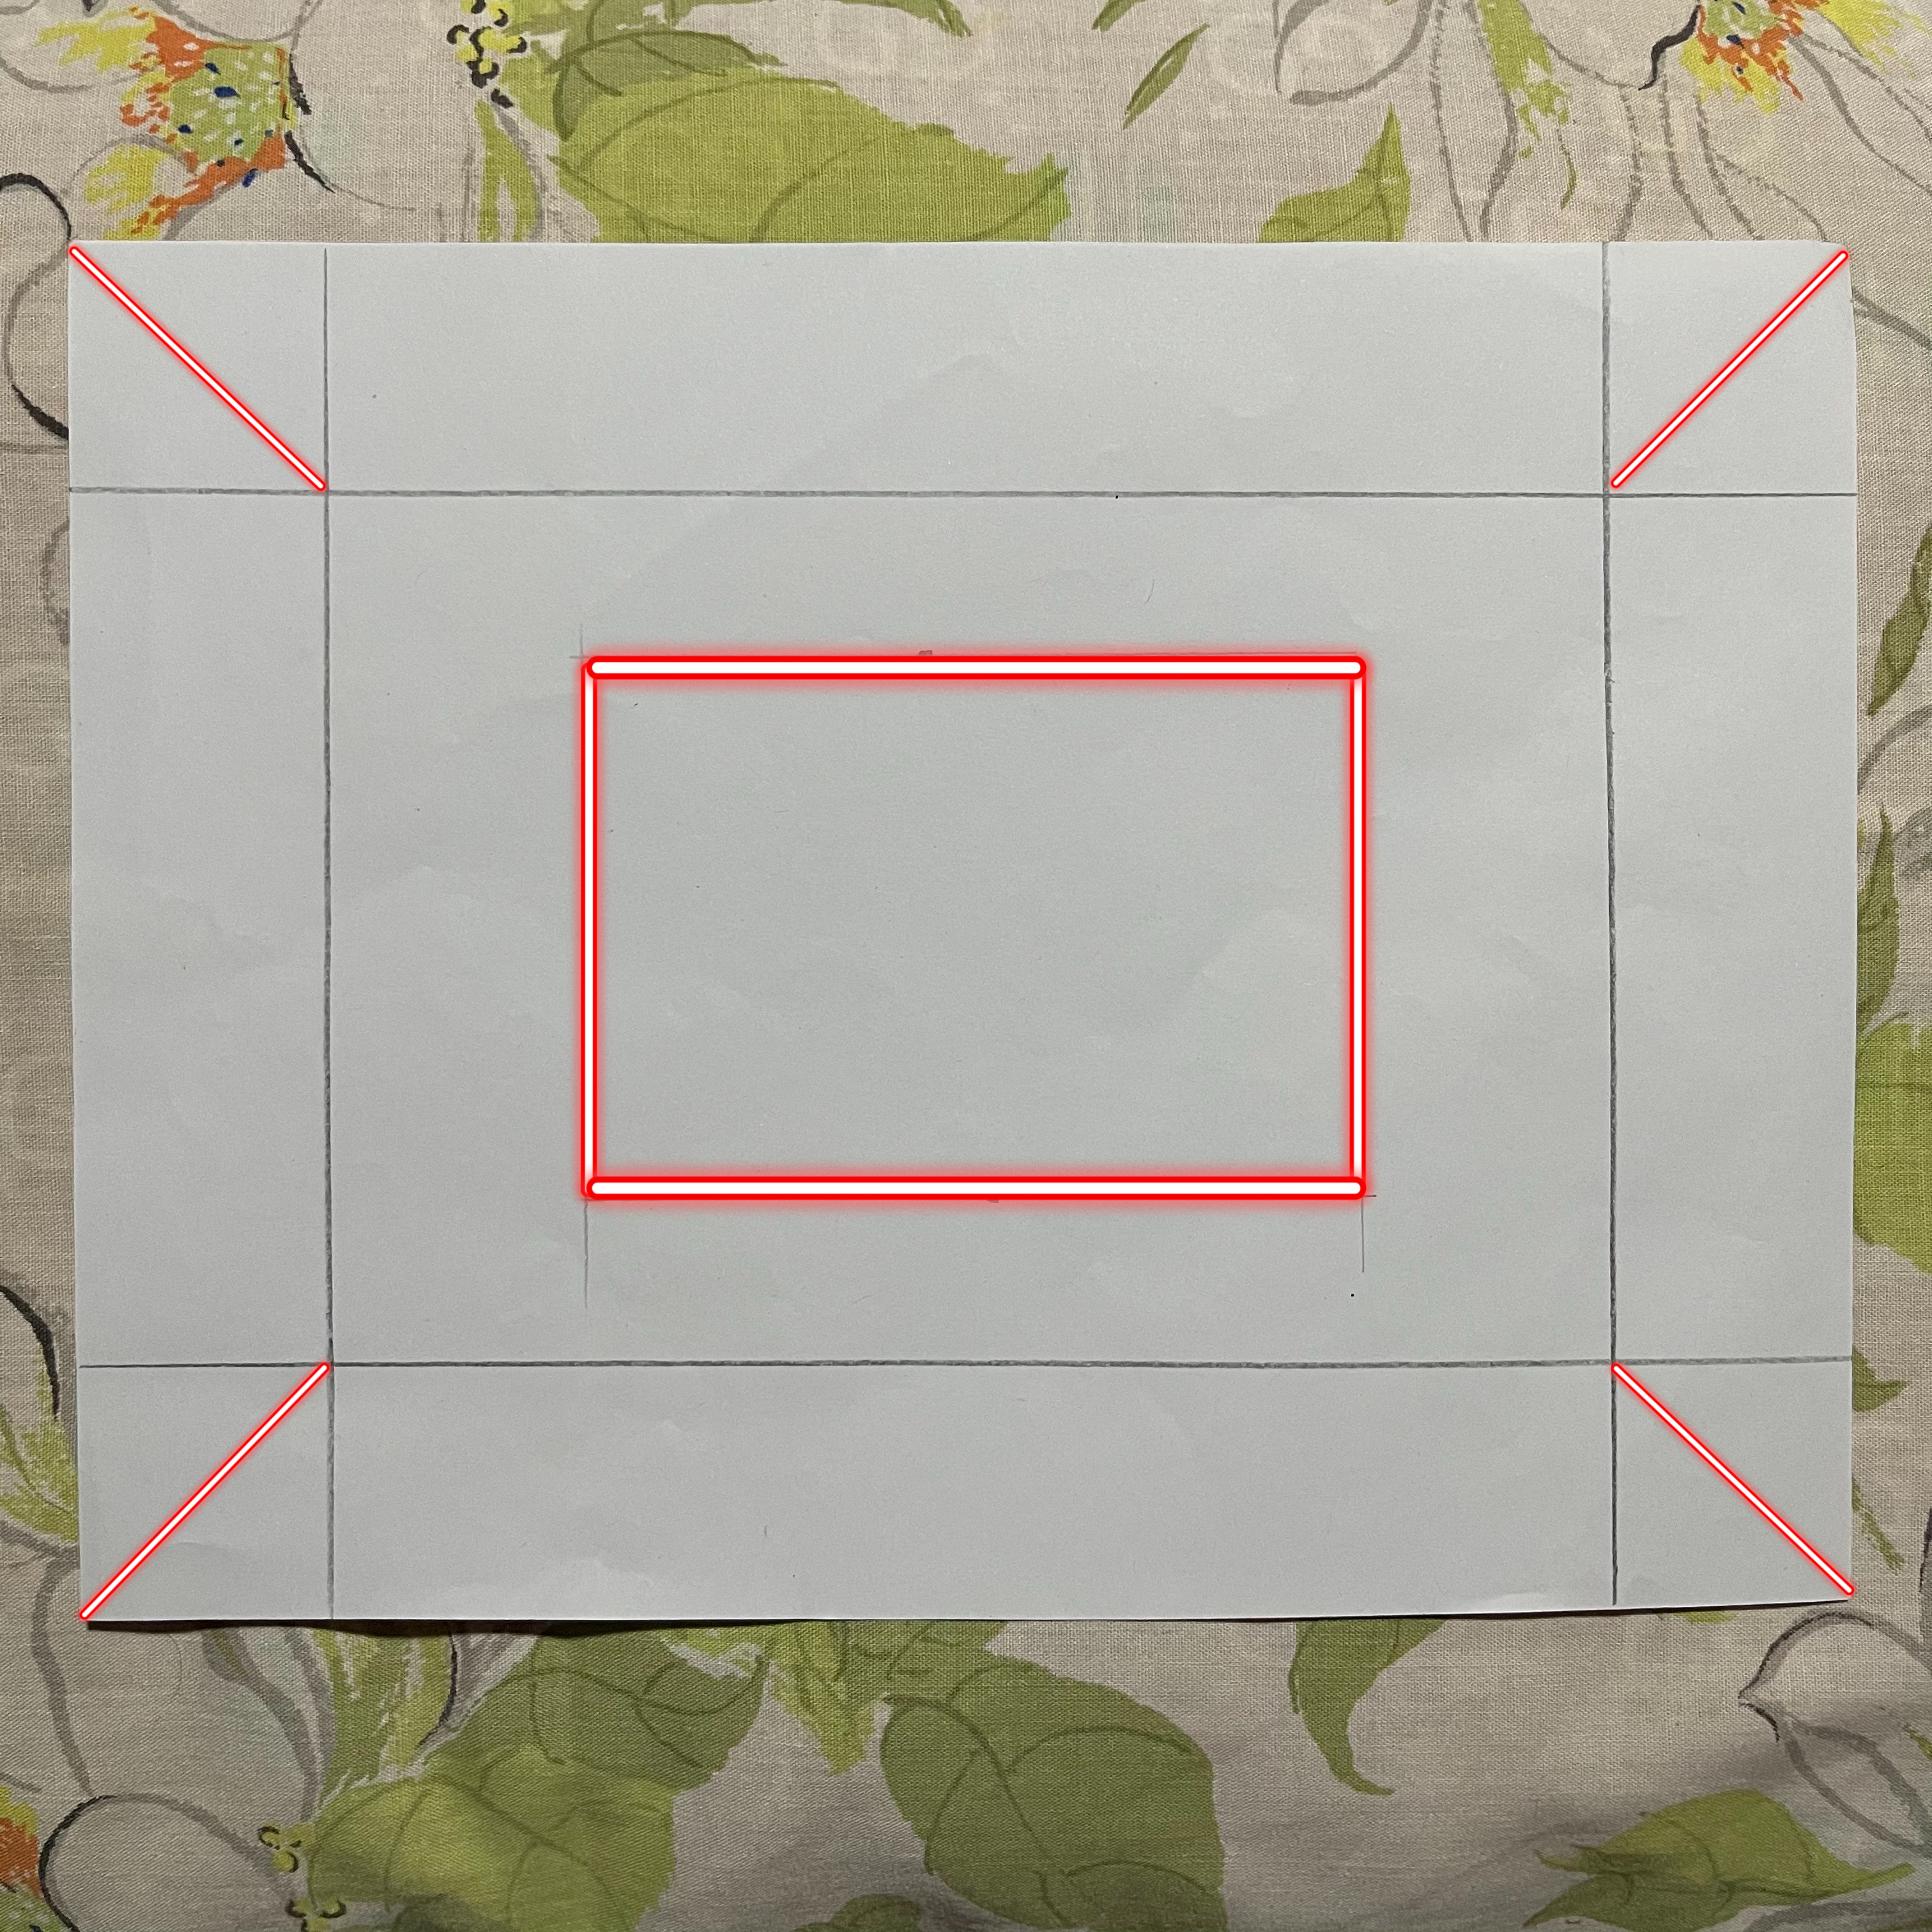
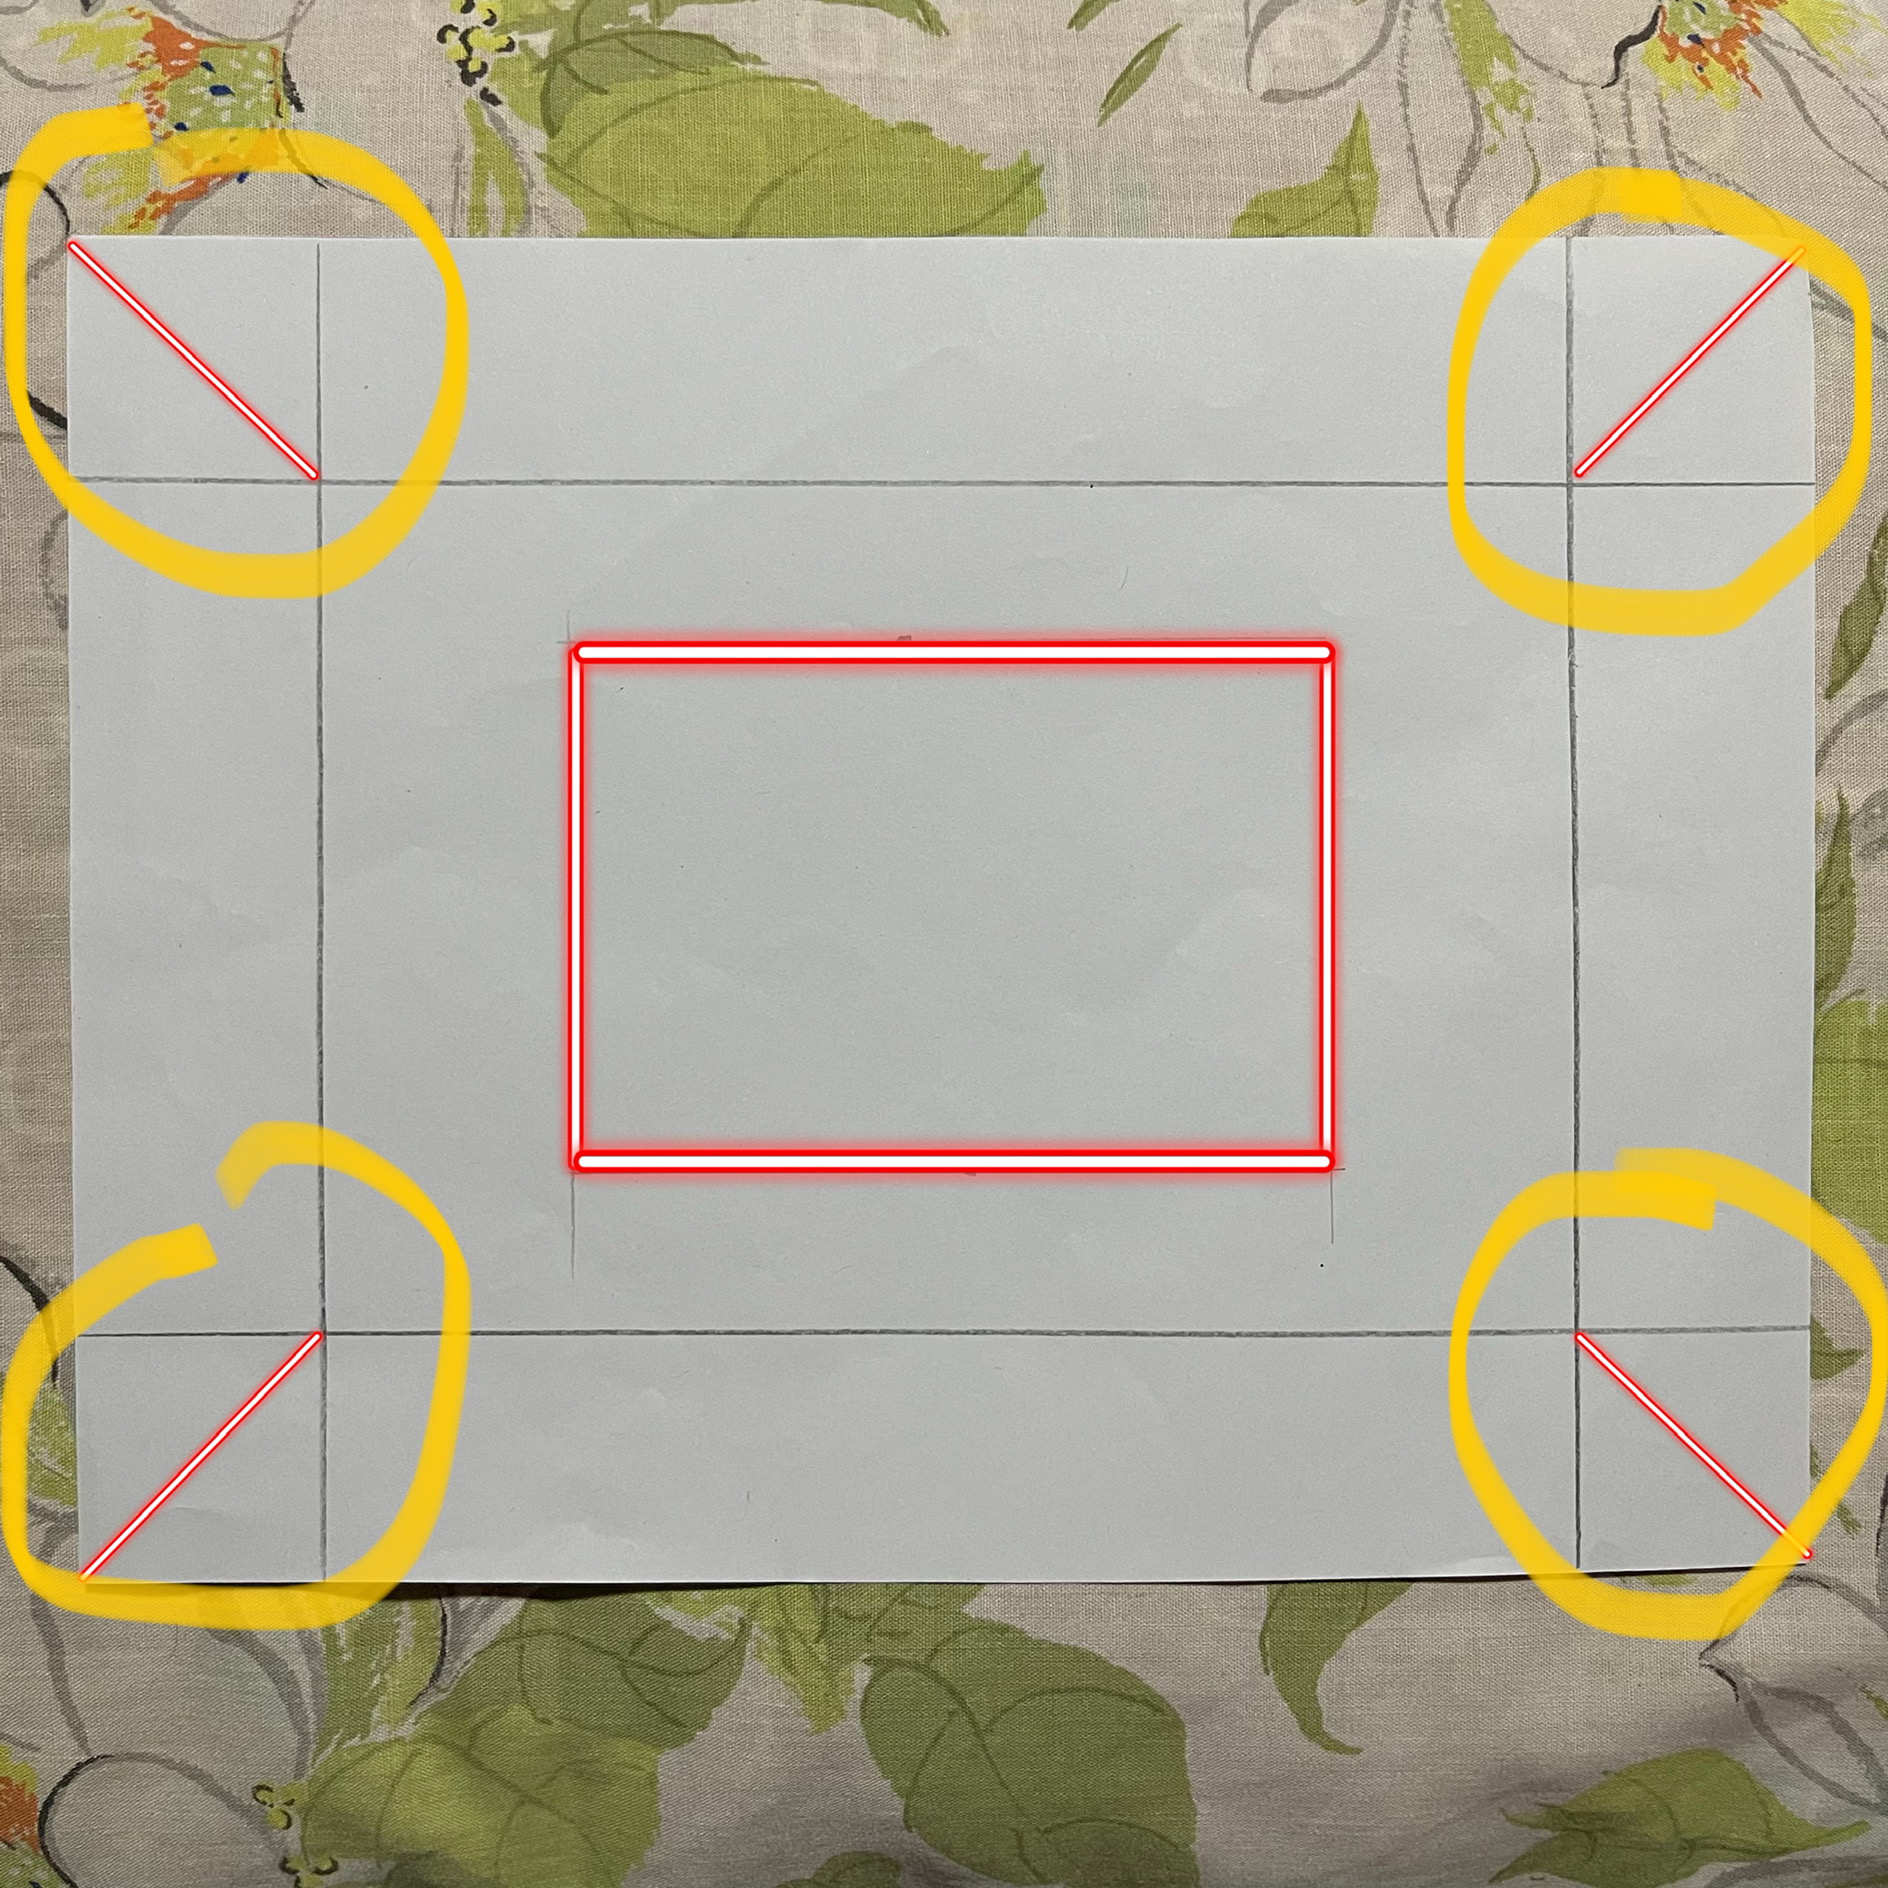
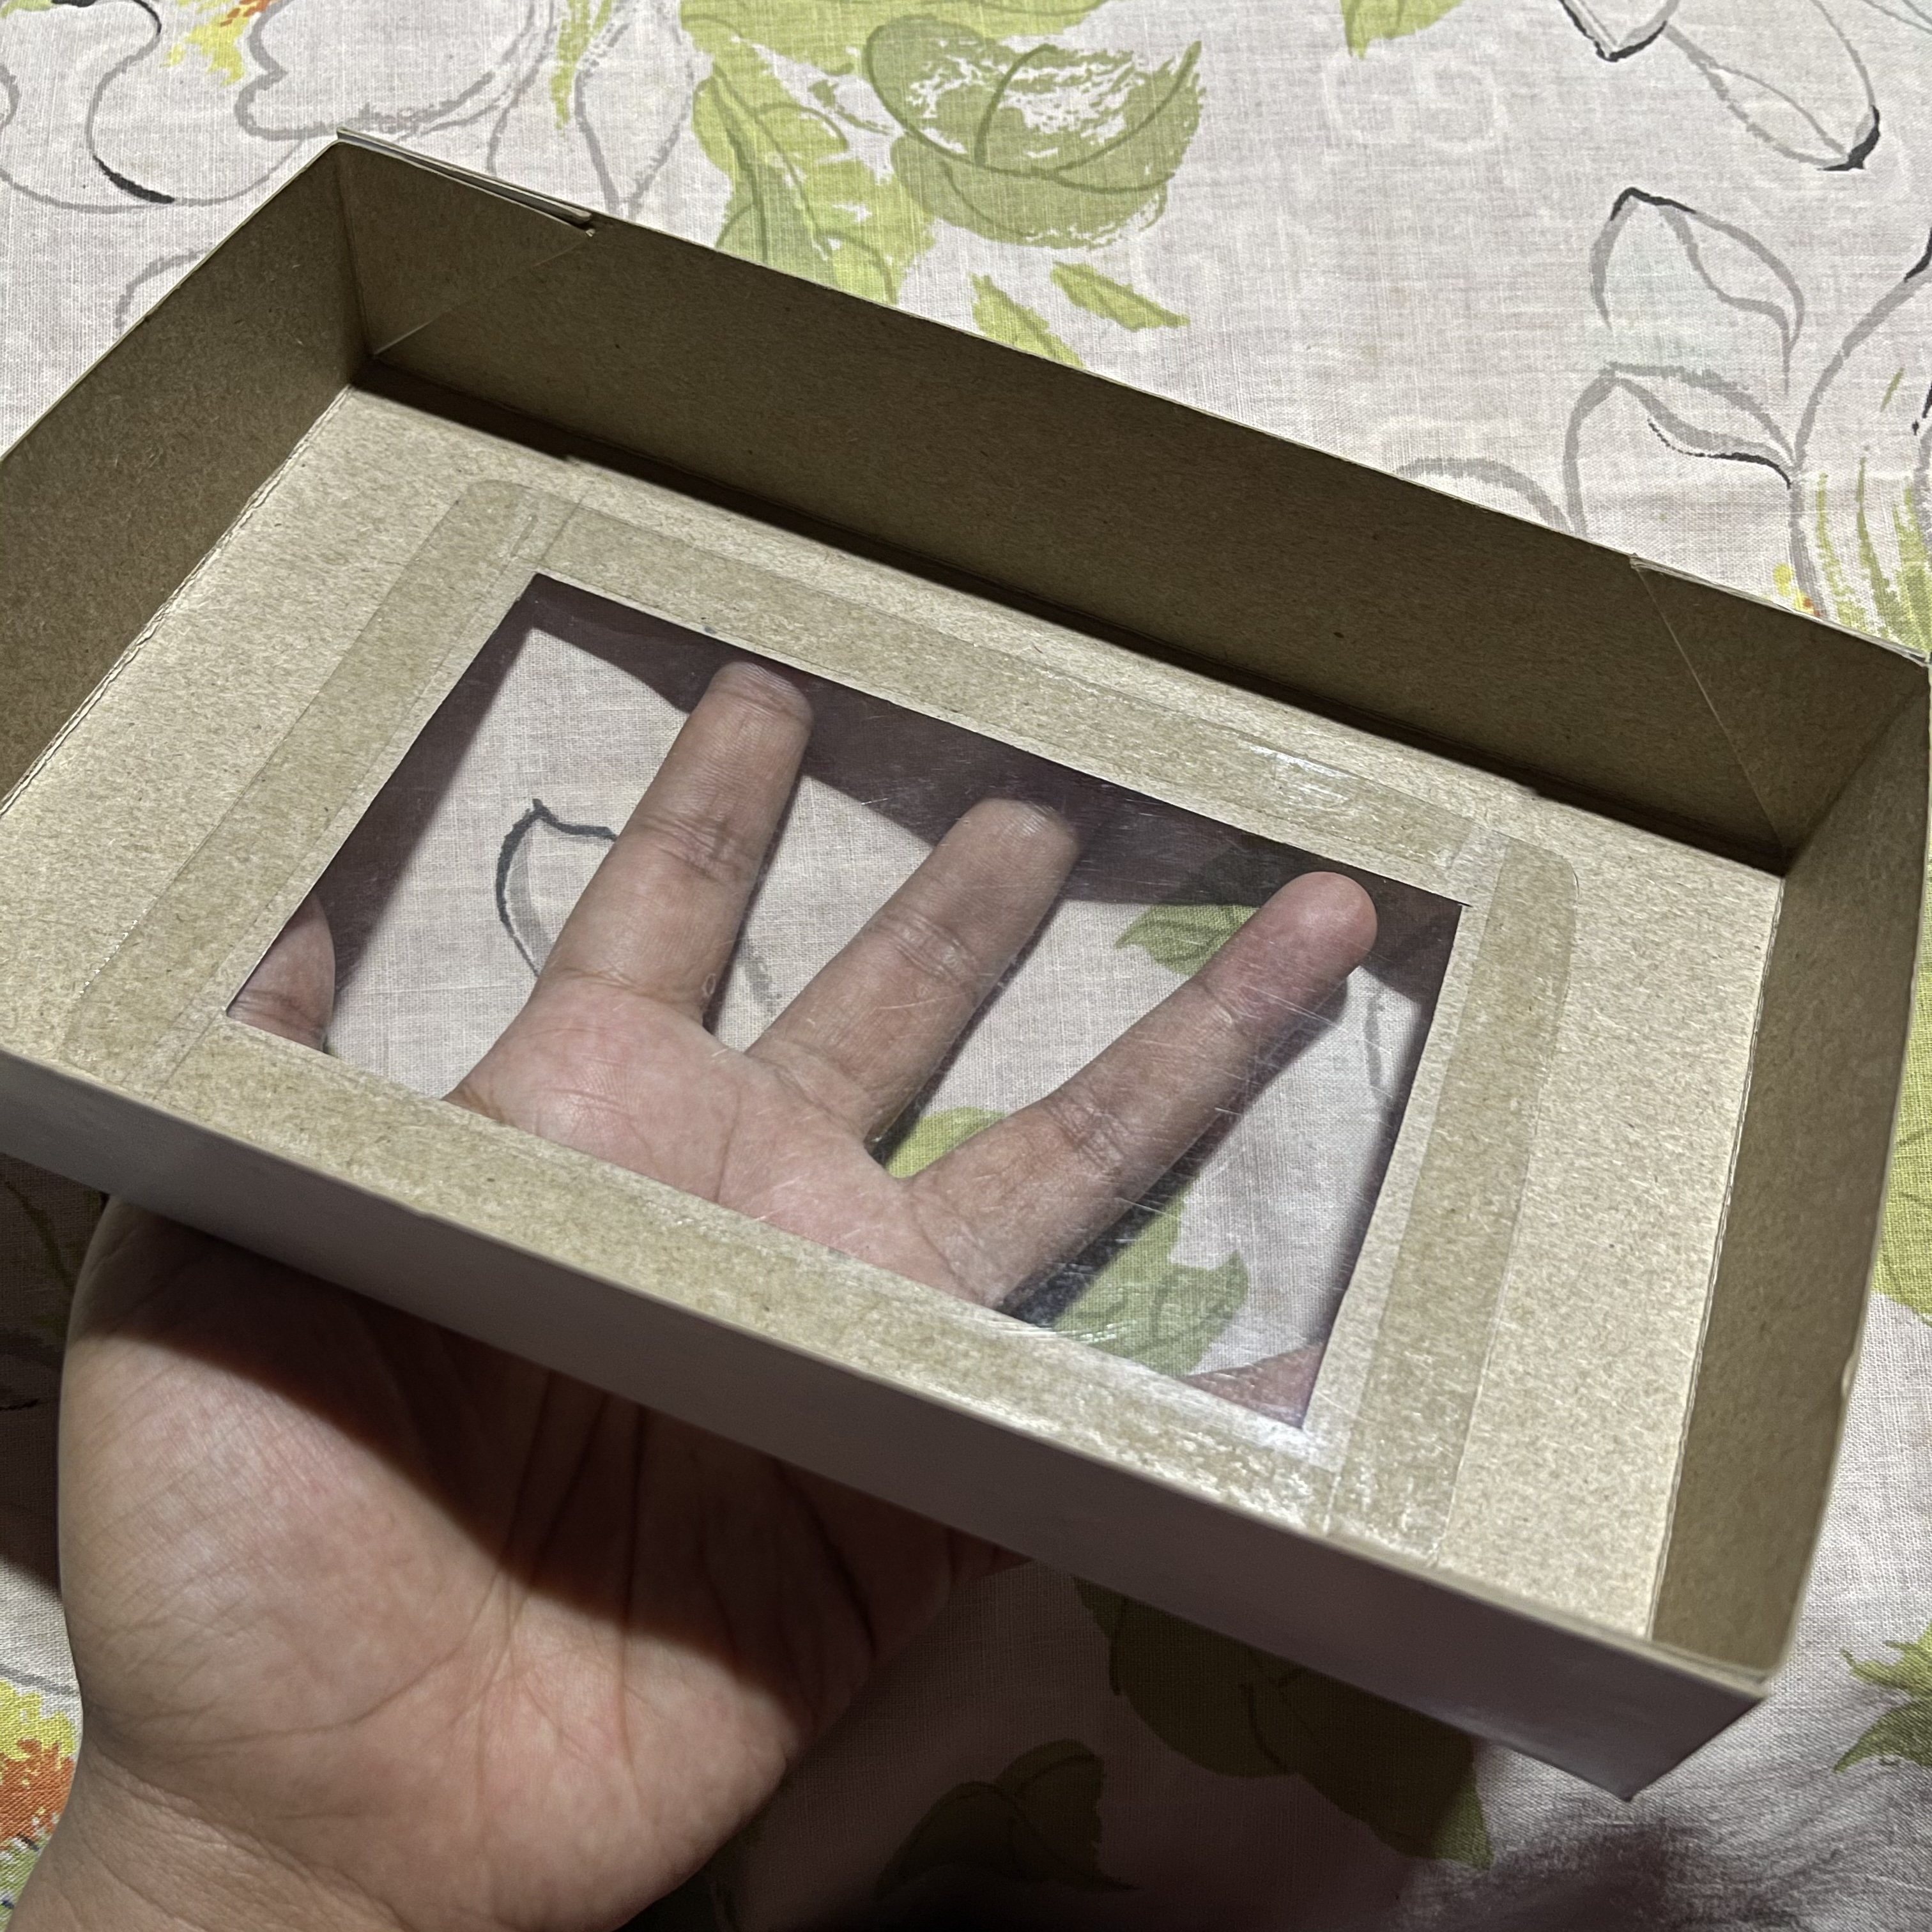
Next, cut these sides I marked red using scissors. And cutter for the center part.
After cutting those, fold the sides of the card board. Make sure to fold it firmly and equal.
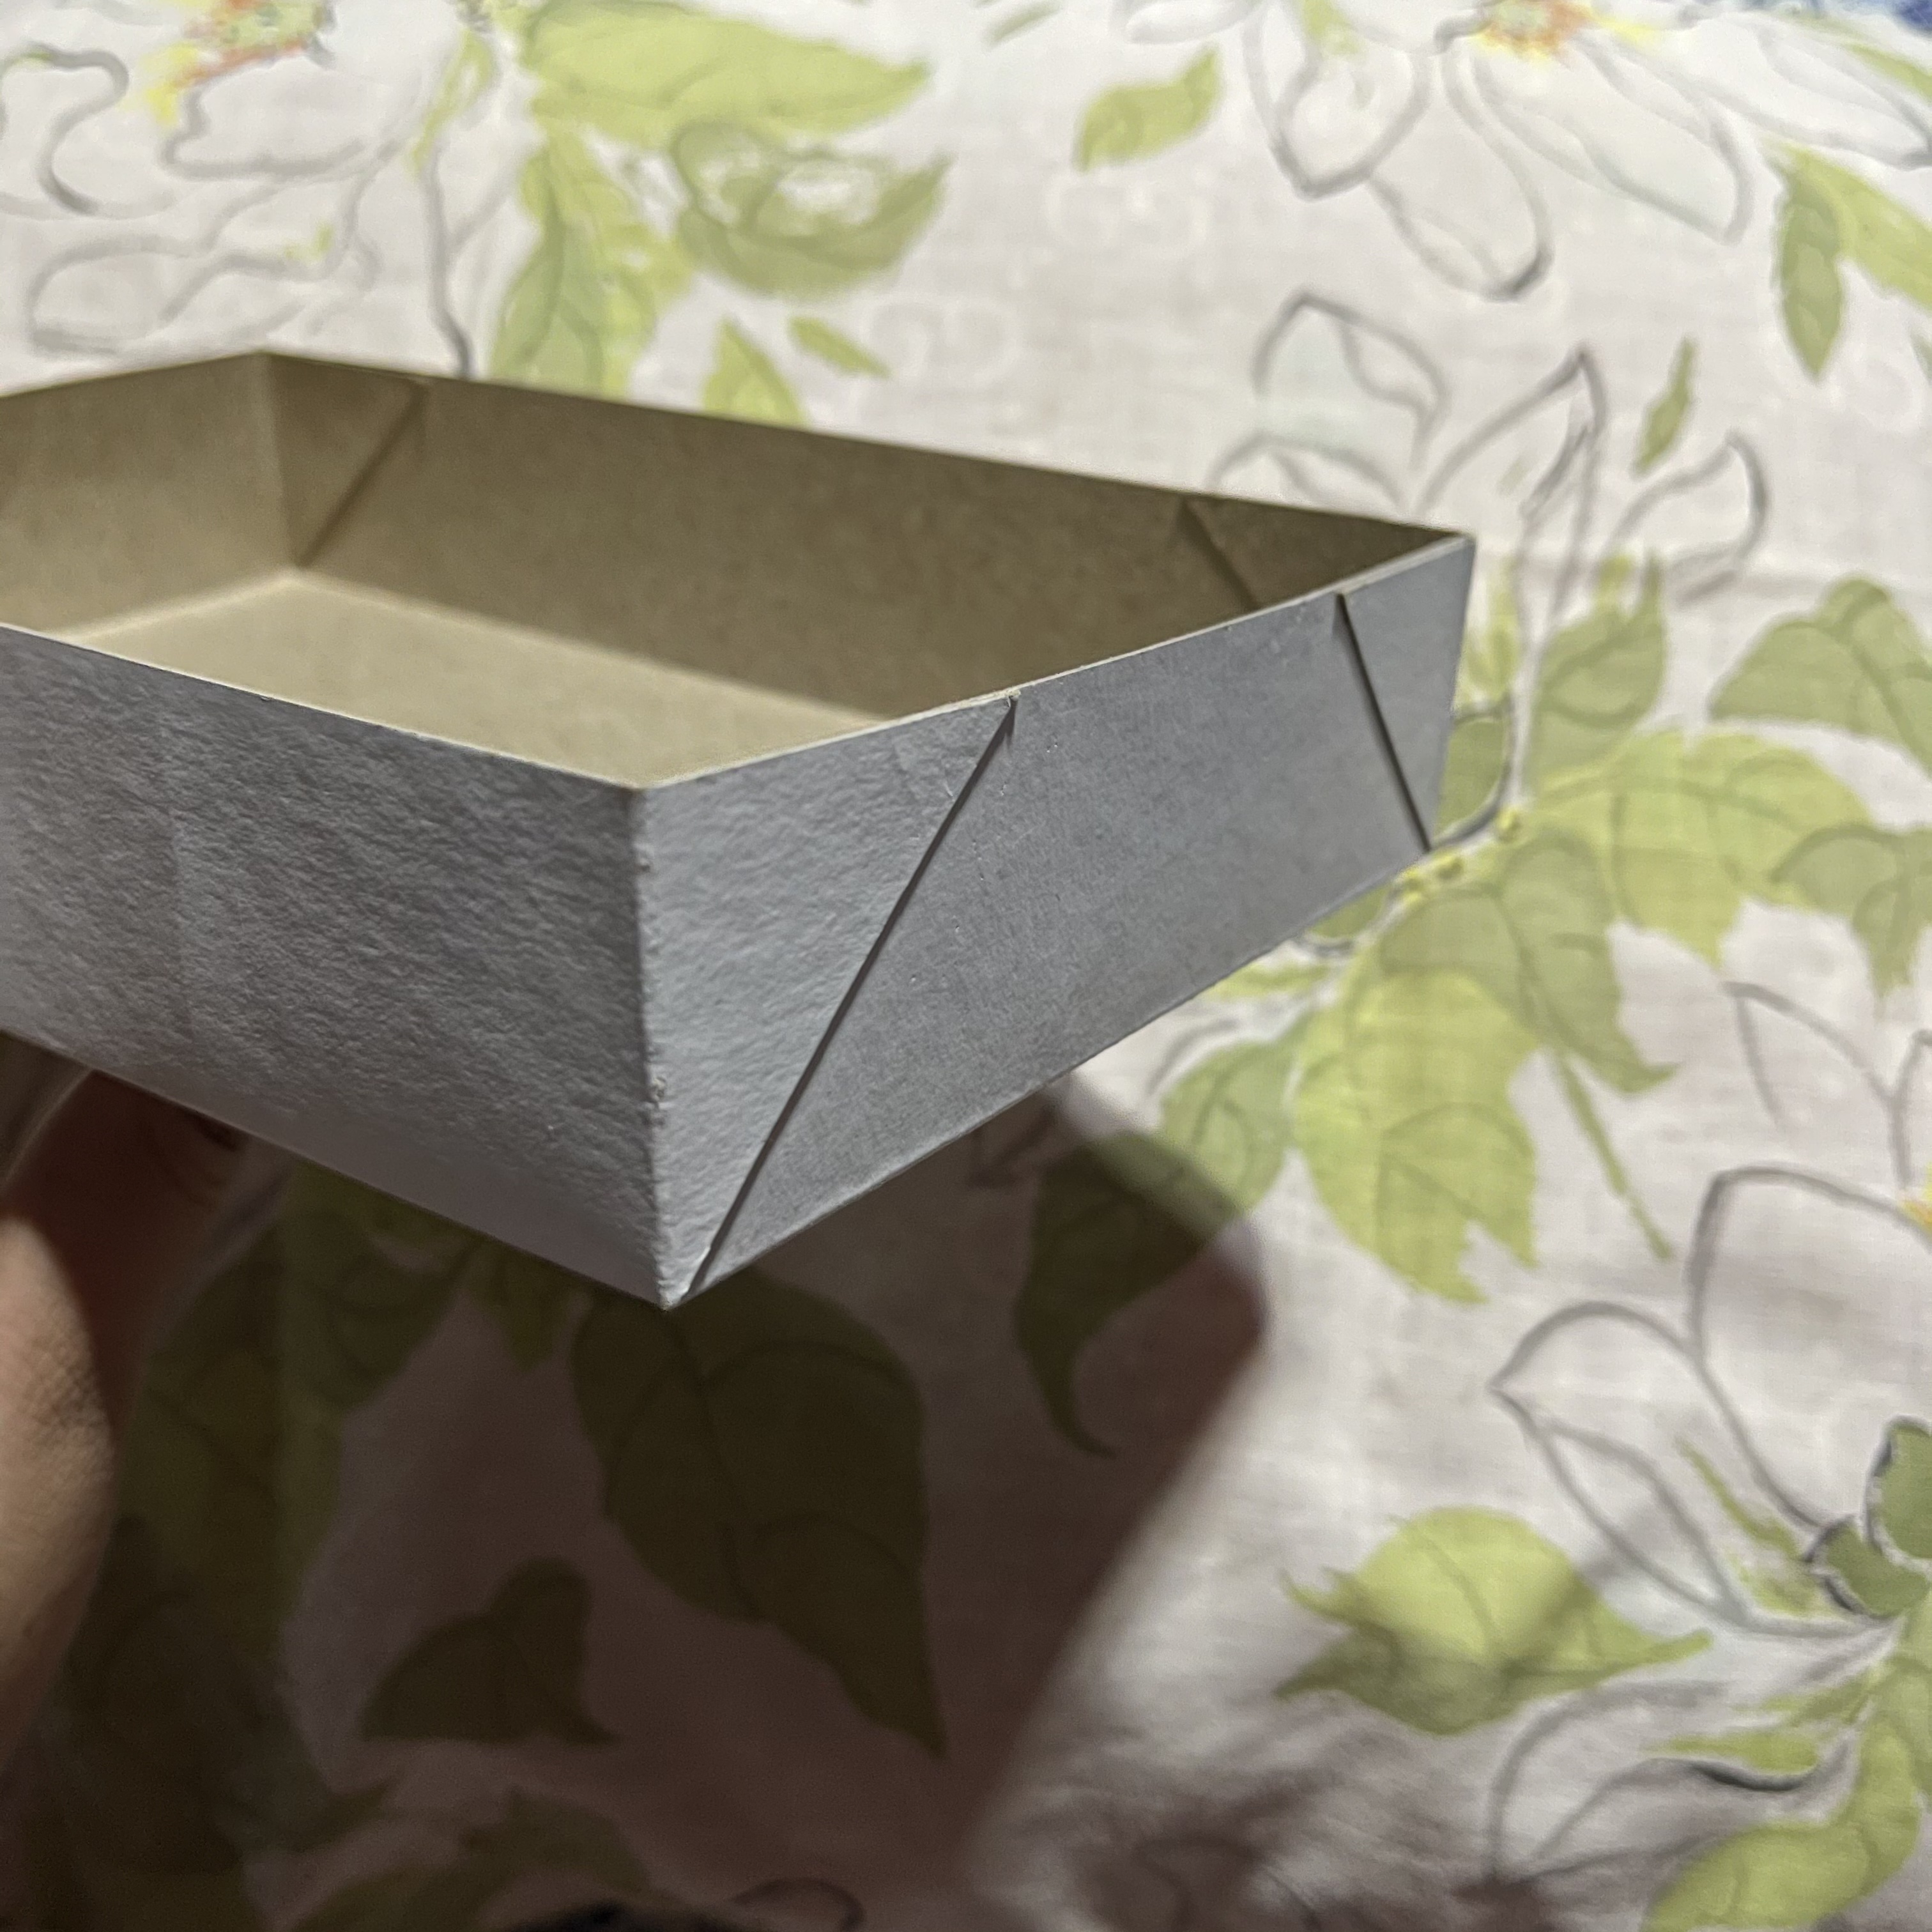
Then, glue together the side cut parts. You can also use double sided tape to make it stick immediately.
This is how it should look like. Just make other sided meet to secure the box.
Note: Repeat these steps for the other side of the box excluding the cutting of the center part as this side you are making now is the base of the gift box. Also, make sure to subtract a little centimeters as it should have a size difference so you will be able to close the box after making it.
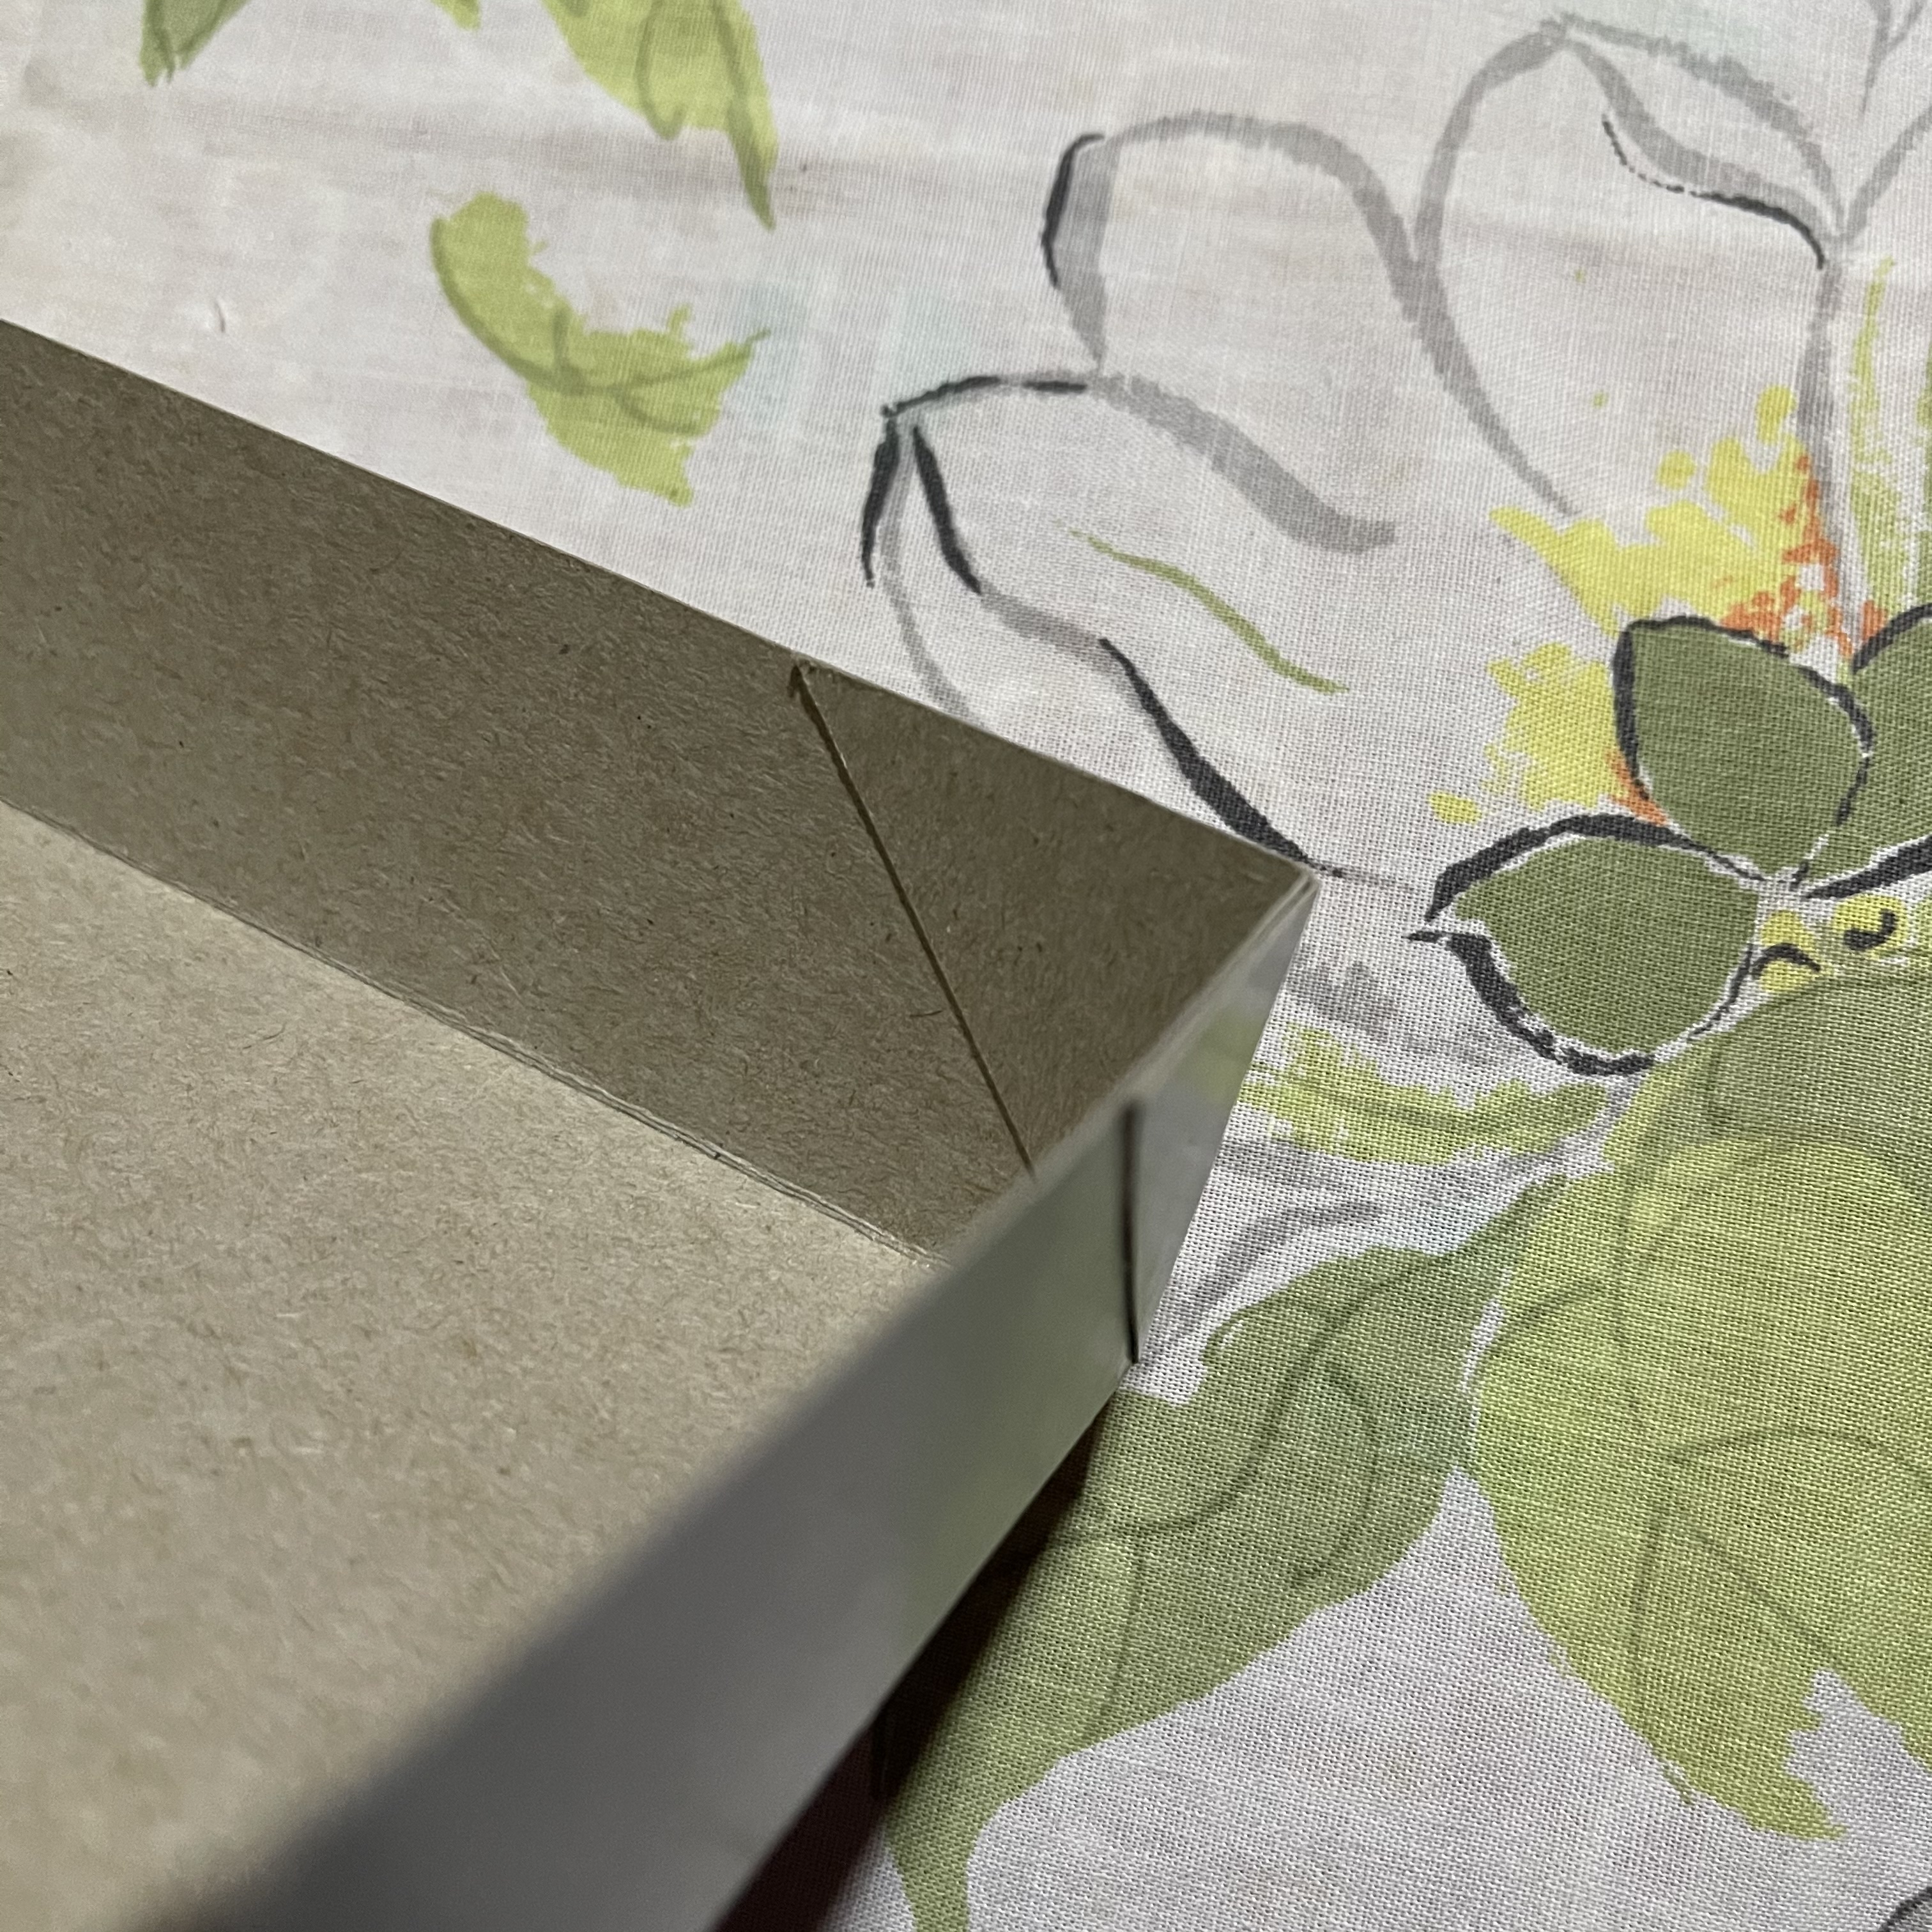
Stick as well the other triangle in the inside part of the box. Like this.
When done, find for plastic cover then measure it right and cut it based on the center part of the cover. Make sure to leave a half inch allowance to put the double sided tape.
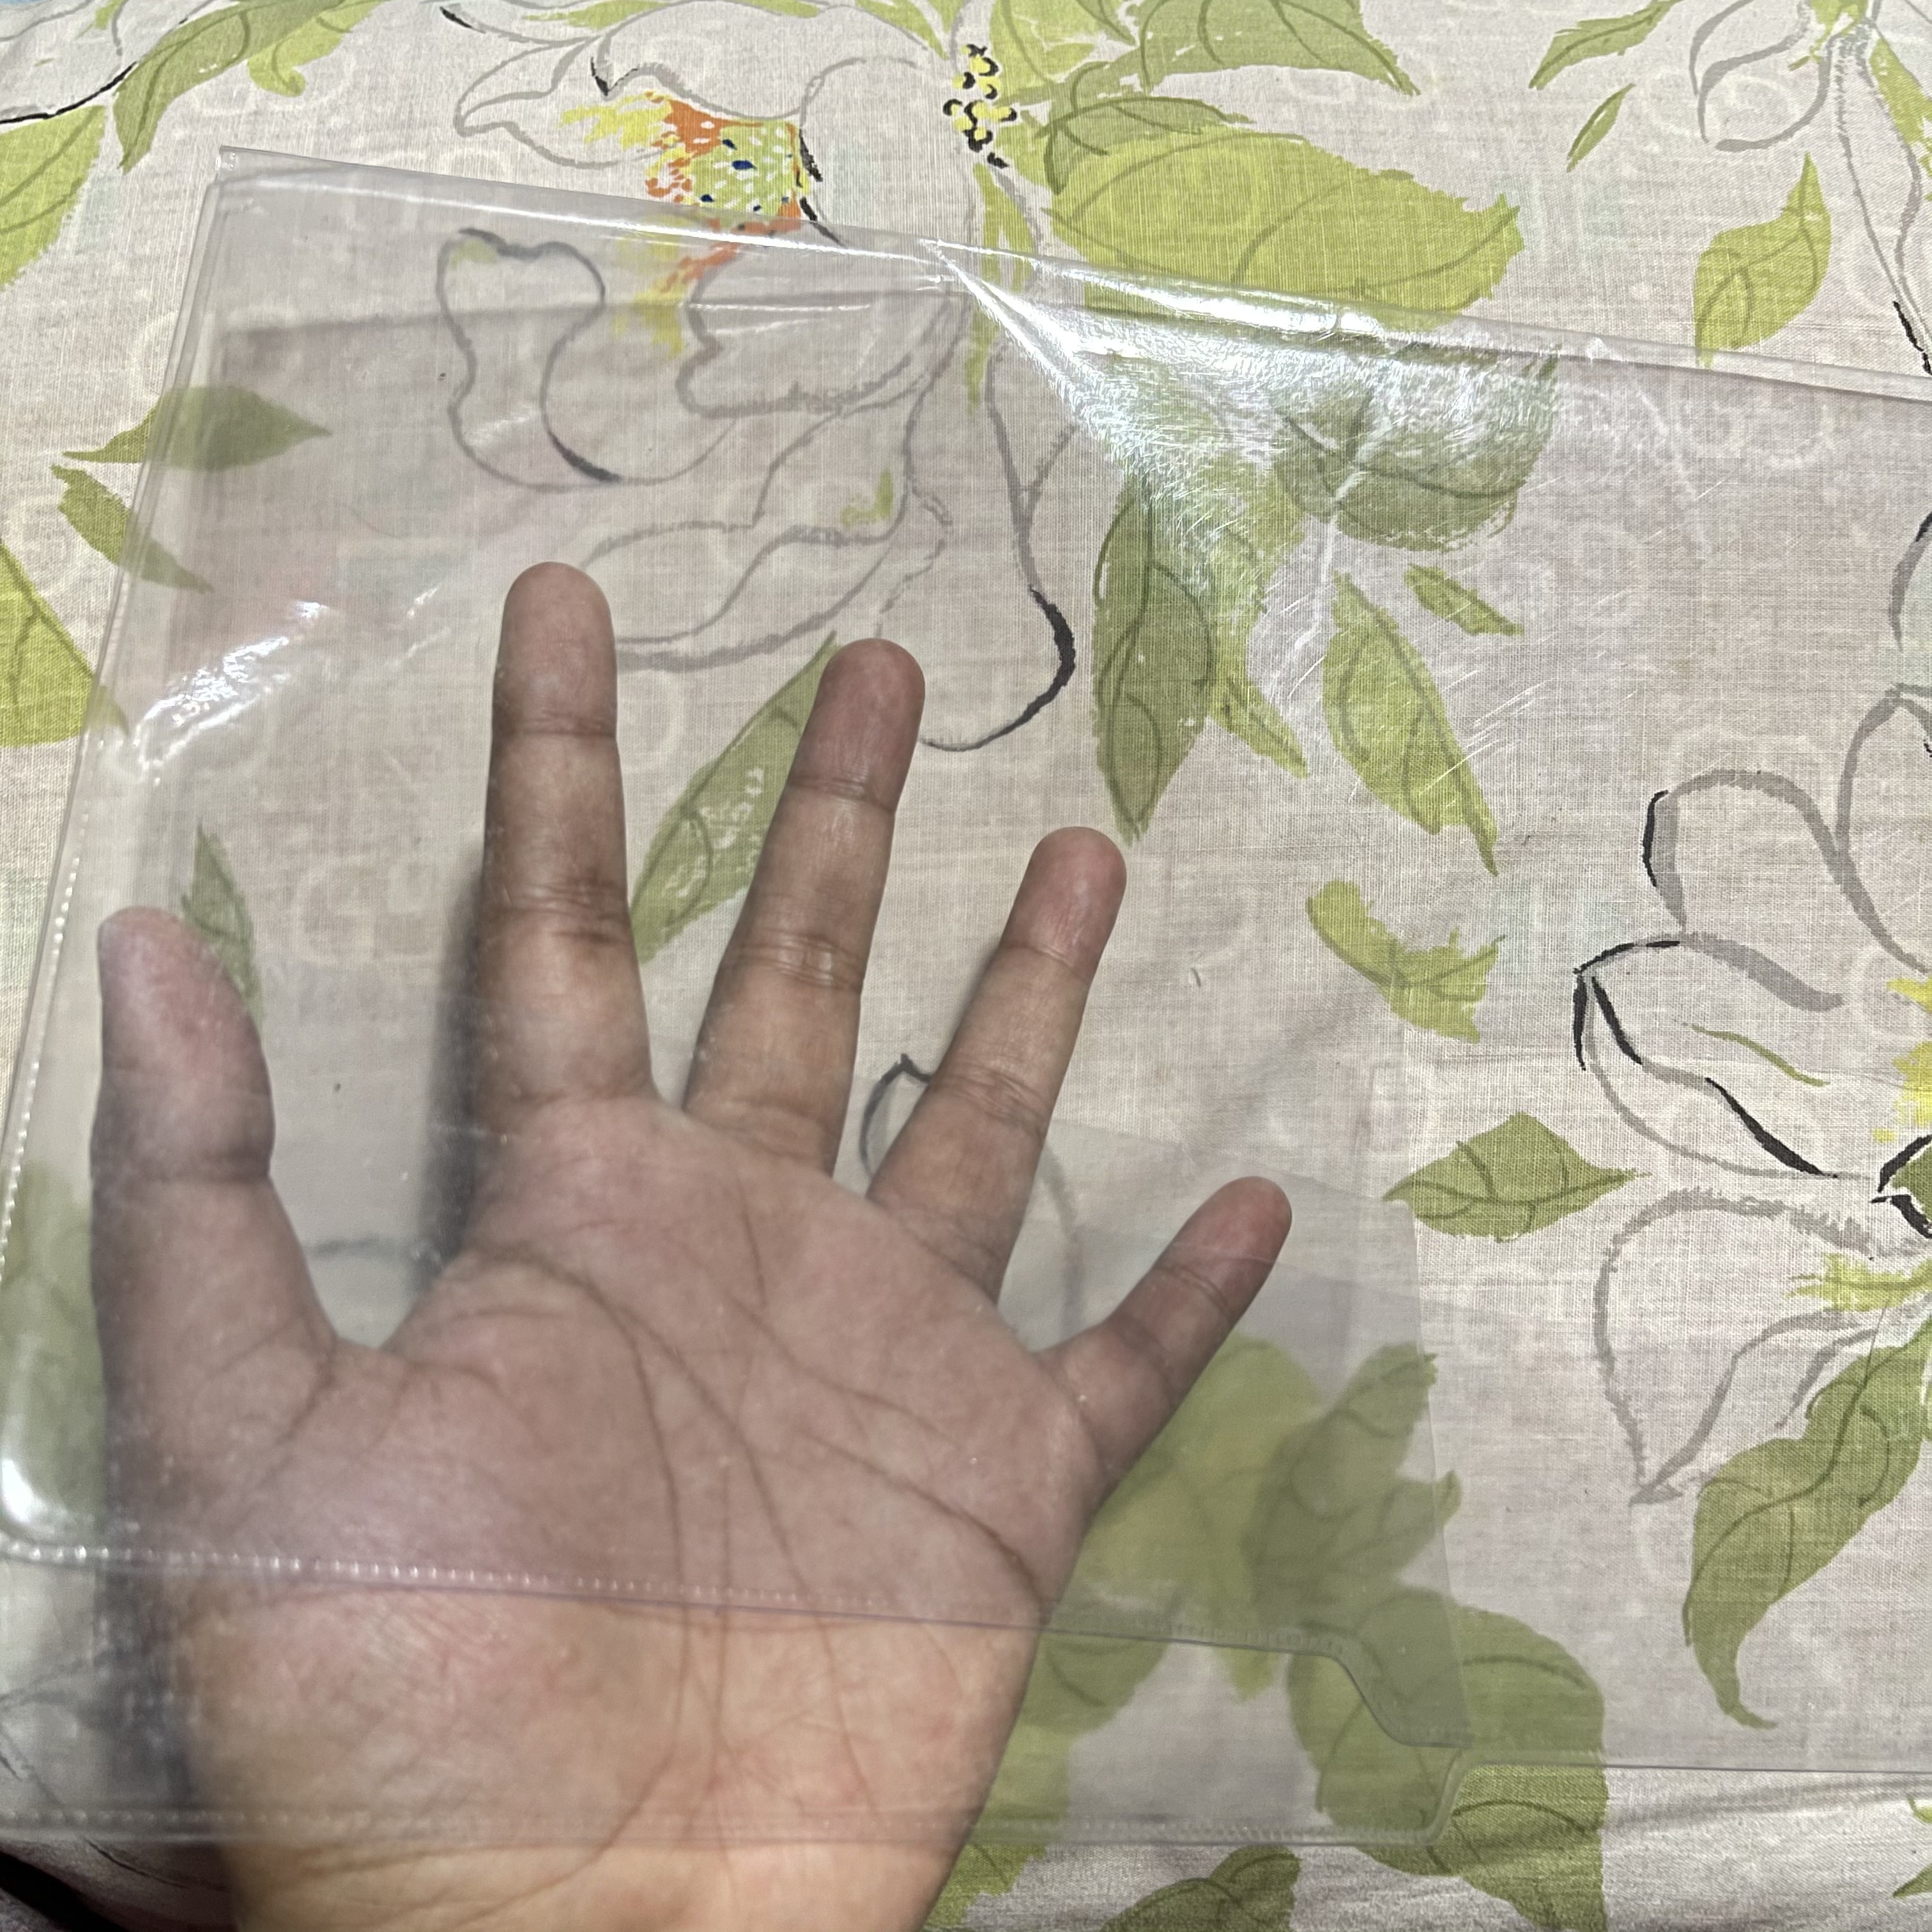
After that, stick it the sides well. This is how it should look like. If you think it’s familiar, well it is. You can find these kind of cover in pastries or desserts.
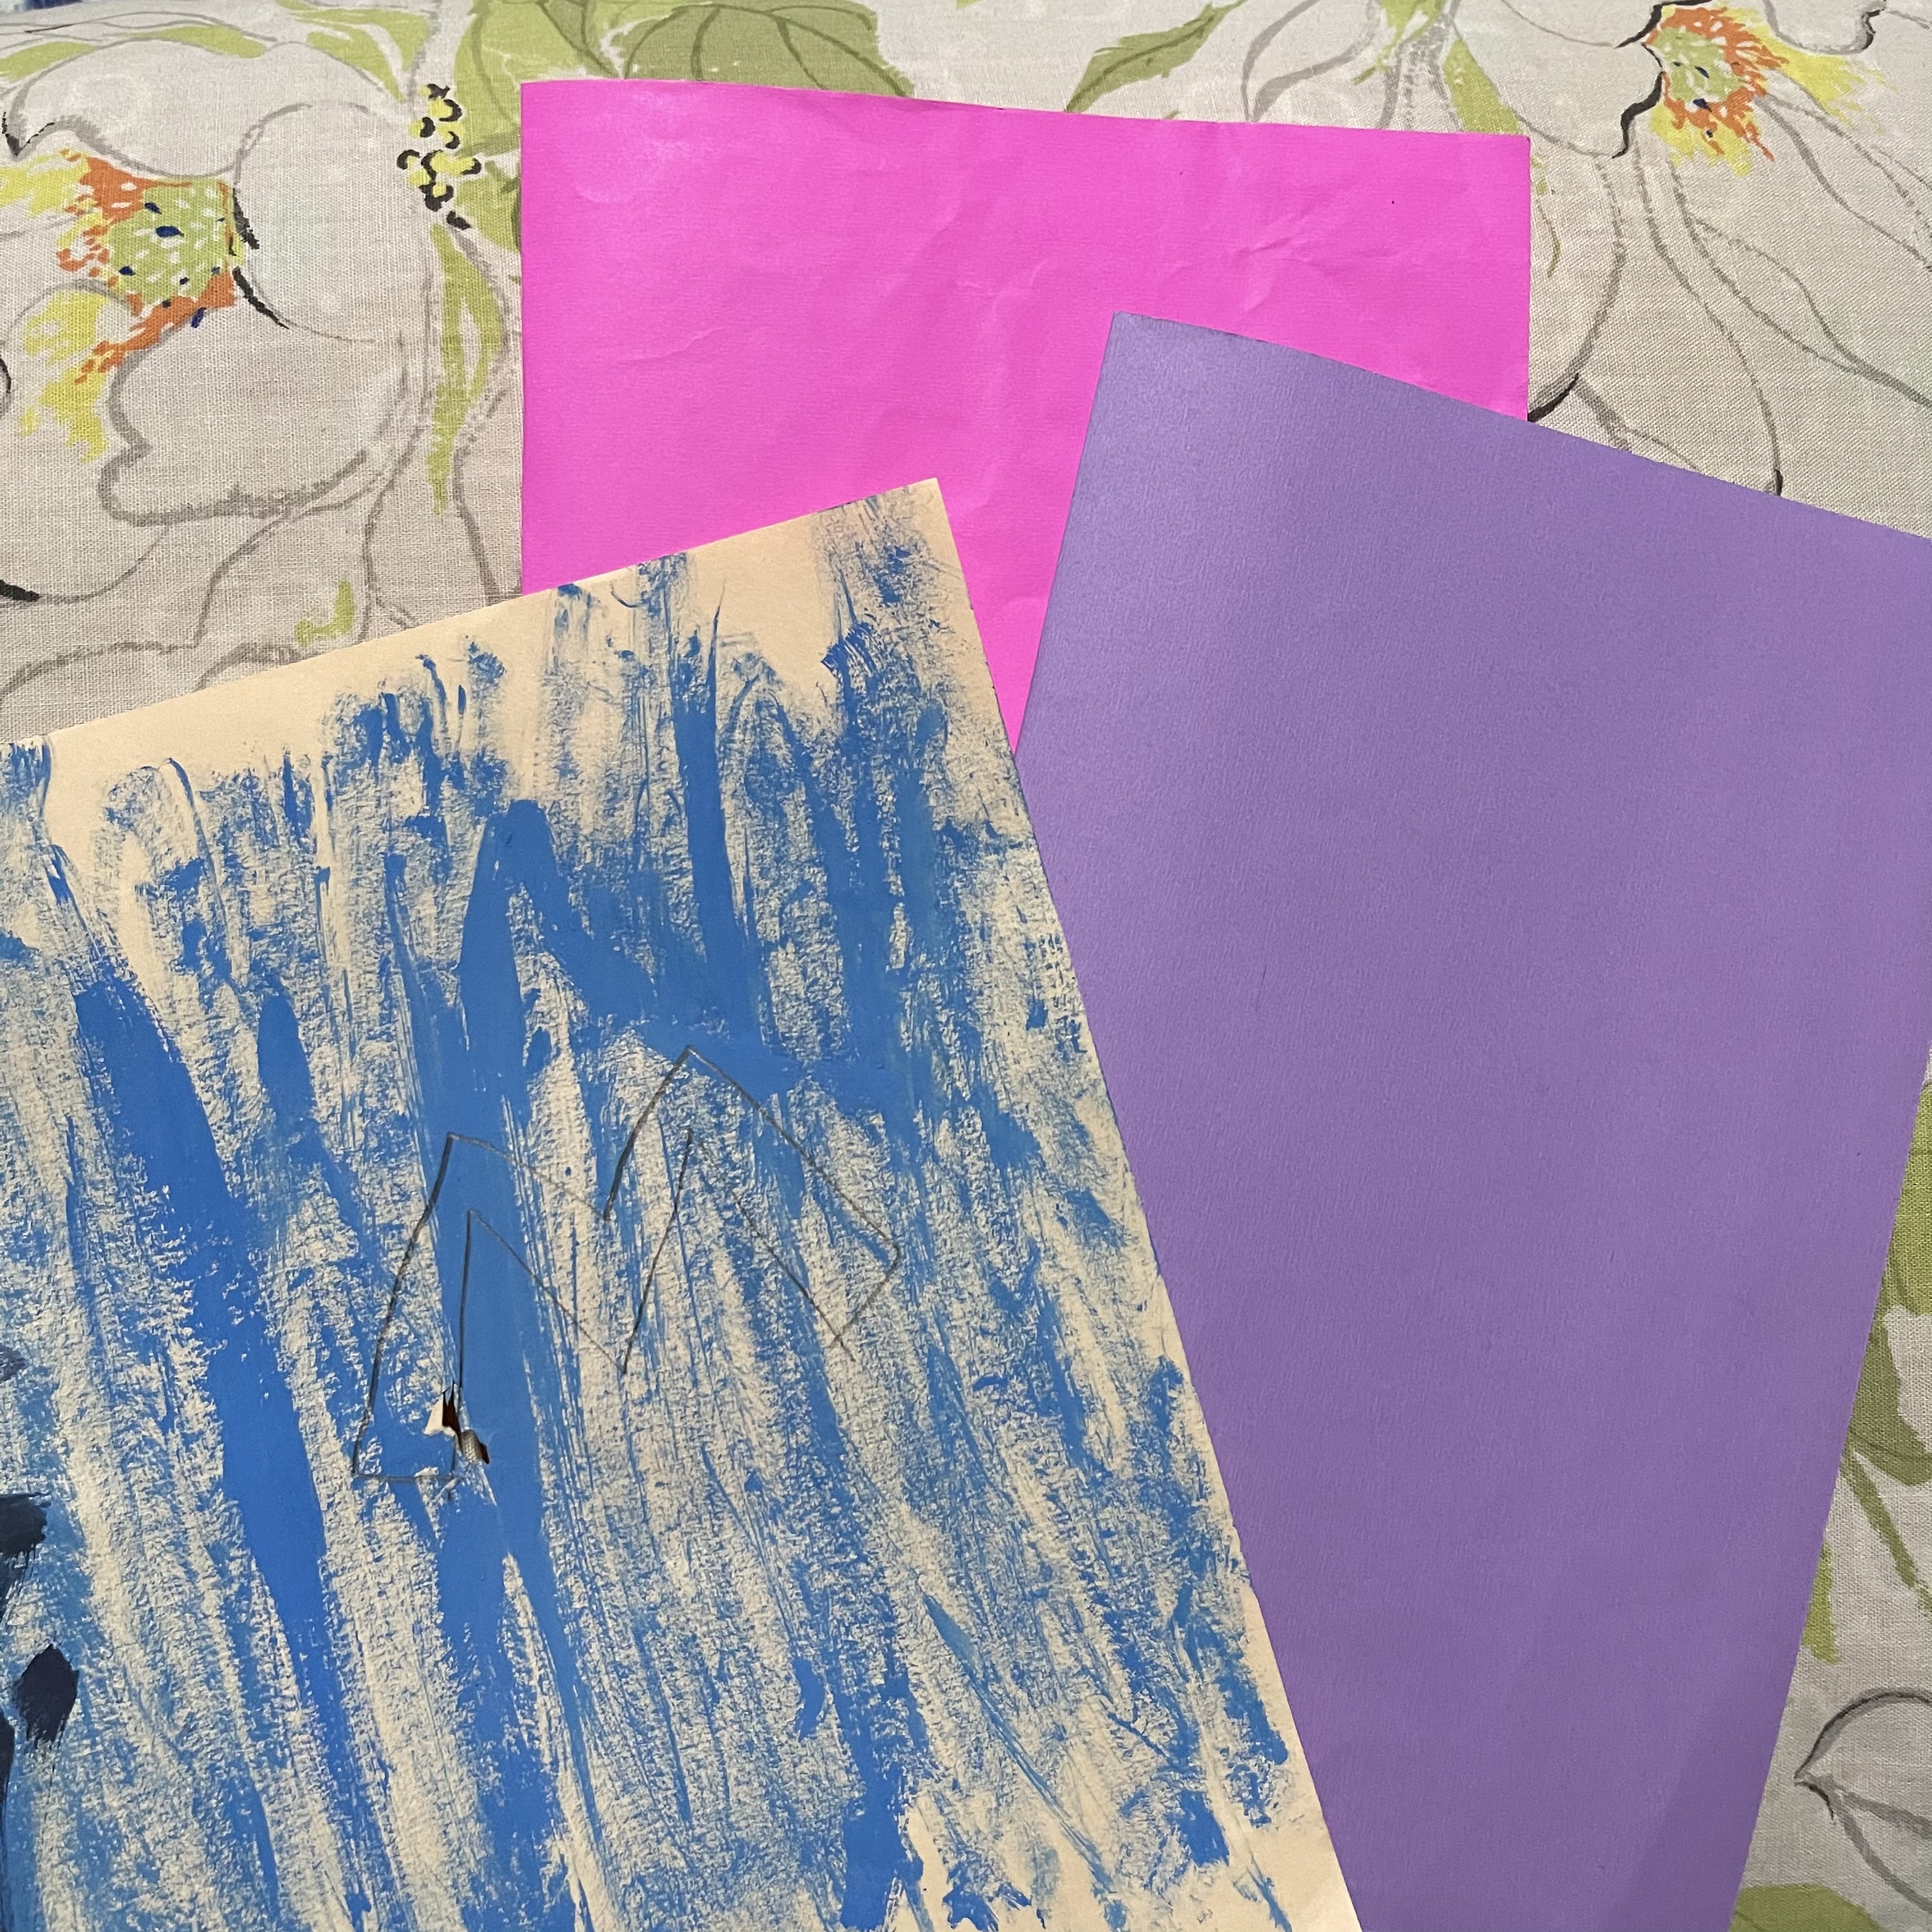
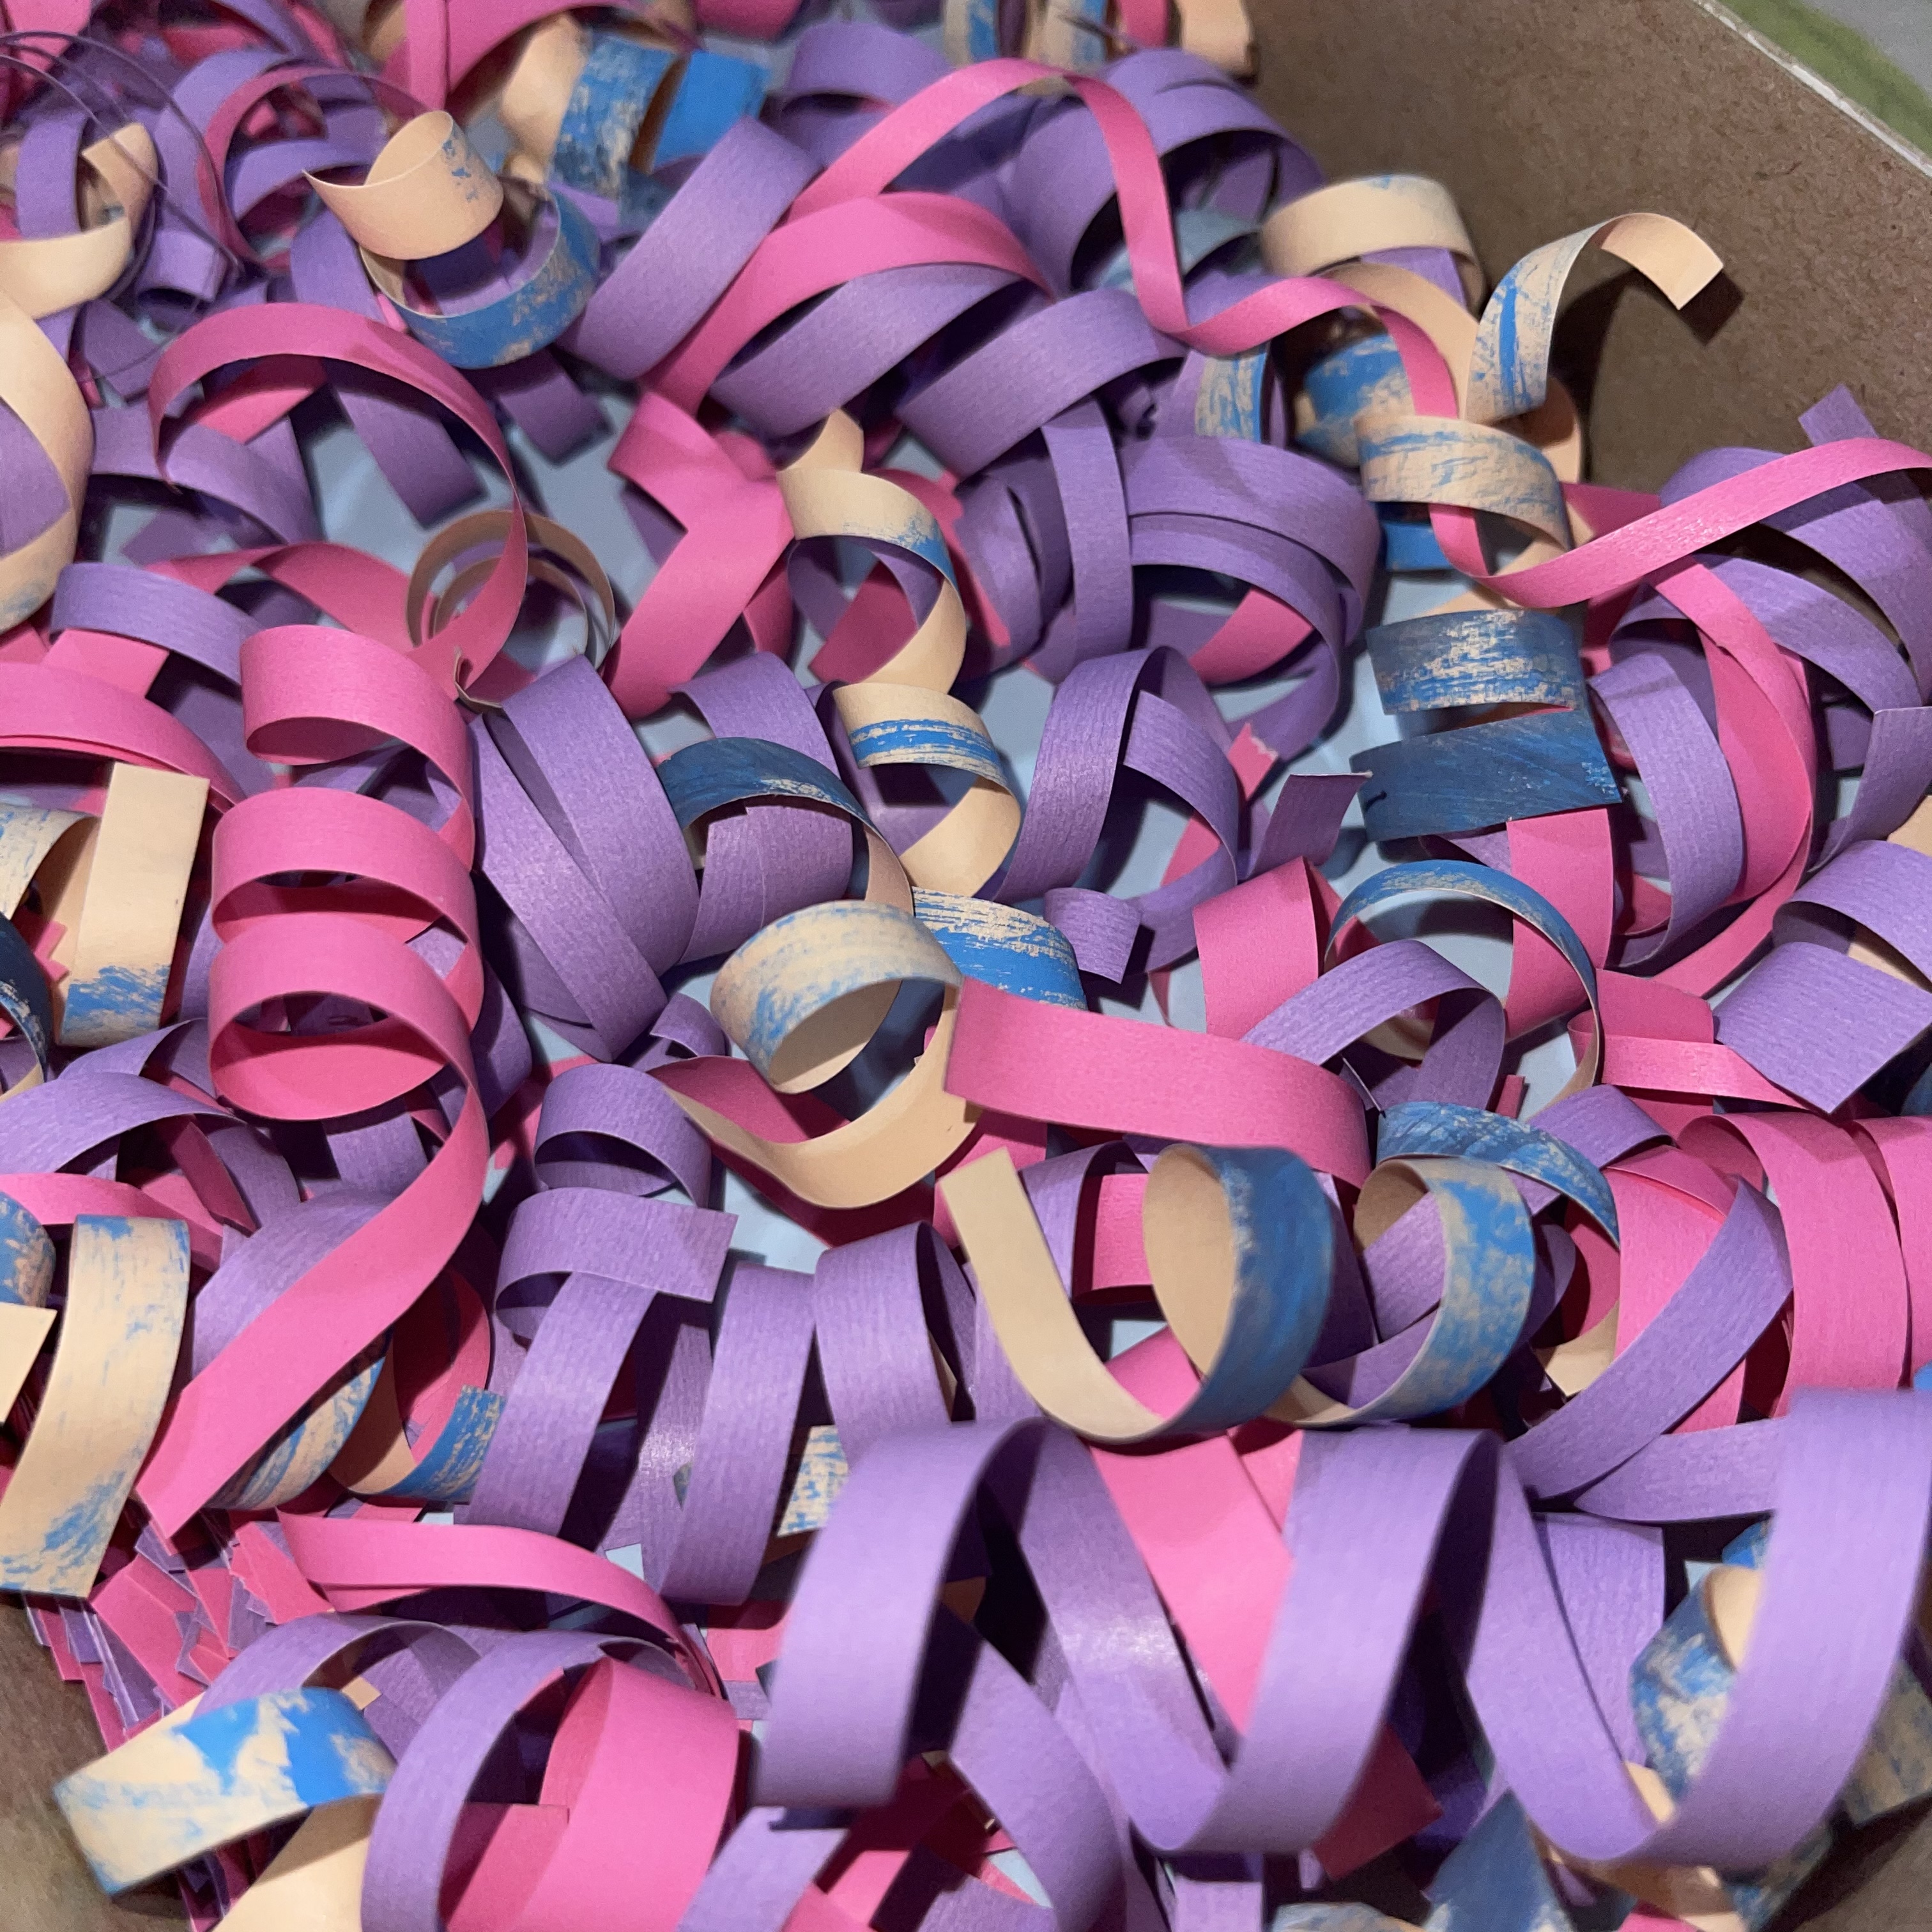
Afterwards, cut the colored paper into strips. To share, the paper with shade of blue was hand painted by my sister -abstract. In this way, you can use it for additional touch in your journals, diary, notes and or photo album.
Right after cutting strips, curl the it using scissors by sliding the unsharp steel of it. Just simply slide down the scissors in each strips to curl it like this.
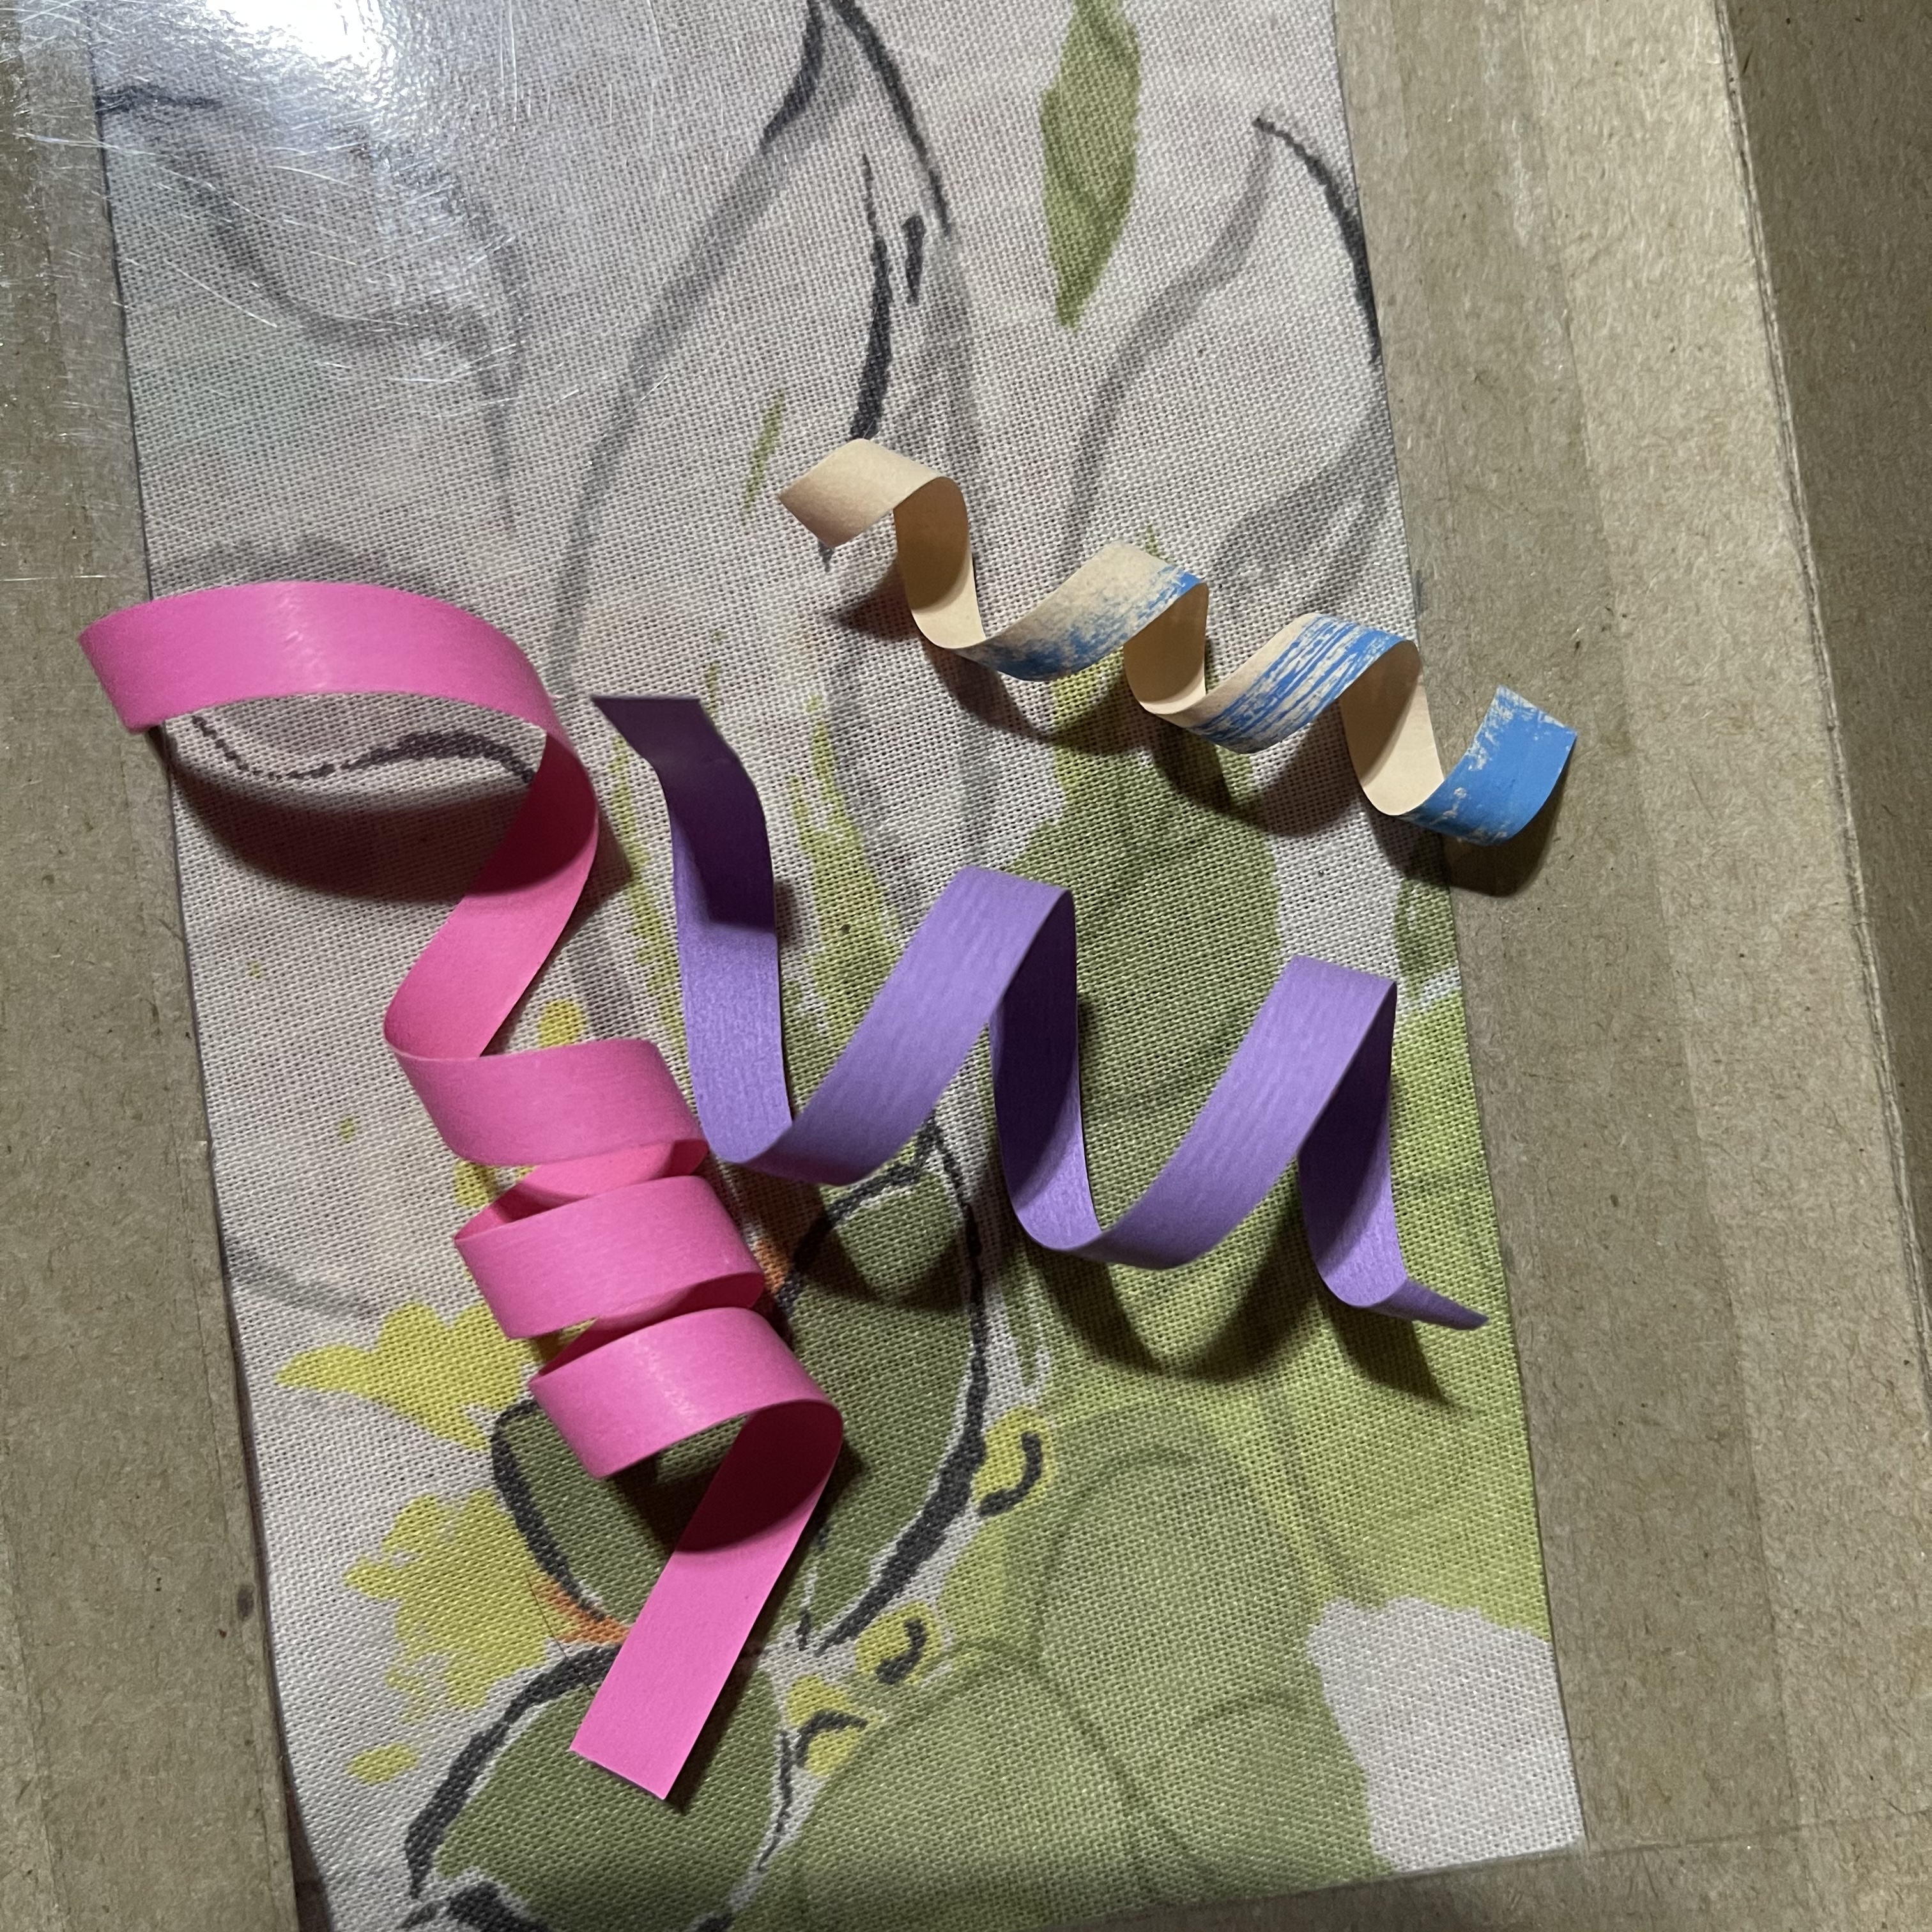
Make a lot of it to fill the happy-surprise box. You can also put colored paper first before filling it up with these curls.
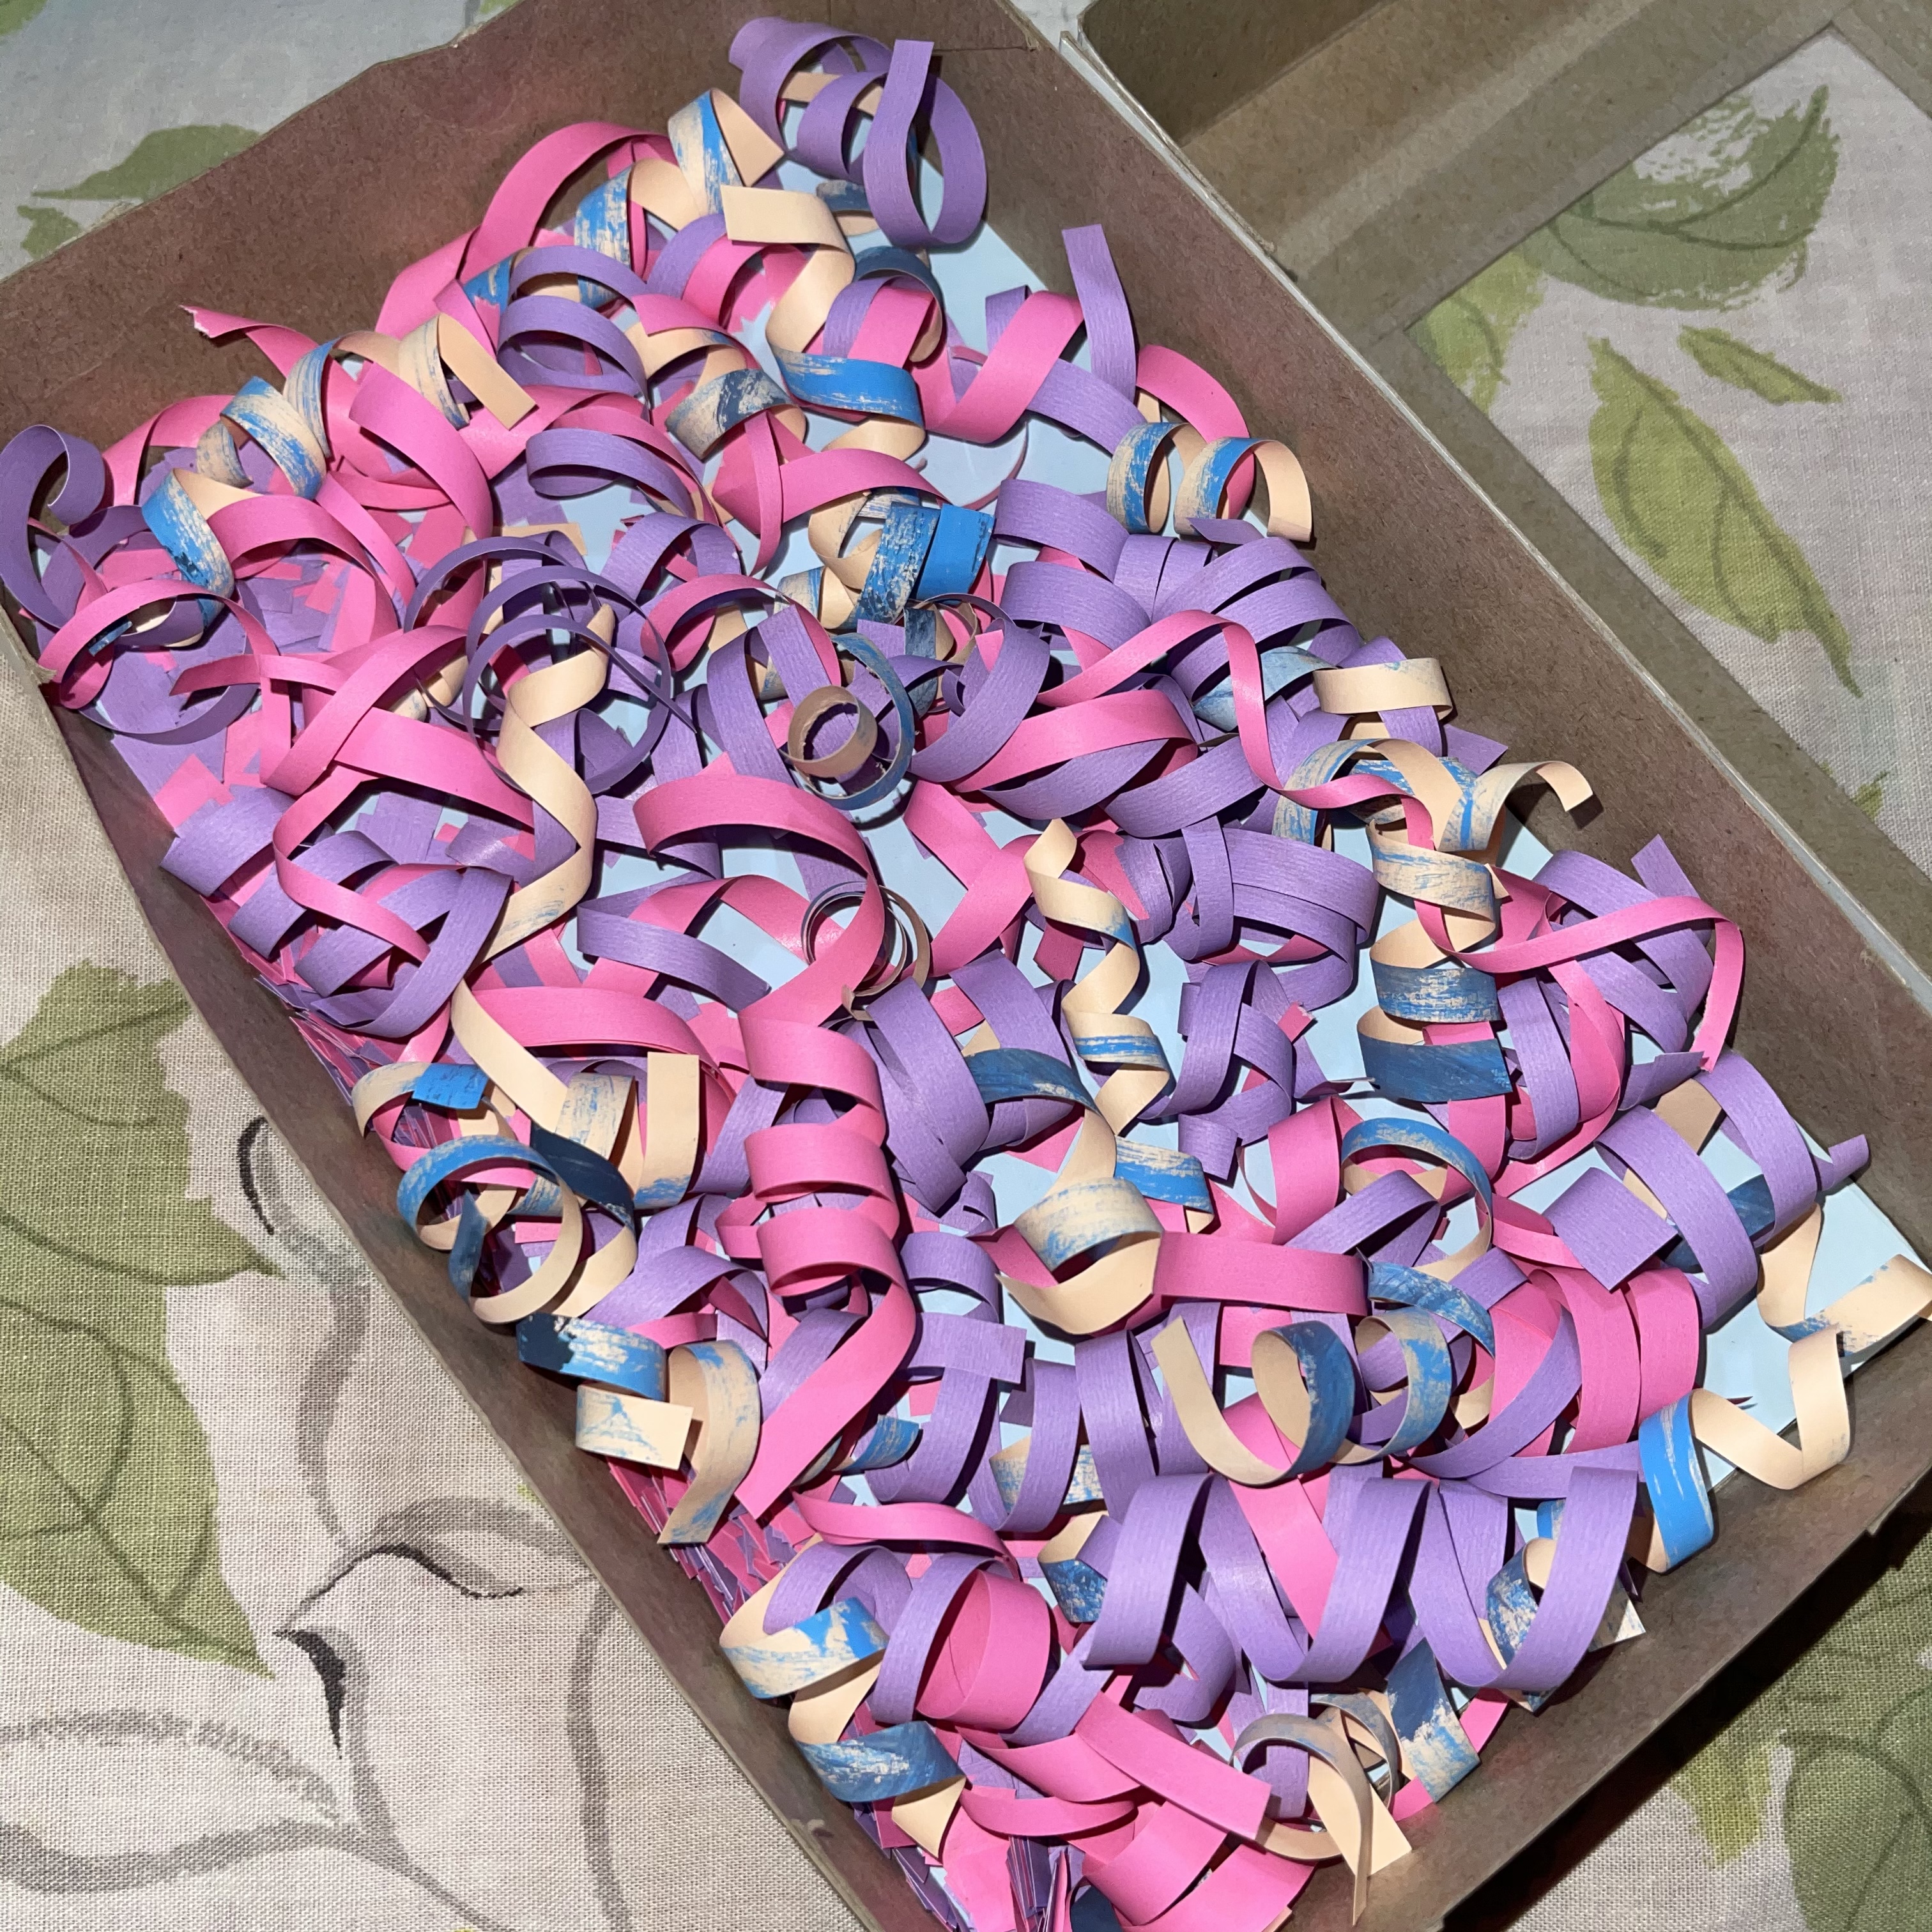
Look how these curls look cute and elegant. My little sister’s artwork gives much more attractive.
And lastly, you can now put the gift items inside the box!

This is the video I recorded when I finished making the happy-surprise box. So pretty interesting, right?! This is for my couz @blindfolded by the way. Please do support her, too.
With this tutorial, you now have an idea on how to make boxes and how to make simple things a little extra before giving it. You can also add message or card inside of the box or some glitters especially when you will give it to girls. Or even pressed flowers or some rose’s petals instead of using colored paper. This is just so easy to make as long as you measure and fold the sides equally.
Hope this beauty of creativity could help you in innovating ideas with simple gift items yet so meaningful as it’s MADE OF LOVE. Thank you so much everyone!
HAPPY STEEMING!


I superrr love it 😍😍😍
😘🥰♥️
beautiful and thanks for share your nice creativity.
Thank you very much!
HAPPY STEEMING! 💚