DO-IT-YOURSELF OVERSIZE ROSES CRAFT | Learn how to do it with me!
Making this paper rose will help to brighten your room and anyone who receives this DIY craft will be impressed with your creativity. Now, I will share with you how to make these DIY paper roses.

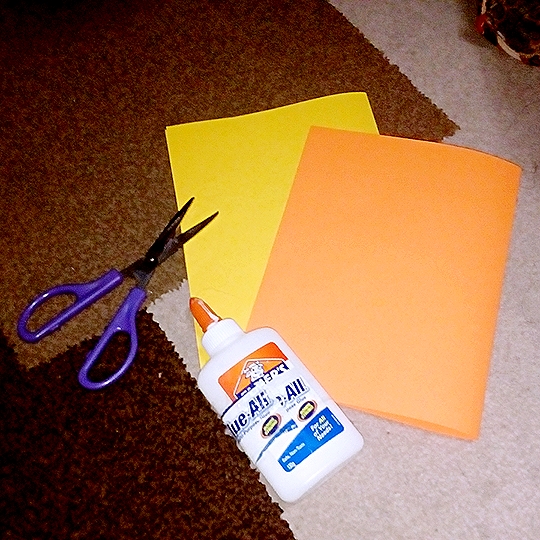
What you will need to make the paper roses:
• Colored paper (A4 size)
• Glue
• Scissors
Instructions how to make paper roses:
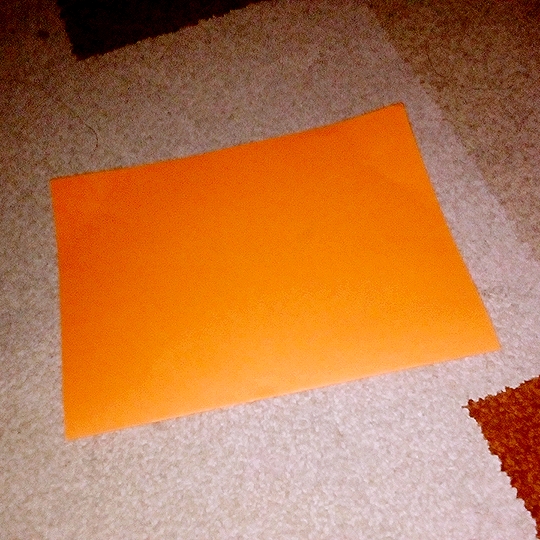
• First, get ready your materials and tools.
• Get a clean sheet of colored paper. You can have any color you want.

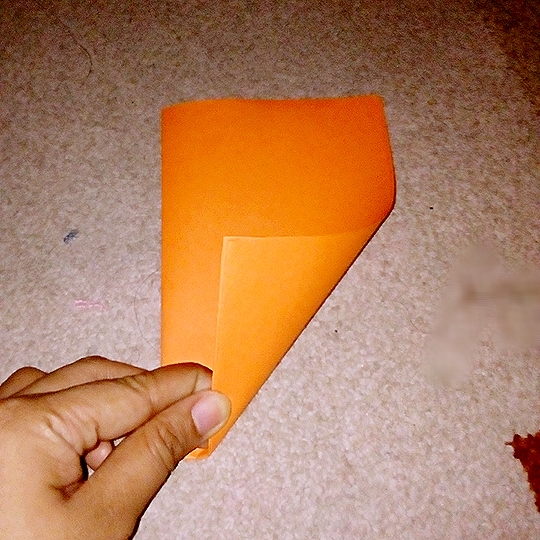
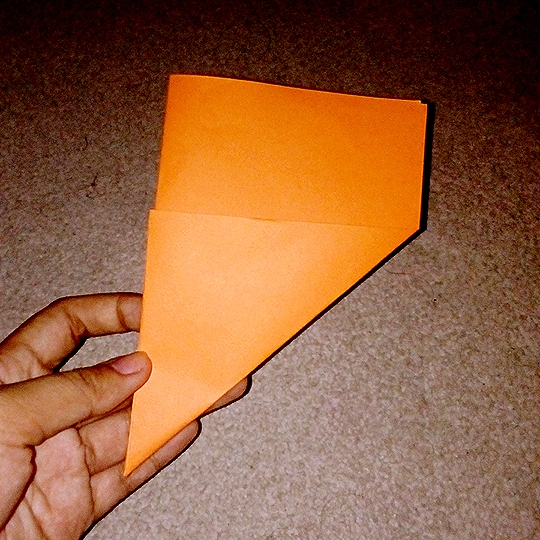
• Fold it in to half.
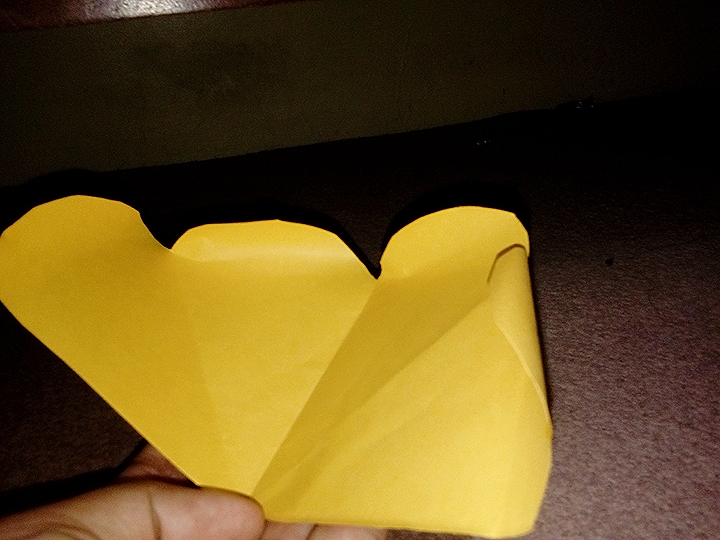
And in to fourth then fold the side of the paper as shown below.
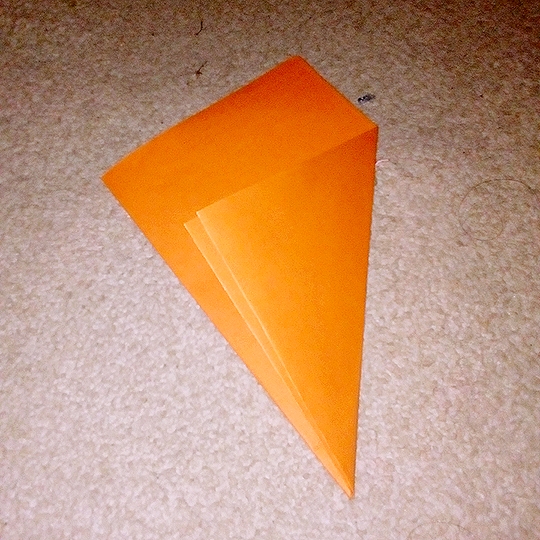
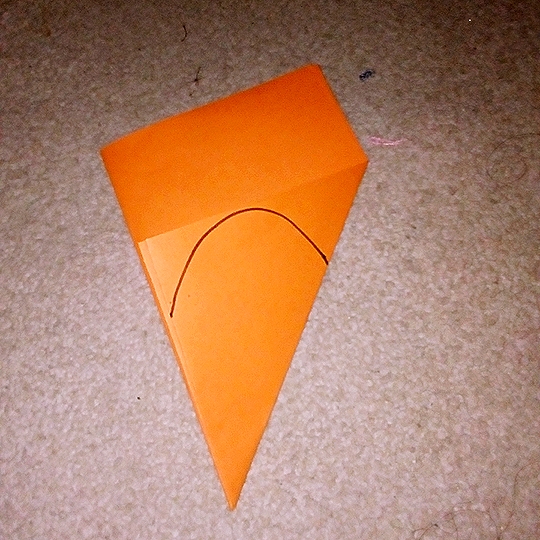
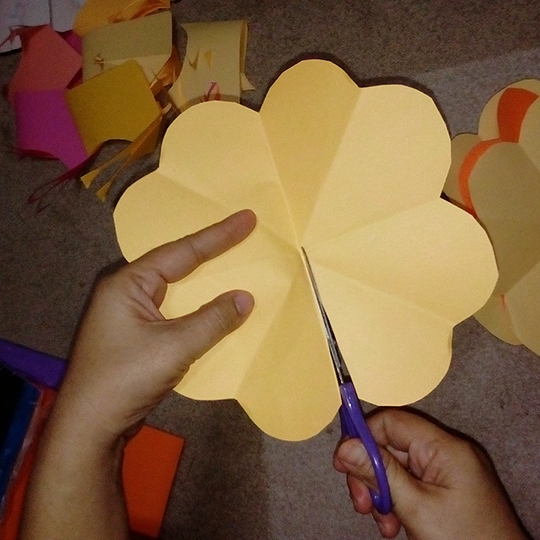
• Then cut the curved-line (guide).
• After cutting the curved line, you will have this shape.
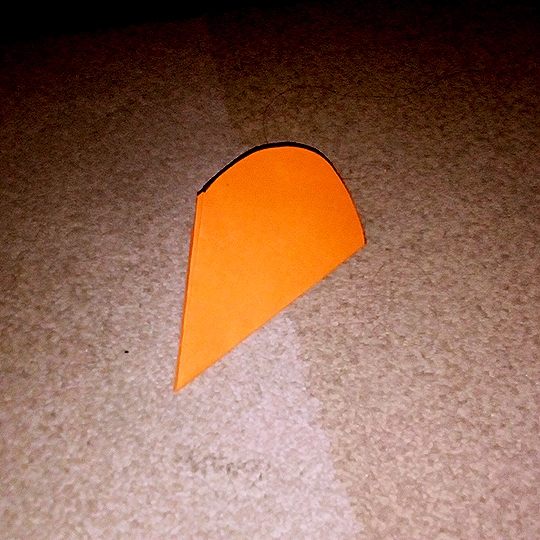
• Open it then you will have this final touch for the rose-petal flower but this tutorial is not finish yet. There's more.
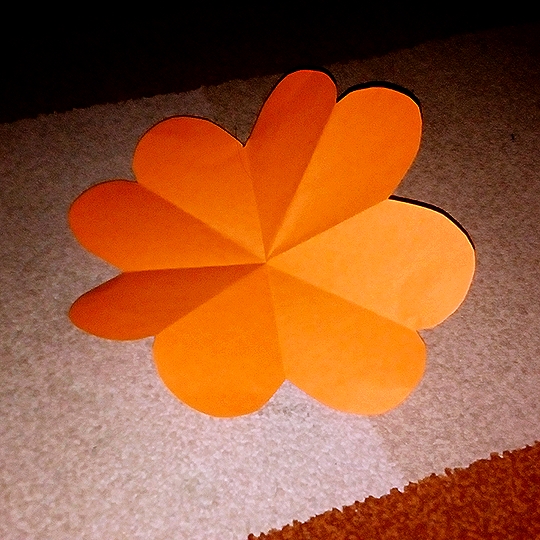
• Make more of it.
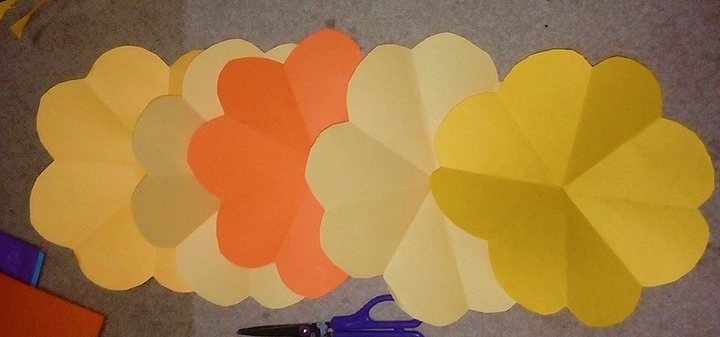
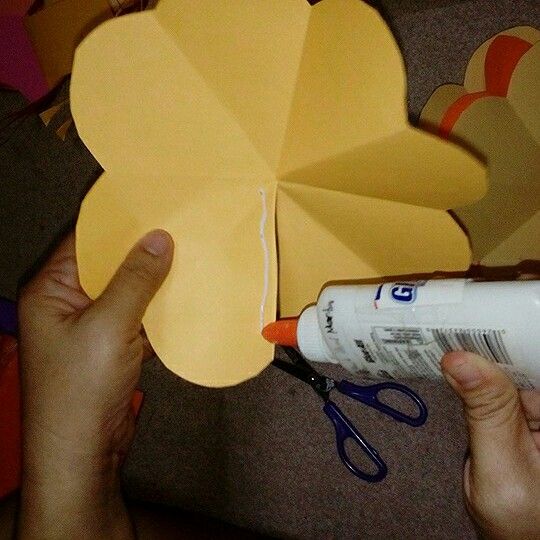
• After cutting the rose-petals, proceed to this part. Follow the procedures as shown below.
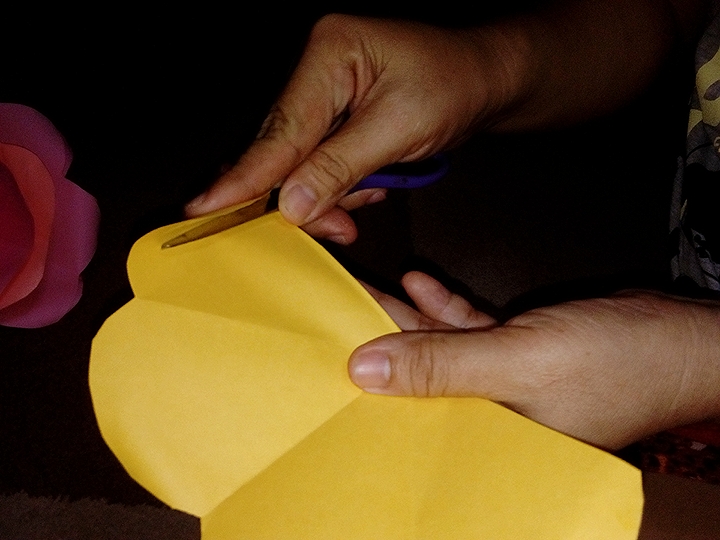
• Next, curve the edge of scissors to curve the petal.
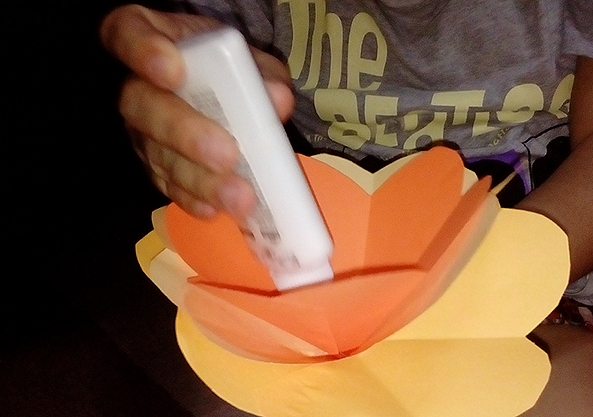
• Then, glue those petals you have cut by gluing the side to side part of the petals.
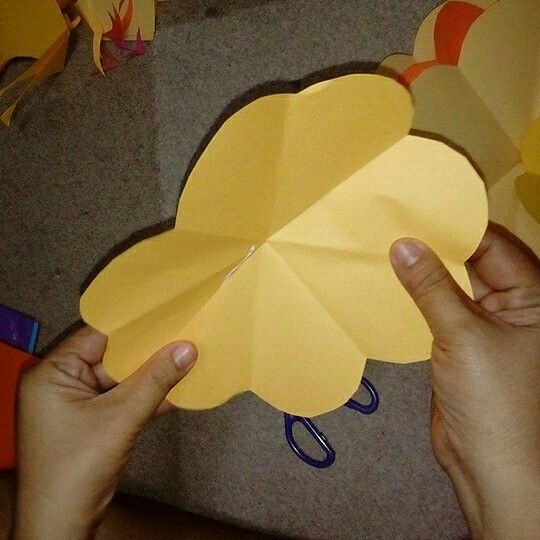
• Collect them all. When all petals are glued, proceed to the next procedure.
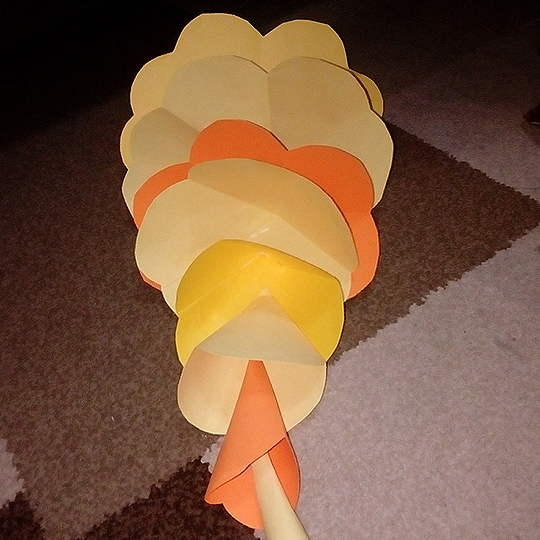
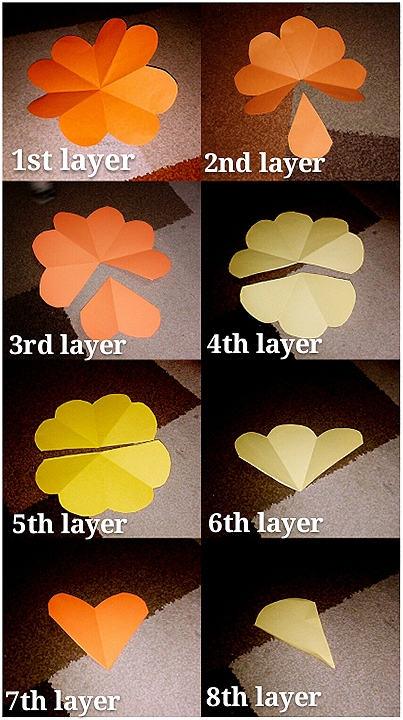
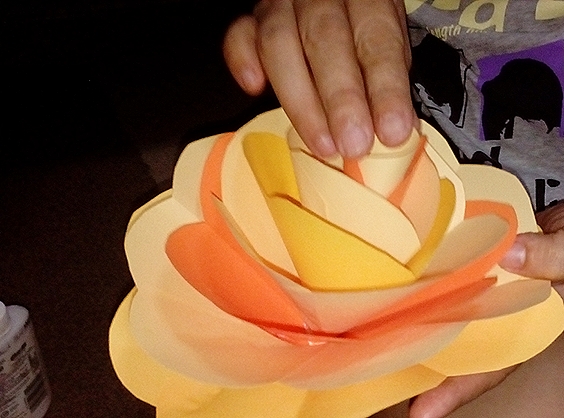
• Arrange them by layer by layer.
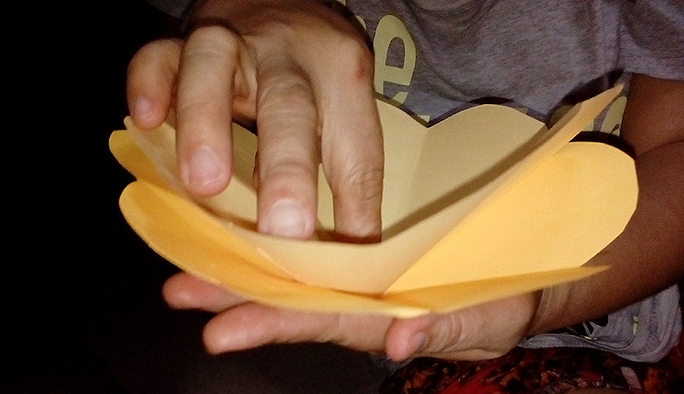

• Just continue this procedure until all the layers will be completely done.
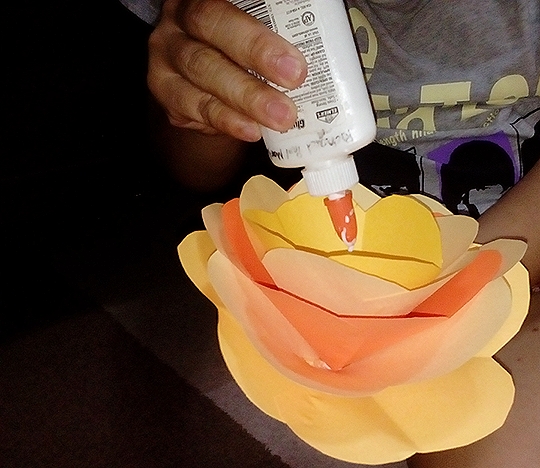
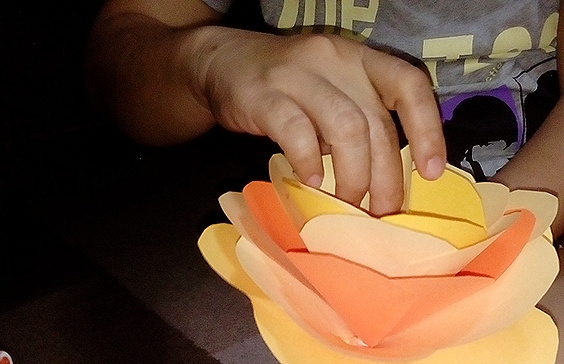
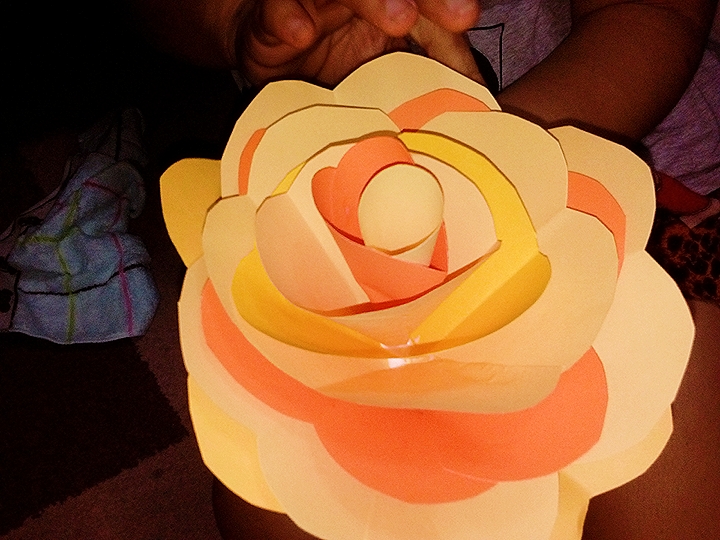
• Final touch.
And there you have it. Achieved!
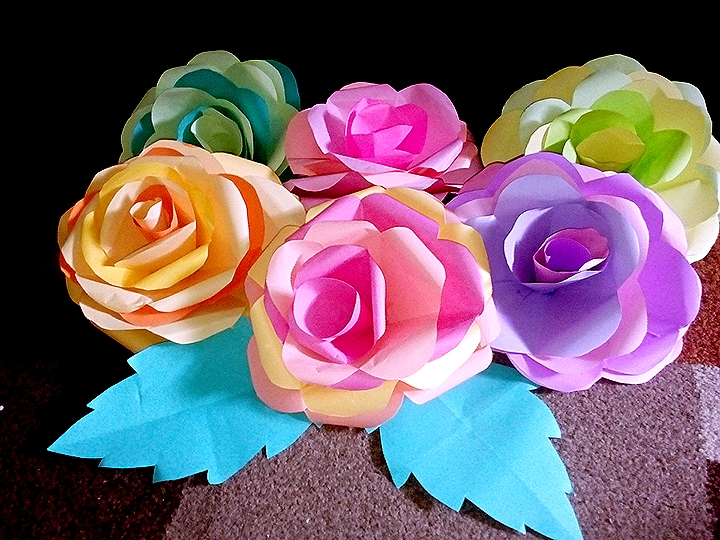
COLLECT THEM ALL!
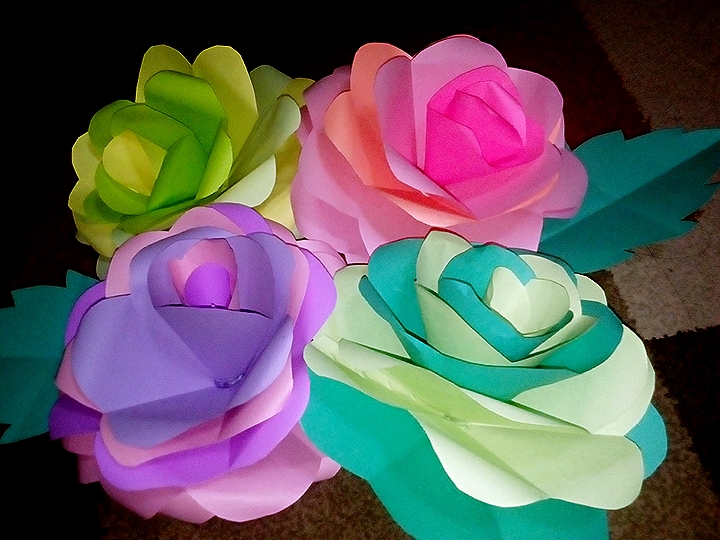
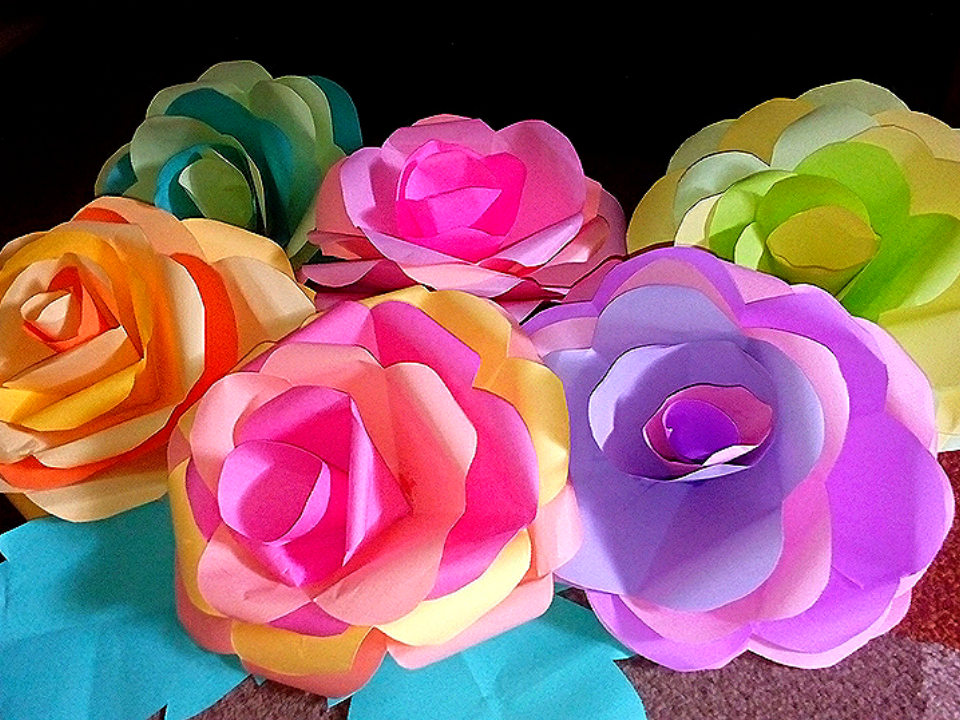
You can make this DIY Paper Roses as much as you want to have. Having this, it's like you're in a paradise or in wonderland of Alice'.
You can also make some leaves to have the complete package of beauty.
Who would have thought that simple materials can be turn into incredible and simple-quick DIY craft. This DIY paper roses can be decorated to your walls and may be hanged in ceilings near the lights to have the great effect of illumination and it can also be decorated in tables for any occasions or holidays. Especially birthday occasions or wedding.
This simple yet incredible DIY will give you an idea to decorate your room. I hope this tutorial blog may give you a PUSH to try it for wall decor or some what. 😊
HAPPY TUESDAY!

JOIN WITH US ON DISCORD SERVER:
Thank you very much! 💚
HAPPY STEEMING!
Amazing😍 @lulletematz
Thank you very much!