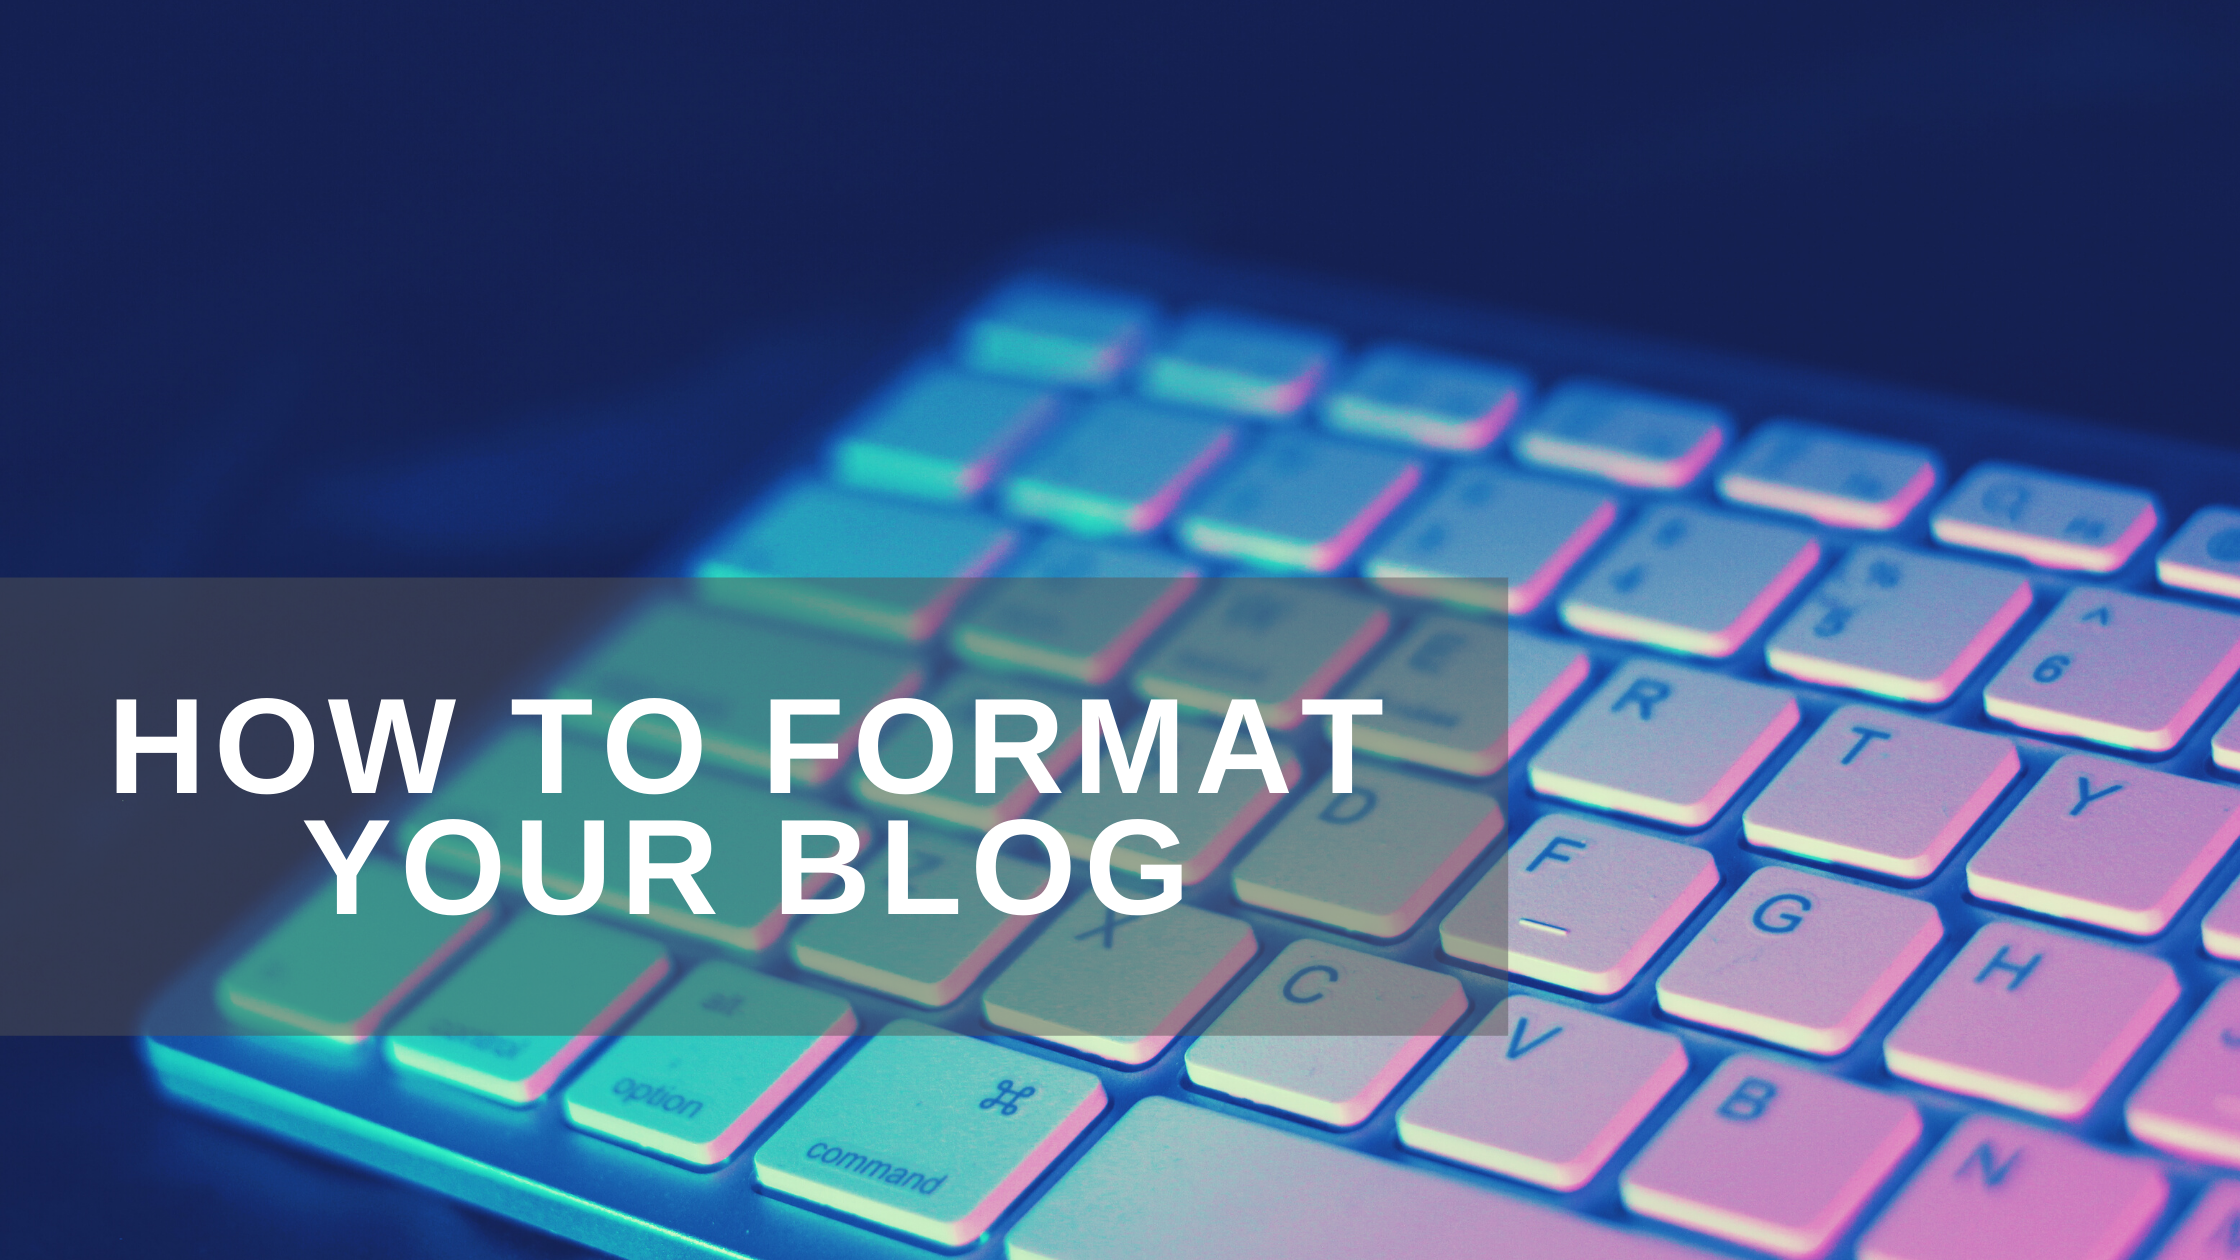
How to Format Your Blog
Hi everyone!
Since some of the Filipinos decided to be back on Steemit, and some of them invited their friends to start their crypto journey—including my friends, I wanted to share some of the things that I learned in blogging especially on how to format them. The same as you guys, if not all but mostly, my journey in cryptocurrency started here on Steemit. I was motivated to write back then because I was determined to have an extra income so I can attend the concert of my favorite Japanese Rock Band—One OK Rock— in Manila, Philippines.
I thank @junebride, @g10a, and @long888 since these three were the keys to why I found Steemit.
I would be a hypocrite if I say I love writing that is why I am here. No, I am here because I love to write and need extra money. Hitting two birds with one stone sounds really good.
But to earn, you should know what you give is what you will receive. It doesn't mean that if you write something here, then you will be rewarded with such a huge upvote. Keep in mind that you should make your blogs interesting, intriguing, and pleasing to look at. It's one of the many ways to attract readers. Also, build your audience through engaging.
Anyway, what I'm going to share with you are some of the things that I keep in mind when I write and format my blogs:
TITLE
Your title should be catchy but not too fancy. Intriguing but straight to the point and not wordy. In formatting the title or header, remember to follow the standard rules for title capitalization.
- Capitalize the first and last word.
- Every first letter in a word should be capitalized except for the articles (a, an, the), prepositions, and conjunctions.
- Do not punctuate your title except when necessary.
For example:
- A Moment to Remember
- Art: A Body of a Woman
If you look closely at the second example, a colon is used after Art followed by an article A. Without the colon, A should be in the lowercase. Then on the second article "A", it is in lowercase because, as mentioned earlier, articles should be in lowercase except when it is used as a first word, like example number 1.
You can check if you are following the standard title capitalization through this site: Capitalize My Title.
PHOTOS
Not everyone is a photographer; not everyone has decent cameras. But everyone has a mobile phone. With that, download and install a photo editor mobile app. Edit the photos when you can. When capturing, focus on the subject. It is more appealing when the story you are sharing has some photos where the readers could see and visualize it even more.
In my case, I use Snapseed and 1998 Camera. Sometimes, I use Lightroom. I am using my four-year-old mobile phone, and the quality is not that good. But I take time to enhance the photos before posting them.
MARKDOWN
There are already many Markdown tutorials on the internet. Some are applicable on Steemit, but some are not. When writing a blog, make sure you format the body orderly.
1. HEADERS
Adding headers to your blog provides emphasis on the topic. This way, the reader will have a hint as to what the next section/topic is all about.
The title is Header 1. Then the next headlines, I will use the succeeding header numbers. I rarely use Header 2 and 3 since they are quite big for me.
Code:
<h1> Header 1 </h2>
<h2> Header 2 </h2>
<h3> Header 3 </h3>
<h4> Header 4 </h4>
<h5> Header 5 </h5>
<h6> Header 6 </h6>

# Header 1
## Header 2
### Header 3
#### Header 4
##### Header 5
###### Header 6
Preview:
Header 1
Header 2
Header 3
Header 4
Header 5
Header 6
Header 1
Header 2
Header 3
Header 4
Header 5
Header 6
In placing the headers, I like placing them at the center.
Code:
### <center> HEADLINE </center>
Preview:
HEADLINE
If there is a need to put a sub-headline, I use a line break and subscript.
Code:
### <center> HEADLINE <br> <sub> Sub-Headline </sub> </center>
Preview:
HEADLINE
Sub-Headline
Sub-Headline
2. ALIGNMENT
PHOTOS
Photos are essentials in blogs, but be mindful of the arrangement of the photos that your blog will not look like a blog with photo dumps. The default alignment of Steemit Markdown for photos is on the left side. To avoid editing your photos in layout, use the pull left and pull right.
Note that when using pull left and right, use the generated image link only. Erase the following: ![Image-Filename.png] and the open and close parenthesis.
Code:
Preview:
Code:
Preview:
For a photo to be placed alone, whether it is in portrait or landscape orientation, I make sure to add a center code.
Code:
Preview:
CAPTION
It is best to put some decent caption on your photo/s to add a precise story behind that picture. It doesn't need to be a paragraph long. When adding a caption, make sure to include it at the center.
Also, I use the subscript for the caption. This is to separate the caption from the normal text.
Code:
Preview:
Code:
Preview:
TEXT
The same with the photo, the default format in Steemit for the normal text is left. As for me, I like justifying the text like how a paragraph should be written on the paper.
Before anything else, I will set first that my blog should be justified. Hence, I will type this in the first and last parts.
Code:
<div class="text-justify">This is an example only for you to see that this sentence is justified because of the markdown code that I used before filling out the body of my blog. </div>
Preview:
Also, the pull left and pull right are applicable in text. These are useful when you are using two languages.
Code:
<div class=pull-left>
ROMAJI LYRICS
Kaze o Sagashite

kaze o kanjiyou kaze o kanjiru nda
namida kawakashitekureru kaze o sagashi ni ikou
bouken no tabi dareka to deau tame ni
tachidomaranai sa
hora, mae ni taisetsu na kimi ga matteru
</div>
Code:
<div class=pull-right>
ENGLISH TRANSLATION
Search the Wind

Feel the wind, just feel the wind
Let's go looking for the wind that will dry our tears away
The journey of adventures is for meeting someone special
I won't stop here
Look, just ahead there's you, my dear, who's waiting for me.
 </div>
Preview:
Kaze o Sagashite
kaze o kanjiyou kaze o kanjiru nda
namida kawakashitekureru kaze o sagashi ni ikou
bouken no tabi dareka to deau tame ni
tachidomaranai sa
hora, mae ni taisetsu na kimi ga matteru
Search the Wind
Feel the wind, just feel the wind
Let's go looking for the wind that will dry our tears away
The journey of adventures is for meeting someone special
I won't stop here
Look, just ahead there's you, my dear, who's waiting for me.
3. FONT STYLE
Highlighting a text or a line is necessary for emphasis. I use bold, italic, or a combination of both.
Code:
<b> Bold </b>
<i> Italic </i>
<b><i> Bold Italic </i></b>

**Bold**
*Italic*
**_Bold Italic_**

__Bold__
_Italic_
__*Bold Italic*__
***Bold Italic***
Preview:
Bold
Italic
Bold Italic
Bold
Italic
Bold Italic
Bold
Italic
Bold Italic
Bold Italic
4. LINKS
If you want to promote your website and other social media, make a clickable word or image for the viewers to check. As for me, I like placing my social media account as a footer.
Code:


Preview:
K N E E L Y R A C Code:
<center>
[**`K N E E L Y R A C`**](https://steemit.com/@kneelyrac/posts)
<sub> • [Instagram](https://www.instagram.com/lingaleeng/) • [Twitter](https://twitter.com/weeleeng) • [Goodreads](https://www.goodreads.com/user/show/23935722-caryl-keen)   • </sub>
</center>
Preview:
K N E E L Y R A C• Instagram • Twitter • Goodreads •
Final Thoughts
The above-mentioned formatting techniques and guidelines are my preference whenever I write blogs. You can copy them if you want to, or make this blog as a basis on how you format your blogs. The markdowns listed are not complete since I only listed those I always use.
You can search Markdown Tutorial, or head on to this cheatsheet: Markdown Cheatsheet.
When writing and not sure about your English, seek a little help from these two sites: Grammarly and Scribens.
If you are using images from the internet, it is best to use the following sites with free images: Pixabay and Unsplash. Even if it is free, remember to give proper credit.
For Photo Editor, you can download and install Snapseed and Lightroom. You can also use Canva, especially for your cover photo.
I hope this blog will help the newbies with no blogging experience. If you are still confused, let me know in the comment section.
All photos are mine, except for the cover photo edited from Canva.
K N E E L Y R A C• Instagram • Twitter • Goodreads •
Thank you for sharing this information.. 😊😊
You're welcome! :)
Salamat ken
You're welcome, Auntie! :)
Maraming Salamat sa iyong pagbahagi nang iyong Tutorial. Malaking tulong po ito para sa mga bago nating mga membro.
Walang anuman po! :)
Thank you so much for this dear. It has a big help in writing a catchy entries. I was able to take down 4 formats. Love it...
maraming salamat po nito!
You're welcome! :)
This is awesome, thanks! Some of the info here are even new to me, like how to justify the text.
Hala karon pa nako ni nakita nag browse2 ko sa mention na tab, resteem gihapon nako ni for future reference daghan pa kaayo ko wala nabal an ani
such a big help sis. many thanks
This is very helpful sis, thank you.
Hi @kneelyrac...
I am a team of pennsif witness promoters travelling around the country to get support from active steemians to donate support to one of our witnesses, @pennsif.witness, because one Philippines steemian vote is an honour that I should cherish. Would you like to support our witness?