Achievement 4 by @ jespy Task: Applying markdowns

Source
Hello steemians, i'm back again to take up my achievement 4. After having completed my achievements 1,2 and 3.
Steemit is a platform which makes use of markdowns while writing, inserting images and links etc, as you make your posts. There are many markdowns in steemit, but i will write about the basics. In this article i will guide you on how to achieve the following outputs with the right and appropriate markdowns.
1: Text
2: Headlines
3: images
4: tables
5: Links
1:Text
<div class="text-justify">
Hi I'm okereke jasper an affiliate marketer with D'vyne art gallery.
</div>
The Output will be
(without the justify command > )
The output will be
Hi I'm okereke jasper an affiliate marketer with D'vyne art gallery.
How to align text
<center> text here </center>
<div class="pull-right">text here </div>
<div class="pull-left">text here </div>
2:Headlines
Father 1
Father 2
Father 3
Father 4
Father 5
Father 6
The above are created with this code:
# Father 1
## Father 2
### Father 3
#### Father 4
##### Father 5
###### Father 6
3: Images
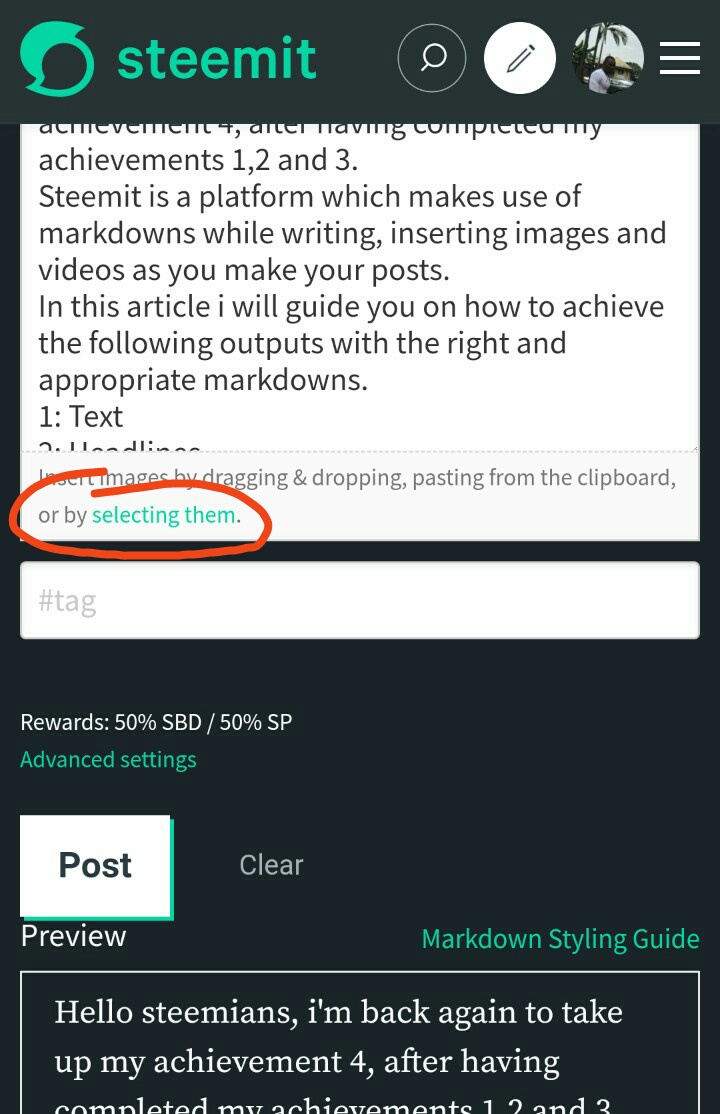
click on the circled spot on the image above. After which it directs you to your gallery where you select the image you want to upload. Checkout the image below.

Select your desired image after which you click done. The image will then appear in your article.
4: Tables
An easy way to create a table
Copy and paste the below and add as many 'wall' and 'partition' you need.
wall 1 | wall 2
--------- | ----------
partition 1 | partition 2
Will have the output >>
| wall 1 | wall 2 |
|---|---|
| partition 1 | partition 2 |
5: link
Links are vital in our posts on steemit. It is very useful and often needs to be used regularly.
- When we add a steemit username, along with its
@, the name becomes clickable (leading to the steemit blog page) i.e. @jespy - When we add a link, it is automatically recognized and is clickable i.e.
https://steemit.com/@jespy> > https://steemit.com/@jespy - A link can be hiden in a word or phrase, using the below syntax
[this will be an inline link](https://steemit.com/@jespy)transforms to >>
This will be an inline link
Cc:
@cryptokannon
@focusnow
@meymeyshops
@okoriepresh27
@mobibliss
@frankvictor