Create an Atari cartridge with CA65
The following tutorial walks through the steps of building a simple program in assembler to be deployed to a cartridge for Atari 8 bit computer using the CA65 assembler.
Source
The newest and all historic version of the source code can be downloaded from SourceForge.
Main source
Complete source code: HelloWorld.s
Header
The header of an contains the includes as well as the exports and imports. The main source for cartridges needs to export the cartstart and cartinit procedures.
cartinitis called before the OS is initialized and should return with anRTS.cartstartis jumped to after the OS is initialized and either should not return or exit withjmp (DOSVEC).
.FILEOPT        compiler, "ca65 V2.19 - N/A"
.FILEOPT        author,   "Martin Krischik «[email protected]»"
.FILEOPT        comment,  "this Atari assembly CAR program will print the “hello world” message to the screen"

.INCLUDE        "atari.inc"
.INCLUDE        "OS.inc"

.MACPACK        atari
.SETCPU         "6502"
.DEBUGINFO      off
.EXPORT         cartstart, cartinit
Read only data
When using the CA65 you don't need to set absolute addresses for your data. You just specify which data your want to store and how long the data is. "RODATA" will be stored in the ROM itself.
;;
; Our message
;
.SEGMENT        "RODATA"
Message:
                .BYTE       "Hello World!",EOL
                .BYTE       "(using a cartridge in assember)",EOL
Message_Len     =           * - Message
Read/Write data
If you want to write to the data you use the "DATA" segment which will be place in ram staring at address $2000.
;;
; Text returned from keyboard
;
.SEGMENT        "DATA"

Input:          .RES 1
Input_Len       =           * - Input
If you want to store data in the zero page you can use the "ZEROPAGE" segment.
Program
The actual program consist of a put string which write the text „Hello World!“ and a get string to wait for a key press. It ends with a jump to DOSVEC. Put_String and Get_String are macros explained later.
;;
; main procedure
;
.SEGMENT        "CODE"
.ORG            OS::LC_8K

;;
; the main method of a cartridges does not return.
;
.proc           cartstart:  near

                Put_String  Message,Message_Len
                Get_String  Input,Input_Len

                jmp         (DOSVEC)
.endproc

;;
; cartridges have an init function which is called
; before the operating system is initialized.
;
.proc           cartinit: near
                RTS                     ; Continue with initialisation
.endproc
OS macro include
Complete source code: OS.inc
Put_String
This is setting all the parameters for an PUTCHR operation using I/O block 0 which by default uses the "E:" editor device.
.macro          Put_String Text,Len
                LDX #CIO::Console       ;Use IOCB 0 / Console
                LDA #PUTCHR             ;  Command Put Text Record
                STA ICCOM,X
                LDA #<(Text)            ;  Set low byte of message
                STA ICBAL,X
                LDA #>(Text)            ;  Set high byte of message
                STA ICBAH,X
                LDA #<(Len)             ;  Set low byte of message length
                STA ICBLL,X
                LDA #>(Len)             ;  Set high byte of message length
                STA ICBLH,X
                JSR CIOV                ;Call cio
.endmacro
Get_String
This is setting all the parameters for an GETCHR operation using I/O block 0.
.macro          Get_String Buffer,Len
                LDX #CIO::Console       ;Use IOCB 0 / Console
                LDA #GETCHR             ;  Command Get Text Record
                STA ICCOM,X
                LDA #<(Buffer)          ;  Set low byte of buffer
                STA ICBAL,X
                LDA #>(Buffer)          ;  Set high byte of buffer
                STA ICBAH,X
                LDA #<(Len)             ;  Set low byte of buffer length
                STA ICBLL,X
                LDA #>(Len)             ;  Set high byte of buffer length
                STA ICBLH,X
                JSR CIOV                ;Call cio
.endmacro
Cartridge Header
Complete source code: CAR_Header.s:
The cartridge header are a few bytes at the end of the cartridge. This file tells the linker what to put into the header. The header is exported as __CART_HEADER__ so the linker know that this is indeed the cartridge header.
.EXPORT         __CART_HEADER__: absolute = 1
.IMPORT         __CARTSIZE__, __CARTFLAGS__, cartinit, cartstart

;;
; set init and main run addresses
;
.SEGMENT        "CARTHDR"

.ORG            CARTCS                  ; cartridge start address
.WORD           cartstart

.ORG            CART                    ; cartridge present indicator
.BYTE           $00

.ORG            CARTFG
.BYTE           <(__CARTFLAGS__)        ; Init and start cartridge, no disk, no diagnostic.

.ORG            CARTAD                  ; cartridge initialise vector
.WORD           cartinit

.assert         (__CARTSIZE__ = $2000 || __CARTSIZE__ = $4000), error, "Cartridge size must either be $2000 or $4000"
Makefile
Complete source code: Makefile and Atari.inc.mak
Variables
A few variables describing the current project.
Package_Name    := Hello_World
App_Name        := HELLO_A
Exe_File        := target/$(App_Name).CAR
Object_Files    := target/obj/HelloWorld.o target/obj/CAR_Header.o
Map_File        := target/$(App_Name).MAP
Include_Dir     := ../../Library
Assemble
The assemble command needs are passed the following options:
- The platform you assemble for:
--target atari - Where include files are located:
--include-dir $(Include_Dir) - Creating a listing of actual code is always helpful:
--listing $(basename $(@)).lst - The current output file
-o $(@) - And the first input file
$(<)
target/obj/%.o: src/main/asm/%.s
        ca65                                    \
            --target atari                      \
            --include-dir $(Include_Dir)        \
            --listing $(basename $(@)).lst      \
            -o $(@)                             \
            $(<)
Link
The link command needs are passed the following options:
- The size of the cartridge, 8k in our case:
-D__CARTSIZE__=0x2000 - The cartridge flags:
-D__CARTFLAGS__=0x4 - The platform you assemble with indication that we want a cartridge:
-C atari-cart.cfg - Creating a memory mapp file of linked code is always helpful:
--mapfile ${Map_File} - The current output file
-o $(@) - All the input file
$(+)
$(Exe_File): ${Object_Files}
        ld65                                    \
            -D__CARTSIZE__=0x2000               \
            -D__CARTFLAGS__=0x4                 \
            -C atari-cart.cfg                   \
            --mapfile ${Map_File}               \
            -o $(@)                             \
            $(+)
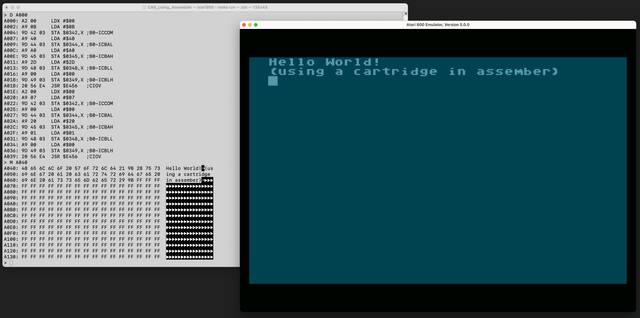
Run on Emulator
For testing and debugging the use of an emulator like the Atari800 is recommended. Deploying us much faster and can be automated inside the makefile so a simple make run will start the application. Note that you need to adjust the directory and file names to your system.
Atari800_System := /opt/local/share/atari800
Atari800_User   := "$(HOME)/Library/Application Support/Atari800"
Atari800_Exe    := "/usr/local/bin/atari800"
Atari800_Window := -video-accel -pal -win-height 1120 -win-width 1680
Atari800_Cart    = -cart-type 1 -cart "$(Exe_File)"
Atari800_Option  = -autosave-config -320xe -nobasic -config "$(CURDIR)/target/$(App_Name).cfg" -xlxe_rom "$(Atari800_System)/ATARIXL.ROM"

run: $(Exe_File)
    $(Atari800_Exe)     \
        $(Atari800_Cart)    \
        $(Atari800_Option)  \
        $(Atari800_Window)  \
The Atari800 emulator also has a system monitor with single step debugger and disassembler included which makes debugging that much easier.
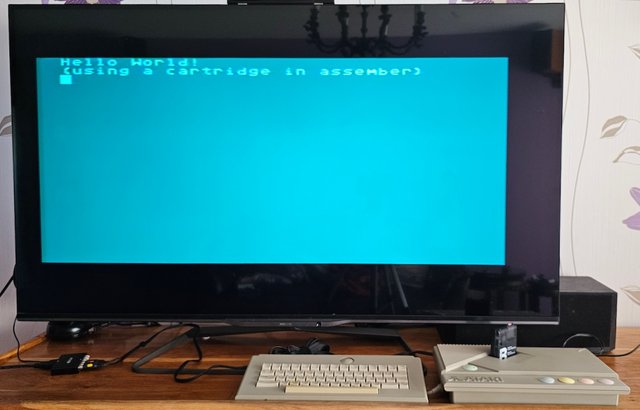
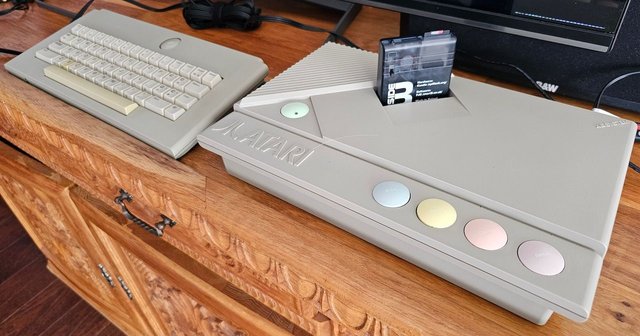
Run on device
Too run the application on a real Atari a hardware cartridge is needed. The best option is a modern cartridge like Side3 which uses SD cards and flash memory as ROM storage. A Side3 cost a little more then $€£100. A classic cartridge using EEPROMs will also work but is more work to setup and only slightly cheaper.
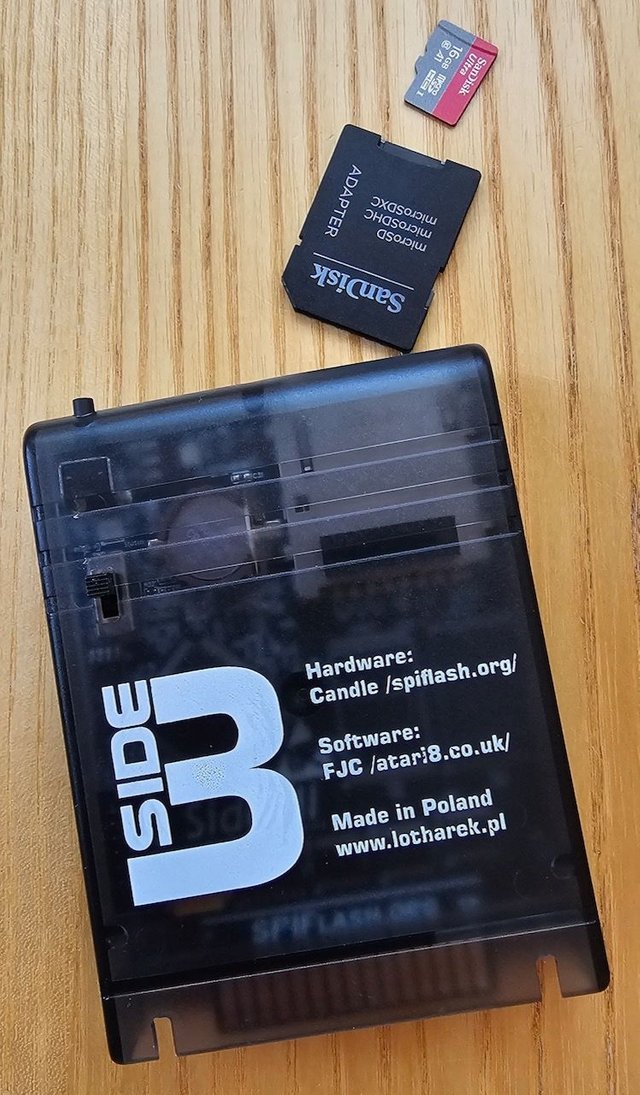
For the Side3 all you need to do is to copy the CAR file onto the SD card. This operation which can be automated using make.
Side3_Deploy    := /Volumes/SIDE3

side3: $(Exe_File)
    mkdir -p "${Side3_Deploy}/${Package_Name}"
    cp "$(<)" "${Side3_Deploy}/${Package_Name}"
#atari #8bit #eight-bit #mos-6502 #retrocomputing #assembler
Made the mistake of using branches instead of tags for the source code links. So all the links are broken after the feature branch was deleted. Here the correct links: