Steem Women Club Community Contest #15 DIY (Do It Yourself)
Hello everyone! Have you ever wanted to create something amazing without spending so much money on the materials? Have you ever wanted to paint but doesn't have the financial capability to acquire the tools such as paintbrushes, paints, mixing palette and others? Well, here is a Do It Yourself Art just for you!
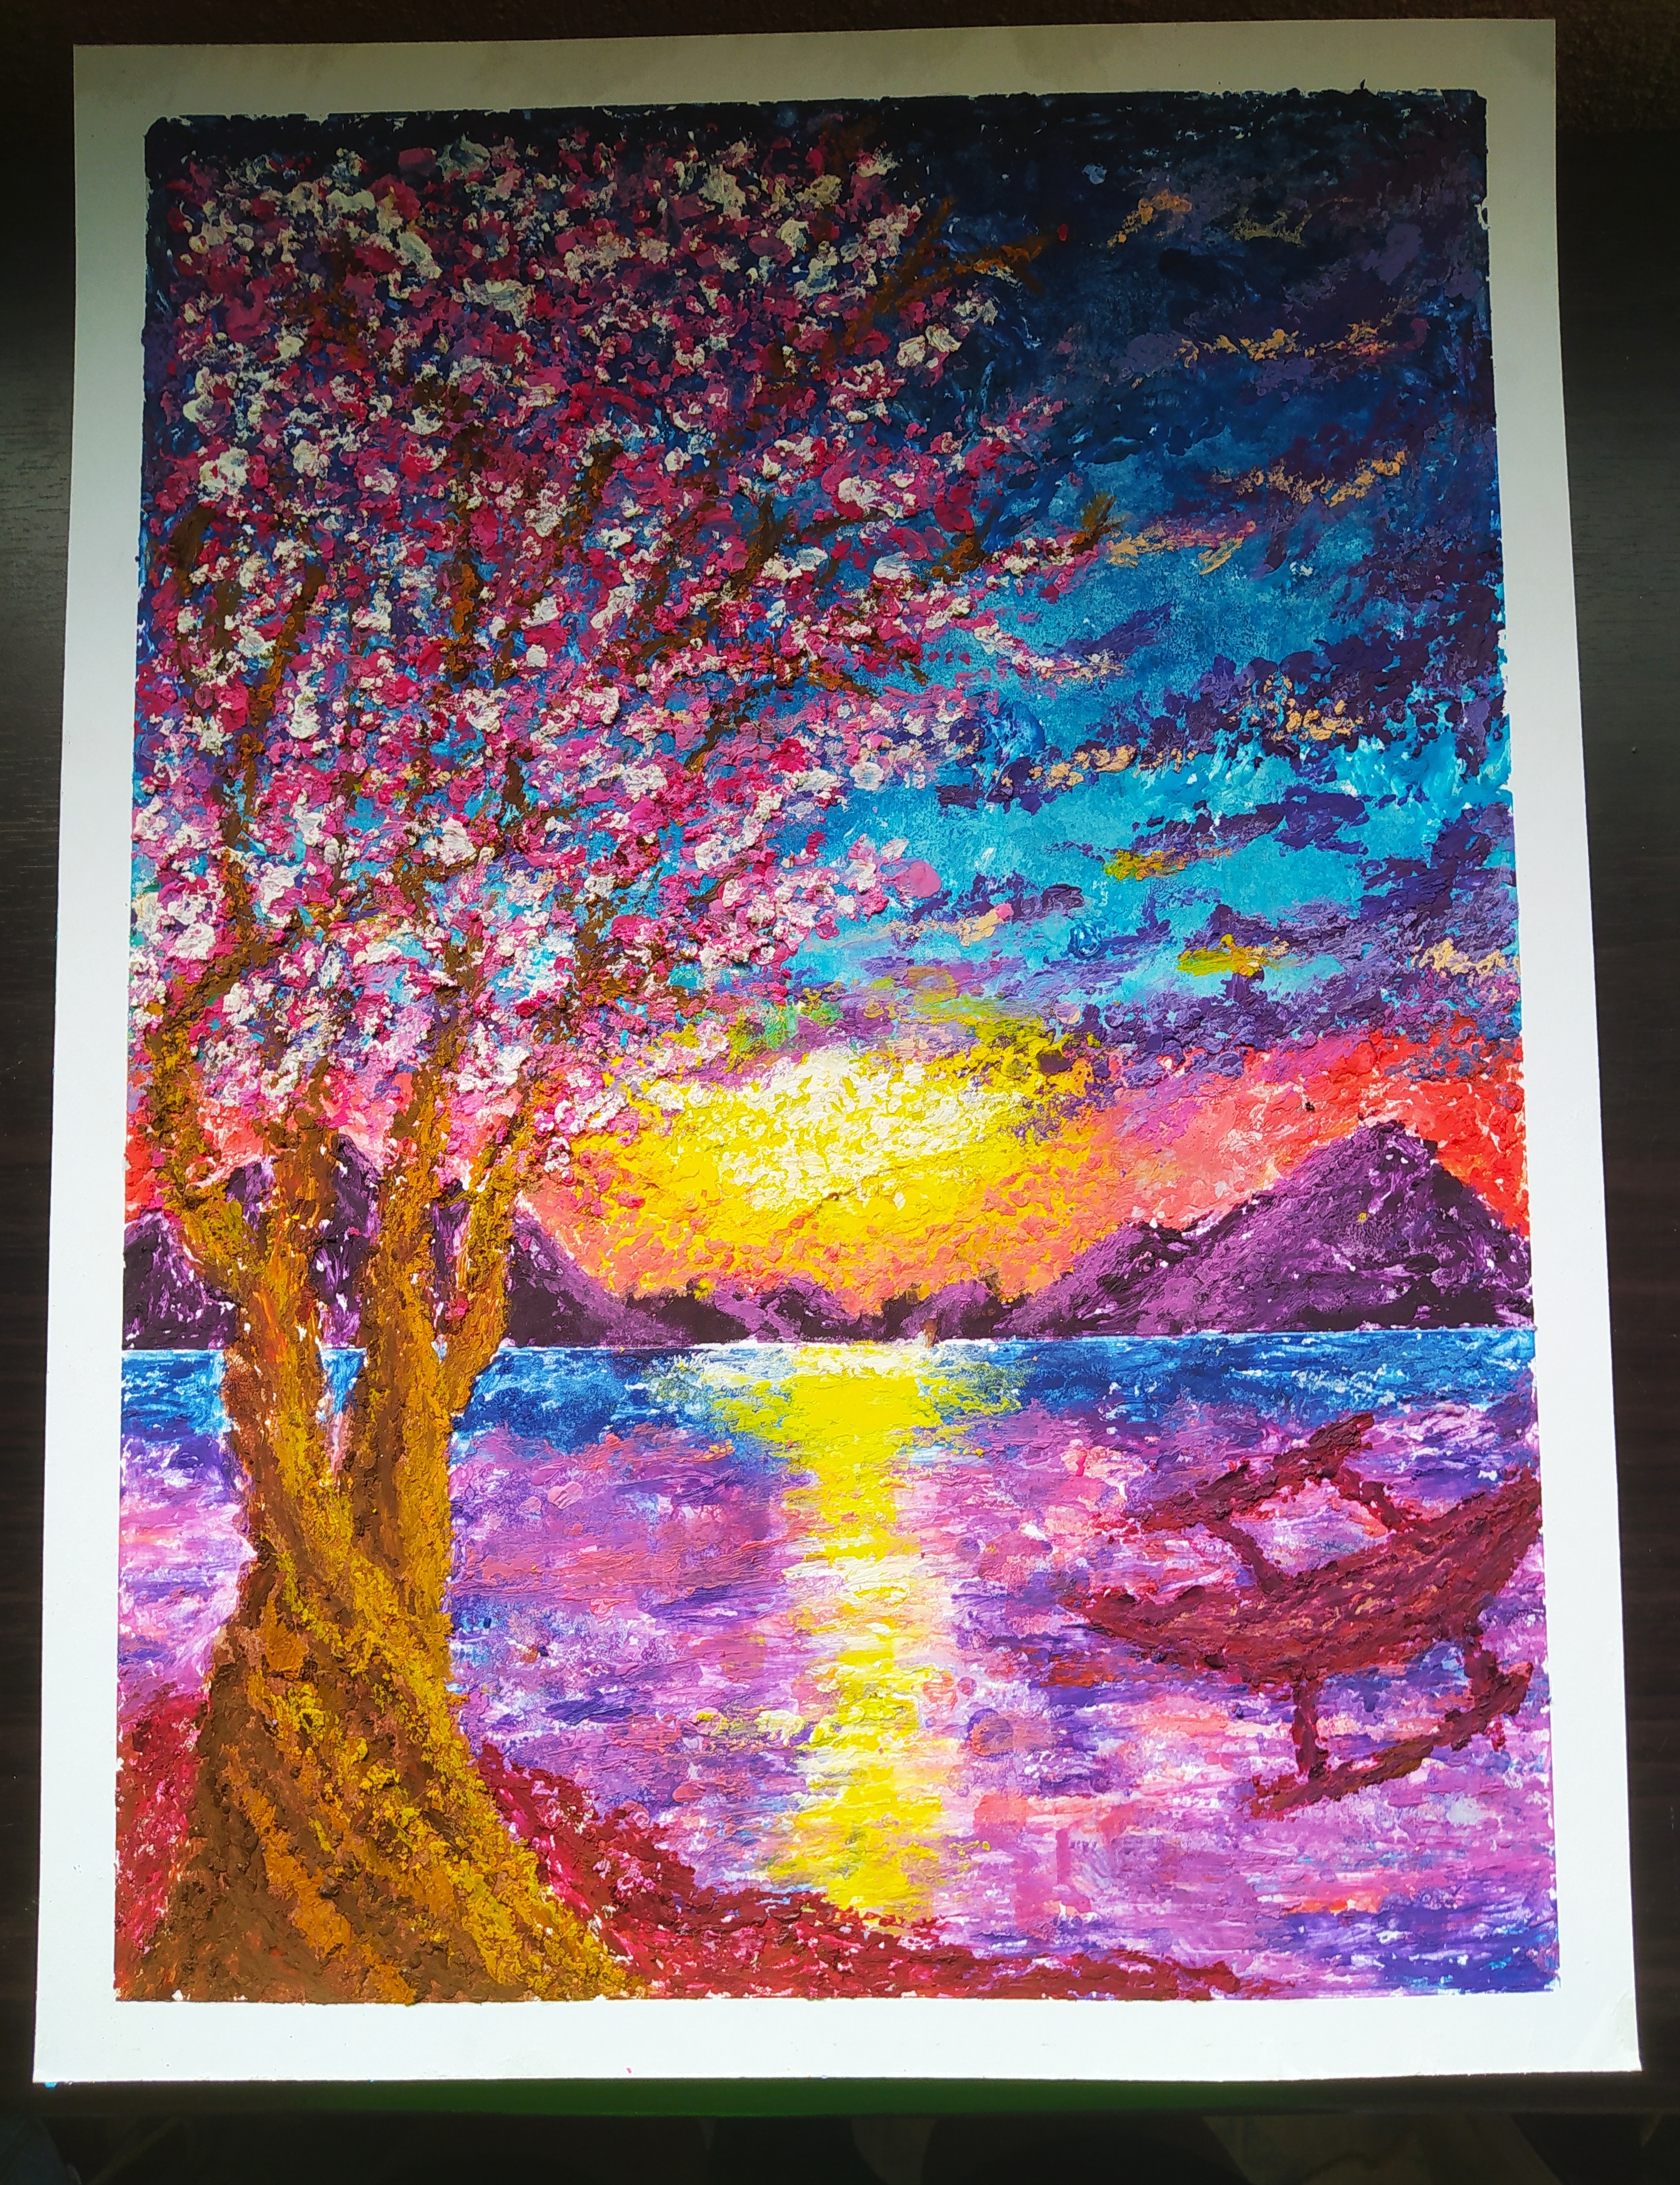
Today I will show you that you can maximize the use of a typical crayon into creating an amazing work of art!
This art piece was created by using MELTED CRAYONS as a medium. Here is a detailed step-by-step procedure on how I created this artwork.
PLANNING
Think first of what you would like to paint. It could be a portrait, landscape or even abstract. Think about what colors you want to use that would best suit your image in mind.PREPARATION
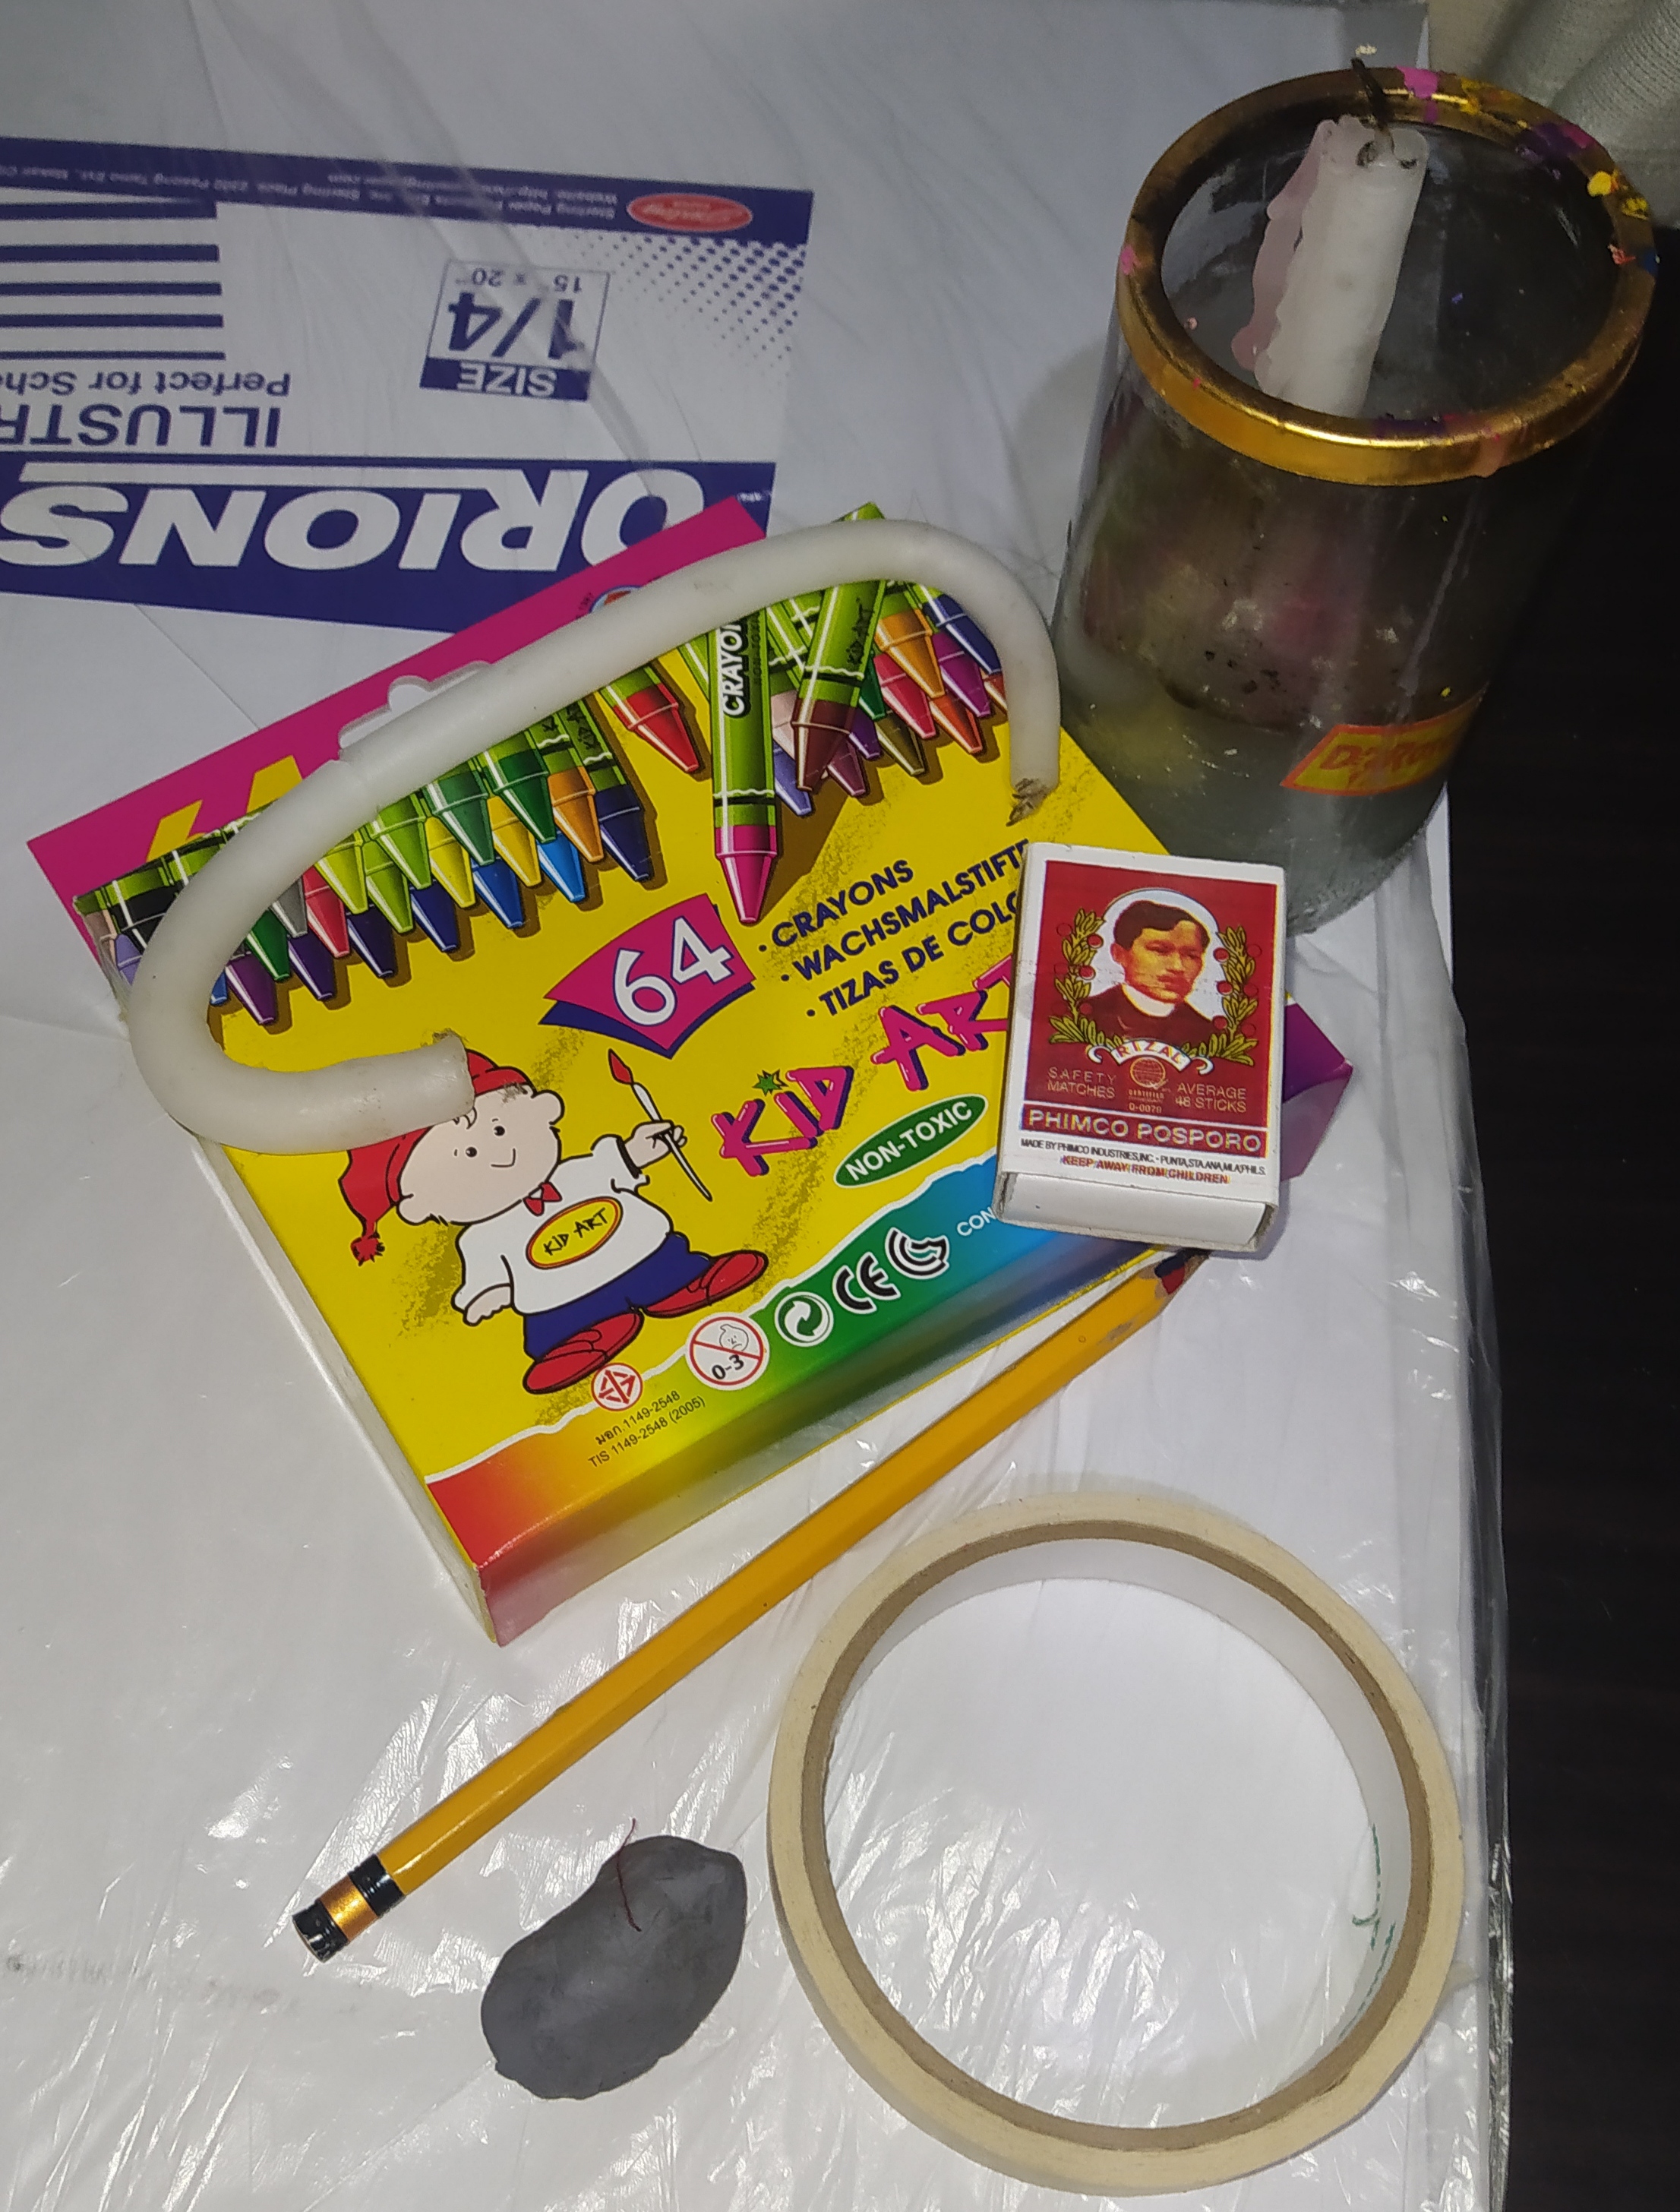
Prepare these materials: An Illustration board, Masking tape, Flat iron, Candle, Matches, Cutter or Scissors, and of course, Crayons!
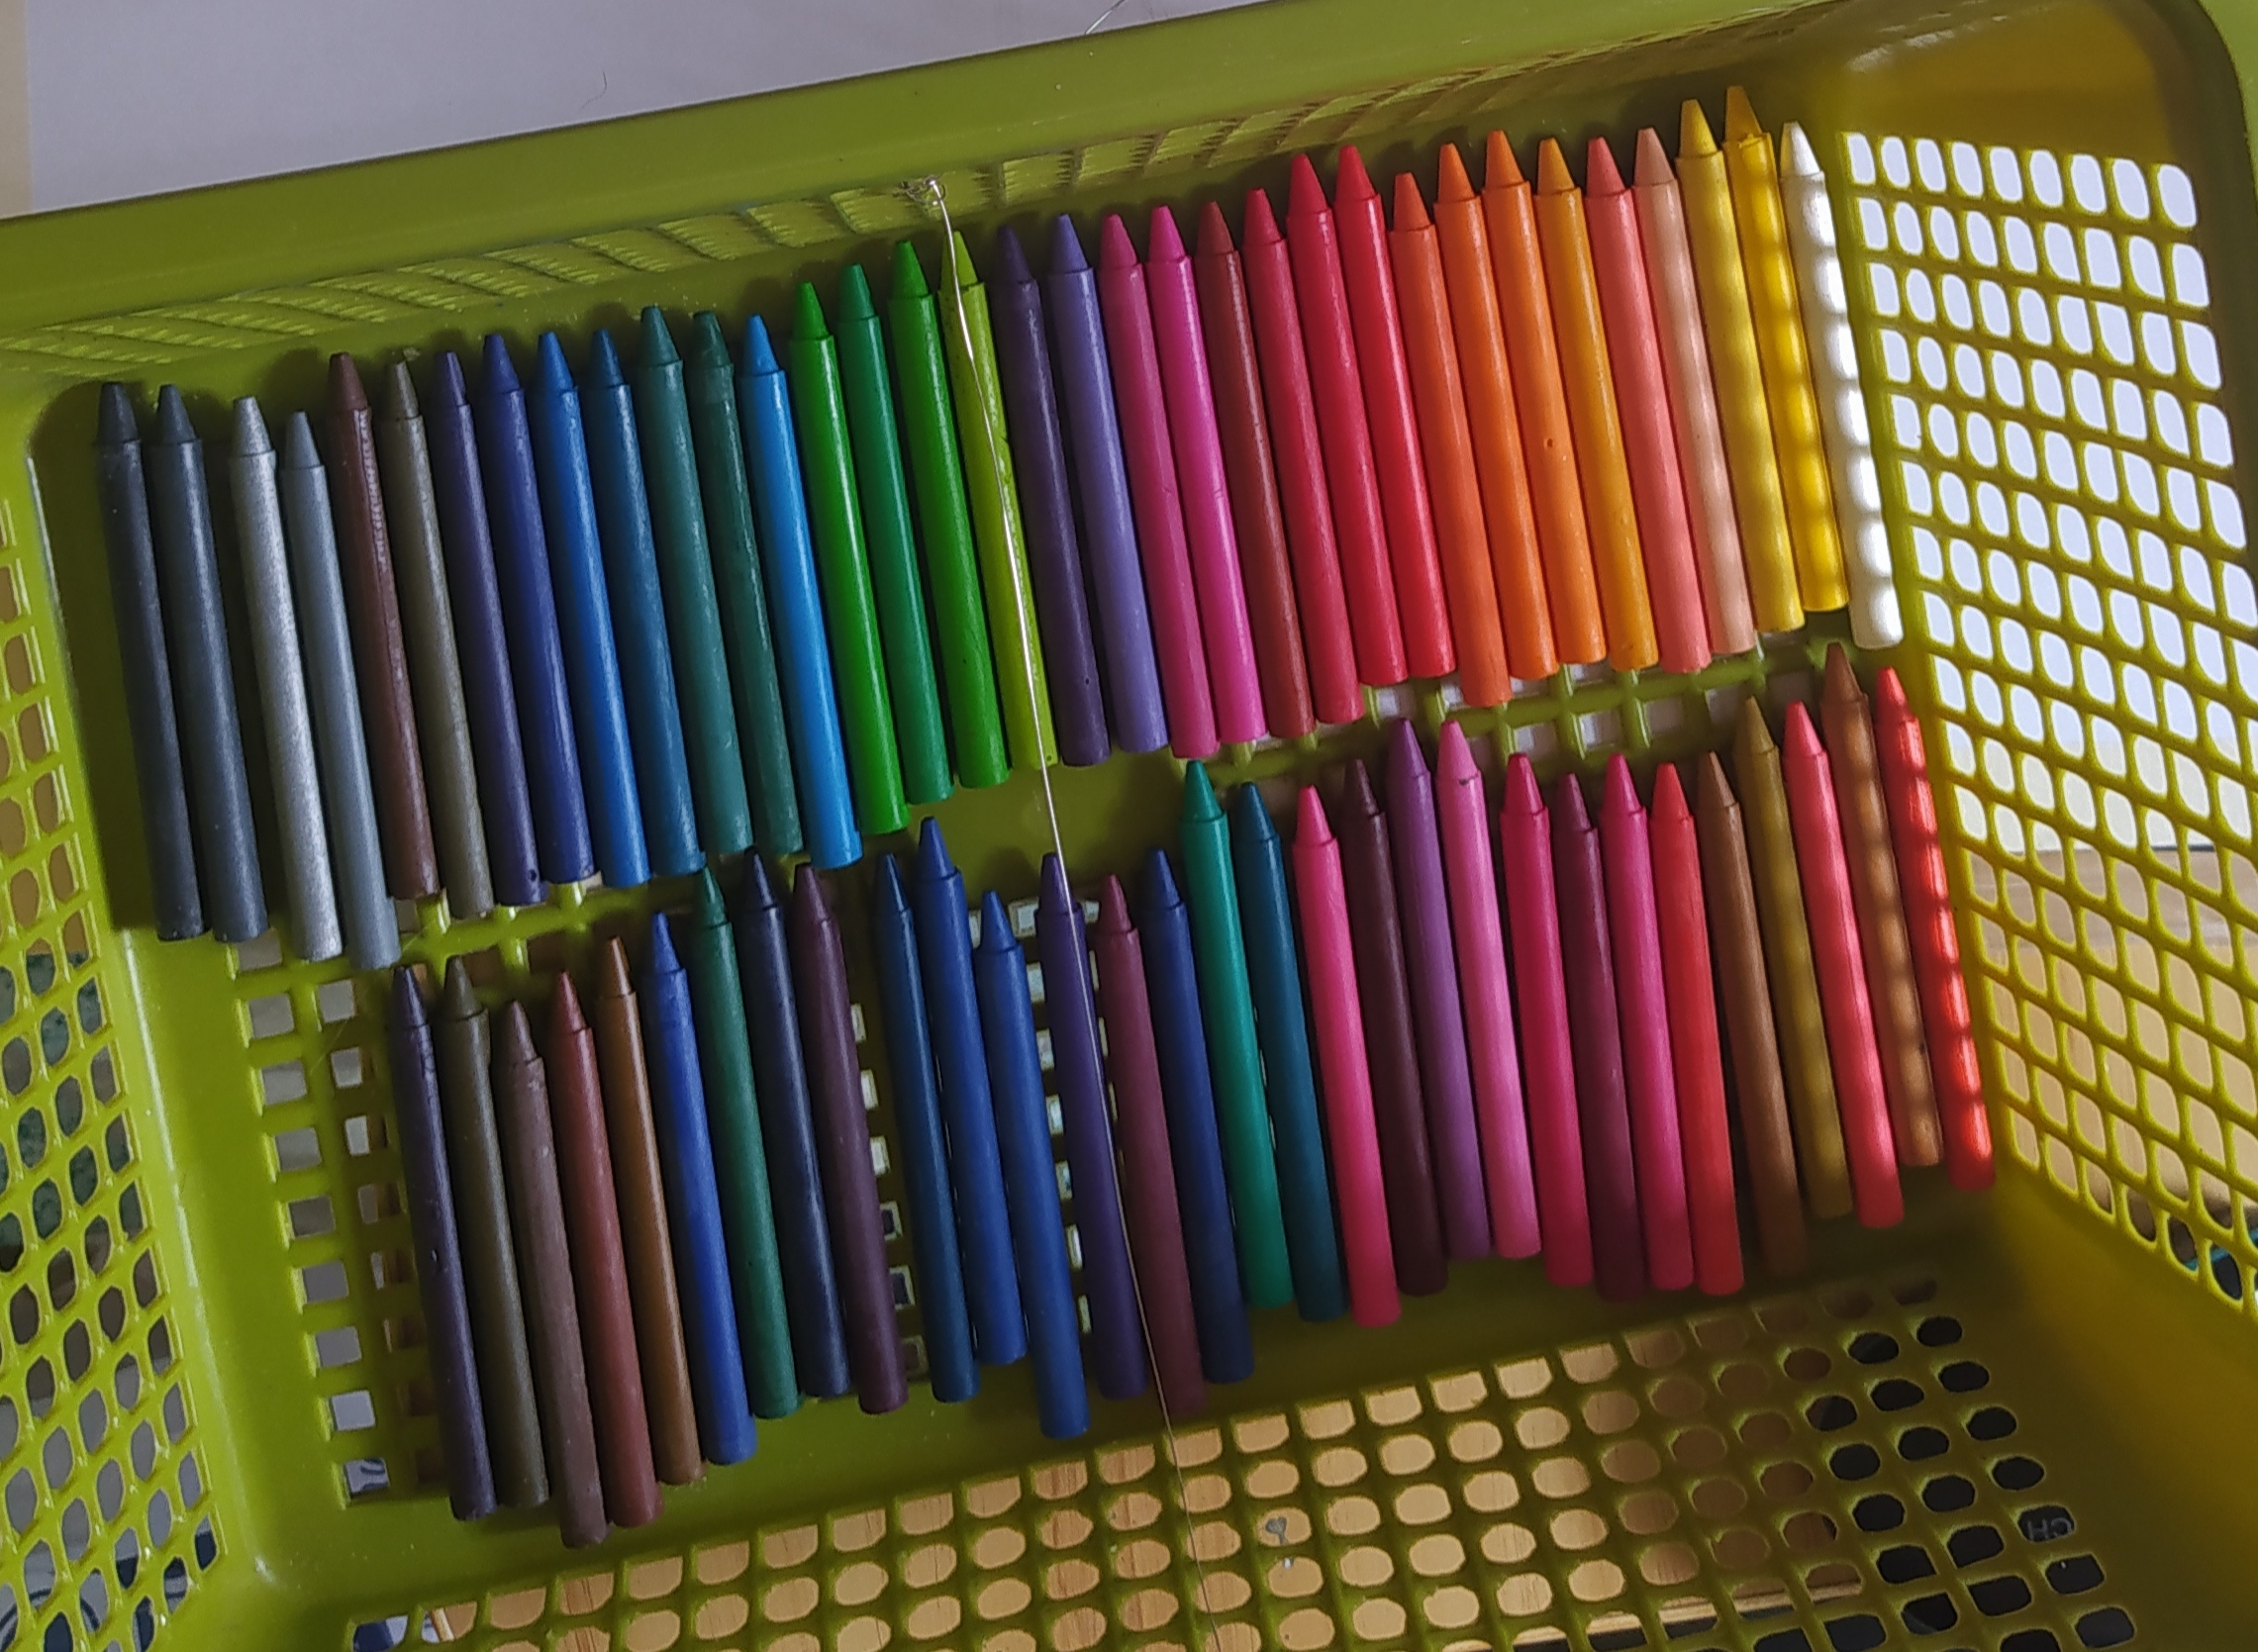
To easily peel the cover of the crayons, freeze it for about 30mins, then it should be easier to take it off by pushing out the crayon out of its cover.
If you want to have a border, you can put masking tape on the edges of your board or any canvas of your choice. So that it can't be smeared with colors.
(You can divide the board if you want to start on a certain area. Just put a masking tape as a borderline and cover the part that you don't want to get colors with, or the part where you wanted to apply a different color. In my case, I divided the night sky and the sunset so that the colors of both skies won't mix )

- CREATING THE ART PROCESS
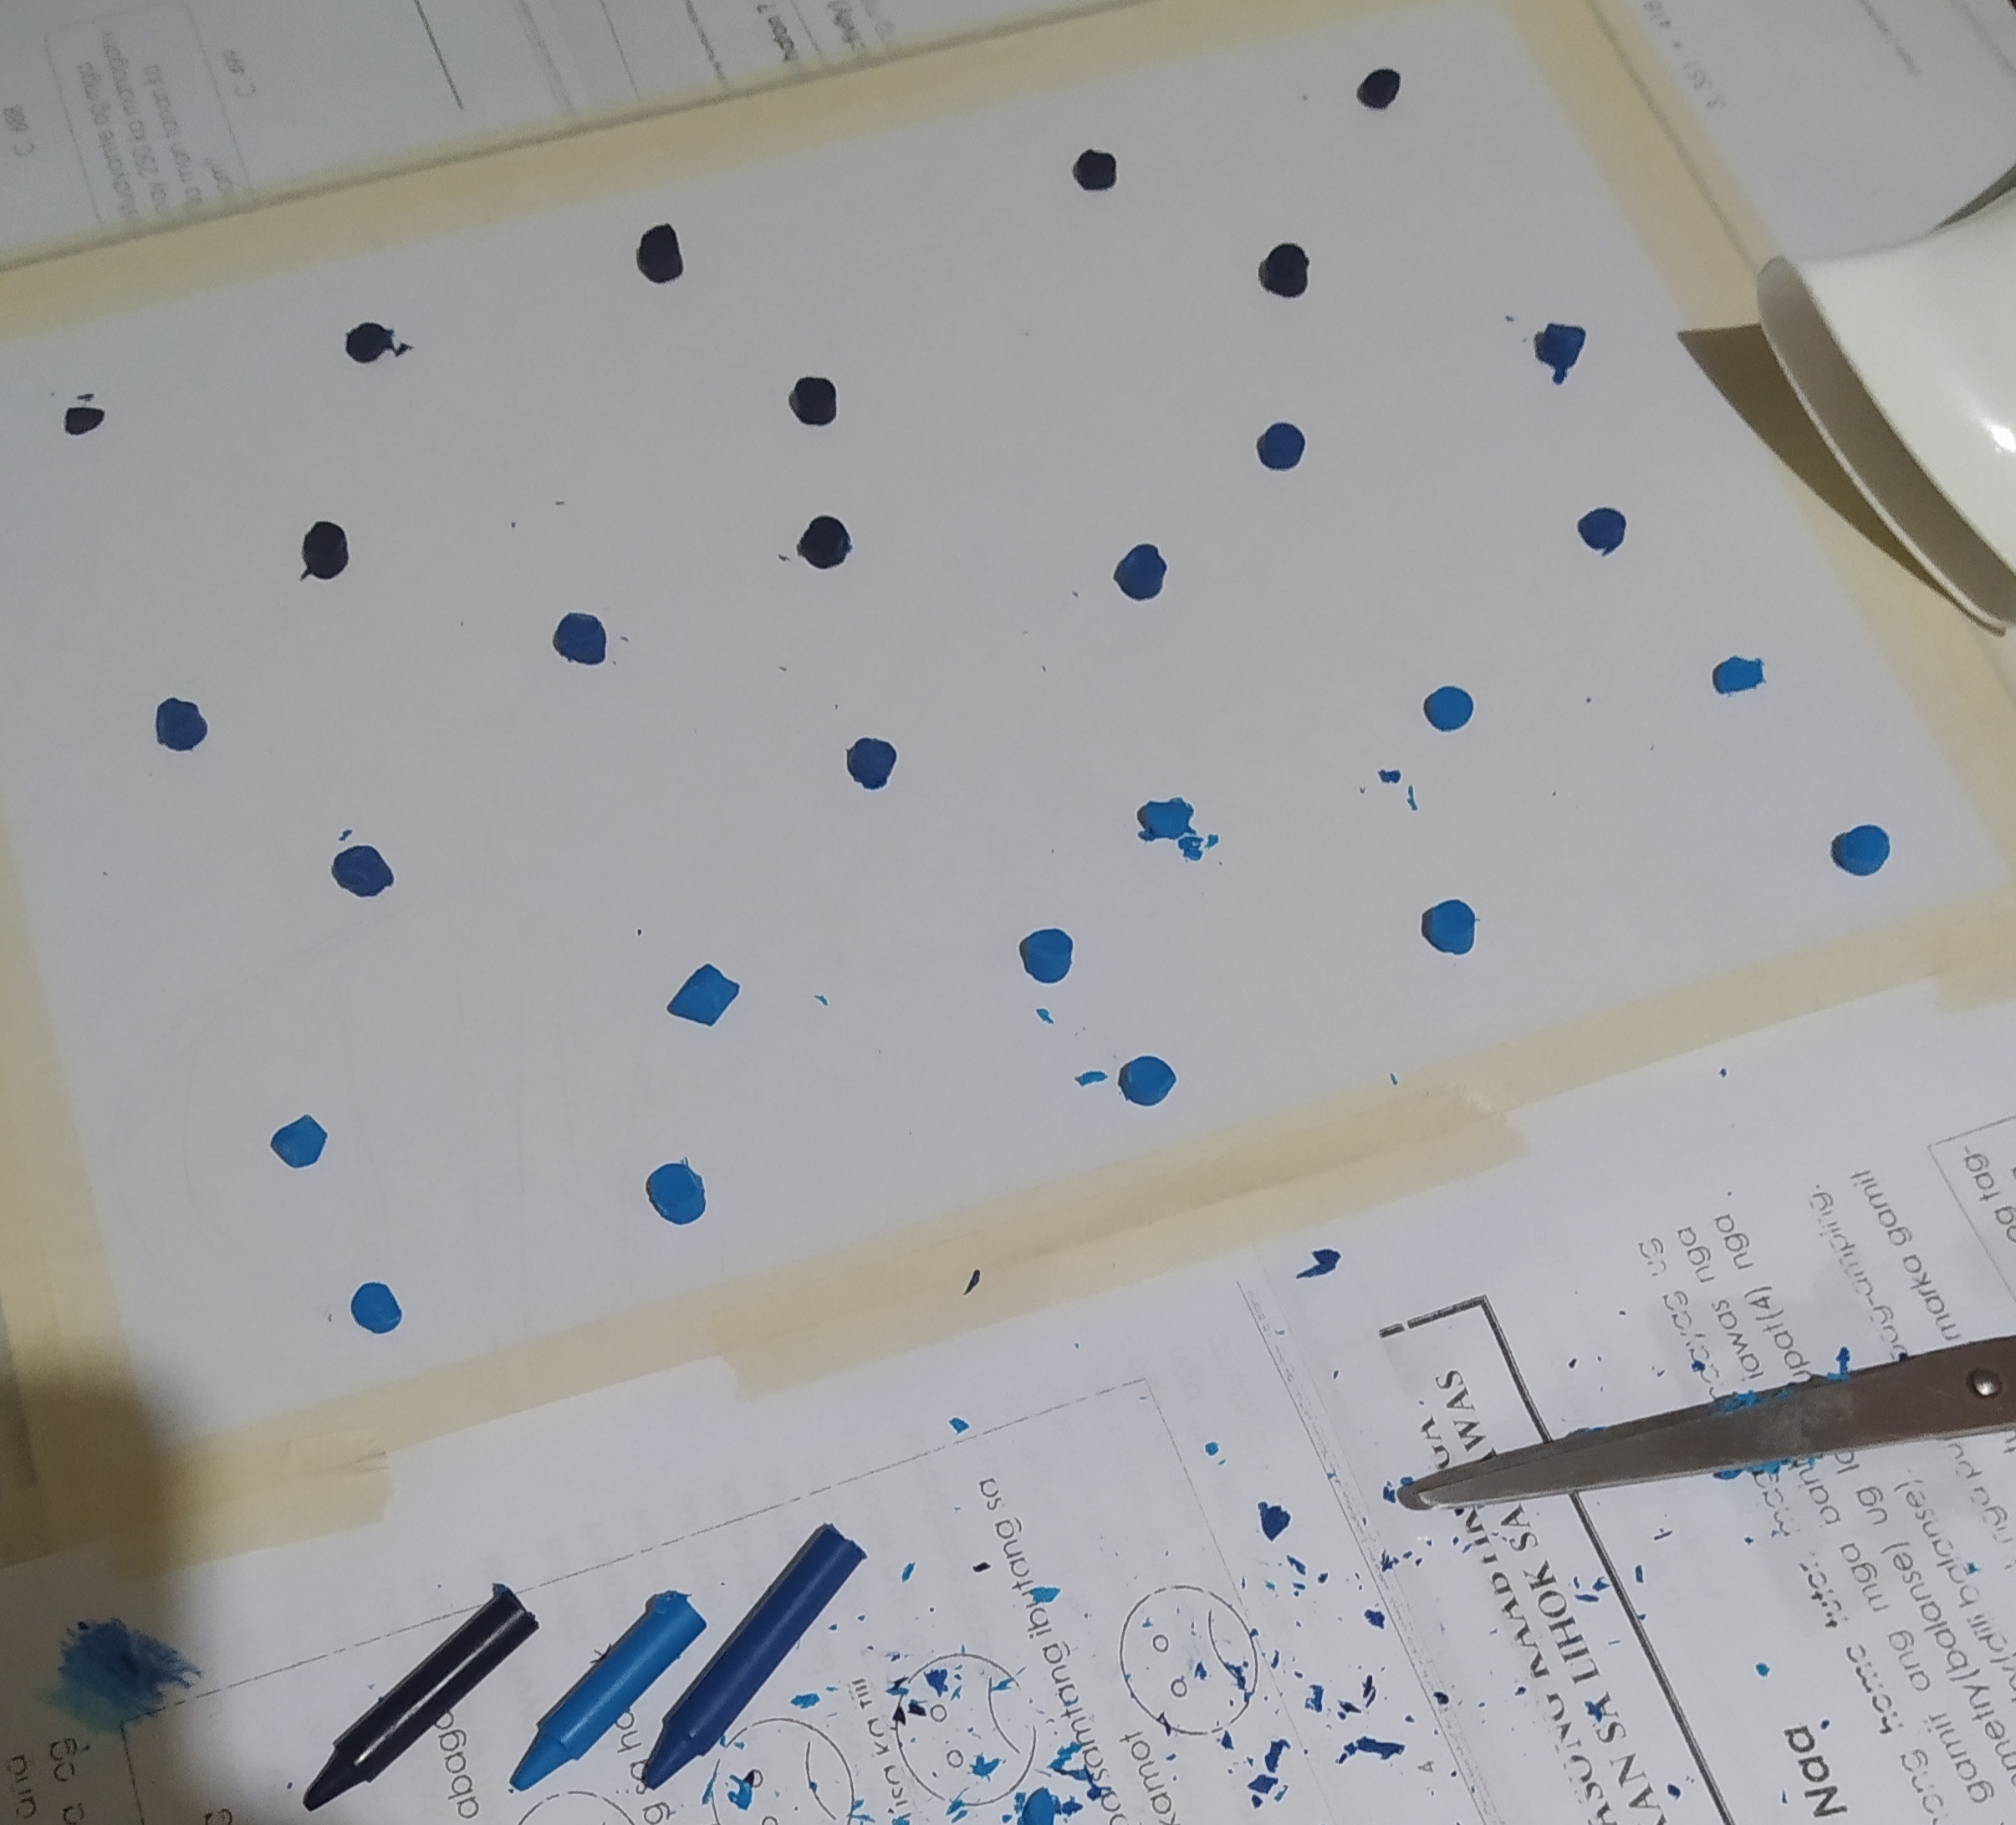
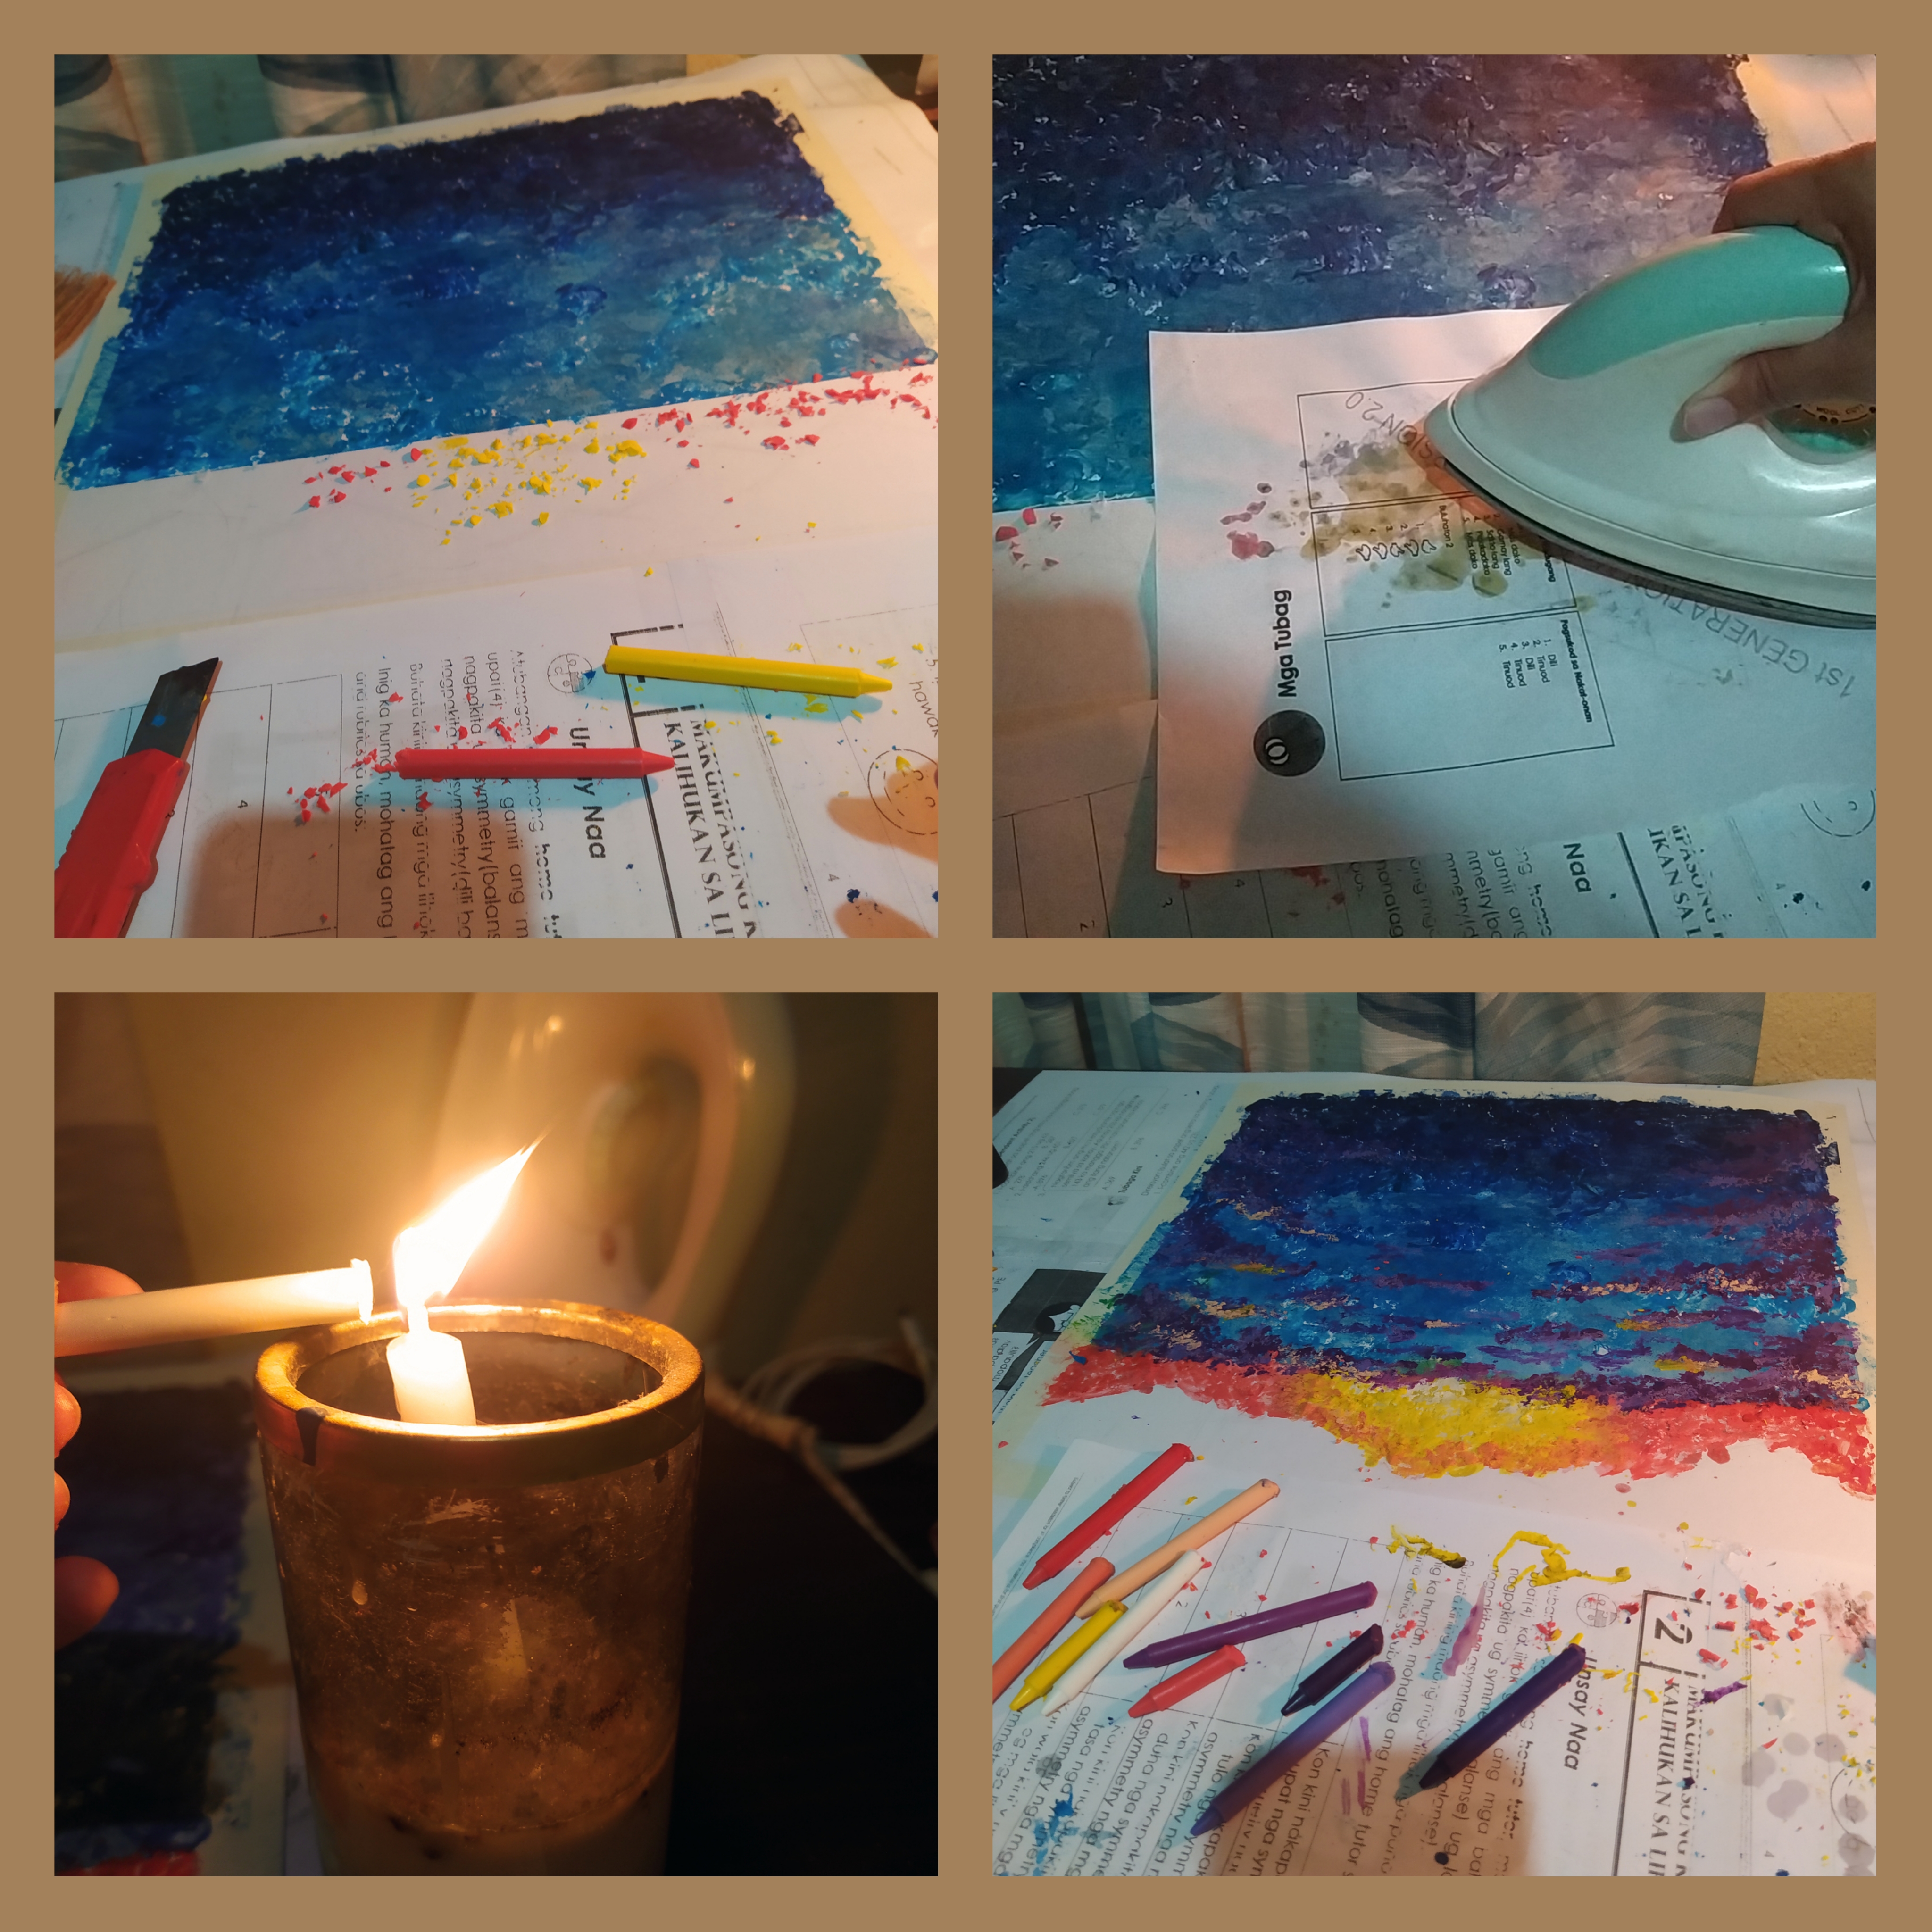
Here, you can now start executing your plans! But first, you have to chop the crayons into smaller pieces using a scissor or a cutter, so it would be easier to melt them. Then place the colors on your board in an arrangement that is according to your planned image to paint.
Then put a paper over the colors and heat up your flat iron. Gently press the flat iron on top of the paper and slowly drag it sideways in order for the crayons to melt underneath. (CAUTION: be careful in using the flat iron)
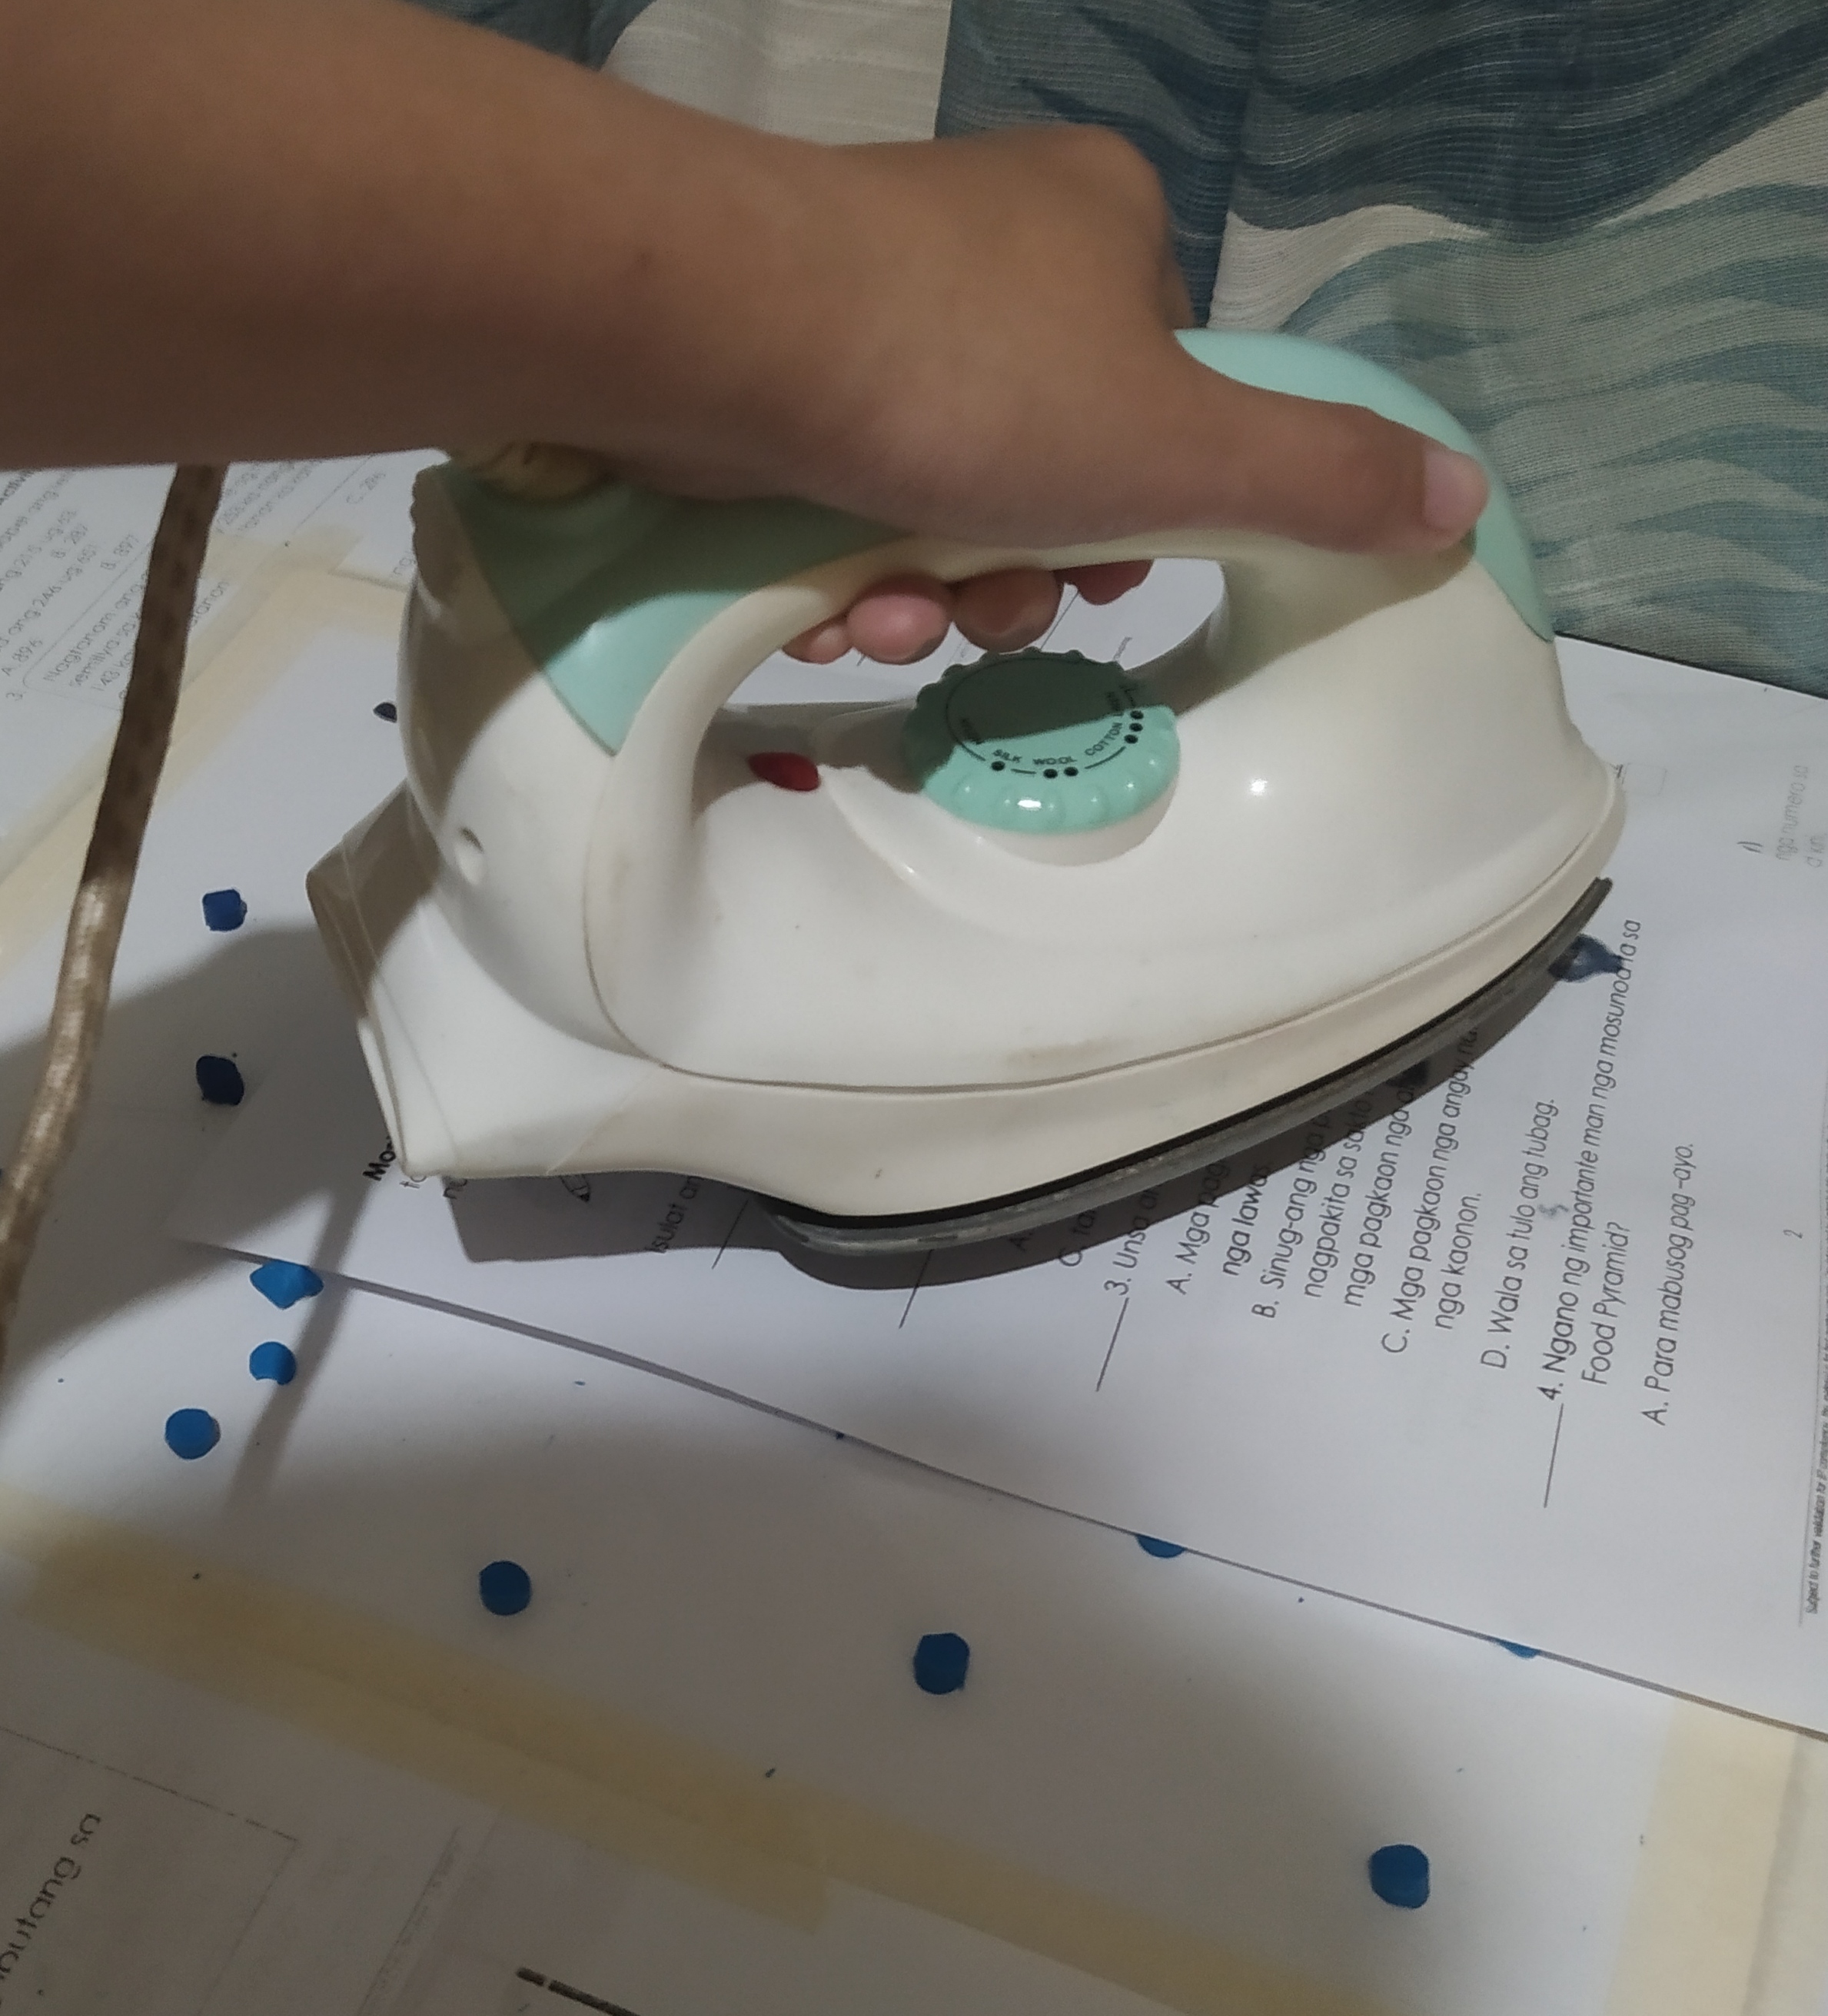
While melting, you could also move the paper side by side to distribute the colors. Then it would look like this.

Just repeat the process until all the bits of crayons you put will be melted. Next, you can patch the spaces manually with a lighted candle.
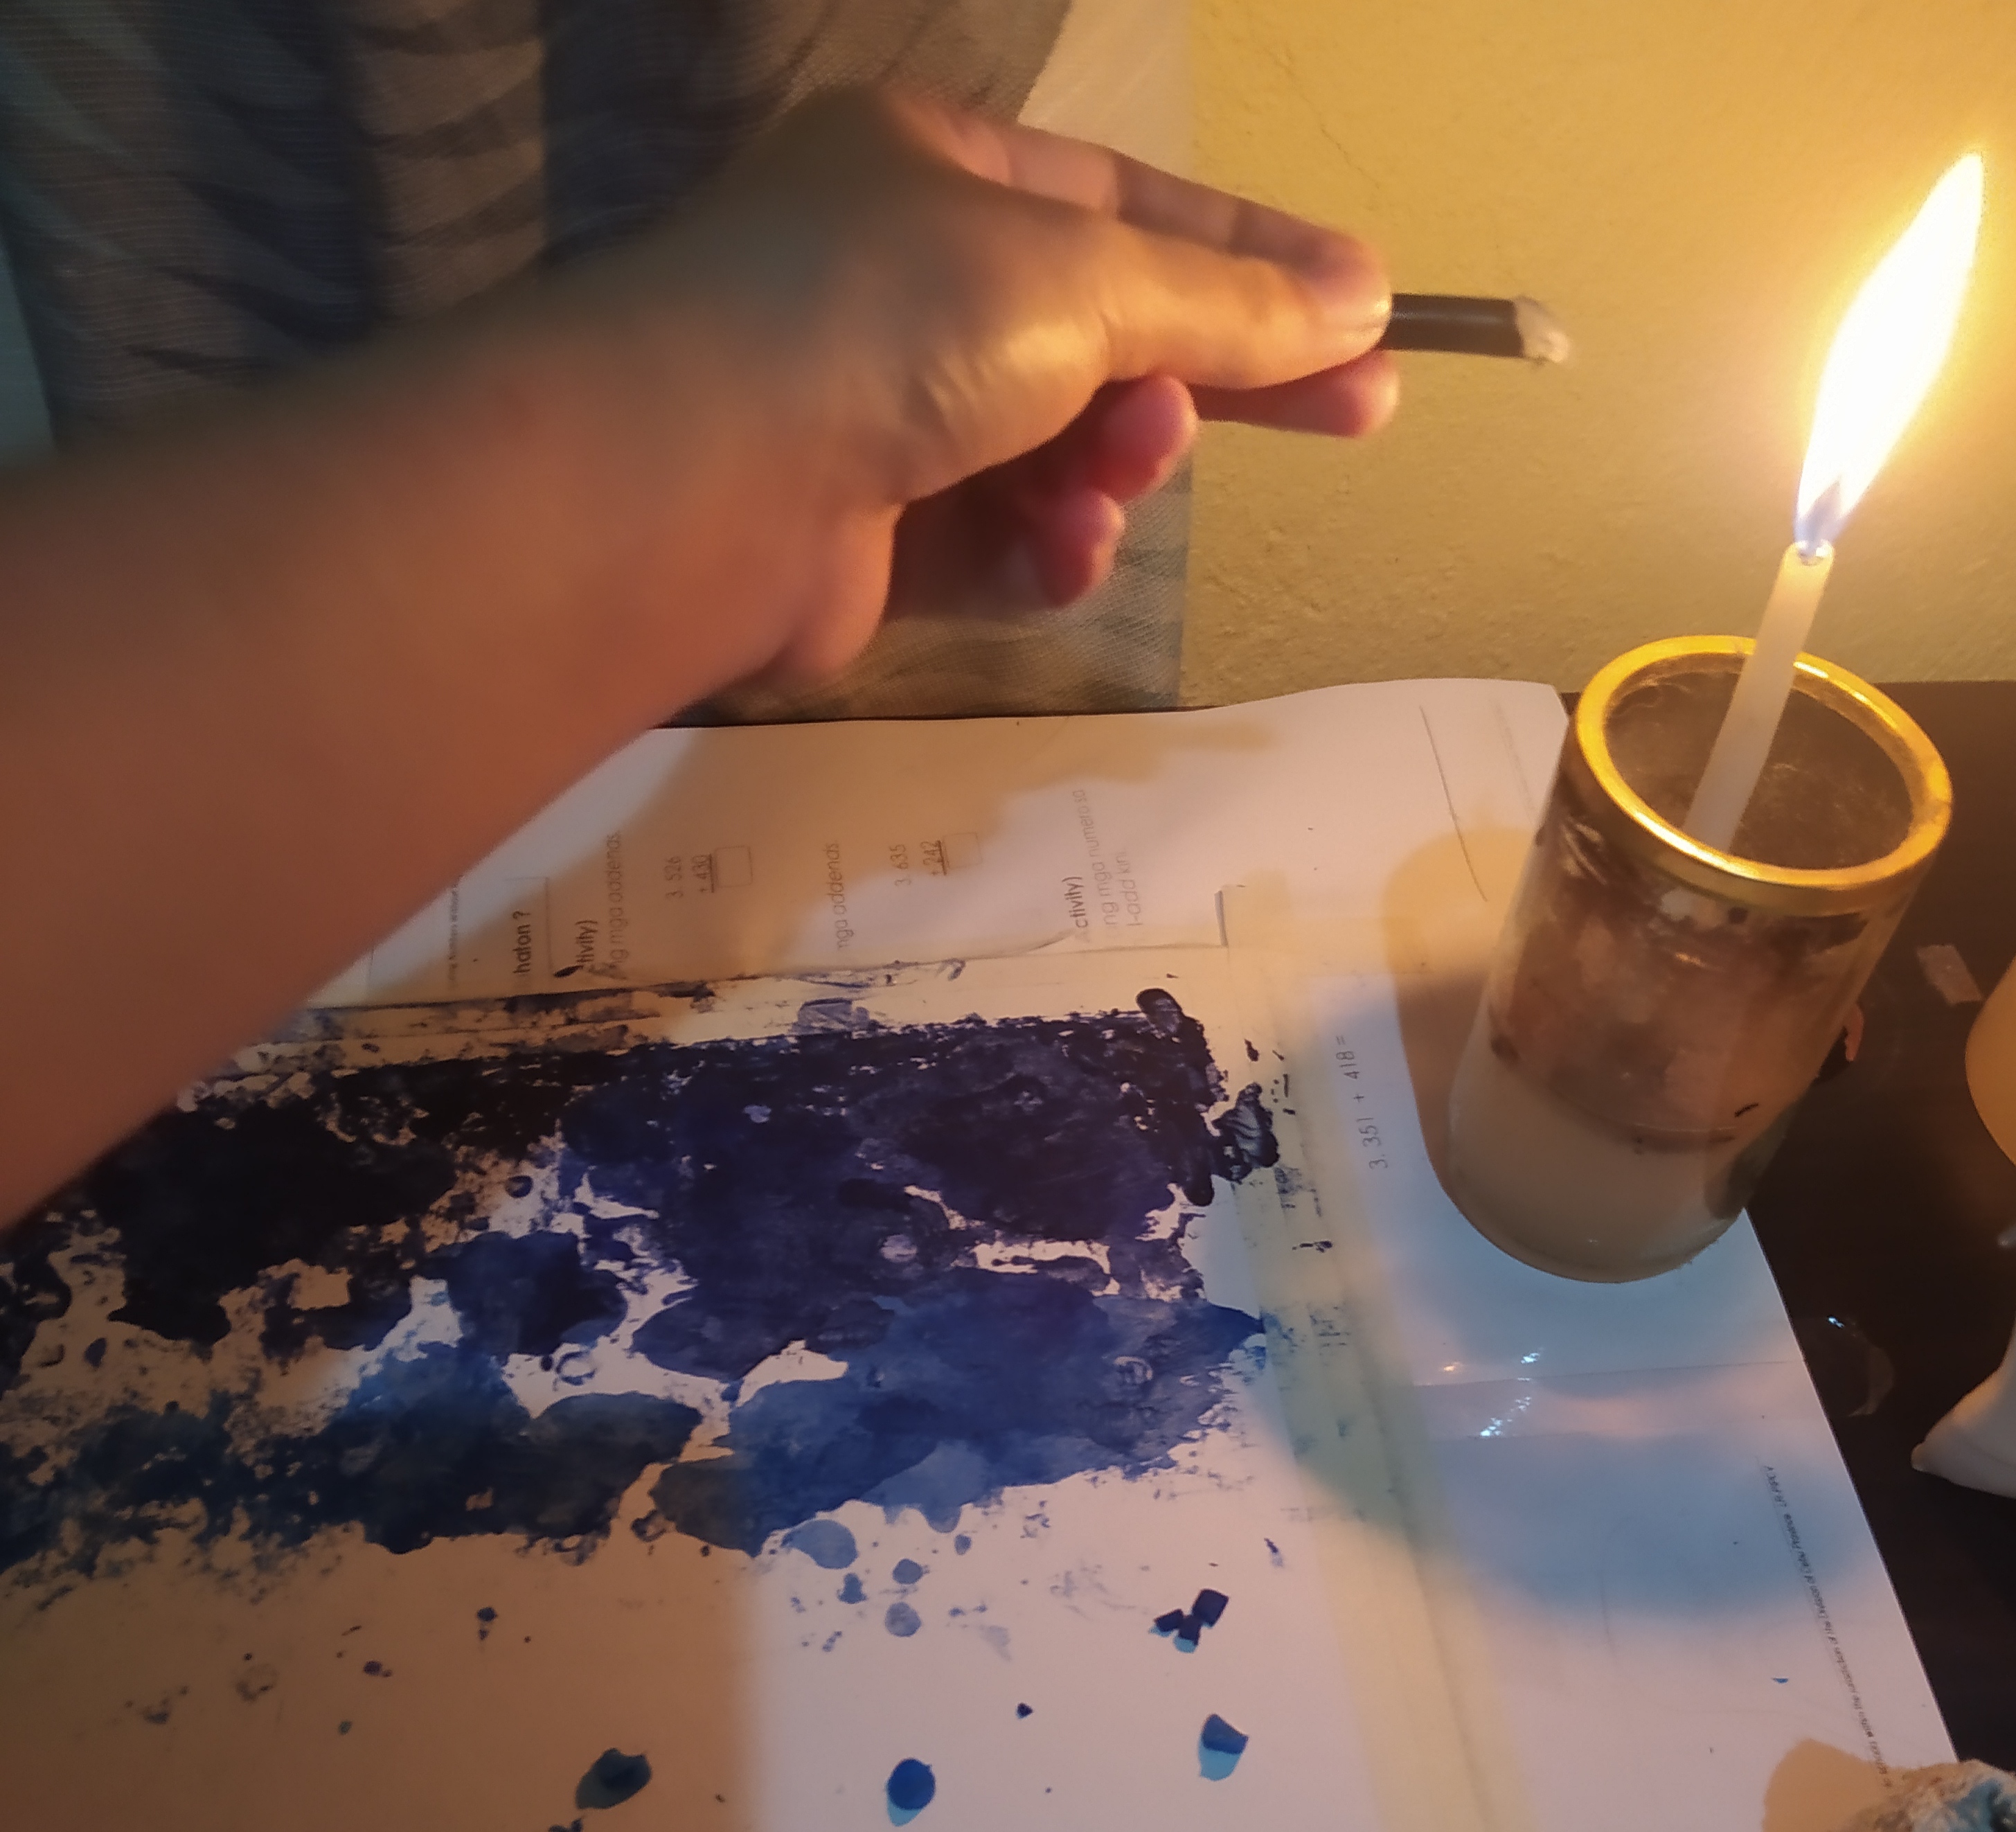
Use the candle as your brush at the same time your hue. Isn't it amazing having both brush ang pigment at the same time? 😂 Saving time, saving money and saving effort 😉👌
( NOTE: Upon melting lighter colors, you can notice that the area may turn black when you put it over the flame. In this case, don't put it over the yellow or orange part of the flame. Place it on the blue part of the flame. The part which is near the candle's wick. Because what causes the blackening of the crayons or any surfaces is the flames' soot.)
After patching up, it would look like this.
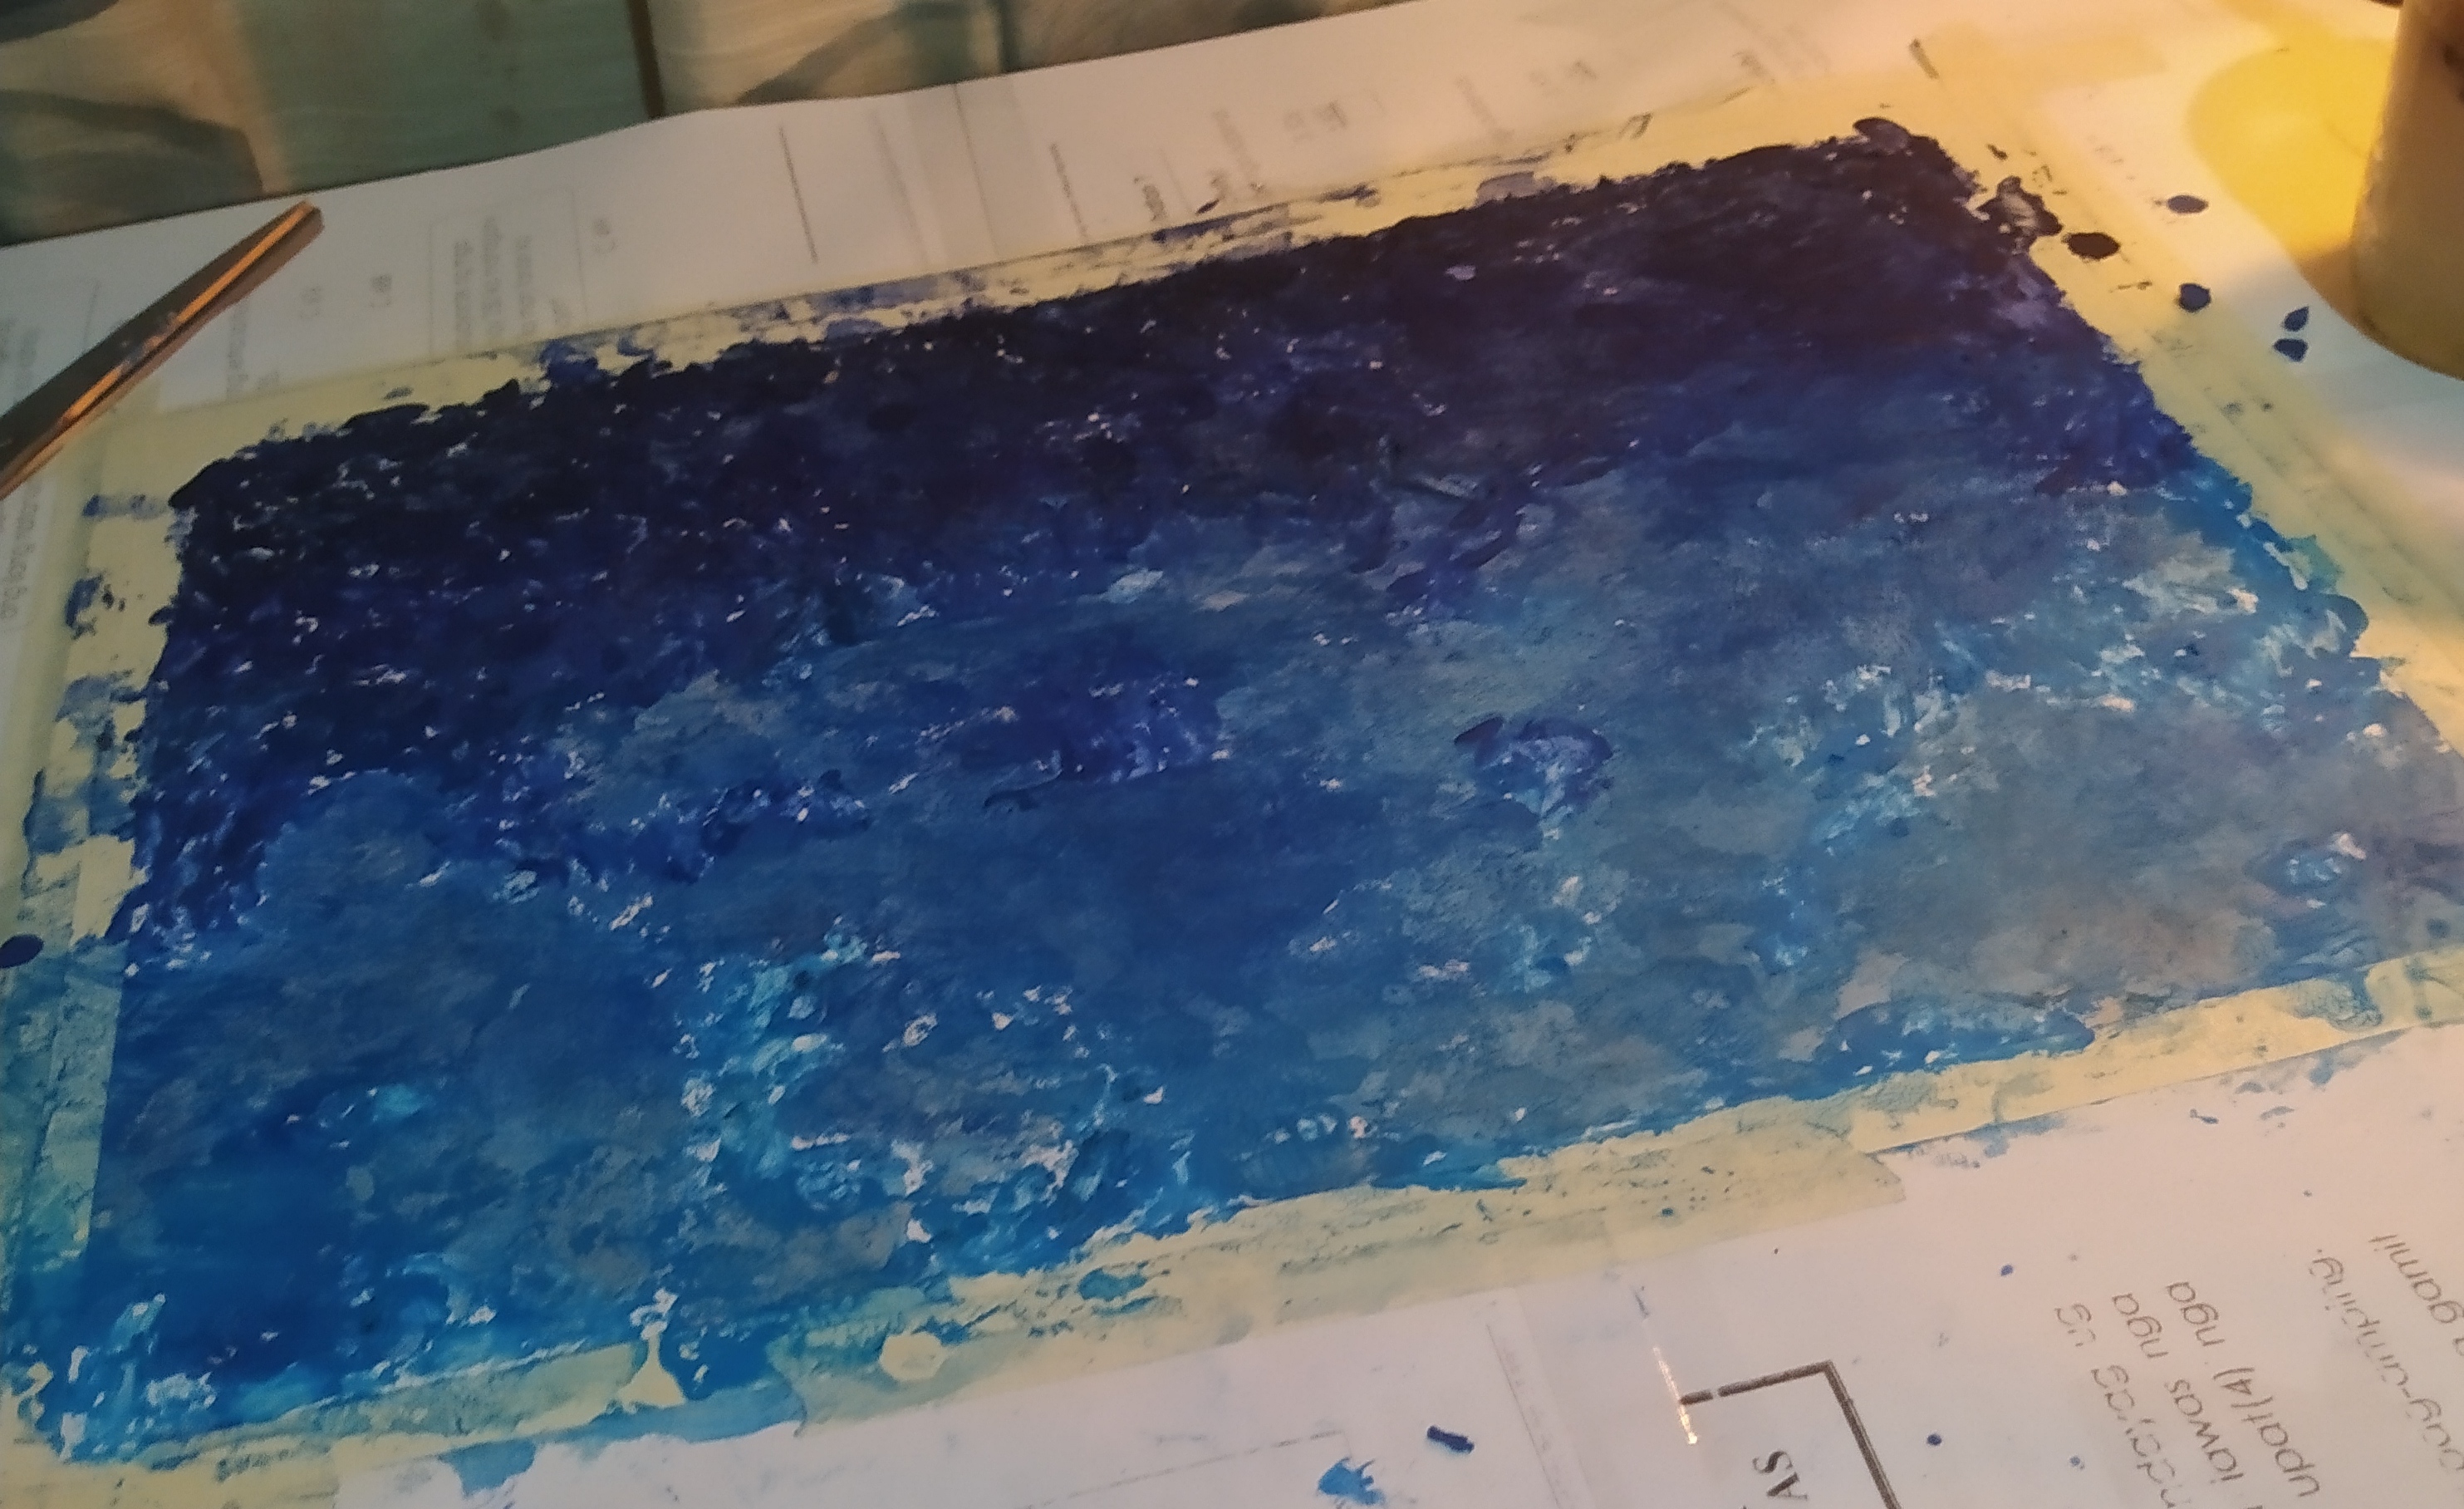
You can now begin the second part of your painting proces (if ever you have). In my case, it is the sunset.
At this point, just repeat the whole creating process until you finish the background of your painting.
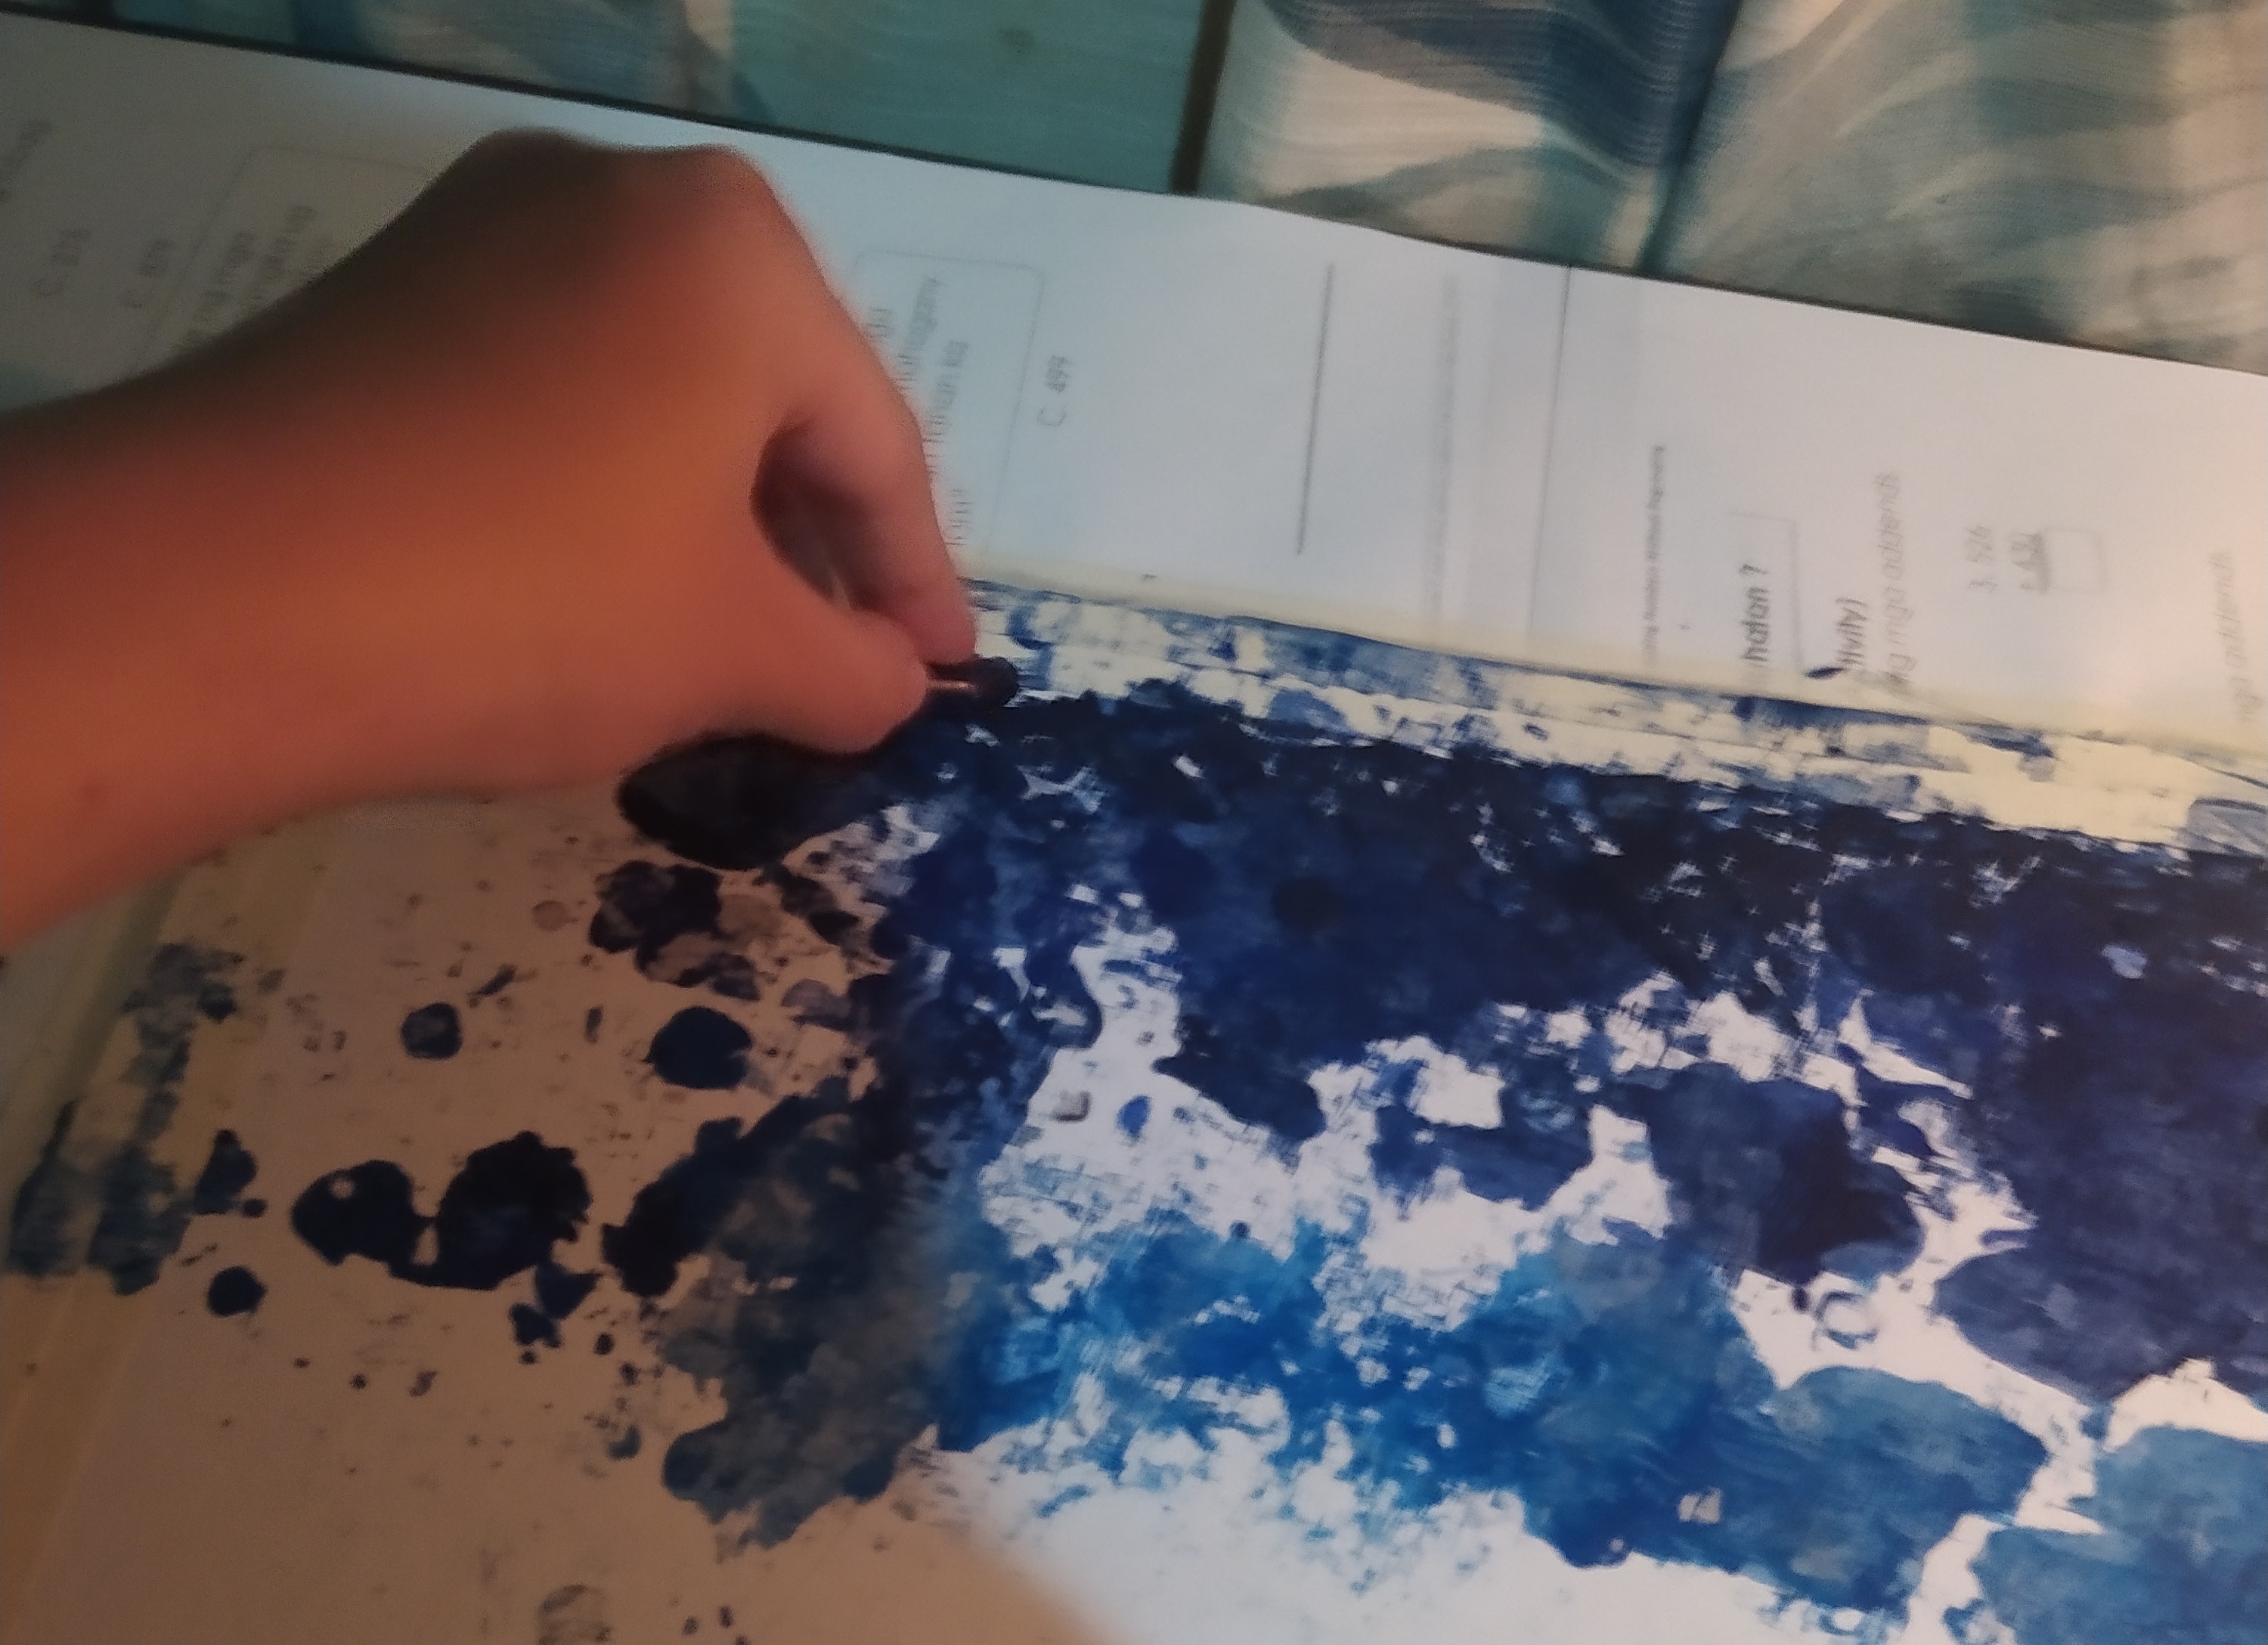
Moving on to the foreground, just work with the lighted candle as your melting medium because if you apply the flat iron, the background and the foreground will be mixed.
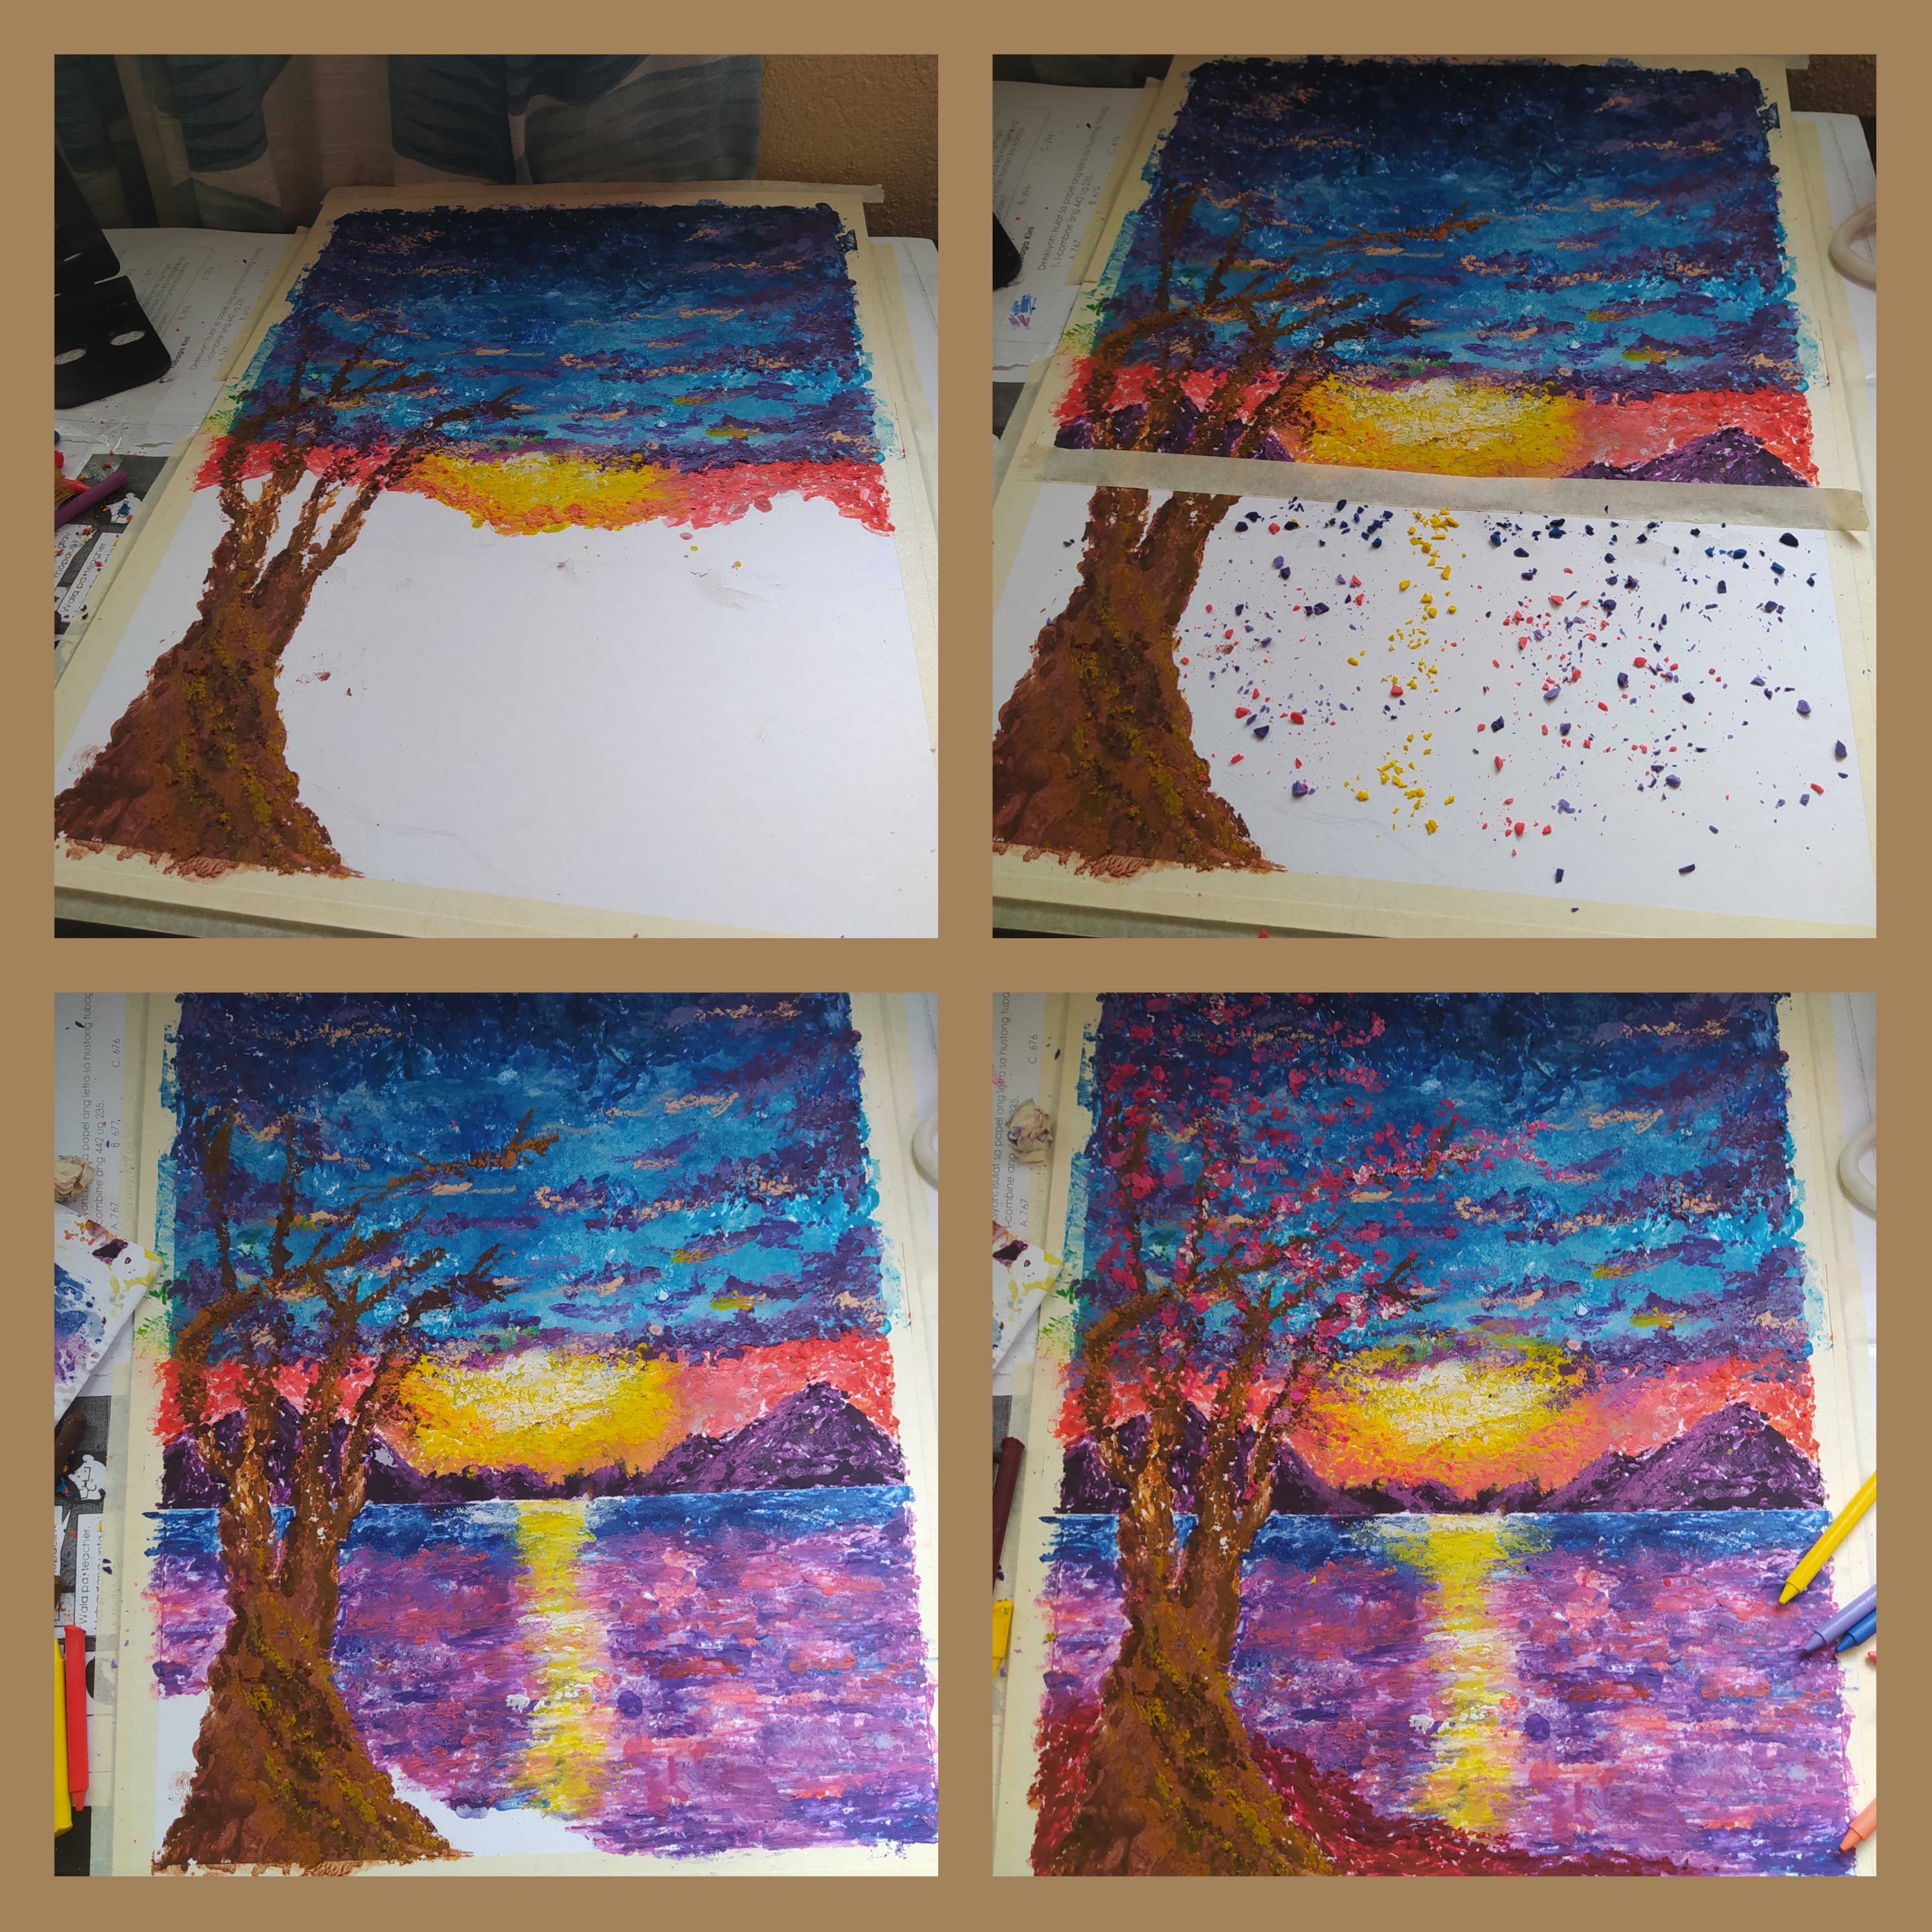
(NOTE: You could vary your strokes with just your motion while applying the colors. you could "tap tap" if you want smaller and abrupt strokes or you could slide it horizontally to create a more flowing strokes like the sea. You can also layer the colors to create more impact to it)
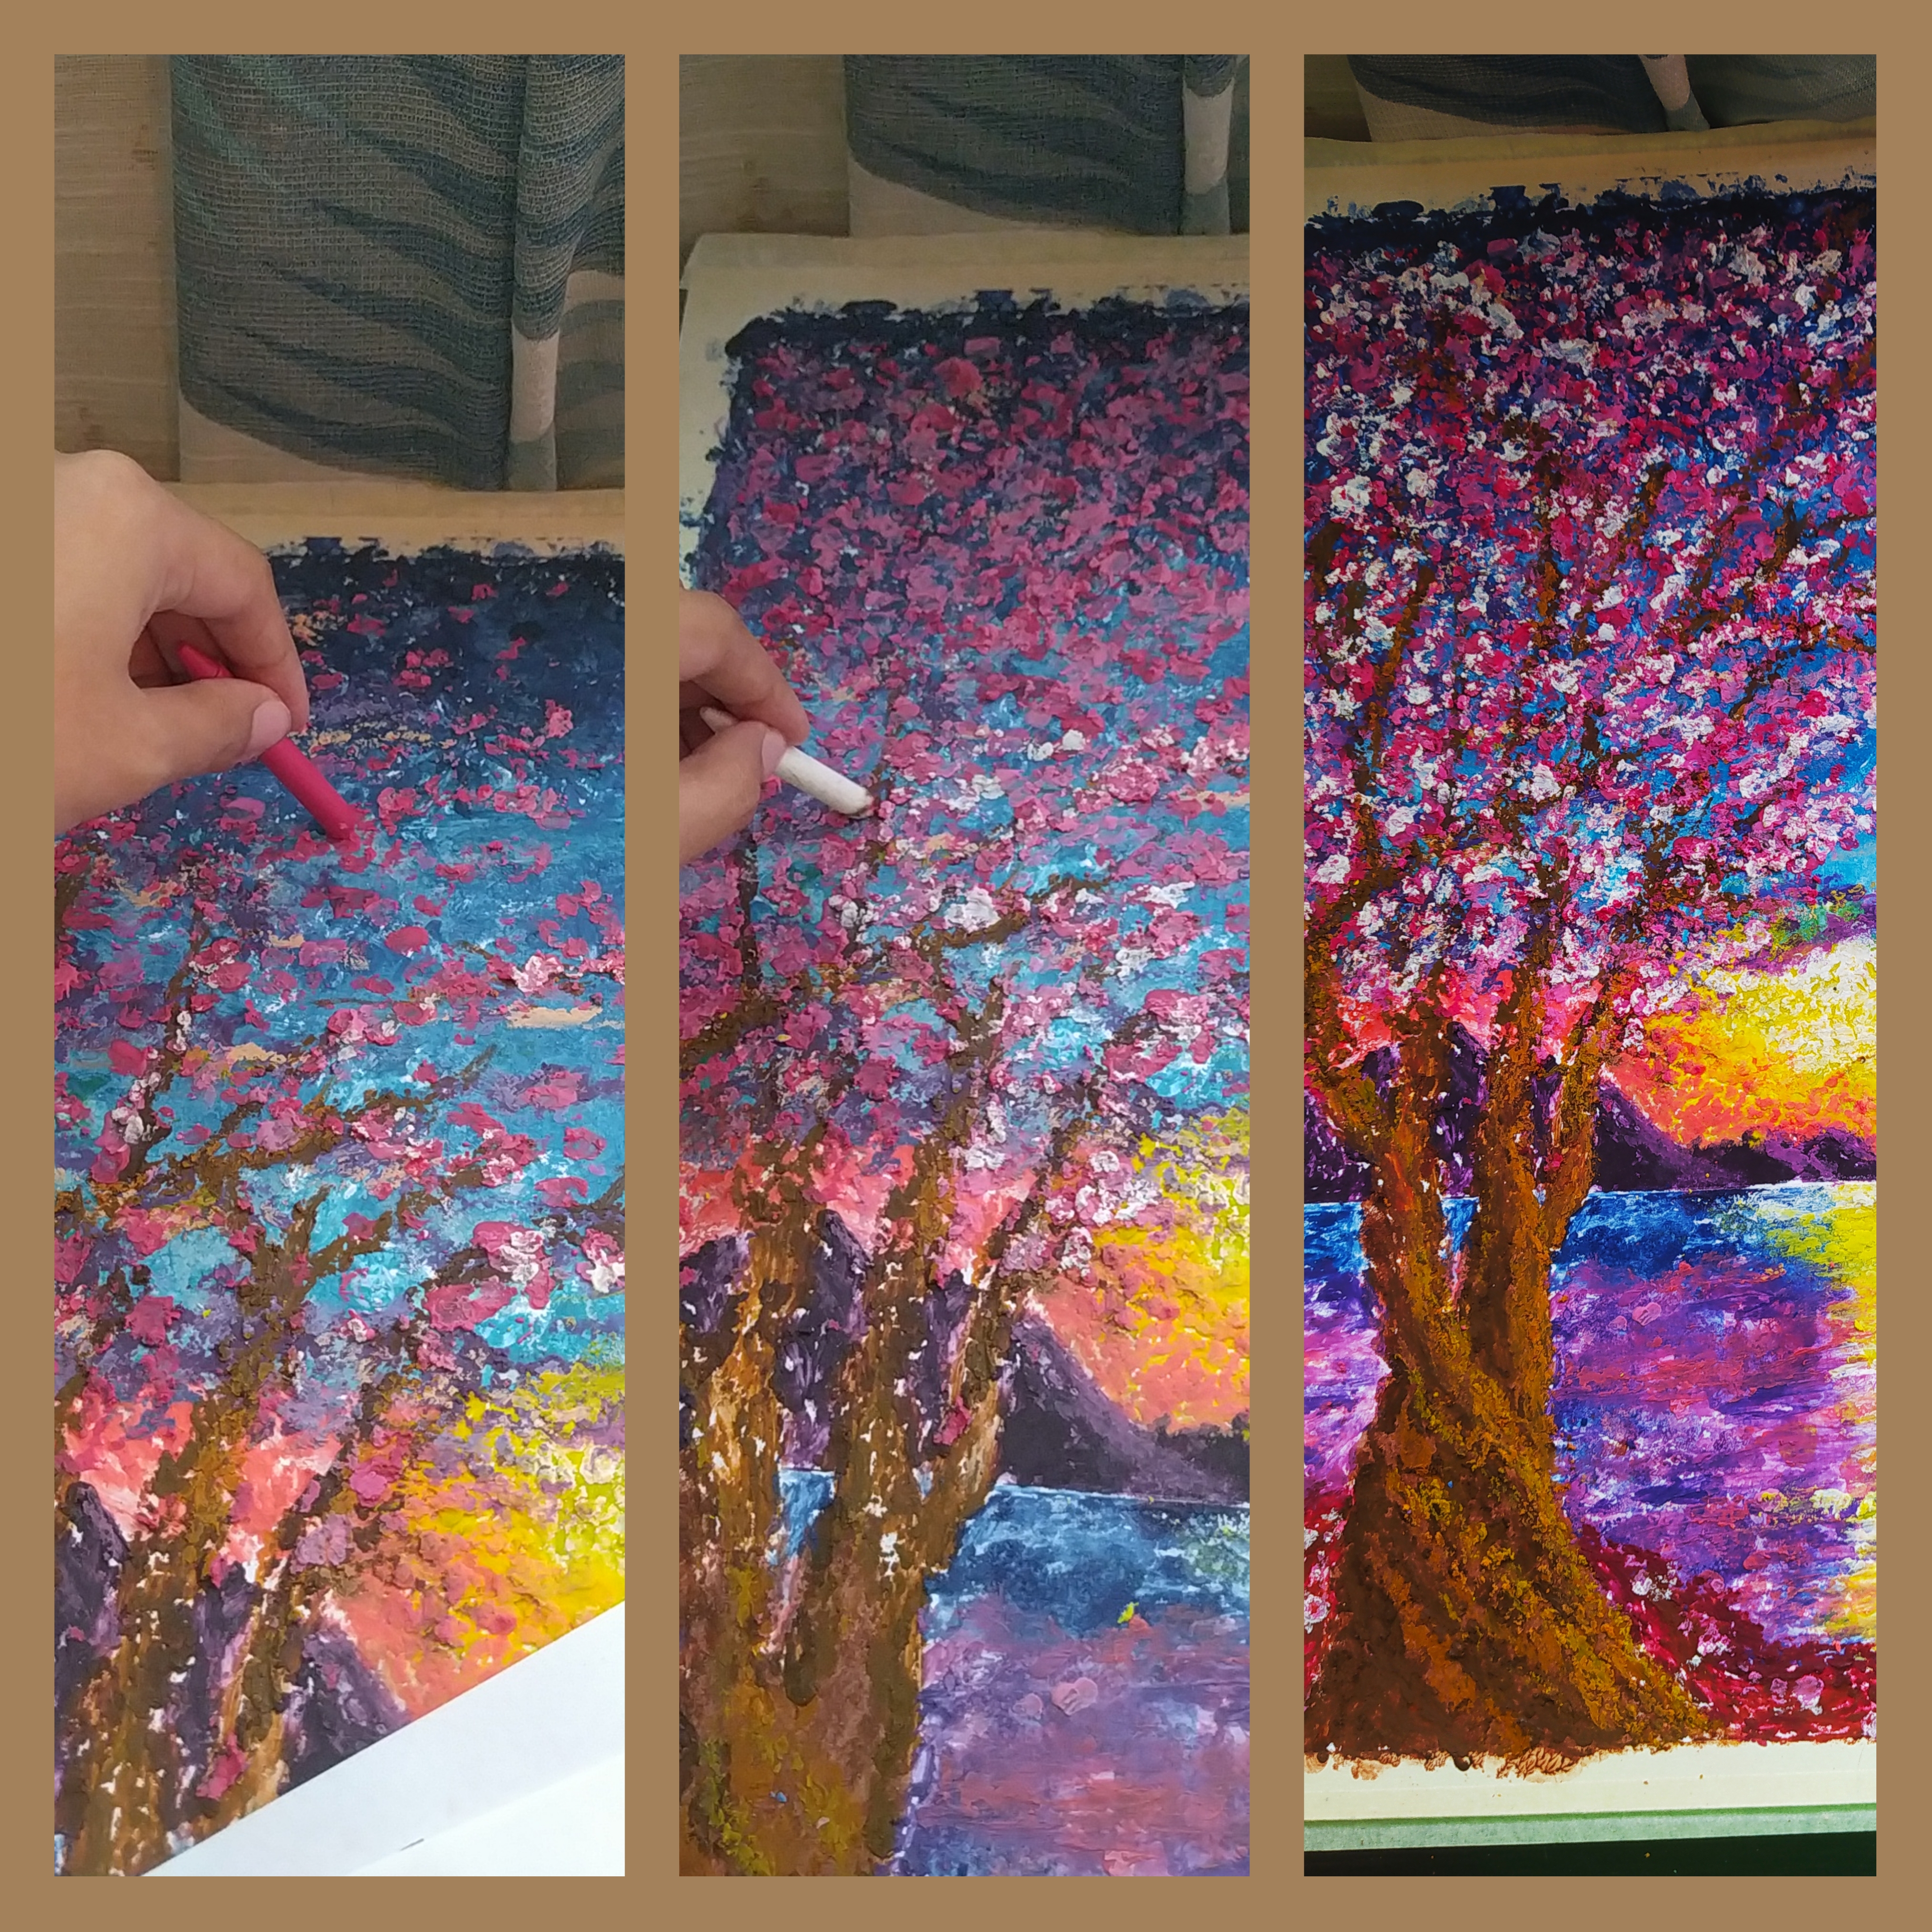
(Note: You can use a heat gun or a hair blower to melt the crayons but these are just good if you are painting on an actual fiber canvas. If they are used on an illustration board, the board may bend due to the heat )
Lastly, don't forget your masks because the smell of the crayons can be strong.
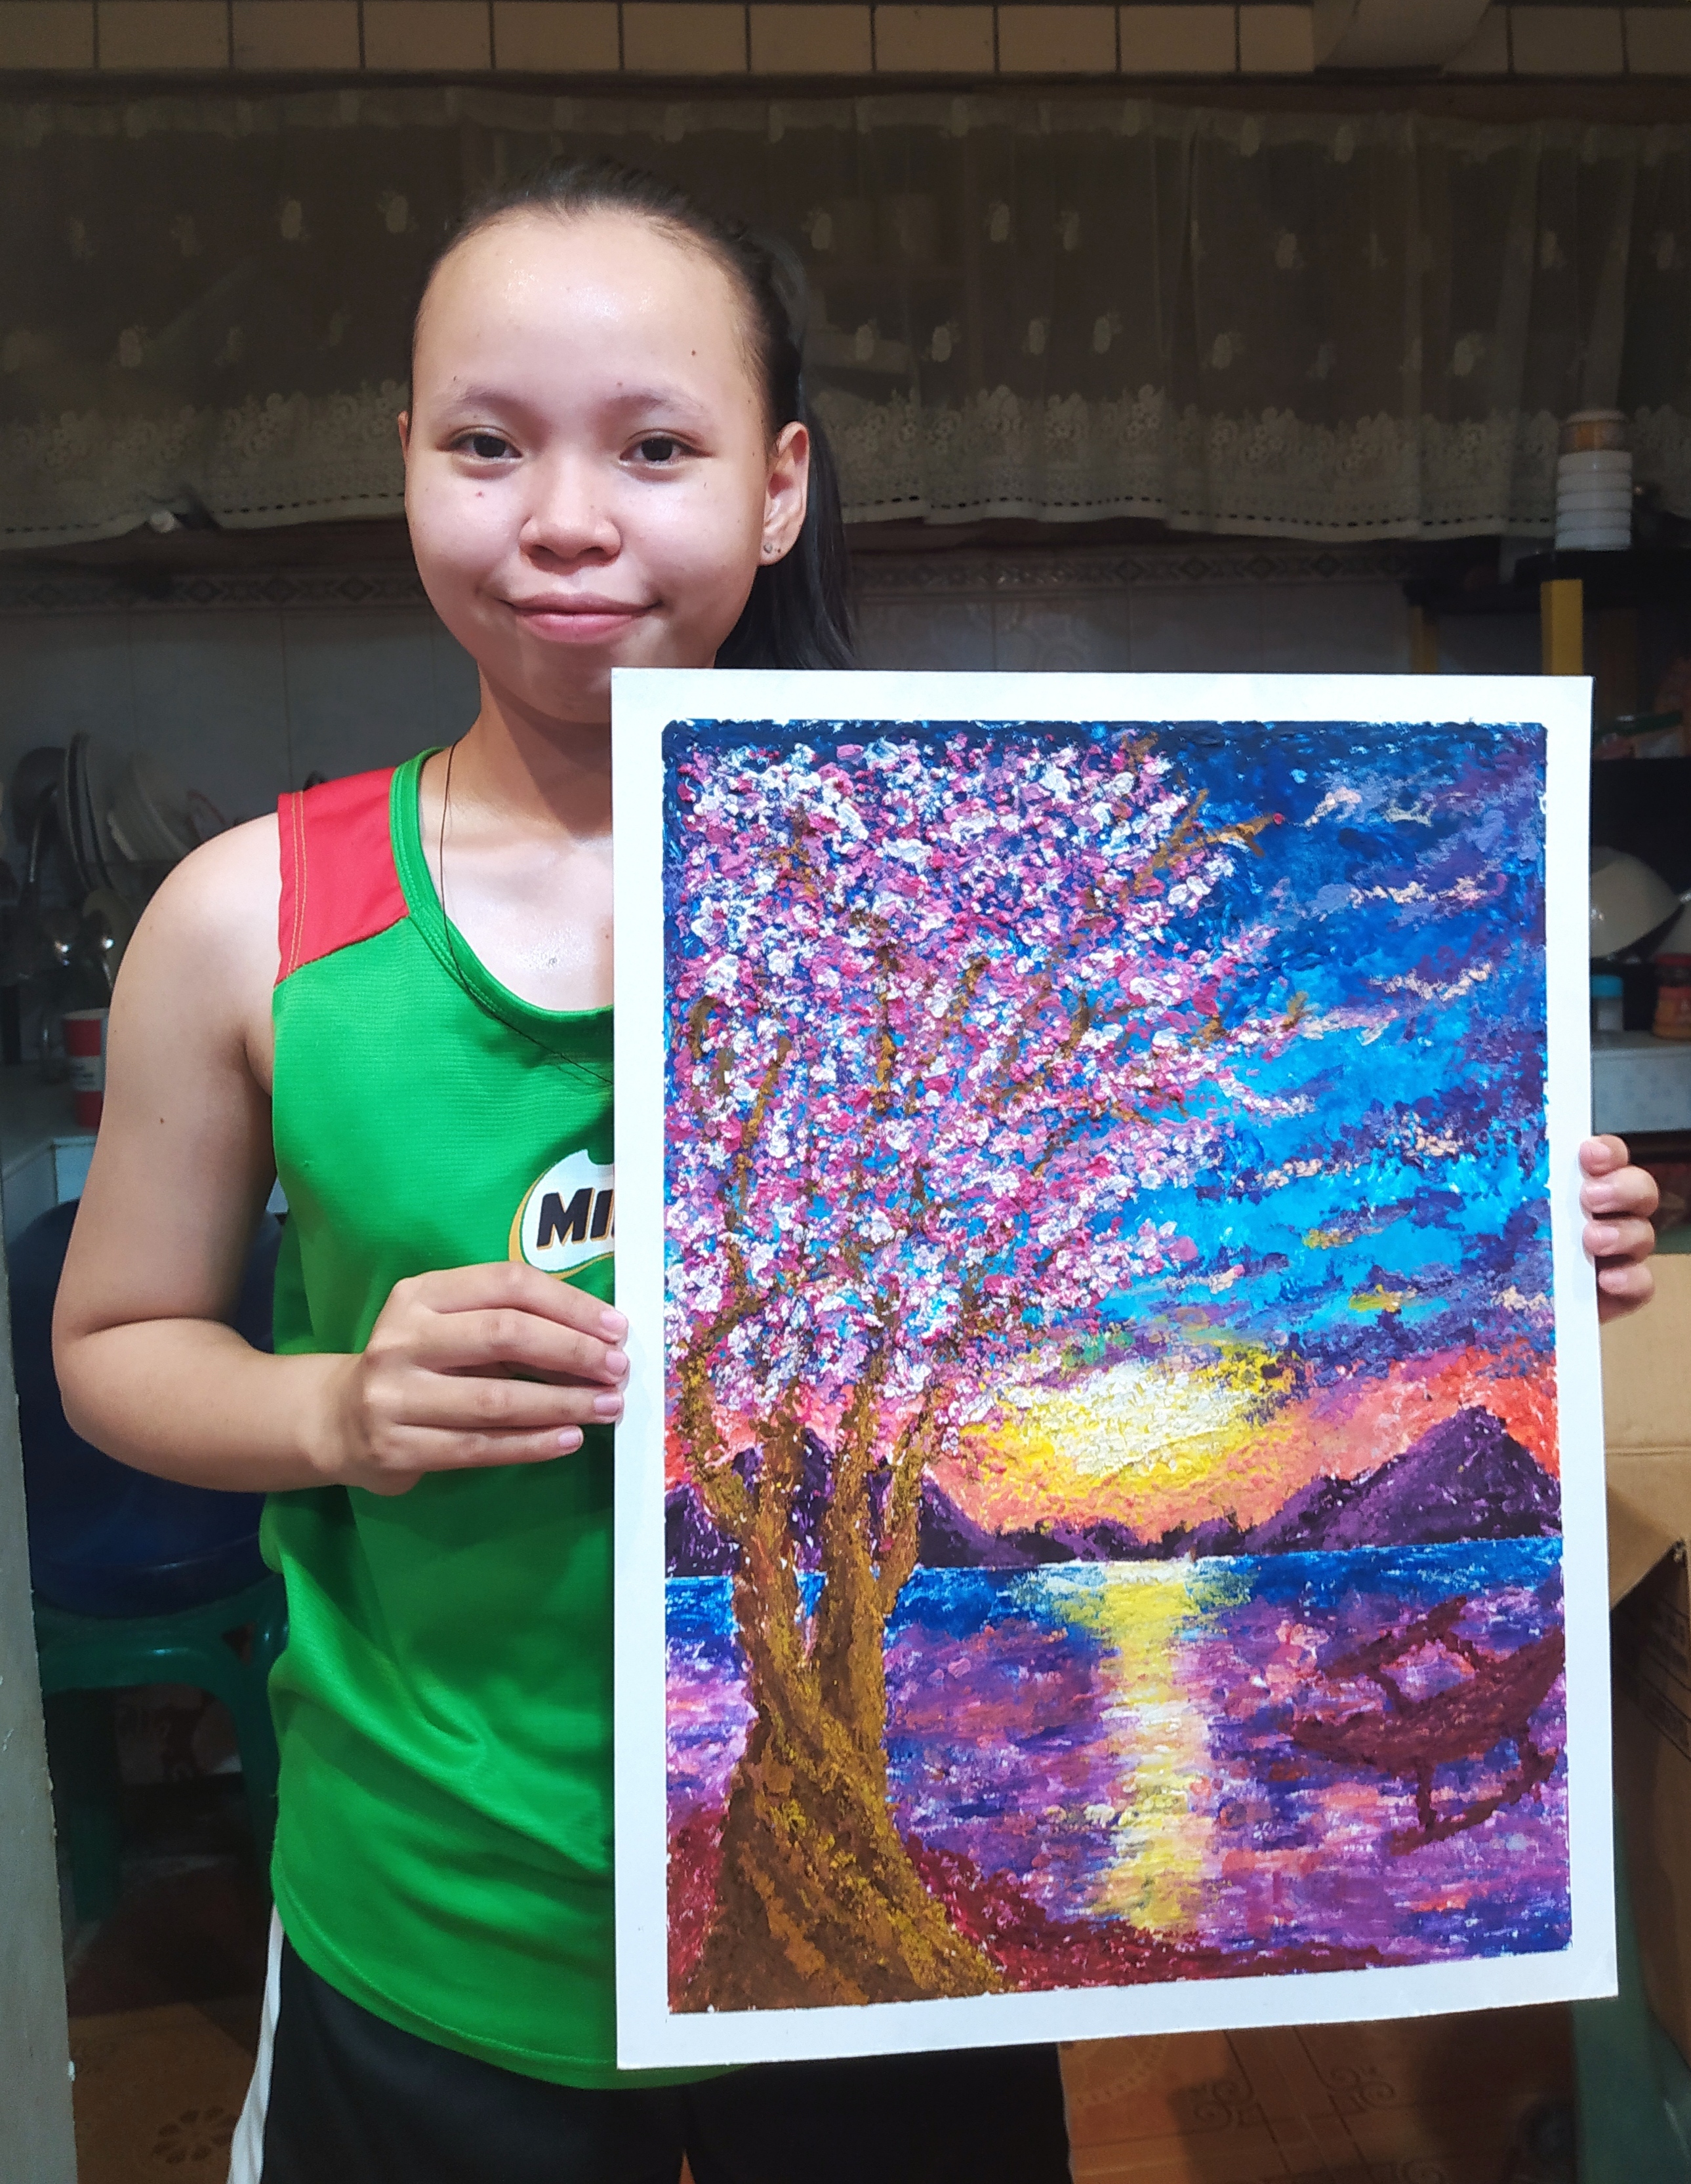
So how was it? Easy right? Do your own Melted Crayon art now! Aside from creating a masterpiece out of a simple material, it is a really fun process!
Thank you and Have Fun!
Hello, I approved your participation in the contest. Thank you very much for posting on the community. We are always here to support you. Good luck :)
Thank you so much :)
Guaooo que hermoso dibujo excelente.
Thank you very much! Muchas gracias!
Me encanto la técnica de la vela.
Way to go sis! 😊
excellent :)
Thank you. I appreciate it very much 💕
Wow! Creative indeed. Keep it up^^
Thank you so much. Very much appreciated ☺️ 💖
Está realmente hermoso e increíble felicitaciones 👏, y mucha suerte en el consurso 🙏🤗
Hello You are the surprise winner of the Steem Women Club Community DIY Contest. Congratulations. Continue making posts in the community.
Thank you so much @steemwomenclub! Very much appreciated. Thank you for this opportunity.
Congrats! 😊
what an awesome hand. I love it!
Thank you for the kind words :)
Congrats 👏