Steemit Engagement Challenge: Encouraging creativity: Let's make origami! By @mesola
INTRODUCTION

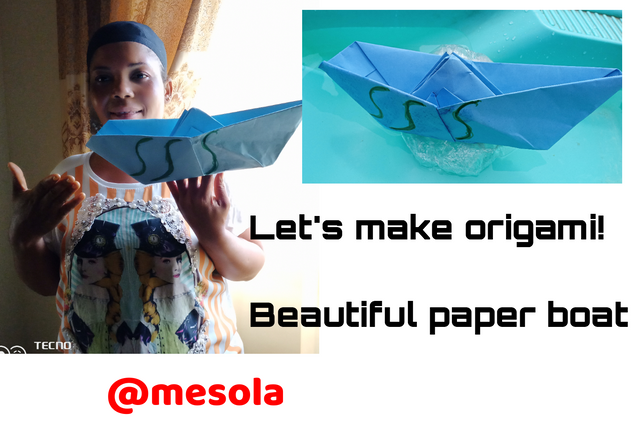
Hello Steemit friends and lovers of my creativity, we are in the forth week of the engagement contest and the whole thing is becoming so interesting, my creativity for today is making of paper boat .
To Make an origami paper boat is a noble activity that is simple to accomplish and does not need a lot of materials before it can be created. To make a beautiful paper, one thing that is be noted is that you need only a piece of paper that has strong firm so that you will get a perfect result from your creativity. That's boat making. It takes a minute to make a nice shaping boat. All what you is to take it step by step, note that missing a step can lead to something else.
First step
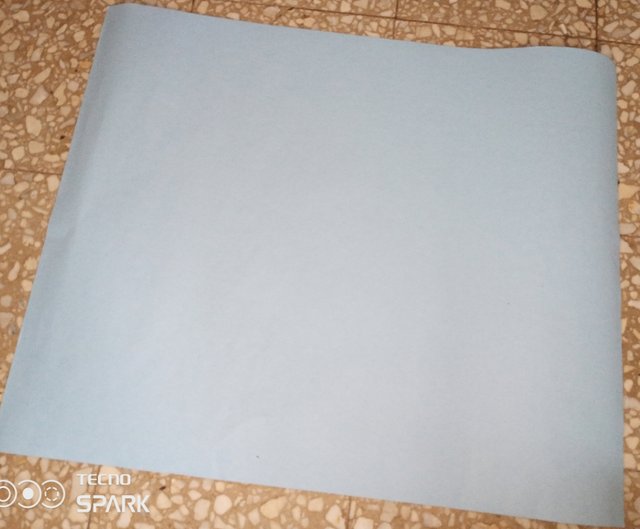
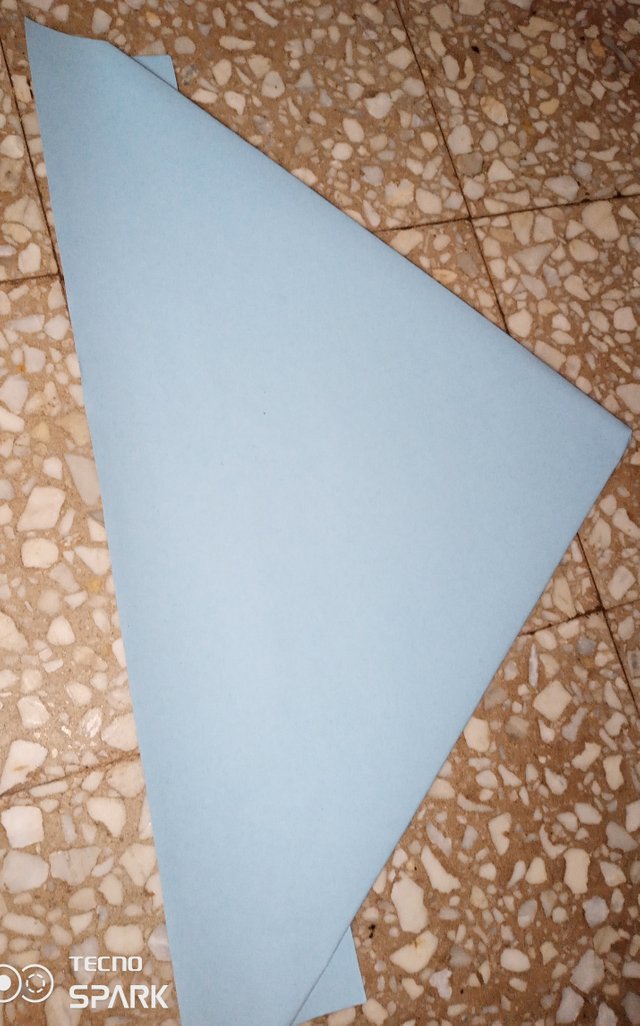
I am using a full sheet of cardboard paper then I folded it into two equal half.
- Lay the paper down slantly and fold it from your left to right in a way that the corners meet up at the same point
To make a straight line run fingers down the fold.
Second stage
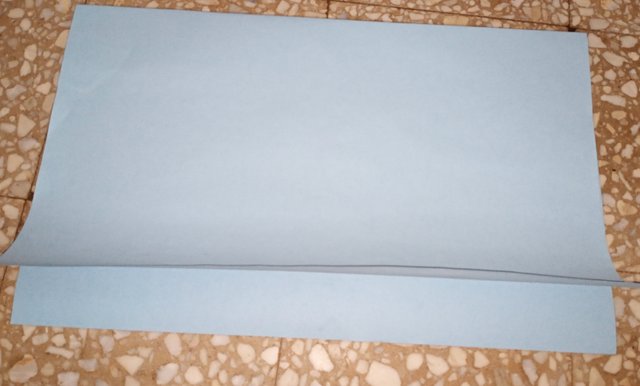
Losen the paper in a clockwise rotation tending to 90 degrees point, then fold it onto two equal half again. At this particular point the cardboard paper should layed down in a upward manner. As soon as the paper is adjusted fold the cardboard paper from your left to right. With is the folding will a different shape from here, I now had a two different lines both in the center of the page that is the x-axis and the y-axis of the cardboard paper.
- You should now have two lines along both centers (x-axis and y-axis) of the page.
Third stage
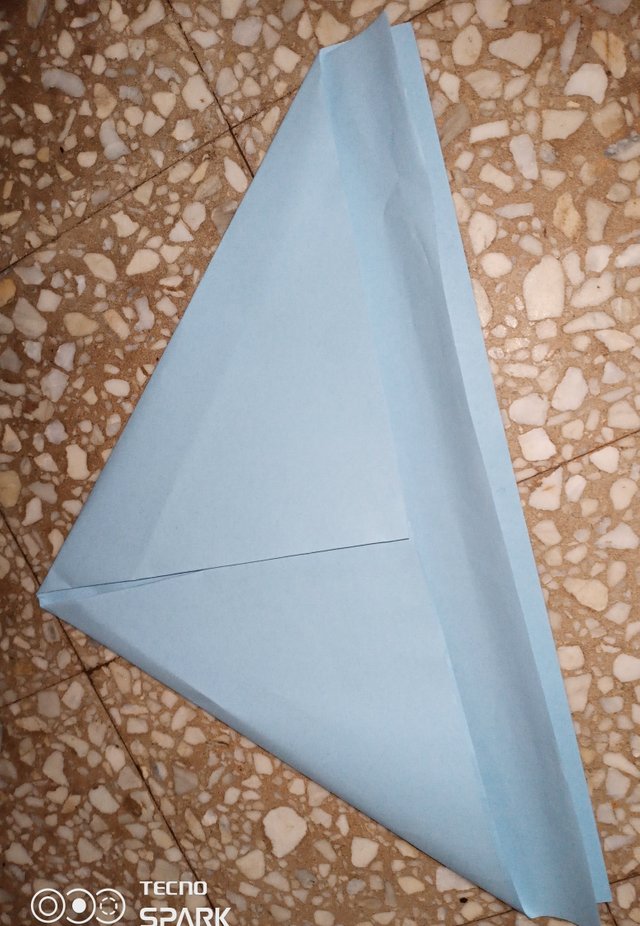
Turn the cardboard paper in such a way that the foldings open towards you. Therefore fold down the Corners in an upward manner towards the middle of the paper in a period of time leaving about 1-2 in (2.5-5 cm) of space at the ending of the cardboard paper. Be sure that folds line up with the middle line. Line along the corner to secure the folds.
- Use the line you made before to help crease up the folds coming in from the edges.
Forth stage
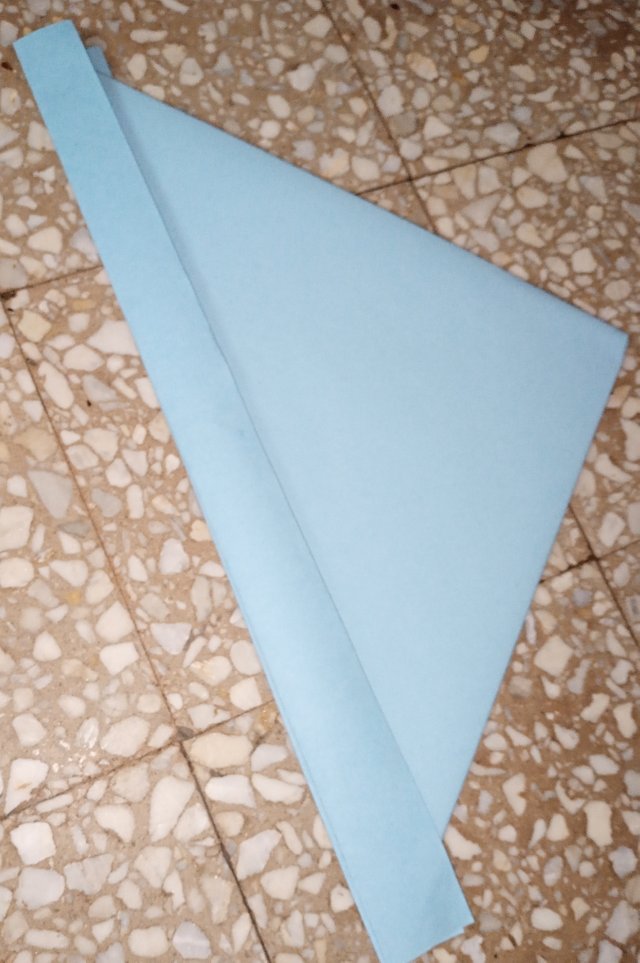
Bringing the ending of the cardboard paper up to fold against the two sides. Hold the flap at the ending of the paper and fold it up against the ending of both folded triangles. Move the paper over and do the same thing to the up and down of the cardboard paper from both sides.
- From the production made it will give a paper hat view.
The both folds should crease up with each other.
Fifth stage
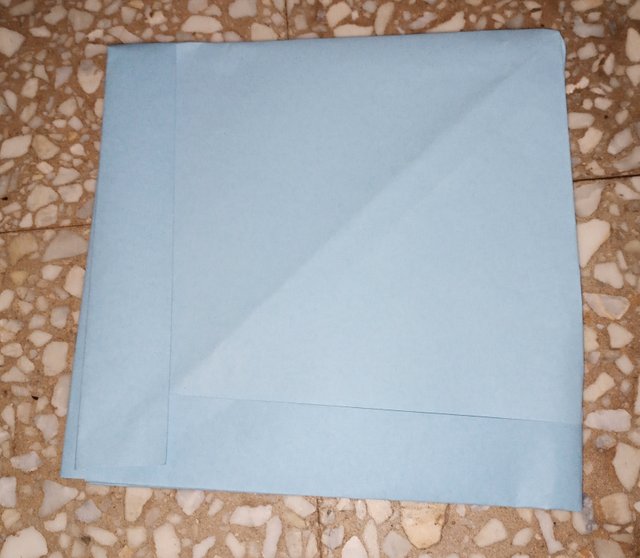
Take the ending corners and fold them in. On one side of the cardboard paper, get the corners of the rectangle that are plunge out over the triangle. Wrap these parts of the paper around the corner of the triangle and line them so that they stay wrapped around the corner of the triangle. Therefore fold the ending limber around the corner of the triangle and back towards you.
- The limber closest to you should be overlap in front of the back from one side to the other.
Sixth stage
This is the final fold so you make the triangle into a square. Make sure you turn it 45 degrees, then make use of your fingers to open up the ending of the triangle. Pull the paper at one side gently until it pops into a square shape.
Fold the paper along its edges so that it will be in the square shape.
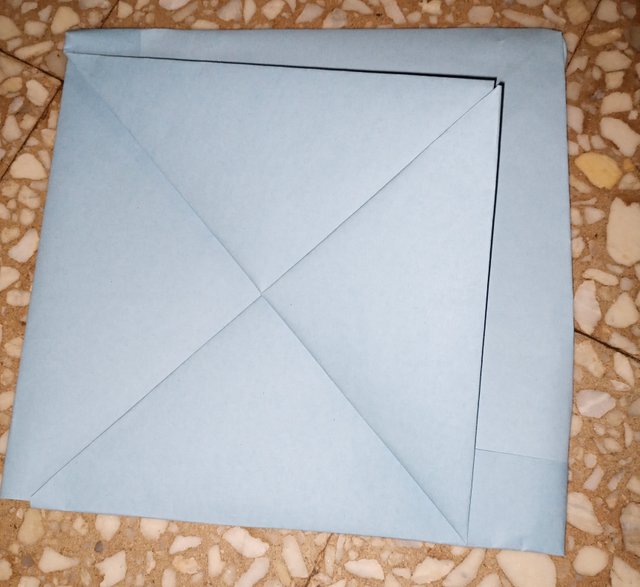
Fold up the ending from one side to the other. Fixed your paper so that the ending points of the inside point can fold upward. Fold up one adge, range it with the ridge adge. Then, open the cardboard paper above and do the same thing to the other side.
The ending of the inside point should be the part of the paper with other folds.
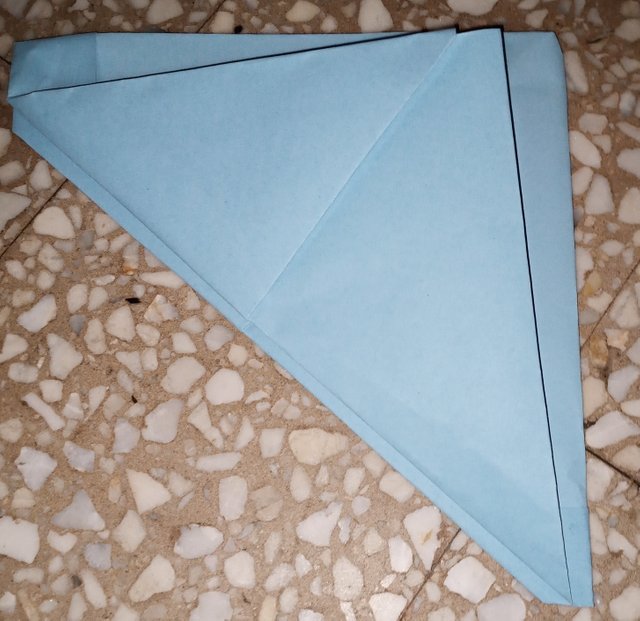
Make the triangle into a square once more. Just like when you started, collect the triangle and turn it 45 degrees, then ajar up the ending of your fresh triangle with your fingers. Line the paper along its corner so that it stays in the square form.
The bottom adges will crease up to become the ending point of a square point.
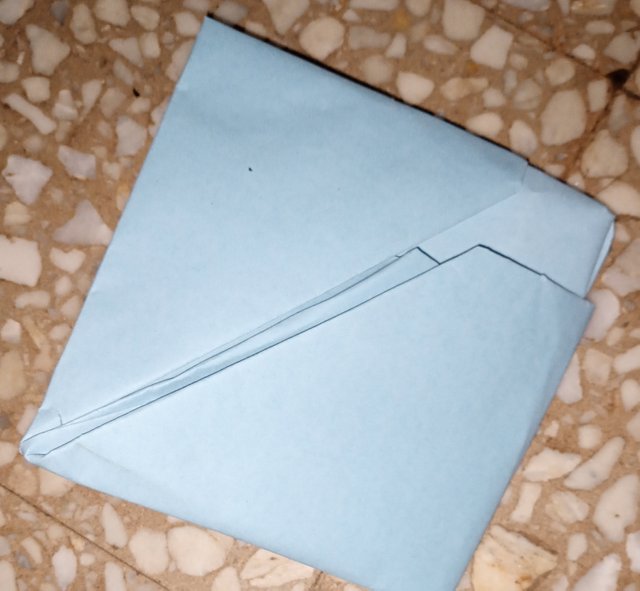
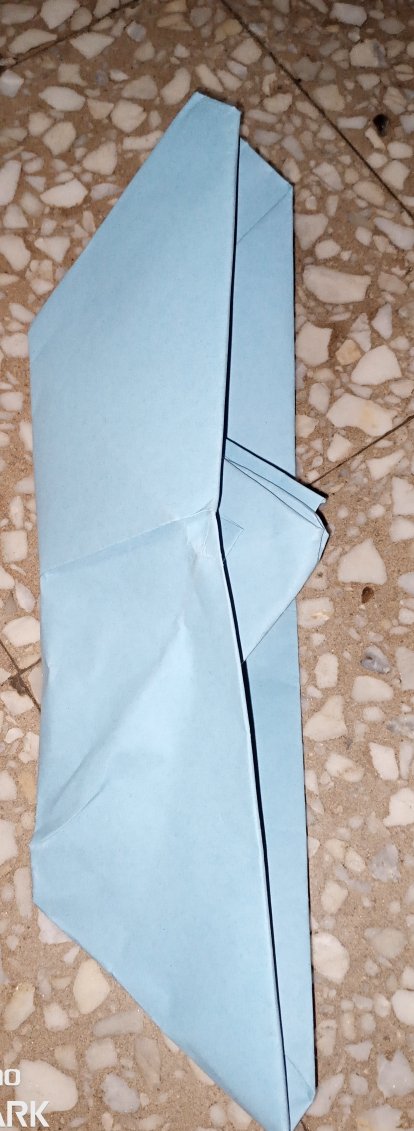
Then Pull out the triangles on the other side of the square. Begin at the up of the inner point, and gradually pull the both sides apart so that the closure running down the middle of the inner blooms. And from this point your paper boat is ready.
I then float my origami boat in a baby bat fill with water then I use a nylon to protect the paper boat from sinking, since I didn't have tape to make wrap the boat before putting it in water.
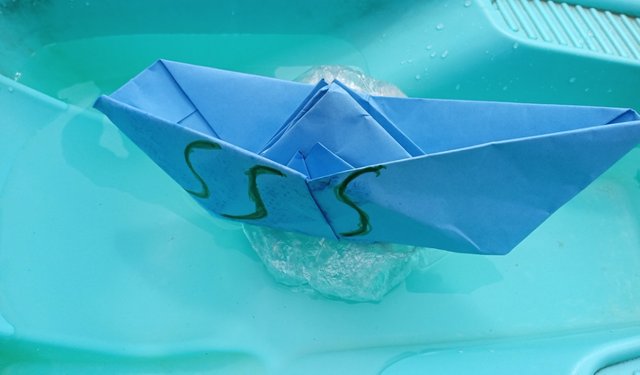
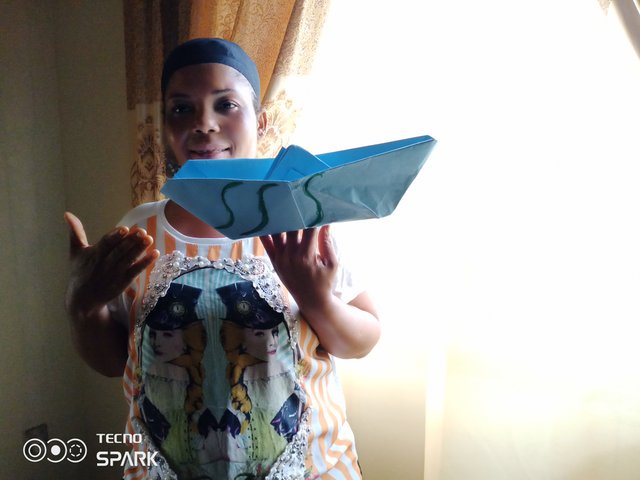
My experience while making my paper boat.
My experience while making my paper boat was not that easy because I did it last when I was little and my kids were all in school to remind me the steps so because of that I have to condem a lot of paper before I could come up with what I have now. I am a lover of craft but it took me a lot of time thinking before succeeding with this perfect paper boat.
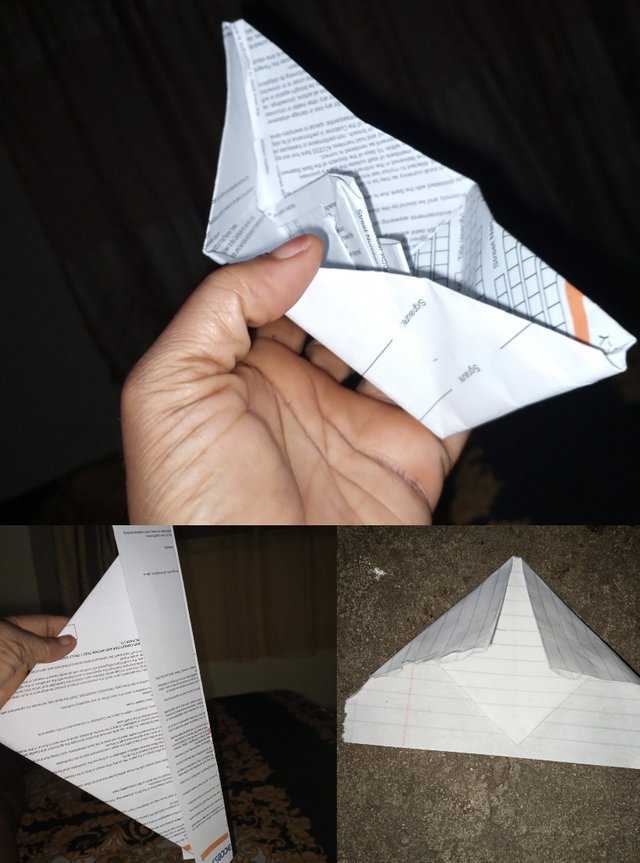
As your can see I did a lot of practice first before decided to use cardboard paper and it came out perfectly well.
I will use this medium to invite my friends @thersavic, @goldenekpo, @icon-monday
Cc
@rypo01
@inspiracion
@anasuleidy
@adeljose
@albenis
@wilmer1988
@saracampero
@miyexi
@tocho2
@edili24
Greetings friend @mesola
It is exciting to see again those paper figures we used to make when we were kids, they were our auxiliary toys and for some the main elements to have fun.
Thanks for your participation.
Thank you very much for viewing my post I really appreciate, it was so fun when we were kids but thank God to Steemit for bringing out those childhood game
Muy buen trabajo.
Realizaste una buena ejecución en tu trabajo al presentarnos este grandioso barco, sin duda que navegara mucho, te felicito y te deseo suerte.
Thank you
Hello friend, your origami work turned out great, practice helped him achieve a sturdy and well-shaped boat, The best thing is that you managed to spend a pleasant time while you did your work.
Thank you for participating in the contest, Greetings and blessings!
Thank you very much for your time you spend while reading my post. I appreciate
@mesola, Your ship is very particular among several that I have seen, it looks resistant and well structured, it looks like a battleship because of its strength.
That was the result of hours practicing how to do it in a good way, your effort was worth it. I congratulate you.
I say goodbye wishing you have a great day.
Thank you very much for a very nice comment on my post
Hola @mesola: Bueno ese será el titanic, súper grande ese barco , esperemos que no se termine quebrando en dos por efecto del agua, jejeje saludos.
I don't believe it will break my dear
Muy bueno tus pasos a paso .
Siento que me traslade un poco a mi infancia leyendo tu publicación .
Your boat looks really impressive, you sure did a lot of work there,indeed hard work pays .Thanks for sharing your steps.
Te invitamos a formar parte del ranking #sv-club5050 de SteemVenezuela y recibe el apoyo de nuestra comunidad por tu participación en el #club5050 conoce más detalles:
Programa #club5050 Steem Venezuela: Se Parte de #sv-club5050
Esperamos tu aporte al crecimiento de La comunidad haz tu delegación a nuestra Cuenta comunitaria Steem Venezuela, haz Clic a los siguientes enlaces:
50 SP 100 SP 250 SP 500 SP 1000 SP
2500 SP
UNIDOS SOMOS MÁS FUERTES!
Beautiful boat you've got there..