Club5050||Learn AutoCAD 2d & 3d with @saifullamansur||LESSON 2
Assalamu Alaikum. I hope you are all well. I'm much better. Welcome to my class.I am Saifullah Mansur. I am a civil engineer. I will teach Autocad2D and 3D.
Today is our second class. In the first class we learned about almost half of the tools. Which we always need in our work. Today we will learn about the other half of the tools. Everyone will take today's class seriously. Because today we will discuss many important things. The tools we will discuss today will always be needed in our work.
Talk about some of the tools in the workspace
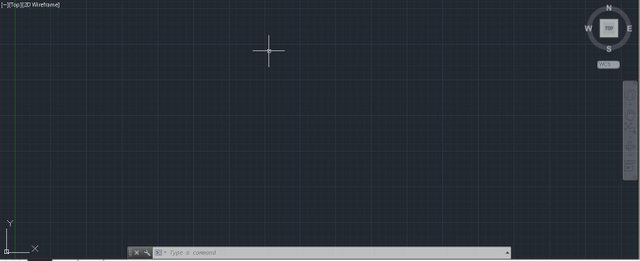
On the left side of the workspace we see these three Tools. There are three types of work. Although these works are mostly used in the case of 3D. I will discuss these three now.

Viewport controls
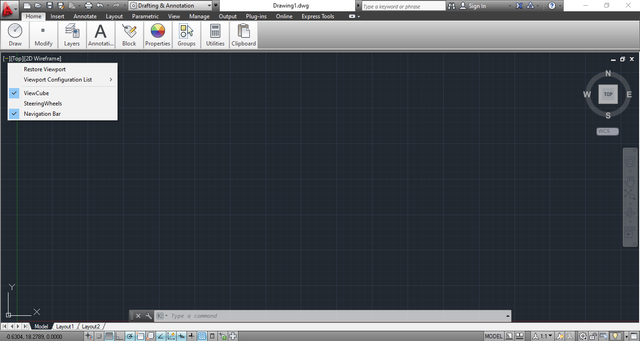
In the image above - the name of the icon is Viewport Controls. With this we can control our viewpoint which we will try to apply at work.
View controls
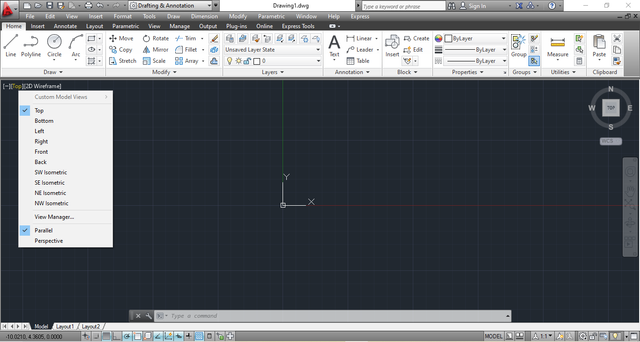
See the (top) text option in the image above. Its name is View Controls. Through it we can change the view of our drawing in any way we want. We can see the image from right. We can see from left.
Visual style control
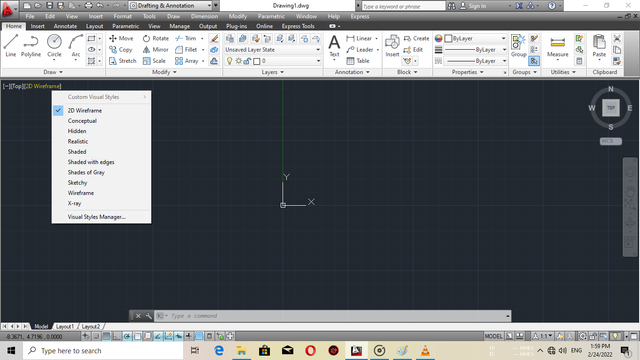
In the picture above we can see the text to (2d wireframe), its name is Visual Style Control. It is most commonly used in 3D. It allows us to see the real part of our 3D drawing in many different ways including X-ray part.
How to lock user coordinates
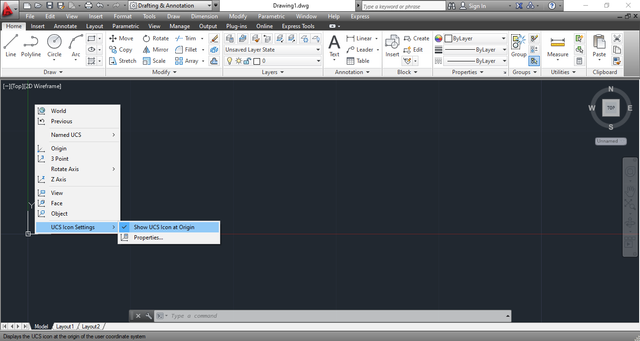
Yesterday we got the idea of user co-ordinate system. Today we will learn how to keep it locked at work. It must be locked. You have to right click on it. Then we will get a box called UCS Icon Settings here. We will then remove the mark on UCS icon8 Origin that is ticked. Then it will be locked.
view cube
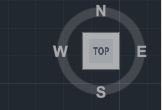
The image we see above is named view cube. It is commonly used in the case of 3D. This is a very important tool for 3D.
Navigation bar

It is located on the right side of the working space. There are also many essential tools. We will learn to use it slowly.
Status bar

The status bar is a very, very important thing for us. What we get here will help us a lot. Below I discuss each of the tools here.
Snap Mode
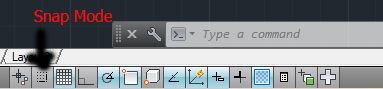
At work it will catch from one line to another. When we use this snap total it will help us to catch the line from line to line. Which we will learn in Lesson 3.
It can be turned on via the keyboard if desired. In that case once f9 is clicked one will be on. Clicking F9 here again will close .
Grid Display
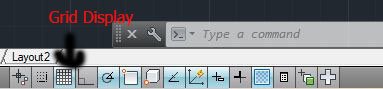
The grid display is a very important thing. It helps a lot in our work. The small boxes inside the workspace are called grid display. A lot of the time it's a hassle to box at work. That is why these commands remove these boxes.
It can be turned on via the keyboard if desired. In that case once f7 is clicked one will be on. Clicking F7 here again will close .
Ortho Mode
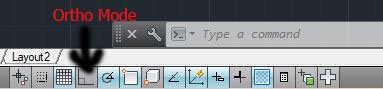
With ortho mode we can keep any alignment or line straight. Each of our alignments will be straightforward whenever we use the ortho mode.
It can be turned on via the keyboard if desired. In that case once f8 is clicked one will be on. Clicking F8 here again will close .
Polar tracking
![]()
Polar tracking is an important tool. By using it we will be able to maintain our specific degree. If we need 45 degrees or 90 degrees in any degree case it will help us for the right size.
It can be turned on via the keyboard if desired. In that case once f10 is clicked one will be on. Clicking F10 here again will close .
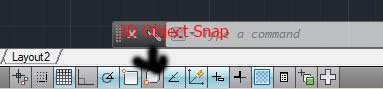
Object snap
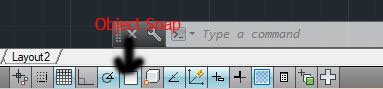
Object snaps work to capture any object. We will use many types of objects at work. Which will need to be captured from one object to another. In that case we will use the objects snap.
It can be turned on via the keyboard if desired. In that case once f3 is clicked one will be on. Clicking F3 here again will close .
Object snap tracking
![]()
We may have to spend a lot of time tracking objects while working. The distance from one object to another.That's why we use object tracking.
It can be turned on via the keyboard if desired. In that case once f11 is clicked one will be on. Clicking F11 here again will close .
3D object snap
It is used to draw lines from a 3D object to another 3D object.
It can be turned on via the keyboard if desired. In that case once f4 is clicked one will be on. Clicking F4 here again will close .
Dynamic input
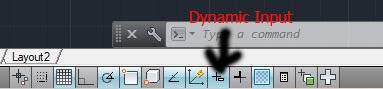
Workspace shows the command box through dynamic input. Through which we can make different types of command.
It can be turned on via the keyboard if desired. In that case once f6 is clicked one will be on. Clicking F6 here again will close .
Line White
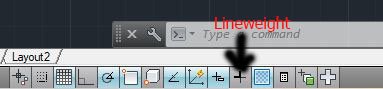
With Lightweight we can make any line as thick as needed and bring it back to its previous position if needed. This command is much needed at work.
MY PERSONAL OPINION
Think that's enough for today. Because if you want to learn AutoCAD well, you have to spend a lot of time behind it. The second class was finished. I hope you are now ready to do the practical work. In the next lesson I will show you how to do this directly .Next time we will try them ourselves.
Thanks Everyone


Best regards
By @saifullamansur