How I color my Digital Portraits
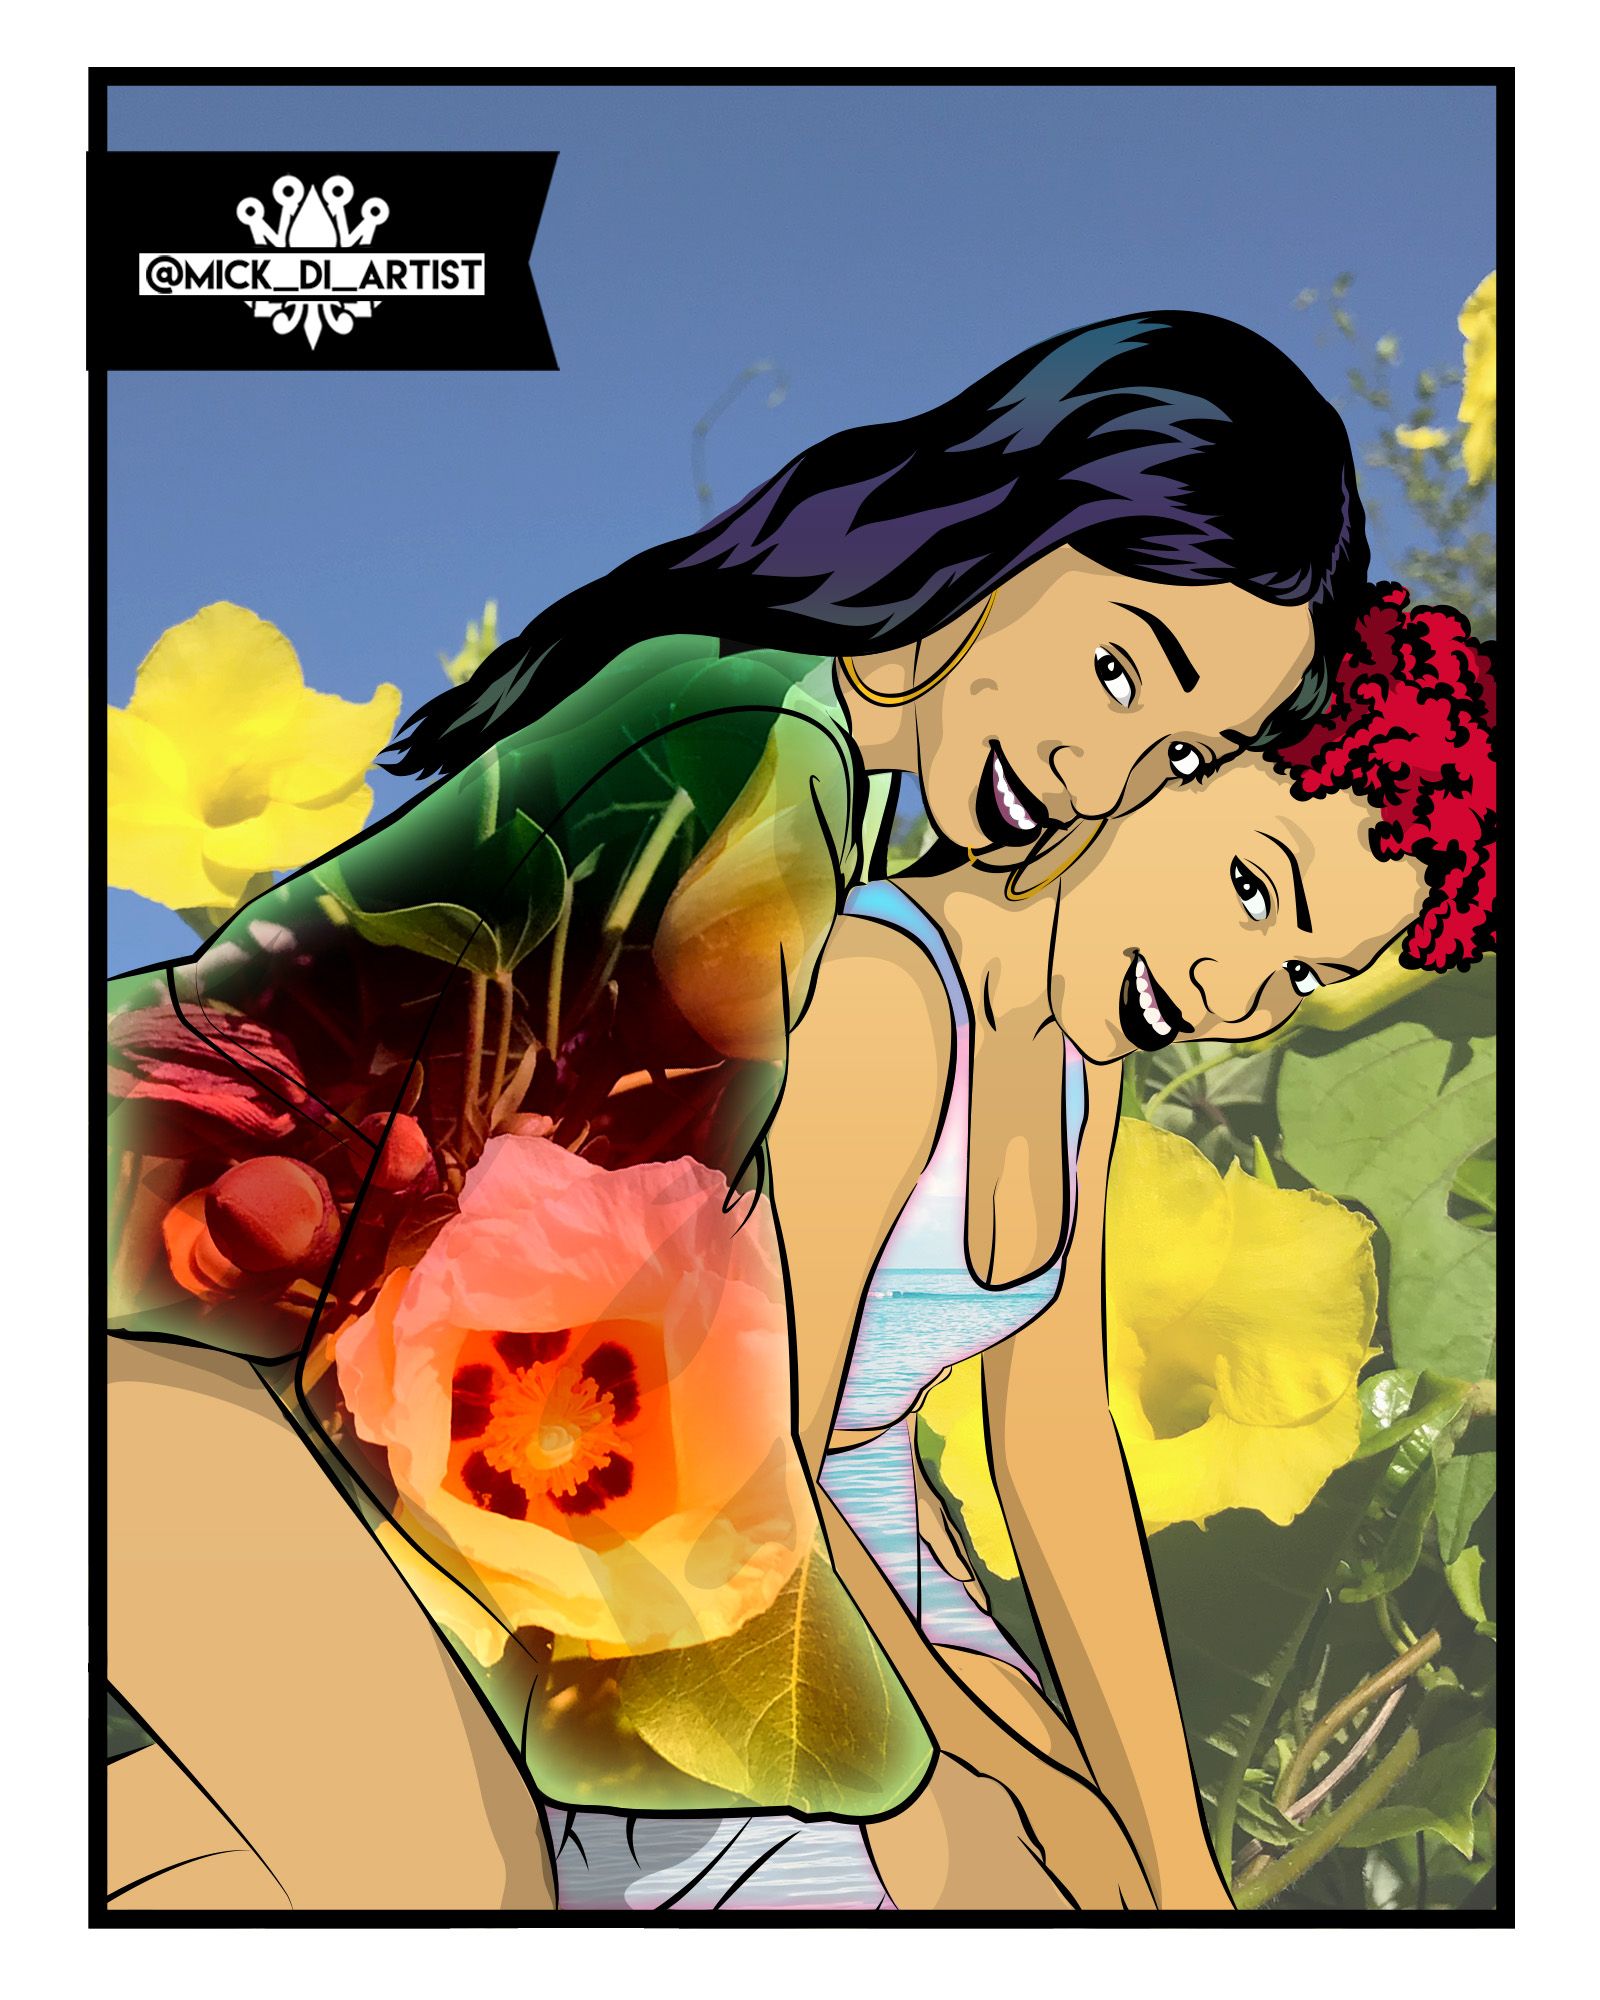
Okay so as promised here is my tutorial on coloring. This piece is a special one and I think I will be taking a different approach to how I will bring some life to this artwork.
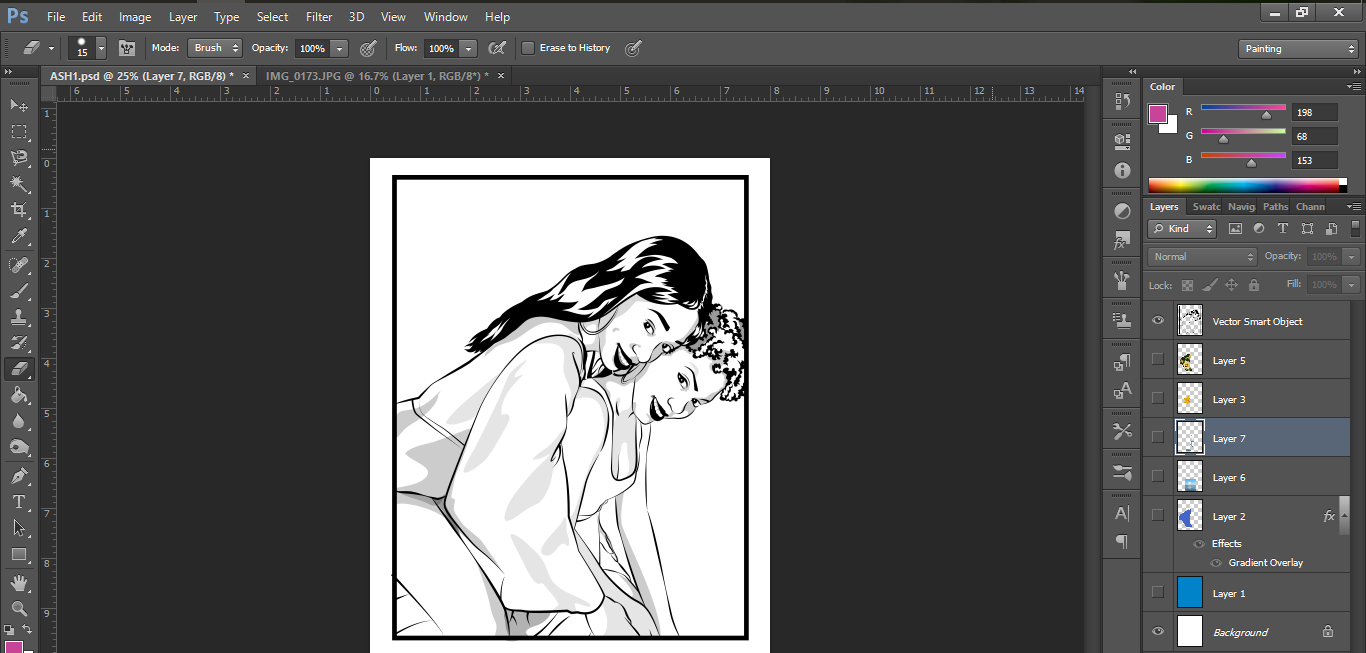
Here is the uncolored piece looks, fresh from Adobe Illustrator. For this exercise I will be using Adobe Photoshop so I have imported the image, centered it and will begin working.
I want this piece to have a sort of natural and organic feel. So instead of applying a solid color to the dresses I will be using images I shot myself to fill in the negative space. Think of it as a kind of digital collage if you will.
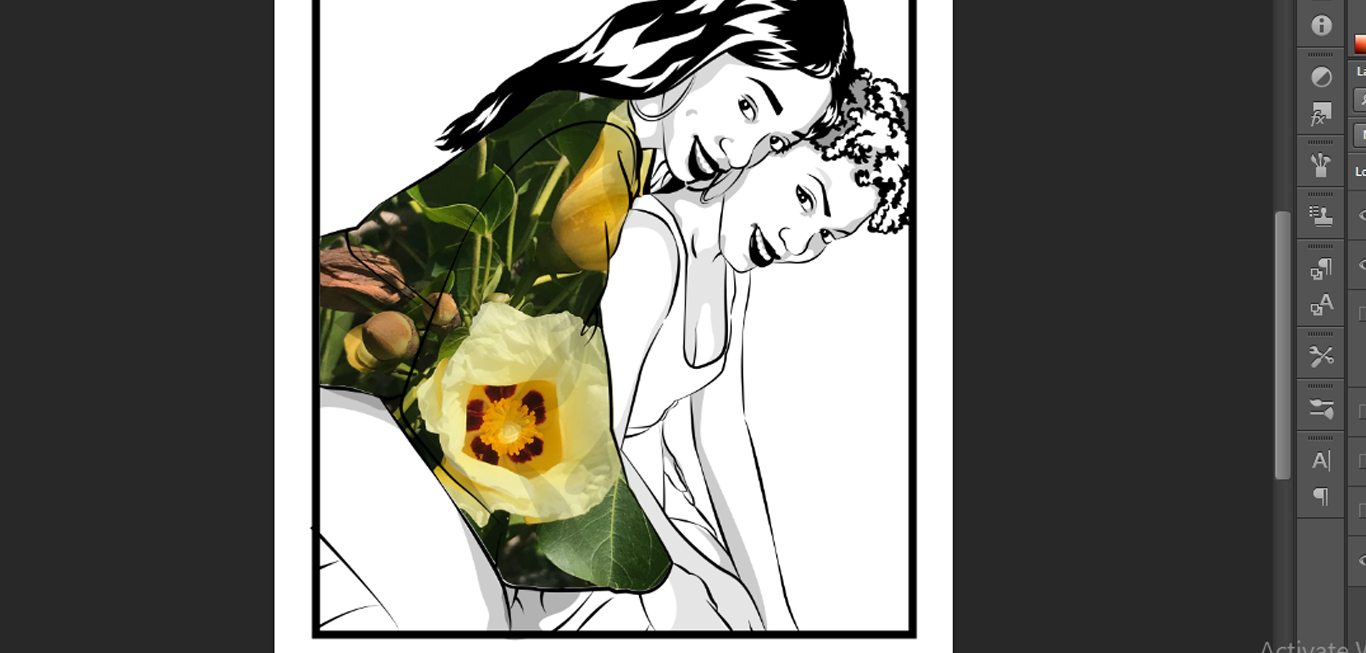
For the first dress a yellow seaside flower will be used. Here is the image:
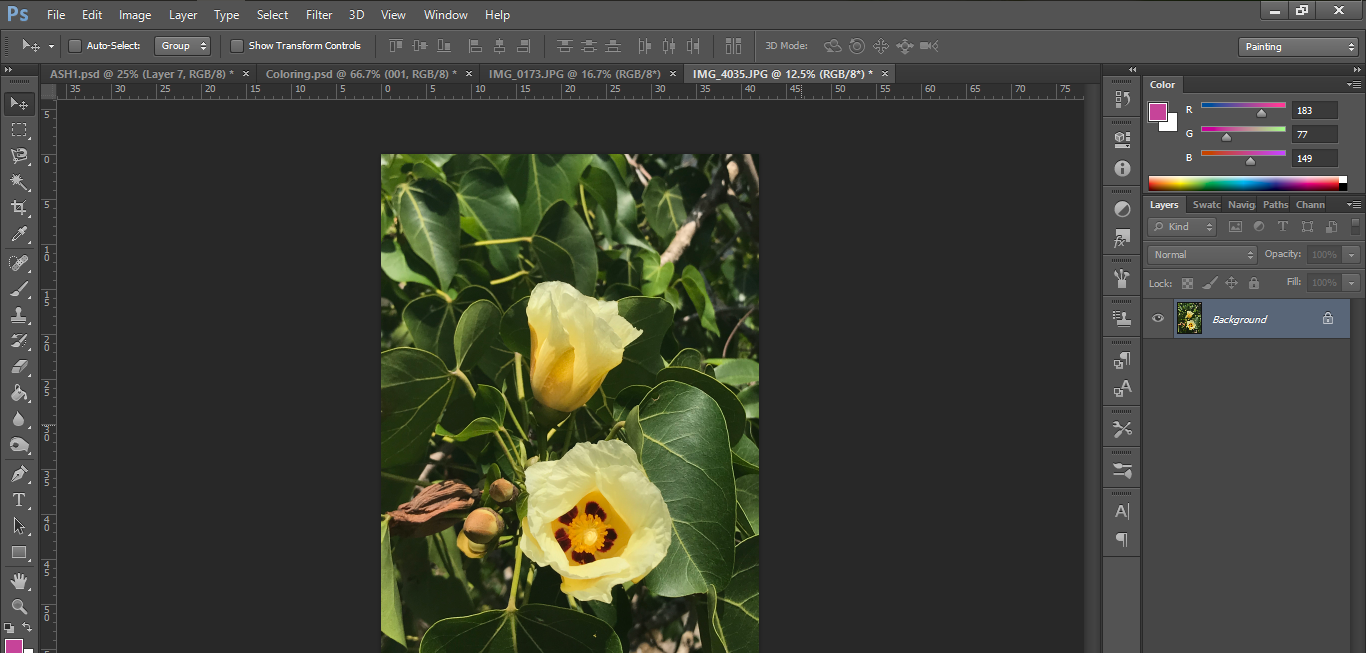
I’ll also be using the seaside shot for the other dress.
To get this image where I want it on my drawing I will move it, resize it and then cut out the selected areas that I need using the Magnetic Lasso tool.
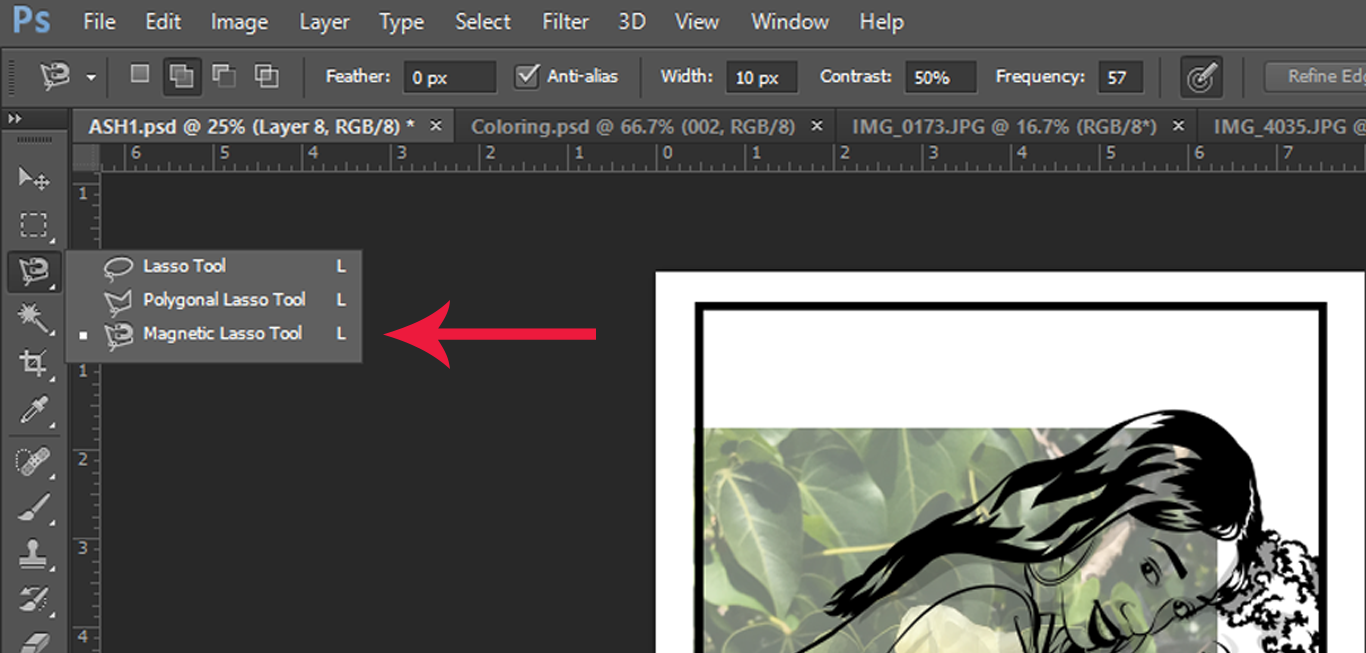
With the Magnetic Lasso you can "trace along” the lines of your drawing, connect back to where you started and make a selection. After making your selection you should see the “dancing ants” showing you the area you now have selected.
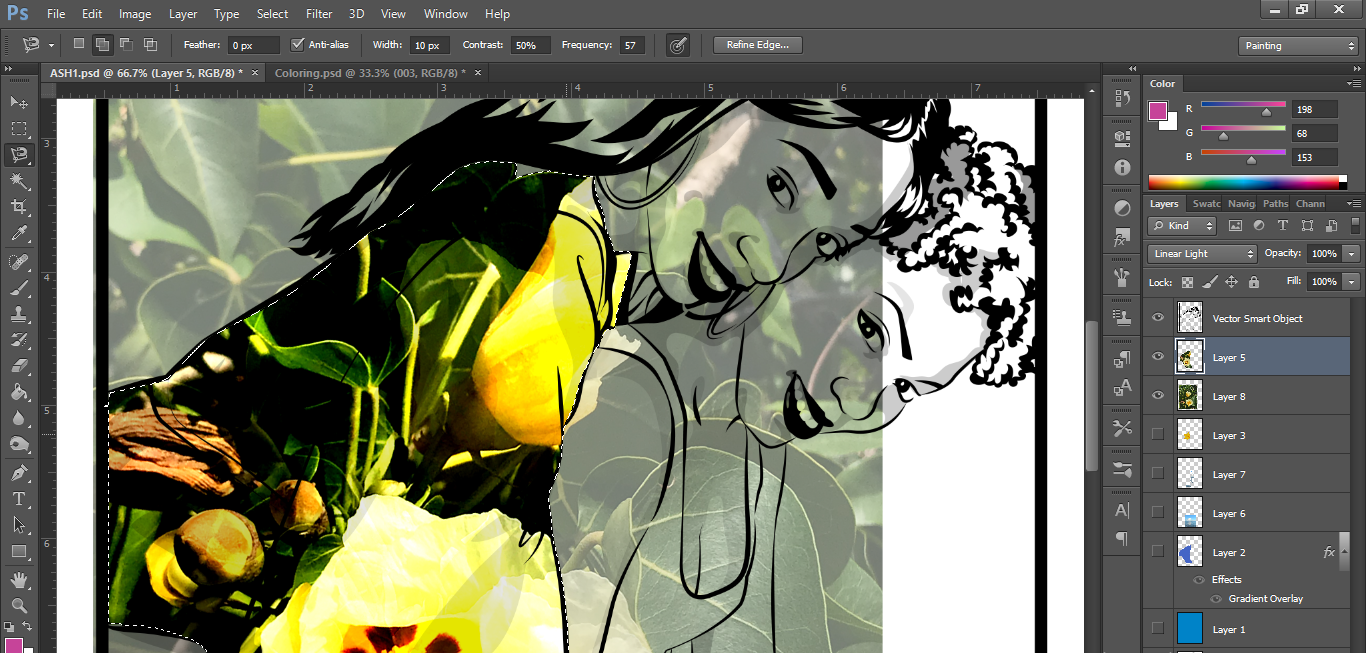
After this, with the layer that your selection is on selected use the command “SHIFT+J” to make a new layer from your selection. What you should now have is a neat cutout that fits into your selected area like this.
You can then delete the original image that you made your selection from to ensure your work area stays neat and organized.
On the layer containing the cutout I will be applying some effects to make the selection more interesting. First I will do a gradient overlay. You can access your layer options by double clicking the layer of your choice. And selecting the effect you desire.
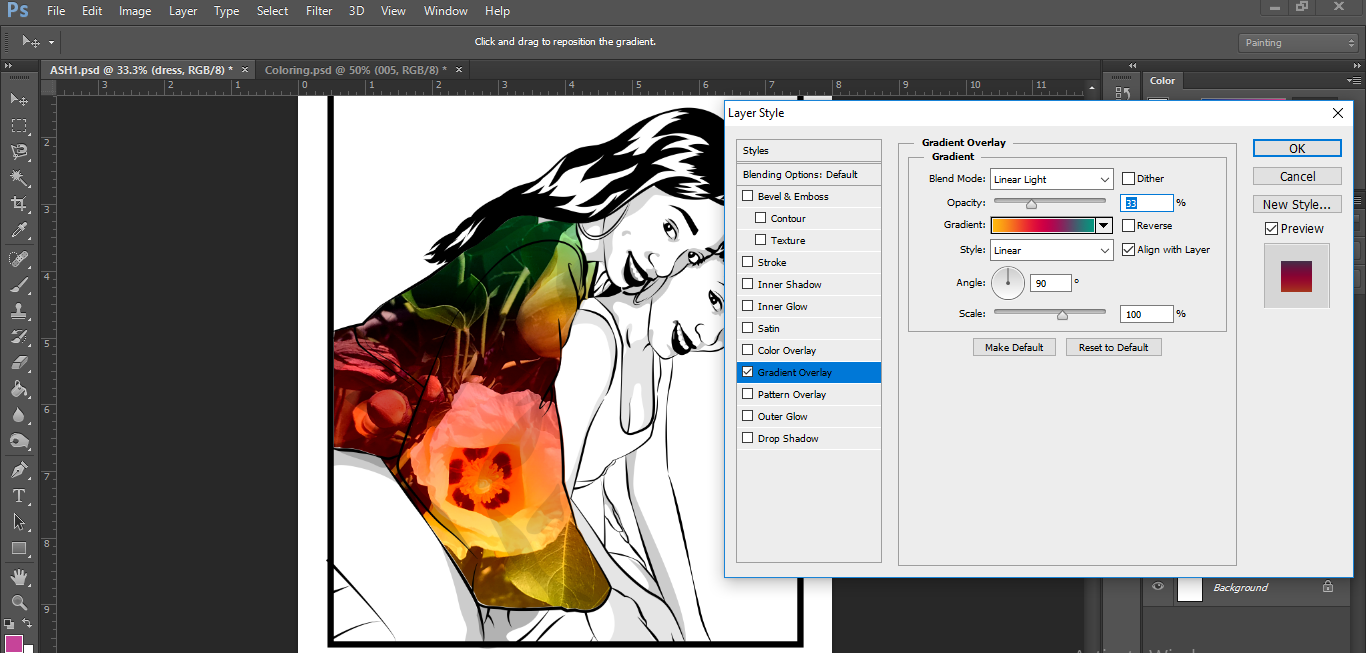
The second treatment for this layer will be an Inner glow effect seen applied here:
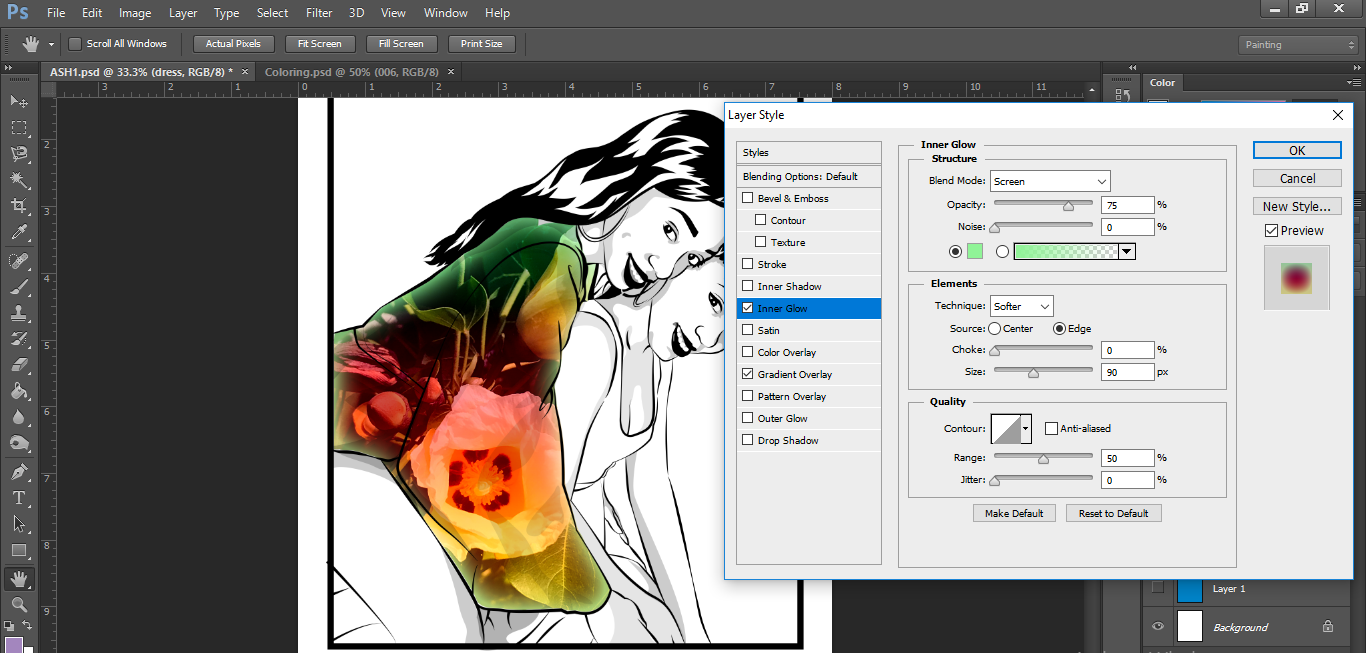
To note my gradient here is at 33% opacity using a Linear Light blend mode. The Inner Glow is a light green color set to 75% opacity.
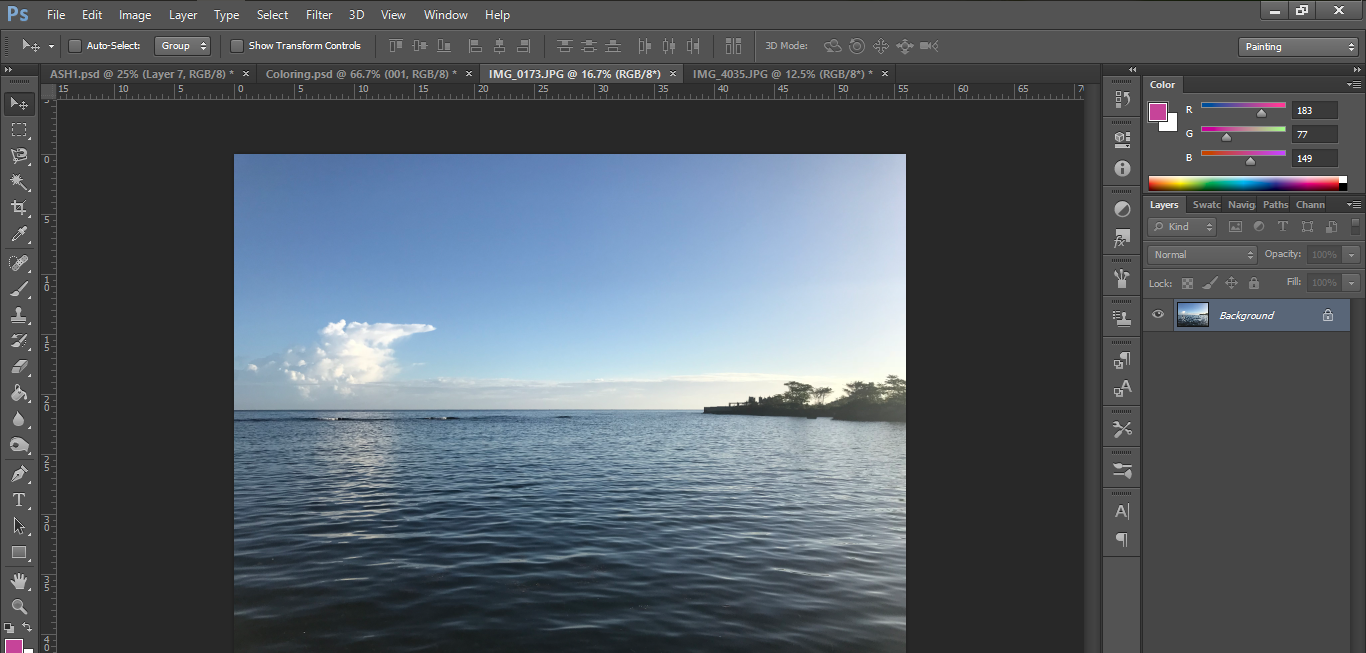
I repeat the process with the clothing on the other model. This one is of a seascape image.

The skin is one of my favorite things to color in and here I usually experiment with different visual effects as well. I usually choose a tone similar to that of my model and then use gradients, blend modes and burn and dodge to get the tones correct.
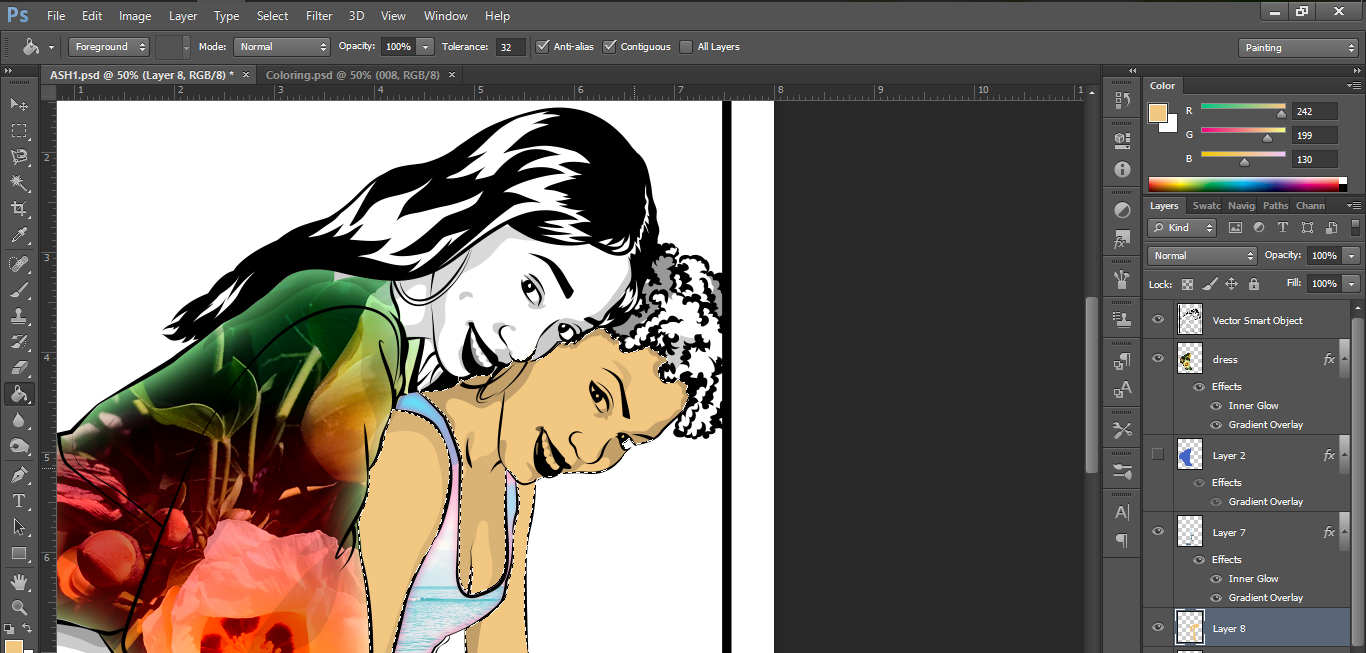
I make a layer below the line art and clothing layer and select the areas I want with the magnetic lasso.
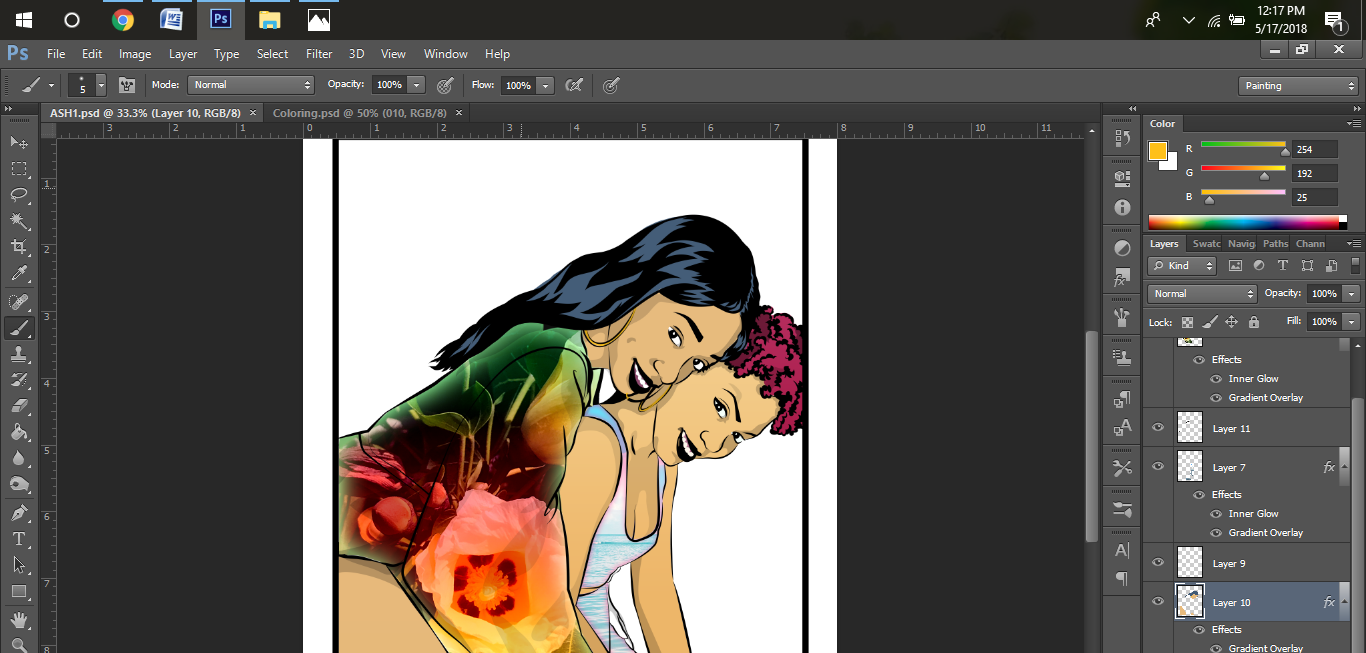
For this image I imported another one of my photos to make the background. I played with the levels a bit to fade it out and this is the finished product.
So until I join you all again. Keep learning, keep creating and stay humble...