Viewing Steem Blockchain Data in a Web Browser. Part 4: Basic HTML forms, scripts, and the Developer's console
This is part 4 of a series of posts that will describe how to use the Steem Javascript APIto display data from the Steem blockchain on a webpage. The first few posts discuss how to set up some basic HTML using a text-editor and display the HTML in a web browser. To read about text-editors and minimal HTML, see part 1. To read about metadata and Unicode and inline CSS see part 2. To read about more metadata, nav and footer bars, divs, and entities in HTML, see part 3.
This post contains a description of how to put a simple form and script into an HTML document and use the new functionality to print something on the web browser's developer's console.
HTML form element
Now we will add a form element to some simplified HTML. The form element is used to organize data input. The form element tags look like this:
<form></form>
We will make a simple form with only a submit button and add a script to the HTML document that contains a function called "helloUser" that will be run when we press the submit button. The form looks like this:
<form action="#" onsubmit="helloUser()">
        <input type="submit" value="Submit">
 </form>
The simple form tags now contain “action” and “onsubmit” attributes. The value of the "action" attribute gives the form a URL to send the form's input to when it is submitted. We set the value to "#" because we will stay on our page. The value of the "onsubmit" attribute is the name of a script's function that the form should run when it is submitted.
There is an "input" element inside of the "form" element. There are various types of input elements and here we use a special type called a "submit" input element. The submit input element makes a button on the form when the HTML document is loaded into the browser. When the button is pushed, the form is submitted. The "value" attribute of the "input" element is set to "Submit". This is the text that appears on the button. If you change "Submit" to another word or phrase, that word or phrase will appear on the submit button.
HTML Script
Scripts are included in an HTML document using the script tags and are usually at the end of the body or in the head of the document. Scripts are loaded into the browser when the HTML document is loaded. We will put a simple script at the end of the body section of the document. The script looks like this:
<script>
      function helloUser() {
        console.log('Hello Steemiverse!');
      }
</script>
This script contains a simple “Javascript” function that prints out a text string to the web browser’s developer’s console. The default script type in HTML is “javascript” although other types of scripts can be run if they are supported and specified using the “type” attribute in the script tag. This particular script defines a set of instructions inside of a function named “helloUser”. The instructions are carried out when the function is executed by the submission of the form. The "()" following the name of the function in the "onsubmit" value of the form means “run the function whose name precedes the parentheses”. Without "()", the function will not run when the Submit button is pushed.
The “helloUser” function is defined in the script element by writing the word “function” followed by the name of the function, open and closed parentheses "()", and then open and closed curly brackets "{}". The function’s instructions are written inside of the curly brackets and each instruction is punctuated with a semicolon ";". The semicolon at the end of each instruction and the order of the parenthesis and brackets are required. Functions in Javascript can also be defined in other ways but we will not discuss those now.
The Developer's Console
Our function tells the web browser to “log” or print something on its console. The console is the developer's console that can be accessed in most browsers. In Firefox, the developer's console is accessed by clicking on the three-horizontal-bars menu in the top-right corner of the browser, scrolling down and clicking on “Web Developer”, and then clicking on “Web Console”. The developer's console will appear in the bottom part of the browser. In a Chrome browser, click on the three vertical dots in the top right corner, scroll down to “More Tools” and then over to “Developer Tools”. Click on developer tools and a developers console will appear in the bottom of the web browser. In a Safari browser, click on the "Safari" menu, choose "Preferences", choose "Advanced", and then check the box that says “show Develop Menu in menu bar”. When you load a page into Safari, you will be able to choose to show the JavaScript console from the Develop menu. If you have a different type of browser, search the web for instructions.
The console is an object in the HTML DOM. The HTML DOM (Document Object Model) is a standardized API (Application Programming Interface) for HTML documents and allows scripts and styling programs to change the document’s structure, style, and content. The "console" object allows a script to perform actions in the browser’s developer's console. Objects in programming languages have properties (descriptive values like numbers or colors) and functions (lists of instructions) attached to them. To retrieve the value of a property or run a function of an object in Javascript, the name of the object is given followed by a “.” and then the name of the function or property that belongs to the object. The "console" object typically has 18 functions or methods that it can run. Each function does a different thing. When we write console.log(“Some text”), we tell the browser to run the "log" function of its "console" object to write the words “Some text” in its console "view" within the web browser.
HTML document with form and script elements
The full HTML document with the form and script elements looks like this:
<!DOCTYPE html>
<html>
  <head>
    <meta charset="utf-8">
    <meta name="viewport" content="width=device-width,initial-scale=1">
    <meta name="description" content="Hello Steemit User">
    <title>Hello Steemit User</title>
  </head>
  <body>
    <nav style="border: 1px solid black">
    </nav>
    <br>
    <div>
      <form action="#" onsubmit="helloUser()">
        <input type="submit" value="Submit">
      </form>
    </div>
    <footer style="border: 1px solid black">
    </footer>
    <script>
      function helloUser() {
        console.log('Hello Steemiverse!');
      }
    </script>
  </body>
</html>
Notice that the "form" element is inside of its own "div" element. There is also a line-break element "<br>" that is used to put some extra space between the nav bar and the form.
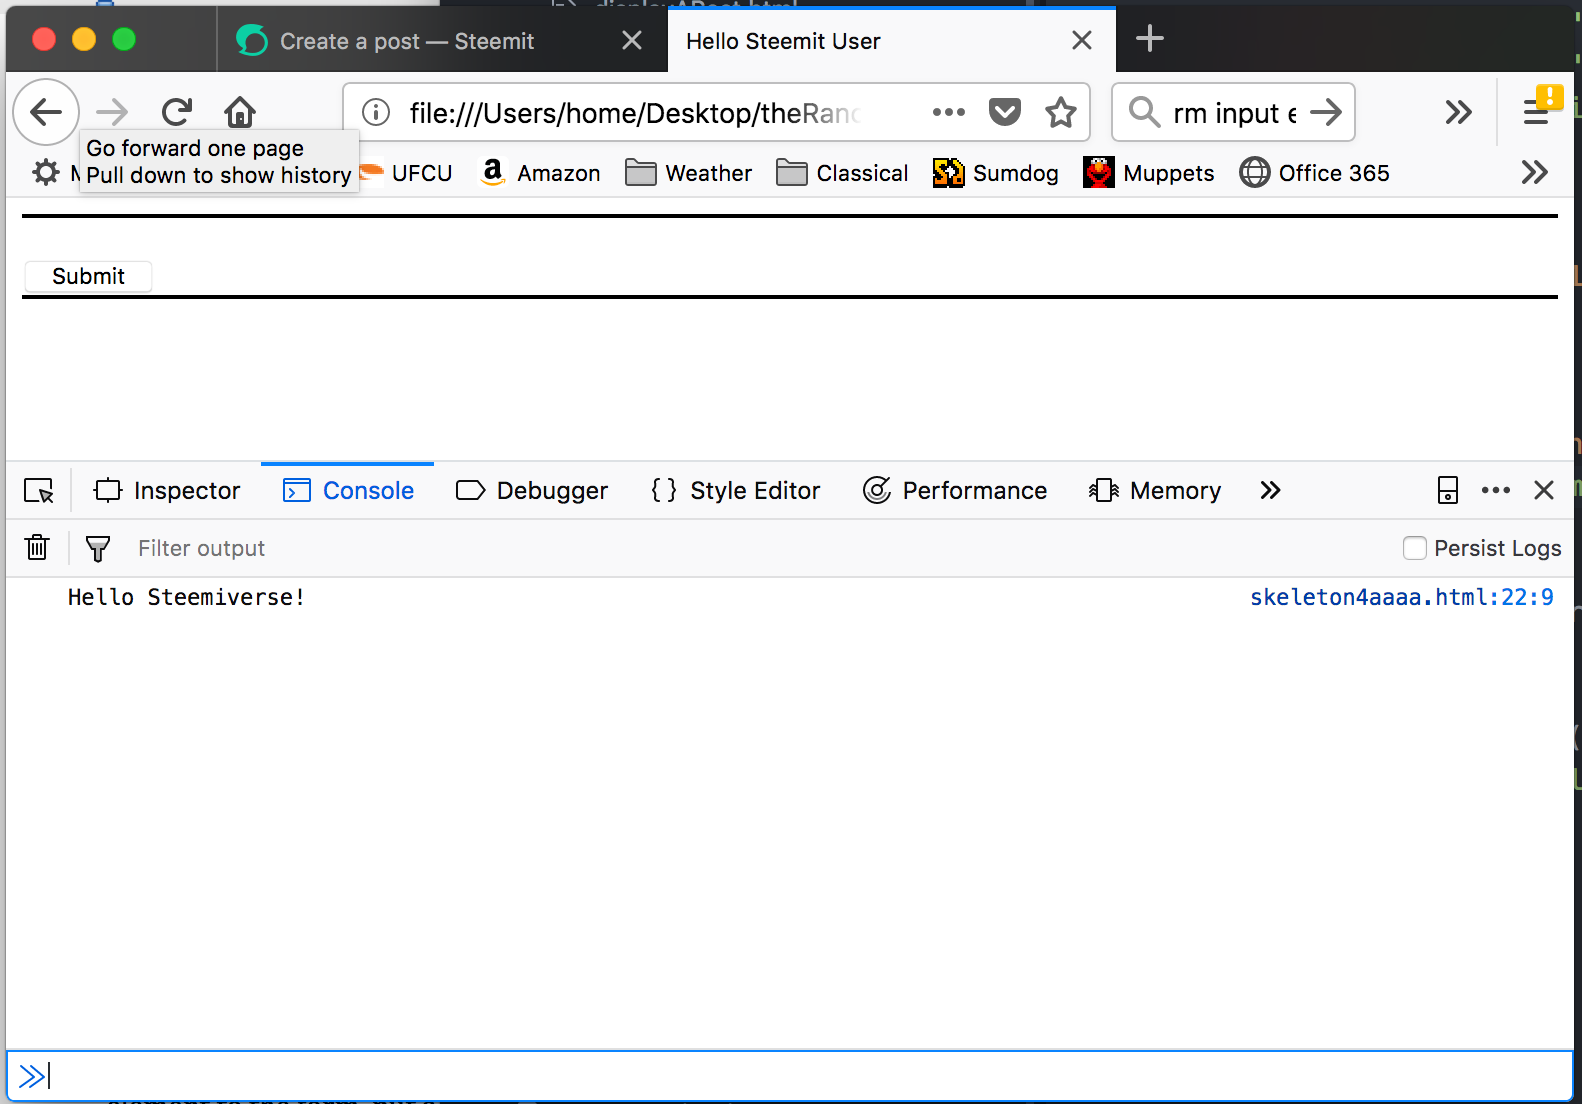
Save the new HTML in a text file (with suffix ".html") using a text-editor and load the new HTML file with the "form" element and the javascript into the browser. Open the developer's console and click on the submit button. It should look something like the following image:
Styling
Now we will add some more styling to make the form and button look more interesting. The styling will make the background color of the form's div pink, add padding which puts space between the edges of the form and the edges of the div, make the background color of the form light blue, and move the Submit button to the center of the form. The HTML with styling looks like this:
<!DOCTYPE html>
<html>
  <head>
    <meta charset="utf-8">
    <meta name="viewport" content="width=device-width,initial-scale=1">
    <meta name="description" content="Hello Steemit User">
    <title>Hello Steemit User</title>
  </head>
  <body>
    <nav style="border: 1px solid black">
    </nav>
    <br>
    <div style="background-color:pink; padding:10px">
      <form action="#" onsubmit="helloUser()"
            style="background-color: lightblue">
        <input type="submit" value="Submit"
               style="display:block; width:10%; margin:auto">
      </form>
    </div>
    <br>
    <footer style="border: 1px solid black">
    </footer>
    <script>
      function helloUser() {
        console.log('Hello Steemiverse!');
      }
    </script>
  </body>
</html>
Now, the form and its output looks like this:
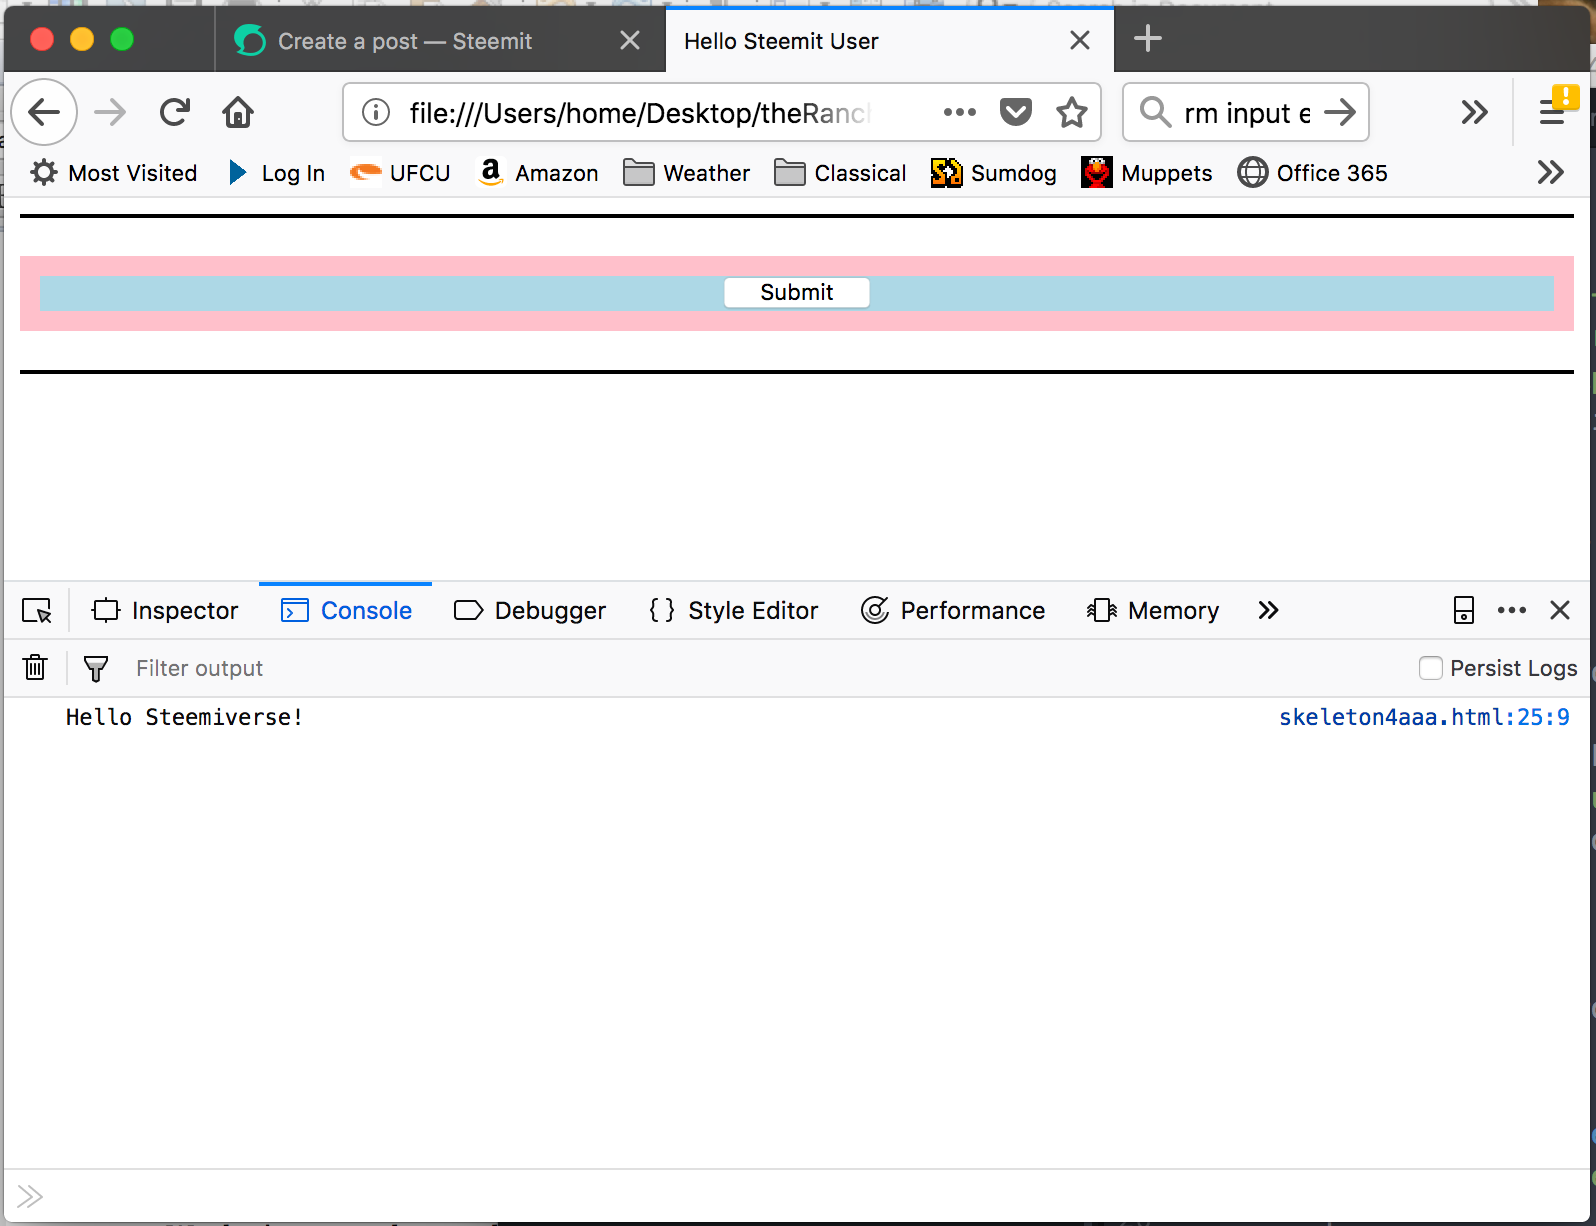
The black lines above and below the form are the collapsed nav and footer bars that have borders but no content. HTML elements shrink to wrap content and collapse when there is none.