Viewing Steem Blockchain Data in a Web Browser. Part 5: Input text into a Form and use HTML id attributes to access and modify HTML elements using Javascript
This is part 5 of a series of posts that describe how to use the Steem Javascript API to display data from the Steem blockchain on a webpage. The first five posts, including this one, discuss writing some simple HTML using a text-editor and displaying the HTML in a web browser. These first five parts are not an exhaustive tutorial on how to use HTML but describe the simple steps to take to write a local HTML document that you can load into your web browser and use with the Steem Javascript API to interact with the Steem blockchain.
- Part 1: Text editors and minimal HTML
- Part 2: Metadata, Unicode, and inline CSS
- Part 3: Metadata, nav and footer bars divs, and HTML entities
- Part 4: Forms, scripts, and the developer console
Now we will modify the HTML document from part 4 by adding a text field to its form element so that we can input a steemit username. We will also add a div placeholder to the document whose “inner” html will be modified by our javascript function, and we will add to our helloUser javascript function to modify our web page when the form is submitted.
Modifying the form element
The following markup will be inserted into the HTML form to add a text input element:
Enter your Steemit userName: <input name ="userName" type="text">
The text in front of the “input” tag (“Enter your Steemit user name:”) will appear in front of a text entry field when the html is loaded into a browser. The first attribute of the input element is a "name" attribute. Every input element inside of a form excepting a “submit” type of input must have a “name” attribute. The value of the “name” attribute identifies the input element to the form. You may name the element anything you want. It is named “userName” here. The "type" attribute of the input text field is “text” to indicate that the type of input is a text string. The input element does not have a closing tag.
We will also modify the opening form tag and keep the submit button so that the entire form markup looks like this:
<form action="#" onsubmit="helloUser();return false;" id="nameForm">
       Enter your Steemit userName: <input name ="userName" type="text">
       <input type="submit" value="Submit">
</form>
The onsubmit action in the opening form tag is modified to return "false" after the javascript function is run. If we do not do this, the page will refresh immediately after the form is submitted and our new HTML added after submission (see below) will be erased. We also add an “id” attribute to the form element. The value of the id attribute uniquely identifies the form element in the HTML document and allows javascript or styling programs to access the element. No other element in the document can have the same id.
Adding a div "placeholder"
Now we will add a new div after the form’s div and give this div its own id. We will use this id in our javascript to access the div element. There is nothing inside of the div because it is a placeholder for html produced by the javascript. The new div looks like this:
<div id="dataView">
</div>
Modifying the javascript "helloUser" function
Now we will modify the helloUser function in the script element to get the input from the form and output html into the placeholder div in the HTML document so that the view in the browser is changed. Here is the new script:
<script>
      function helloUser() {
        var inputFormEl = document.getElementById("nameForm");
        var dataViewEl = document.getElementById("dataView");
        var userName = inputFormEl.elements["userName"].value;
        dataViewEl.innerHTML = "<p>Hello "+userName+"!</p>";
      }
 </script>
The first line declares and sets a variable named “inputFormEl”. Variables in javascript are not explicit types like in other languages. Instead of int, float, double, char, etc., there is only var. Javascript figures out the type of variable for itself but there are ways for the programmer to override javascript’s assumptions if needed.
The “inputFormEl” variable is set to what is returned by document.getElementById(“nameForm”). This "thing that is returned" will be an HTMLFormElement object because the HTML element with id “nameForm” in the HTML markup is a form element. “document” is an object in the HTML DOM (see part 4 for a brief introduction to the DOM) and is set to refer to the currently-displayed HTML document. The handle to this object is at the top of the DOM tree and it exists without us having to explicitly instantiate it.
“getElementById” is a function that can be called on a document object and searches the document for an element with the id that is passed to the function. The id is passed to the function as a character string surrounded by quotes. It is not a variable name. In javascript, like most programming languages, the way to pass variables into the function is to include their names between the parentheses in the function call.
The second line declares a variable named “dataViewEl” and sets it to the object returned by document.getElementById(“dataView”). getElementById searches the document for an element with the id “dataView” and returns an HTMLDivElement object. The variable named “dataViewEl” is now a reference to or “handle” for the placeholder div element.
You may notice that getElementById returns slightly different types of objects depending on the type of element it finds with the given id property. These objects are “children” of the higher-level “Element” object of the HTML DOM. When an object is a child of another object, it inherits functions (methods) and properties from its parent. So the HTMLDivElement and the HTMLFormElement can be considered to be siblings. Their direct parent is HTMLElement which inherits from Element. Inheritance is usually discussed when explaining “classes” in programming languages. Javascript itself doesn’t have classes but the HTML DOM has a class-like inheritance structure that can be traced through the Mozilla Developer Network (MDN) documentation.
In the third line of the “helloUser” function, we declare another variable named “userName” and set it to the name that is input into the text field that we added to our form in the HTML document. When the form is submitted, the value attribute of the text field is set to whatever text string has been input. We access the text field input element through its relationship to the form element because it is in a special list of objects called "elements" that belong to the form element.
The HTMLFormElement has a property called “elements” which is an HTMLFormControlsCollection. Javascript uses the names “collection” and “object” for variables that have more than one value such as arrays and dictionaries. The HTMLFormControlsCollection is a “map-like” object and its values can be extracted using the keys that belong to the object. Individual elements in the HTMLFormControlsCollection can be accessed using the name of the element specified by the name attribute in the HTML form. Accessing the input text element from the "elements" of the form that has an id equal to “nameForm” returns a text input element object whose value can be extracted using its value property. The third line of code in the "helloUser" function gets this value and sets the variable "userName" to the value.
Modifying the View in the Web Browser using Javascript
Next, we will put some HTML in the placeholder div to modify what is seen in the browser. Because "dataViewEl" is a reference to (instead of a "value" of) the HTML element with id "dataView", we can change the values of its properties when the javascript function runs. We set the innerHTML of the placeholder div element to a "string" that is equal to: an opening paragraph tag "<p>" followed by the word "Hello" followed by a "space" followed by the shorter string held in "userName" followed by a closing paragraph tag. Strings are concatenated in javascript using the + symbol. Once the innerHTML is set, "Hello userName" is printed in the location of the placeholder div in the web browser.
The final HTML document with a little bit of in-line styling looks like this:
<!DOCTYPE html>
<html>
  <head>
    <meta charset="utf-8">
    <meta name="viewport" content="width=device-width,initial-scale=1">
    <meta name="description" content="Hello Steemit User">
    <title>Hello Steemit User</title>
  </head>
  <body>
    <nav style="border: 1px solid black">
    </nav>
    <br>
    <div style="background-color:pink">
      <form action="#" onsubmit="helloUser();return false;" id="nameForm">
       Enter your Steemit userName: <input name ="userName" type="text">
        <input type="submit" value="Submit">
      </form>
    </div>
    <div id="dataView" style="background-color:lightblue">
    </div>
    <br>
    <footer style="border: 1px solid black">
    </footer>
    <script>
      function helloUser() {
        var inputFormEl = document.getElementById("nameForm");
        var dataViewEl = document.getElementById("dataView");
        var userName = inputFormEl.elements["userName"].value;
        dataViewEl.innerHTML = "<p>Hello "+userName+"!</p>";
      }
    </script>
  </body>
</html>
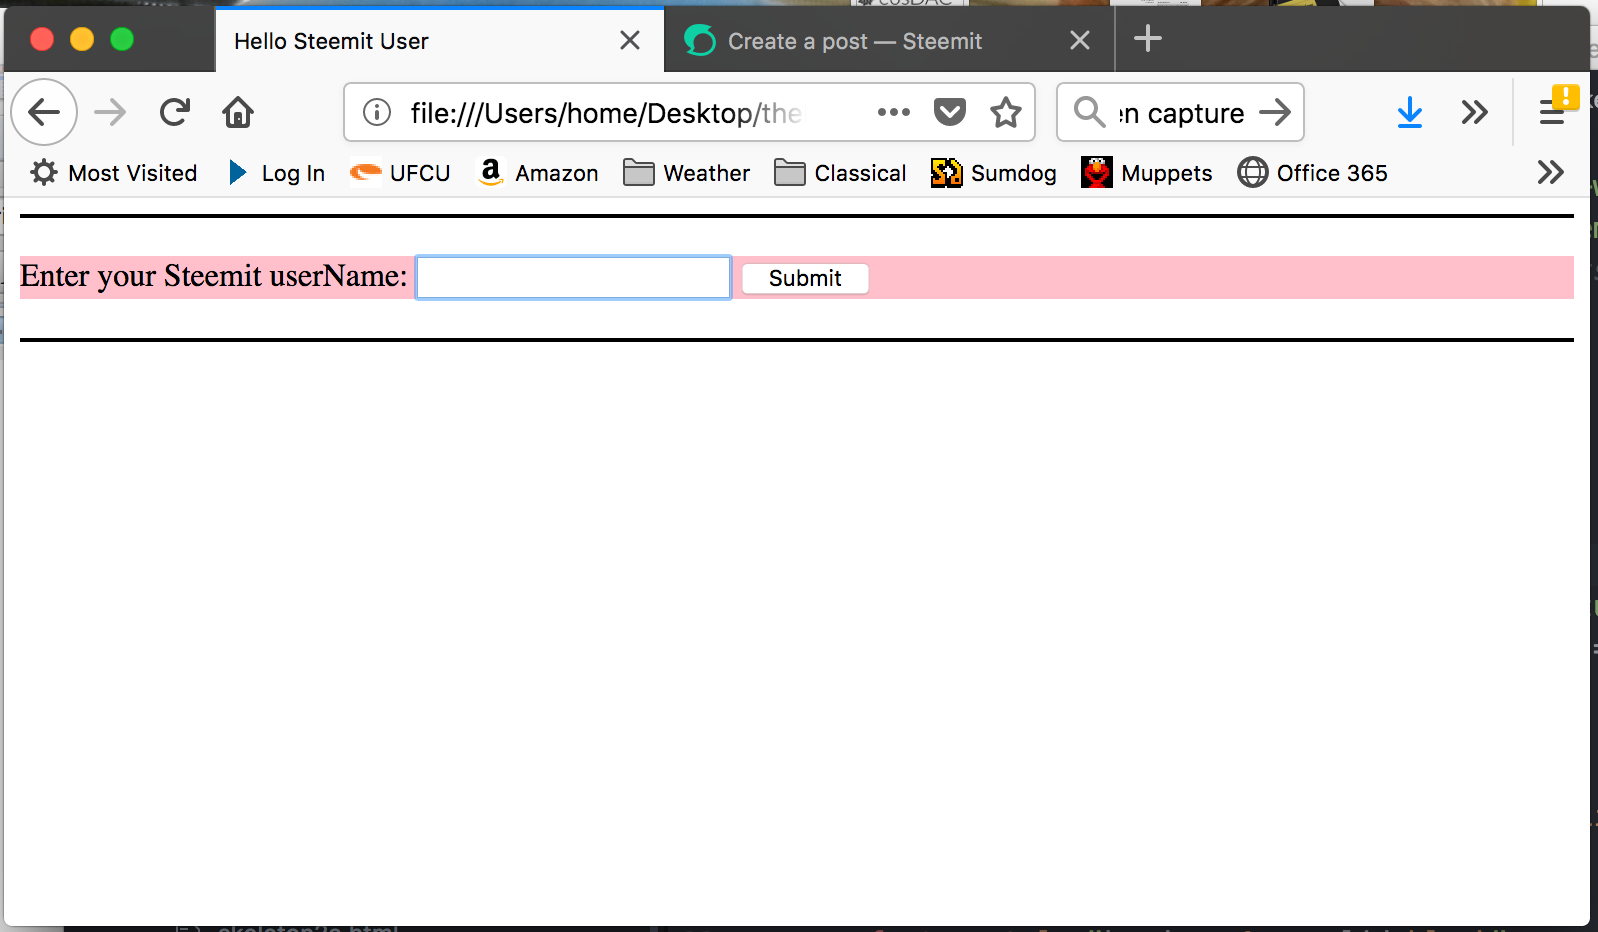
After the text has been saved into a file with suffix ".html" and then loaded into the web browser, the web browser looks like this:
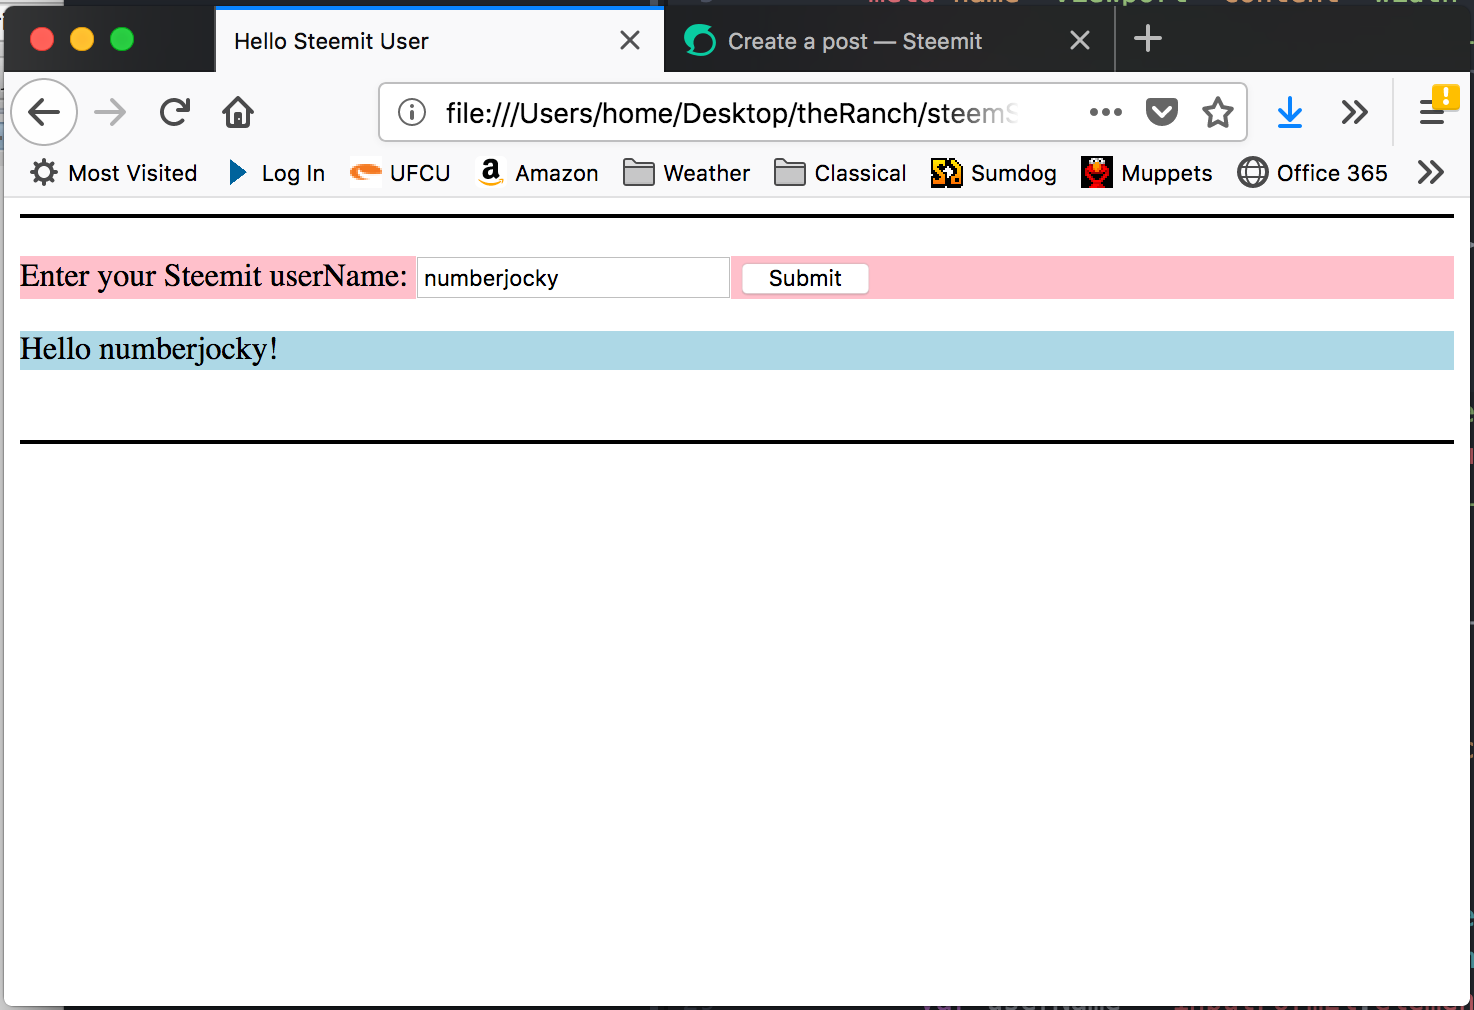
After a user name has been entered in to the input text field and then the submit button pushed, the web browser looks like this: