Maya 2018: Bifrost pt 1 Your first simulation
Maya 2018 Bifrost
Hello everyone. For this series I will be going through Bifrost for Autodesk Maya 2018. Bifrost is Maya's inhouse procedural framework that stimulates liquid and aerodynamic effects. This can be oil, lava and waterfalls. Liquid and aerodynamic effects are generated by emitters that can be manipulated by gravity, colliders and accelerators.
I will explain everything as clearly as possible without assuming that the reader has any previous experience with Maya except for the preceding parts in this series. I will strictly work with only very basic shapes and will keep the lingo to the absolute minimum.
I will do my best to do one post minimum per day so do remember to check in everyday if you're still interested in the series.
Preliminary Settings
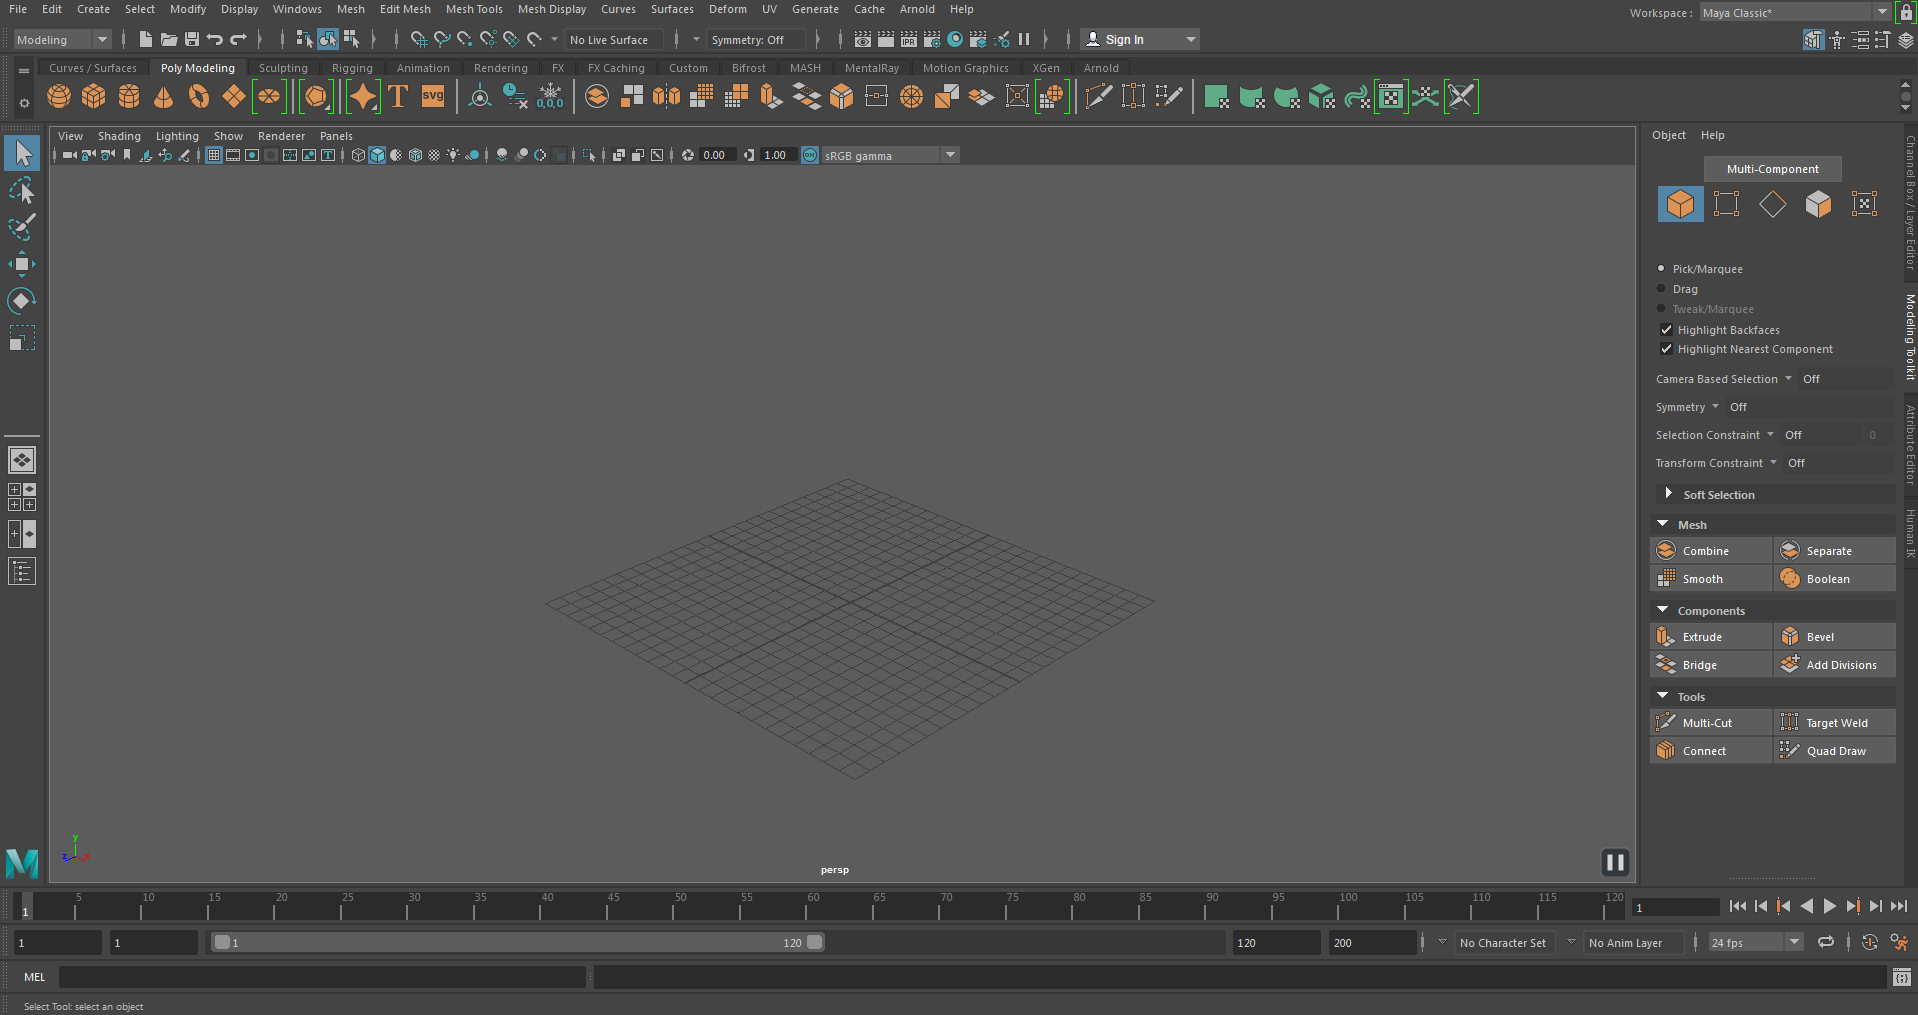
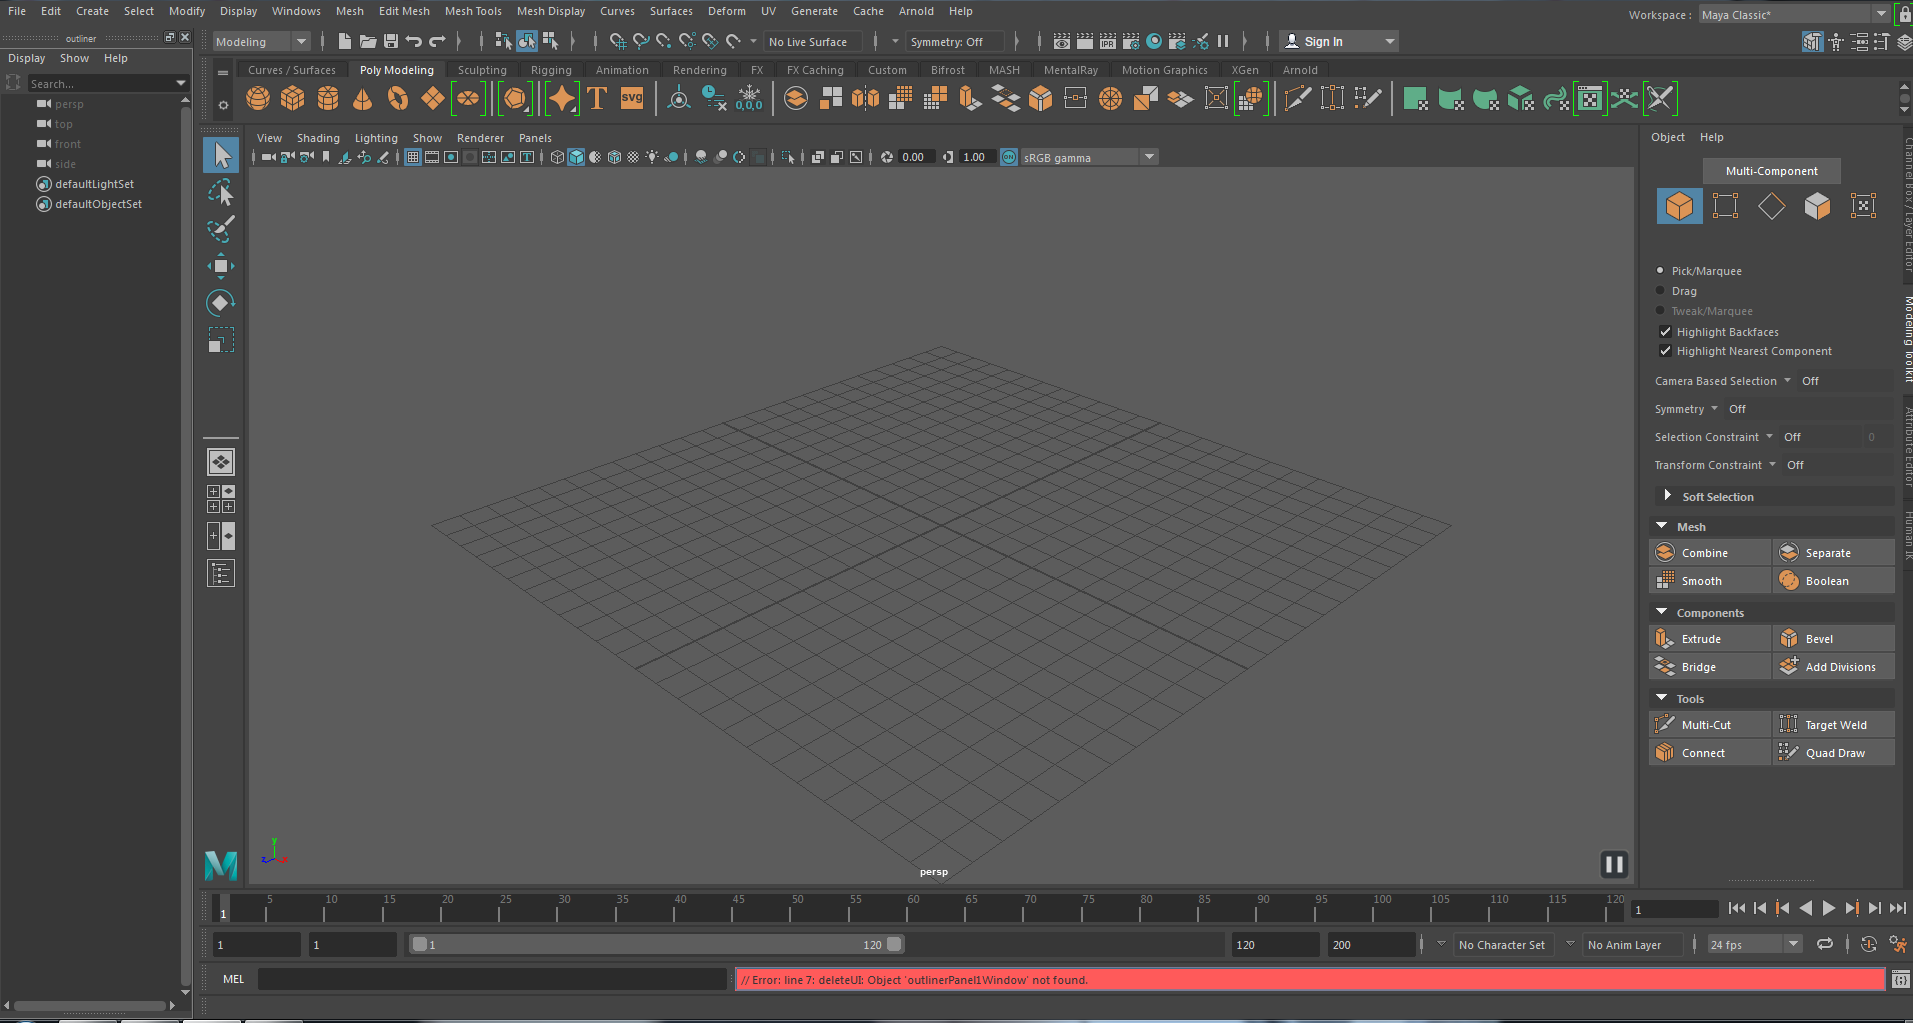
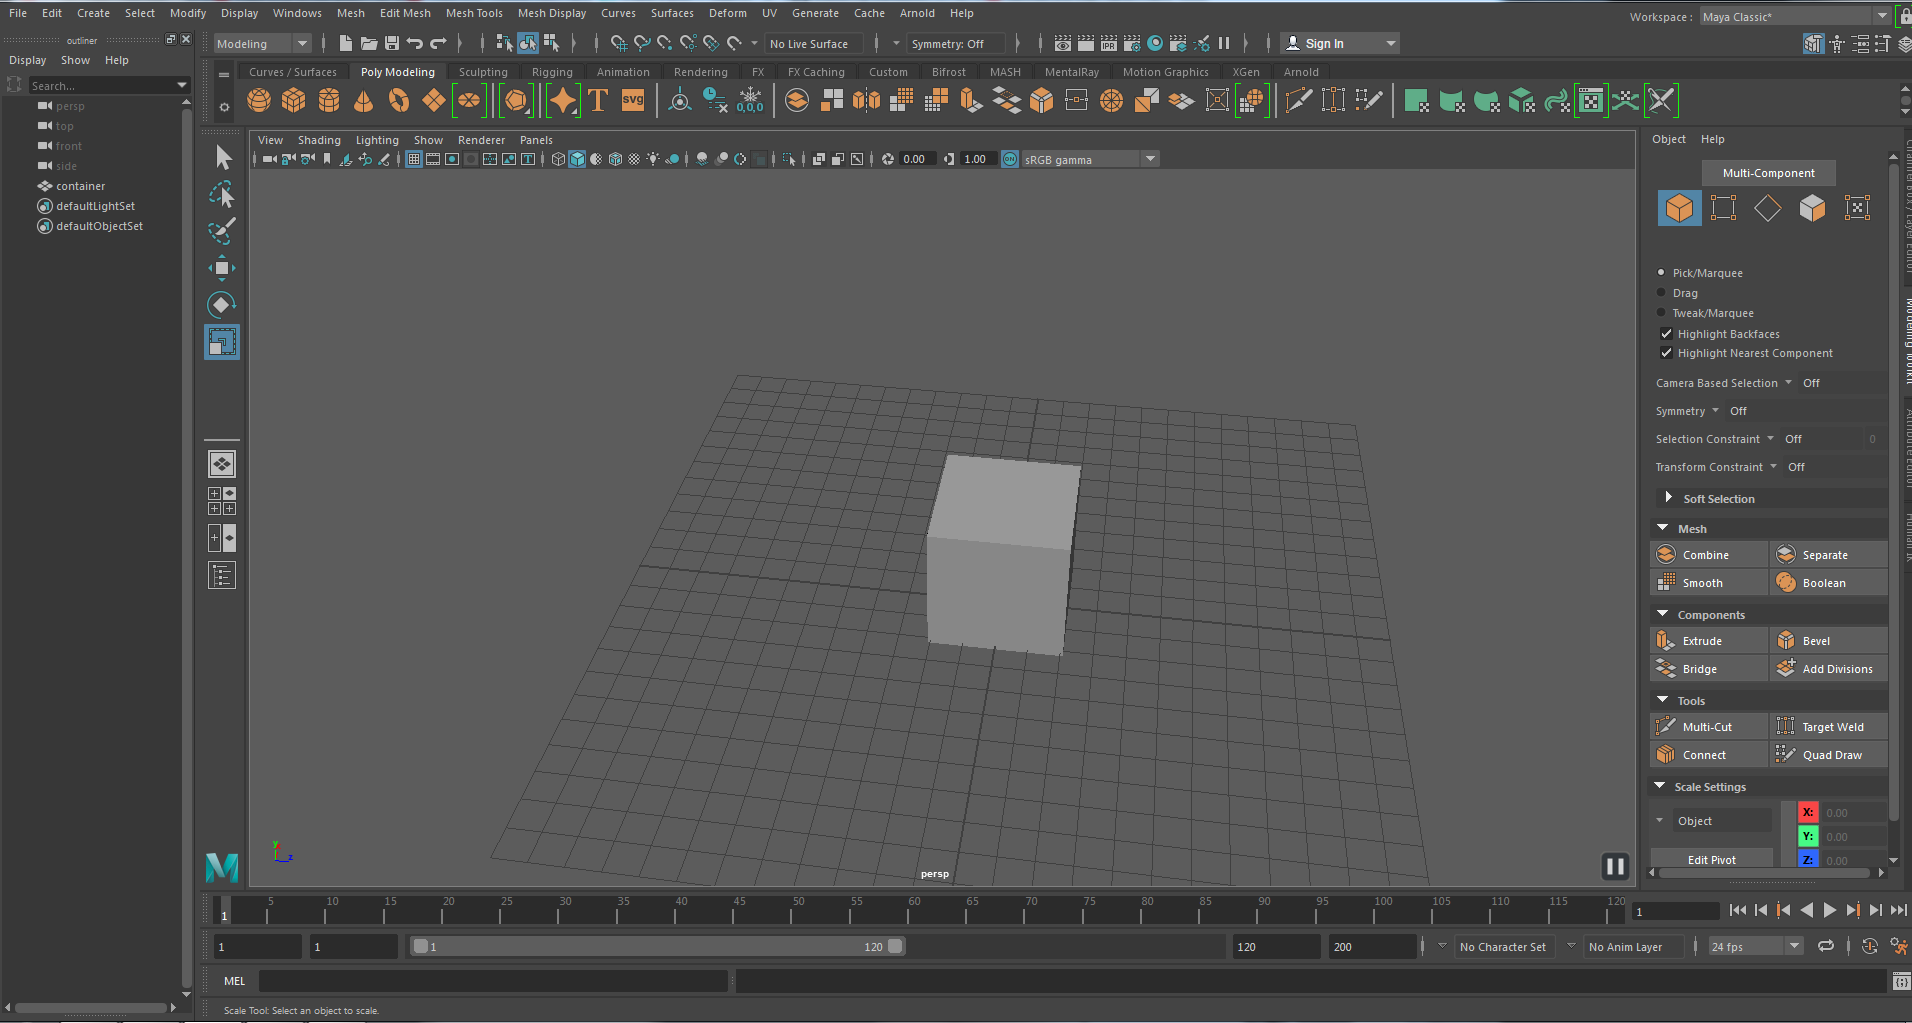
When you first open up Maya 2018 it should look something like this. The only preliminary setting that you need to worry about for now is the outliner. Personally I have had some trouble with docking (attaching) the outliner to the side of my screen so I have decided to just script it instead.
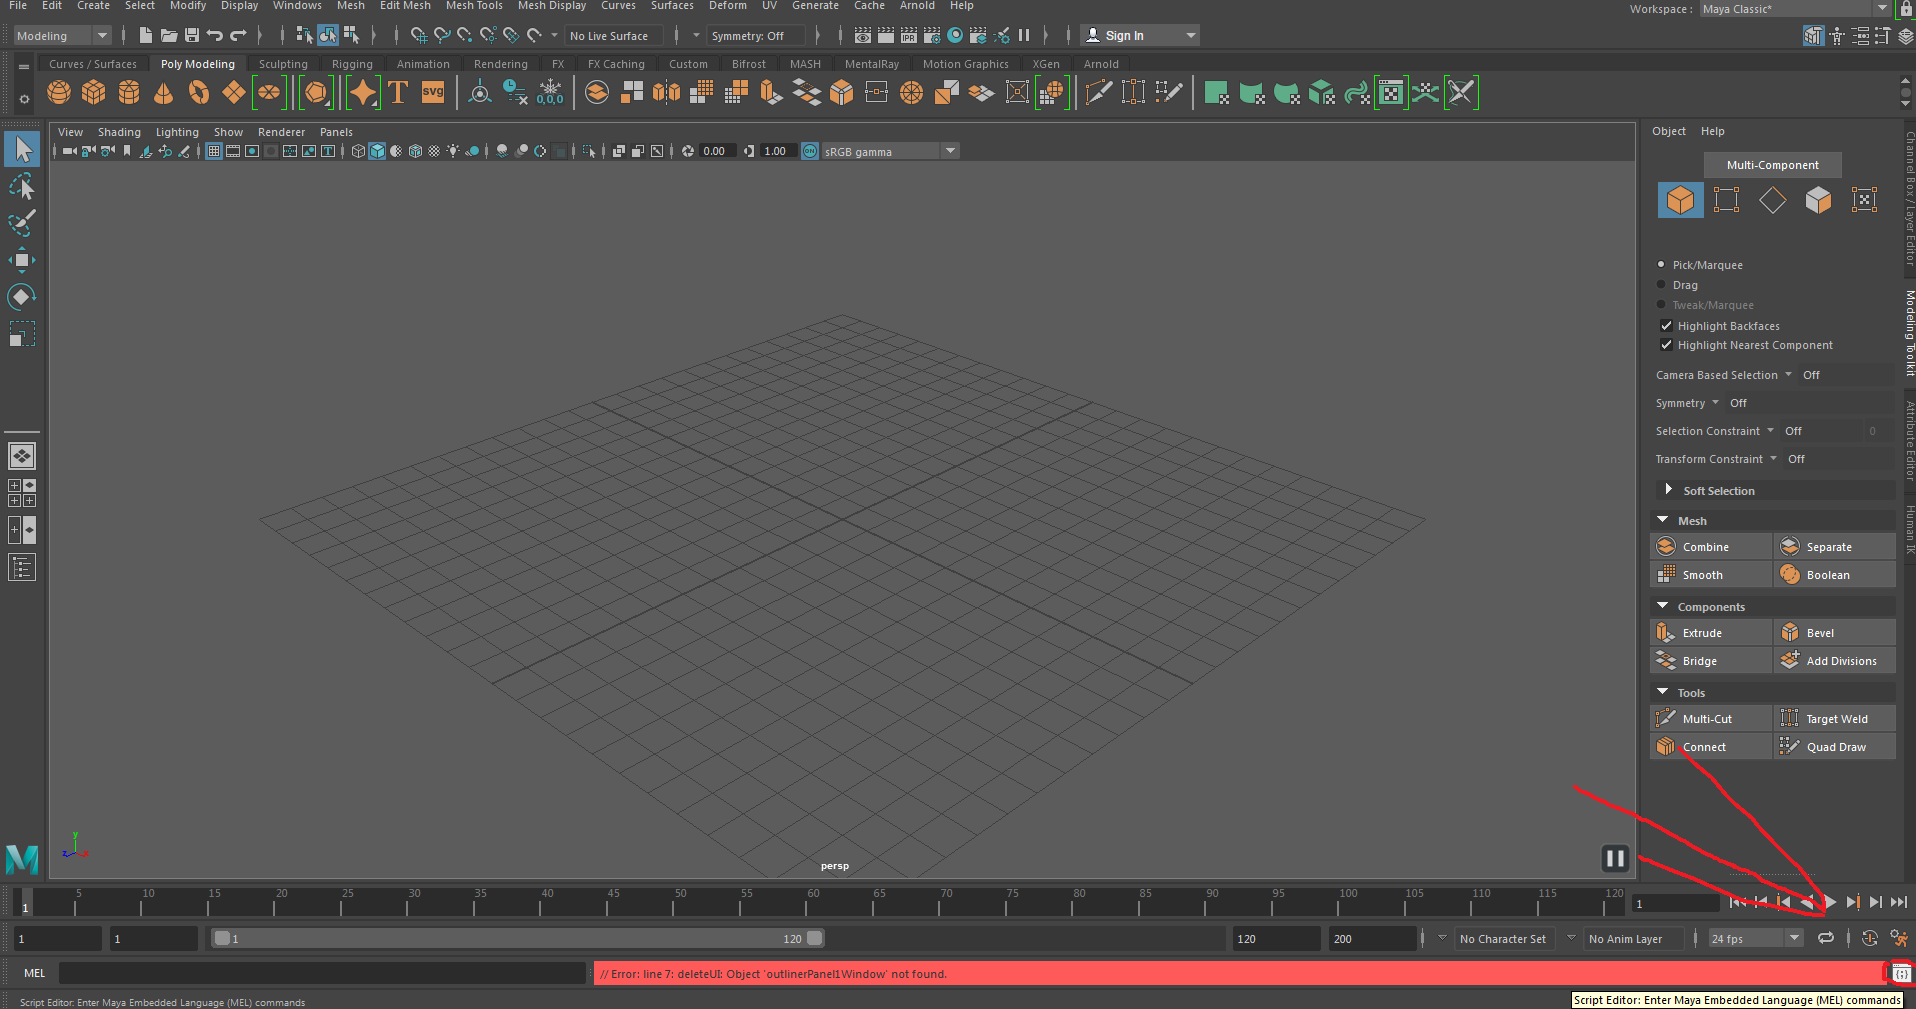
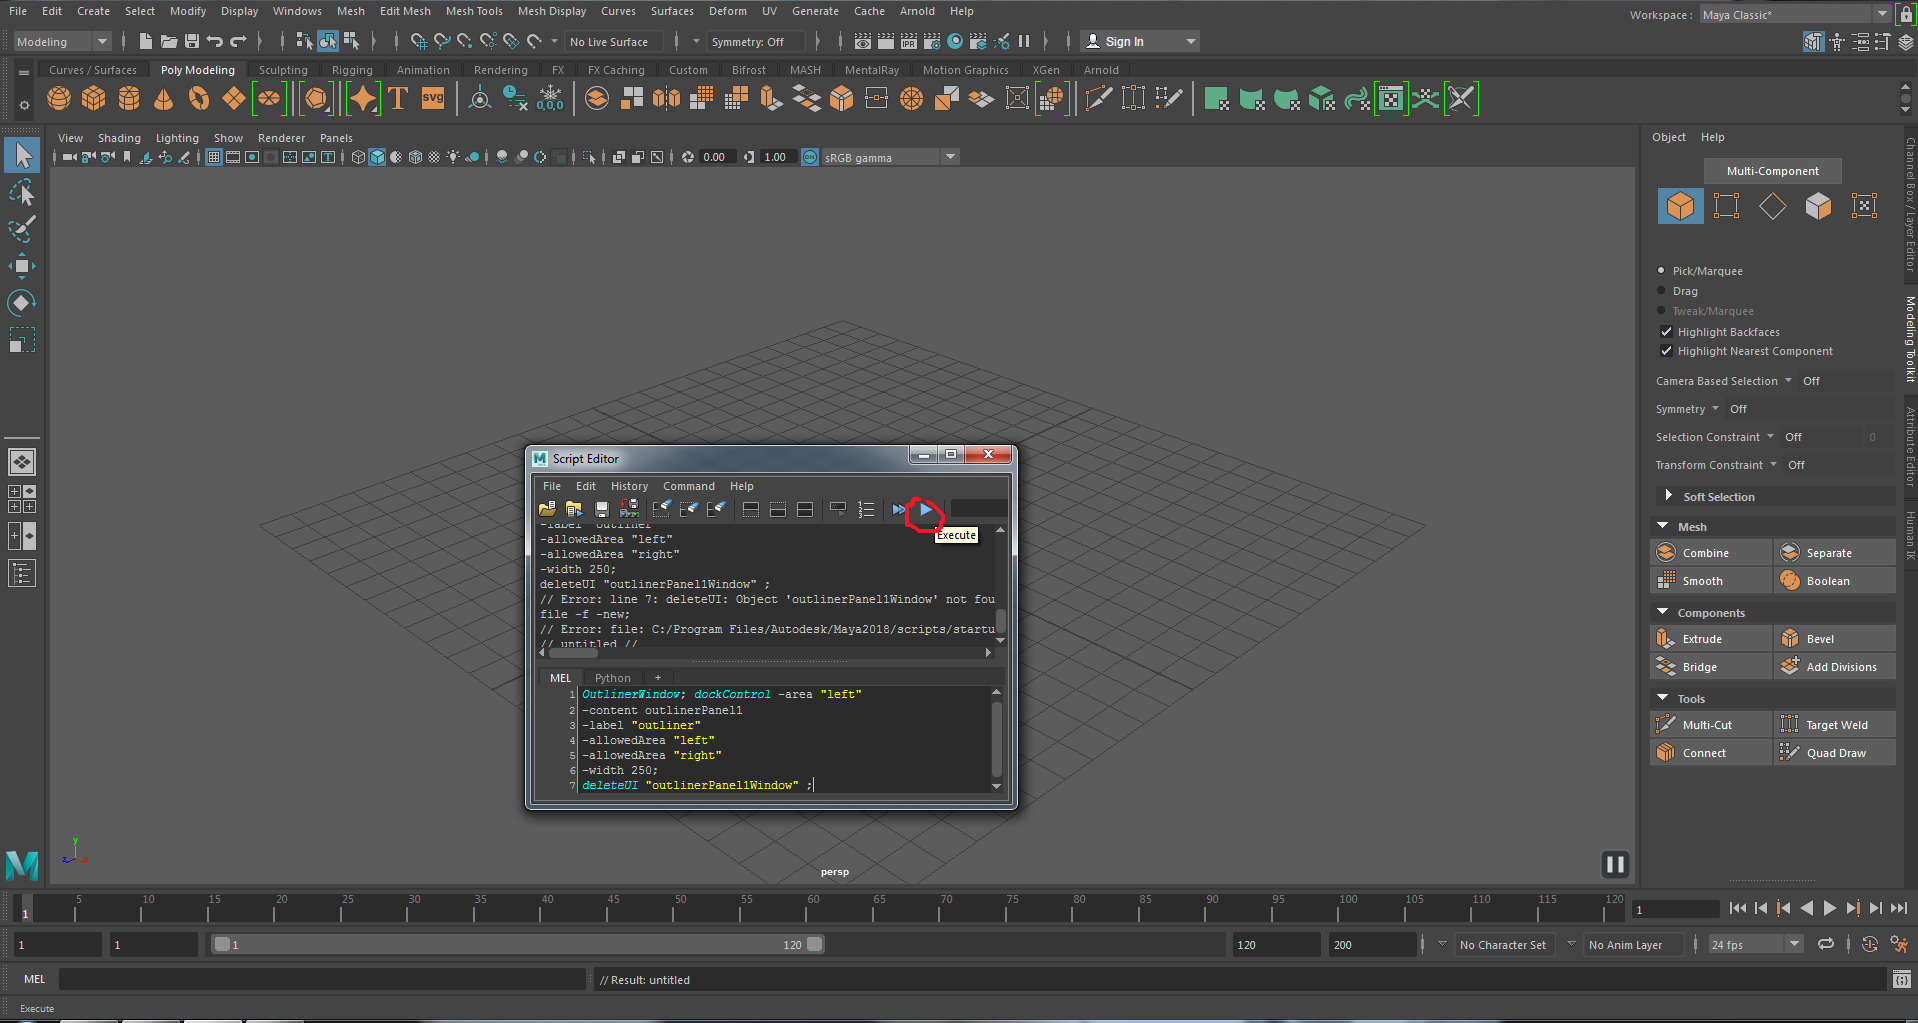
At the bottom right of your screen you should see something called Script Editor. Click on it.
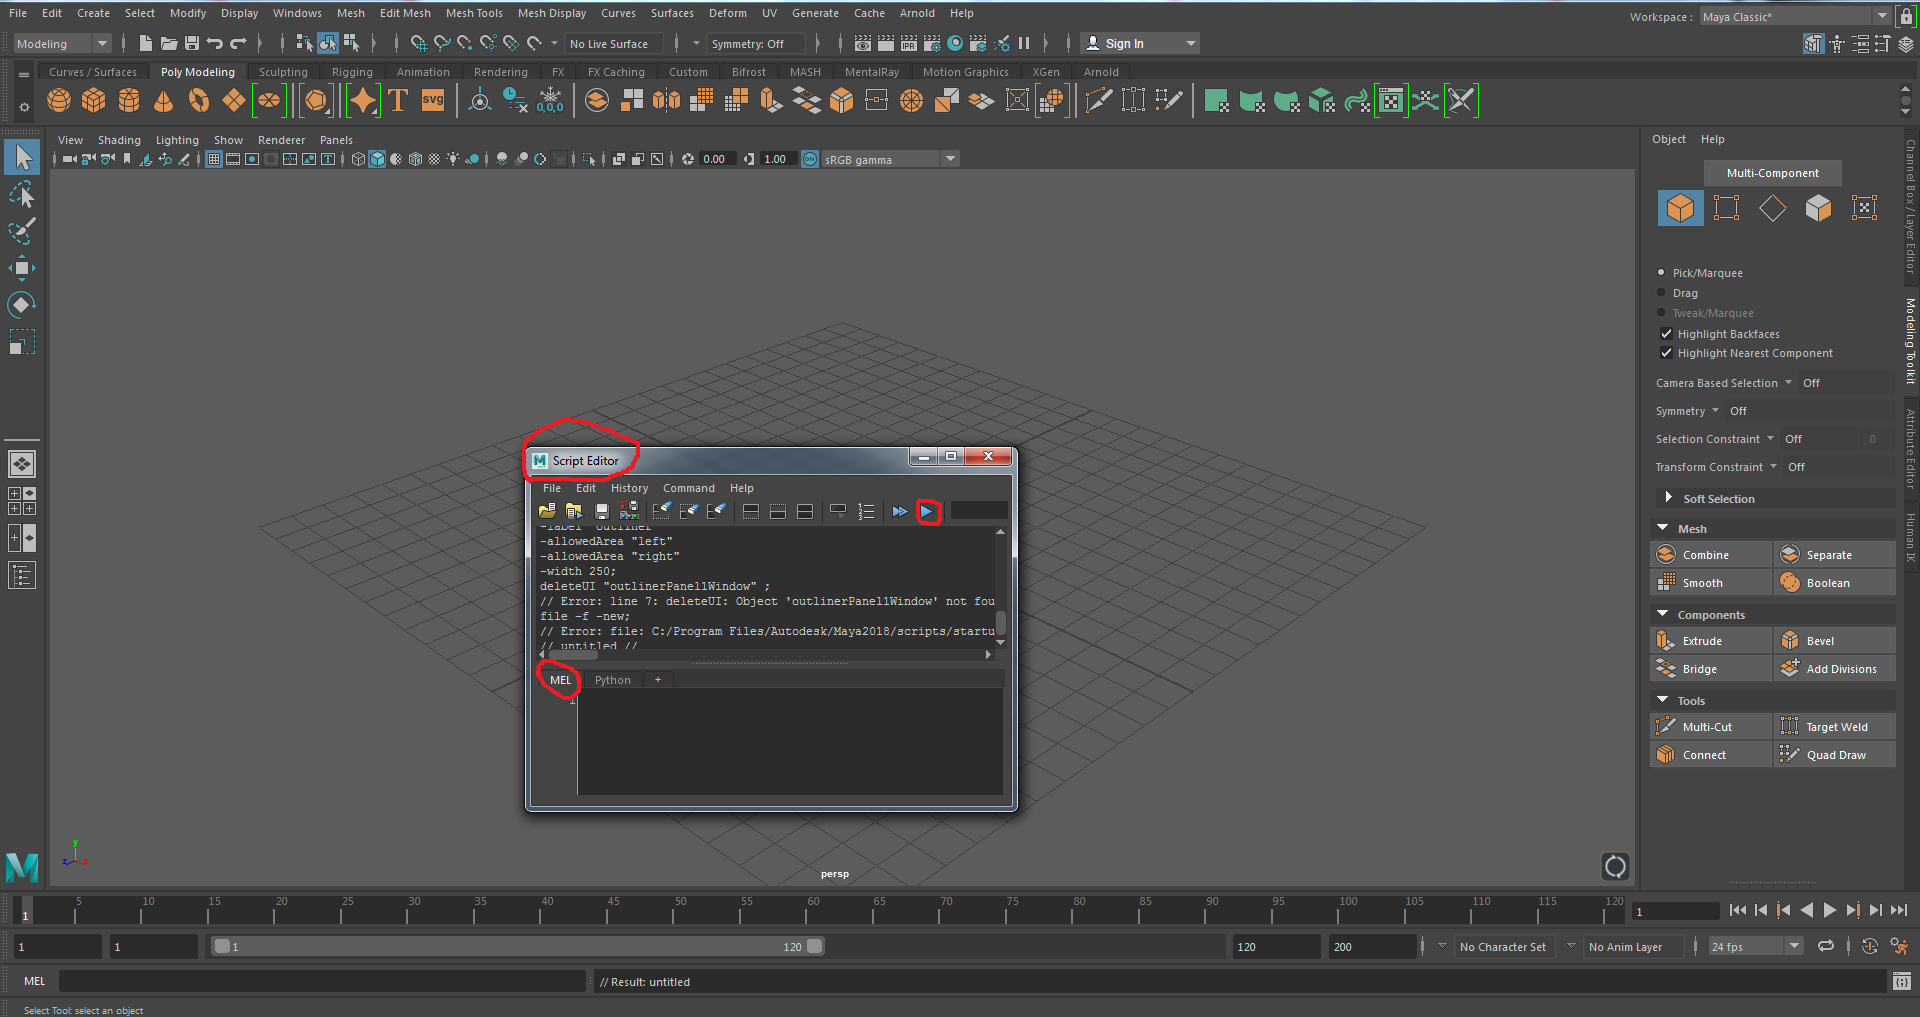
Now that you've opened the script editor make sure you're in MEL tab. Copy and paste the script below into the black box.
OutlinerWindow; dockControl -area "left"
-content outlinerPanel1
-label "outliner"
-allowedArea "left"
-allowedArea "right"
-width 250;
deleteUI "outlinerPanel1Window" ;
Click Execute.
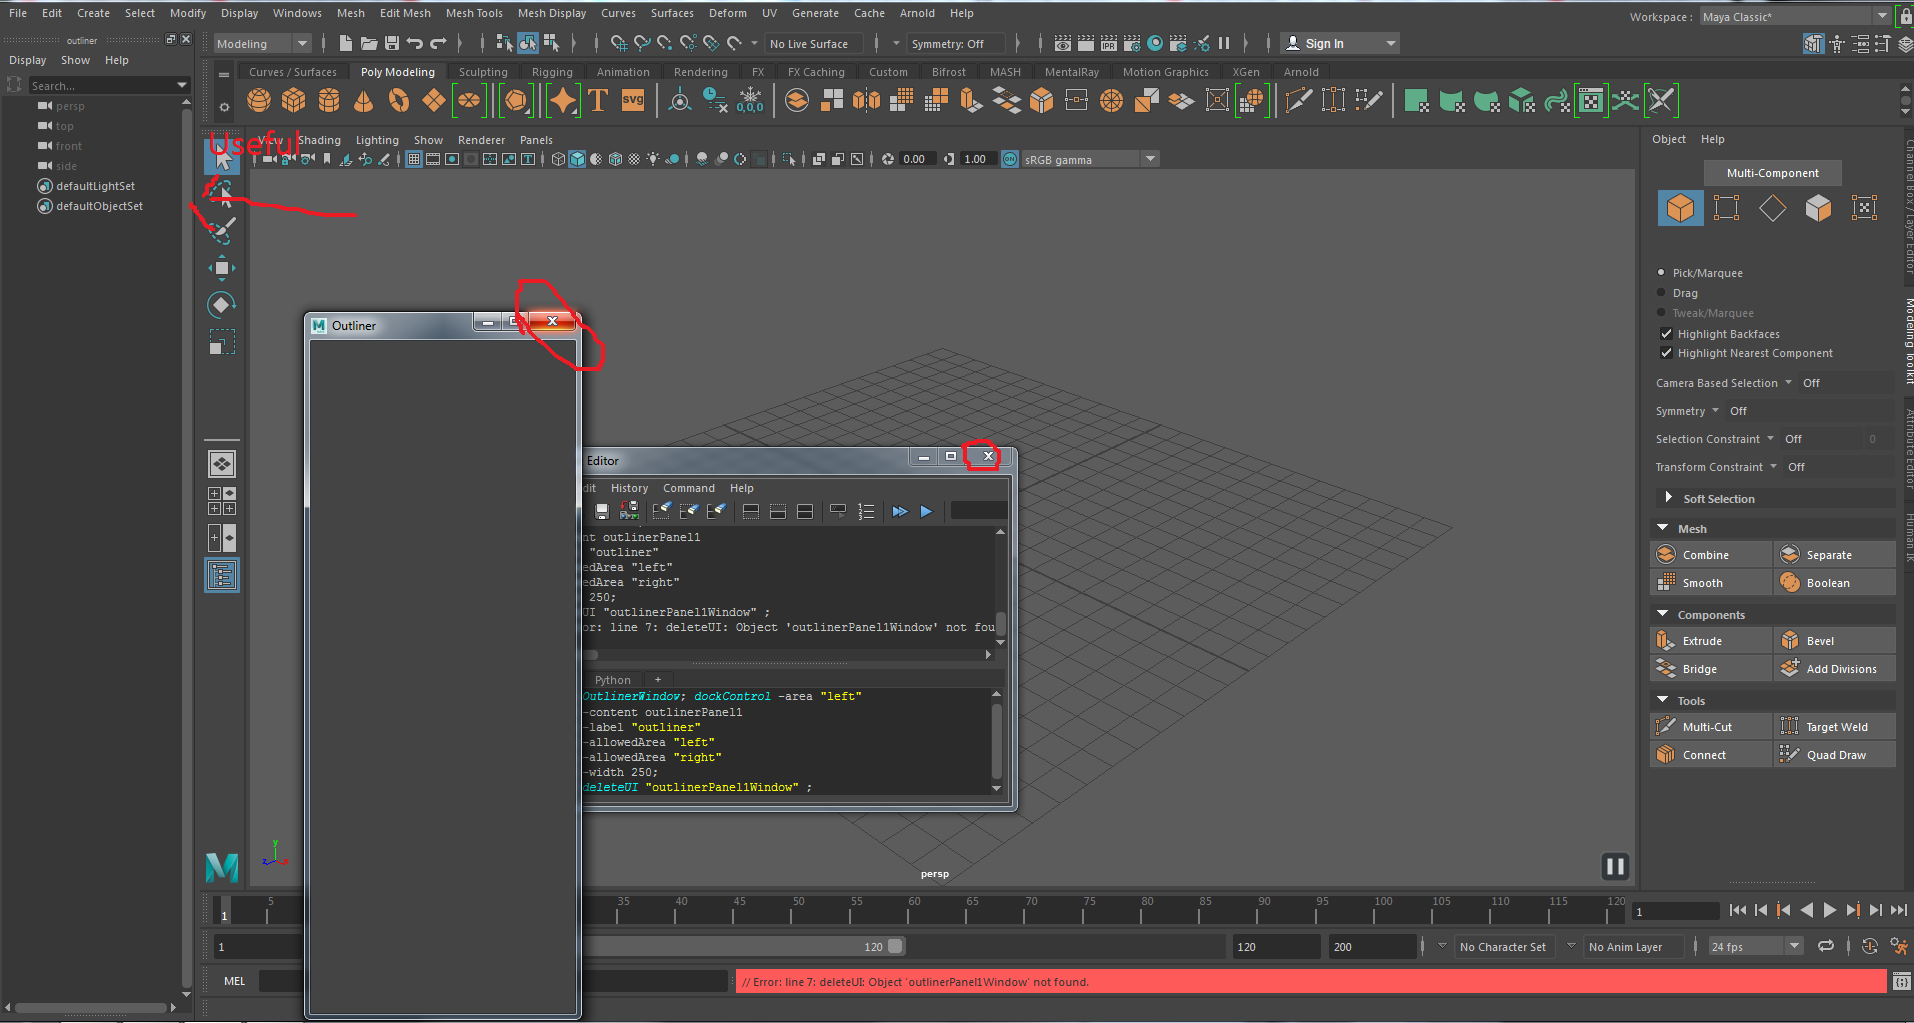
Close the two windows on your screen. Now you have the Outliner docked to the left of your screen. This is one of the most commonly used items in Maya. Not just for Bifrost so it's good that you now have it glued to the left side of your screen.
Equipment
You won't need any sort of drawing tablet except a mouse with a scroll wheel/middle mouse button. High end machines are preferable but not required.
Navigation
Zooming - Use the scroll wheel to zoom in and out
Dragging - To drag the camera hold the Alt key and scroll wheel
Changing angle - To change the angle of the camera hold the Alt key and the left mouse button
Bifrost - Your first liquid simulation
Before we dive into more complicated liquid simulations with sprinklers and tsumai(s) we first have to understand how do something like a waterfall or a swimming pool. So first we'll have to make a container for our liquid.
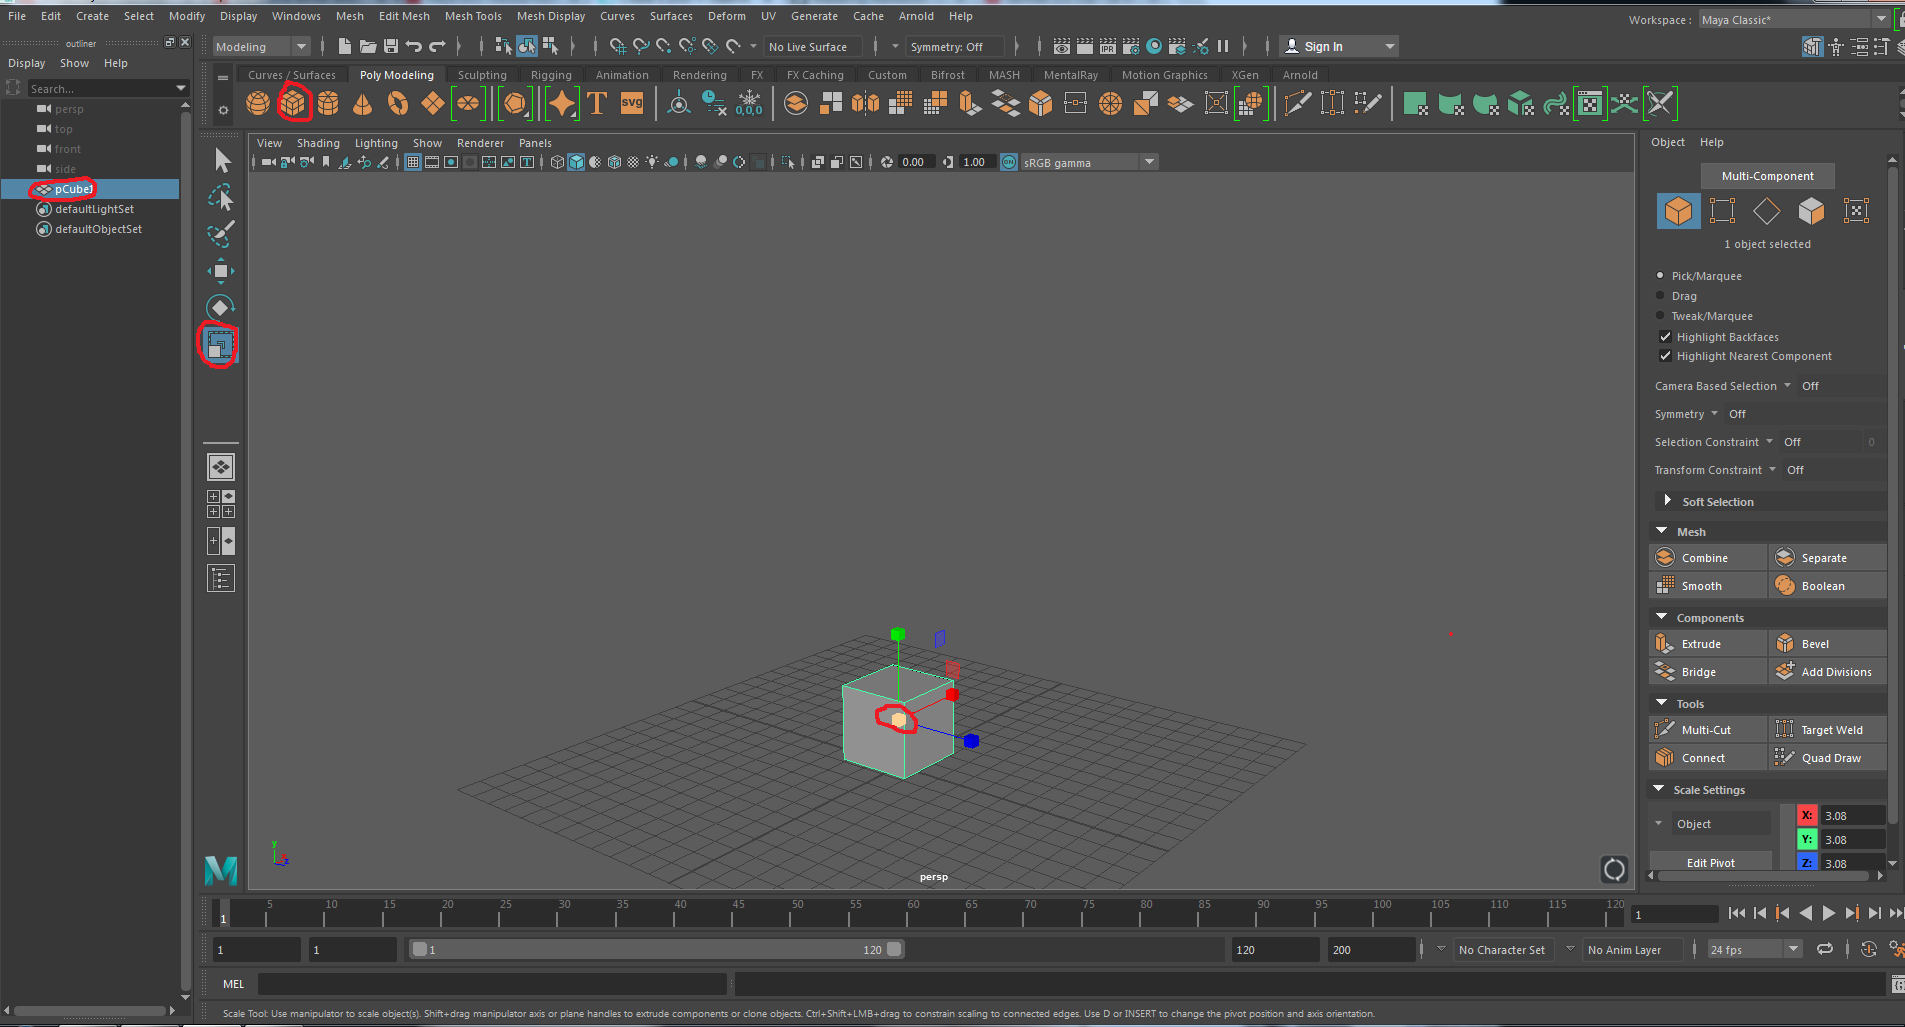
- Click on Poly Cube at the top
- Click on Scale Tool on the side OR press R on your keyboard to select it quickly as a shortcut
- Click on the yellow cube/centre cube and pull it right until you feel it's the right size to work with
- Double click on pCube1 in the Outliner and rename it to container
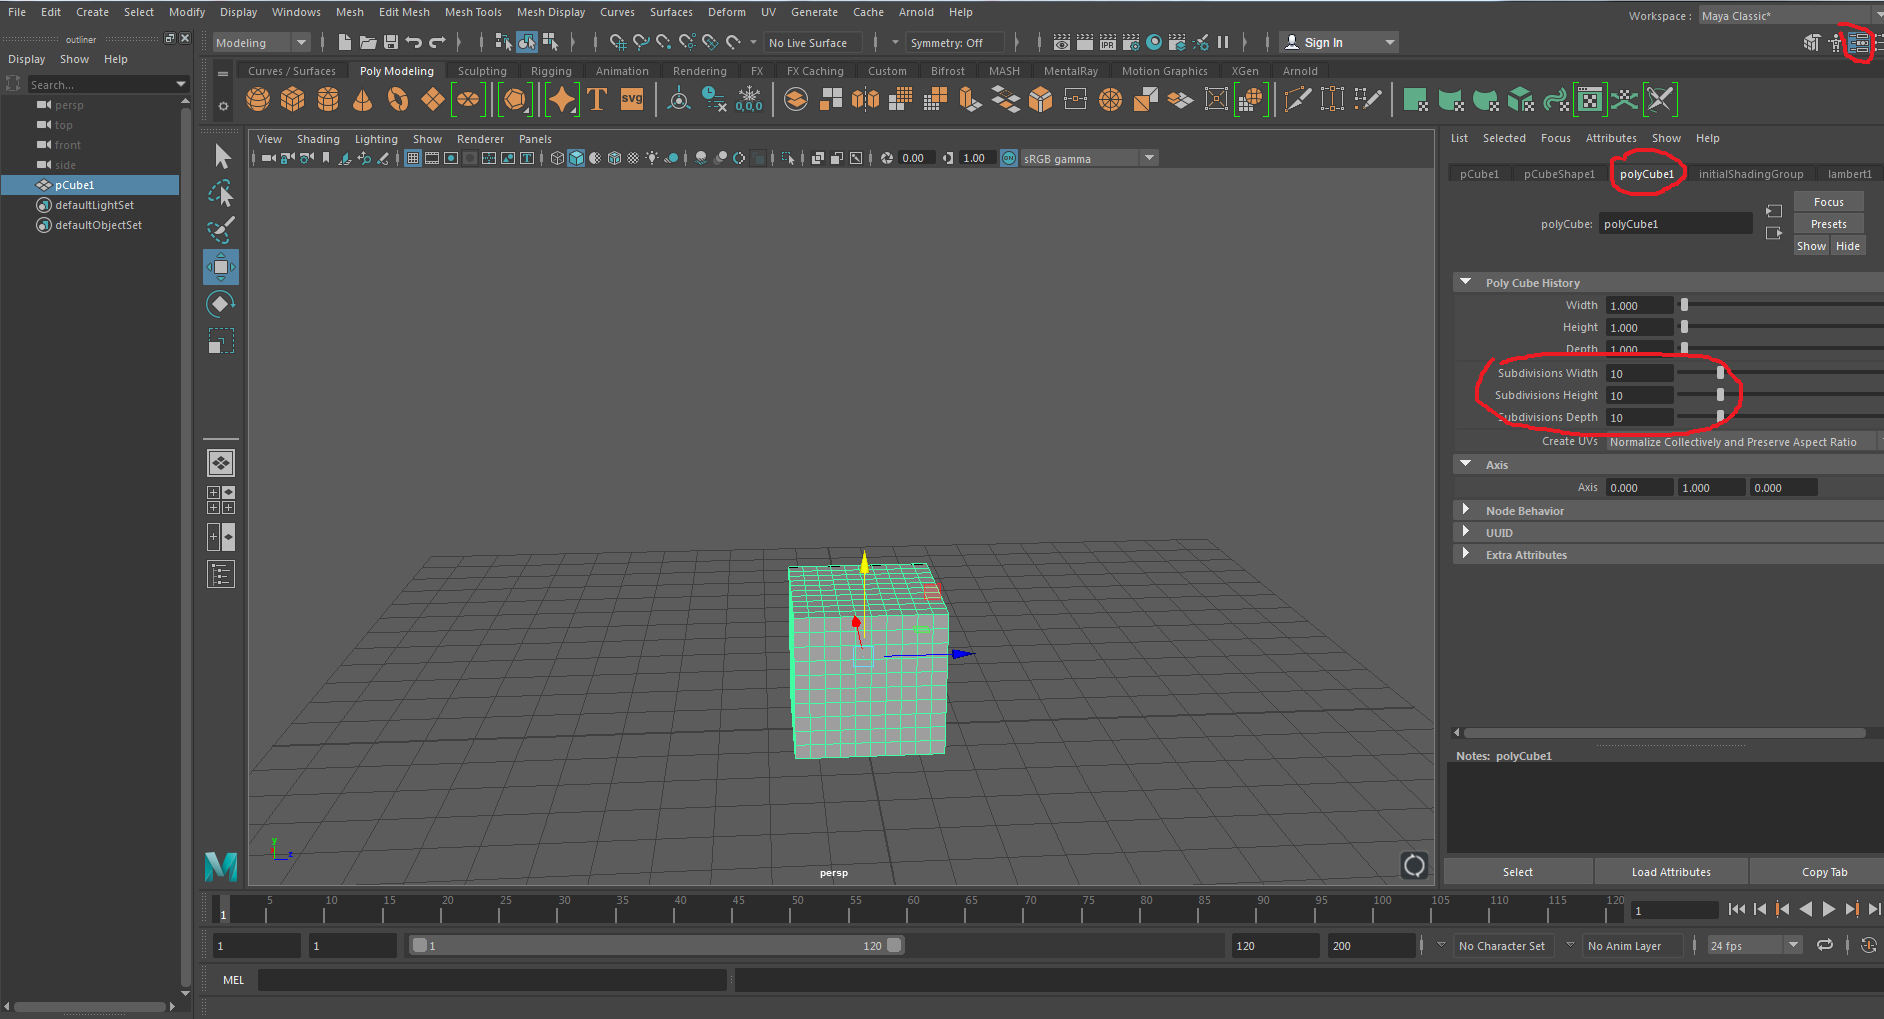
5.Click on Attribute Editor at the top right
6.Click on Polycube1
7.Copy my subdivision settings
The purpose of subdivisions is to set depends on how you want to manipulate the object. So we want to delete the top so that we can see our liquids and we want to delete faces on the side so that we can have the water flow out.
8.Hold right click on the cube and release on Face
9.Hold shift and click on all the faces on the top and hit Delete on your keyboard
10.Delete some faces on the side of the cube to allow the liquid to flow out
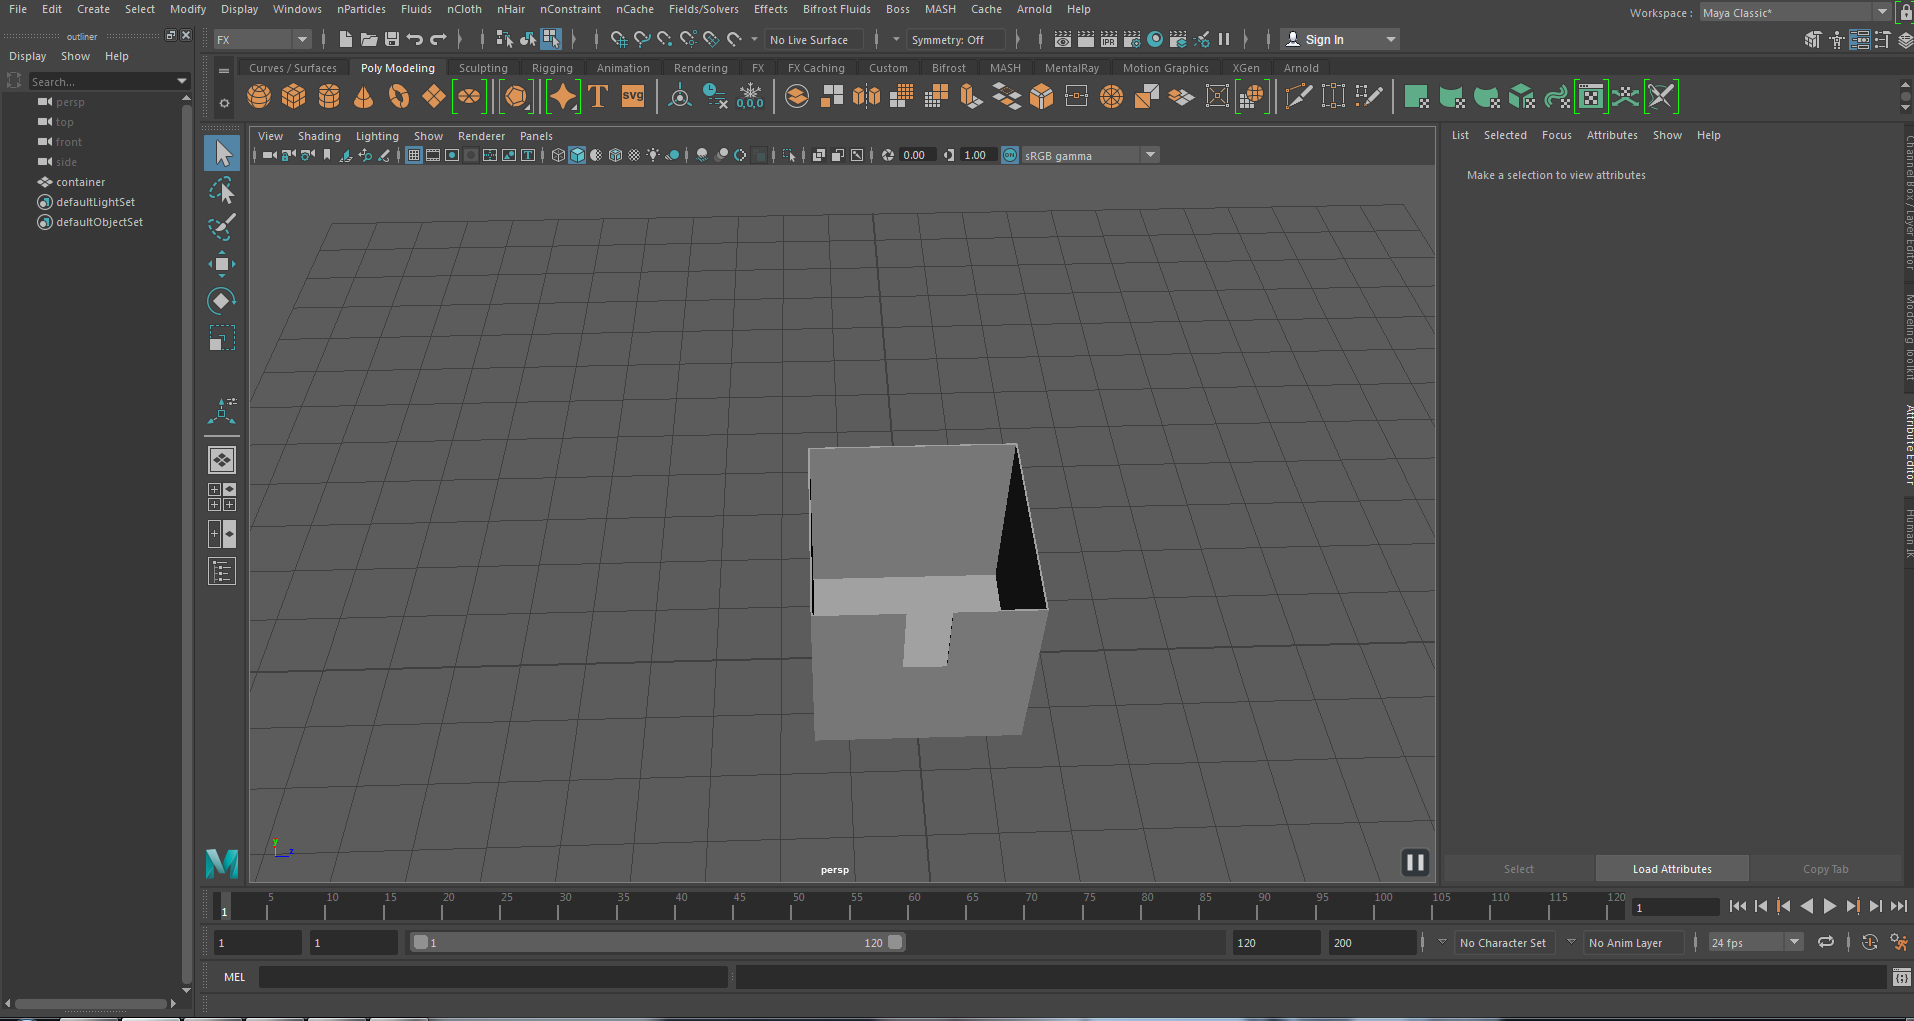
You should end up with something like this
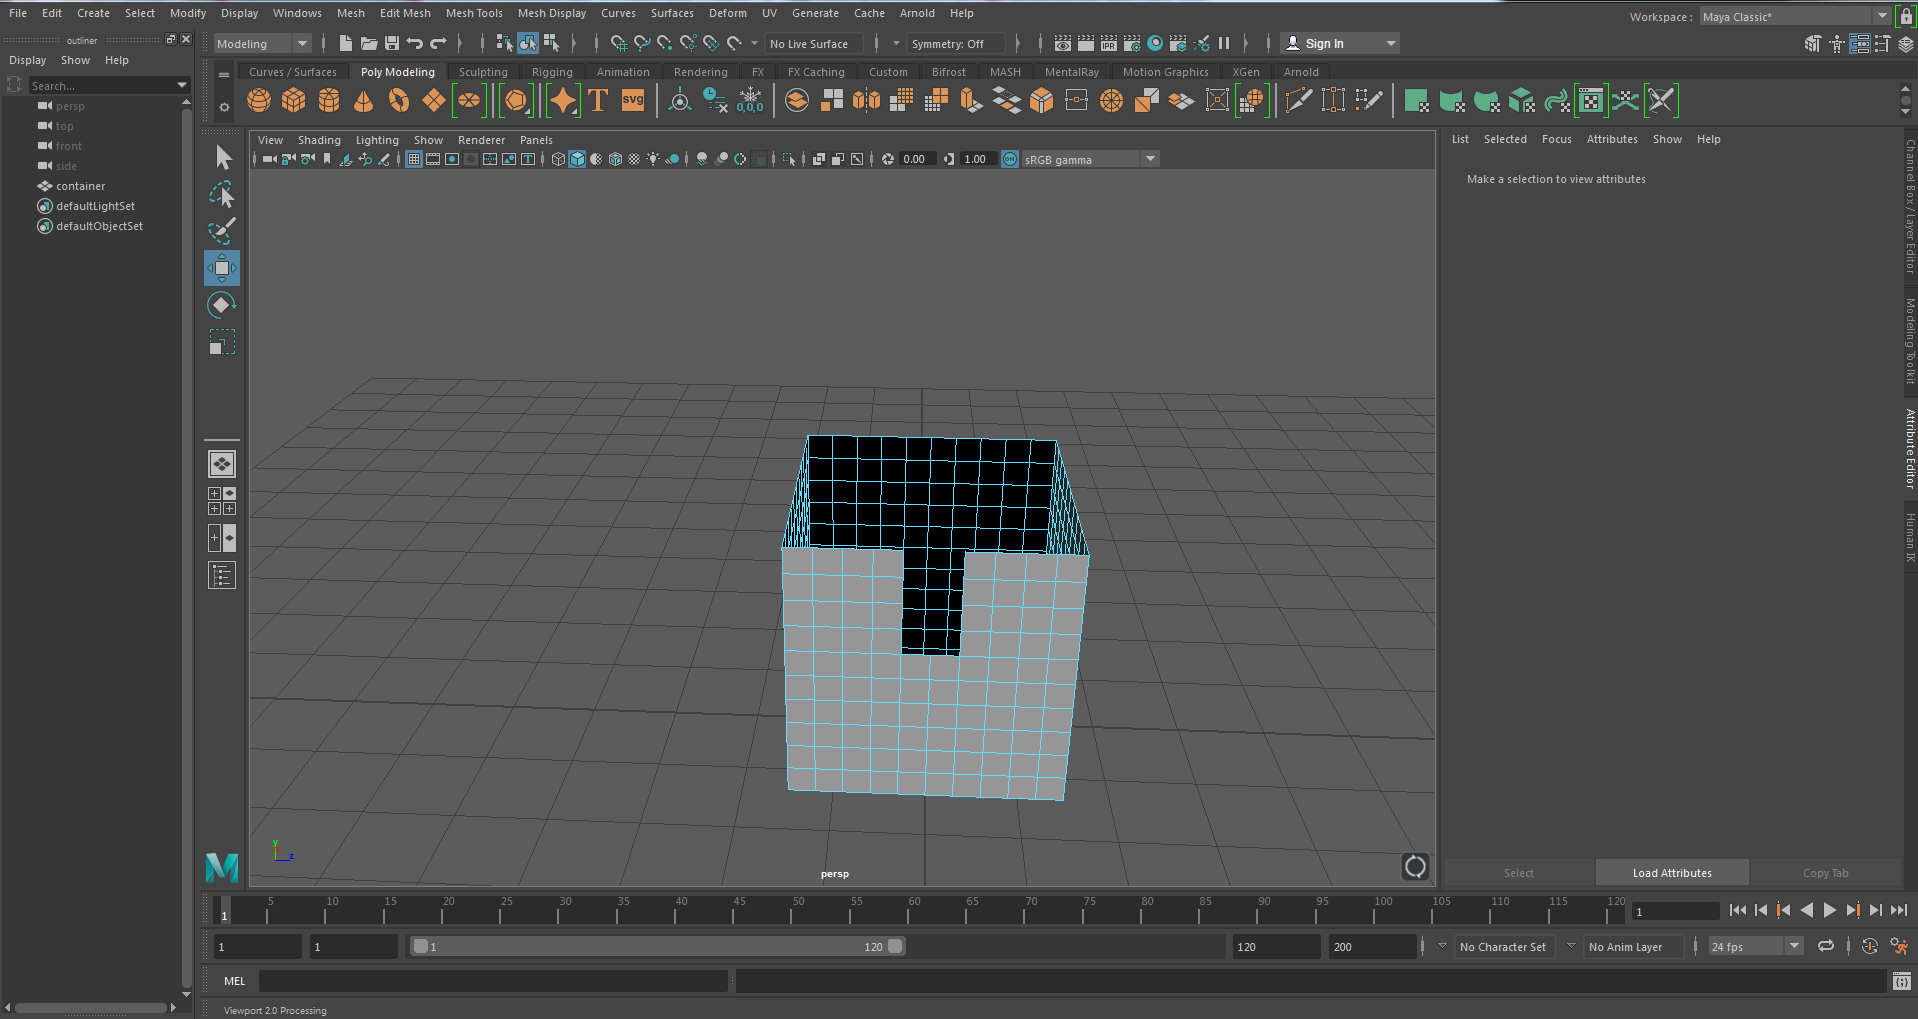
The container needs to be thick otherwise the liquid will disappear or not collide with the container.
11.Hold right click on the container and go to Object Mode
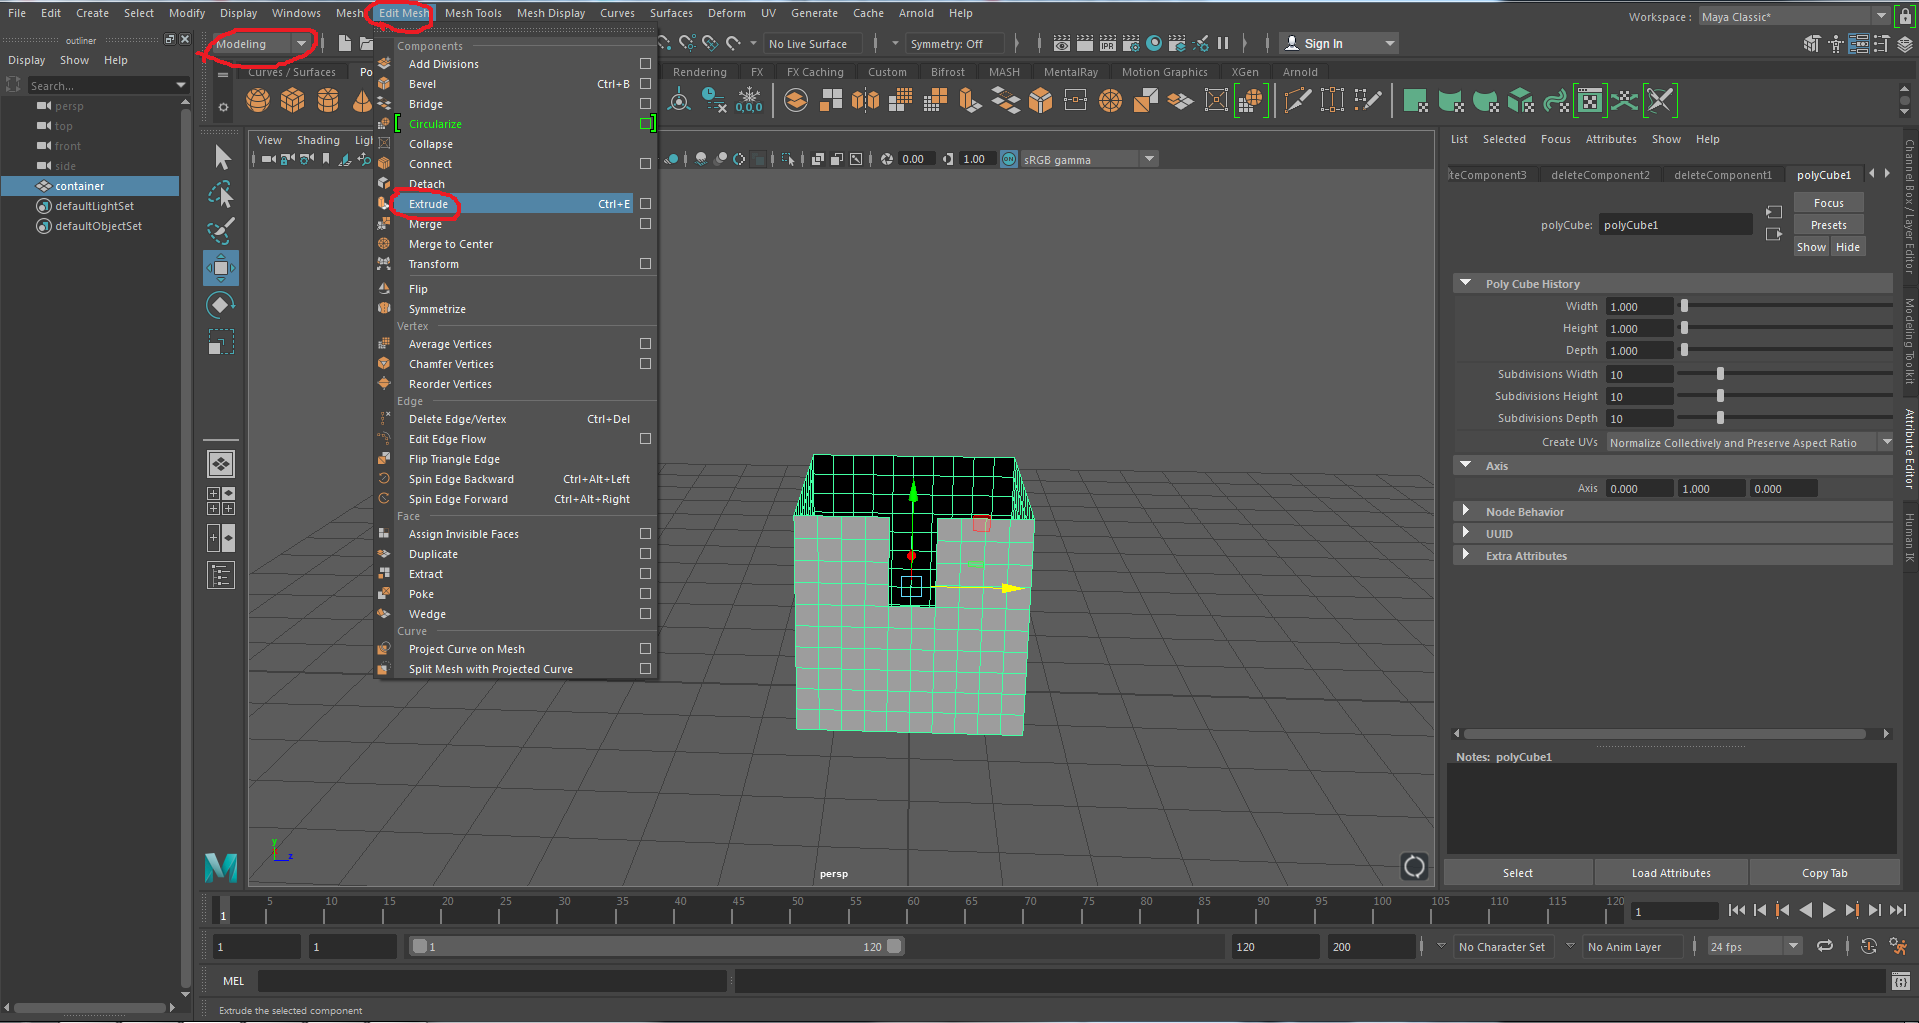
12.Click on Modelling, Edit Mesh then Extrude and set the Thickness to 0.05
We're nearly done
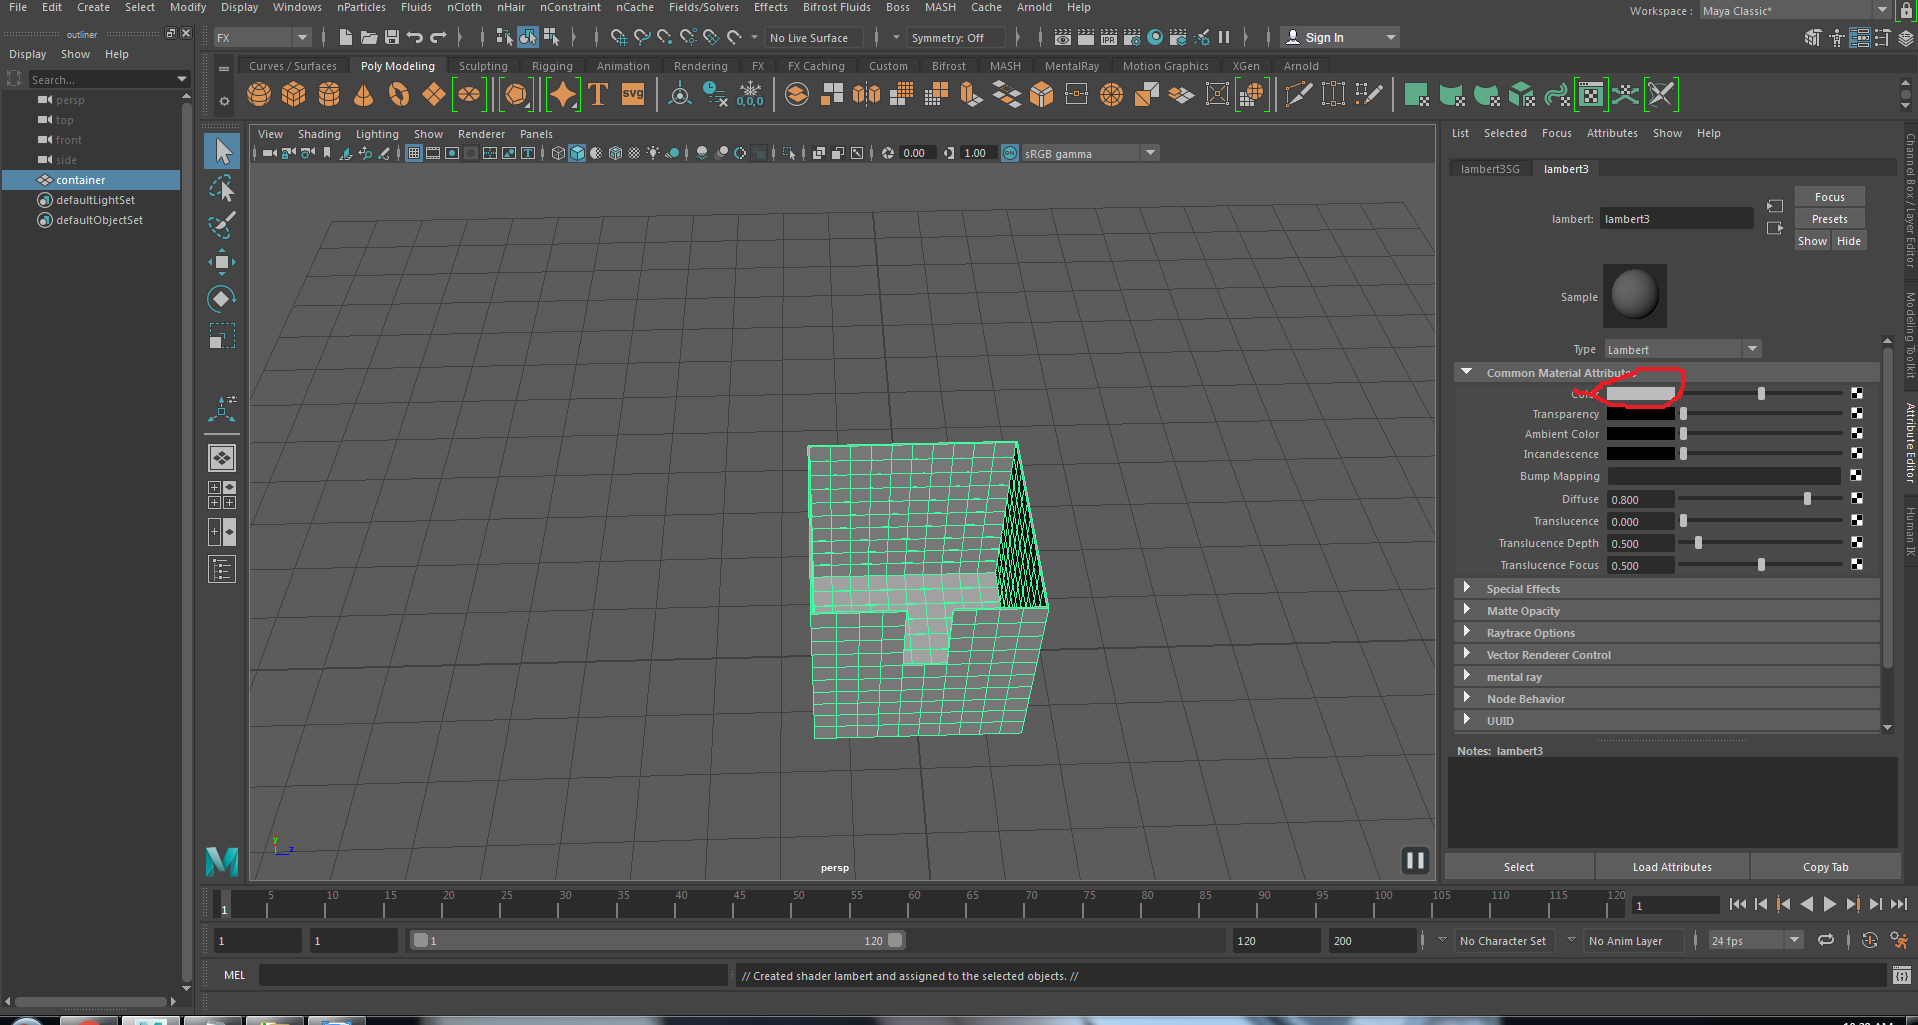
13.Hold right click on the container and select Assign New Material, select lambert and on the box next to Color choose any color besides blue
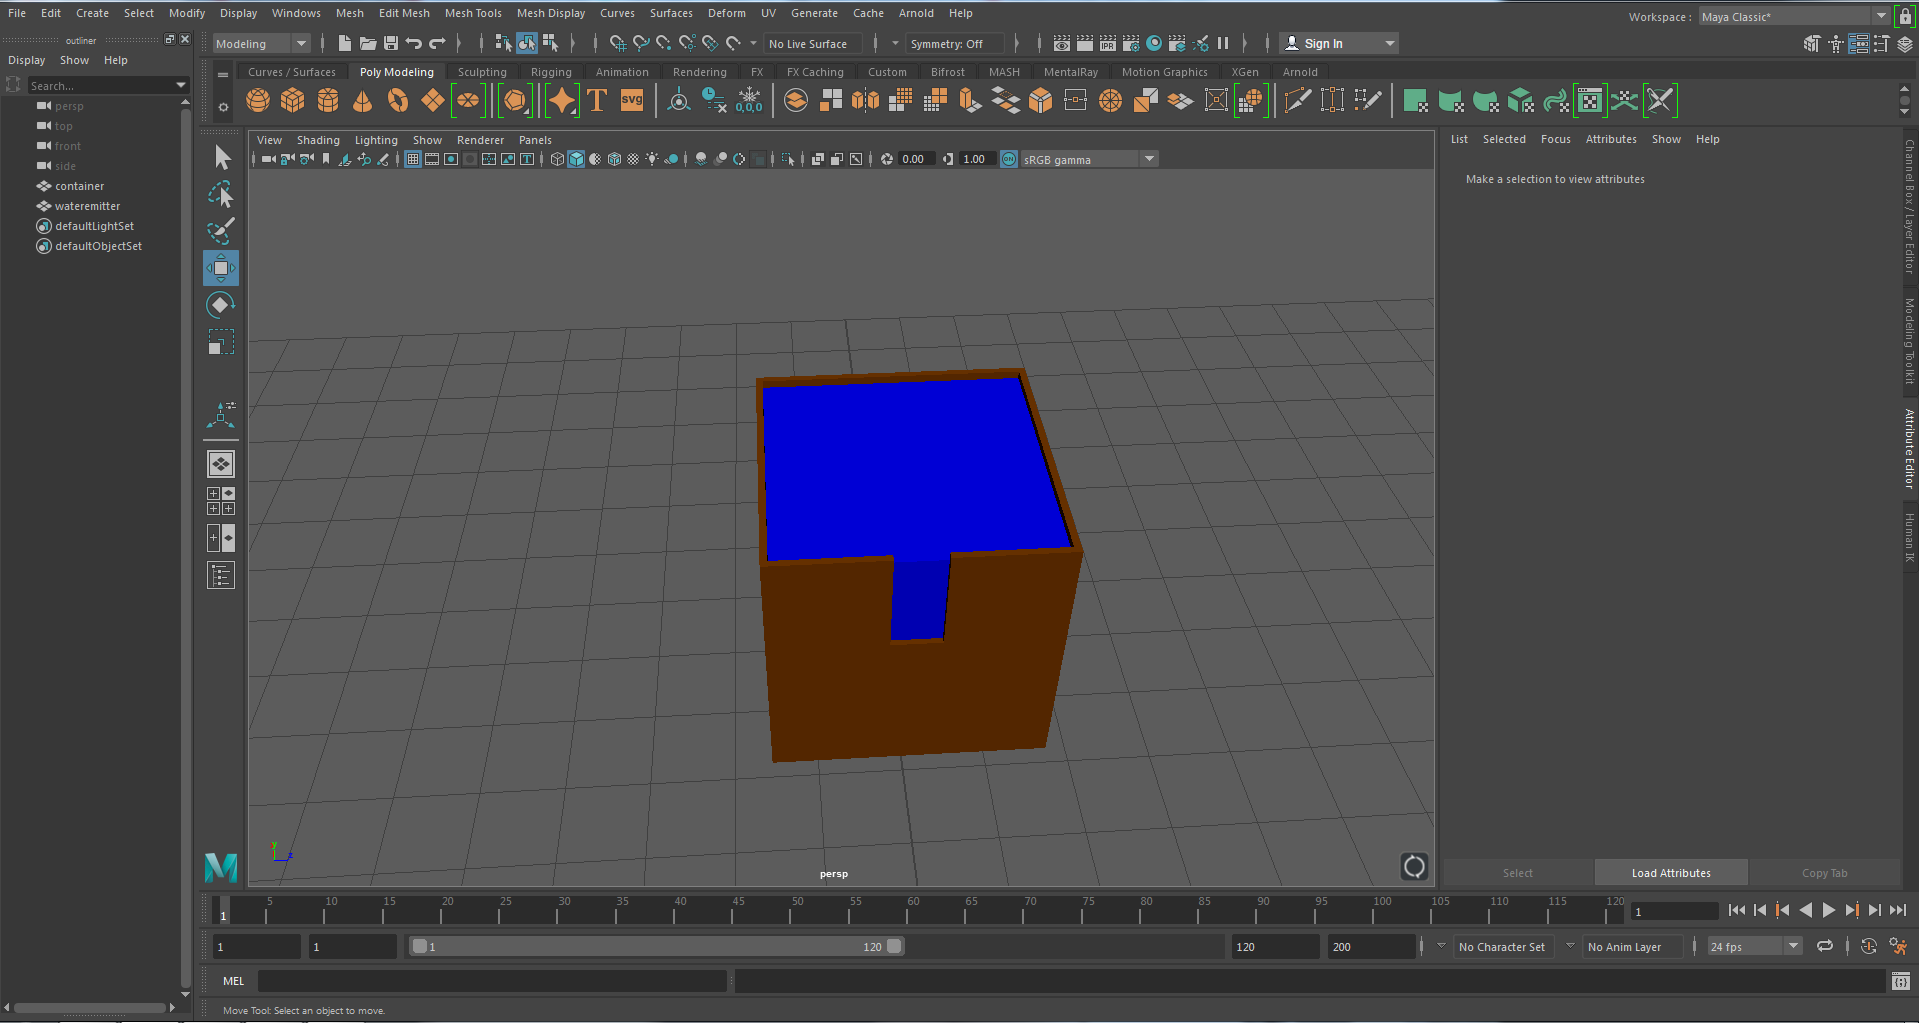
14.Using what you've just learned make a blue box called wateremitter in the Outliner that scales into the container. Your final result will look like this.
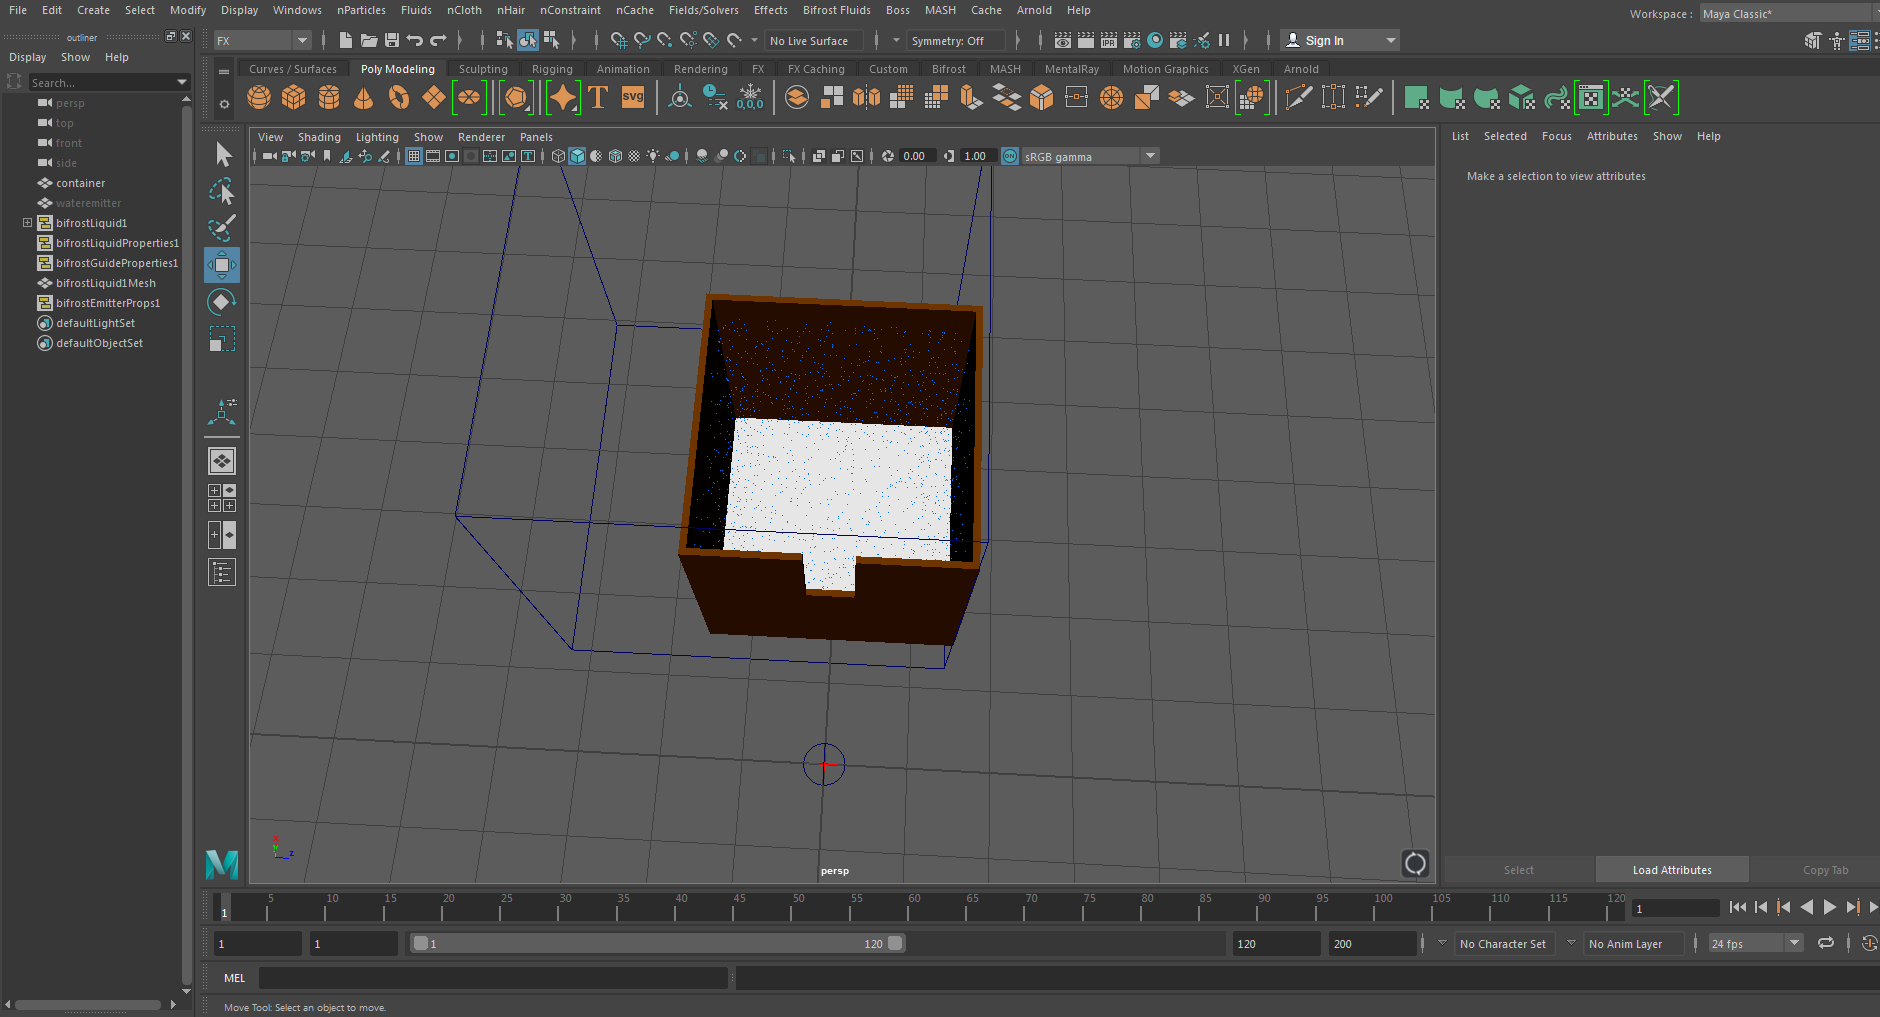
15.Click on your water emitter, FX, Bifrost Fluids, Liquid
Now the container has liquid in it. Click on the wateremitter in the Outliner and press H on your keyboard. You must not manipulate it anymore but pressing H will hide it so you can see the liquid.
16.The liquid would just fall right through if I simulated at this point as there is no collider. Hold ctrl and select the container and bifrostLiquid1 that are both under the Outliner and then click Collider under Bifrost Fluids
17.Click on bifrostLiquid1 and select Killplane and press W on your keyboard and put it below the container. This will delete particles that cross it so that the simulation isn't slowed down.
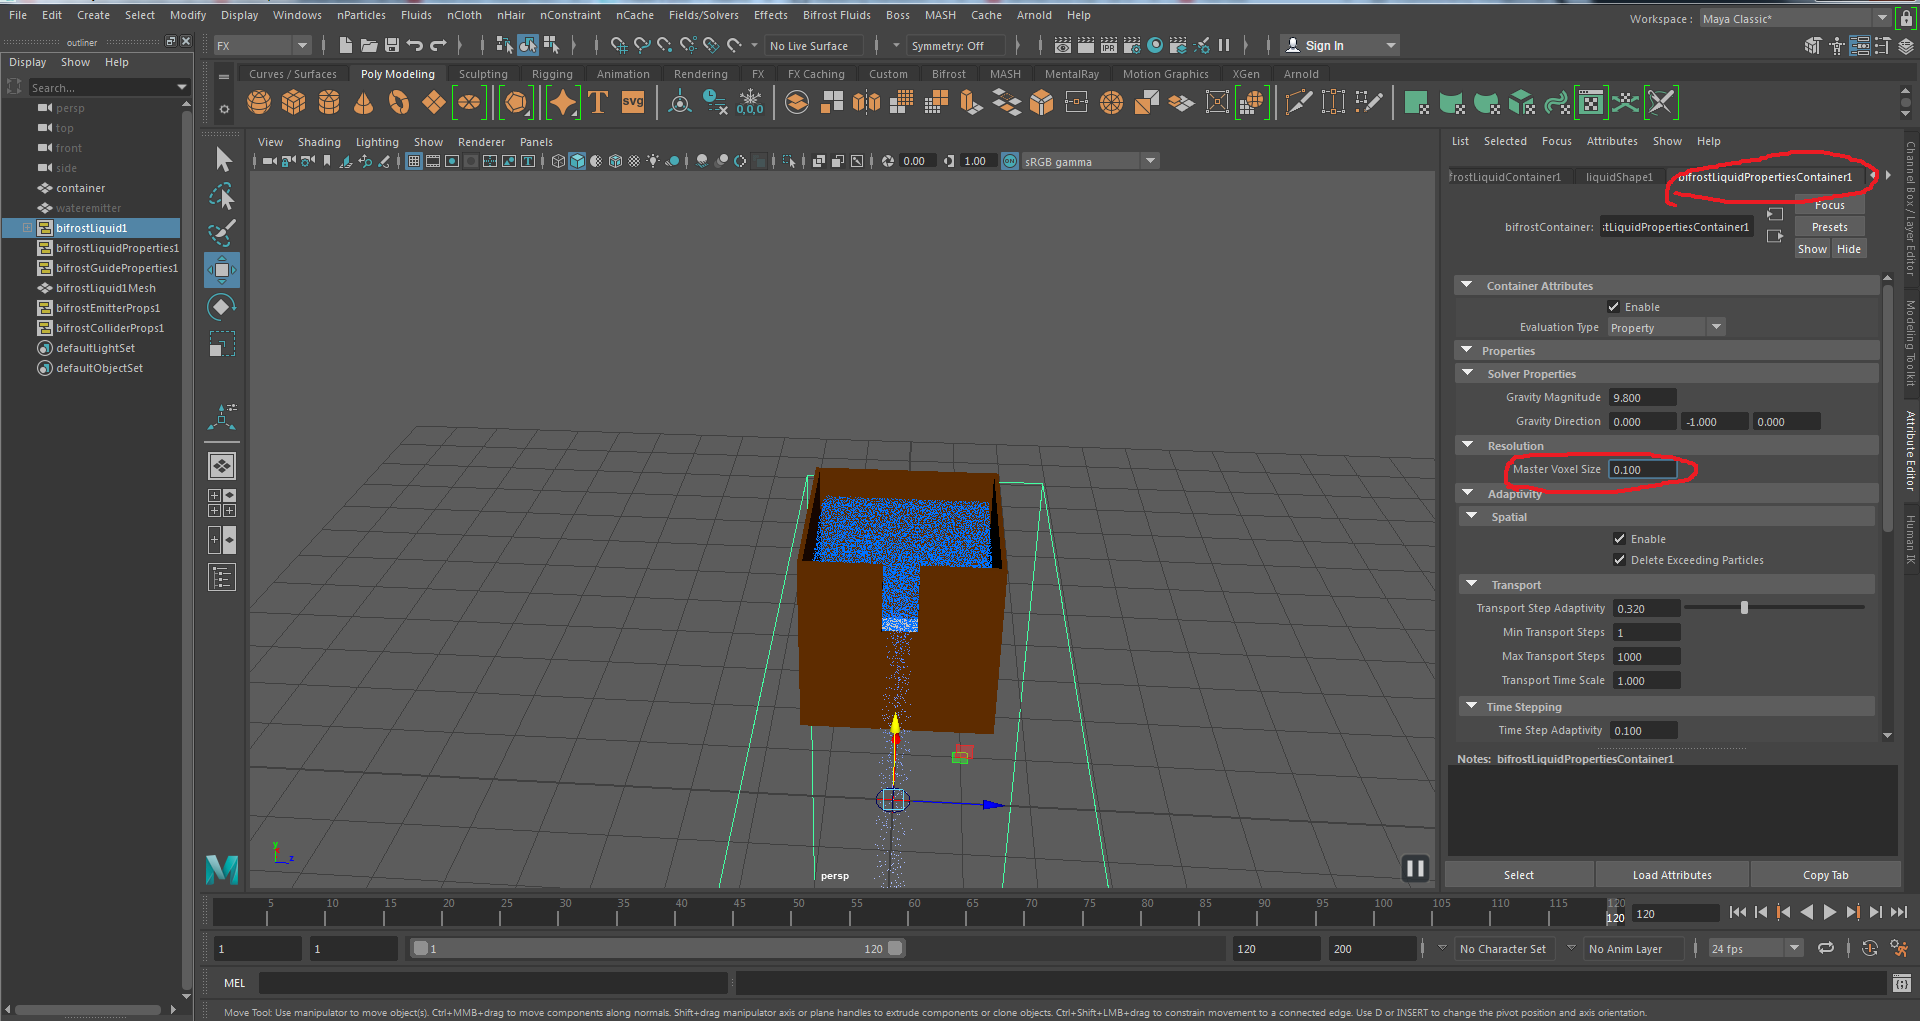
18.Click on bifrostLiquid1 and under bitfrostLiquidPropertiesContainer1 you will find something called Master Voxel Size. All you need to know is that the lower the number the higher quality. At 0.06 it will take you 3+ hours to render on a single computer with playblast. Under Windows at the top you will find something called playblast which is a tool used to just quickly check how your animation turns out without all the complicated renders. You will find that 0.06 is nowhere near production quality and now you understand the idea of render farms. Put 0.100 as the master voxel size and playblast.
Congratulations you have made your very first water simulation.
@therealwolf 's created platform smartsteem scammed my post this morning (mothersday) that was supposed to be for an Abused Childrens Charity. Dude literally stole from abused children that don't have mothers ... on mothersday.
https://steemit.com/steemit/@prometheusrisen/beware-of-smartsteem-scam
Hello @badcaptain, thank you for sharing this creative work! We just stopped by to say that you've been upvoted by the @creativecrypto magazine. The Creative Crypto is all about art on the blockchain and learning from creatives like you. Looking forward to crossing paths again soon. Steem on!
Congratulations @badcaptain! You received a personal award!
You can view your badges on your Steem Board and compare to others on the Steem Ranking
Do not miss the last post from @steemitboard:
Vote for @Steemitboard as a witness to get one more award and increased upvotes!