Editing basics 01: How to straighten an image in Lightroom & Photoshop

in #photography7 years ago

1- unstraightened image.jpg

The above image is a photo I took while visiting the Lake District in the UK. I loved the sunbeam cast on the mountains from the break in the clouds and spent most of my time focusing on getting the lighting and composition right, however when I got back home I realized I had forgotten to take in to account the level of the water. If you look closely you can see that the water is sloping downwards from left to right. Ideally I should have corrected this when taking the image, but as that is too late now, we will have to correct it post production.


Lightroom


Step 1

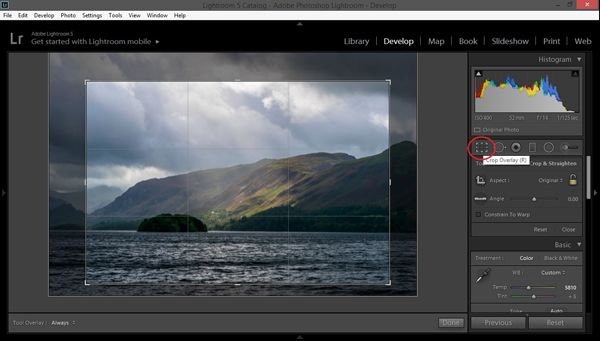
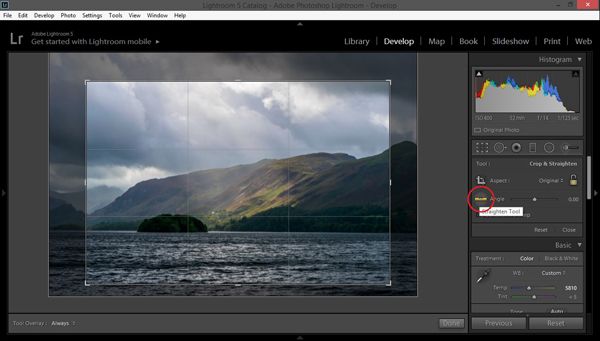
First, load your image in to Lightroom and go to the develop menu. From here you need to select the crop tool, followed by the straighten tool (If you feel the need to crop your image further like I have in this image, then it is easier to do this before selecting the straighten tool.)

2-crop tool.jpg

3-straighten tool.jpg

Step 2

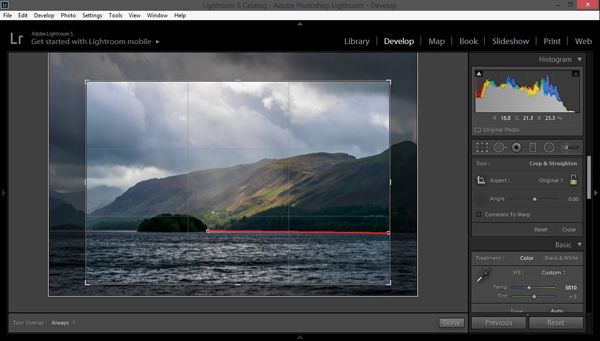
Now you need to click and drag along the line that you want to straighten, for this image I am using the water line however in your image you may need to select the edge of a building or fence panel etc.

4-select straight edge.jpg

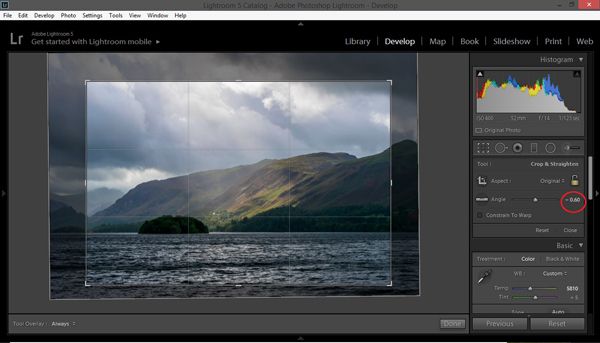
As you can see from the image below the angle will have changed from 0 and now show the angle the image will be corrected by.

5-changed value.jpg

Step 3

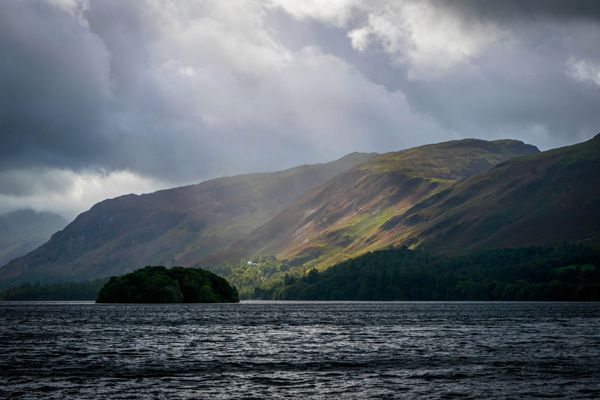
To finish editing just press enter and you image will now be straightened and cropped, if you chose to do so. Save your image how you would like and you now have your straightened final image.
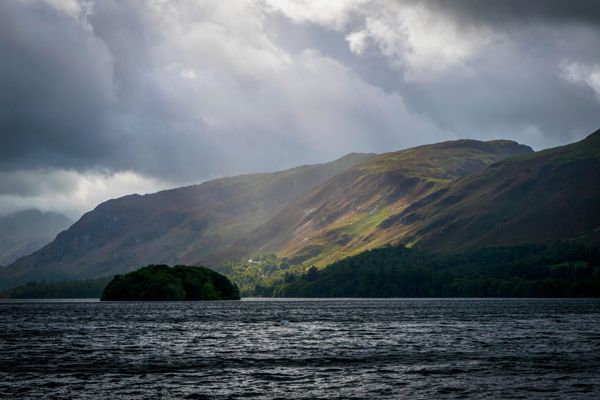
6- straightened image.jpg


Photoshop


Step 1

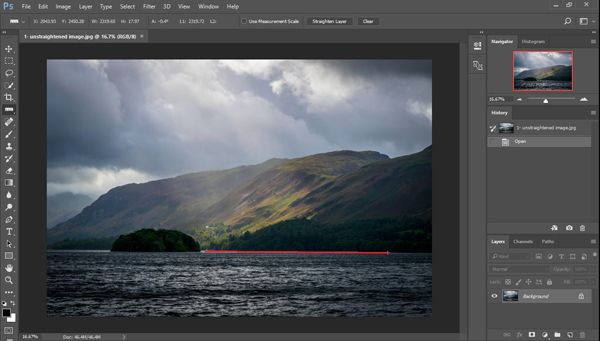
Once your image is loaded in to photoshop, select the ruler tool, then click and drag along the edge you wish to be straightened.
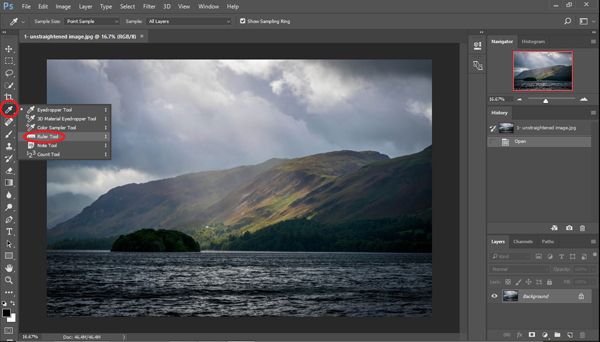
2- ruler tool.jpg

3- select edge.jpg

Step 2

Next you need to click the straighten layer button, this will rotate the image along the line you have selected.
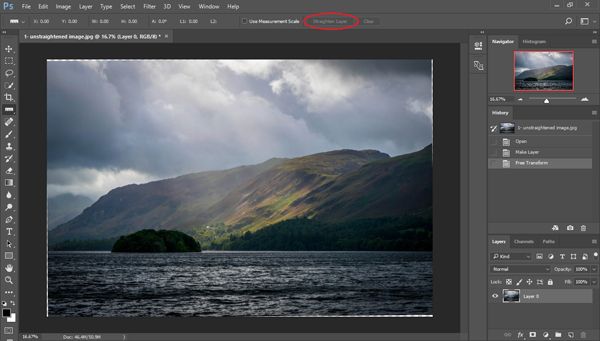
3- straighten layer edge.jpg

Step 3

As you can see from the image above, there are now white lines at the corners of your image where the picture as a whole has been rotated. To fix this simply select the crop tool and crop down to the white edges. Press enter when you have the image cropped how you like and save the final image.
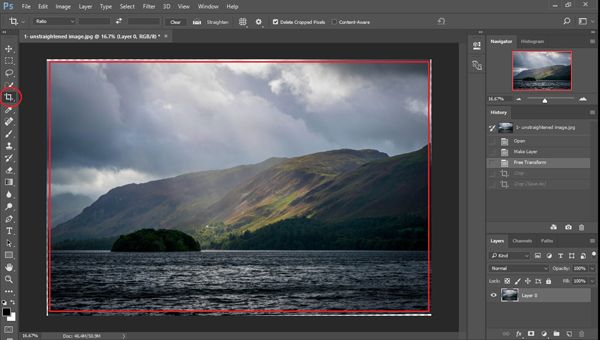
4- crop.jpg

5- straightened image.jpg


If you liked this tutorial please upvote and follow me to see other photography guides