Tips & Tricks How I Capture Photos 😉
Hi everyone! In this blog here, I decided to share some tips & tricks on how I capture photos for my blogs & my articles. First of all, I want to clarify that I am not a photographer, it may not be my profession but I guess I have little talents & skills in capturing photos, so why not share it, right?
Okay so let me give an example:
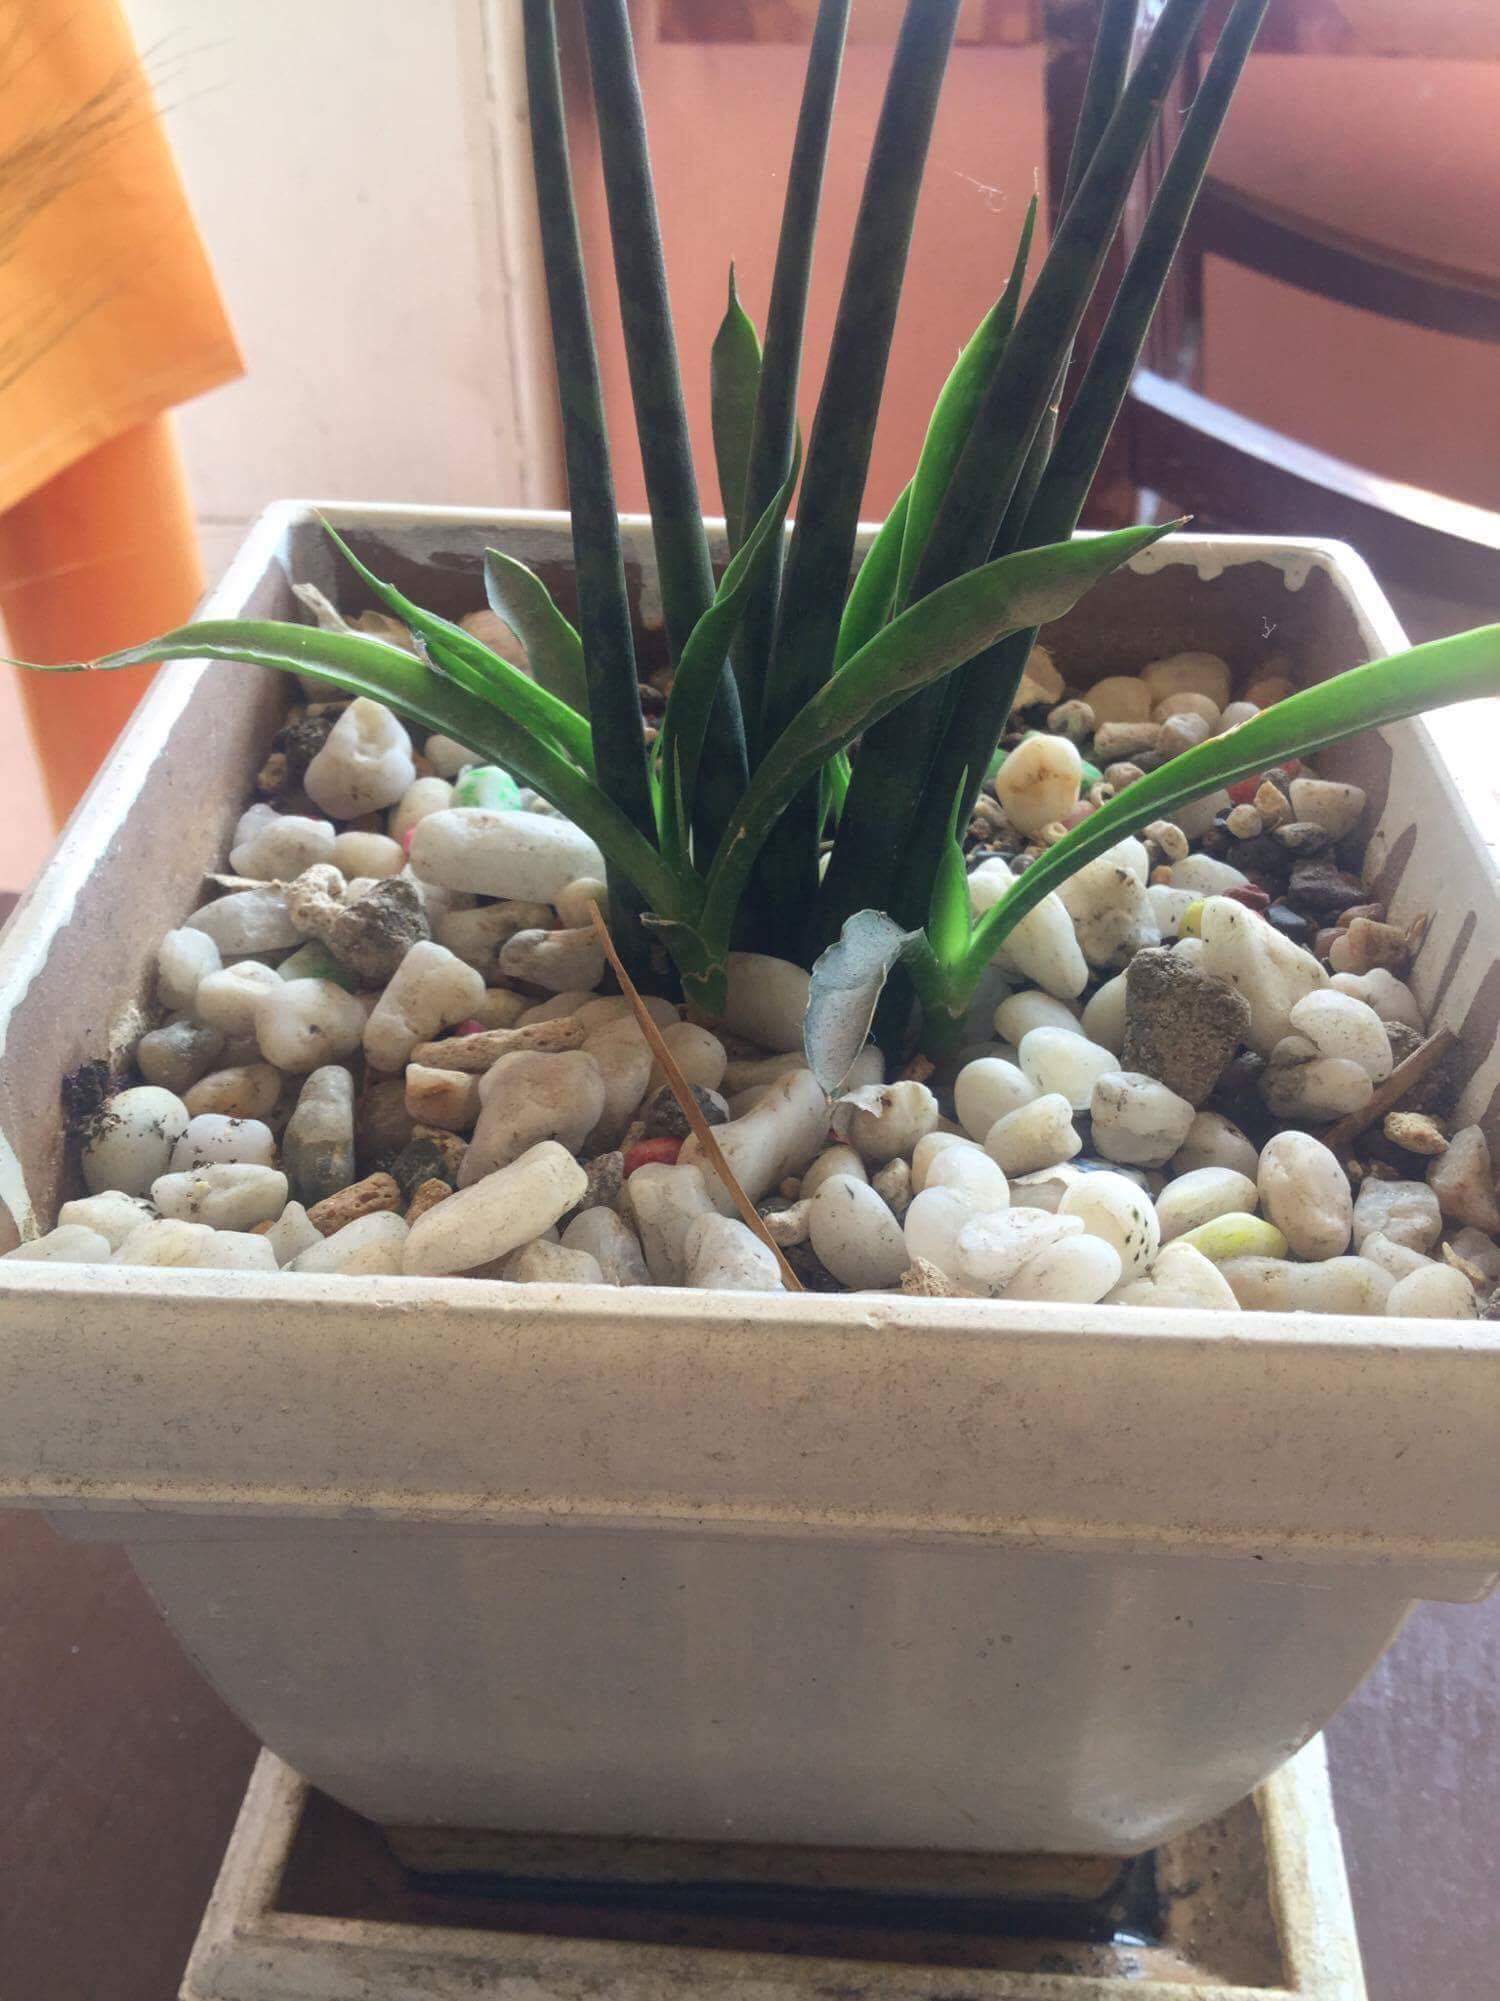
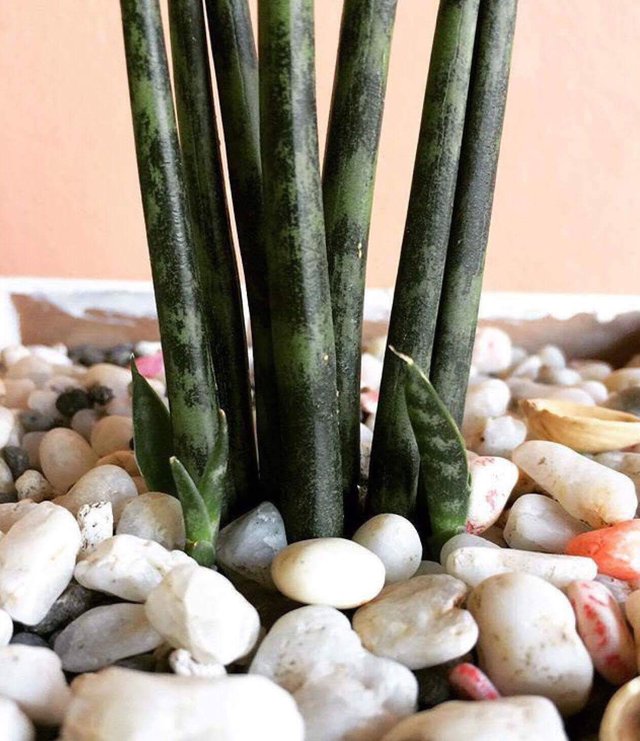
This is a plant right here, so in a regular picture it would look much like that, but when photographed properly, the result would be or can be similar to this one:


See the difference? This is the same plant I took a photo with the first photo, although this has a more decent look as I would say hehe.
So how did I do it? How did I capture the photo in such different ways? Heres how :
In the first photo, I simply just captured a photo of it,
while in the second one, I tried my best to search for the right angle.
I also captured the photo were it is in the angle were it is not against the lighting, proper lighting to make an image more clearer is what I really work on, next is the focusing, the other difference was that the other photo was just plainly captured, while te second one, I tapped the object that I want to focus on, since I am onyl using a phone for my photos.
At first, it might seem hard, but once you get used to it, the difference can be spotted, personally before, I am not much of a fan of takibg pictures, but eversince I became a blogger, I wanted to make my readers satisfied in reading my articles at the same time, have a positive feedback in my photos. So I do my best everytime to capture photos well.
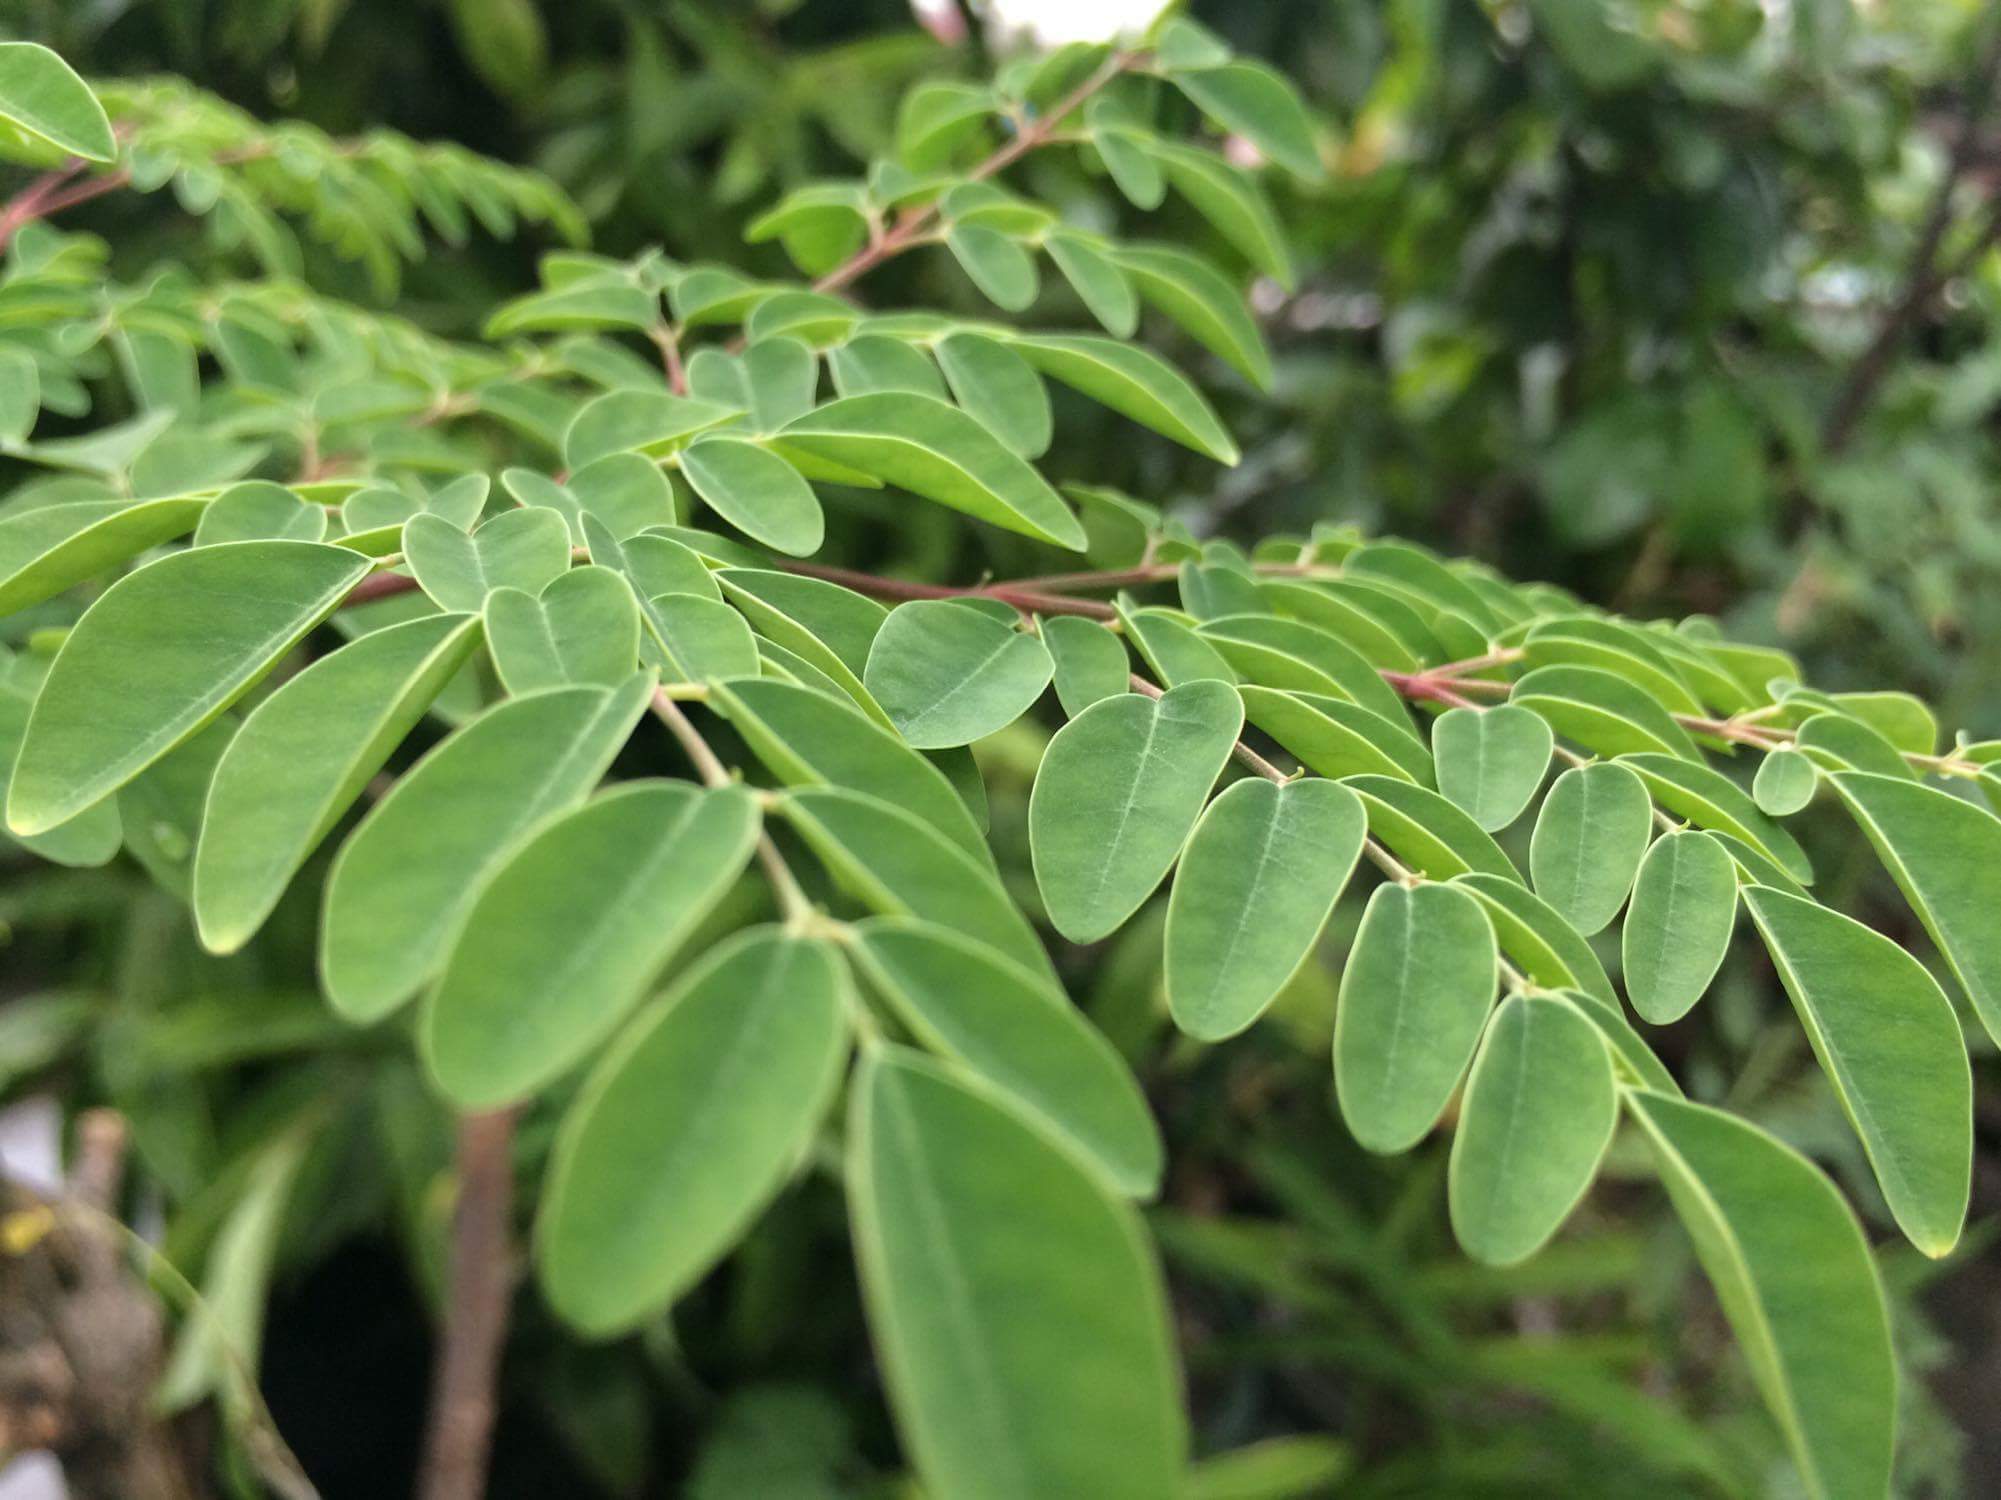
The next one here, is a photo of Moringa or more known here in the Philippines as Malunggay. In my last blog, I wrote an article about the benefits of Moringa or Malunggay, and while taking photos, this is one of the few I liked, but fortunately, I didn't use this photo because I already captured a photo for my article about Moringa, so anyway, I then again tried to find the best angles, it took me a while & I tapped the object I want it to focus on, so that it would highlight the leaves of the moringa and there! I took a photo of the Malunggay leaves.

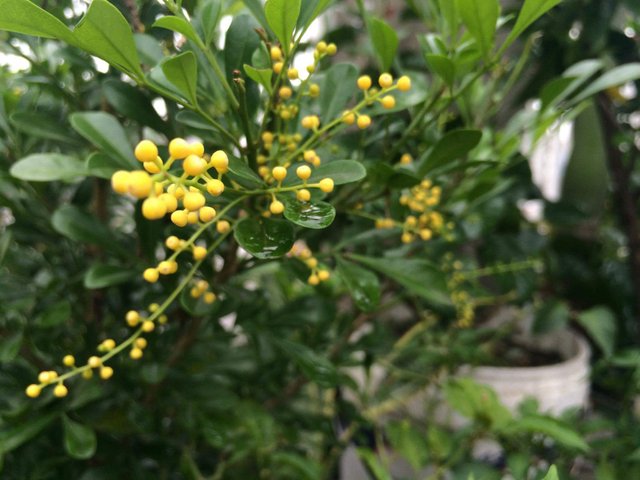
This last photo, is one of my favorites because it highlighted the object I wanted it to, it seemed to be well focused on the design of the plant & it has theae vibrant colors, due to the natural lighting I took the photo with, which is the sunlight.

Thankyou so much for reading my blog! I hope my readers enjoyed reading! Thanks!
Original photos from @lynrogan
I am easily satisfied with the very best.
- Winston Churchill
Thank you...
@lynrogaan nice tips men im also a phoographer i hope we follow each other i will follow you
Sure my friend hehe..
Magaling kang kumuha ng larawan madam. Hehe.
Missed Malunggay so much. Sad thing we have here in Dubai but it cost too much. Nevertheles, loved your photographs..
no talent for me I just aim and shoot hehehe
You seem to be doing a wonderful thing with the camera
Nasa angle lang yan, Raq! Well done ;)
You are into photography na ah...ayos galing.
You are using a portrait effect friend which is very good and highlighting the object is my favorite choice when taking photography.
Technology made it easier for us to take photos like these! Yay!