Exploring Depth of Field & Bokeh With Phoblographer 📷
Range of Focus:
I recently received a question from @deliriumdog regarding the factors that affect the depth of field in an image. The depth of field can briefly be defined as the range of focus in a given scene, the distance between the closest and furthest element that is in focus within a shot.
In the image shown below, notice how the sharpness gradually increases as your eye moves up through the image and then proceeds to fall off in the uppermost portion. The Mandarin being the subject of the photo, rests in the area of optimal focus in the centre of the depth of field. The areas directly in front of and behind the head of the bird are considered to be of acceptable sharpness within the depth of field.
Mandarin. Nikon D750, Sigma 150-600mm C @ f/7.1, 460mm, 1/640sec, ISO 500
When you hear photographers talk about a shallow depth of field, they simply mean that the range of in focus elements within an image are relatively small. A shallow depth of field is desirable when you wish to isolate your subject within the frame. Understanding how to achieve a desired depth of field is important when constructing your images.
Affecting Depth of Field:
There are several factors that affect DOF. These are primarily, aperture, effective focal length, focus distance (distance from lens to subject), and the subject's distance from the background.
Faces. Nikon D750, Nikkor 50mm @ f/2.2, 1/3200sec, ISO 100
Simply put, to achieve a shallow DOF you should get your lens objective as close to the subject as you can, and use the largest aperture and longest focal length possible. You should also attempt to ensure that your subject is as far away from the background as possible.
To ensure all of the elements within your image are sharp and in focus, the opposite is true with a few caveats. As I mentioned in my landscape photography blog, using the smallest aperture possible will actually degrade the sharpness of an image as lens diffraction begins to occur.
Circle of Confusion:
The reason these factors affect the DOF of an image is due to an effect known as the circle of confusion. This is dictated by the specific divergence points of the light rays that hit your camera's sensor. The crude infographic I made below should help you understand this.
The "cone" of light that enters the lens is diffracted in such a way that the base of the "cone" falls on the sensor. We all know that the base of a cone is circular, and this is where the circle of confusion comes in to effect.
You can see from the example that the light rays from the in focus subject converge on the sensor at a single point that is smaller than the circle of confusion. Whereas the light rays from the out of focus foreground converge before they hit the sensor, and then diverge before landing outside of the circle of confusion.
It is this divergence of light rays that decides which areas of a shot are in focus. The more divergent light rays that fall outside of the permissible circle of confusion on the sensor, the more out of focus areas there will be in an image. This is perceived as a "shallow depth of field" on the final image.
The reason aperture affects the DOF is because it regulates the amount of light hitting the sensor. I've created another crude infographic to demonstrate this:
The image above represents light moving through a small aperture. You can see that the light that is allowed to reach the sensor converges inside of the circle of confusion, there would therefore be very few areas of this image that were out of focus.
To summarise, circular points of light of differing sizes fall on the image sensor. The smallest circles of light will be those that are the most in focus. Any circle of lights that are larger than the permissible circle of confusion, will be out of focus. Confusing, I know.
The Real Circle of Confusion. Nikon D750, Sigma 24mm A @ f/1.6, 1/125sec, ISO 400
DOF in Practice:
As I mentioned earlier, deciding the depth of field of a given shot is primarily a stylistic choice. If you're a landscape photographer, then it's most likely that you'll want to retain sharpness throughout an image. A portrait or wildlife photographer may however choose to isolate their subject by utilising a shallow depth of field.
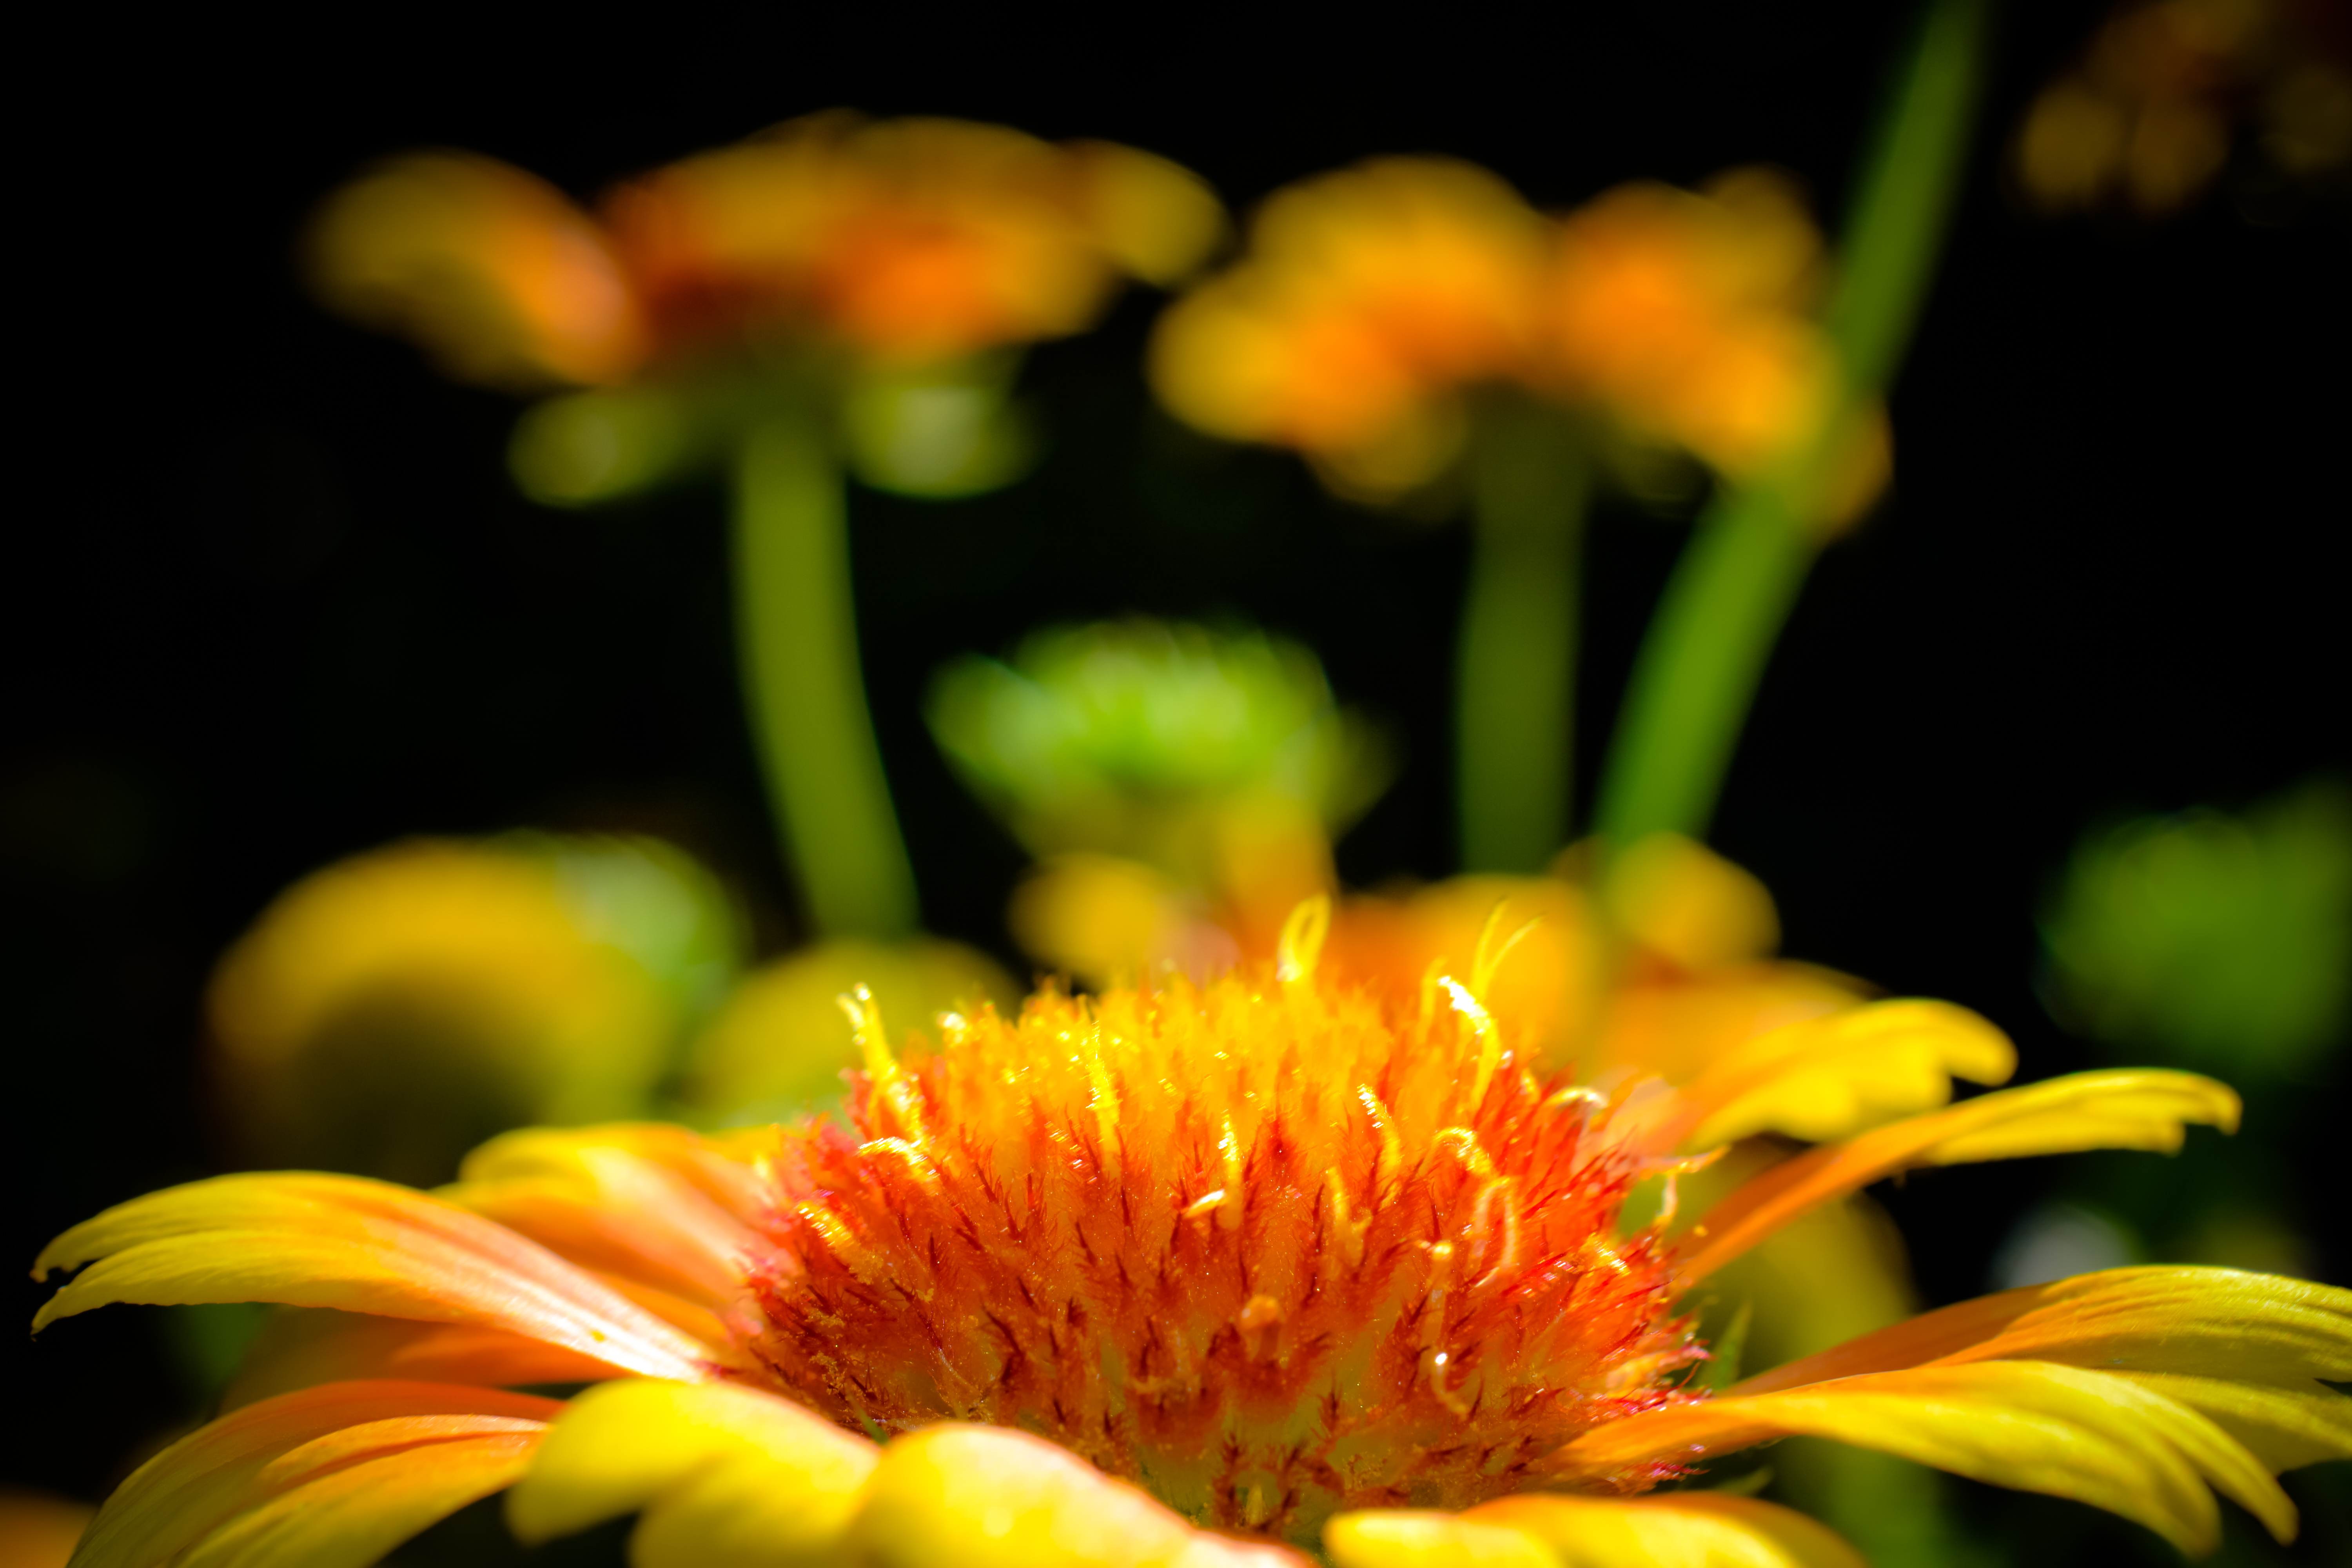
Flower & Stamen. Nikon D750, Sigma 105mm @ f/3.8, 1/640sec, ISO 400
These two macro images are taken from the same shot; the second cropped photo shows the shallow depth of field in effect. The focus plane is such that some of the stamen are sharply in focus while the others are not.
Golden Spiral. Nikon D750, Sigma 105mm @ f/8, 1/100sec, ISO 1250
As I stated in my previous blog, one of the challenges of macro photography is the incredibly shallow DOF inherent in working so close to your subjects. You can again see the shallow DOF on this image of a snail
Hunter's Moon. Nikon D750, Sigma 150-600mm C @ f/9, 600mm, 1/125sec, ISO 250
This shot I took of the moon on the other hand, has the largest depth of field imaginable. As the subject is so far away, parts of the image that are likely separated by thousands of miles are easily as sharp as one another; a stark contrast to the image of the flower or the snail.
Bokeh:
Another widely used term in photography is "bokeh". This generally refers to the nature of the out of focus area of an image. "Bokeh balls" are caused by light sources that are out of focus to such an extent that they merely represent the shape of a lens' aperture. You'll notice the slightly oval shape of the green light in the image below. Some photographers may find this irregularity unseemly; what makes for good bokeh is really a matter of taste.
Bokeh. Nikon D750, Sigma 24mm A @ f/1.4, 1/25sec, ISO 1000
The blades that make up an aperture's diaphragm decide the roundness of bokeh light points. Most modern lenses have nine aperture blades which produce a very appealing, circular effect. Older seven blade diaphragms result in sharper, heptagonal points of light.
Chess. Nikon D750, Sigma 105mm @ f/3.2, 1/4sec, ISO 125
Understanding how depth of field affects your final shots allows you to produce images that suit your creative intentions. If you're having trouble visualising DOF, then try using your camera's "live view" mode in conjunction with the preview button on your DSLR. By viewing your prospective shot through the cameras LCD screen, you will in effect be able to see what the sensor sees. If your camera has an EVF however, then it's likely that you'll be able to see the relative depth of field by simply looking through the viewfinder.
Kingfisher. Nikon D750, Sigma 150-600mm C @ f/7.1, 450mm, 1/400sec, ISO 800
As always, thank you for taking the time to read my article. I understand that the circle of confusion thing is quite technical, though I hope you found it interesting all the same. If you did find this article useful, then please upvote & follow me for similar content in the future. Also please consider resteeming this blog if you believe it deserves to be shared with the wider community. Cheers for now : )
All images present in this article are © Alexander White
outstanding explanation of what can be a very confusing topic for those just learning! well done @phoblographer!
Thank you, I tried to be as concise as possible without leaving out too much information. I hope people find it useful.
Love it! Love to play with it as well :) Please follow me @evyarts
Hi, you have a really good eye for photography. I look forward to seeing more of your work.
wow man, you are the king of photos! thanks for your infos!
Thanks, I'm glad you found the info useful. I can't say I own a crown though : )
Great post on depth of field and a great set of images both in quality and their demonstration of the various aspects of DoF.
Thank you, I'm glad you enjoyed the post.
So awesome :D
Your content probably comes 2 years two early :-) - Steemit doesn't seem to be ready to appreciate it at all.
Thanks for your support : ) As far as steemit goes, I am starting to reassess my approach. It seems that people generally prefer shorter blogs, posted more often. I like to take the time over my posts however, and I try and explain things in detail where I can.
Luckily there are those who support me and I'm really grateful for that. It's also very satisfying when people tell me that I've helped them to understand a certain aspect of photography that they were perhaps unfamiliar with.
I may change my approach in the future and start posting smaller blogs more often, I'll see how it goes. Thanks again anyway, your mountaineering adventures are amazing by the way.
Nice work, like you, im trying to bring photography tutorials to Steemit. Good work on explaining COC.
Thank you, I've taken note of some of your night time/astrophotography. I'll look out for more in the future.
I think i need someone who could trnslate it into my own language.
your snail photos still confusinng for me, a small aperture,,but you still having a shallow DOF.
I can understand how it can be confusing. The snail photo has a shallow DOF because the lens was 6 inches from the snail when I took the shot. The closer you are, the shallower the depth of field. Even at f/22, the whole snail wouldn't have been in focus.
correct me if I am wrong
you can get shallow DOF either by using a big apperture but with further subject from lens,
or by getting so close to the subject.
Yes, using a longer focal length will give you a shallower DOF too.
great in depth analysis of depth of field; i had no idea the bokeh effect is called that. cool post