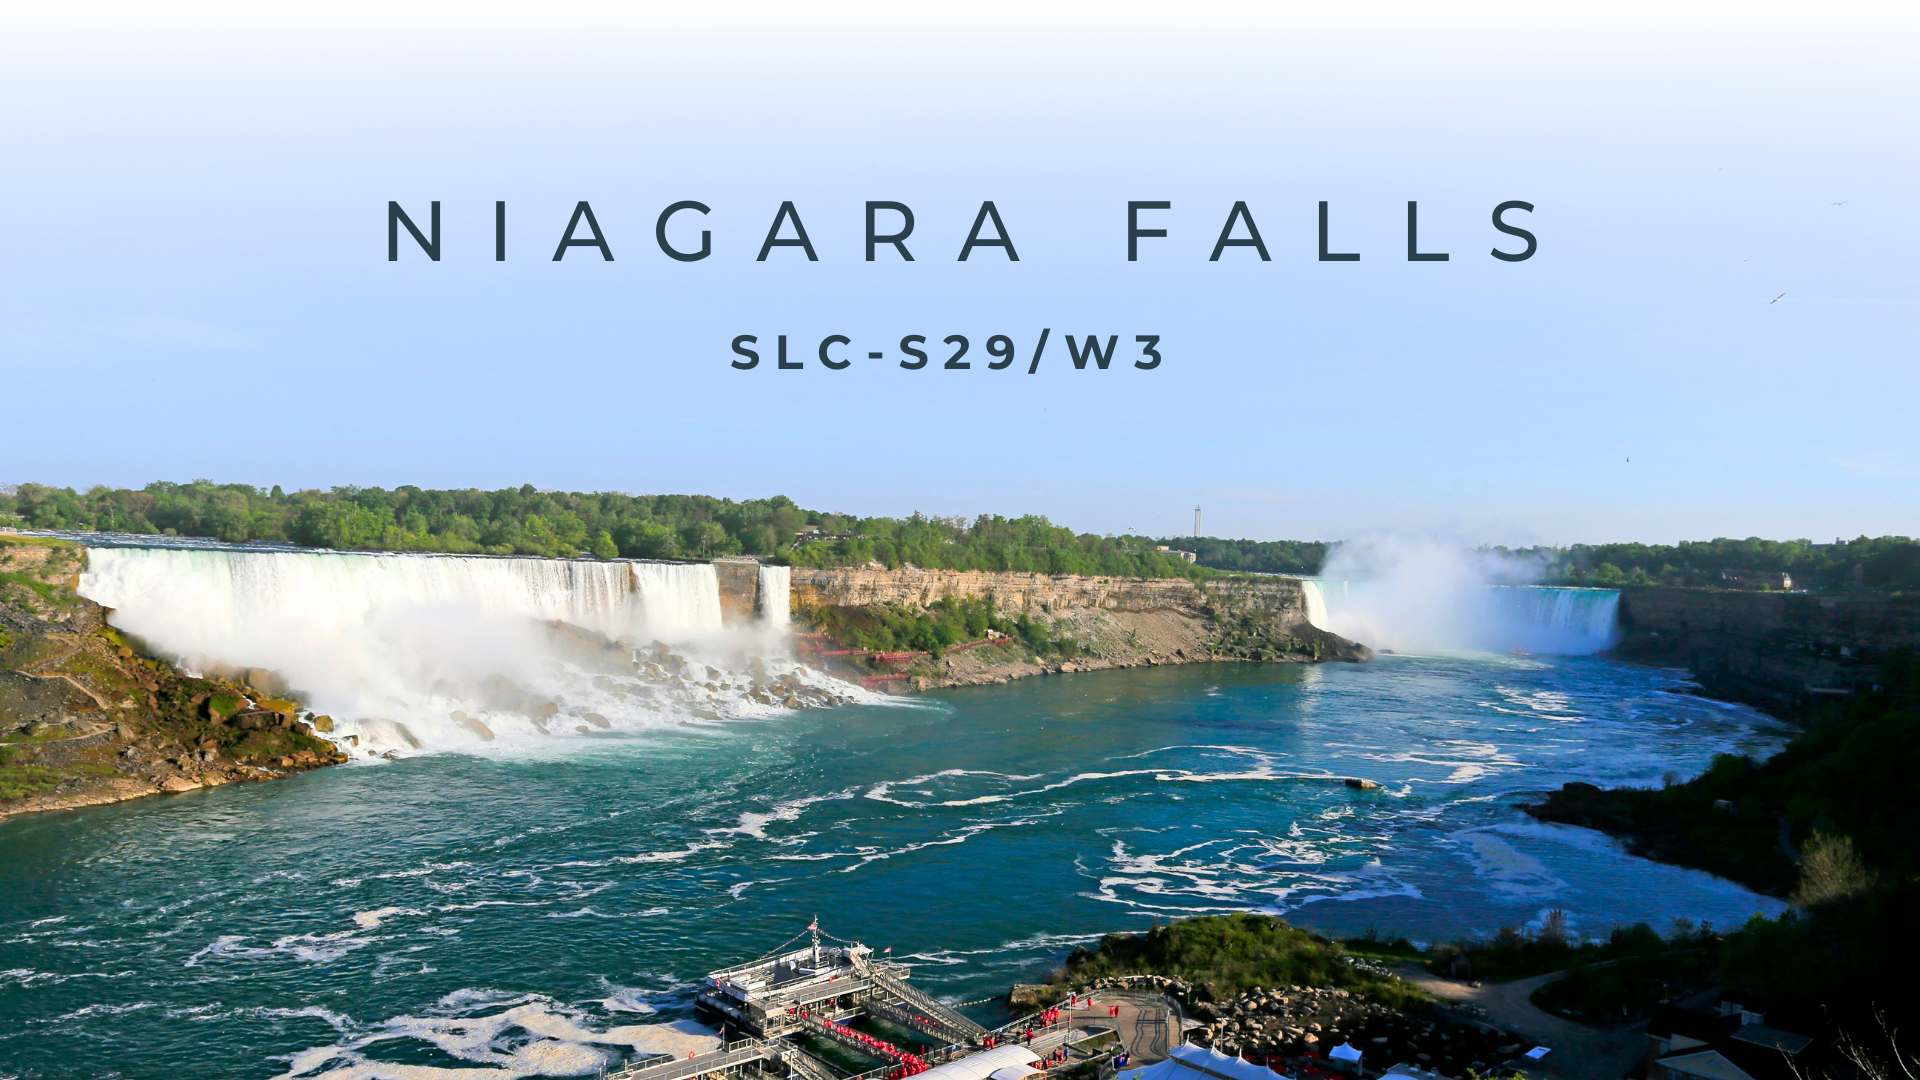
SLC-S29/W3 | How to Photograph Rivers / Streams / Waterfalls by @kouba01
Edited By Canva.
Hello Steemians,
Hello friends, I hope everyone is doing great today, because I’m back with a fresh and fully original participation for the engagement challenge organized by @walictd, and for SLC-S29/W3 | How to Photograph Rivers / Streams / Waterfalls, where we are invited to practice one of the most powerful “mood-making” tools in photographyshutter speed because with the right shutter speed choice the exact same waterfall can look either calm and dreamy like a soft veil of mist, or intense and aggressive with frozen droplets and razor-sharp splashes, and the truth is that once you start paying attention to shutter speed, you stop taking “tourist shots” and you start creating images that actually communicate what the water felt like in that moment.
For this week, I decided to participate with my visit to the legendary Niagara Falls (Ontario, Canada), a location that is honestly perfect for this lesson because it gives you multiple “water personalities” in one place massive falling curtains, chaotic swirling foam patterns, strong currents that create natural leading lines, and even a completely different atmosphere at night when the falls are illuminated in color so instead of capturing only one angle, I tried to build a small series that demonstrates how composition, focus choice, and shutter speed can turn the same natural subject into very different stories.
Understanding the Scene First: Niagara Is Not “One Waterfall,” It’s a Whole Visual System
The first thing you realize when you arrive at Niagara is that the falls are not just a single subject sitting in the frame; they are a living, moving system of water, mist, wind, reflections, foam, and human activity, and that’s exactly why it’s a great training ground for Week 3, because you can immediately practice (1) choosing a main object so the image doesn’t feel flat, (2) using the flow direction as a compositional path, and (3) deciding whether you want a freeze-motion look that emphasizes power and texture, or a smooth-motion look that emphasizes atmosphere and calm.
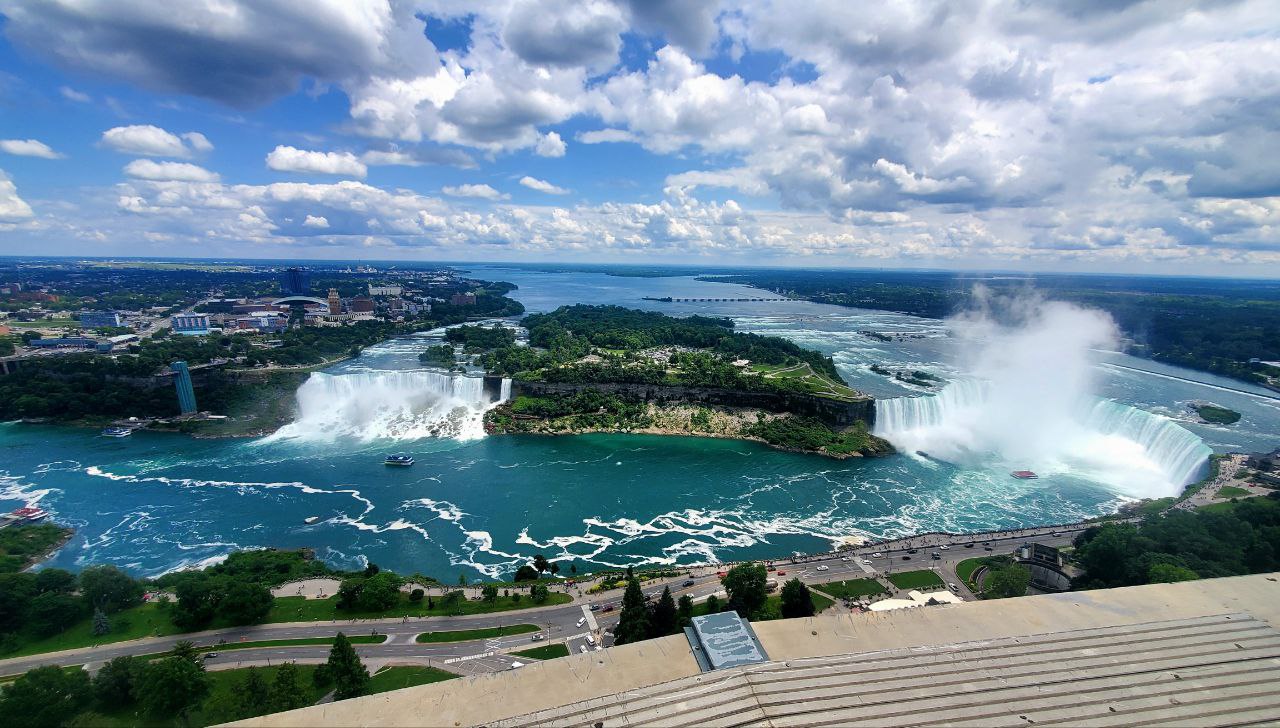
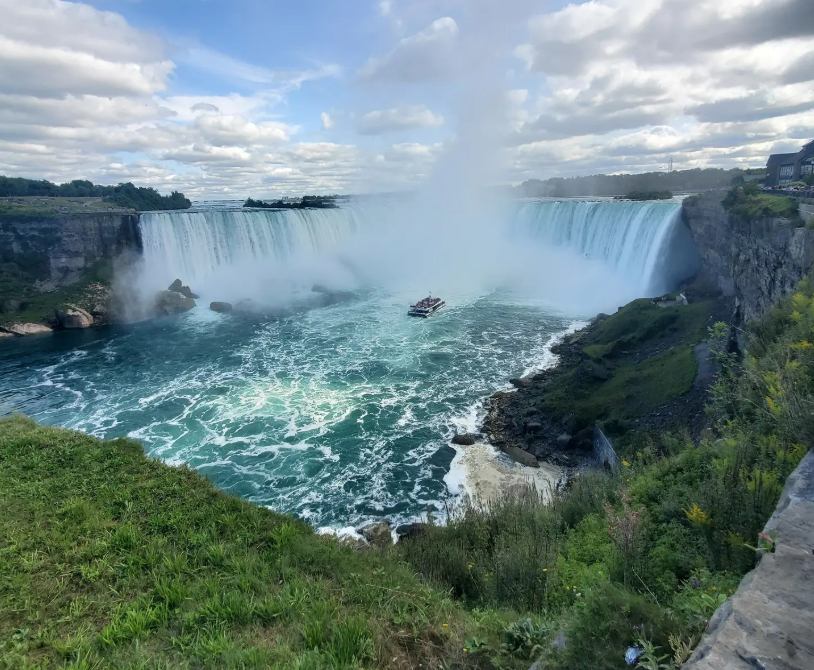
Wide view: I wanted to show how Niagara offers multiple subjects at once—water curtains, island shapes, currents, and distant horizon—so framing and focus choices become essential.
Fast Shutter Speed: Freezing Water to Show Energy, Texture, and Power
When the light is strong (especially during daytime), using a fast shutter speed is one of the most effective ways to capture the raw physical strength of Niagara, because instead of blending into a soft surface, the water becomes a field of detail sharp edges, visible splashes, separated droplets, and aggressive foam so the viewer can almost “hear” the noise and feel the pressure, and that is exactly the look that works best when you want your photo to communicate movement that is not peaceful, but unstoppable.
What I also love about the freeze-motion approach is that it helps define shapes very clearly: the waterline becomes a crisp curve, the foam patterns become graphic elements, and the entire scene feels more dynamic because the details themselves carry energy, which is why I tried to compose in a way that keeps the water structure visible while still giving the eye a clear destination point.

Freeze-motion look: the boat provides scale, while the sharp water texture keeps the scene energetic and visually “loud.”
Slow Shutter Speed: Smoothing the Water to Create a Calm, Misty, Artistic Mood
On the other side of the lesson, slow shutter speed (or a night/low-light style exposure) is where Niagara becomes poetic, because the water stops looking like separate droplets and starts looking like flowing silk, and the mist becomes softer and more layered, which is especially powerful in the evening and night scenes when the falls are illuminated and the colors reflect across the surface, because in that situation the image can shift from “natural documentary” into something that feels cinematic and emotional.
Even without a full tripod workflow, the key idea remains the same: when you intentionally slow the shutter (or allow the camera to gather light for longer), you are not only recording water you are recording time, and time becomes visible in the softness of the flow, the glow of the lights, and the quiet stretch of reflections, which is why I wanted at least one part of my series to show Niagara as a calmer, more atmospheric place.
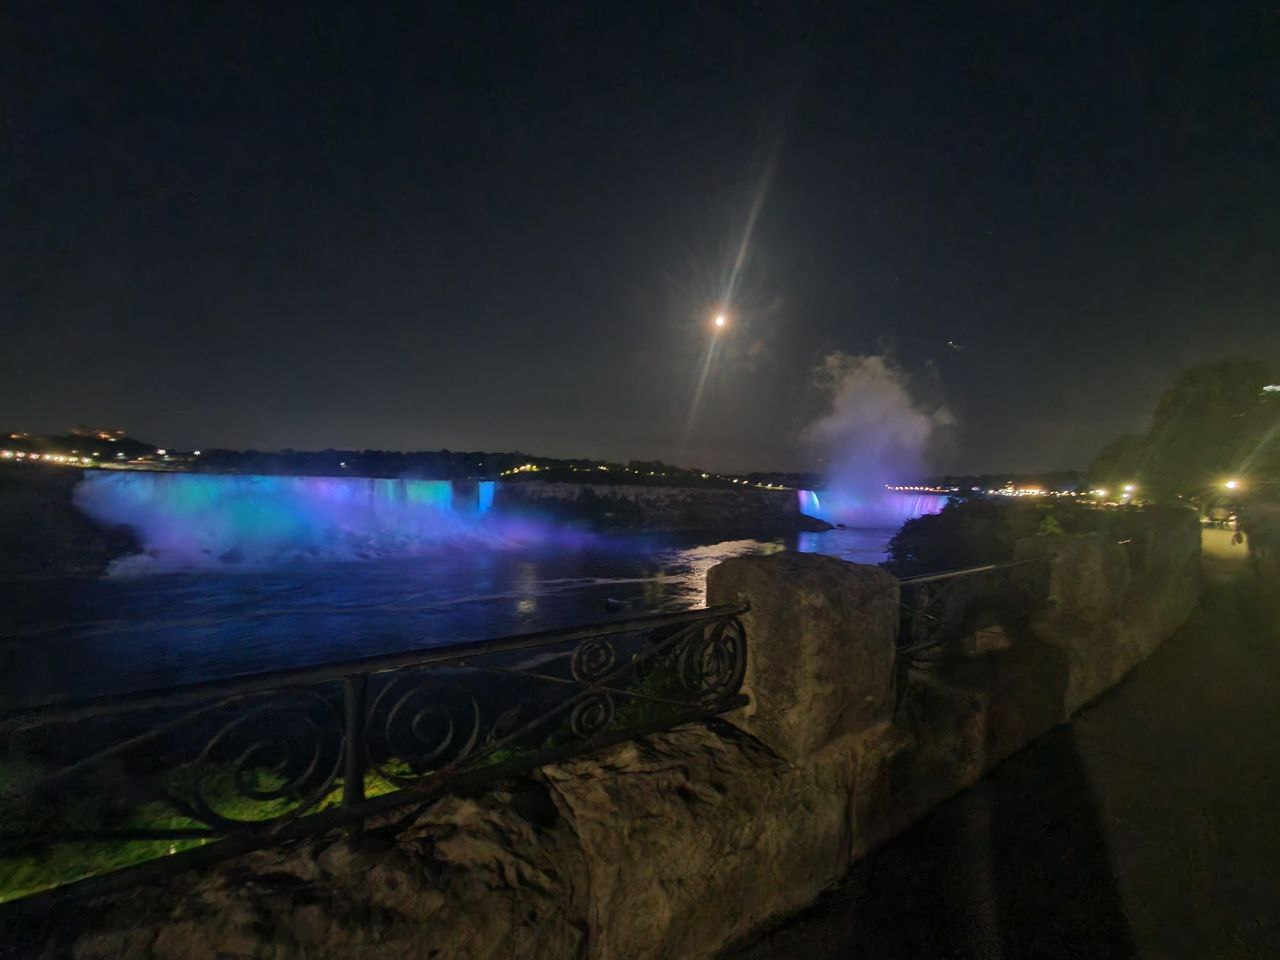
Slow-motion feel: the lights become smoother, the mist looks softer, and the whole frame feels more peaceful and cinematic.
The wider night view helps emphasize atmosphere, because the glow, the haze, and the water reflections turn the falls into a scene rather than just a subject.
Focus on the Main Object: Creating a Clear “Visual Decision” So the Photo Doesn’t Feel Flat
One of the biggest mistakes people make at iconic locations like Niagara is that they try to capture everything at once, which usually creates an image that feels like a busy postcard with no direction, so during this visit I constantly asked myself a simple question: “What is my main object right now the curtain of water, the boat, the color, the foam, or the human moment?” because the moment you make that decision, the composition becomes stronger and the viewer immediately understands where to look first.
In some frames, my main object was the waterfall wall itself, and in others it was a secondary storytelling element like a boat, a viewpoint structure, or a human presence, because those elements give the scene meaning and scale, and scale is extremely important for waterfalls since the human brain needs reference points to feel the true size of the landscape.

I framed the falls as the dominant subject, while keeping enough foreground water texture to avoid a flat “water + sky” look.
Water Flow Composition: Using Foam Lines and Currents as Natural Leading Lines
A detail that I personally find fascinating at Niagara is the way foam patterns draw bright “paths” on the surface, and those paths behave like natural leading lines, guiding the viewer from the foreground into the midground and then toward the falls, which is exactly the kind of composition technique that creates depth and visual travel, so instead of fighting the chaos of the water, I embraced it by positioning the frame so the foam lines act like arrows pointing into the scene.
If you look closely, you’ll notice that when the flow lines are used correctly, the viewer’s eye doesn’t just jump randomly around the picture; it enters the frame, follows a white curve, and arrives naturally at the waterfall, which makes the photo feel intentionally designed rather than accidentally captured.
The foam patterns create strong leading lines, and they pull the viewer’s eye across the water toward the falls.
Creative Framing: Turning a Viewpoint Into a “Window” That Adds Context and Depth
To make the series more original and less predictable, I also included a frame where the falls are seen through a structure, because framing the waterfall like a “window” instantly adds a documentary sense of place, and it also helps build depth by layering foreground structure, middle-ground trees, and background falls, which is a simple technique but very effective when you want a photo to feel immersive rather than flat.
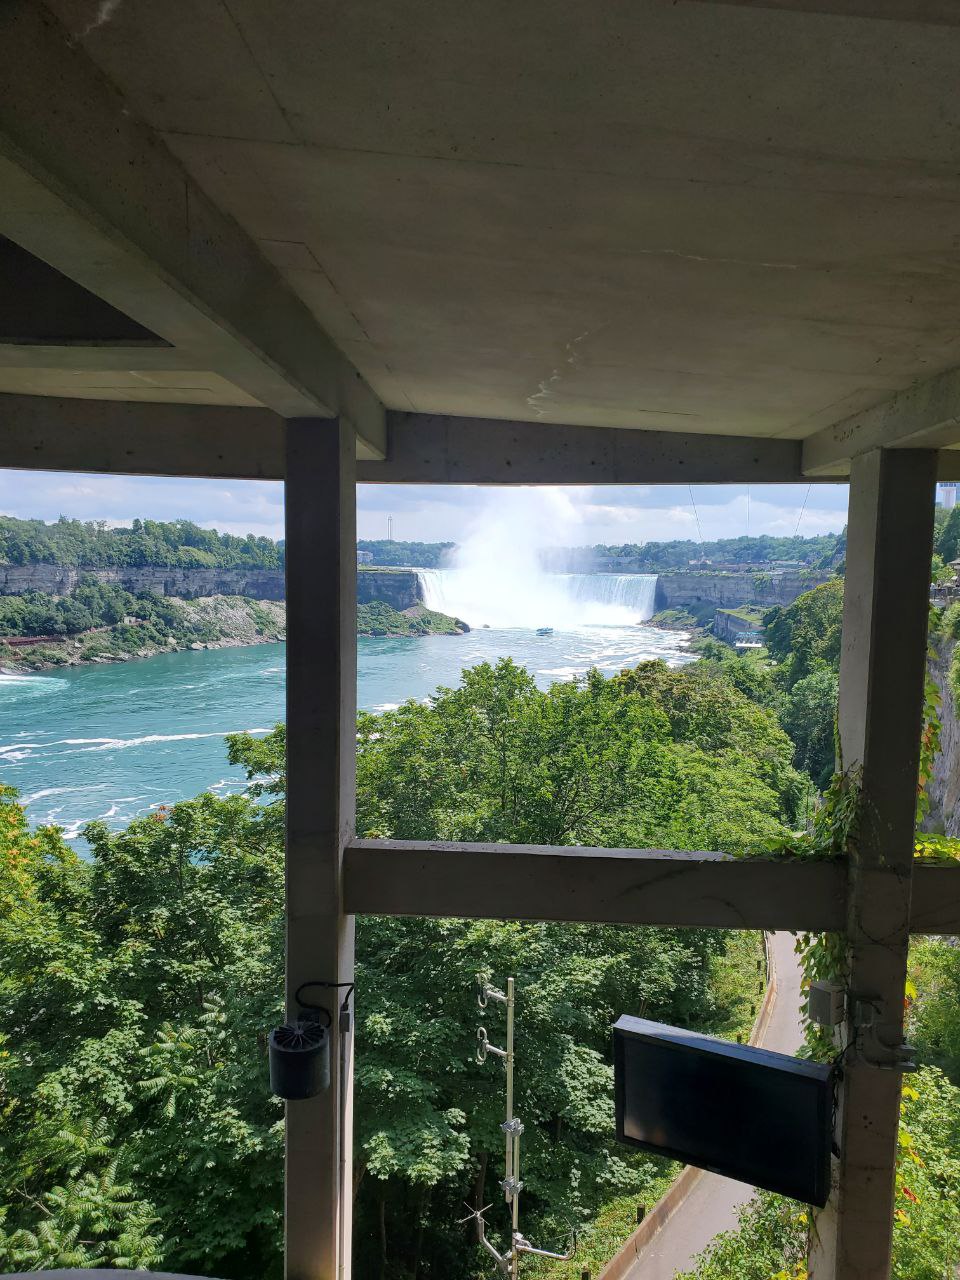
Natural/architectural framing gives a strong sense of perspective and makes the scene feel more immersive.
Proof of Visit: Selfie + Landscape Context
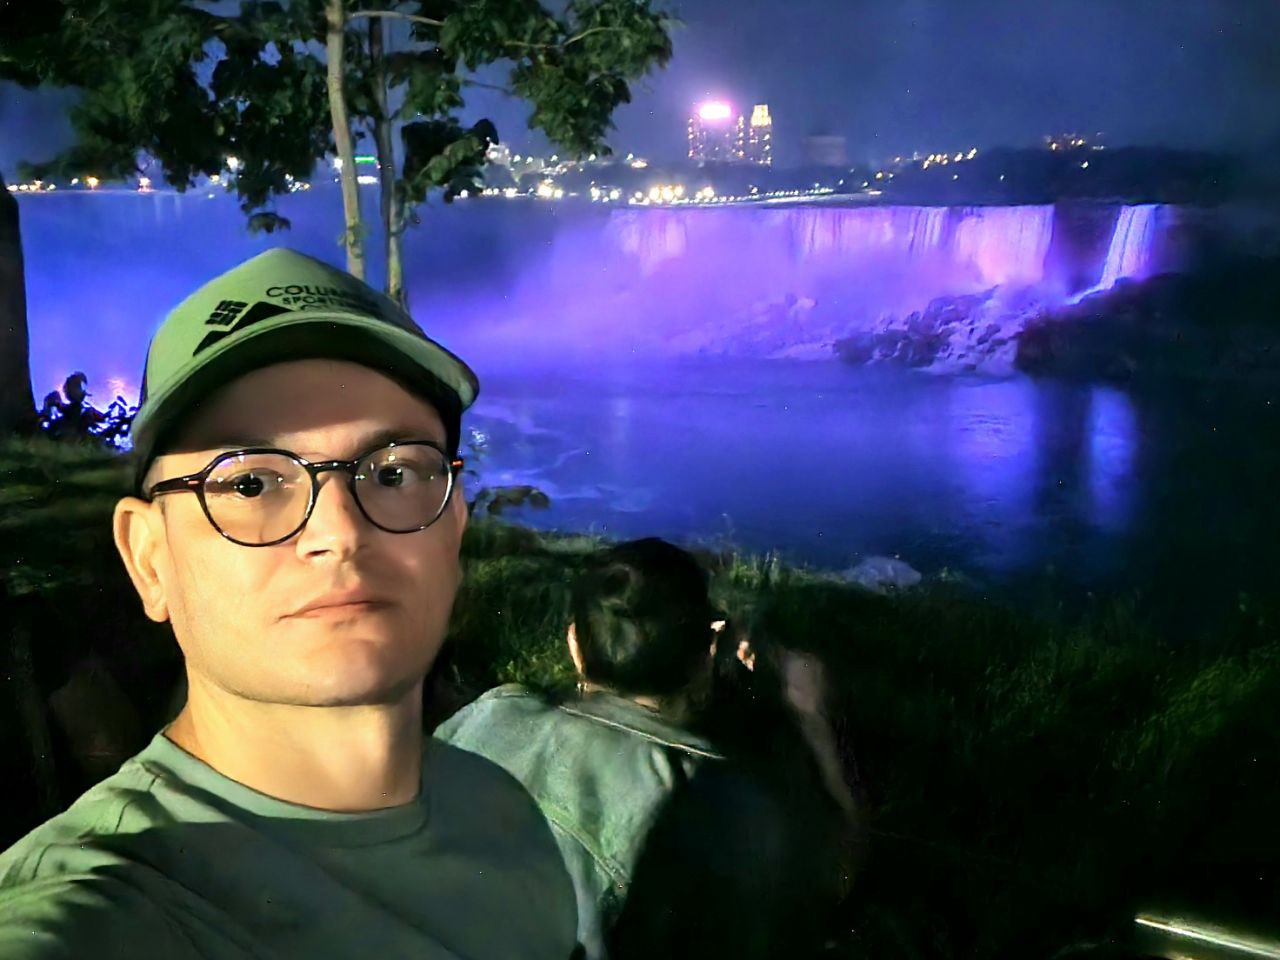
To respect the rules of participation, I’m including a selfie as proof of being on-site, but I also tried to make the selfie meaningful by keeping the falls visible behind me, because even a proof photo can still be part of storytelling if it shows the real background atmosphere and location context instead of being only a face shot.
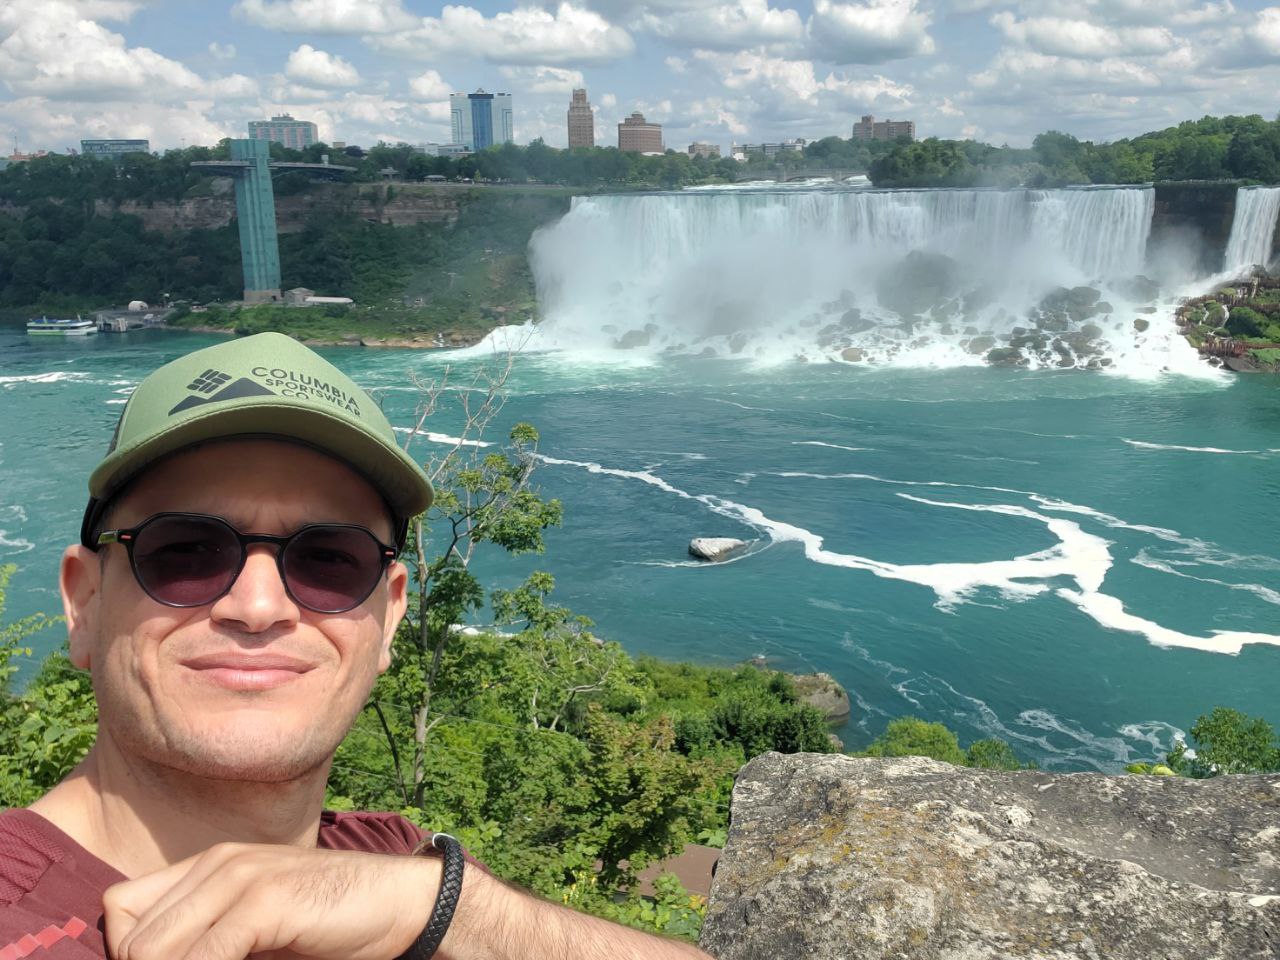
Selfie proof: the falls and the river are visible, so the visit is clearly documented while still keeping the location as the main context.
Bonus Story Element: Human Presence for Scale and Emotion
Sometimes, the most powerful way to show how massive a waterfall is, is not to zoom closer, but to include a human moment that instantly communicates scale and feeling, which is why I also captured a scene where my child is looking through the viewing binoculars toward the illuminated falls, because it tells a quiet story of wonder and curiosity, and at the same time it makes the falls feel even larger and more impressive.
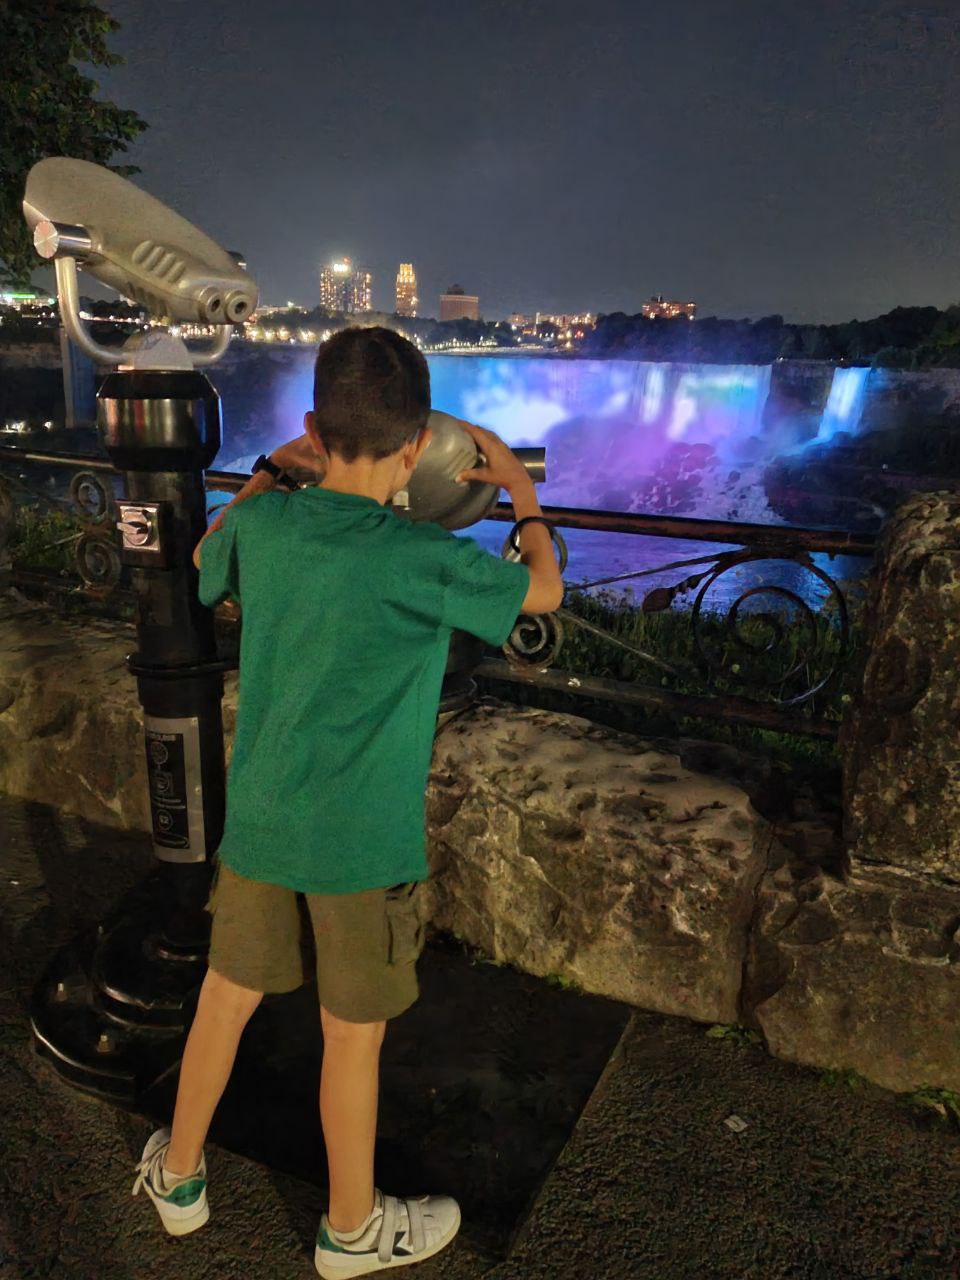
The human subject adds scale and story, making the location feel more alive and emotionally relatable.
How to Get There + Environmental Conditions
Niagara Falls is very easy to access from the main tourist area, and the viewpoints around Table Rock / Niagara Parkway can be reached on foot, by public transport, or by car (with paid parking depending on the zone), and during my visit the conditions were excellent for photography because the sky had strong clouds that added drama, the daylight gave enough brightness for sharper freeze-motion images, and the night illumination created a completely different mood where slower exposure and reflections made the scene feel calm and cinematic, although you should always expect mist near the falls, which means wiping your lens frequently is not optional—it’s part of the process.
Location Information (Table)
| Field | Details |
|---|---|
| Place | Niagara Falls Viewpoints (Table Rock Area) |
| Address | 6650 Niagara River Pkwy, Niagara Falls, ON L2E 6T2, Canada |
| Google Coordinates | 43.079154, -79.078442 |
| Steem Atlas Pin Code | [//]:# (!steematlas 43.079154 lat -79.078442 long d3scr) |
| Camera Used | Samsung Galaxy Note10+ (Pro/Auto/Night style shooting) |
My YouTube Video
Closing Thoughts
This Niagara Falls visit was the perfect real-world practice for Week 3, because it forced me to stop thinking of waterfalls as “one obvious photo” and start thinking in terms of photographic decisions—especially shutter speed—since shutter speed is not only a technical setting but a creative choice that decides whether water looks powerful and sharp or soft and dreamy, and once you combine that with a clear main subject, intentional flow-based composition, and small storytelling details like boats, viewpoints, or human presence, the result becomes a visual narrative rather than a simple snapshot, which is exactly what this challenge is teaching us week after week.
I invite @chant, @jahangeerkhanday, and @lunasilver to participate and share your entry, because rivers and waterfalls are everywhere, and once you learn to control shutter speed, you can turn even an ordinary stream into an image that feels artistic, dynamic, and alive.
Best Regards,
@kouba01

Oh my God, these photographs are truly breathtaking. I've heard so much about Niagara Falls, but I've never had the chance to see it from different angles until now. Thanks to the incredible photos you've shared, I can now admire this natural wonder. The night shots are especially captivating. Credit goes to you for your outstanding work.
@blessedlife 💓💖

This is the third week I've had the privilege of enjoying the landscapes you've photographed. I think you've got this challenge covered.
In your video I could see and imagine
Thank you for posting this on Steem Atlas.
https://steematlas.com/@kouba01/slc-s29-w3-or-how-to-photograph-rivers-streams-waterfalls-by-kouba01
To help improve your posts on Steem Atlas, and increase your chances of winning in the Atlas Challenge, check out these 21 Tips.
Thank you for setting a beneficiary to @steem-atlas, it will help the project grow.