Adventures in 3D Printing, the Dog Gate Bracket.
After a week of waiting for my new extruder nozzle to come in, I was finally able to get to get started up on 3D printing again. My first project of the year is a rather simple one, creating a bracket to hold my dog gate in place. Why you ask, because whoever designed this house did a terrible job with the floor plan and getting my dog gate to hold between the wall that separates the kitchen is a big pain the ass.
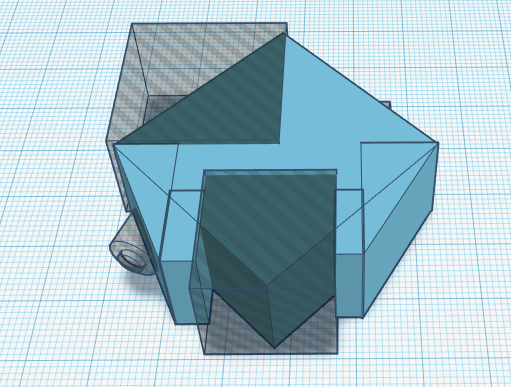
So I am still somewhat of a novice when it comes to doing this, I have a basic printer from Monoprice and I use Tinkercad and Cura for designing and converting my .stl to .gcode. Anyways this post is to illustrate my process.

Tinkercad is a pretty simple web based program to do you designing in.

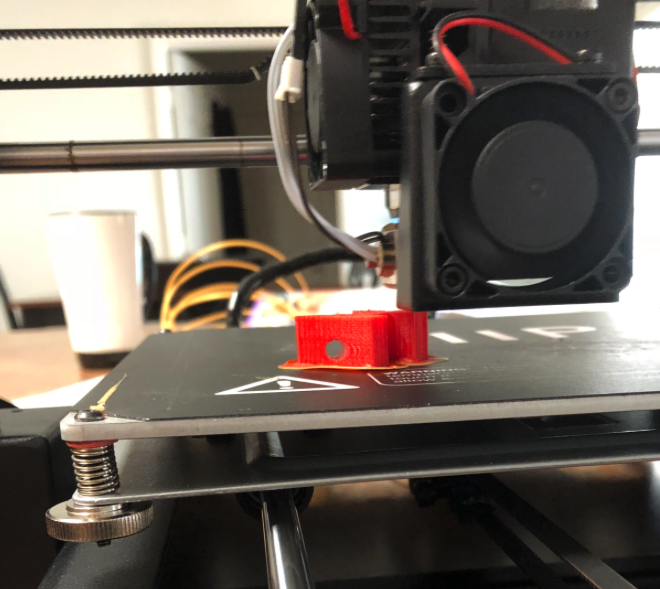
Cura converts the .stl file type from Tinkercad to the .gcode you need to actually print. It also gives you some options for infill, ie honey comb, solid, hollow. For this print, I did 50% infill, so think honey combs.
Anyways this particular piece took a few attempts before I got it right. I chalk this up to learning and practice.

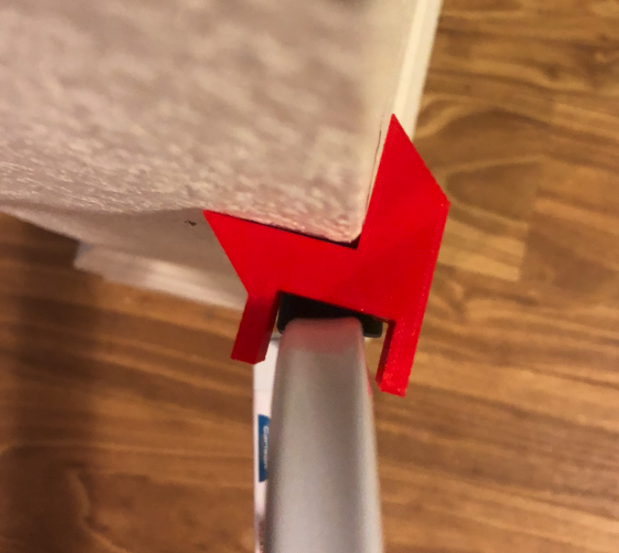
So this is the end result. Of the bracket and how it works.


And finally, what this is supposed to do...make putting the dog gate place easier. I ended up printing 4 of these, 2 for each side. The bar that runs across the center of the gate, which is used for tightening, rests on the middle bracket. The ones on the bottom give it some additionally stability. Hopefully, this is the last time I will have to do this for this particular part of my house. Next is stair way.

Dont forget to upvote and comment, I will upvote thoughtful and meaningful comments. Til Next Time!
good thinking, designing that little piece :)
I'm Peter, from the @steemmakers community. we aim to support makers of all ilks here on Steemit, who share their knowledge and show us how they made their projects.
Your post was submitted by one of our curators, and it looks like it fits the bill, you should be getting a visit from the @steemmakers account soon :)
If you make any other great Maker posts, just drop us a link in our Review-channel over on Discord. you can also check out our website for the latest featured posts, and even use SteemAuto to auto-vote posts endorsed by @steemmakers automatically.
In any case, I hope to see some awesome posts from you in the future :)
Steem on !
PS: your dogs look so cute in sweaters <3
Great to hear, I will definitely check out the discord and website. I plan on posting more of my 3D printing endeavors. Also my dogs appreciate the compliment!
Congratulations! This post has been upvoted by SteemMakers. We are a community based project that aims to support makers and DIYers on the blockchain in every way possible. Find out more about us on our website: www.steemmakers.com.
If you like our work, please consider upvoting this comment to support the growth of our community. Thank you.
Thanks, and will do.
Good designing. I haven't tried 3D printing but it is on my bucket list.
I really enjoy the creative flexibility it has provided. Also the prices on the printers have come down since their entry into the mainstream. The one I have cost like 300, I think, and it gets the job done pretty well. Theres a lot of mods you can do to make the print quality better. I havent gotten to that point yet.
I will check out 3D printers. Maybe I could afford one. I already downloaded the program to make a 3D file.
Personally I just use Tinkercad, it free, easy, and web based. Eventually I will start using a better software for designing things. But for now it works. And I use Cura for file for the printer.
The best way to learn 3d modeling is what you are doing, making your own stuff! Awesome work, keep it going!
Thats really it, learn by doing. Im eager to see what I can conjure up in the future for practical prints.