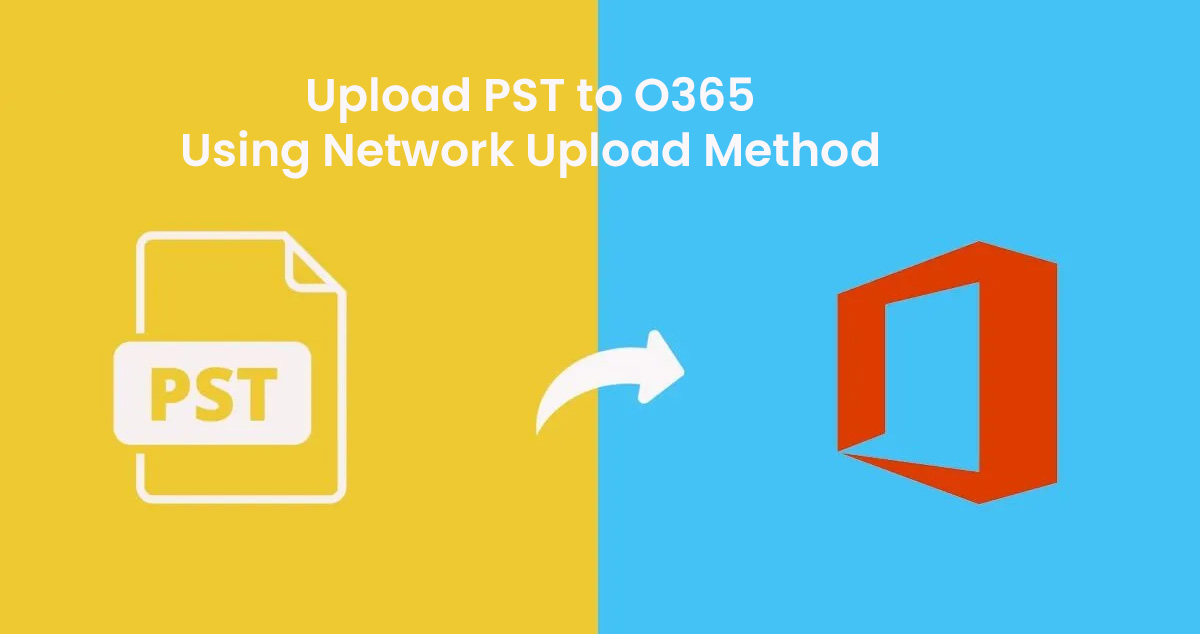
Guide to Upload PST to O365 Using the Network Upload Method
Migrating email data to the cloud is a key priority for organisations modernising their IT environments. Moving legacy PST files to Microsoft 365 is an essential step, whether consolidating storage, enhancing security, or supporting digital transformation. Many IT teams choose the network upload method to upload PST files to O365 due to its flexibility, scalability, and cost-effectiveness.
This article explains why the network upload method is a practical choice, how it works, and best practices for a smooth migration.
Why Move PST Files to Office 365?
Before getting into the process, it would be helpful to understand why organisations are increasingly migrating PST data to Microsoft 365 nowadays.
1. Improved Security
PST files stored on desktops, laptops, or shared drives pose security risks. They can be lost, stolen, or corrupted. Once uploaded to Office 365, email data benefits from built-in enterprise security features, encryption, and continuous monitoring.
2. Centralised Email Management
Moving PSTs to the cloud makes your organisation’s email data easier to manage, search, and back up. Admins gain more visibility and control through a unified environment.
3. Better Compliance
Local PST files often sit outside compliance frameworks. Migrating them into Office 365 ensures everything is searchable via eDiscovery and retained according to your organisation’s compliance policies.
4. Enhanced User Experience
Employees no longer have to manage multiple PST files or worry about running out of space. Everything becomes accessible through their mailbox in the cloud.
What Is the Network Upload Method?
The network upload approach is a Microsoft-provided method that allows organizations to upload PST to O365 using the network upload method by transferring PST files to Microsoft Azure Storage. Once uploaded, IT admins map and import the files into user mailboxes through the Microsoft Purview Compliance Portal.
This method is ideal for organisations looking for a scalable, economical migration option that doesn’t require shipping physical drives or relying on end-users.
How to Upload PST to O365 Using the Network Upload Method
Here is a simplified breakdown of how the network upload method works:
Follow all the step-by-step instructions from the complete guide to Import PST Files to Microsoft 365 via the Network Upload Method.
1: Login Office 365 Admin Account:
- Run https://login.microsoftonline.com/ on your browser.
- Provide the Admin email ID and click on the Next button.
- Now fill in the password and click the Sign in button.
2: Assign the Mailbox Import/Export and Mail Recipients Role.
After successfully logging in to the admin account, we have to assign the mailbox import/export role and Mail Recipients to the admin or to those users who will perform the migration process. Then, for further processing, do as follows:
- In Microsoft 365, click on "Admin".
- In the Admin panel, click on "Show All" and select "Exchange" to open Exchange Admin Centre.
- Now, click on "Role" and select "Admin Role".
- Then select organisation management and click on "Permission".
- Here, find & select "Mailbox Import Export" and "Mail Recipients", and click on Save.
- Now, click on "Assign" and select the "Add" option.
- Search and select "Admin ID" or select "the users whom you want to provide the Mailbox Import Export" and "Mail Recipients role", and click on the "Add" button.
3: Create an Import Job to Import PST to Office 365:
Before starting the migration process, we have to proceed with the import job. For this
- Visit the Microsoft Exchange Admin Centre, click on "Show All".
- Now select "Microsoft Preview" to open the Microsoft Preview panel.
- Here, select "Data Lifecycle Management >> Select Import and click on New Import Job."
- Now, after that, provide a unique Import Job Name and click the "Next" button.
- Now select "Upload your data" and click the Next button.
- Now, click on "Show network Upload SAS URL". Now, copy the SAS URL and click on Download Azure AzCopy.
- Select and download the AzCopy portable binary, which is suitable for your system.
- Now unzip the file and click on the "downloaded unzip folder". Now, copy and save the path of this file location.
- Now, open the command prompt and run the copied path as the screenshot.
- Then, visit the location where your PST file is located. Right-click on that PST file which you want to export and click on Properties and copy the PST file path, and update it as the screenshot.
- Now copy and update the command below. Put the copied Source Location of the PST file and the SAS URL.
- Now copy and run the command on the command prompt. Here, wait till the file loads.
- Now get back to Exchange Preview. Enable check box (I’m done uploading files, and I have access to the mapping file). Now click on the Next button.
- Now, here we have to import the .CSV file. Click on the given link to download the sample CSV file.
- Now open the .CSV file and update it like a screenshot.
- Now, click on the "Upload" file and add the updated CSV file. Validate it and press the Next button.
- Now, verify all details and click the "Next" button.
- Now, the file will be uploaded to the cloud. After uploading, click on "Done".
- The Import Job has been created. Here, wait till the import job process is complete. Clicking on the refresh button, you can check the current progress status.
- After the import process is completed, select the created job and click on "Import to Office 365".
- If you want to apply any filter, select "I want to filter it before importing" or select "No, I want to import everything" and click the "Next" button.
- Now you can see the data size. Here, directly click on "Submit".
- Now, the upload to the cloud is successfully done. Here, click the "Done" button.
- Click on the Refresh button. Now, the Import process has started.
- Here, wait till the process is done. By clicking on the refresh button, you can check the current progress status.
azcopy.exe copy "<Source location of PST files>" "<SAS URL>"
https://go.microsoft.com/fwlink/p/?LinkId=544717
Benefits of Using the Network Upload Method
1. Cost-Effective
This method is included with Office 365 subscriptions - no additional cost for tools or services unless extra storage is required.
2. Scalable for Large Migrations
Whether youre importing tens or thousands of PST files, the network upload method supports bulk uploads without needing manual intervention from end users.
3. Secure and Controlled
Data moves through encrypted channels using Microsoft-provided tools, ensuring compliance and administrative oversight from start to finish.
4. Minimises User Disruption
Users continue working as usual while data is imported in the background.
Challenges to Be Aware Of
- Large PST files may require pre-migration cleanup.
- Corrupted PSTs may cause errors during upload.
- The process can be technical for inexperienced admins.
- Bandwidth limitations may slow transfer speeds.
However, with proper planning and preparation and also by using third-party email migration and conversion tools, these challenges are easy to manage.
Best Practices for a Smooth Migration
To make the most of the network upload method, consider the following tips:
- Locate all PST files beforehand using automated discovery tools if available.
- Scan and repair PSTs before uploading.
- Organise files logically to simplify mapping.
- Test with a small pilot group before scaling.
- Communicate timelines and expectations with users.
Conclusion:
The modernisation of email infrastructure has never been more important. By choosing to upload PST to O365 using the network upload method, organisations can efficiently migrate legacy data to the cloud while improving security, compliance, and manageability. With the right preparation and a clear migration strategy, this method offers a reliable, cost-effective path to a cleaner and more efficient Office 365 environment.
For a Simple,Faster and Seamless Solution for uploading PST to O365 using the Network Upload Method, you can also use the MailsDaddy PST to Outlook 365 converter tool available on their Official site.