Setup A Digital Ocean Server - Part 1
This tutorial in intended for people who are looking for alternative to shared hosting or a server that you have control with very low startup cost. You can built a very secure and almost maintenance free server with just $5 a month. The server will be running on Linux and you have full control of it. So you can do what ever you want, webserver, gaming, VPN, Bitcoin nodes, etc etc.
In this tutorial series I will share
1. Setup a server with Ubuntu 16.04 LTS
2. Install a webserver running on Apache, PHP and MySQL
3. Do some OS updates and setup UFW firewall
4. Install LetsEncrypt free SSL certificate for your domain.
First, you need to sign up with Digital Ocean. It will ask for your credit card but they will only charge what you use at the end of the month. Let say you just use for an hour, they will bill you just for a few cents. Click on this link to open a new account
Create A Digital Ocean Account
Once done, login to your dashboard and and start building your new server.
Click on the Create button at the top right corner, and choose Droplet.
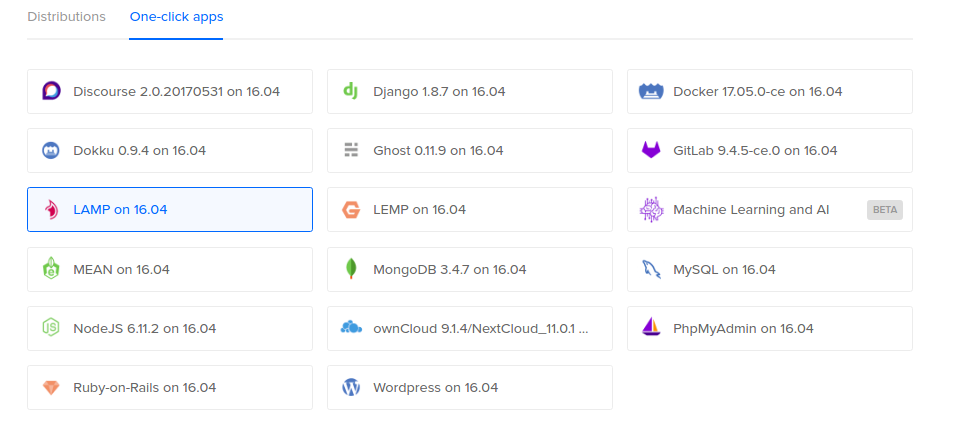
On the next screen you will be ask to choose a Linux OS or One-click Apps.
Click One-click Apps -> Select LAMP on 16.04
LAMP stands for Linux + Apache Webserver + MySQL Database + PHP. So this install will include all the necessary app to start a webserver.
Next, choose the size of the server. We will go with the Standard setup. Choose the $5/mo setup. And don't worry about the 512 MB RAM. It can handle lots of traffic. Try it out first. I've been using the for few year and never had a problem. You can still upgrade later with just a few clicks.
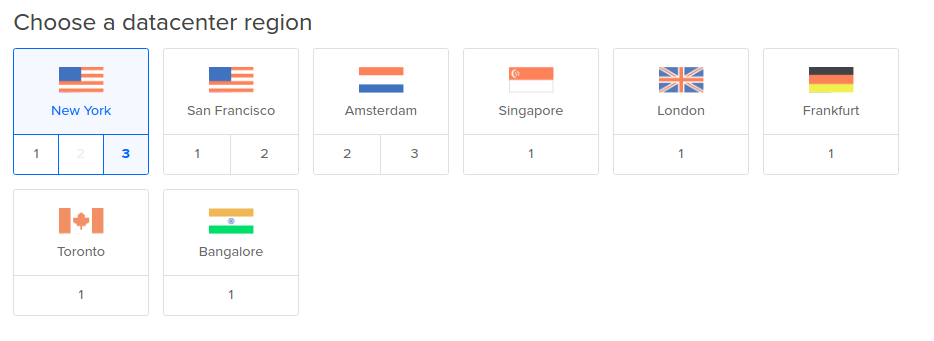
Next, ignore the Block Storage. Choose your datacenter location. I recommend you choose a server nearest to your targeted audience.
Next choose your options. I recommend you select the Monitoring service. Its FREE. You can monitor the server CPU, memory and bandwidth from the dashboard
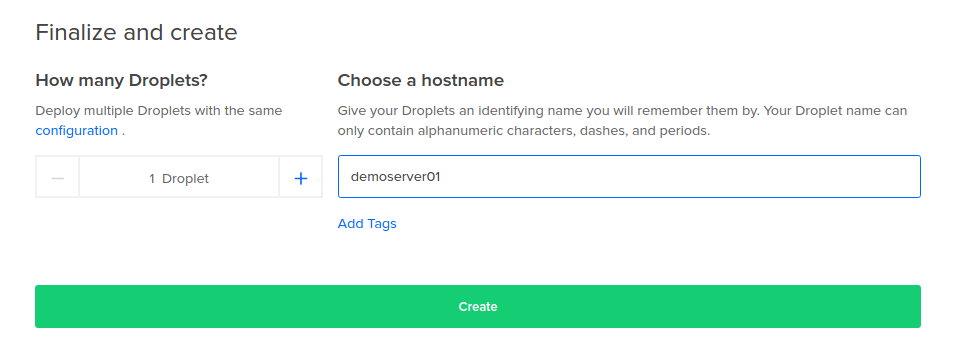
Skip the SSH keys. And finaly give your server a name. And click Create
Then the setup will run for a few minutes, and once its done you will receive an email containing the username and password to the server.
Next let try to login to our brand new server. If you are using Windows, please install Putty. We need a SSH client to securely connect to the server.
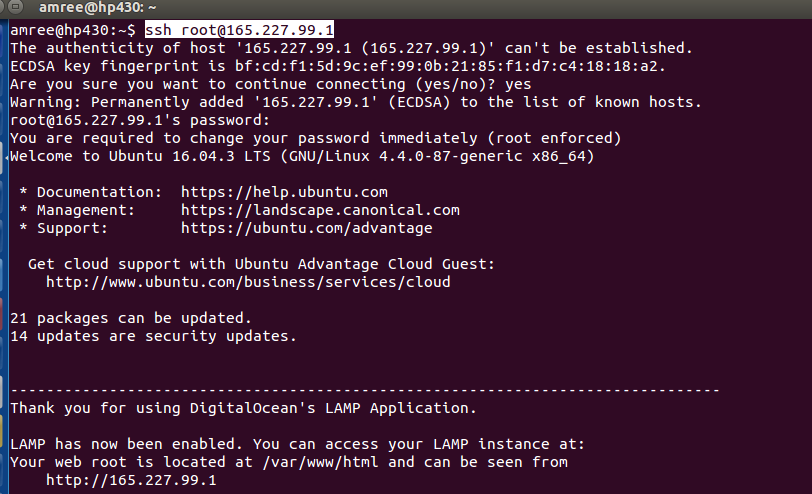
Launch the terminal and keyin the credential provided in the email. If everything its working, you will be prompt to change your root password.
You can also test your webserver by going to the ip address. You will get the screen below if your webserver installation was successfull
I'll see in part 2 where we will do some OS updates. If you have any questions do let me know, and follow me to get updates on the next post.


You can take me, but you cannot take my bunghole.... For I have no bunghole....
Congratulations @akhairul! You have completed some achievement on Steemit and have been rewarded with new badge(s) :
Click on any badge to view your own Board of Honor on SteemitBoard.
For more information about SteemitBoard, click here
If you no longer want to receive notifications, reply to this comment with the word
STOPCongratulations @akhairul! You have completed some achievement on Steemit and have been rewarded with new badge(s) :
Click on any badge to view your own Board of Honor on SteemitBoard.
For more information about SteemitBoard, click here
If you no longer want to receive notifications, reply to this comment with the word
STOPWell written post
10q.
@akhairul well done w your 1st post. Upvoted and followed you. @davidke20 may find this useful?
Thank you. Will now include #teammalaysia in my post.
Woah!! Okay lets say i have no idea what just happened in your setup tutorial. What can someone do with with a server that you've just set up?
If your refering to part 1, just destroy the server and do it all over again. Coz we have not make any customizations yet.
So far i have not experince any problem during this initial stage
I mean... What can i do with a server? hahaha, Im a total noob when comes to making servers.
Lots of things. Its more toward development side and depend what you want to do. If you are a developer like building mobile apps or system like me you need a server. Or more less IT savvy just for casual blogging like wordpress, server like Digital Ocean dan give you a more secure enviroment compare to shared hosting.
For consumers, might not on the technical side, but you can utilize this kind of cloud hosting to reduce cost and increase efficiency and reliability.
Owh meaning I can run a website and use this as a hosting solution? For $5 a month? That's a use for it!
Exactly. And you many many sites on the server.
woah! in this case i am interested to learn more!
Nicely written ...
10q