How to Make Your Own Solar Panels at Home
Solar energy is one of the most abundant and clean sources of power in the world. It can help you reduce your electricity bills, lower your carbon footprint, and become more self-reliant. However, buying and installing solar panels can be expensive and complicated. That’s why some people choose to make their own solar panels at home, using simple materials and tools. In this article, I will show you how to do it in a few easy steps.
What You Need
To make your own solar panels, you will need the following items:
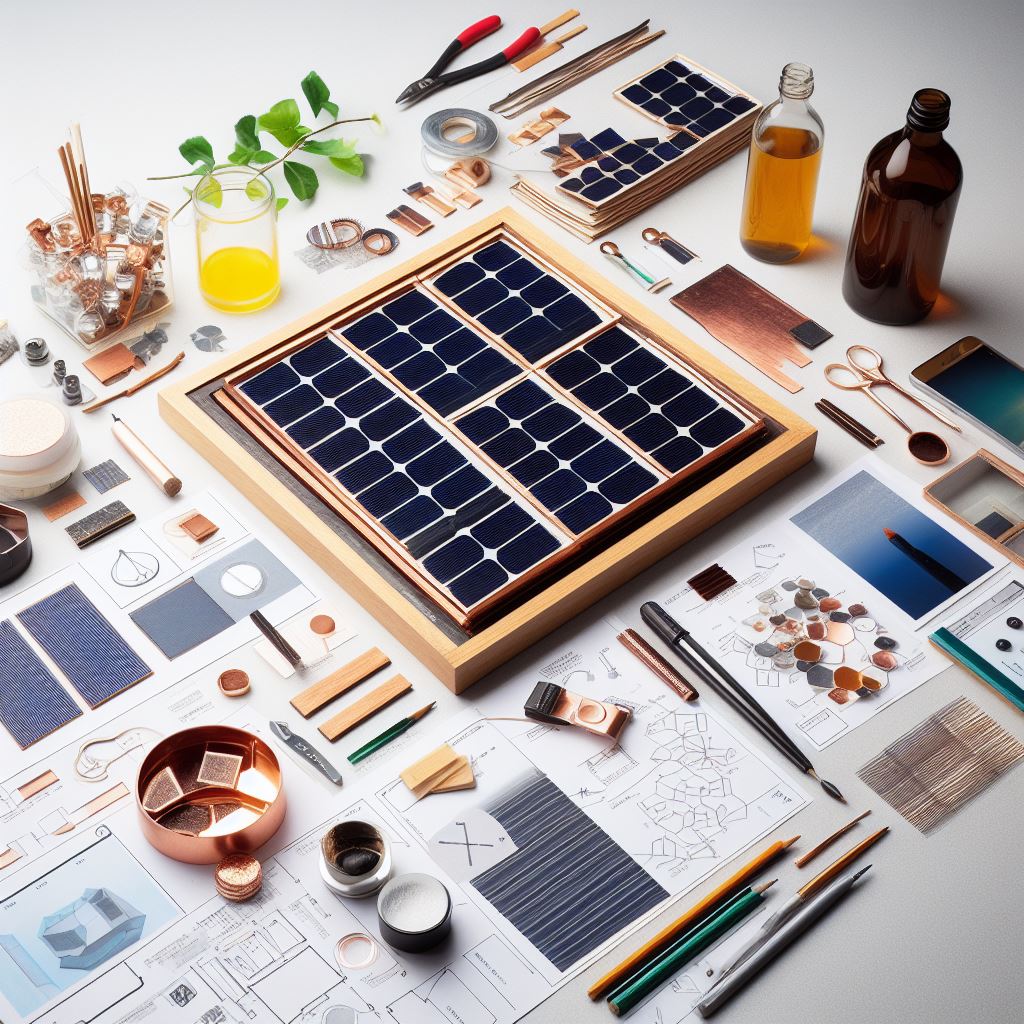
Solar cells: These are the main components that convert sunlight into electricity. You can buy them online or from a local supplier. You will need about 36 cells for a 100-watt panel.
Tabbing wire: This is a thin and flat wire that connects the solar cells together. You will need about 80 feet of tabbing wire for a 100-watt panel.
Bus wire: This is a thicker and round wire that connects the rows of solar cells together. You will need about 10 feet of bus wire for a 100-watt panel.
Soldering iron: This is a tool that melts the metal wires and joins them together. You will need a soldering iron with a fine tip and a temperature control.
Solder: This is a metal alloy that flows when heated and solidifies when cooled. You will need a solder with a low melting point and a flux core.
Flux pen: This is a pen that contains a liquid that helps the solder flow and stick to the metal surfaces. You will need a flux pen with a rosin-based flux.
Multimeter: This is a device that measures the voltage and current of the solar cells. You will need a multimeter with a digital display and a probe.
Plywood: This is a wooden board that serves as the base of the solar panel. You will need a plywood sheet that is at least 2 feet by 4 feet and 1/4 inch thick.
Plexiglass: This is a transparent plastic sheet that covers the solar cells and protects them from the weather. You will need a plexiglass sheet that is at least 2 feet by 4 feet and 1/8 inch thick.
Silicone: This is a rubber-like material that seals the gaps and edges of the solar panel. You will need a silicone tube that is compatible with wood and plastic.
Drill: This is a tool that makes holes in the plywood and plexiglass. You will need a drill with a bit that matches the size of the screws and bolts.
Screws and bolts: These are metal fasteners that secure the plywood and plexiglass together. You will need about 16 screws and bolts that are 1/4 inch in diameter and 1 inch in length.
Junction box: This is a plastic box that houses the wires and connectors of the solar panel. You will need a junction box that is waterproof and has enough space for the wires.
Diode: This is a device that allows the current to flow in one direction and prevents it from flowing back. You will need a diode that can handle the voltage and current of the solar panel.
Wire nuts: These are plastic caps that twist onto the ends of the wires and hold them together. You will need about 4 wire nuts that match the size of the wires.
MC4 connectors: These are special connectors that attach the solar panel to the battery or the grid. You will need 2 pairs of MC4 connectors that are compatible with the wires.
What You Do
To make your own solar panels, you will need to follow these steps:
Solder the solar cells together: Arrange the solar cells in a 4 by 9 grid, with the positive side facing up and the negative side facing down. Use the tabbing wire to connect the positive side of one cell to the negative side of the next cell, forming a string of 9 cells. Repeat this for the other 3 rows. Then, use the bus wire to connect the end of one string to the beginning of the next string, forming a series circuit of 36 cells. Use the soldering iron, the solder, and the flux pen to make the connections. Check the voltage and current of the solar cells with the multimeter. You should get about 18 volts and 5.5 amps.
Attach the solar cells to the plywood: Cut the plywood to the size of the solar cells, leaving some extra space for the wires and the junction box. Drill 4 holes in the corners of the plywood, matching the size of the screws and bolts. Place the solar cells on the plywood, aligning them with the holes. Use the silicone to glue the solar cells to the plywood, making sure they are flat and secure. Leave some space between the cells for the expansion and contraction. Let the silicone dry for a few hours.
Attach the plexiglass to the plywood: Cut the plexiglass to the size of the plywood, leaving some extra space for the screws and bolts. Drill 4 holes in the corners of the plexiglass, matching the size and position of the holes in the plywood. Place the plexiglass on top of the solar cells, aligning it with the holes. Use the screws and bolts to fasten the plexiglass to the plywood, making sure they are tight and even. Use the silicone to seal the edges of the plexiglass, preventing any water or dust from entering. Let the silicone dry for a few hours.
Attach the junction box to the plywood: Cut a hole in the plywood, near the end of the bus wire, matching the size of the junction box. Place the junction box on the hole, making sure it is flush with the plywood. Use the screws and bolts to fasten the junction box to the plywood, making sure they are tight and secure. Use the silicone to seal the edges of the junction box, preventing any water or dust from entering. Let the silicone dry for a few hours.
Connect the wires and the diode to the junction box: Cut two pieces of wire, each about 2 feet long, and strip the ends of the insulation. Attach one end of each wire to the bus wire, using the soldering iron, the solder, and the flux pen. Make sure the polarity is correct: the positive wire...