<html> Web Rydr's WAY Easy Web Image Tutorial

Last time, I covered some easy html thingies for text, lists and headings, etc. This time around, I'm playin' with IMAGES. C'mon, it'll be fun!
You got images? Lemme tell ya'...they're TOO FRICKIN' BIG! When you take a picture, the file size might well be 3 or 4 MB, maybe more if you got a GOOD camera. And you post the entire image. Woe is you.
C'mon...folks ain't lookin' for nine miles of highway behind you sittin' on your Harley. YOU and the HARLEY are the focal point. You can fix that! The "cropping tool" is your friend.
OK, I'll apologize now. Some of this is gonna get kinda "talkie." It has to. There's a fair bit of detail work in doin' the things you wanna do here on Steemit. That's assumin' you wanna do 'em well!
Takin' a 4 to 6 MB image that's 3600 pixels wide and 2400 tall down to Steemit's page width of 588 pixels gives you two choices.
One...just ram the whole thing into your upload and hope for the best. (Trust me...that AIN'T your best.)
Two...spend a few minutes cleanin' the image up, findin' the right focal point, cropping out what you don't want, maybe even brighten it or play with the contrast some.
Point is, there's some pretty kewl things you can do, even if you're a rookie here, AND new to image editing software.
Some terms:
- Cropping tool: Part of the "toolbox" you'll have in your app. You can select an area, change the focus, eliminate JUNK. Comes in a couple flavors. Stick with the rectangle. It's the easiest to control.
- Resizing: Essential part of your toolbox. You can make a BIG image smaller, keep the quality, keep the "aspect ratio."
- Aspect Ratio: When you resize, you want to keep everything in proportion, therefore, you KEEP the aspect ratio. Usually a little check box in the resizing dialog box. Always...ALWAYS...keep your original aspect ratio.
An Aside
I use an app called PhotoPad. About 30 bucks. Ain't the biggest or baddest, but for the average user, it's more than sufficient. Now, in different applications, tools may go by various names. One might call it "retouch," another might call it "touchup." Same tool.
So, when I use a tool, I'll try to describe it generically. Might go by another name on your setup.

This is Paco. I birdsat him for about a week long time ago. I stayed at his place. His bird room was almost as big as my house! Beautiful place. I'll use this picture to show what you can do with some simple edits.
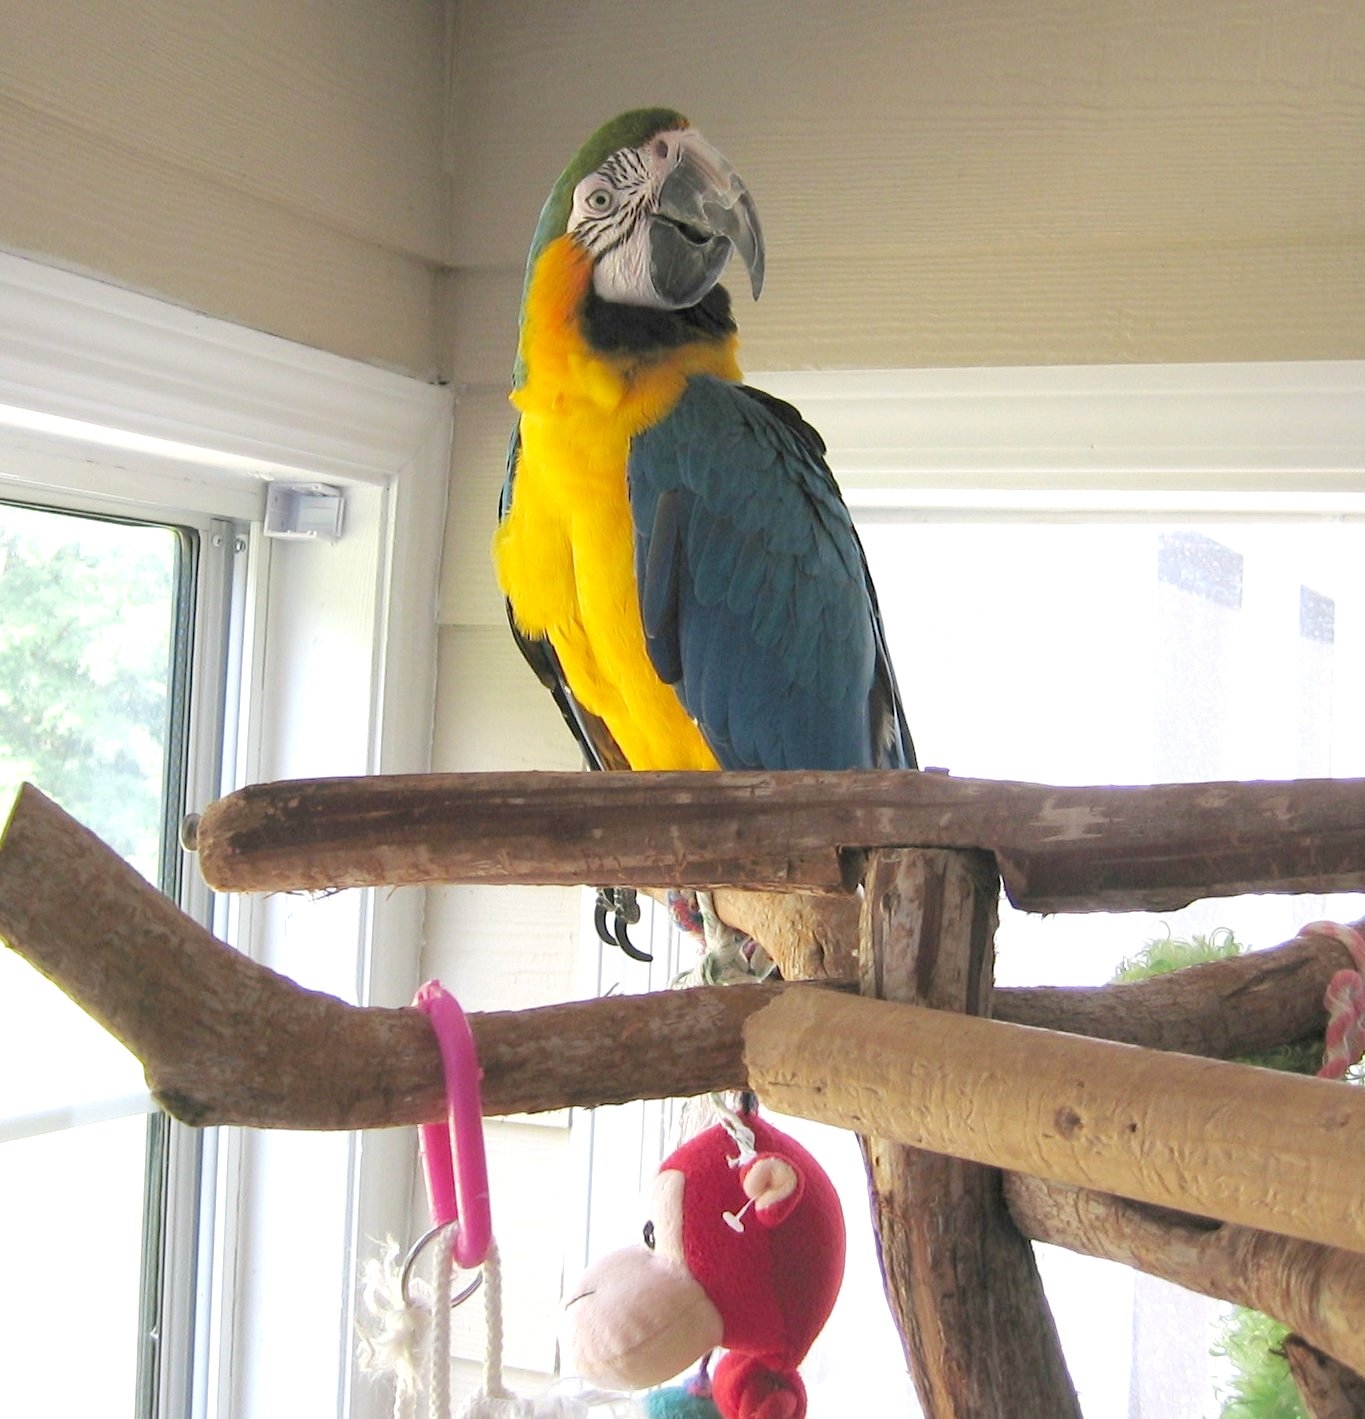
Look at this image. It's about 1300 pixels wide and almost 1500 pixels tall. BIG image. About 1 MB in size, small by the standards I usually work with. What is the FOCAL point? What's the eye drawn to? That's gonna be your "selection area."
You should have a "tools" menu. On that menu, or even on the task bar above your image, you oughta see "crop." Choose that tool.
Either a rectangle will appear on your image, or your pointer might change to a small "plus" sign or some such. If you have the rectangle, it's got "handles" you can select and move. If it's the plus sign, you can put it where you want it, press your left mouse key, drag a rectangle from that point.
Either can be adjusted. Fine tune what you want to have in your final image. Should be a dialog box tellin' you about your cropping efforts. Likely, there's a button there that says something like "OK" or "Apply." Click that, and your image is now ONLY what you had selected inside that rectangle.
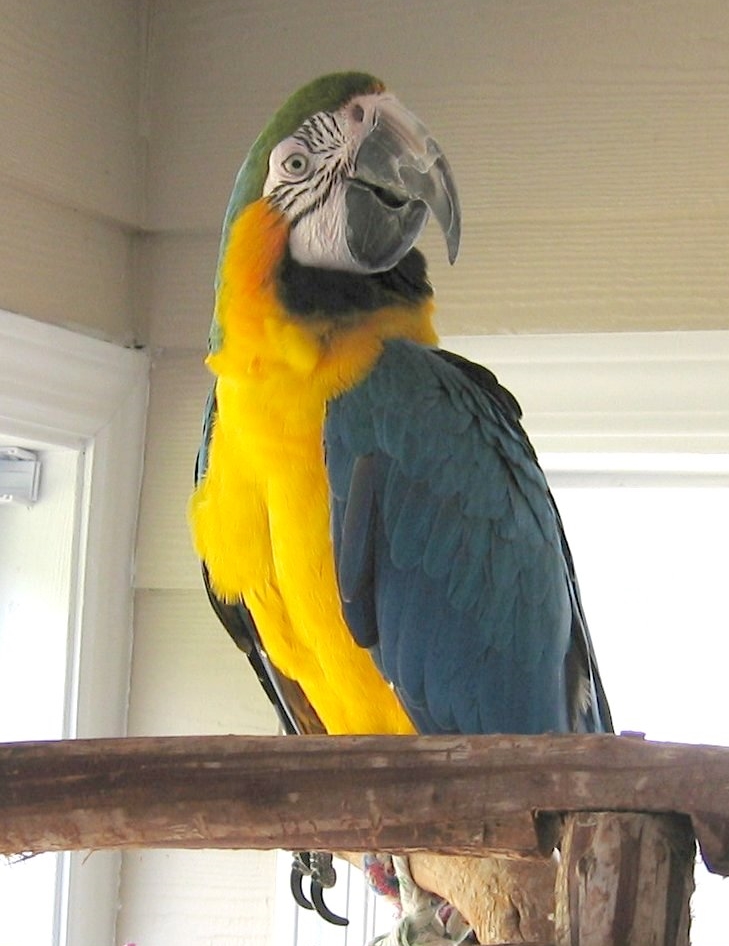
I've trimmed the image to 730 X 950 pixels. He's a handsome fella, ain't he? You can see that now, can't you? The first image is just a big bird sittin' on a huge stand, some danglies in the image, a lot of empty space around Paco.
Now, you can see that gorgeous face, his fine feather condition, even the sparkle in his eye. If you wanted, you could stop right here. Ain't a bad image. Puts what you wanna see front and center. Upload this to Steemit and it would be a decent image.
BUT...there's more you can do that will make it a real eye-grabber.
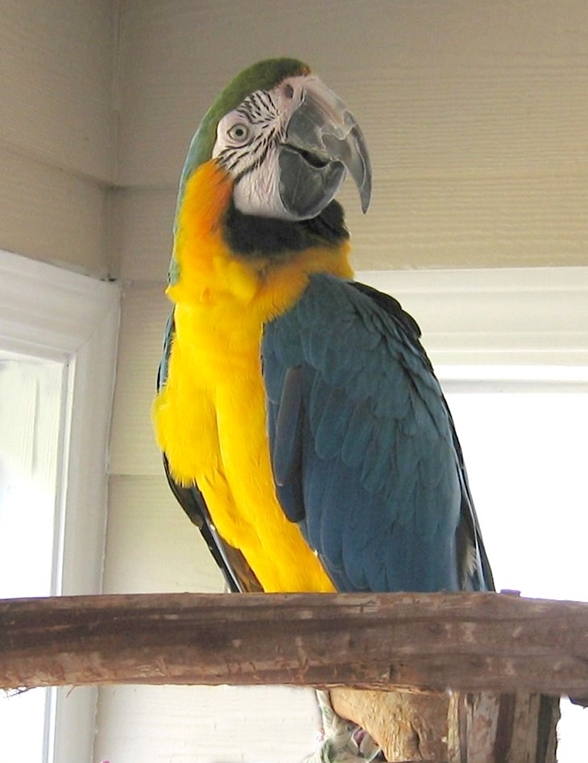
First, we're gonna resize it, down to 588 pixels wide. You use the "resize" tool or option for this. The dialog will ask you for the new size. Enter "588" for width, check the "keep aspect ratio" box and let 'er rip!

Again, you could stop here. The image will fit nicely on Steemit, border to border. We didn't lose any quality, just overal dimensions...and file size. It's now less than half the size of the original. About 350 KB or so.
Let's do a little more. I grabbed my "retouch" tool and made a few changes. This tool also goes by the name "clone brush" in some apps. It allows you to select an area as a "source" and then you can "brush out" stuff you don't want. Takes a steady hand sometimes. I've been known to get down to fiddlin' ONE bit at a time. Nah...I ain't OCD...not a bit!
Do you see the changes? I took the curtain mount from the upper left out. I also removed Paco's dangling foot. Then, I smoothed out the perch so the carpentry didn't show. Ain't a lot, but it cleans up the image nicely.
NOW...you have an image you could post to Steemit that shows exactly what you wanted to show...the BIRD!

Here's where you can go crazy. Here's some examples:
I messed with the "hue," which allows you to really change the color palette. This is a substantial shift toward the red end of the spectrum. Changes his look a bit, don't you think?
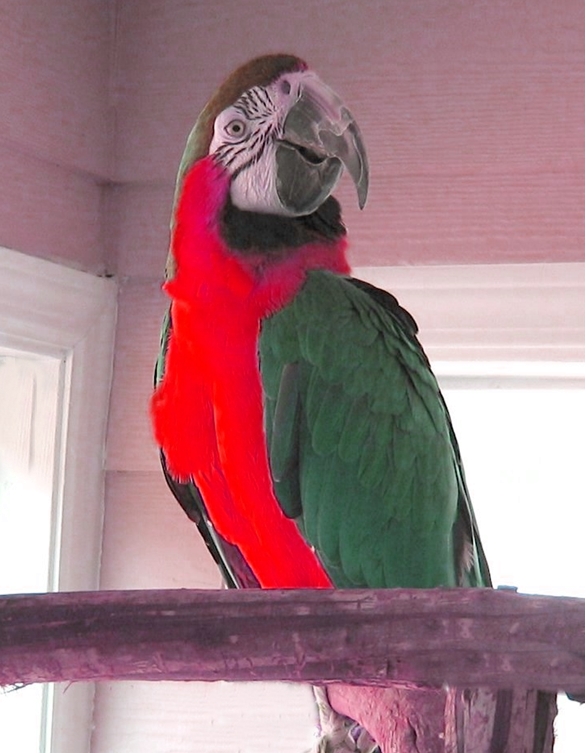
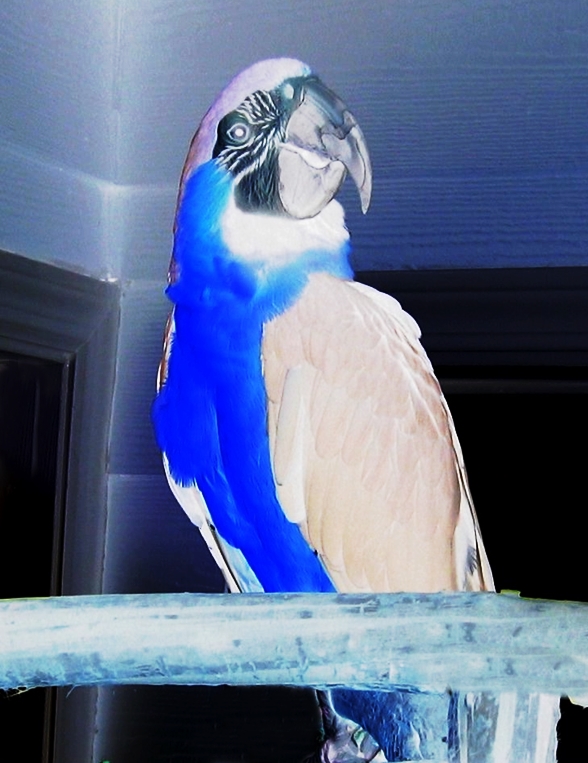
This is how they make those AWFUL pictures on Pinterest where thay take a beautiful Hyacinth macaw, which is the most brilliant cobalt blue you've ever seen, and they change the color to some godawful green, or yellow, or red.
There ARE more subtle things you can do that will improve the image. Lemme show you.

Might not look like I did a lot, but there's some differences. I adjusted the "color curve," the red, green, blue intensities, or "RGB." What did that gain me? Well, overall, the colors are a bit more intense, the yellow is now a bit more "gold." His head stands out a bit more from the background. Yes, they are little things, but you'd be surprised what you can create just by playing with some of the controls you have in your image editing software.

I turned the image into a "negative." Just one little button and look what it did! Looks kinda evil, don't he? I think I'll take that one back. Oh...you can do that, too! If you screw up, there's the "undo" button! I LOVE the undo button cause I'm ALWAYS messin' with my images. Some stuff I like...most I don't. This one is a "nope."
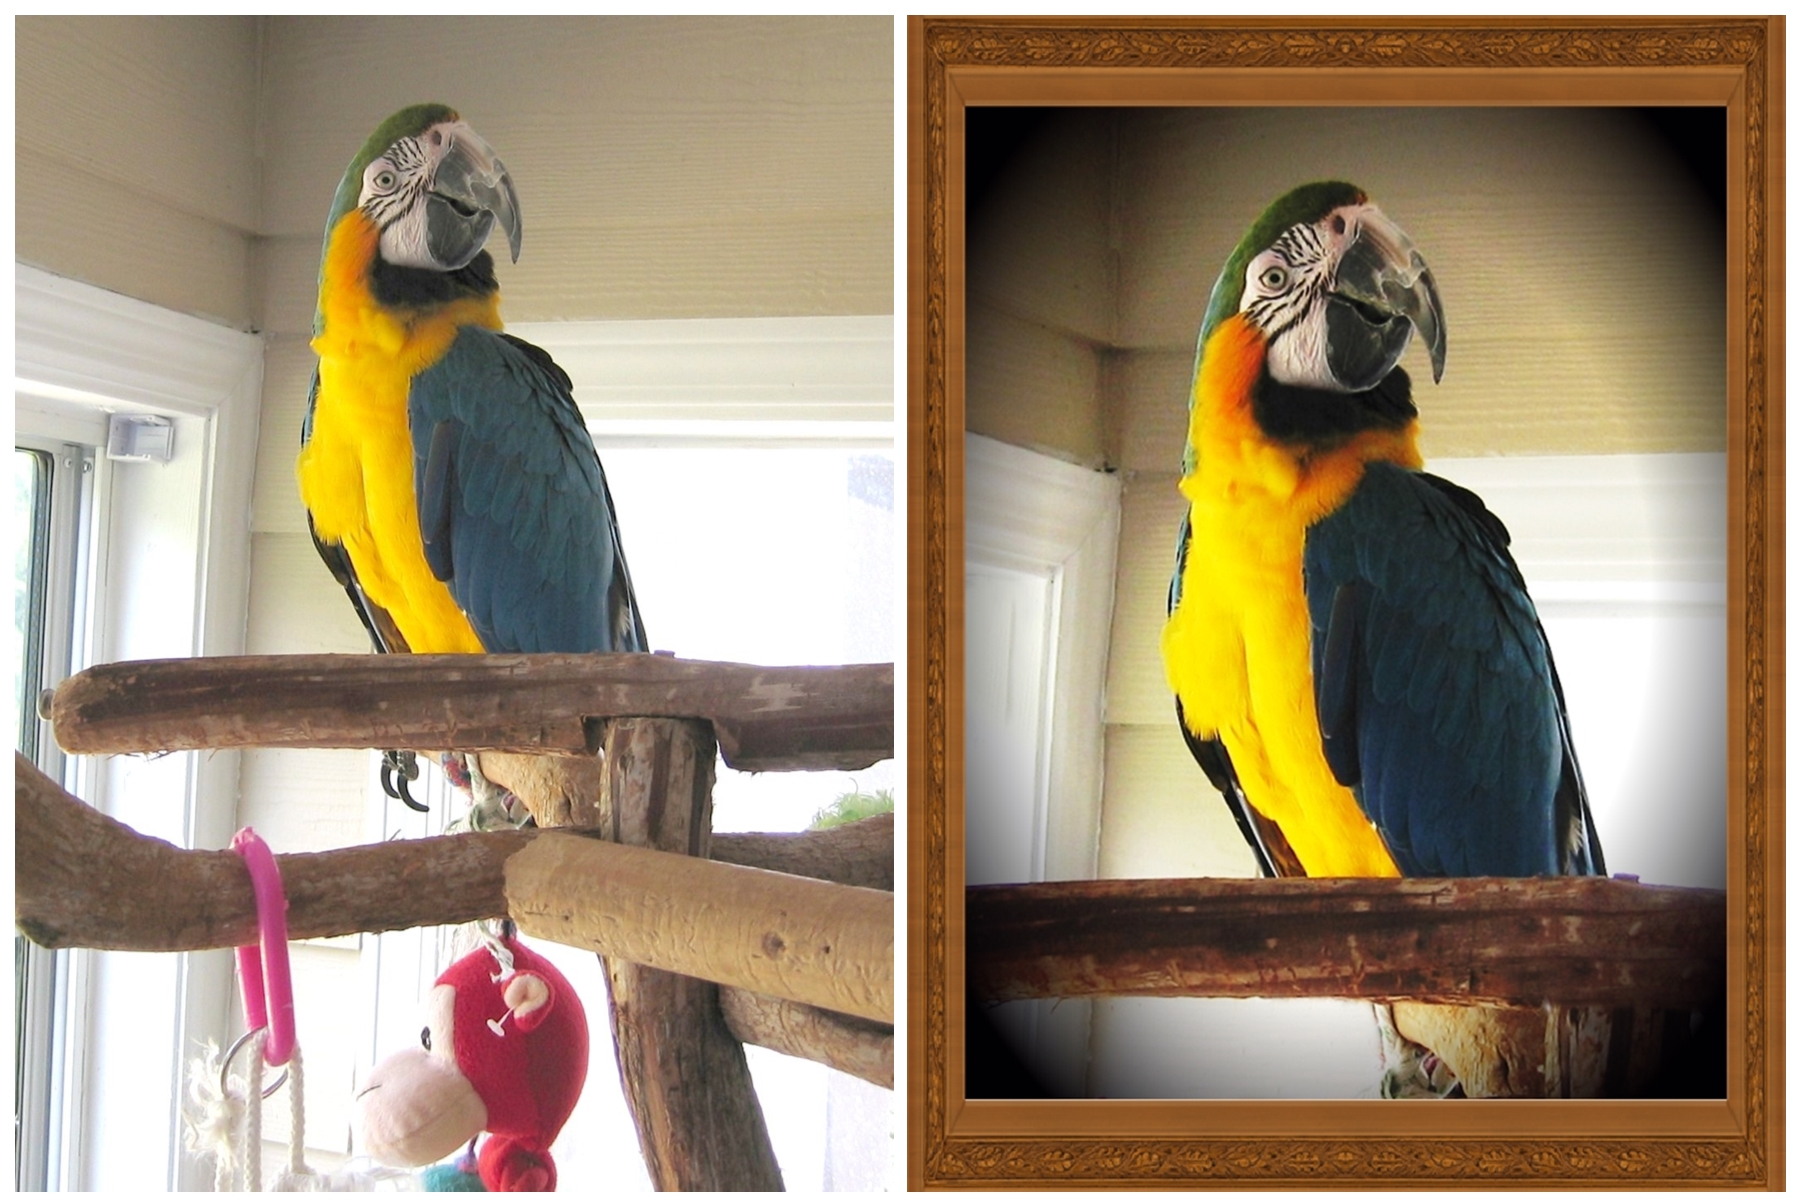
One more and we'll call it a day. There are "effects" in most all editing apps. You can do pretty radical stuff, but some effects are useful. I like a tool called "vignette" in PhotoPad. It sorta brings your focal point into clearer relief, to my way of thinkin.'

Oh...WAIT. We got this nice portrait of a beautiful blue and gold macaw. A little antique-y, a bit of a halo around Paco. Don't you think it deserves a frame? We can do that!

There! Now, we got a handsome bird, with no distracting extras in the picture. He's been tweaked a bit, some detail and color enhanced. And...he's got a spiffy frame around what is now a pretty nice portrait of a very proud bird.
Another feature of PhotoPad is making collages. Here's the original and the finished product. What do you think?
That's enough for today. These small tutorials, if I can JUST get some followers, will continue. I seem to be fightin' a losin' battle here. Seems there just ain't much interest in the things that interest ME! Go figure.
By the way, the colored text here is not a Steemit option. They're actually images. Next time, I'll show you how you can make those. They're great for adding a caption to a picture, or for just grabbin' some attention.
Be talkin' to you.....Web Rydr
Hello! I just upvoted you! I help new Steemit members! Upvote this comment and follow me! i will upvote your future posts! To any other visitor, upvote this post also to receive free UpVotes from me! Happy SteemIt!
@webrydr Thanks for the interesting and informative tutorial. Makes doing graphics a bit easier, and that is saying something. Upvoted.
These are some lovely beginner tips, thanks for sharing your knowledge!
Now that I've seen YOUR work, I wanted to say thanks for your "kindness." I appreciate it.
Great article David! Nice work on the handsome bird photo :)
Thank you, sir. Paco was special, even though he wasn't in my life for long, he made a lasting impression.
Congratulations @webrydr! You received a personal award!
You can view your badges on your Steem Board and compare to others on the Steem Ranking
Vote for @Steemitboard as a witness to get one more award and increased upvotes!