Part 1: Galaxie
Hello Steemians!
Welcome to my first ever walkthrough painting process!
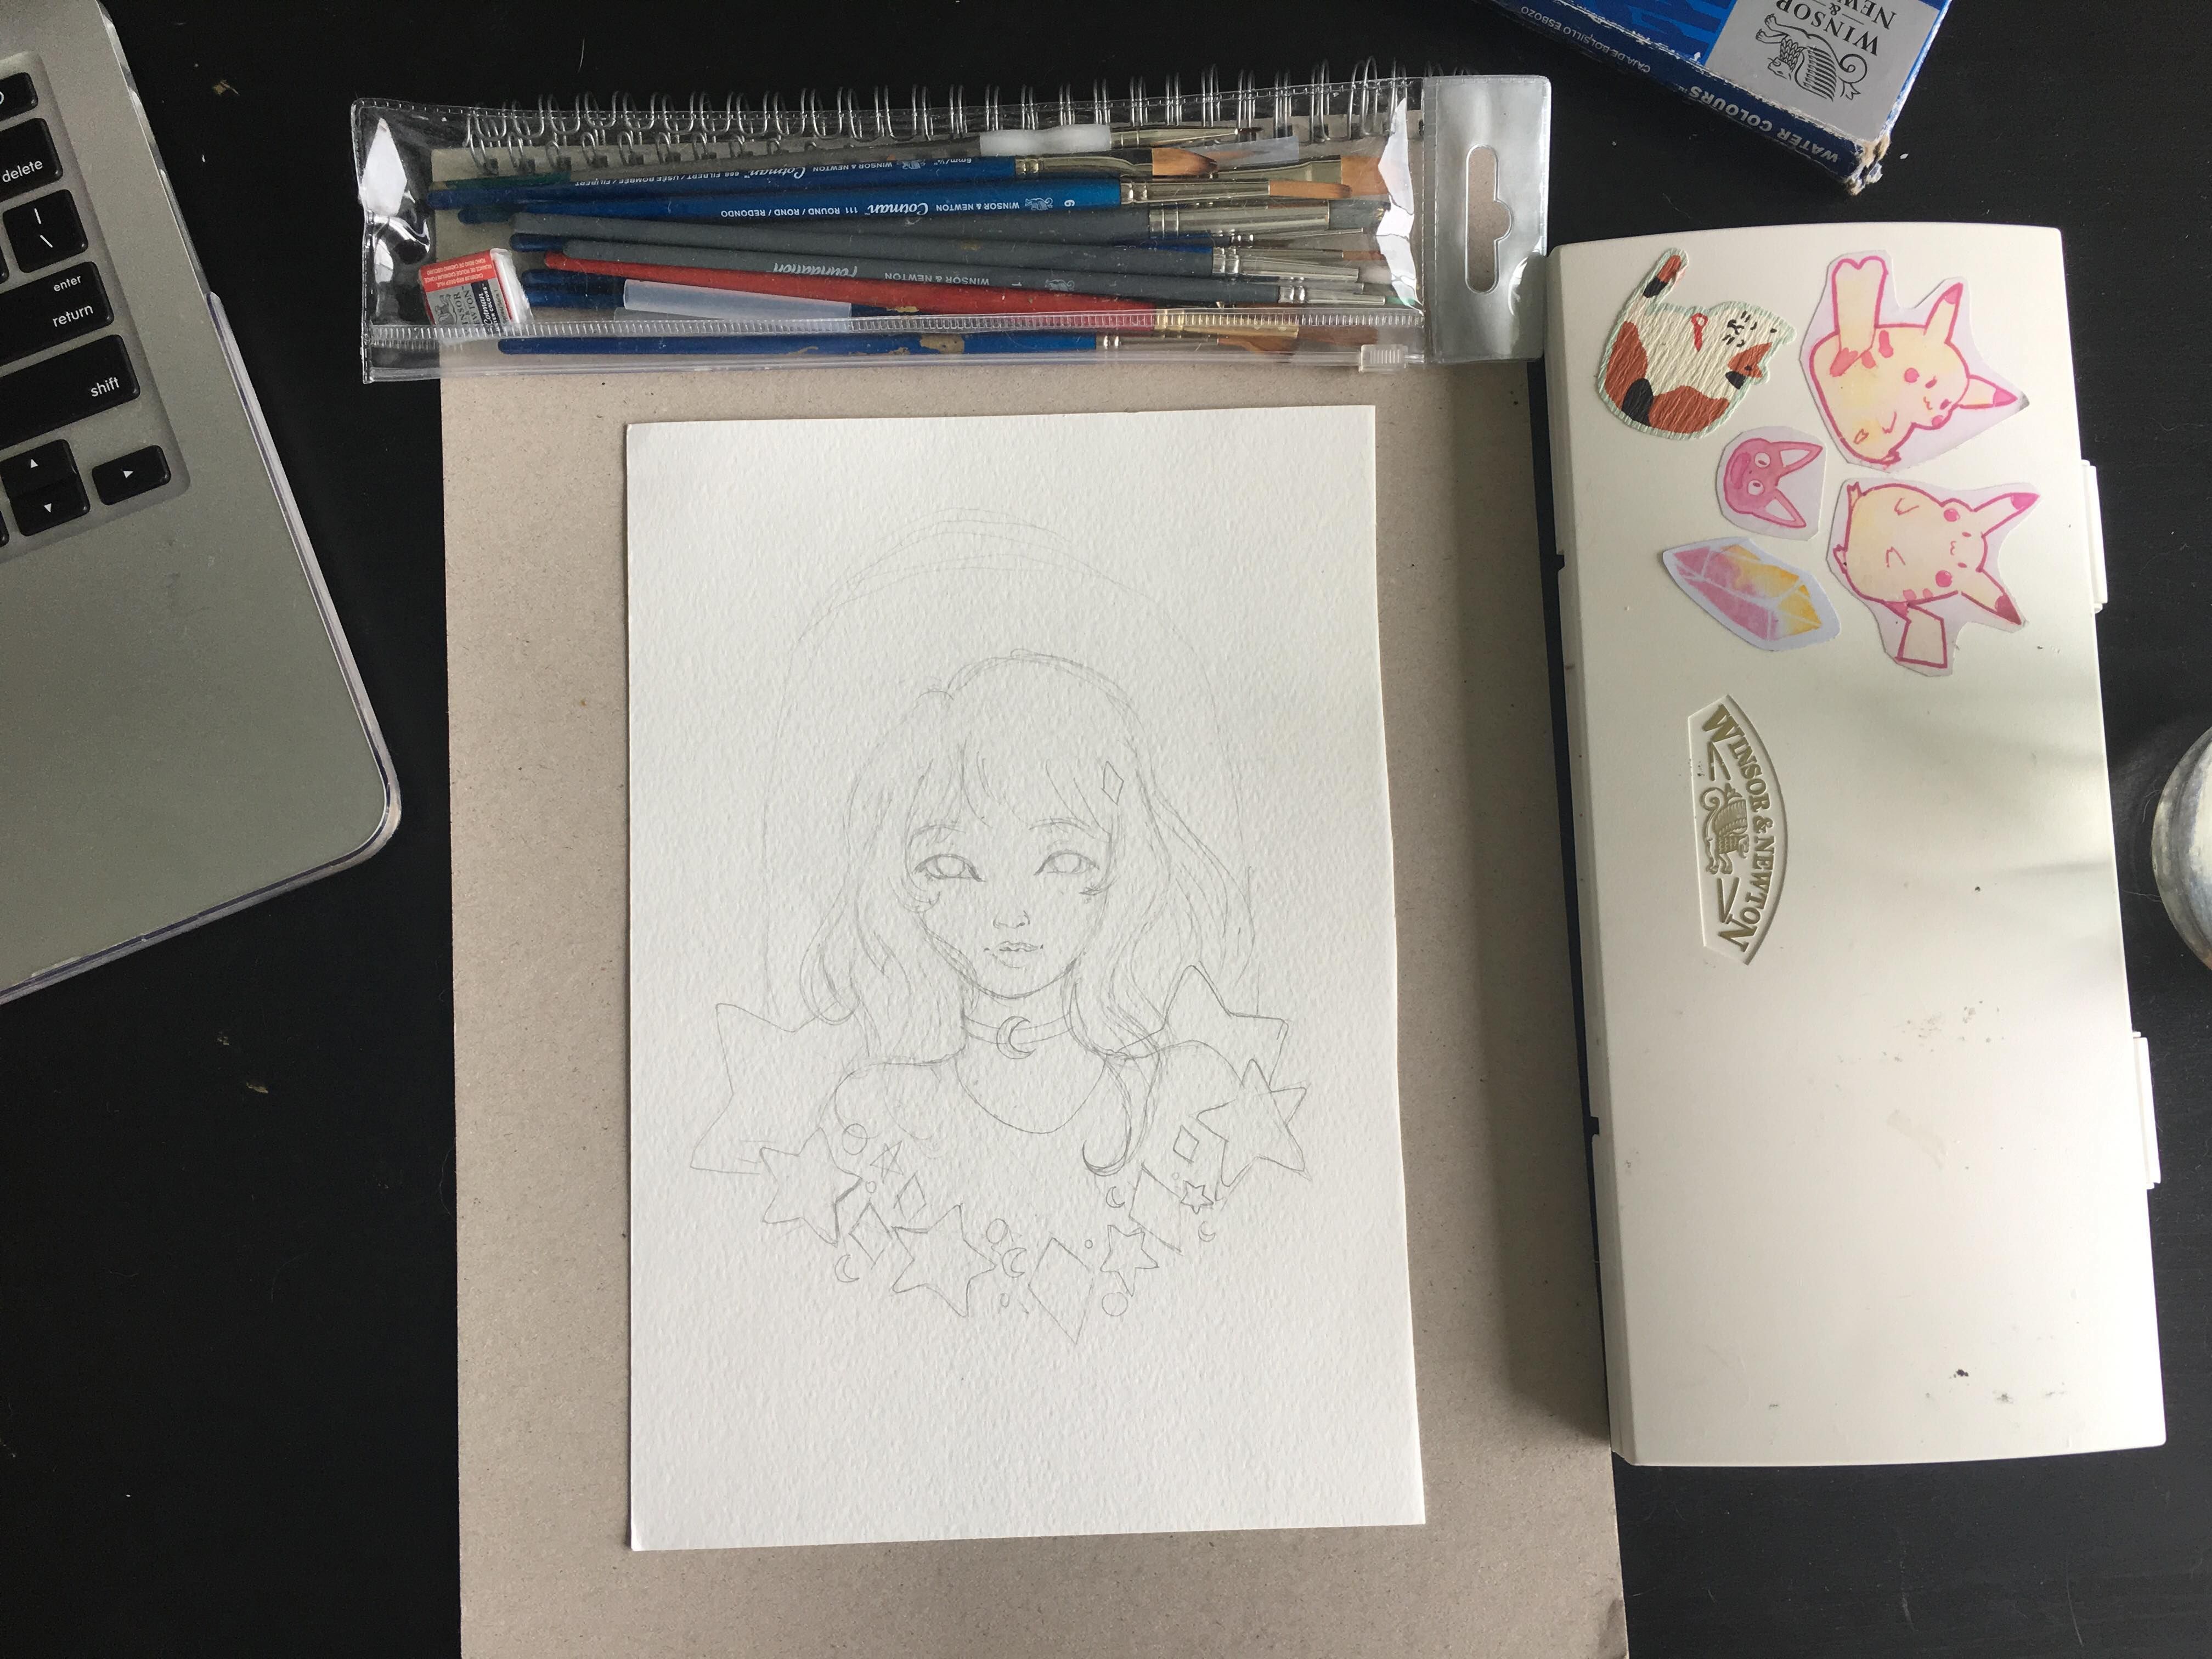
Today I will share with you the first part of this painting I am currently working on. I will be dividing this blog into 2 parts as I would not want to drag the blog too long :)
Items List
- 300gsm Cold Pressed Paper ( WHS brand )
- Winsor and Newton 45 pans set
- Kuretake : Gansai Tambi Starry Colours
- Sable/Synthetic Brushes
- White Gel Pen
- Unipin Waterproof Pens
These are my usual items for my paintings and if you guys are interested, I will post a dedicated topic about why I use these items and what are they for. Let me know in the comment section down below!
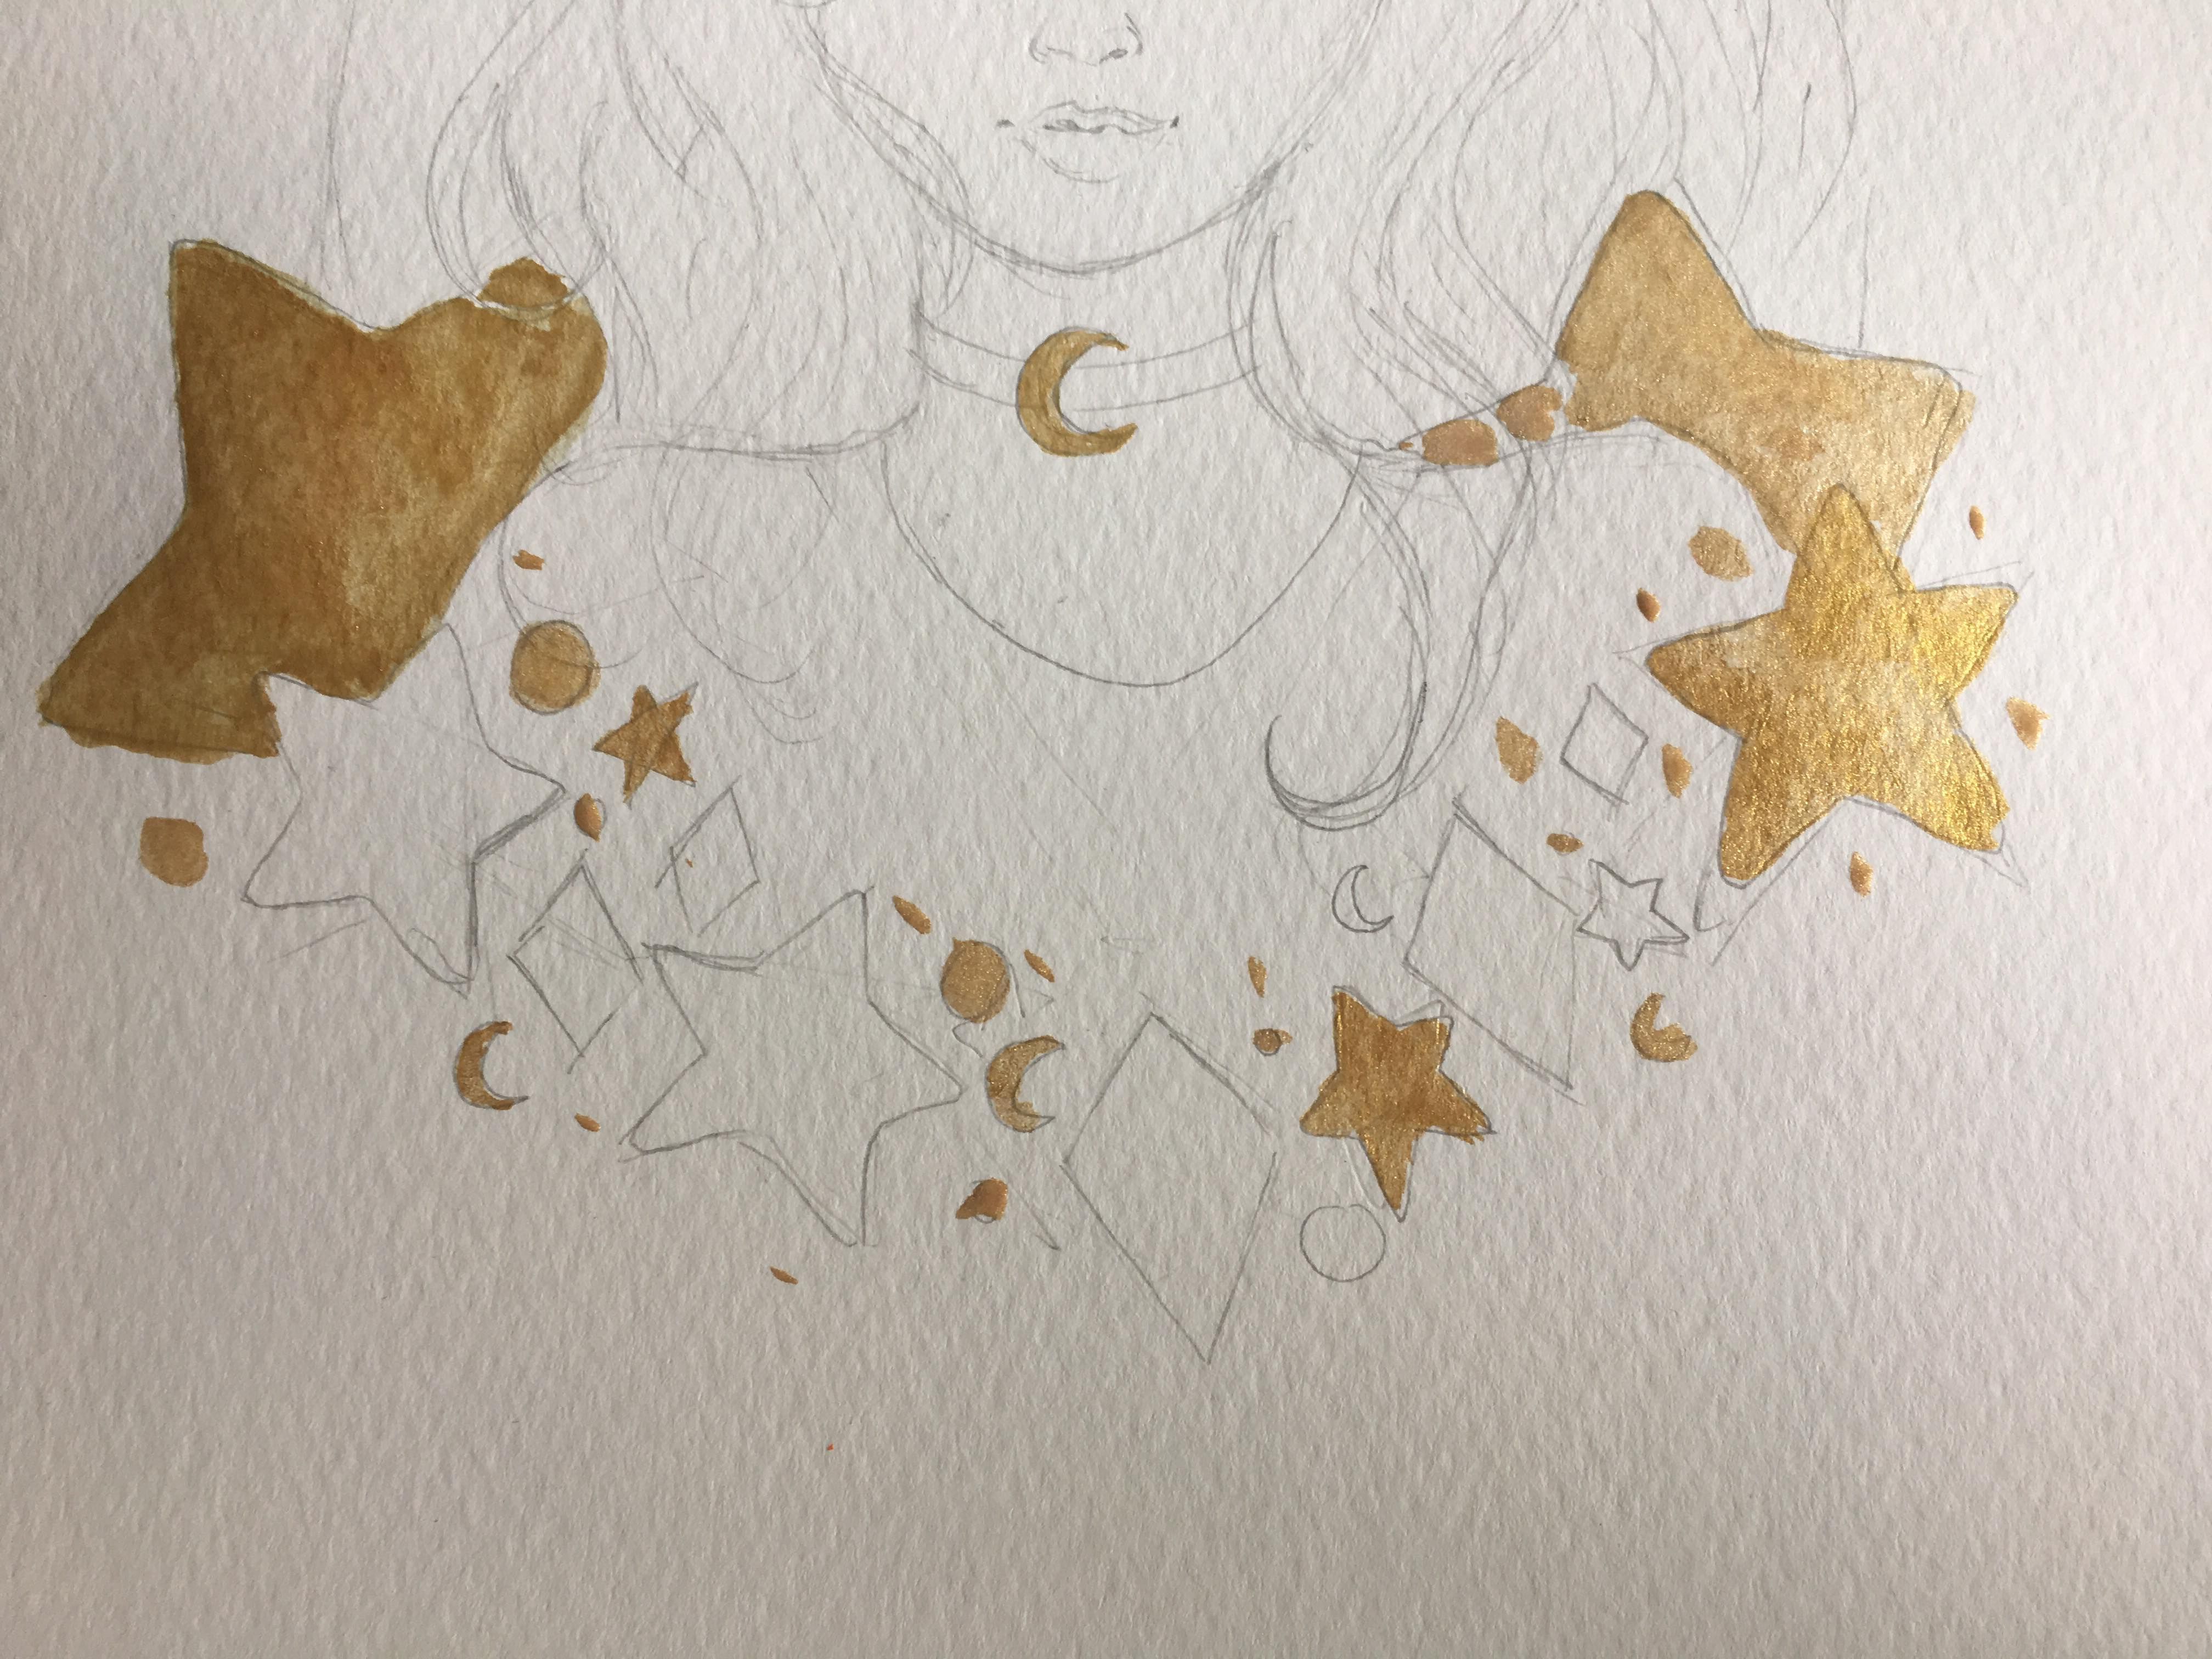
Starry Start
I start off by filling in the stars using the Gansai Tambi: Starry Colours in the shade Blue Gold because it's a very deep and by far one of the most beautiful metallic colour in this collection. I wanted to start off with this part mainly because I usually multitask with different parts of the watercolour process. In order to make my metallic paint flatter looking, I need to layer it with more of the colour to get a better pigment payout.
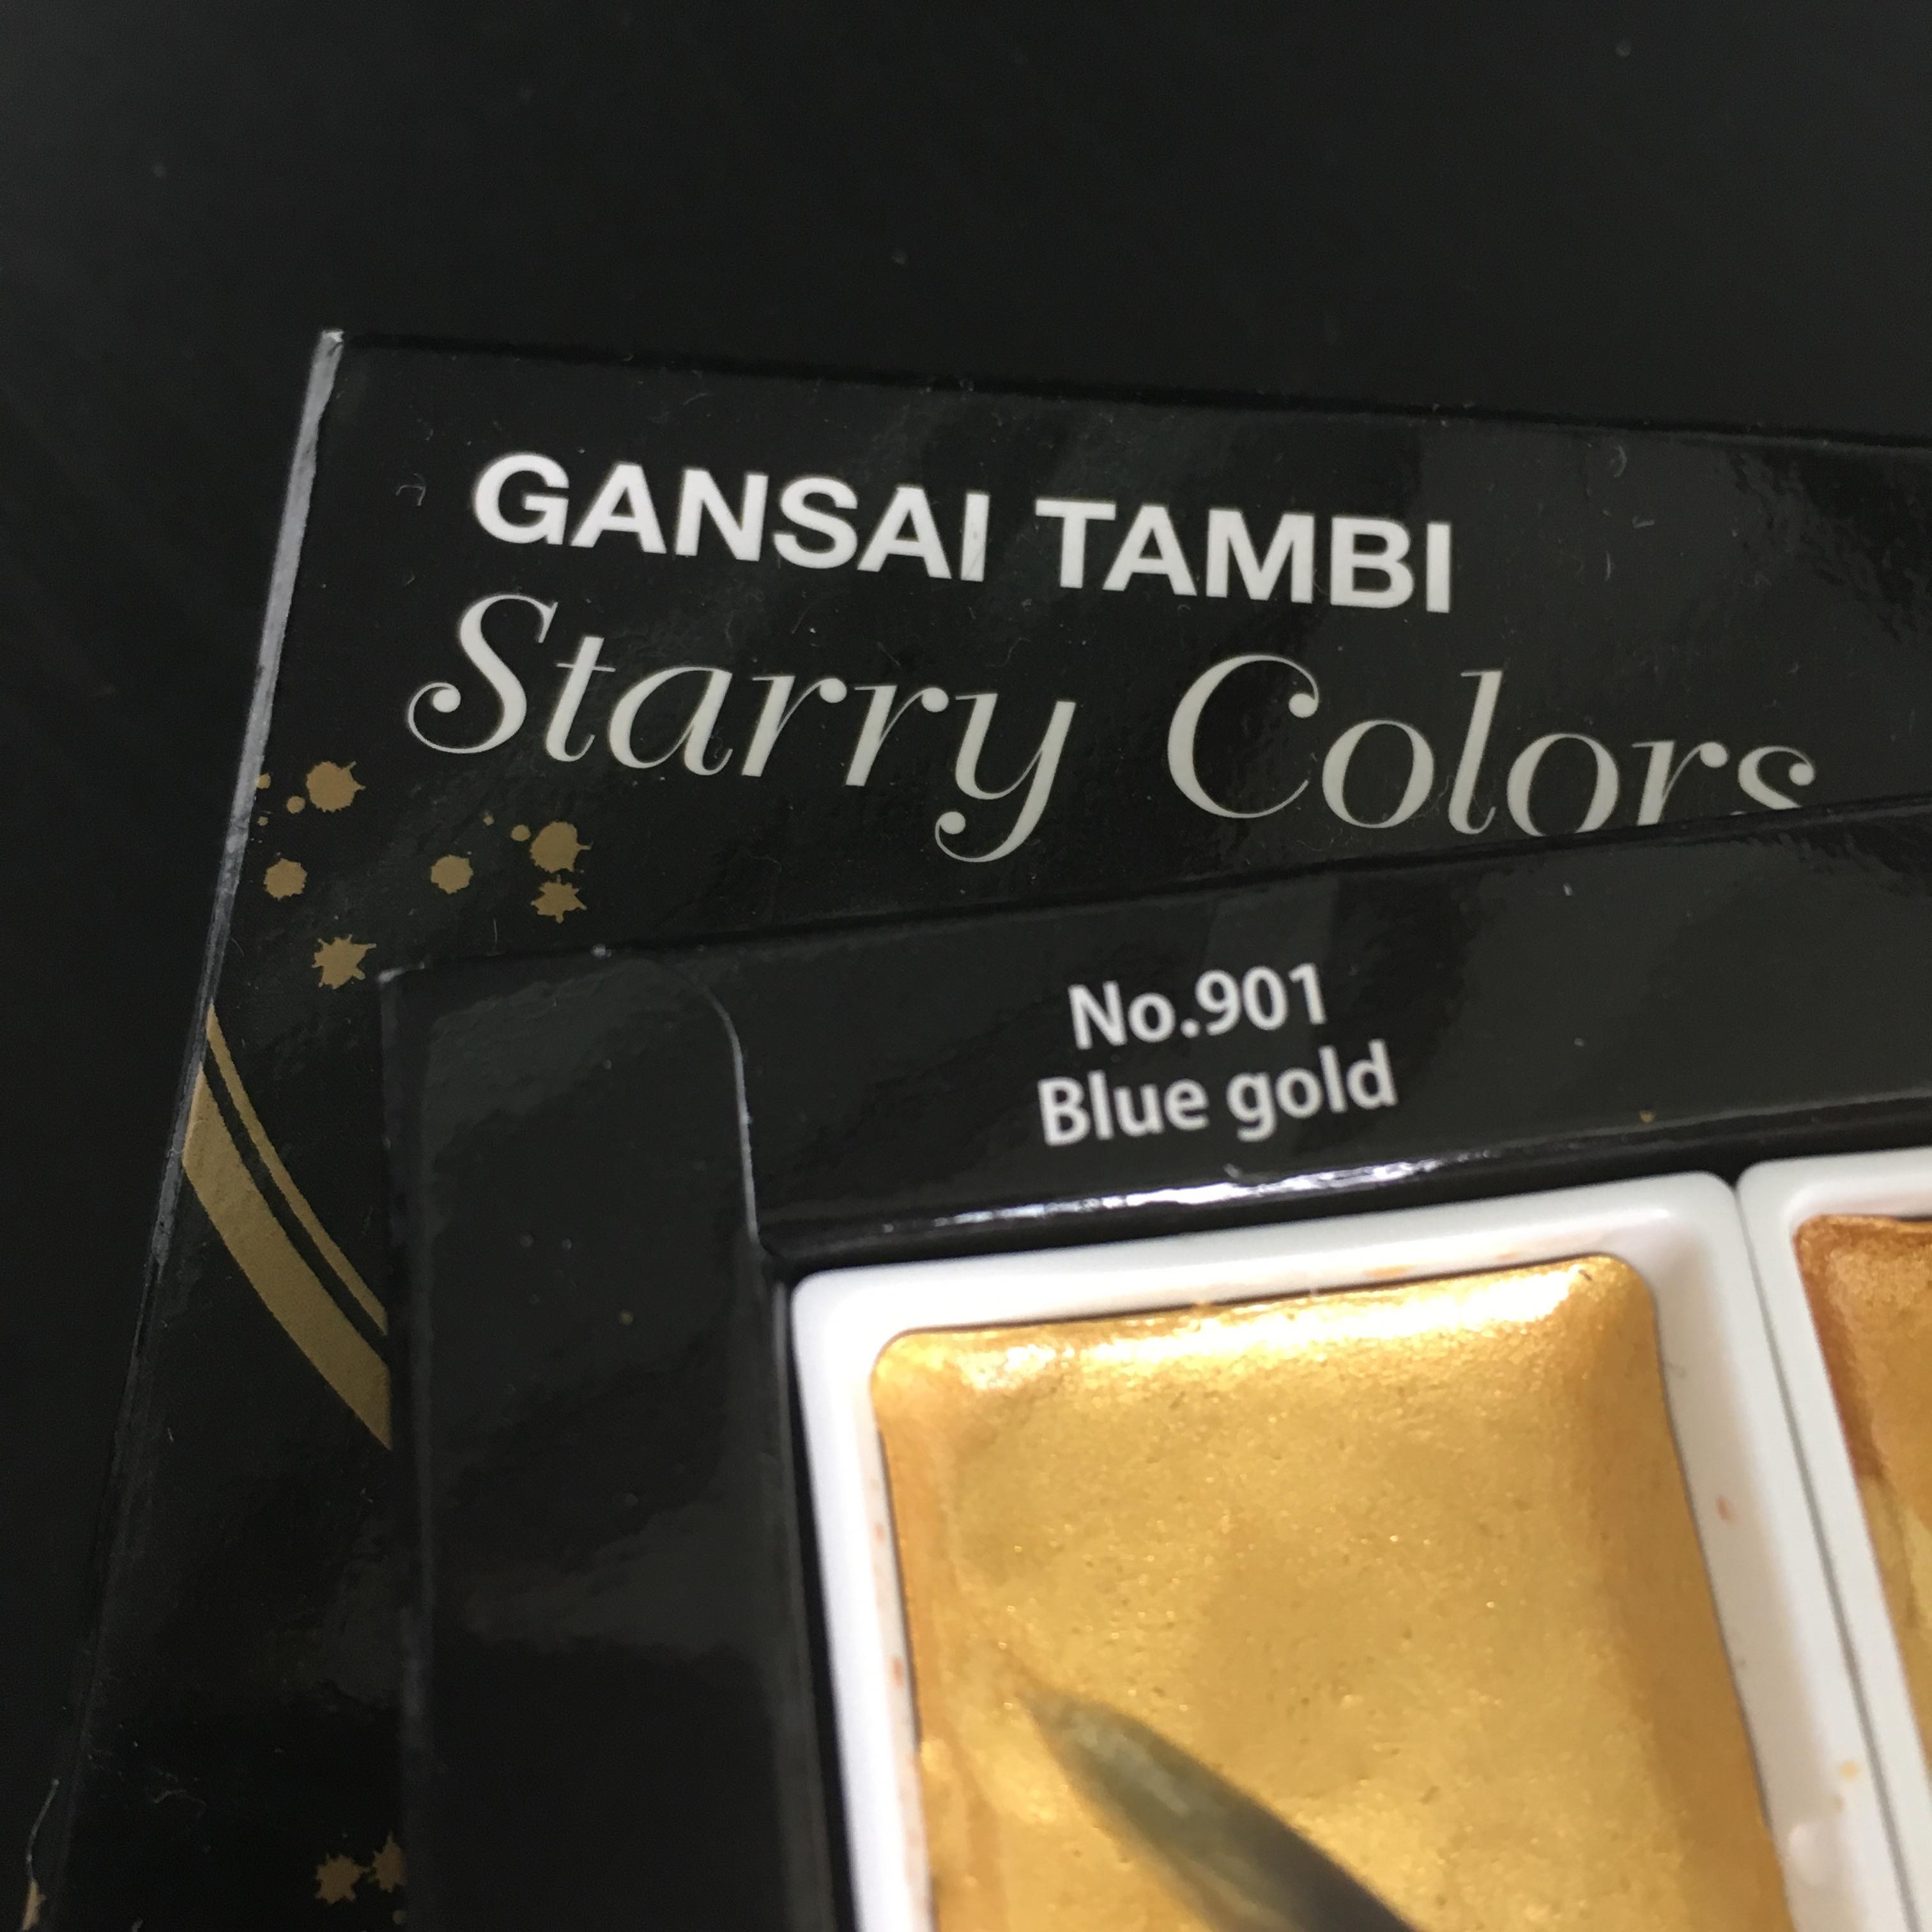
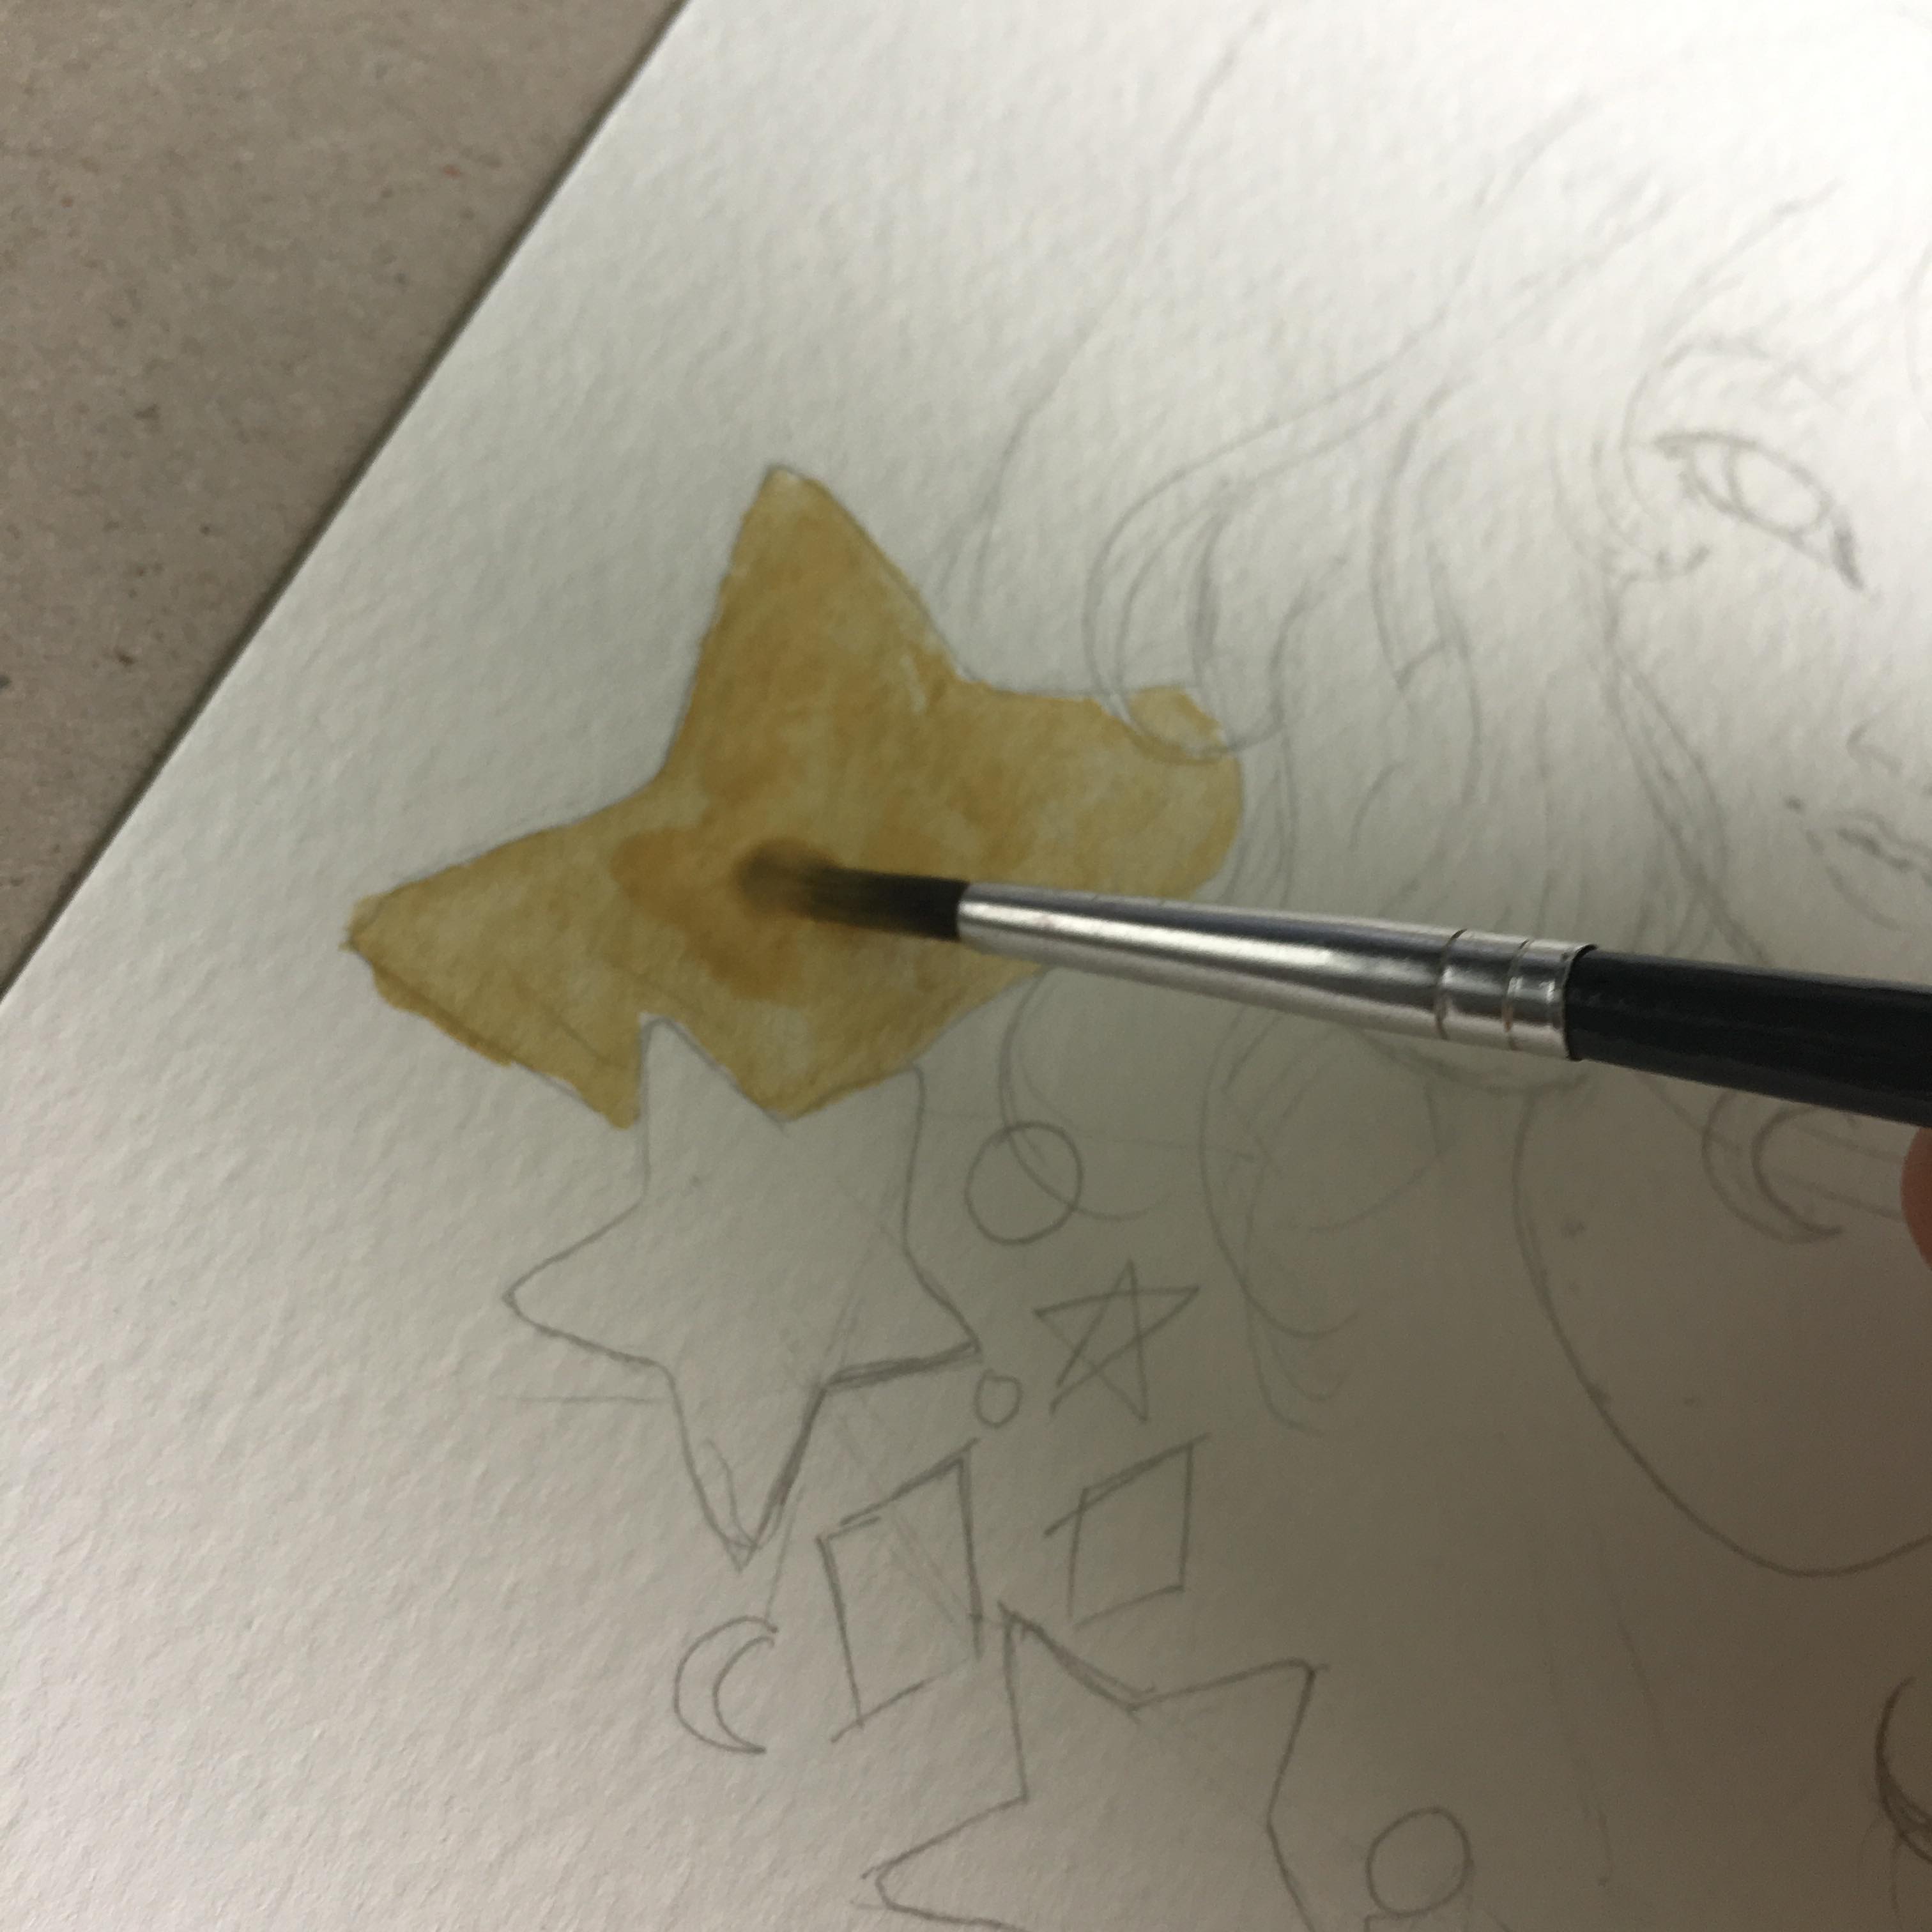
I also used the shade Champagne Gold to have a bit of variety of the gold shades. I do believe that there are some different brands that are much better than the one I am using. This brand is good but I still have problems with patchiness and consistency as you can see from the images I have inserted.
Skin Painting
This is by far my favourite process of watercolour! It is quite tedious and tricky to get the right colours and shades also rendering it is quite a challenge. I have experimented with several ways to get the skin tone that I am looking for.
For this painting, I used :
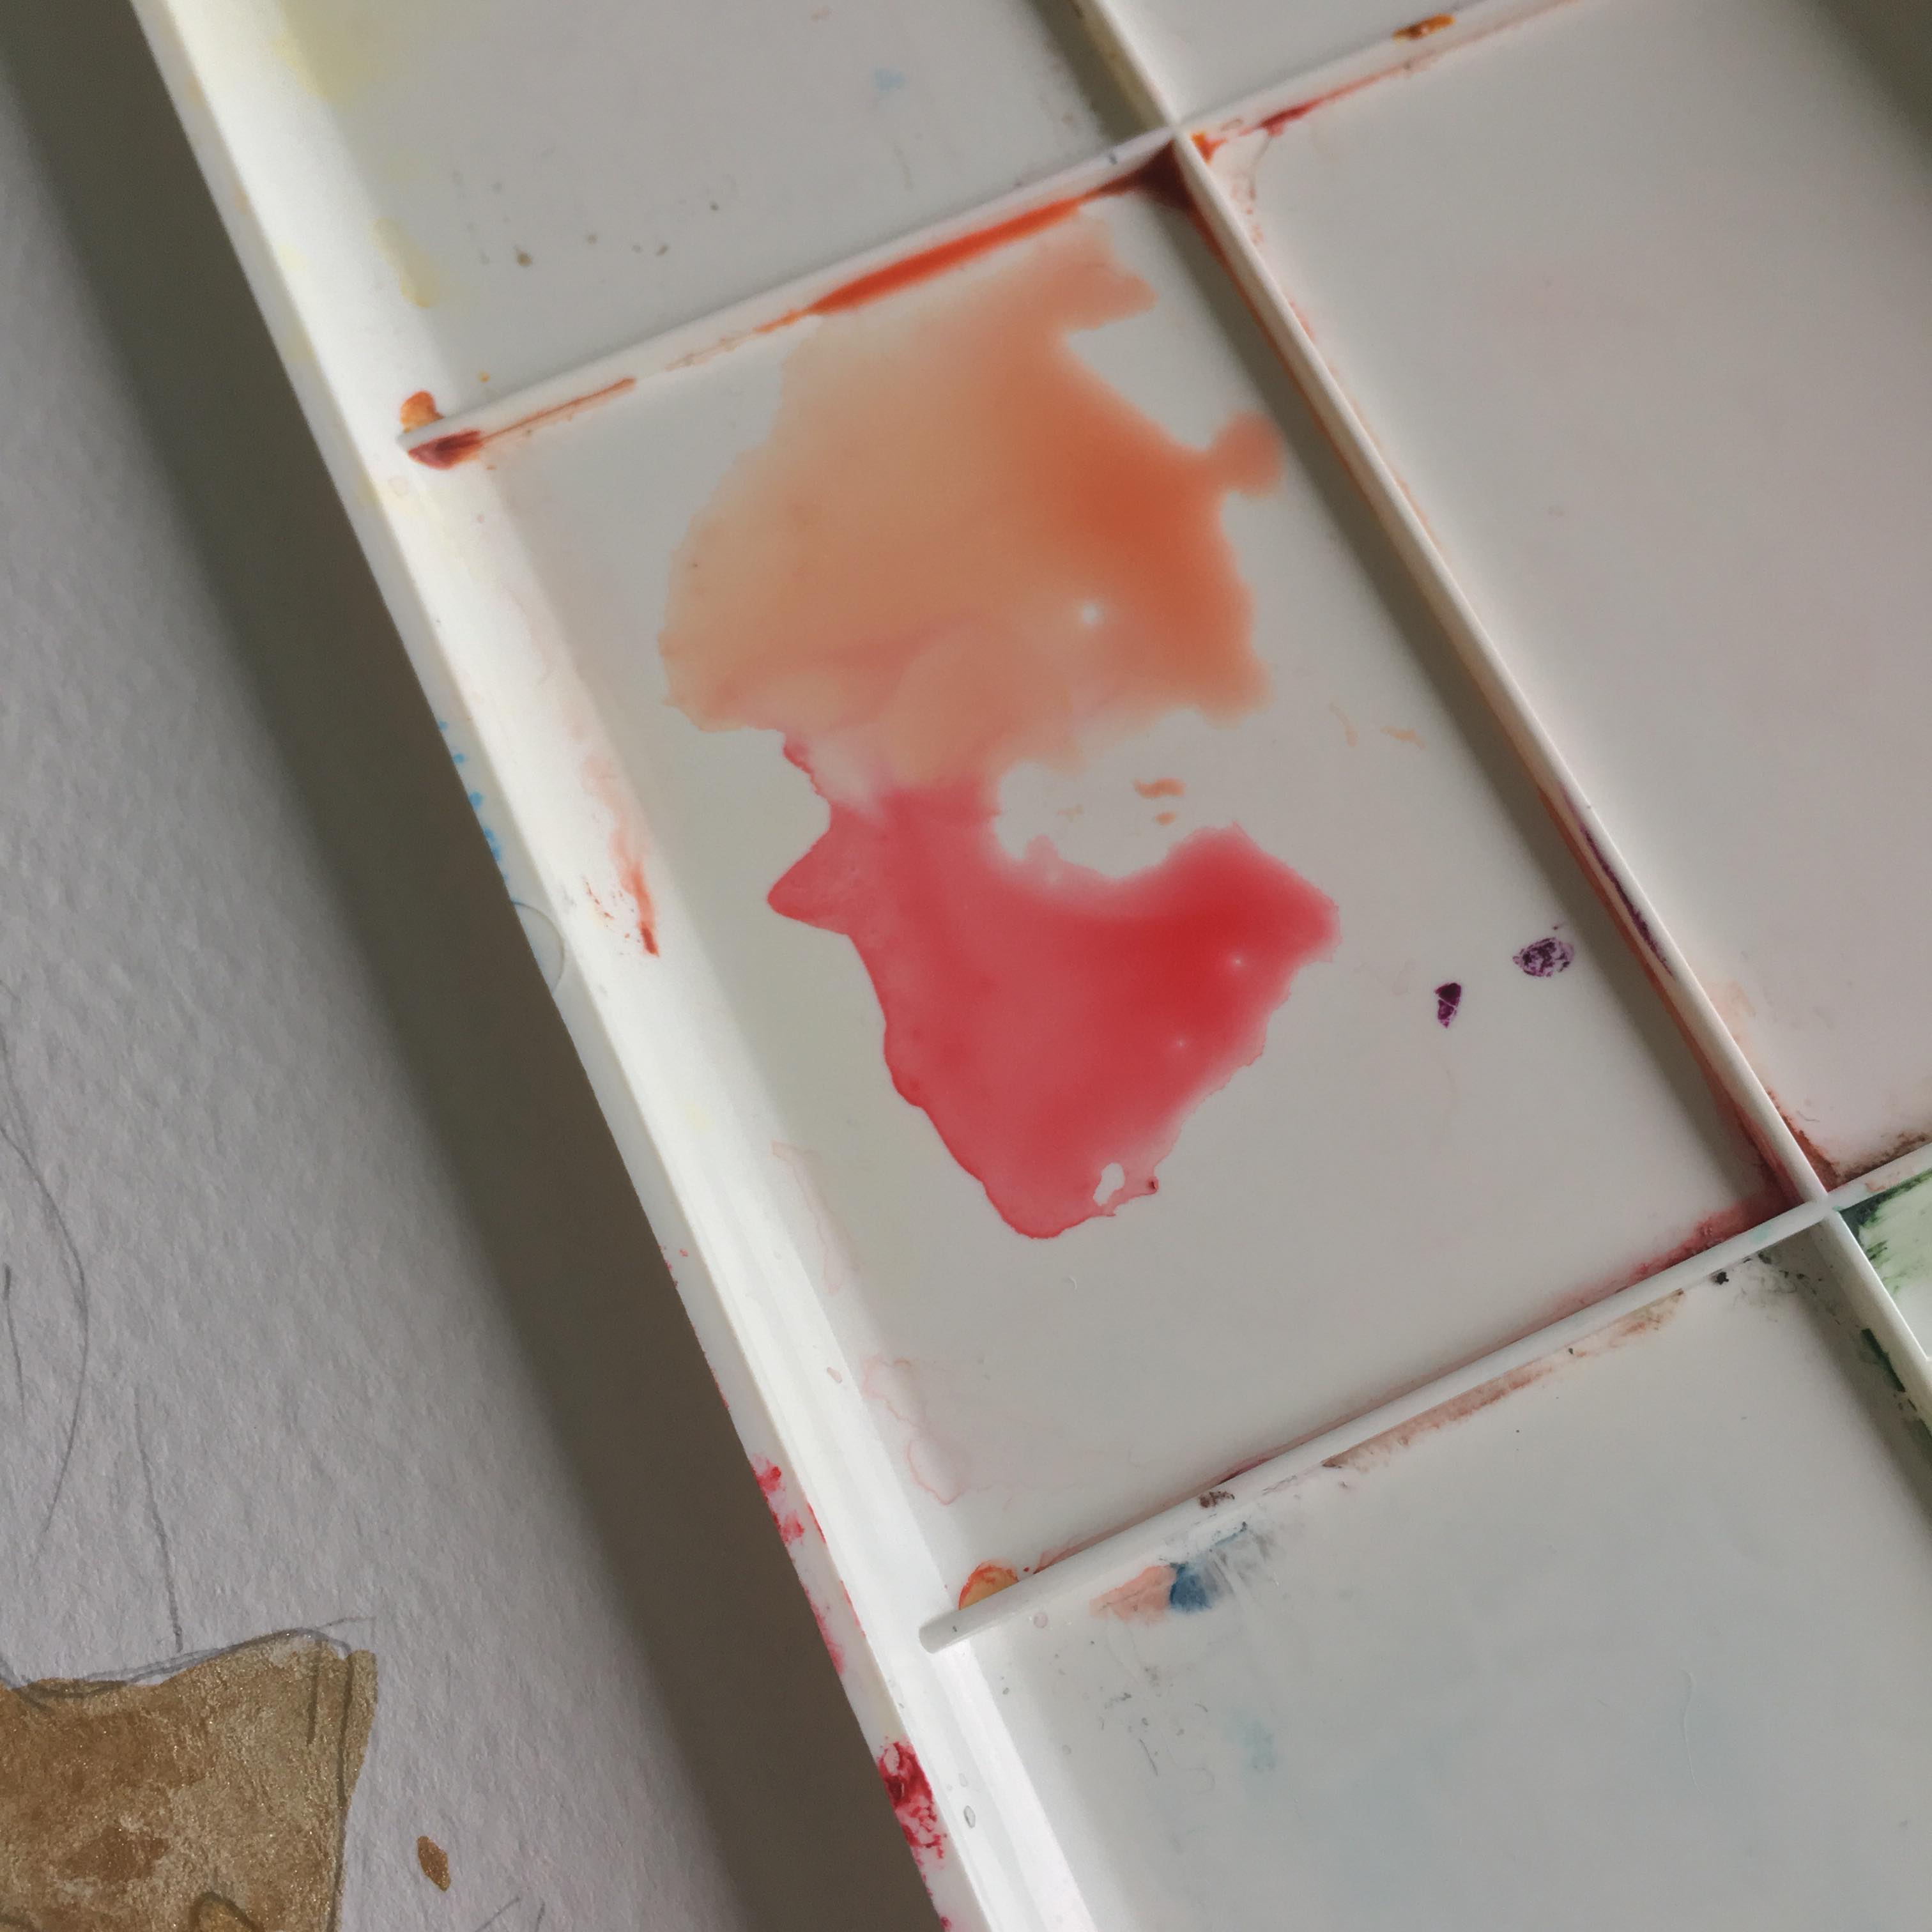
- Cadmium Red
- Ochre Yellow
The reason why I use this combo is that it gives out a nice flush to the skin and I personally love it because of how it is quite universal to use it as further rendering or just detailing for shadows. I have some extra red shade on the side to deepen up the colour as I render the painting. I usually take a day or two to render the colours to my liking.
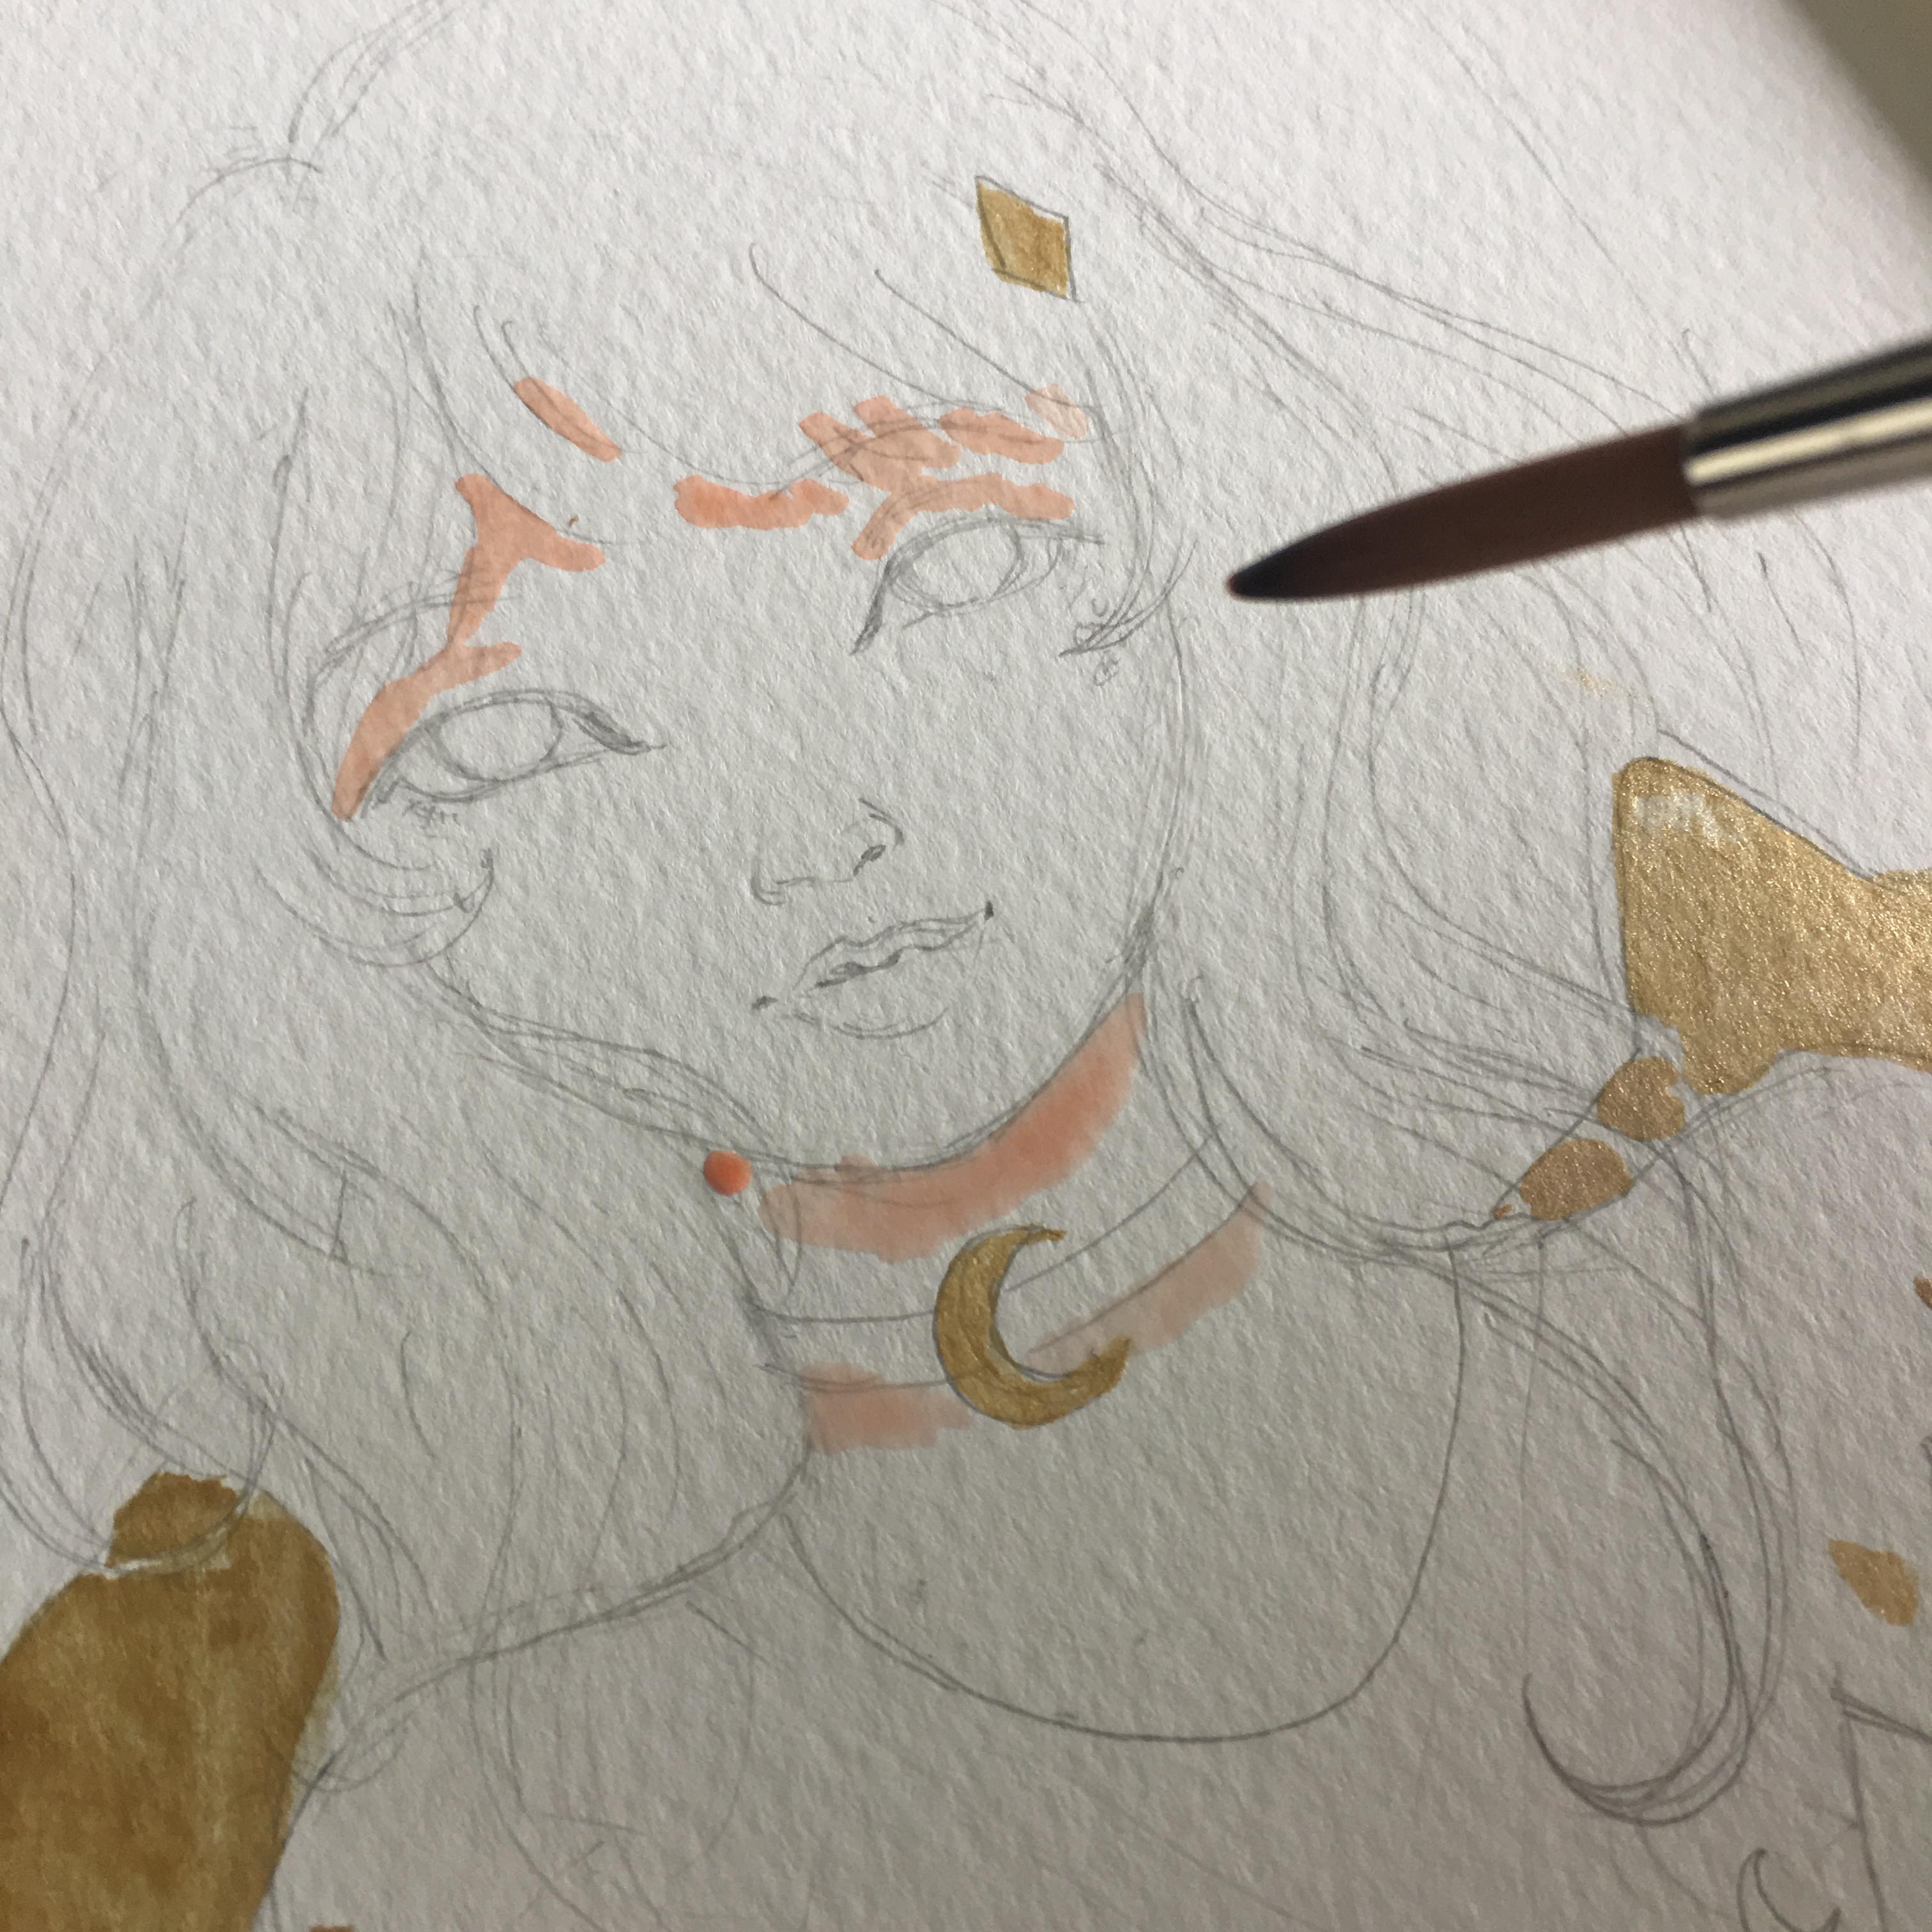
My first step for this process is to work on the shadow areas where I just roughly paint small parts of the area and let it sink in for a couple of seconds or minutes to create that beautiful gradient wash that you are able to see in the following picture.
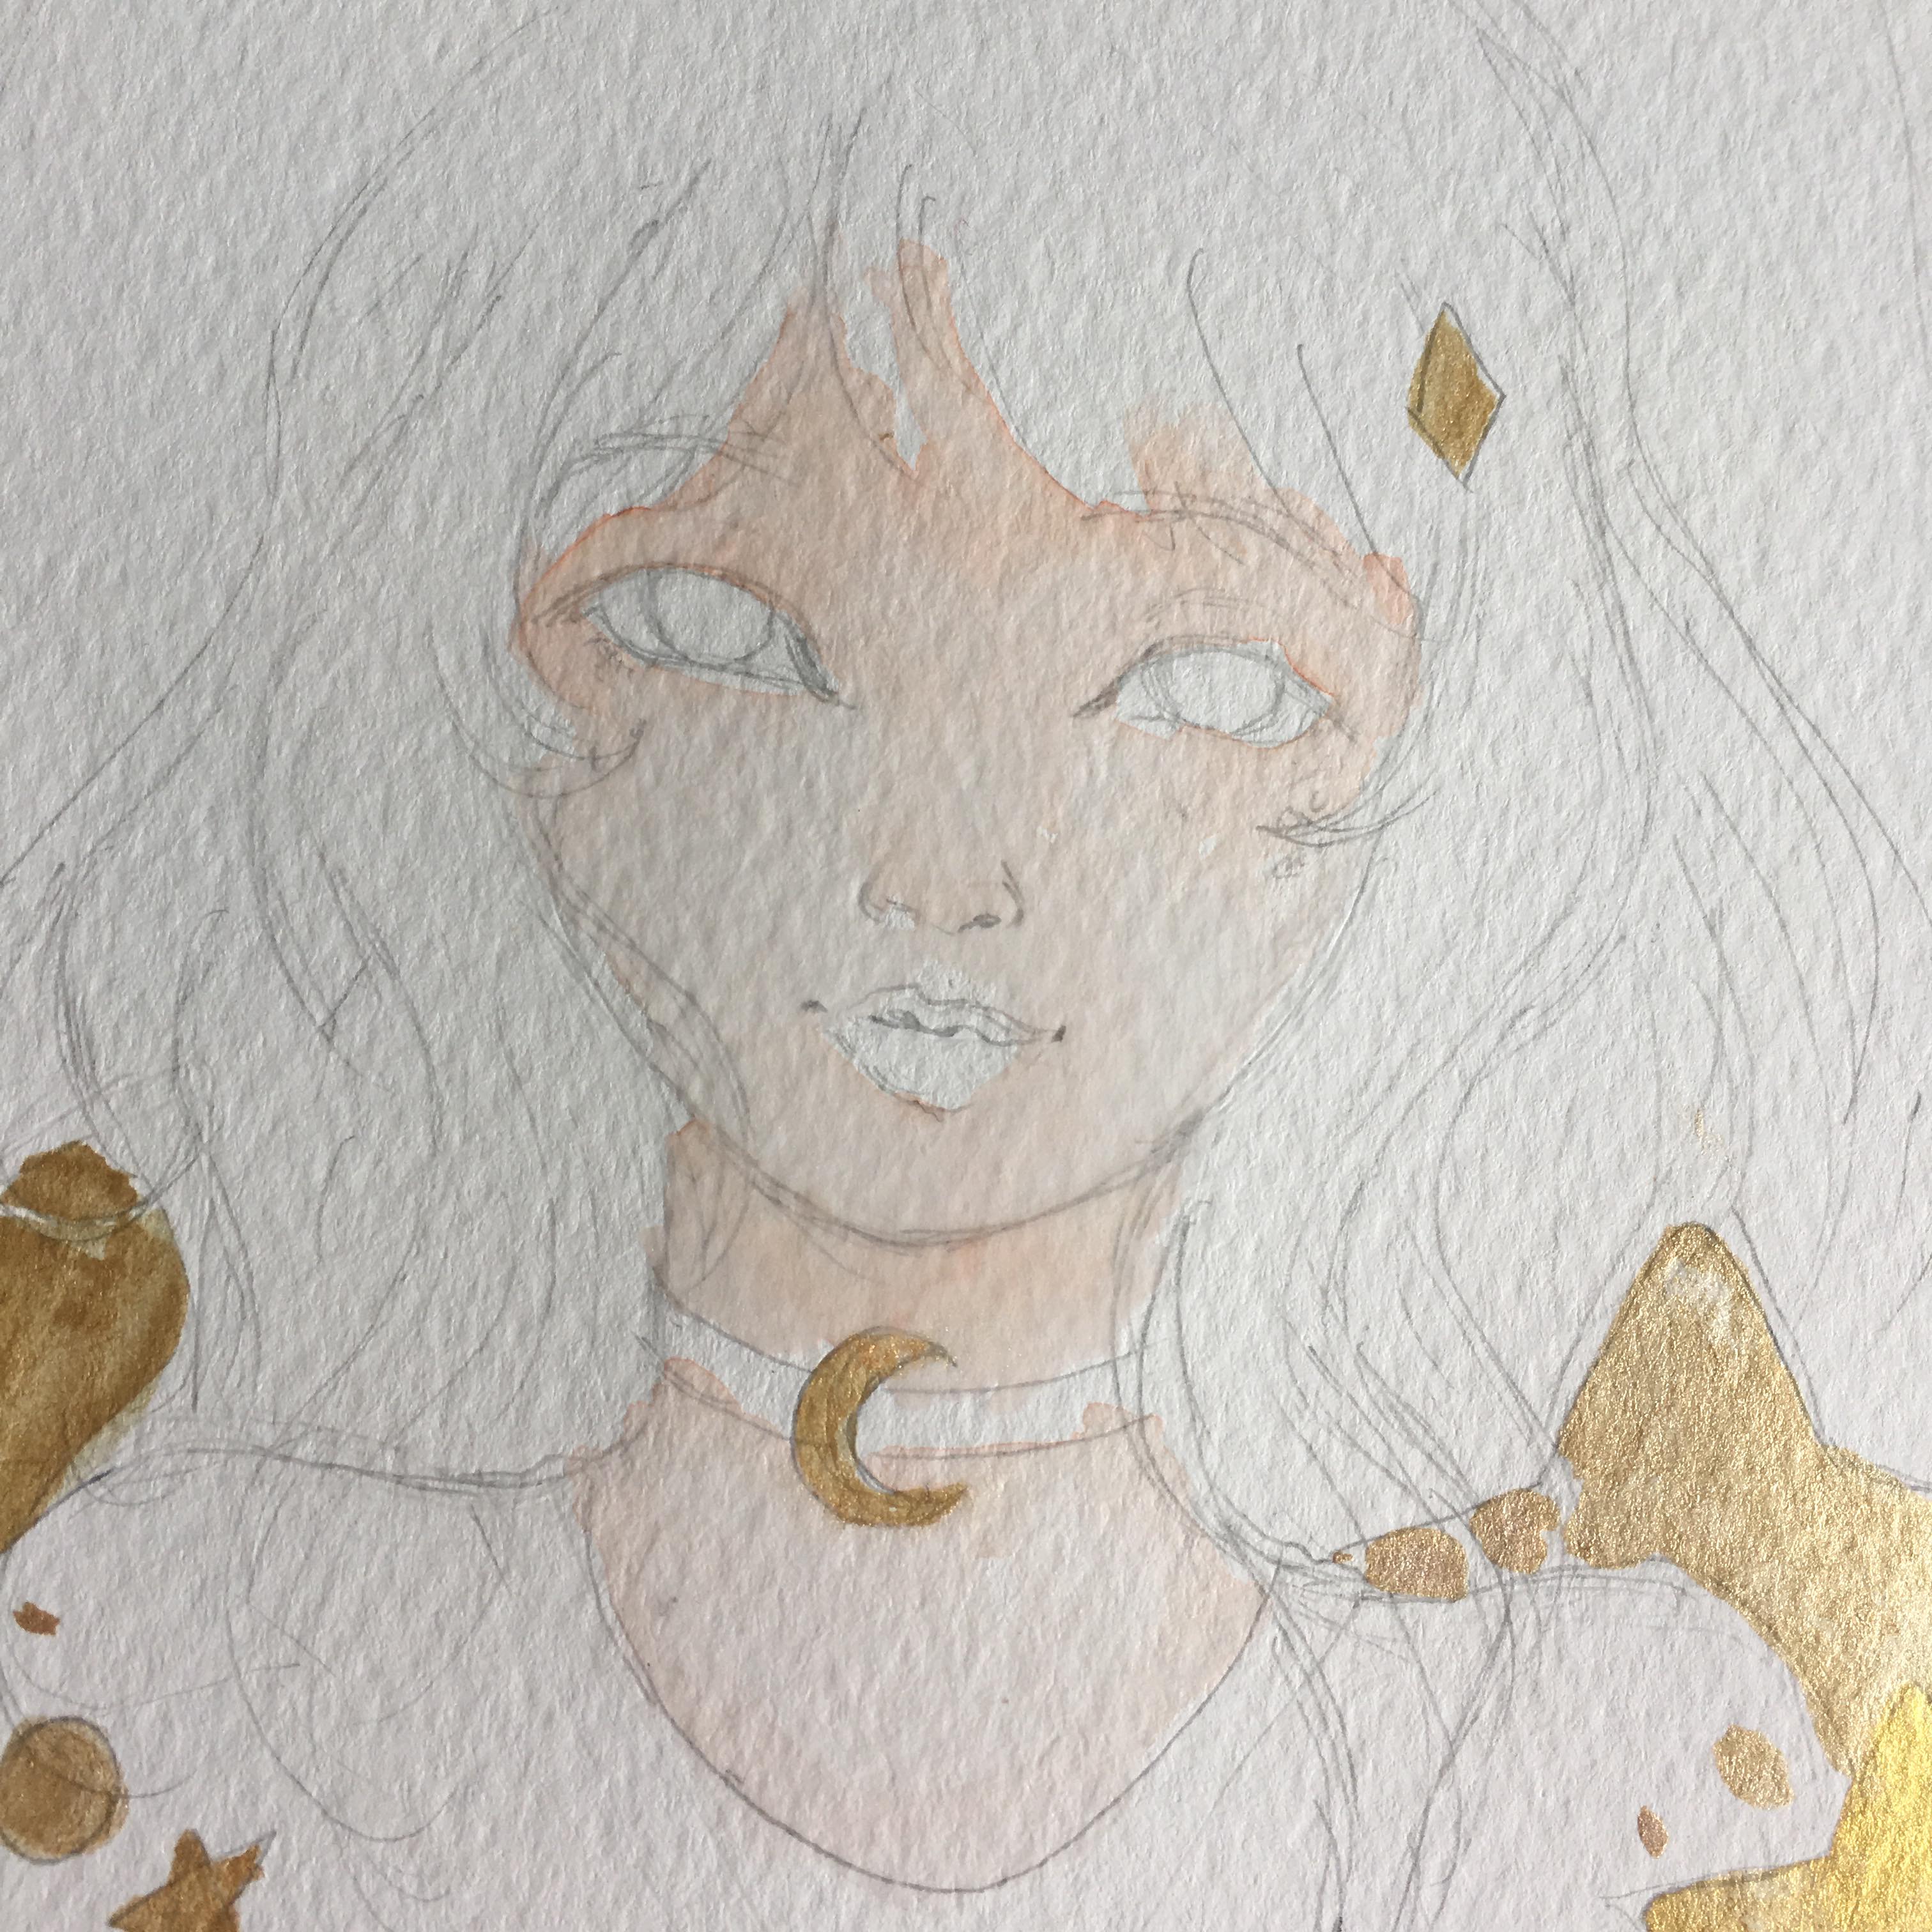
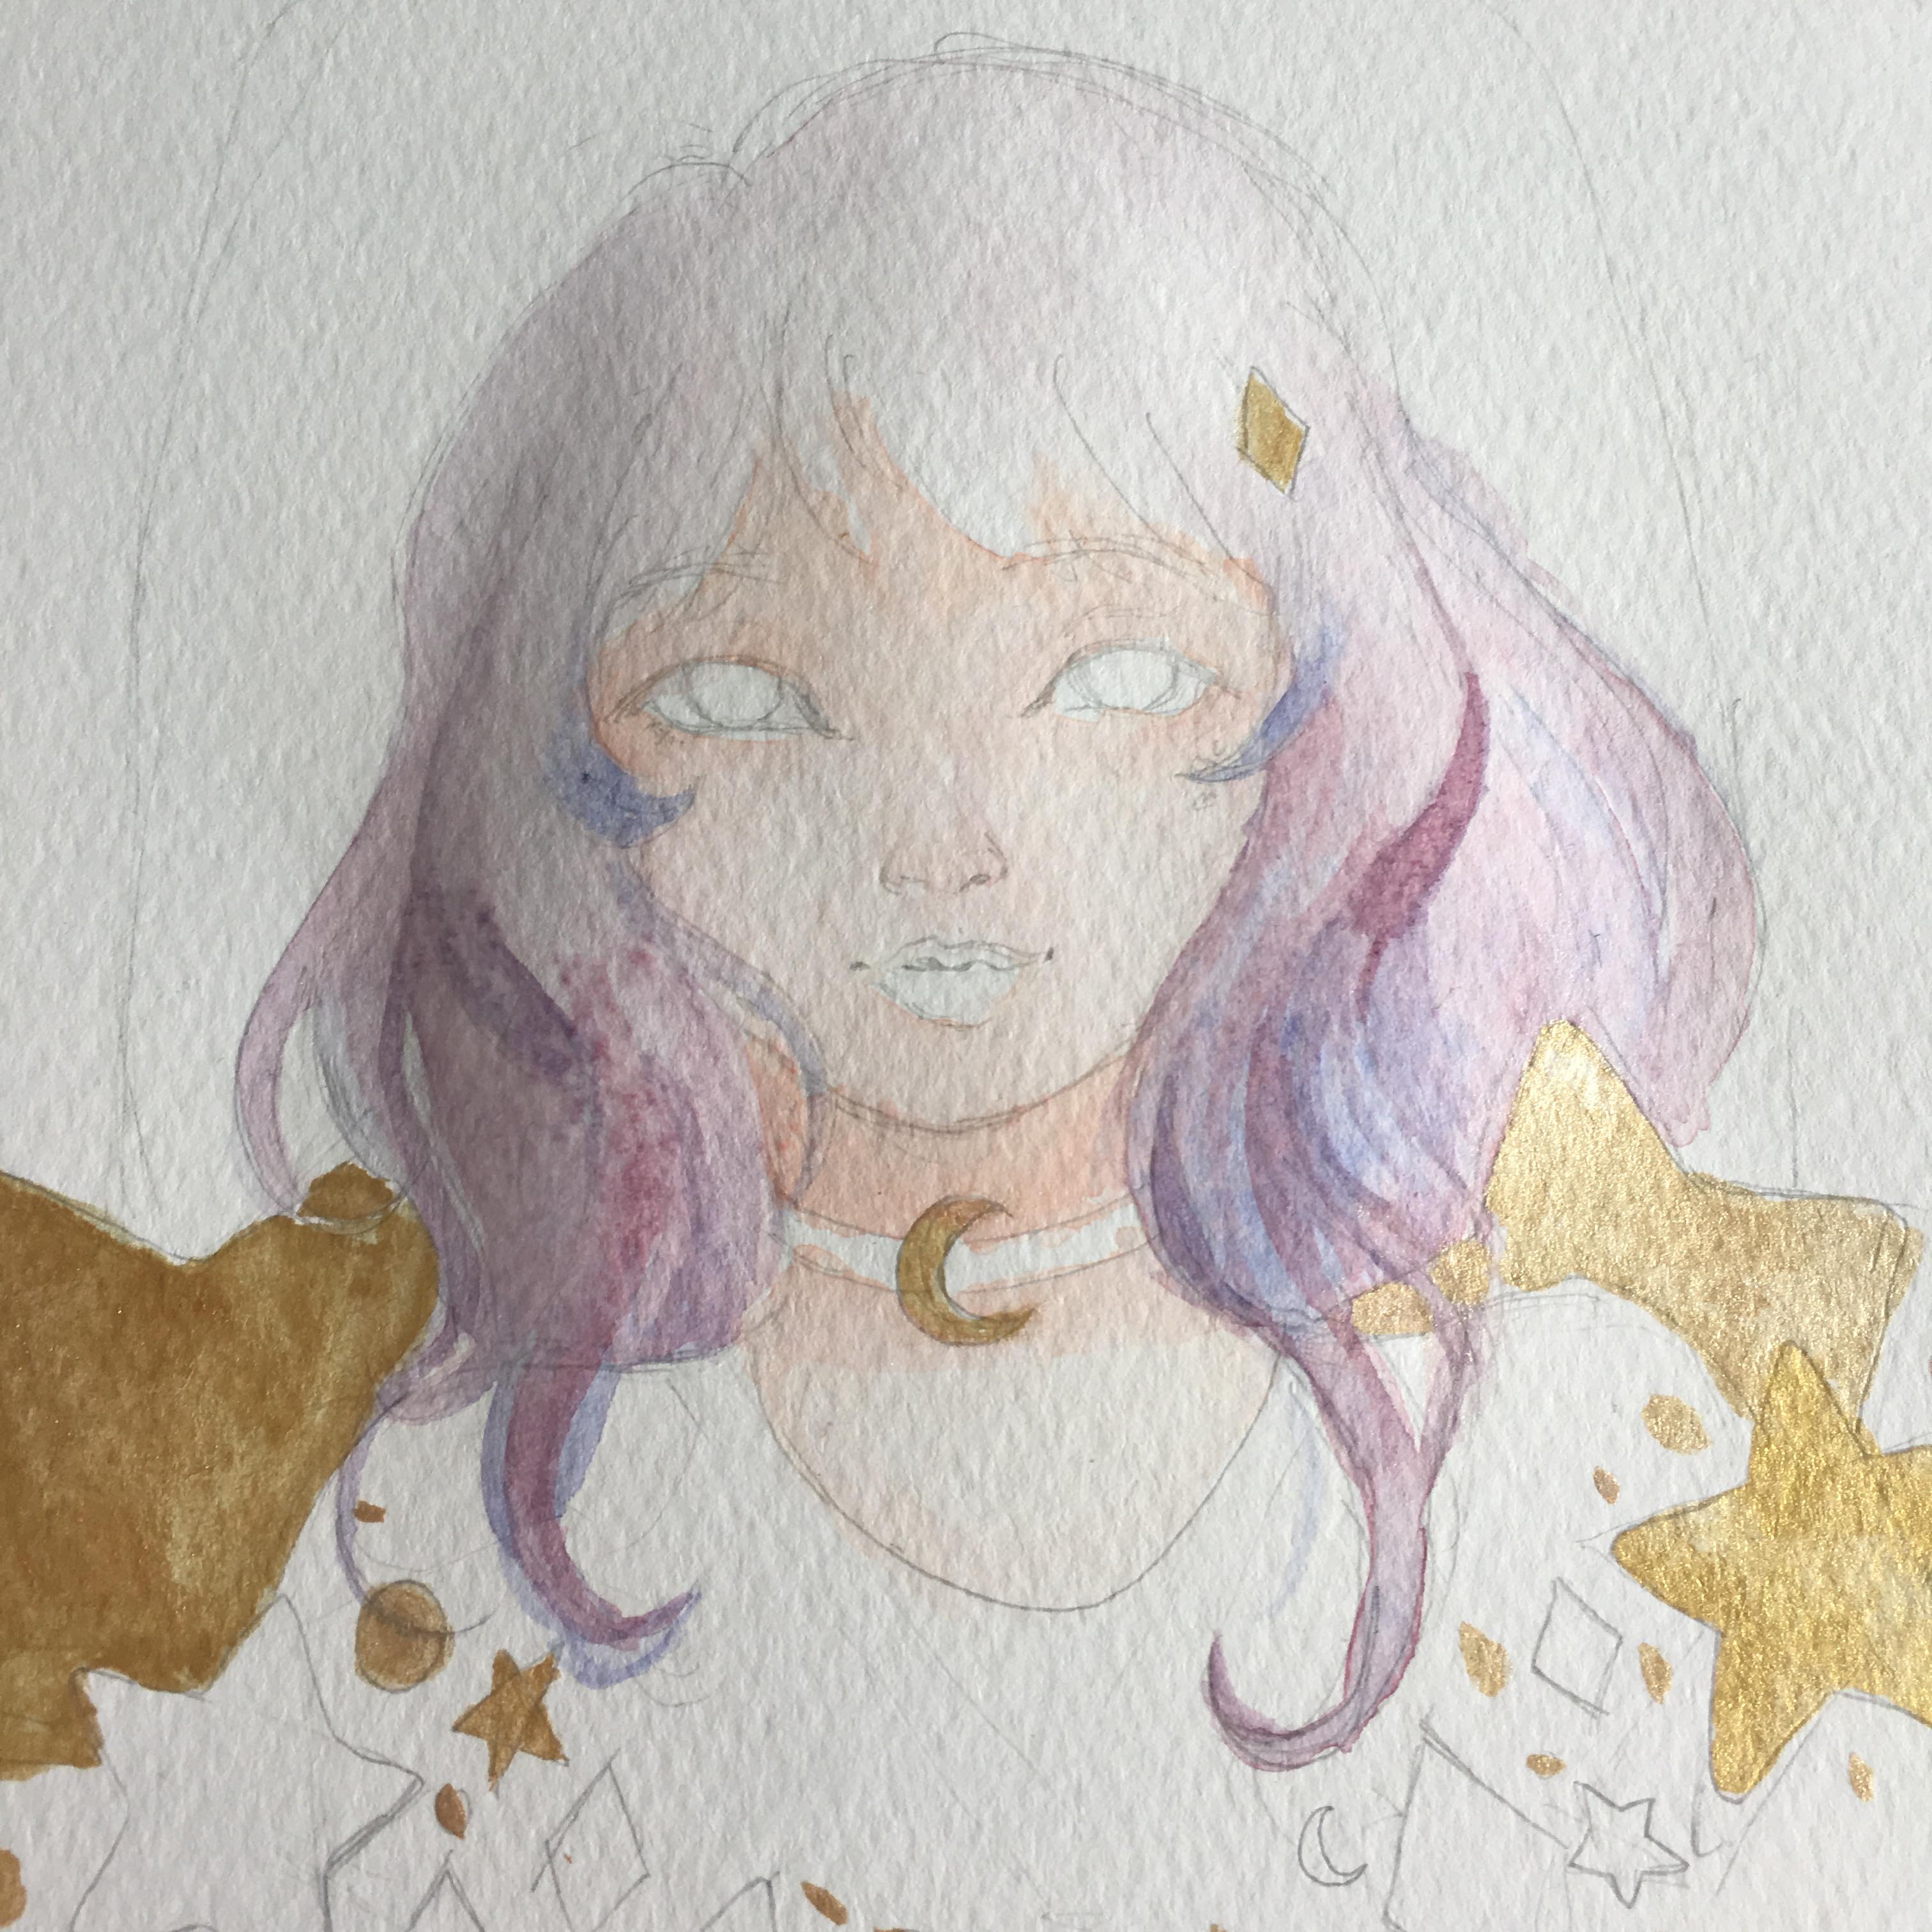
After waiting for it to dry down a little bit, I start to wash the gradient down to the whole face and neck area. As you can see the picture above, it has this subtle gradient to the look. I will usually leave it as it is, for now, to let it dry so I can render it to make it look more detailed afterwards.
Hair day, Everyday!
I mixed Cadmium Red and a little bit of Ultramarine Outremer
I am still experimenting with ways to paint hair as I have been trying to learn how to make the colours flow better in hair colour rendering. I used the wash out technique to create the dark gradient on the bottom part of the hair and pull it upwards to the roots of the hair.
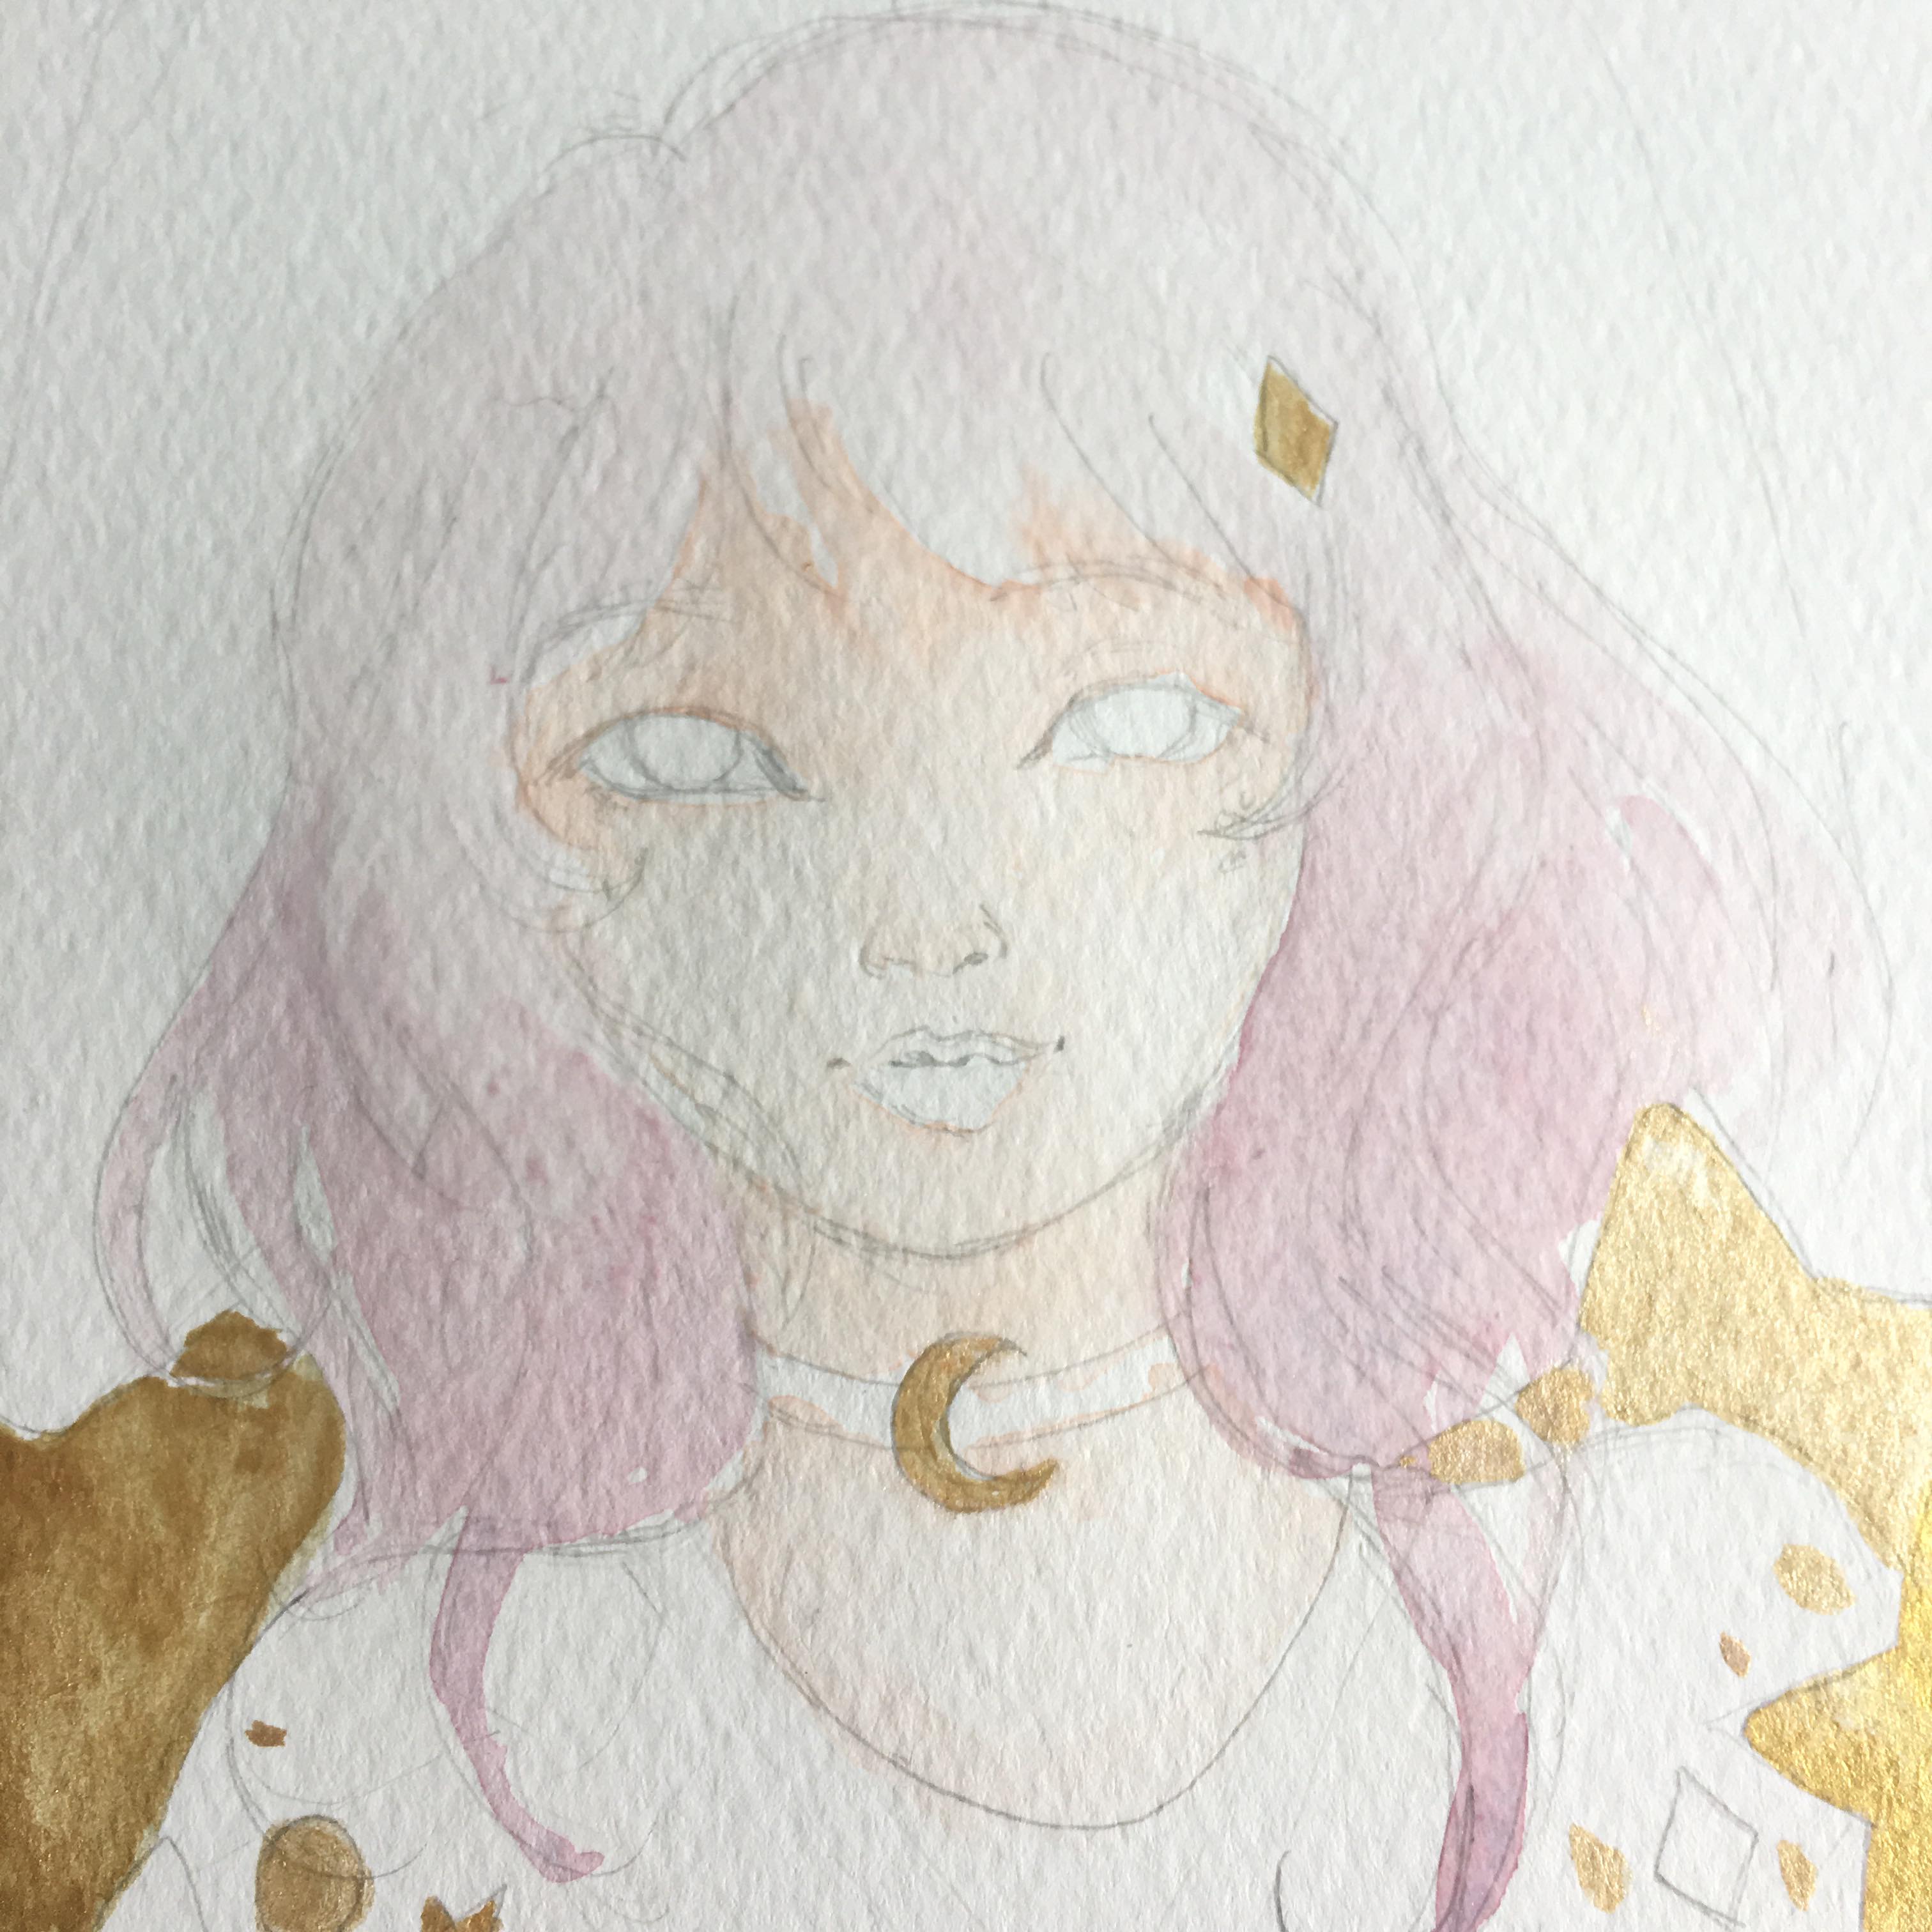
I start adding a bit more colour in the hair to create a gradient look to it by adding a bit of the blue in the wash. With watercolour, even though it looks a bit too much or harsh, you can always wash it out or let it dry because watercolours are very soft when it is dried down.
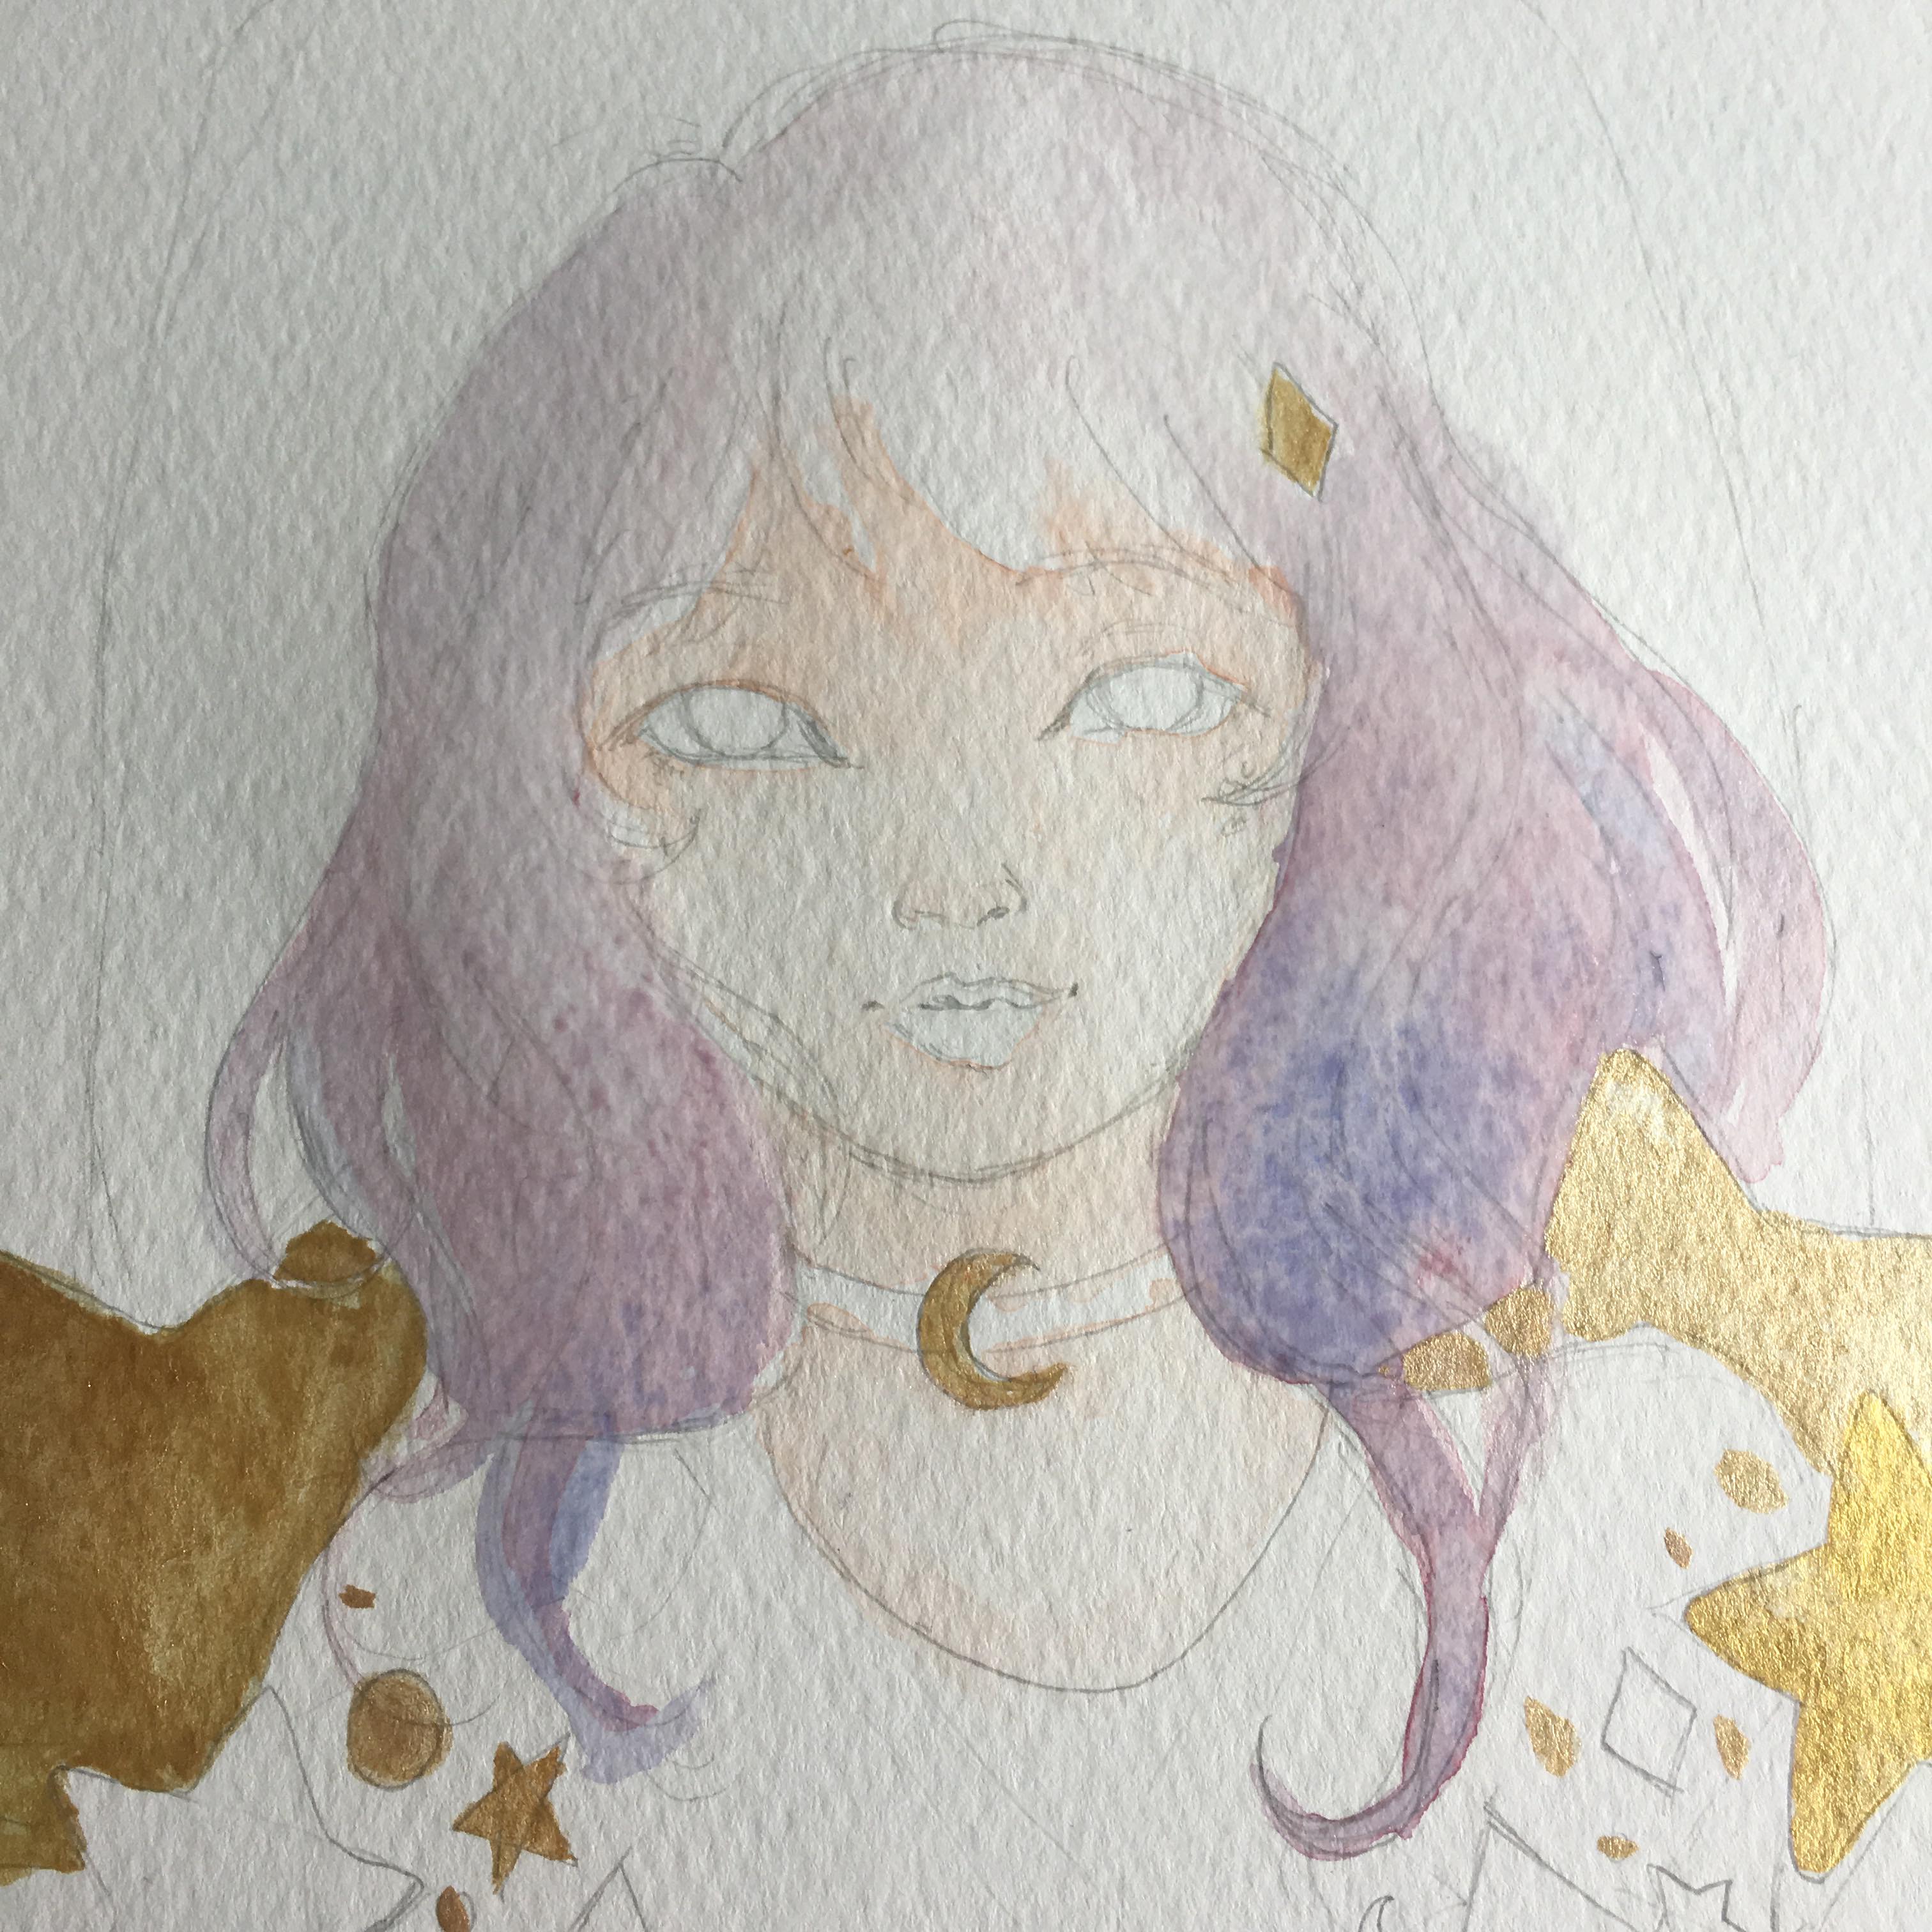
Adding some hair strands after the paint is dried down was my next step. I began to experiment by painting a strong shade and use a wet brush to dilute the colours. It makes like a stain effect on the painting and it looks really good once you know how to nail the technique down, it will create wonders of gradient ( and here I am still trying OTL )
Next Episode on Nina's Watercolour Process!
I will be sharing with you how I will create this galaxy background and maybe add in some supernova's in. Skin details, eyes and maybe outlining the drawing will be shared on my next post. Thank you so much for reading my process and I will update the next blog tomorrow!

animated by @zord189
credit to @zomagic!
Ha! I've been waiting for your watercolour post.
And oh wow, even seeing the colours' name are 'aliens' to me.
trust me, i only memorize some of them xD but if you’d like me to teach you a thing or two about watercolour, i would love to ^^ its really fun and it be easier for you since you have a background in art
The only problem I have is using the paint too thick and too much. I like to do with copic markers usually. It likes an easier version of watercolour lol
I guess the basics of it would be awesome :D
The metallic gold looks so pretty! The hair colour reminds me so much of Sailor Pluto though~
╰(´︶`)╯♡
Congratulations @artsyhooman! You have completed some achievement on Steemit and have been rewarded with new badge(s) :
Click on any badge to view your own Board of Honor on SteemitBoard.
For more information about SteemitBoard, click here
If you no longer want to receive notifications, reply to this comment with the word
STOP