3DCGI (3D Computer Generated Imagery): A How to Get Involved Guide for Beginners and Interested People
Hello Steemians!
Did you know: before I was photographing the beautiful world around me I cut myself off from the world to learn 3D Computer Generated Imagery.


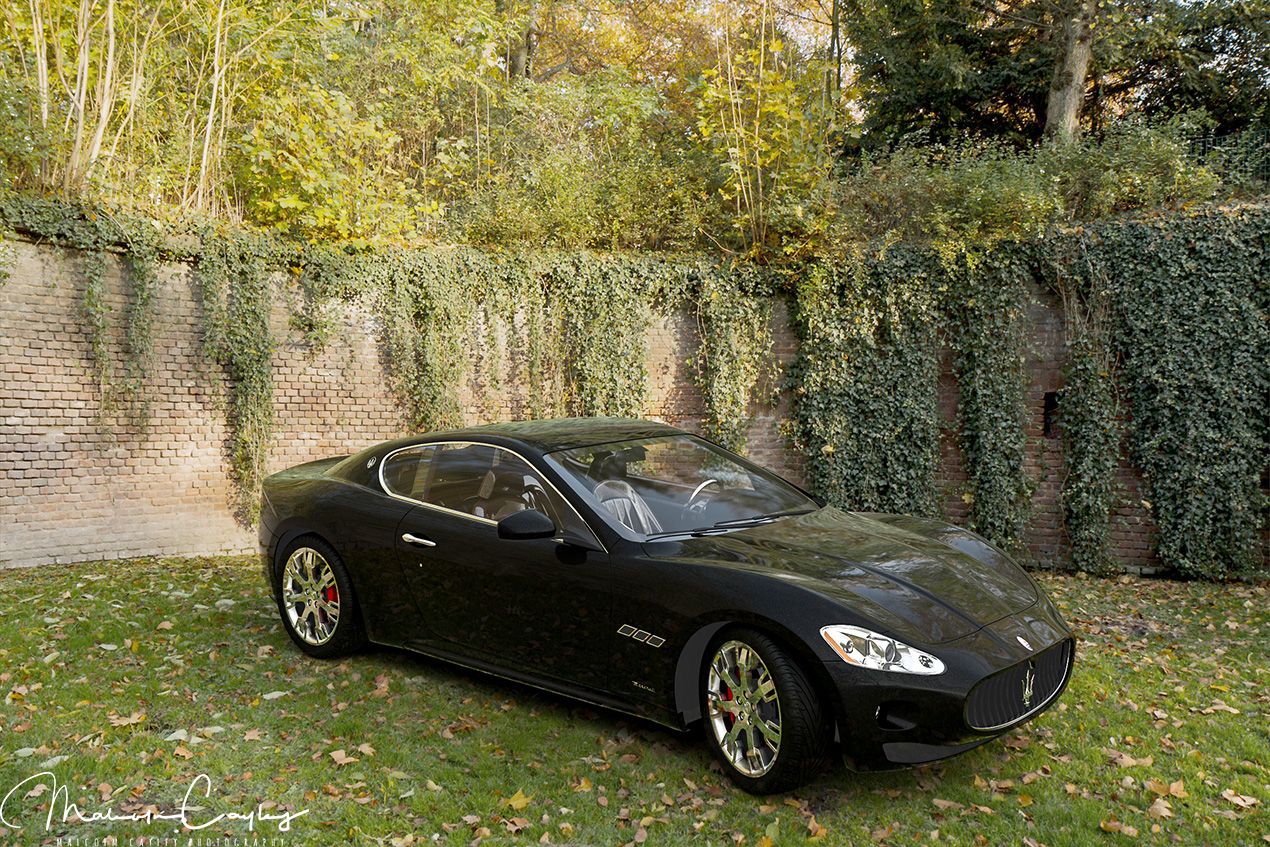
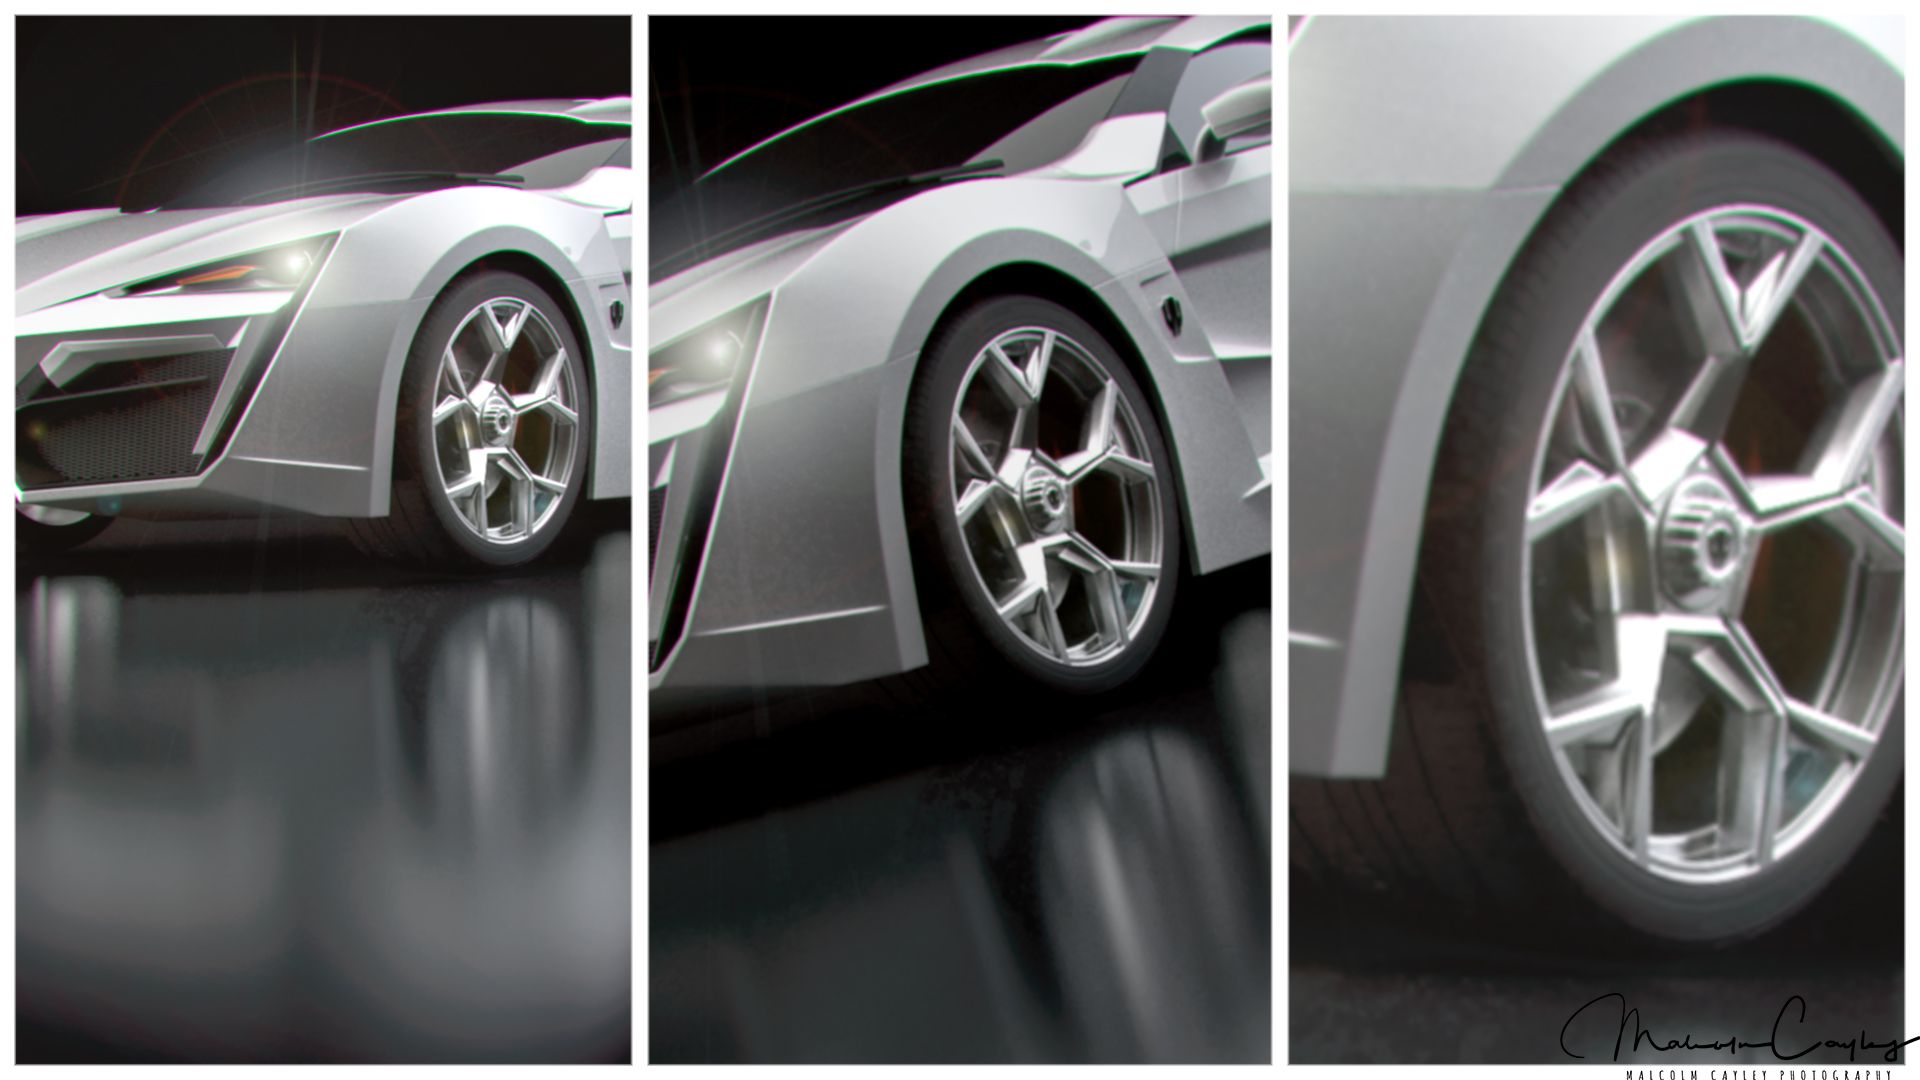
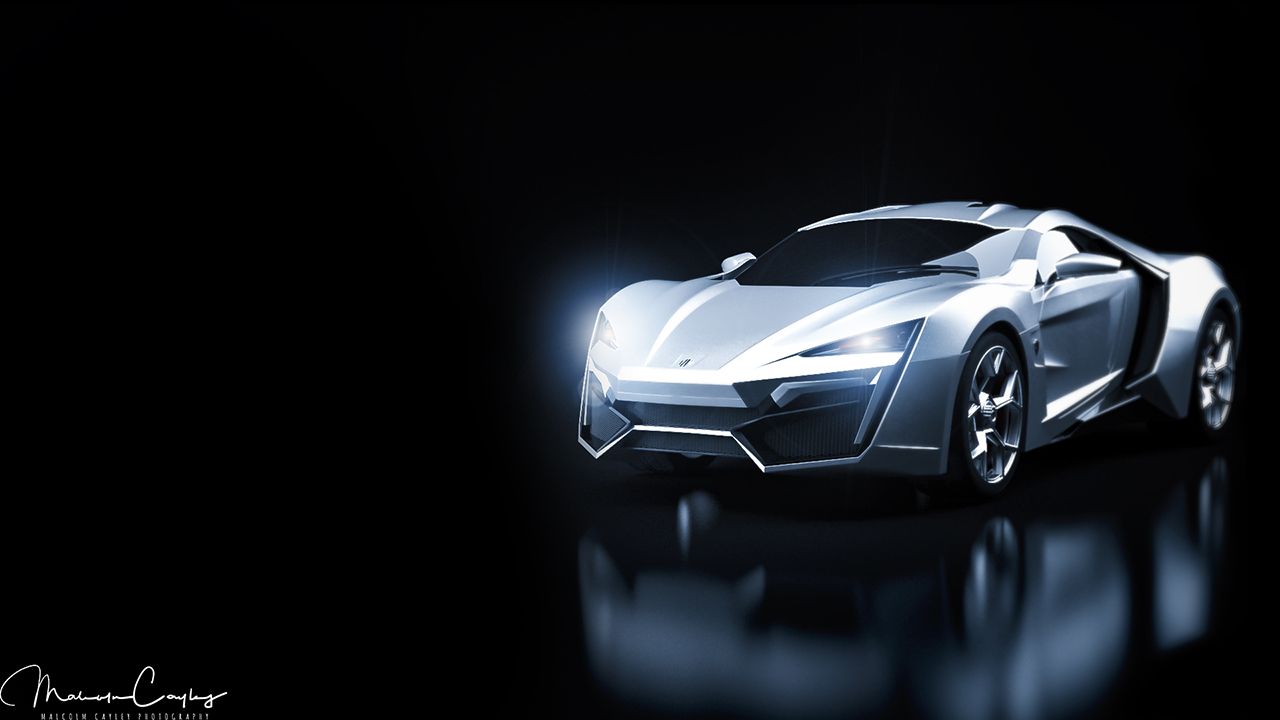
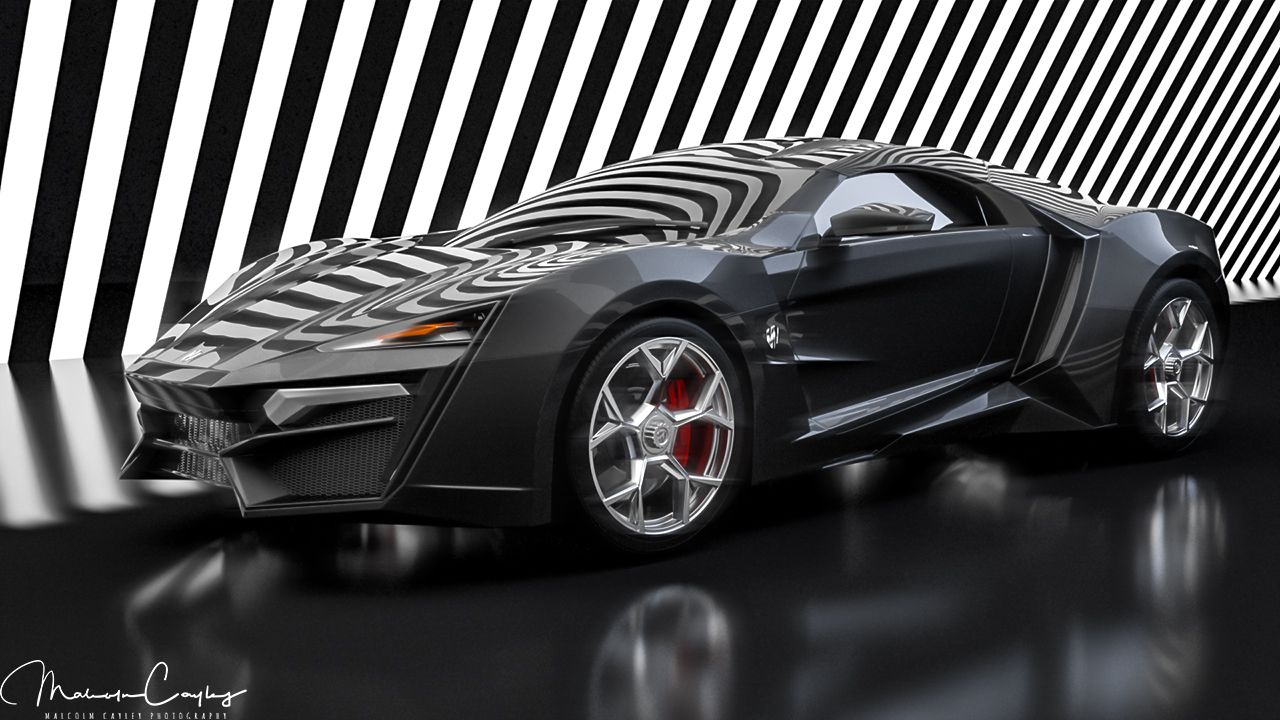
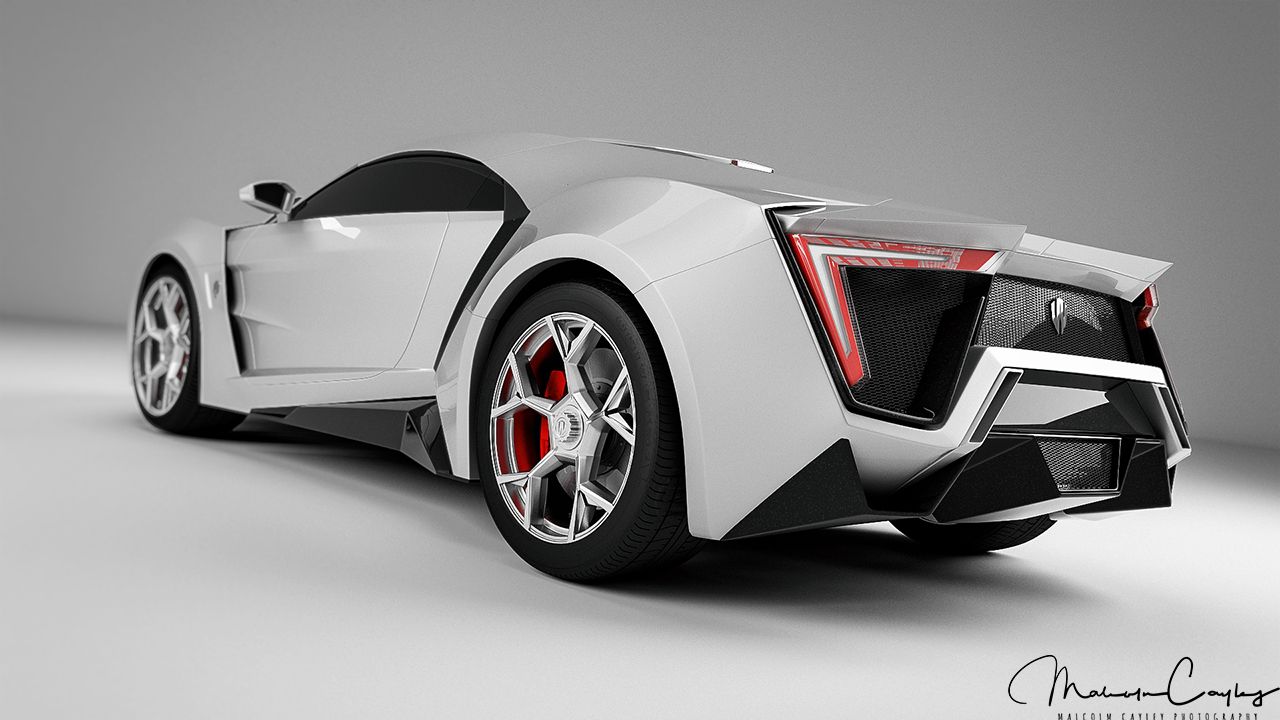
(Studio car render)
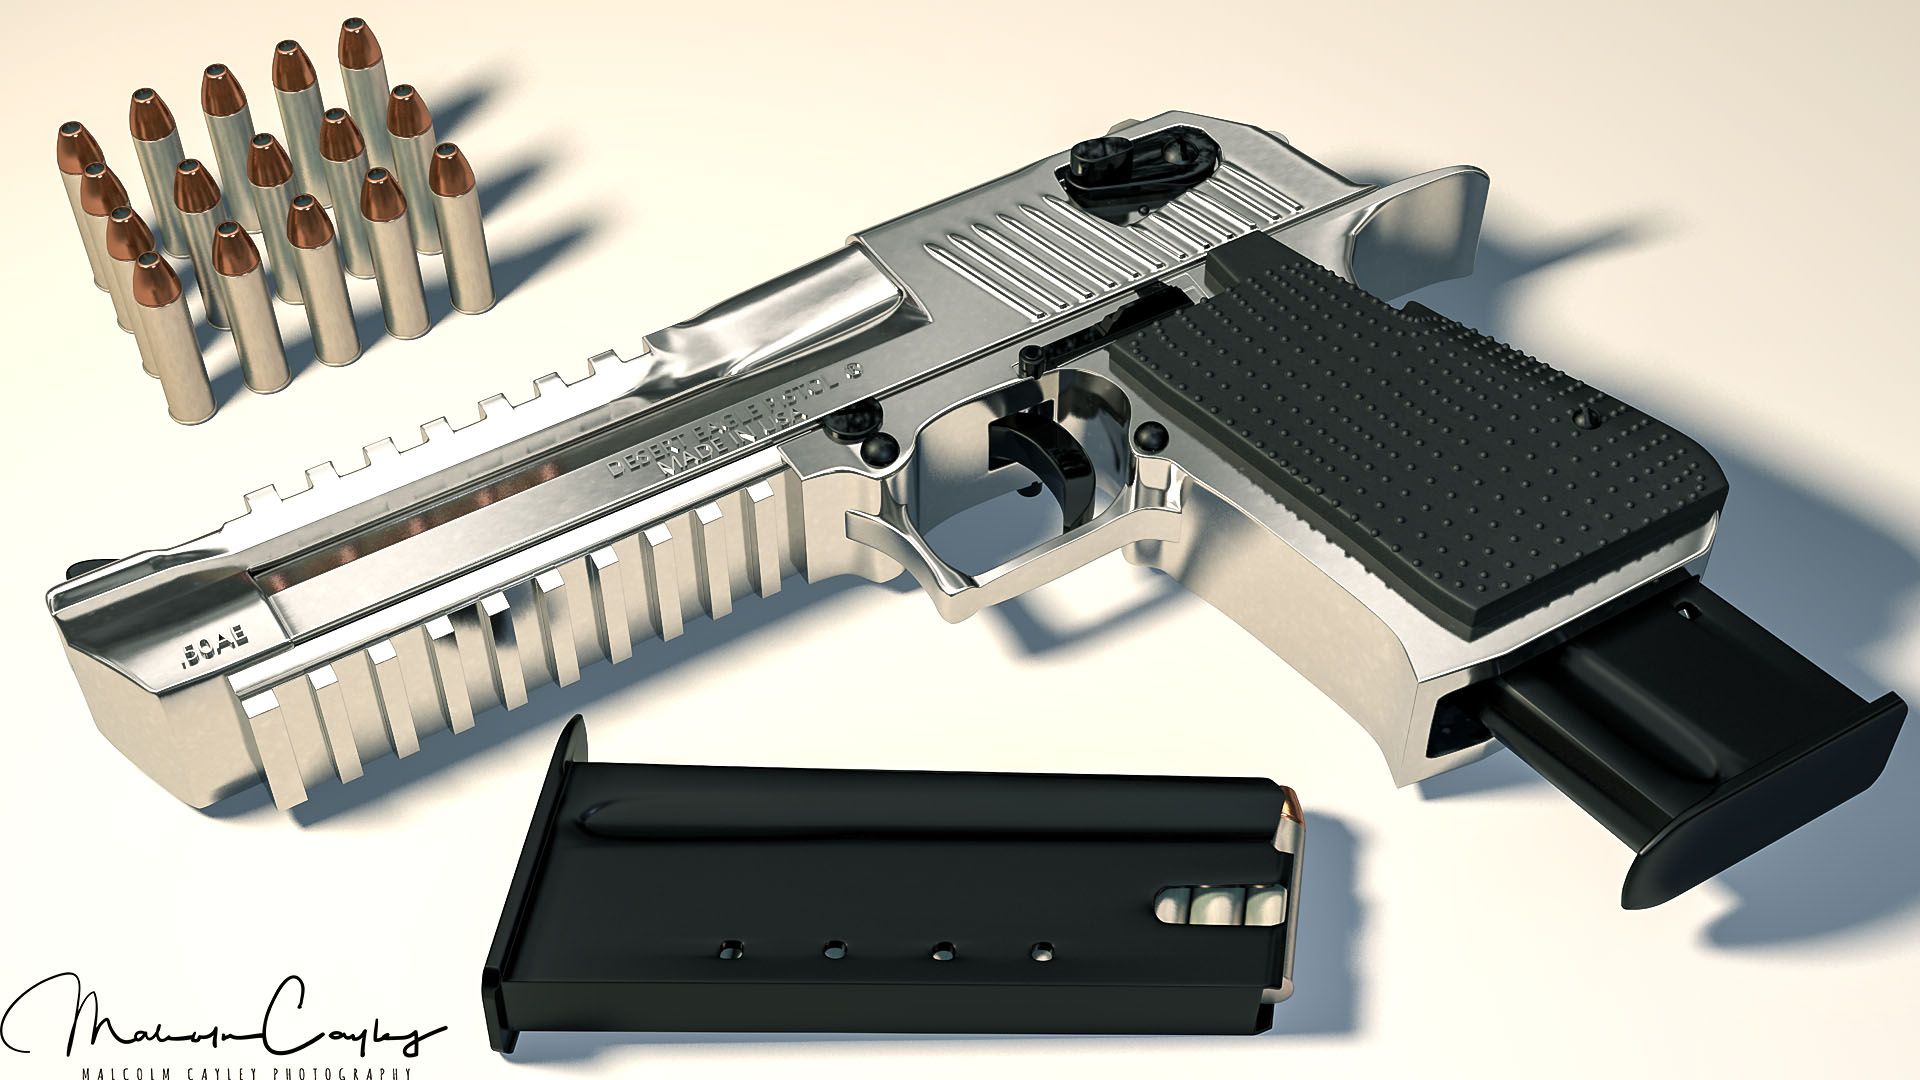
(Desert Eagle .50 complete with clip and bullets)
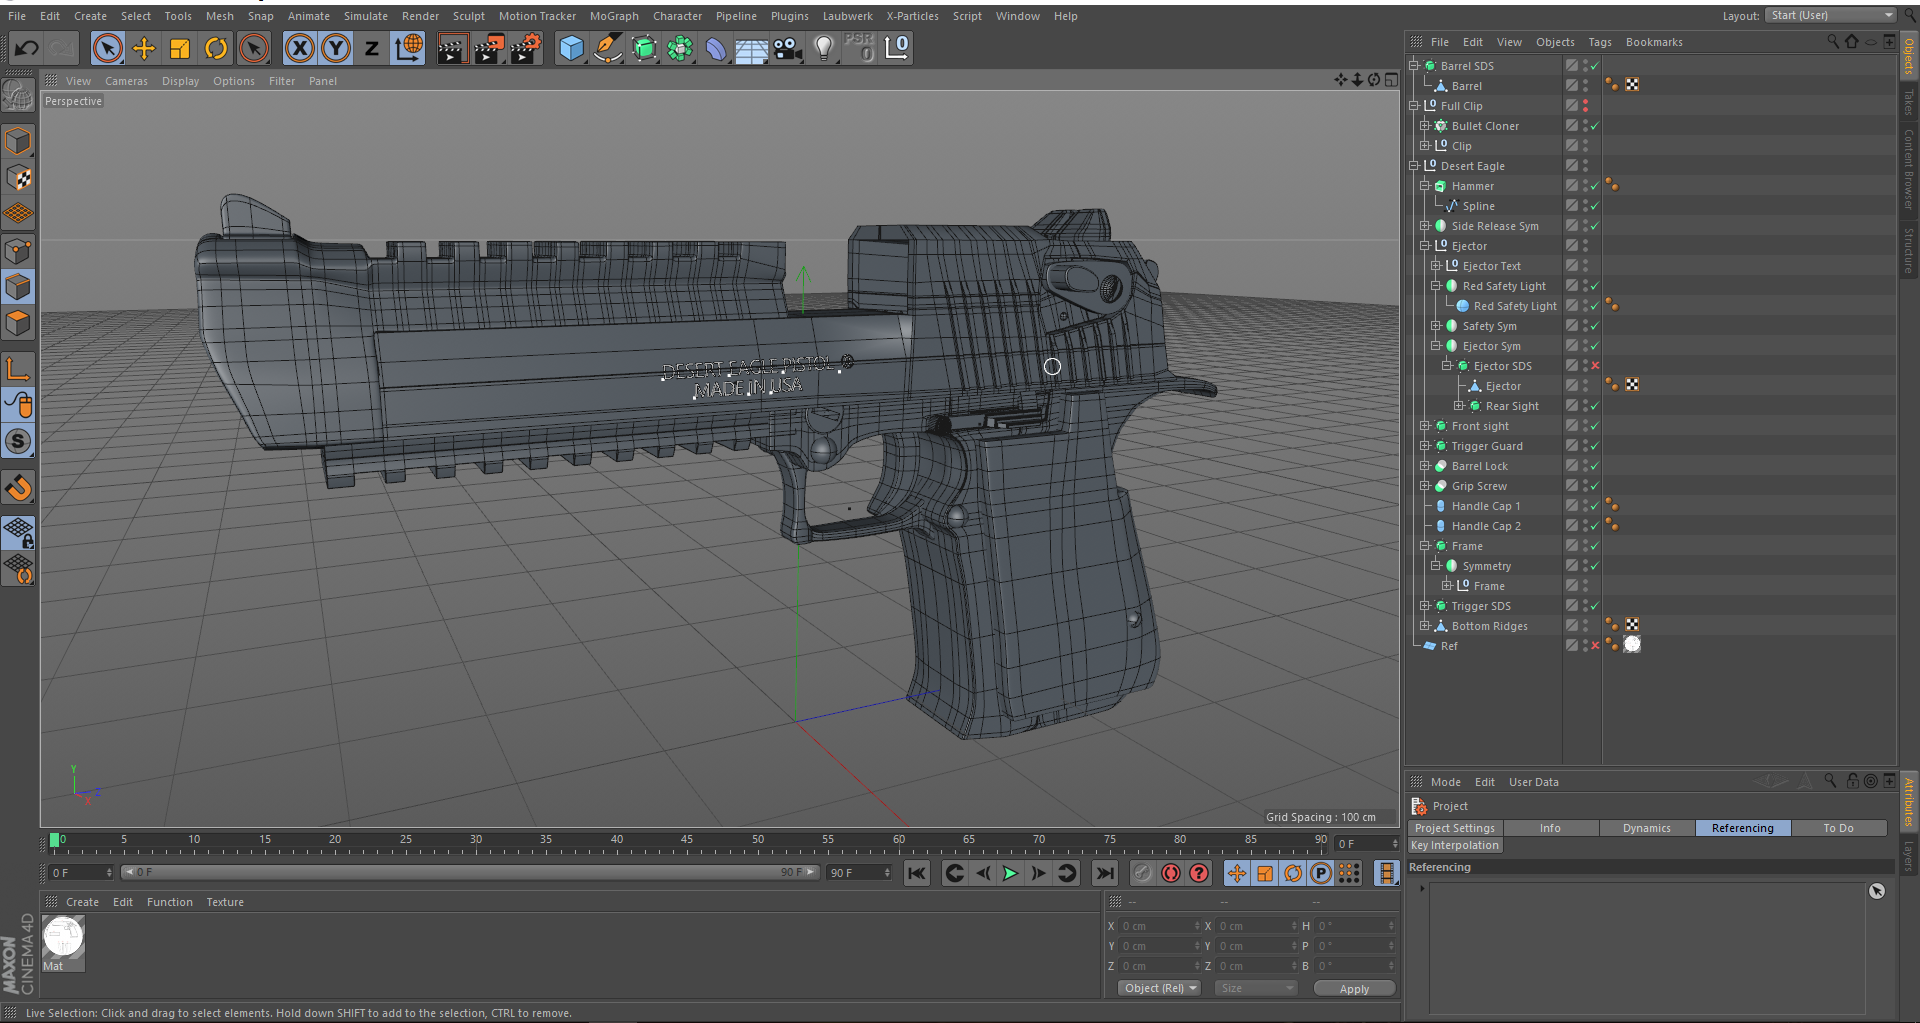
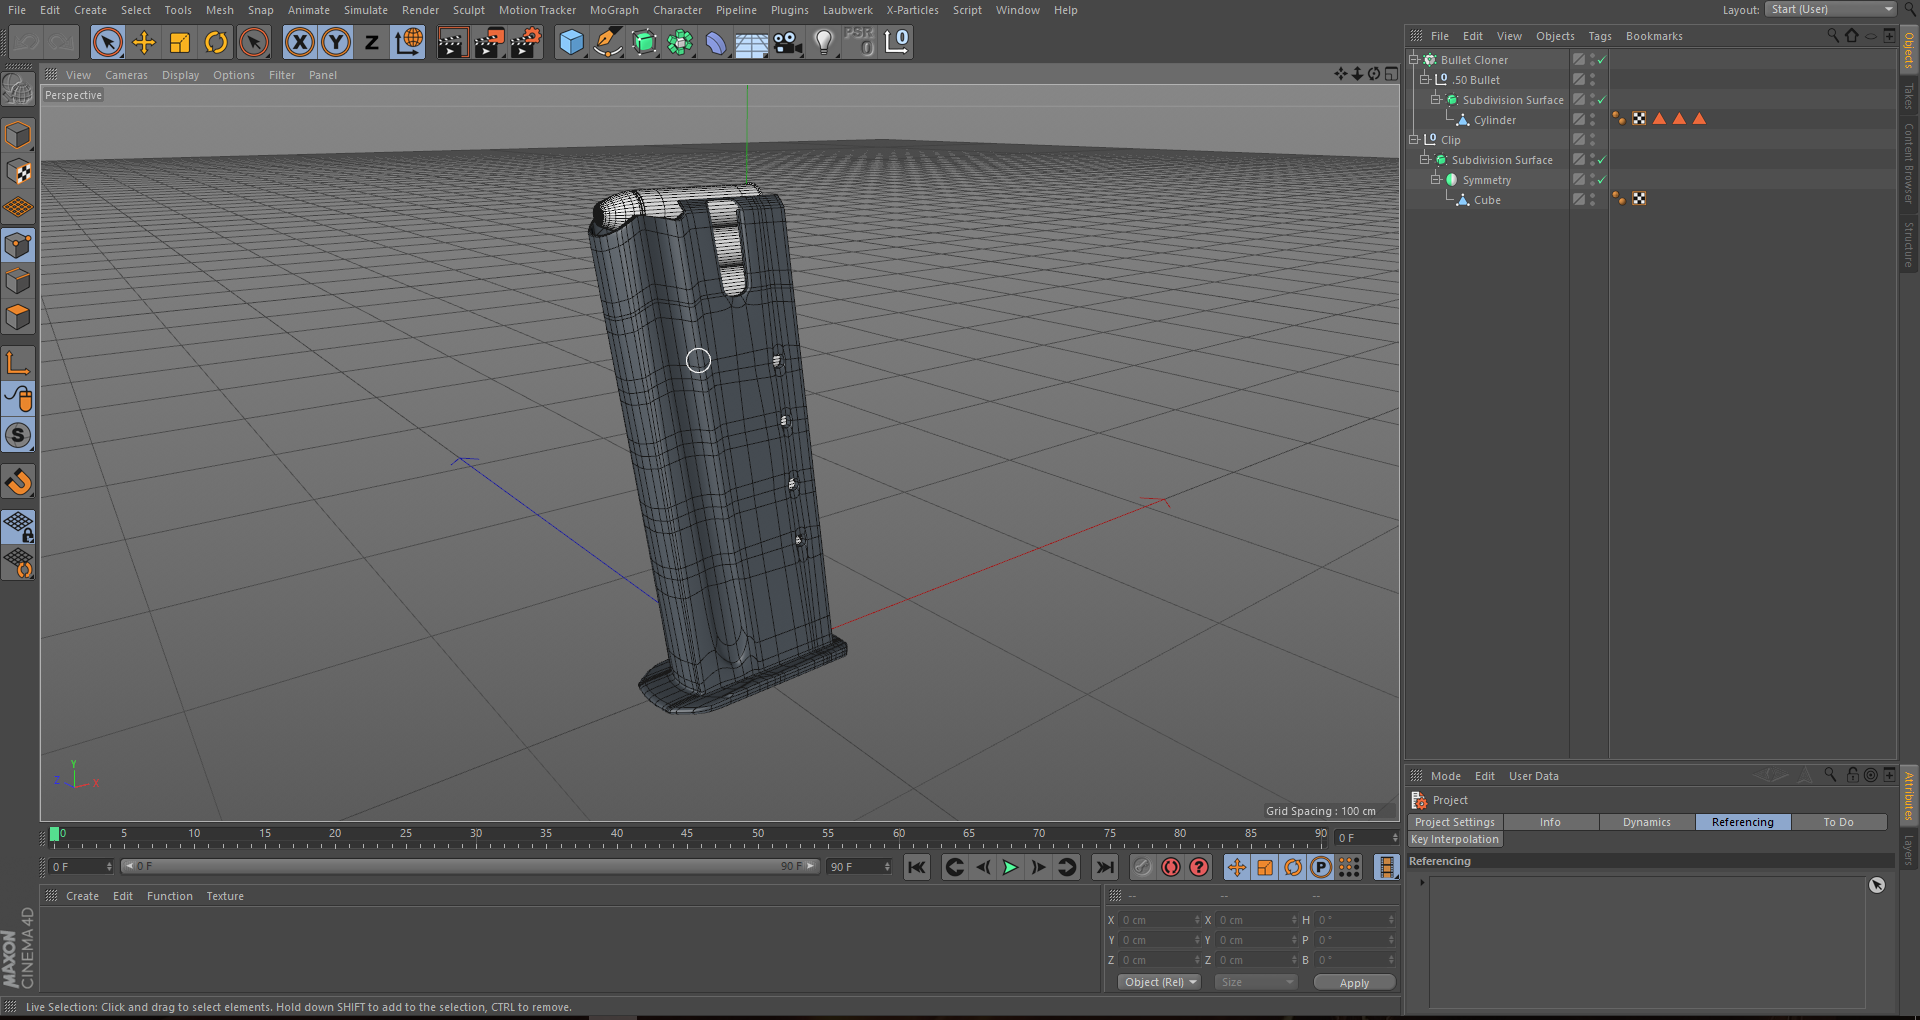
(Viewport images of the almost complete gun with the clip)

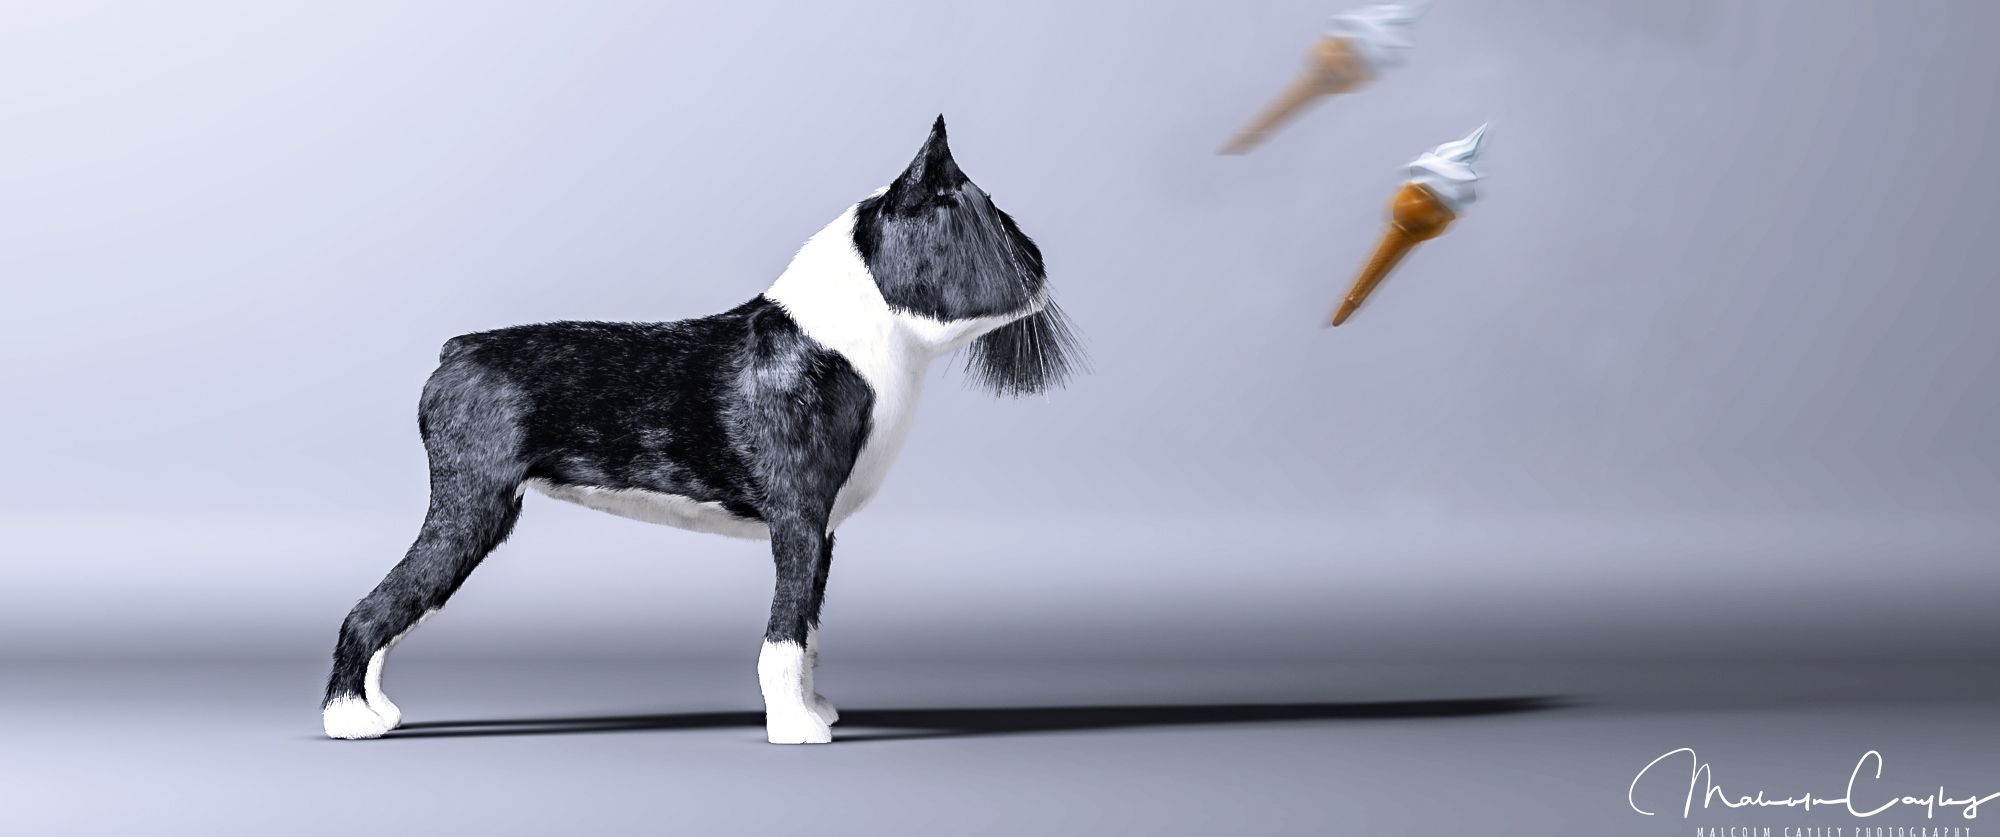
(Semi-realistic orange slice)
3D takes far longer to complete a scene than taking an entire shoot and fixing up the photos to make them presentable. In 3DCGI you have to create your world rather than just capture a nice composition. I have loads of respect for anyone involved in CGI regardless of if it is film or television or video games or anything really.


(Compositing a 3D object into a photograph. Final image, clay (material override) and viewport pictures)
Having the dedication to keep up with the latest techniques and updates that can fundamentally change your workflow is inspiring. However, photography and 3DCGI are not disconnected and, in fact, I owe 3D for much of my good photos because setting up a camera in 3D space, learning focal lengths and depth of field and so on are all part of rendering a 3D scene.
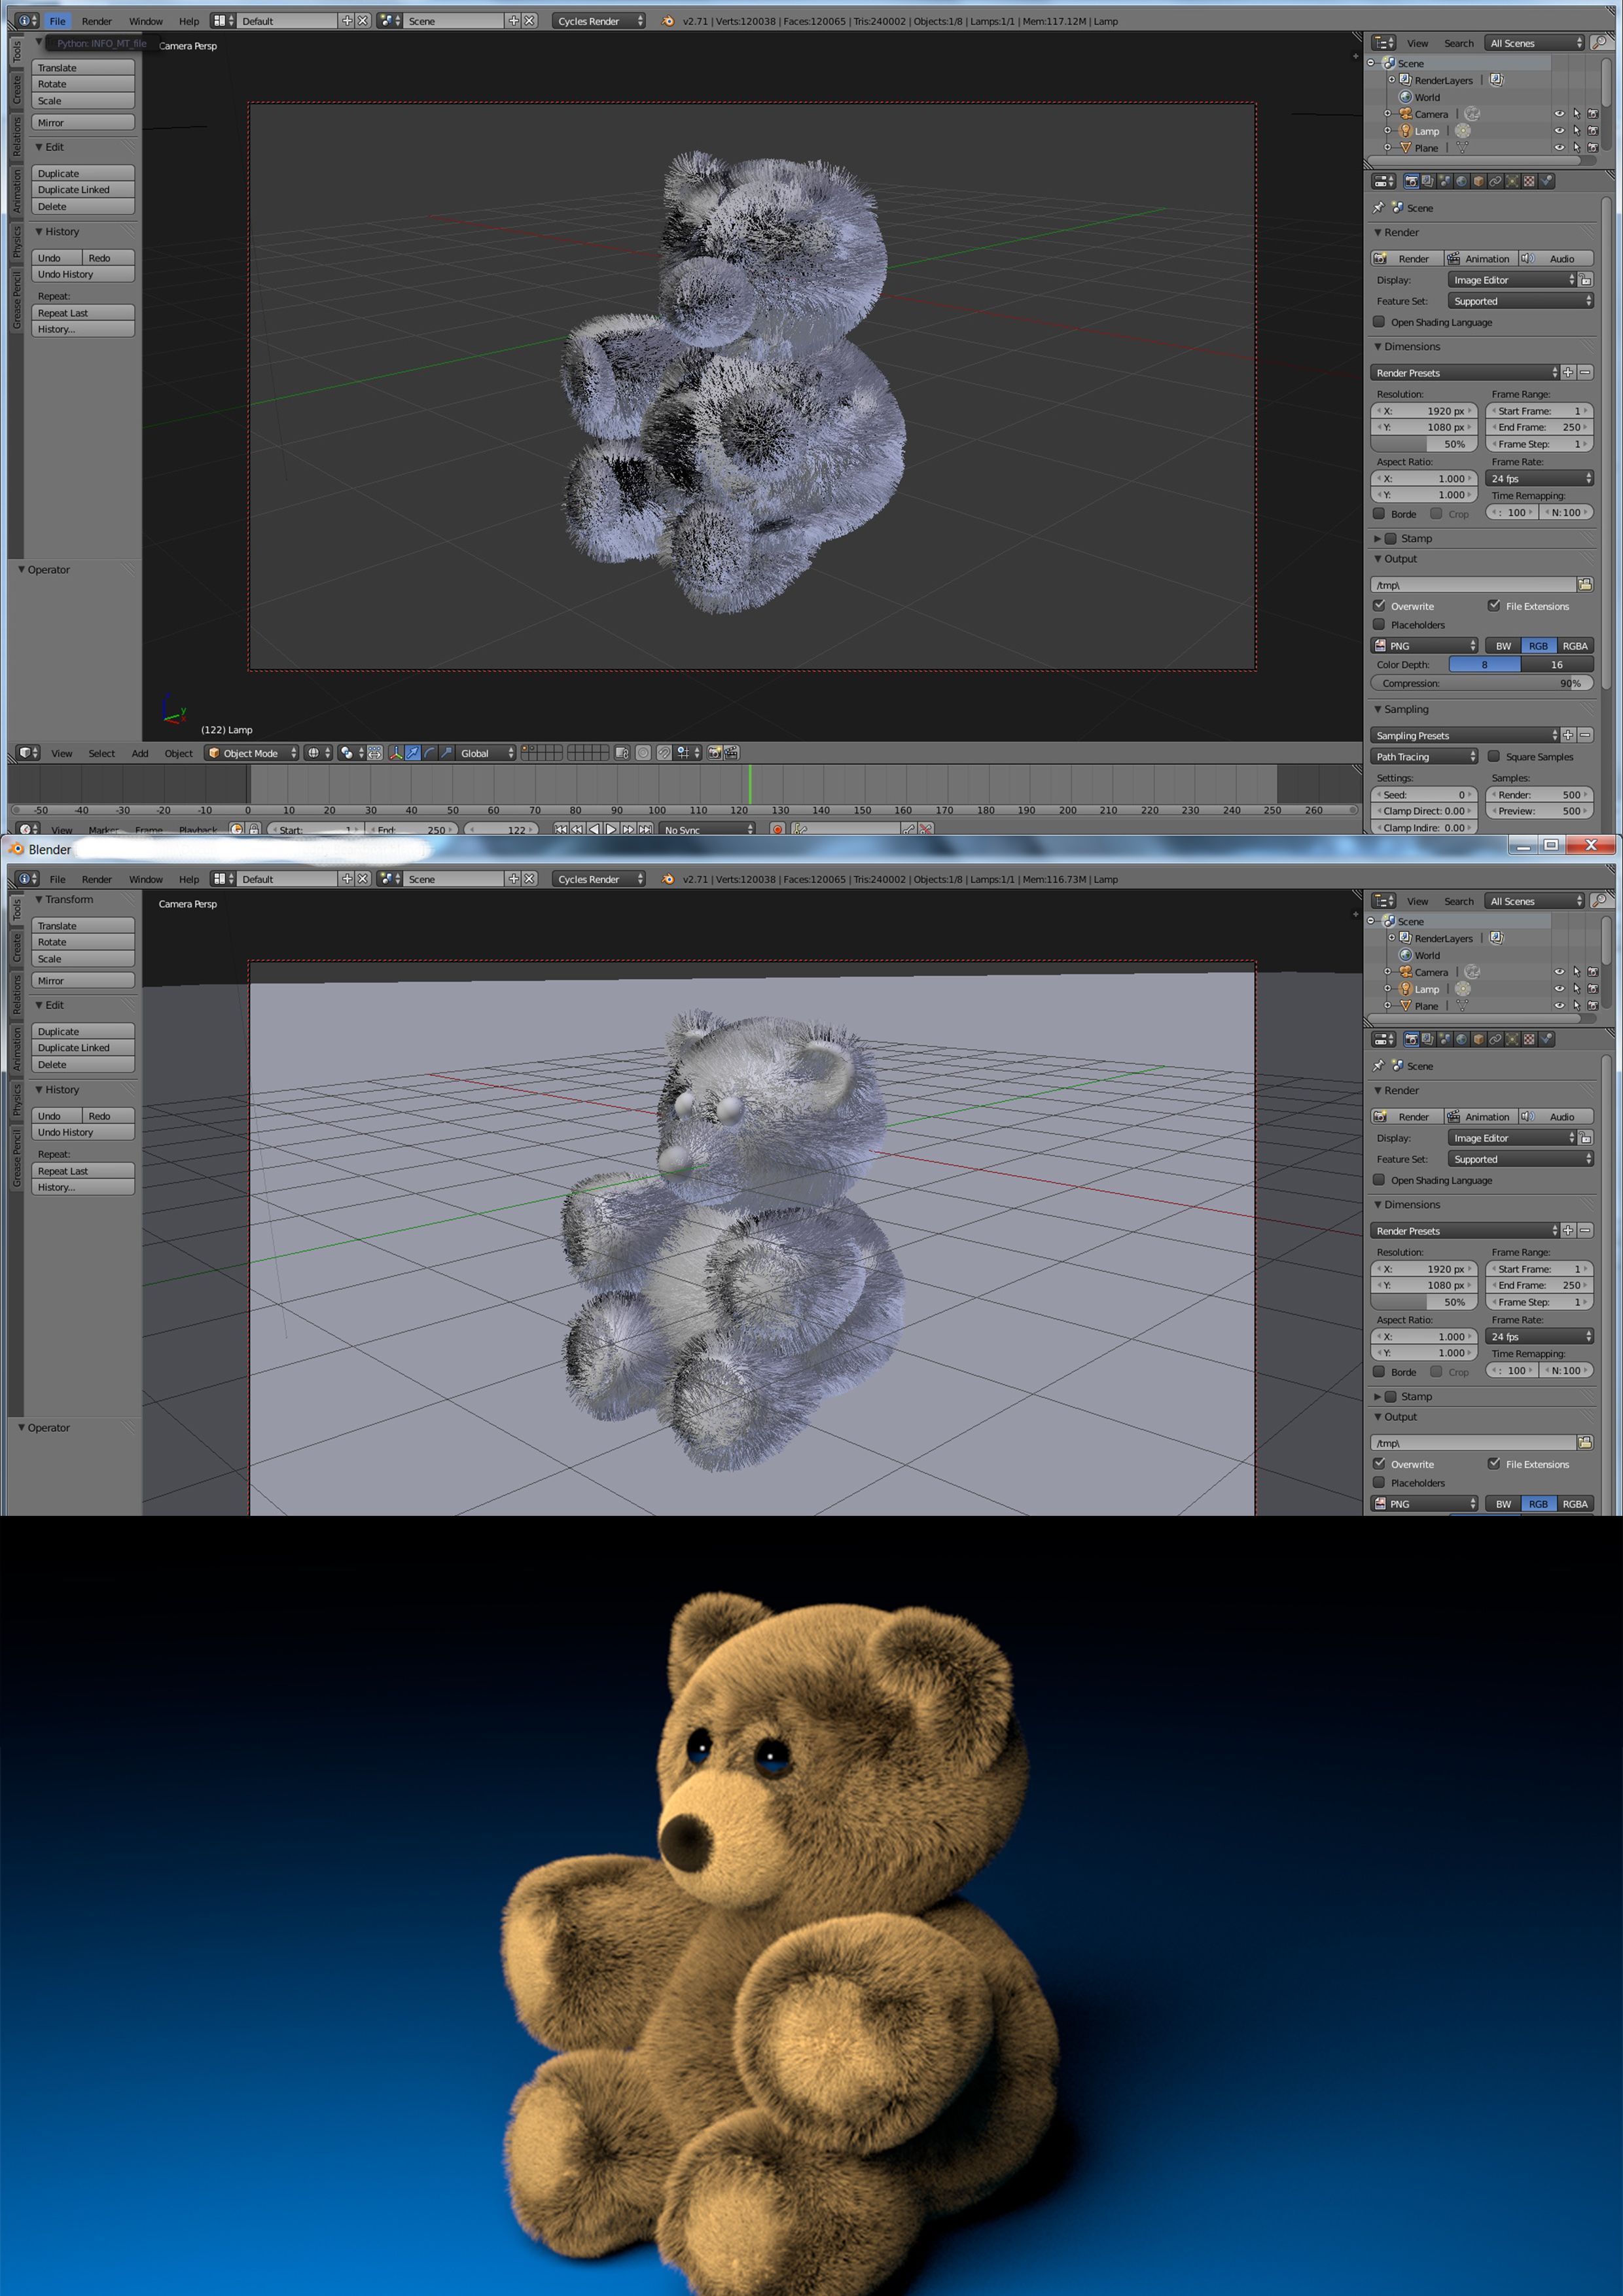
(My very first 3D project I made for my wife. Of course I followed a tutorial and learned about polygon modelling, the hair system, lighting, and rendering. Made with Blender.)

(Another very early project following a YouTube tutorial. Made with Blender.)
Key term: renders/rendering/render – the conversion of a 3D scene into a 2D picture. The rendering engine calculates light emissions and breaks down the scene in front of the virtual camera so you get your image (after tweaking of the parameters).
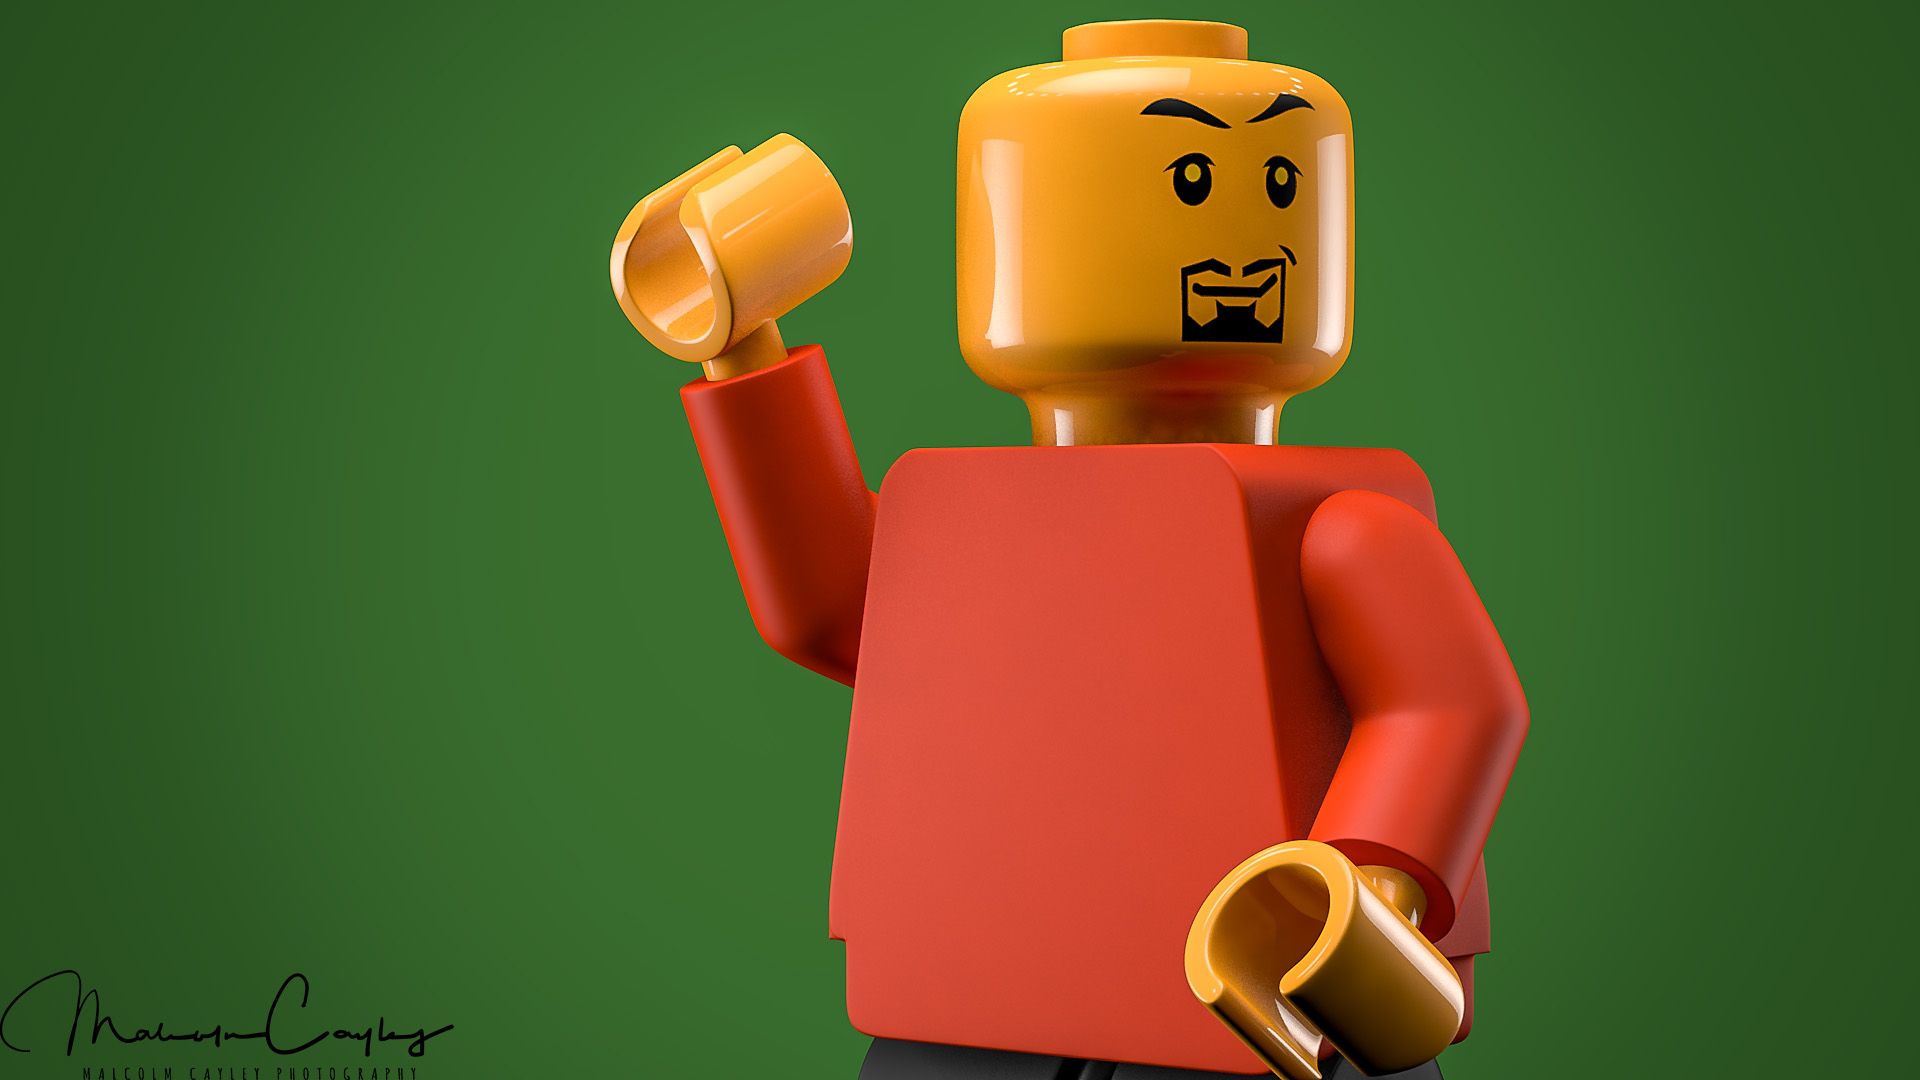
(Studio lighting practice with a 3D Lego Man)
Although I don’t have enough time to continue 3DCGI on a daily or weekly basis, I would like to share with you my journey and the steps I took to be able to feel confident enough to pursue my own renders. Most the time spend understanding a new category is spent figuring out the key terms to realise what it is that is possible and how that can be accomplished.
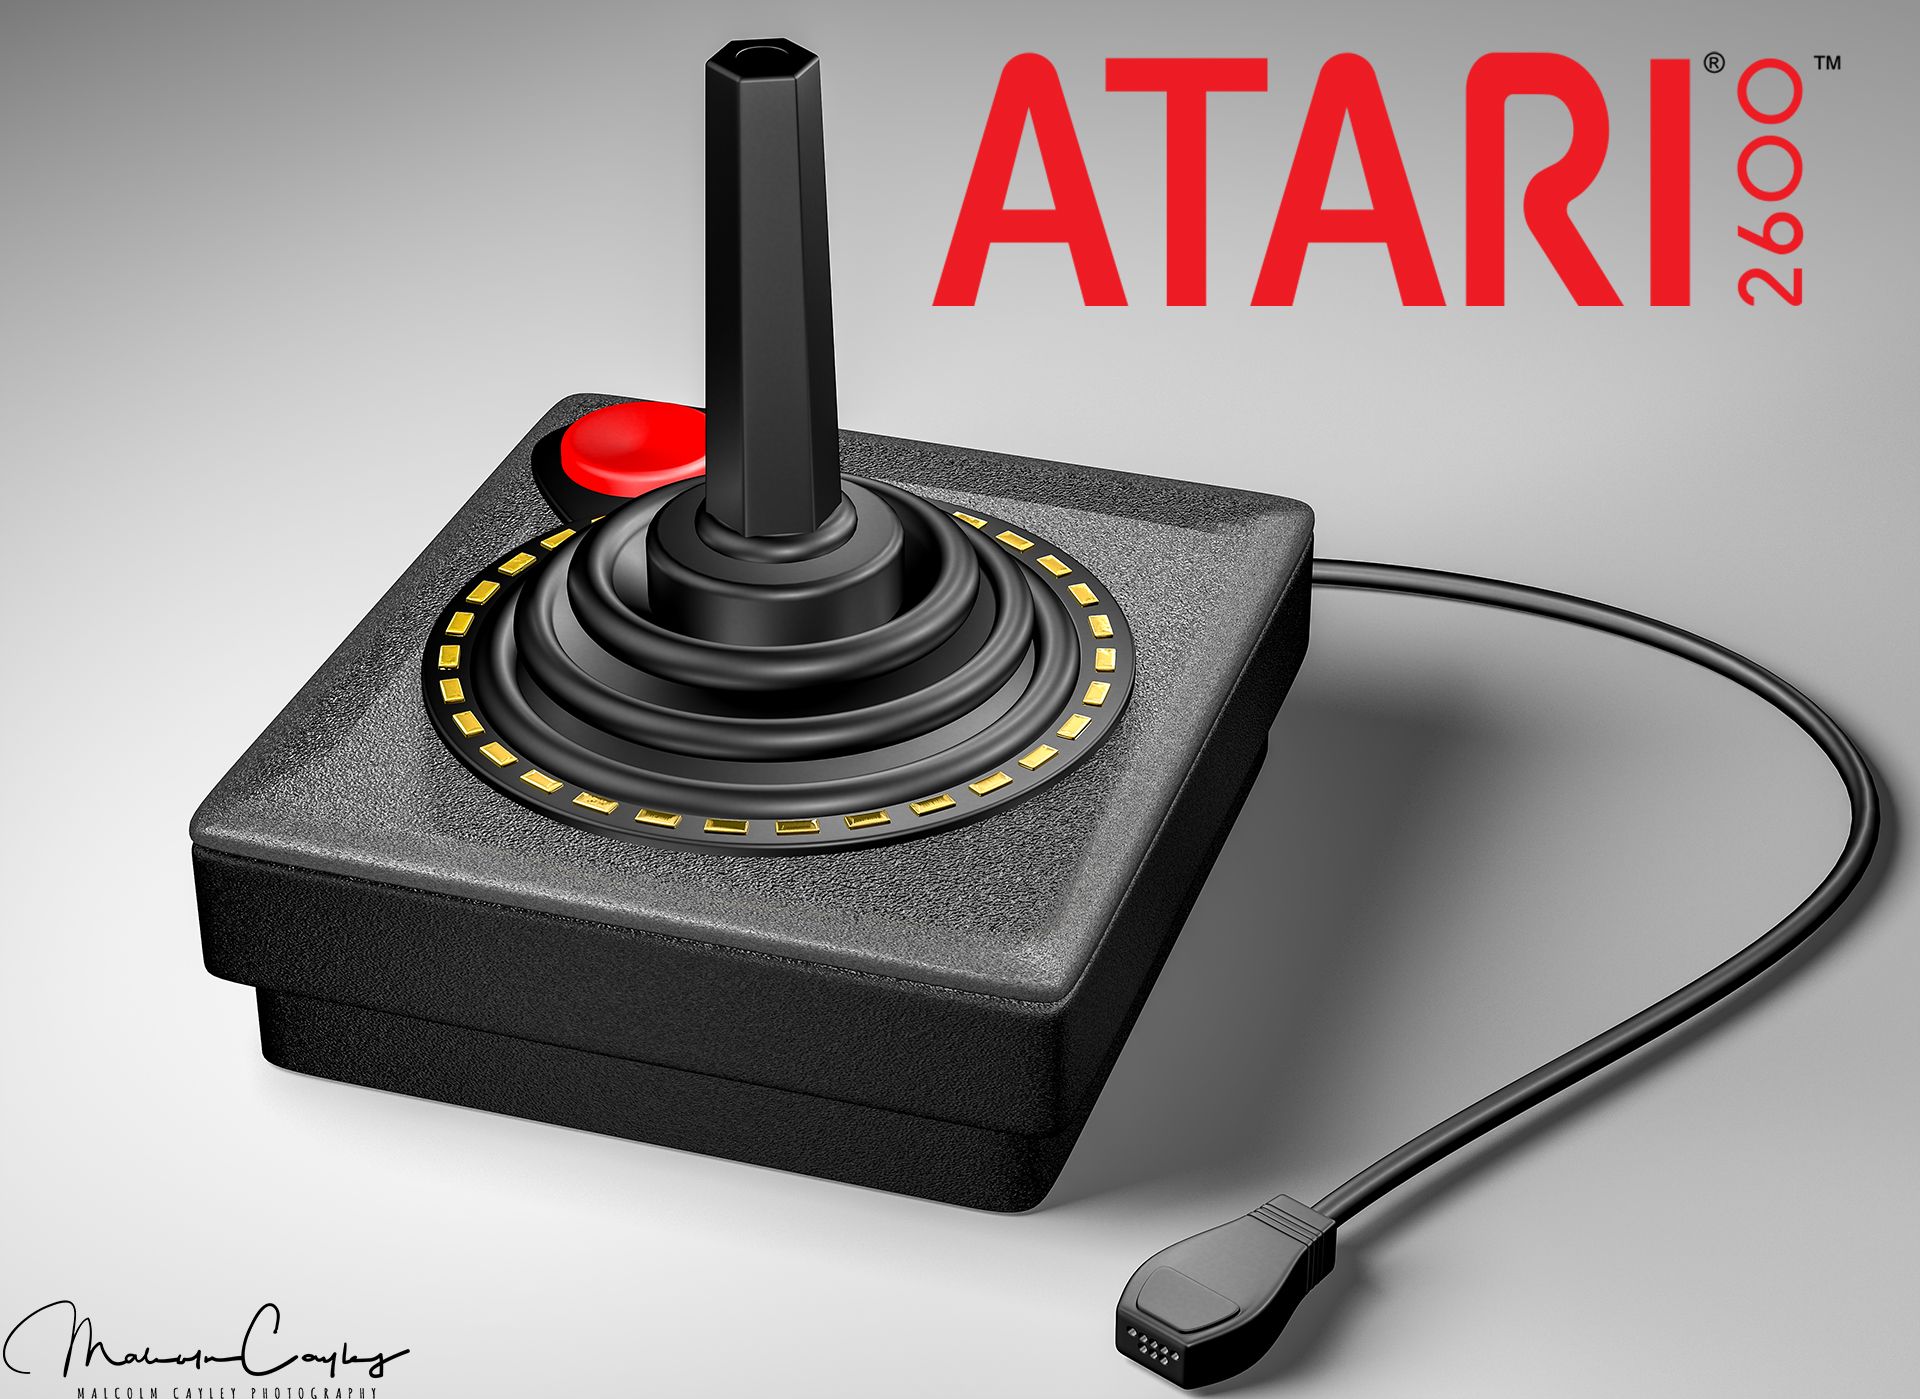
(Atari product mockup)
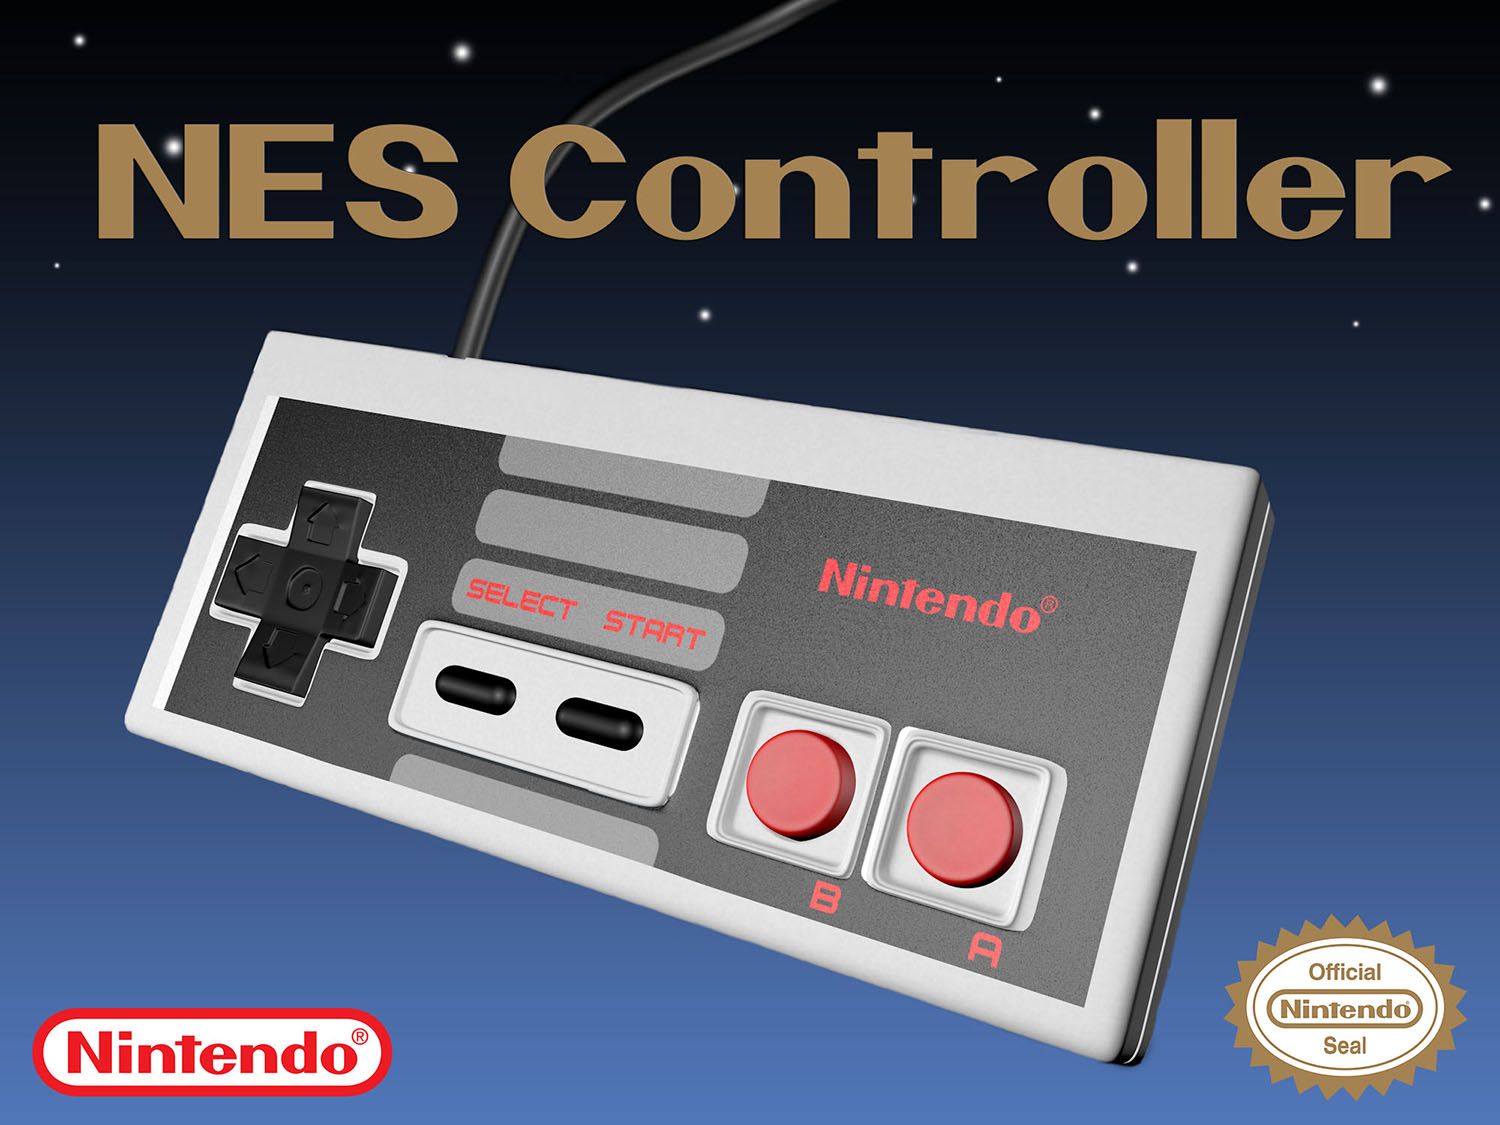
(NES controller mockup)
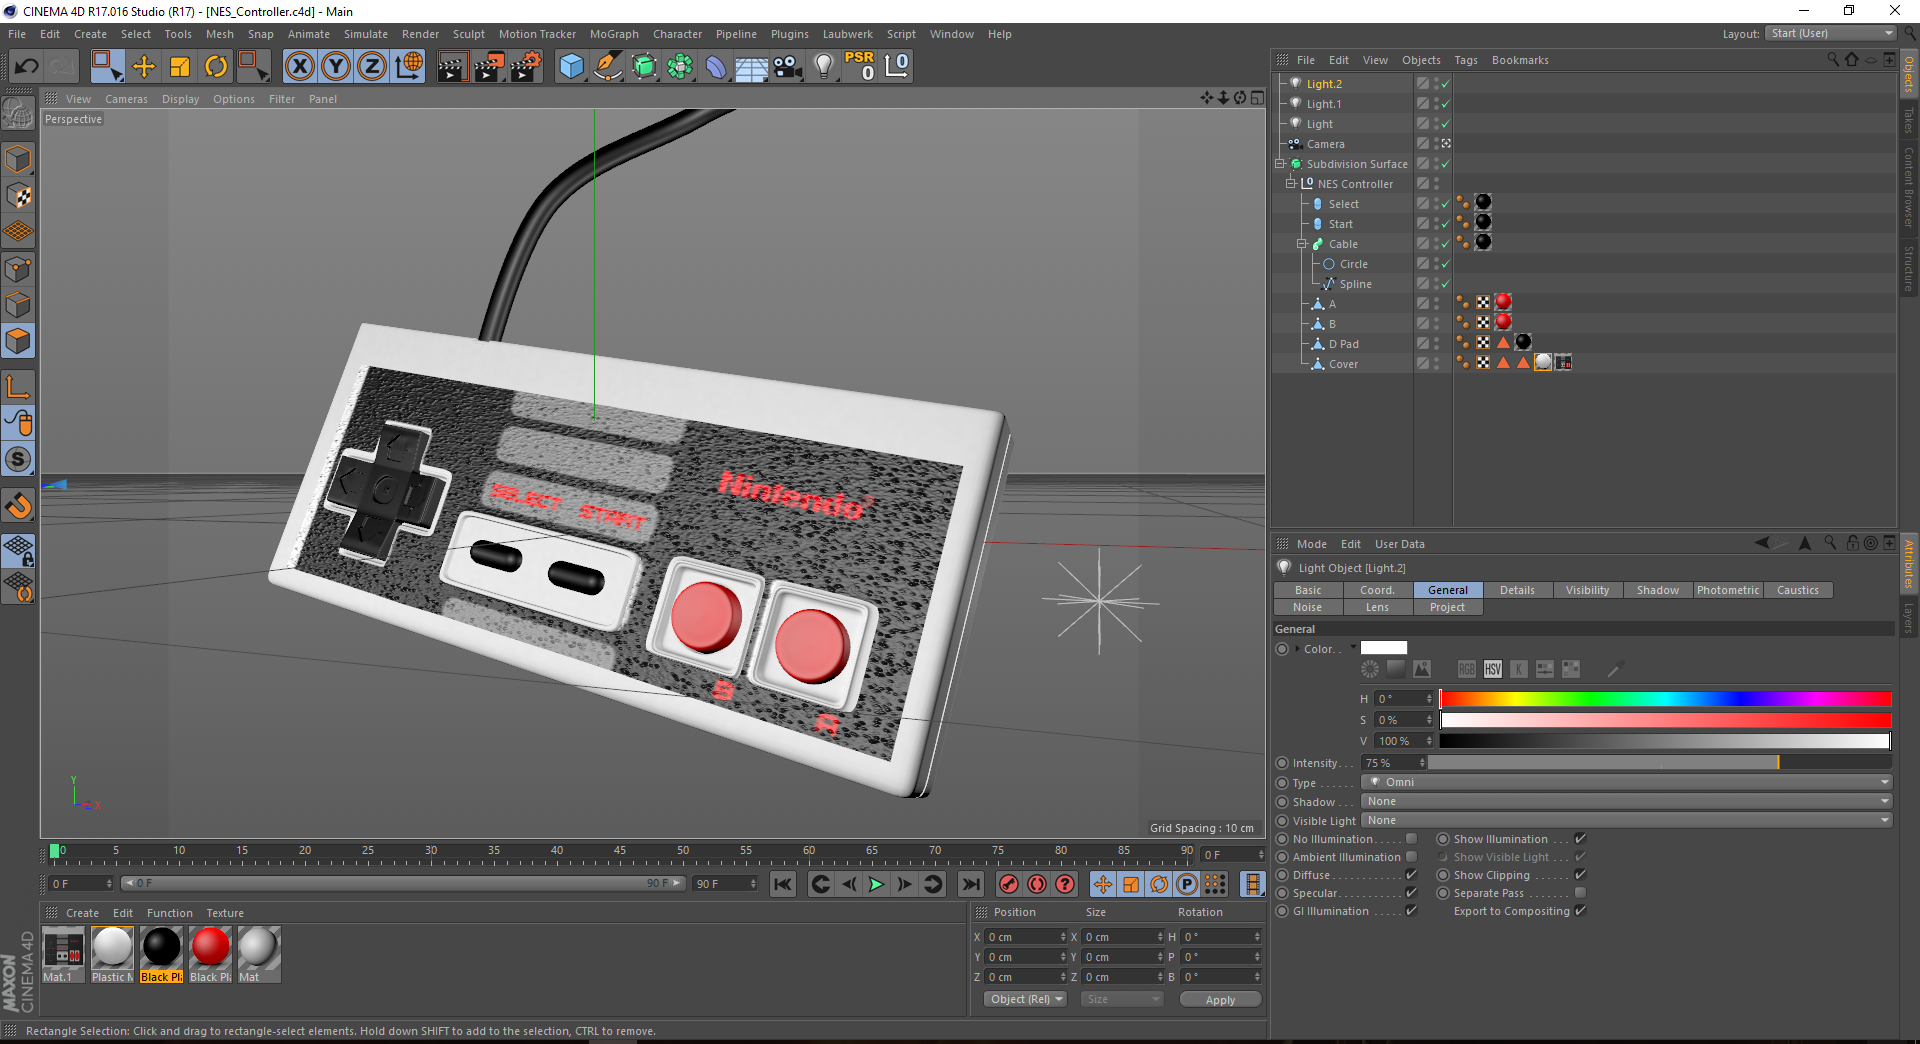
(Viewport preview before rendering)

(Allure lipstick mockup: my first mockup I decided on a simple object that I had nearby and changed the shape)

(Beer render)
How to CGI:
- Choose a software
- Learn the UI (user interface)
- Develop an understanding of the techniques
- Refine your visions
- Pursue your own goals
- Practice makes perfect
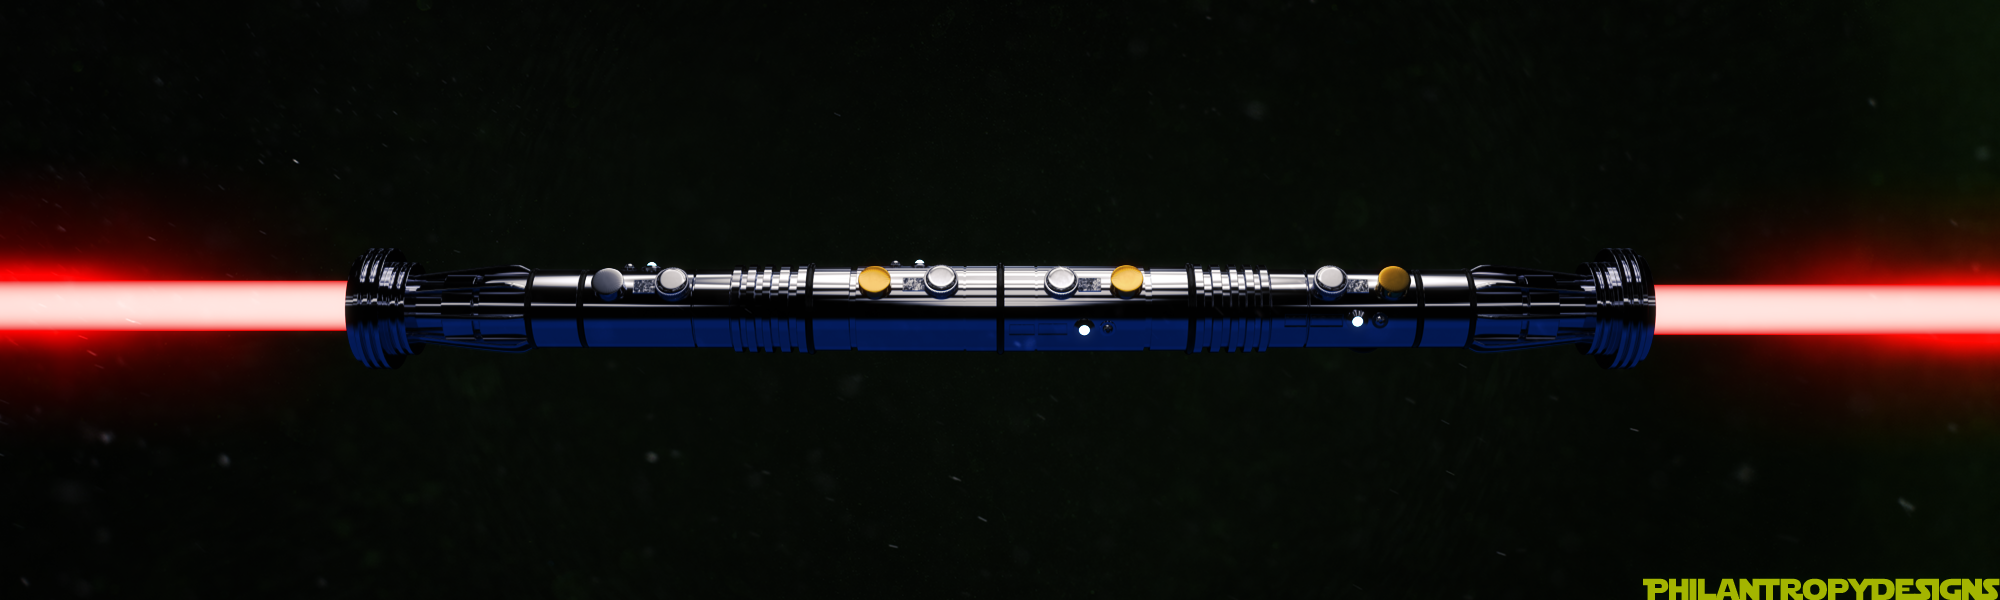
(Darth Maul's Lightsaber)
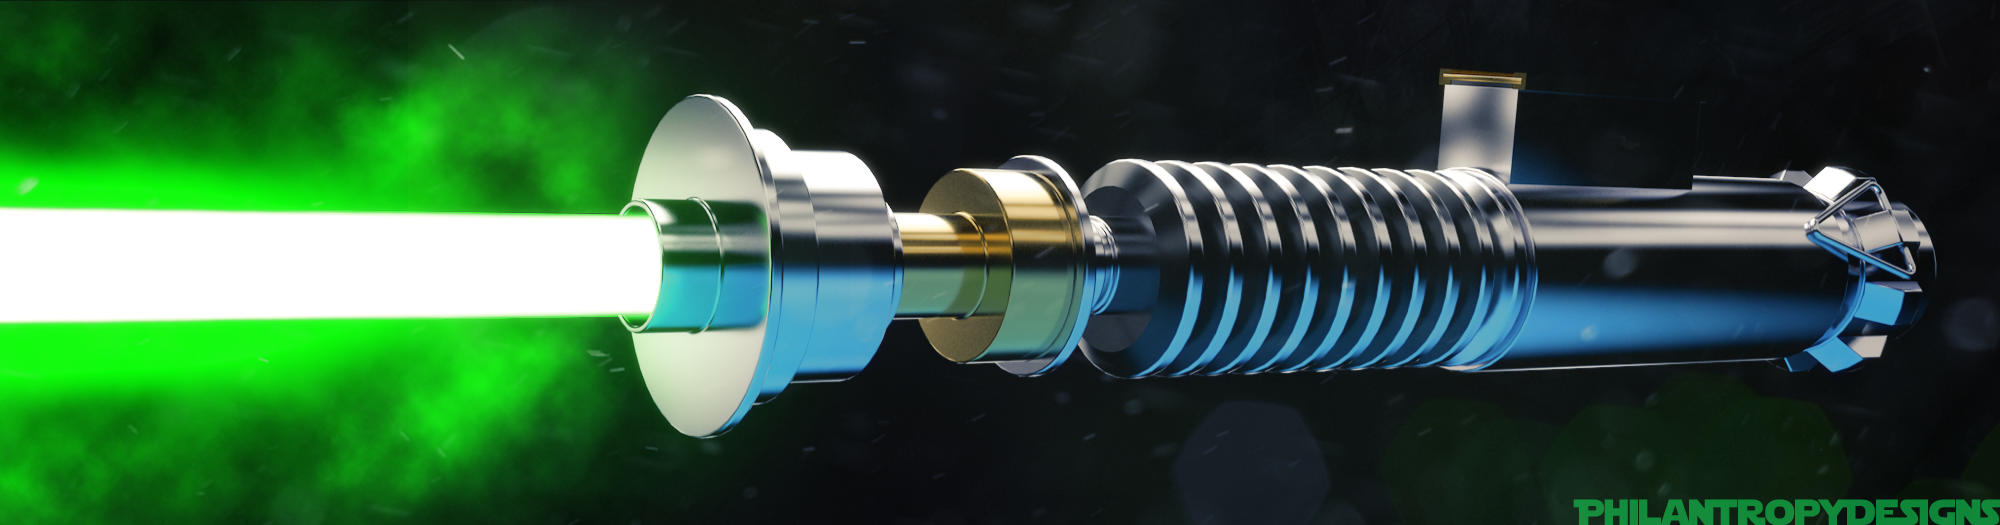
(Luke Skywalker's Lightsaber)
Choosing Your Software Package
It’s called a package because it contains many components required to do different things digitally. For instance, the hair and fur system might be additional so if you want to make animals and have them grow fur, or use the hair system to achieve a cheap grass effect; likewise, can the fluid dynamics system be separate for simulating fire and water effects. A “fluid” in 3DCGI is defined by its physical parameters so fire is included within this definition. Most modern packages include these and there are third parties that provide specialised software if you’re especially keen on learning it.
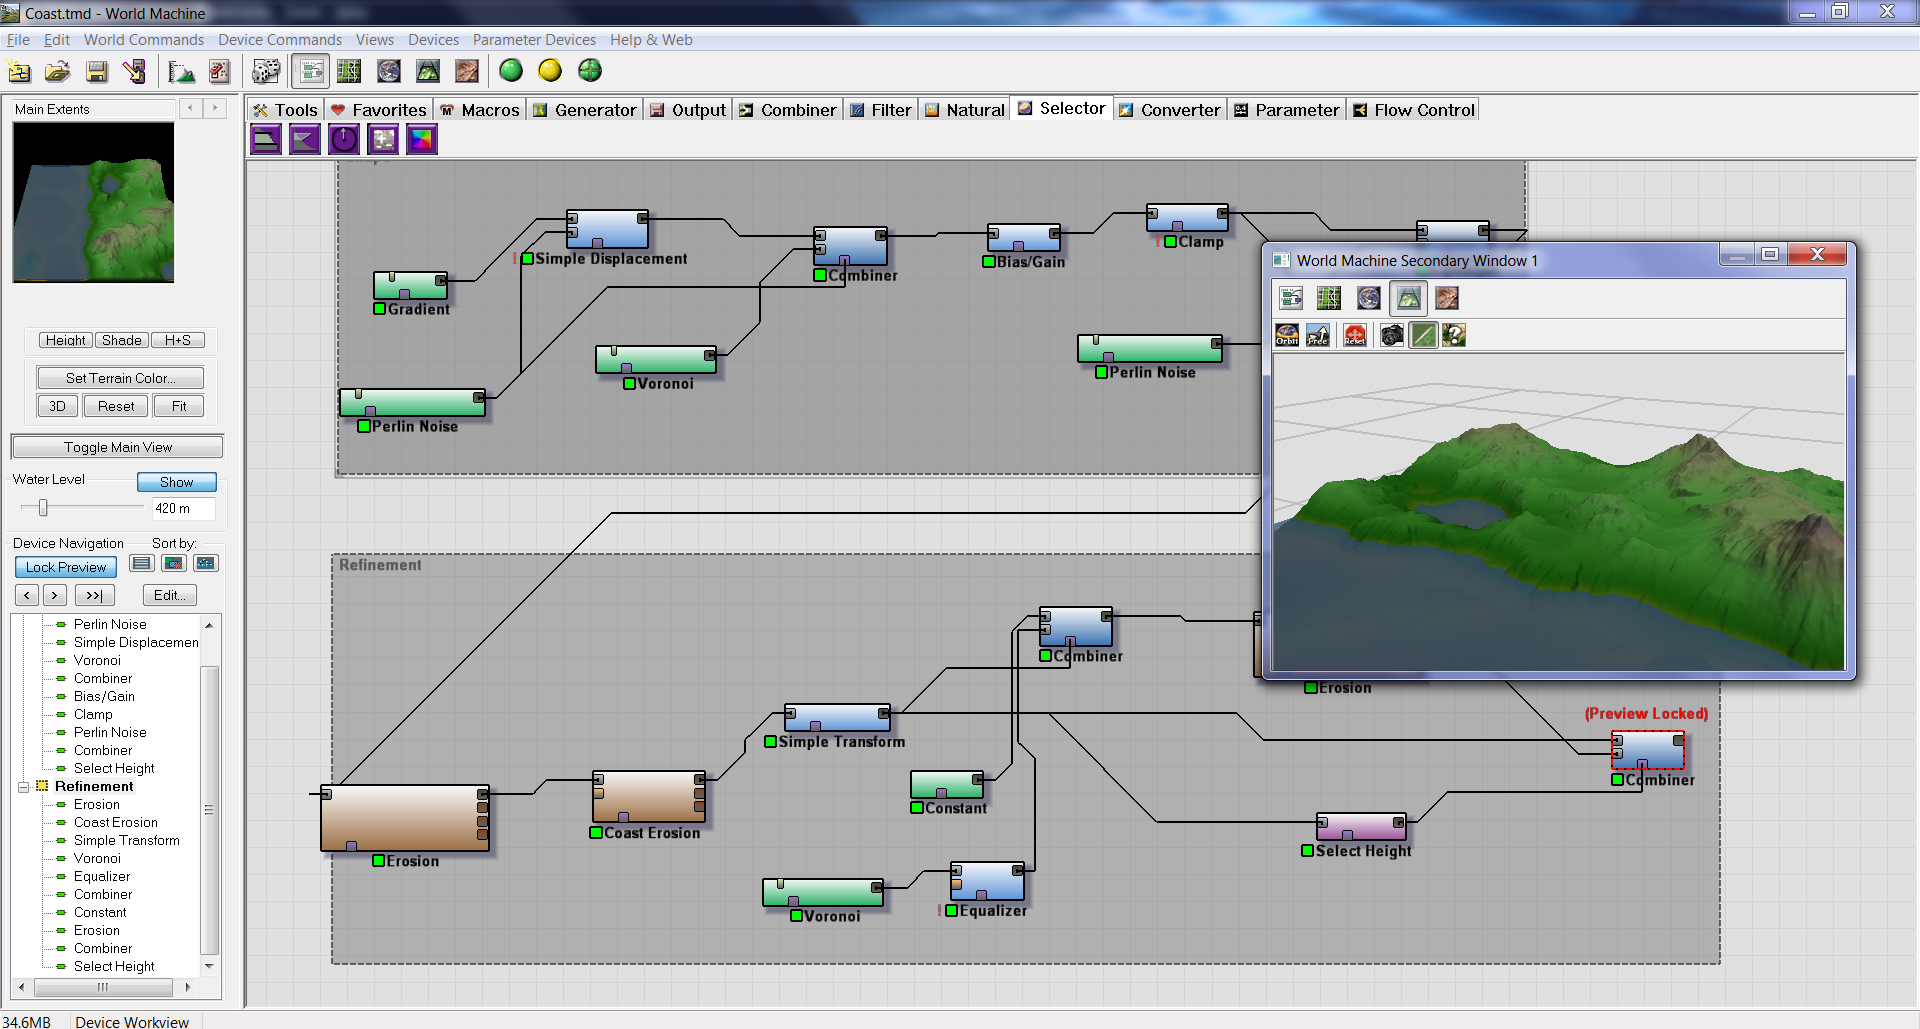
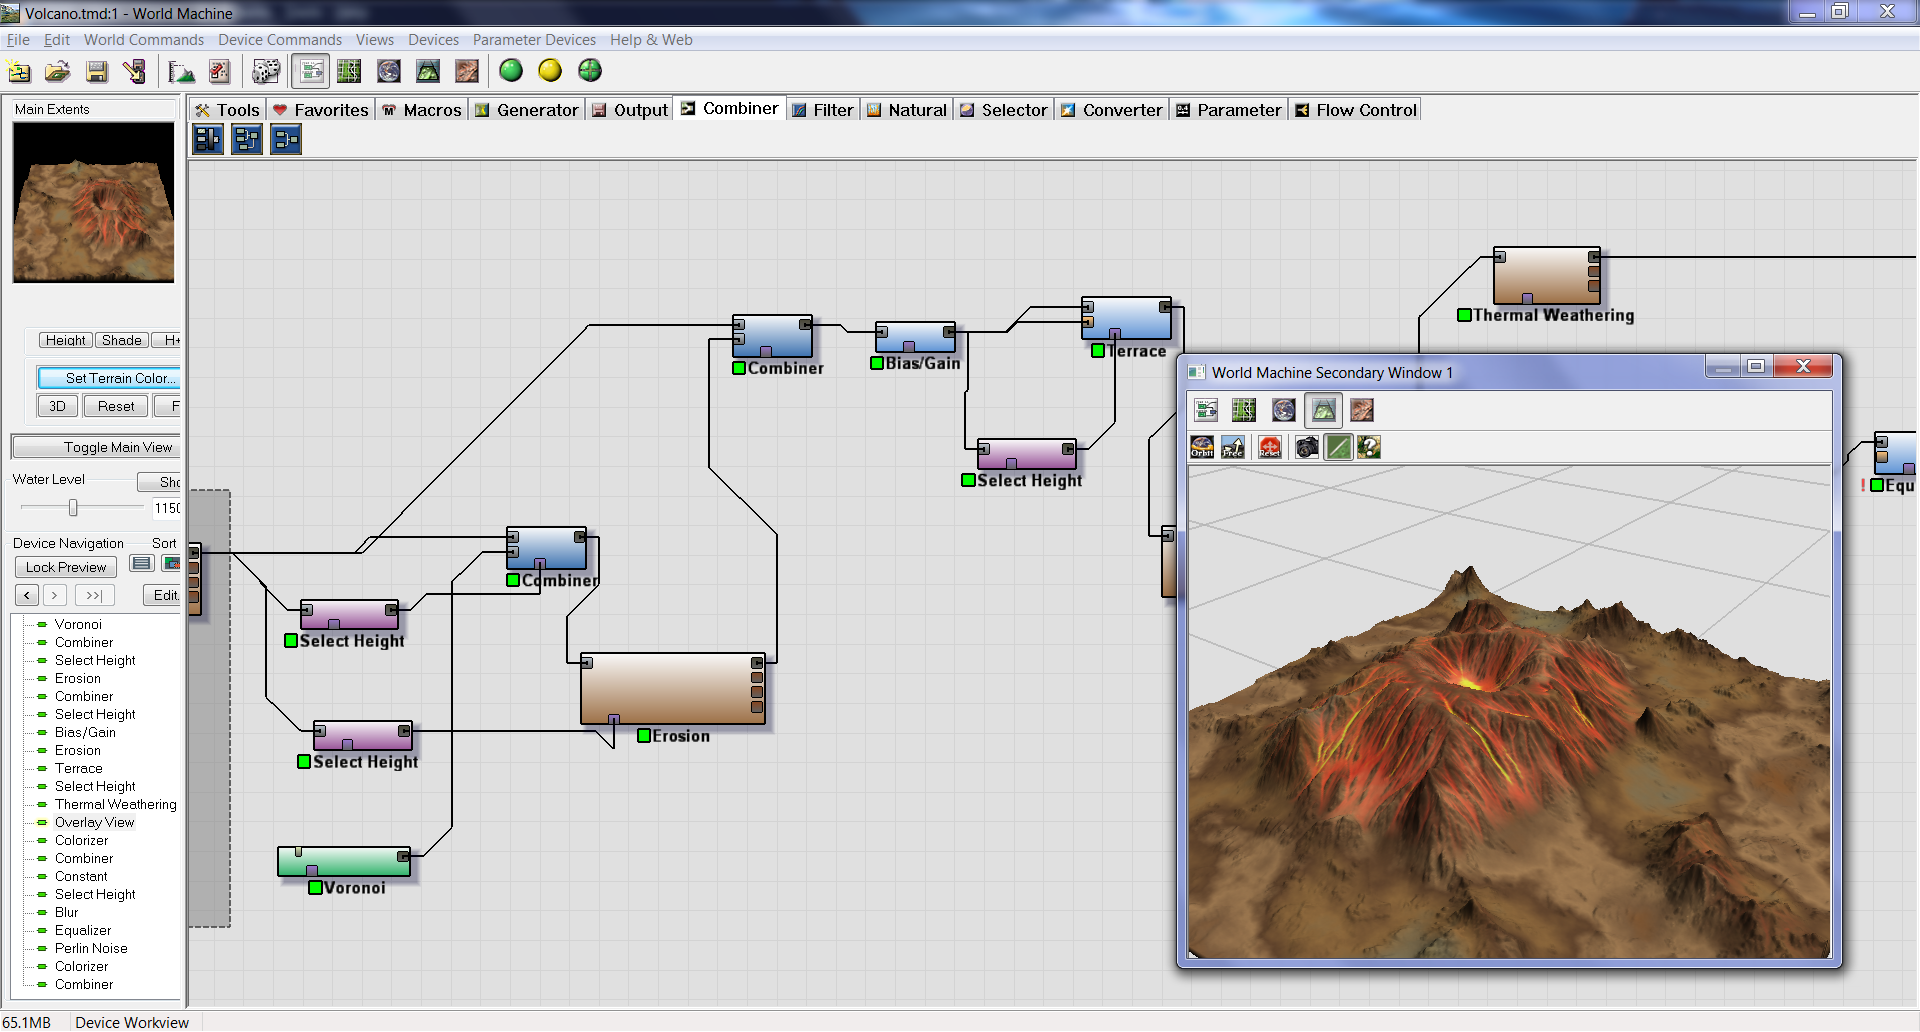
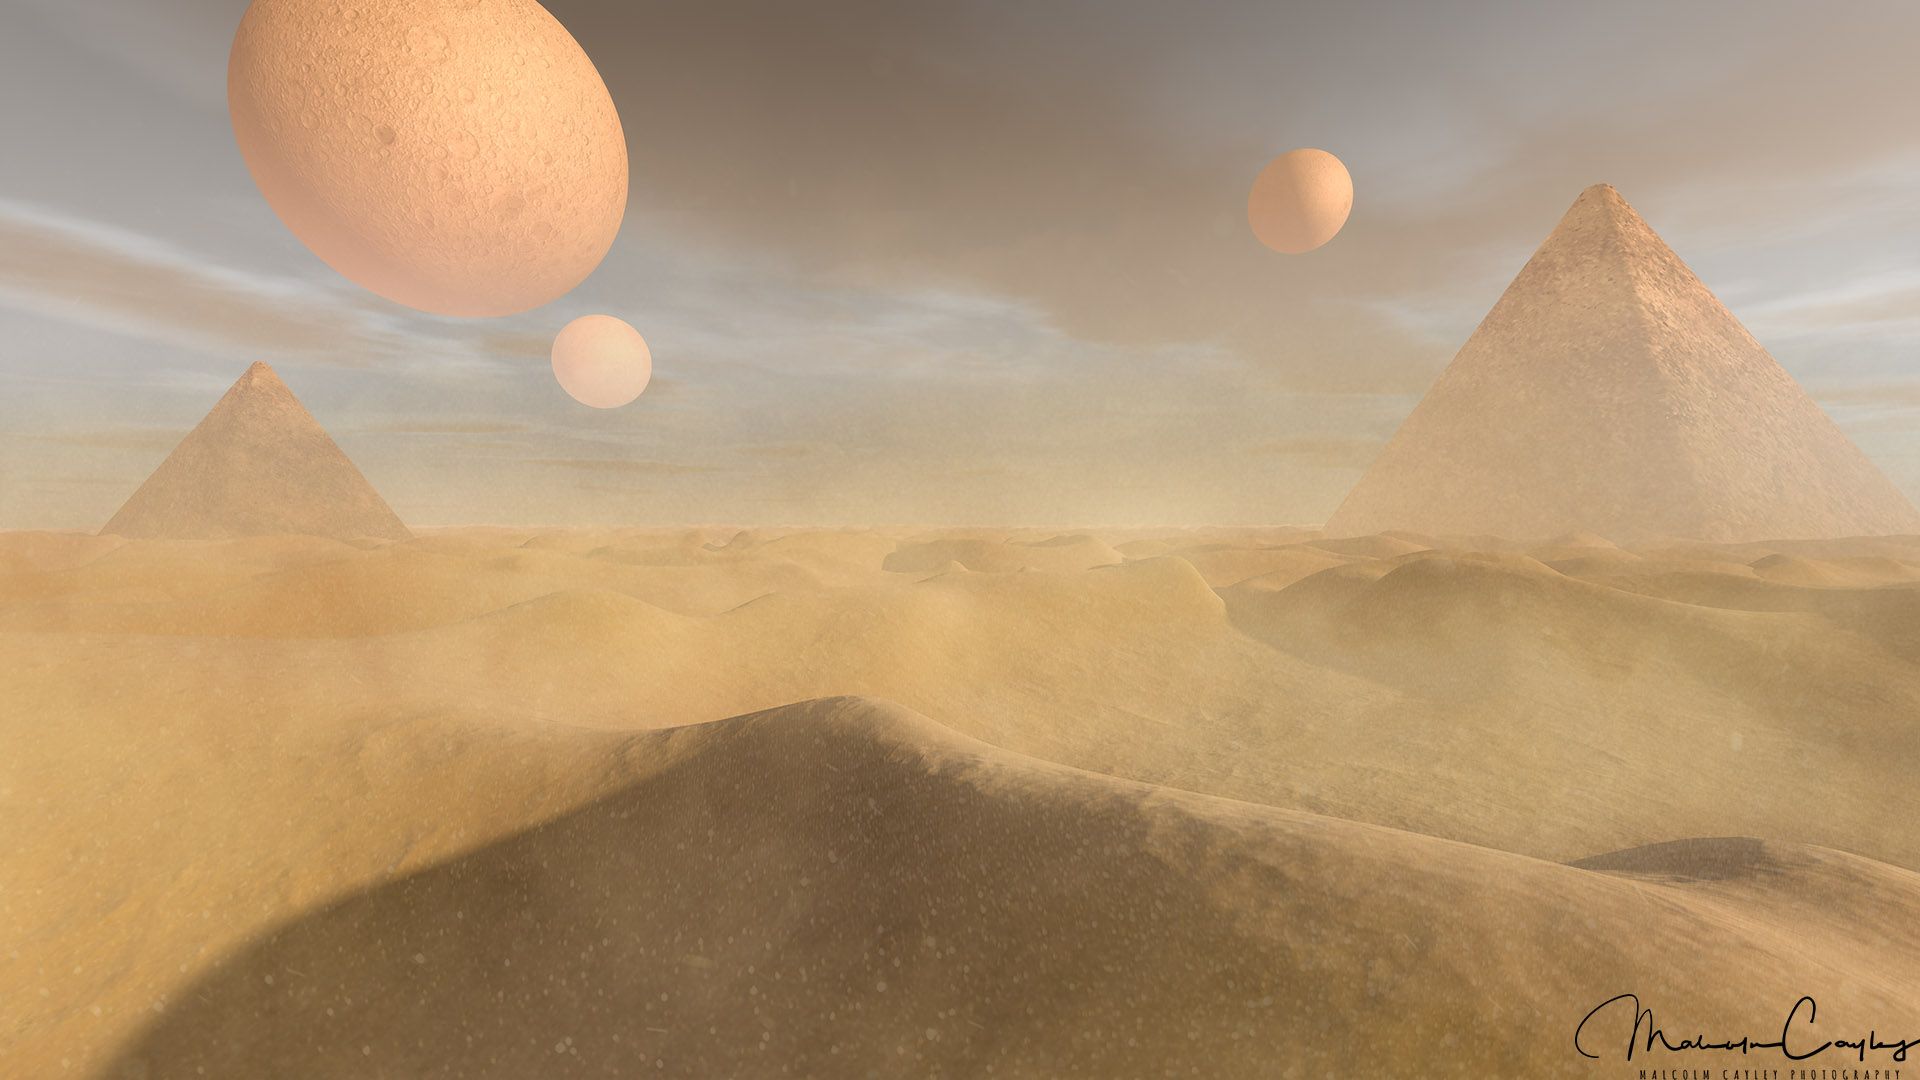
(World Machine: a terrain generating program that uses black and white maps to build height maps and other maps)
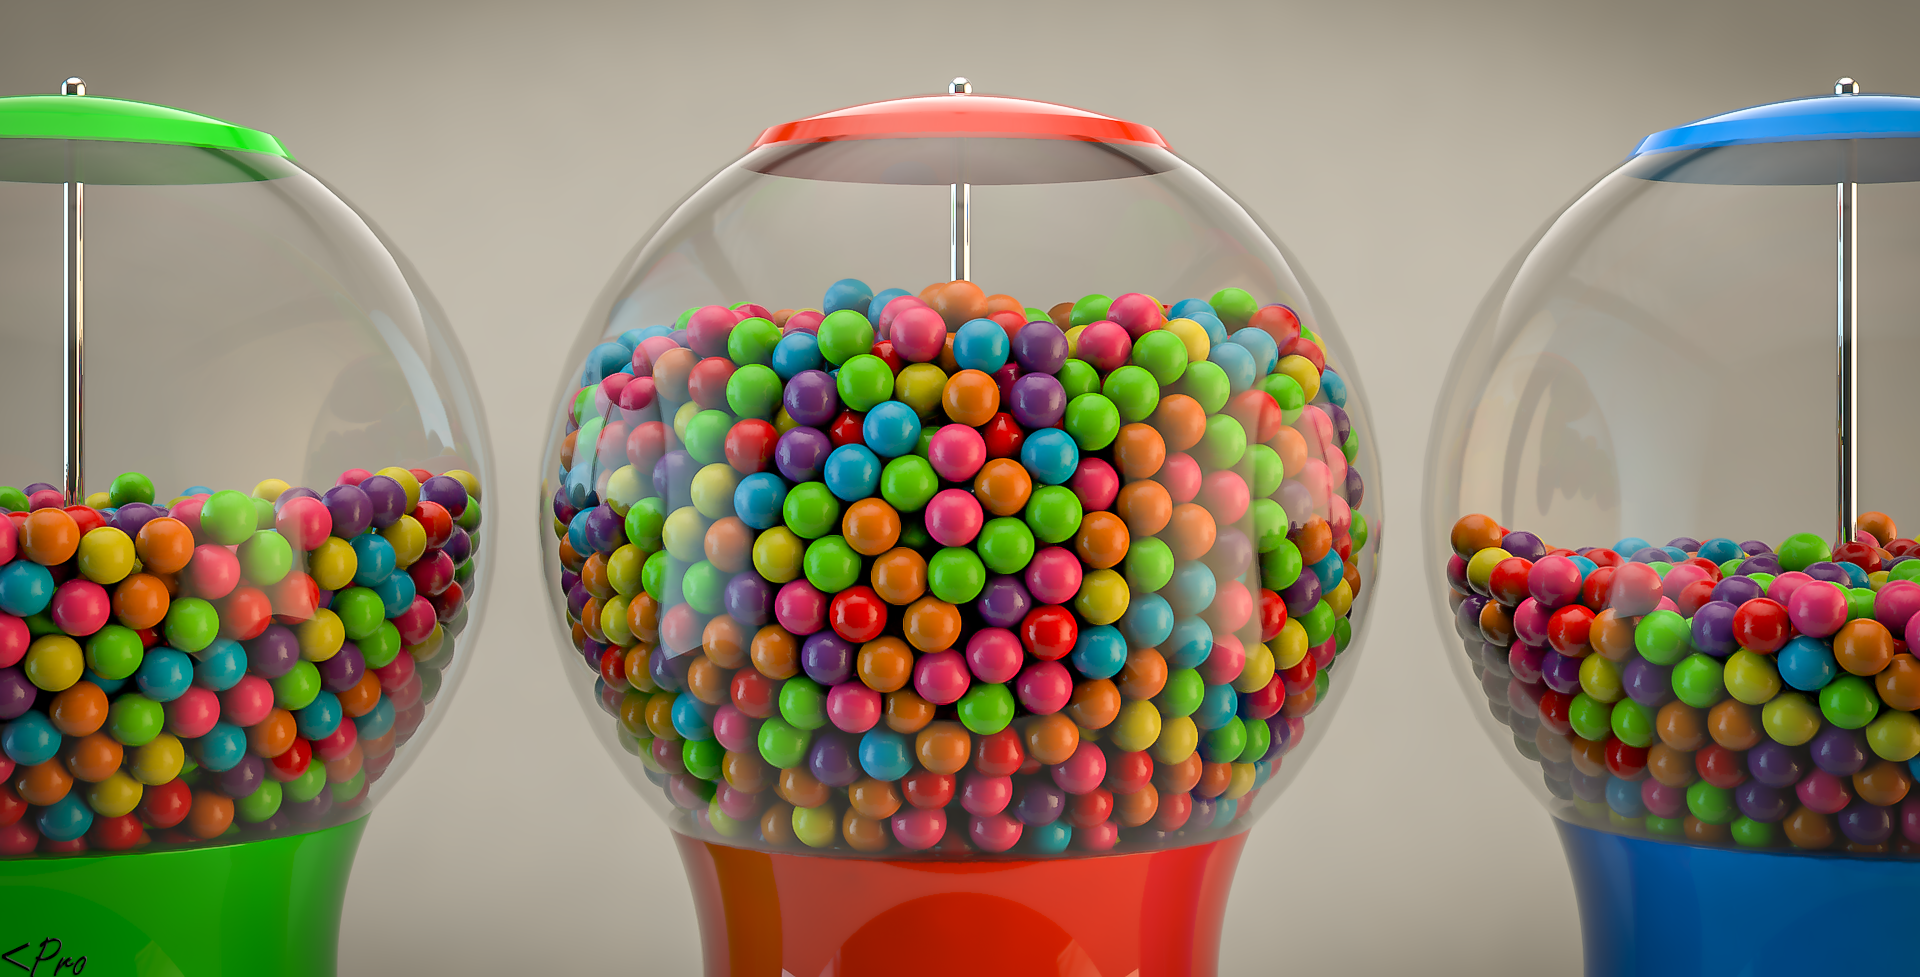
(Gumball machines)
Common packages include Autodesk’s Maya and 3DSMAX, Maxon’s Cinema 4D, the free to use and open source Blender with an awesome community for beginners, Houdini FX for cinematic special effects, Modo, ZBrush, and Mudbox (sculpting packages for digital sculpting) as well as plenty of others.
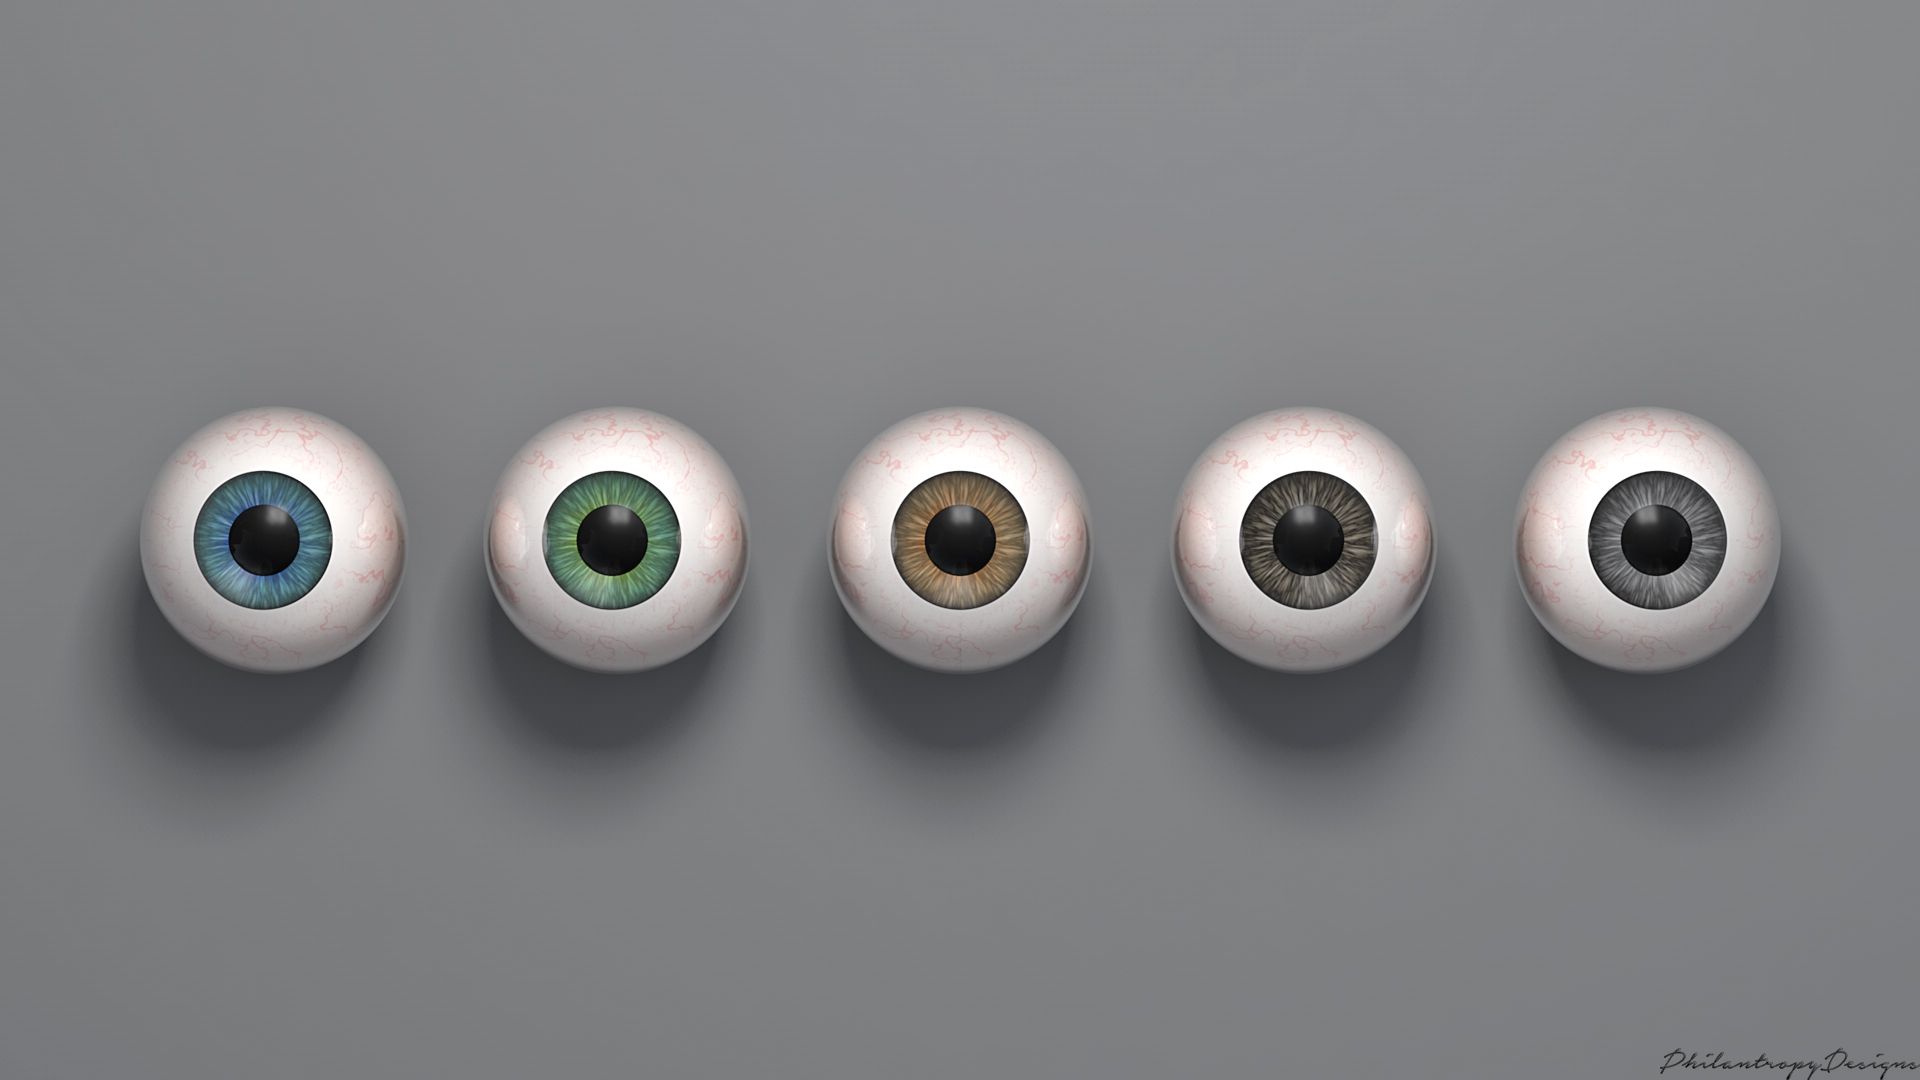
(Human eye ball study)
Check out this link for a more substantial listing: https://all3dp.com/1/best-free-3d-modeling-software-3d-cad-3d-design-software/
Question: I heard x software is best for Y, is this true?
You probably got caught up in a branding conversation that doesn’t really apply to beginners. If you want to concentrate on certain areas like sculpting, you might want to use ZBrush or another sculpting package eventually. At the start, you want a general all-purpose software that lets you learn and complete many different types of projects. Blender is considered the best for this because they have piles and piles of tutorials as well as a huge devoted community. Plus, a big benefit is the software is completely free. Some of the other packages can be purchased at significant cost or at a discount if you’re a student but Blender, being open sourced, is completely free and a fantastic option if you just want to have a go to try it out without committing yourself financially.

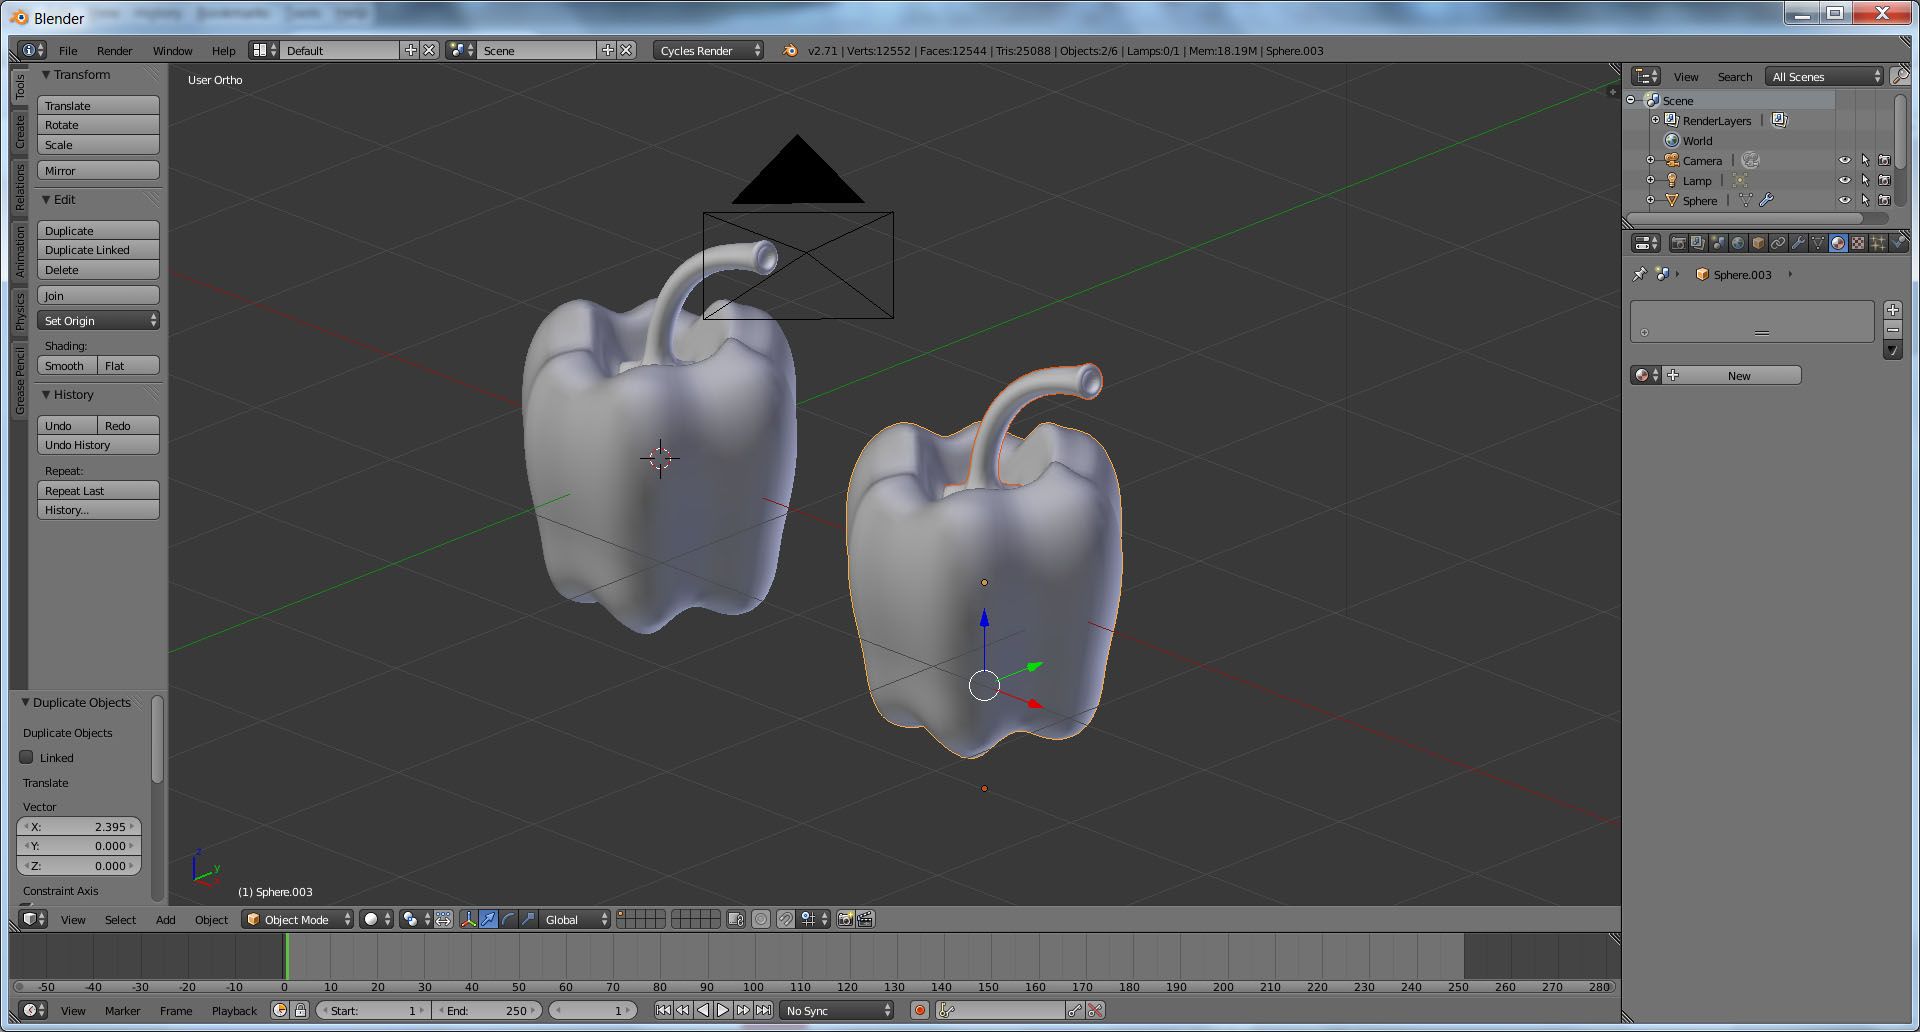
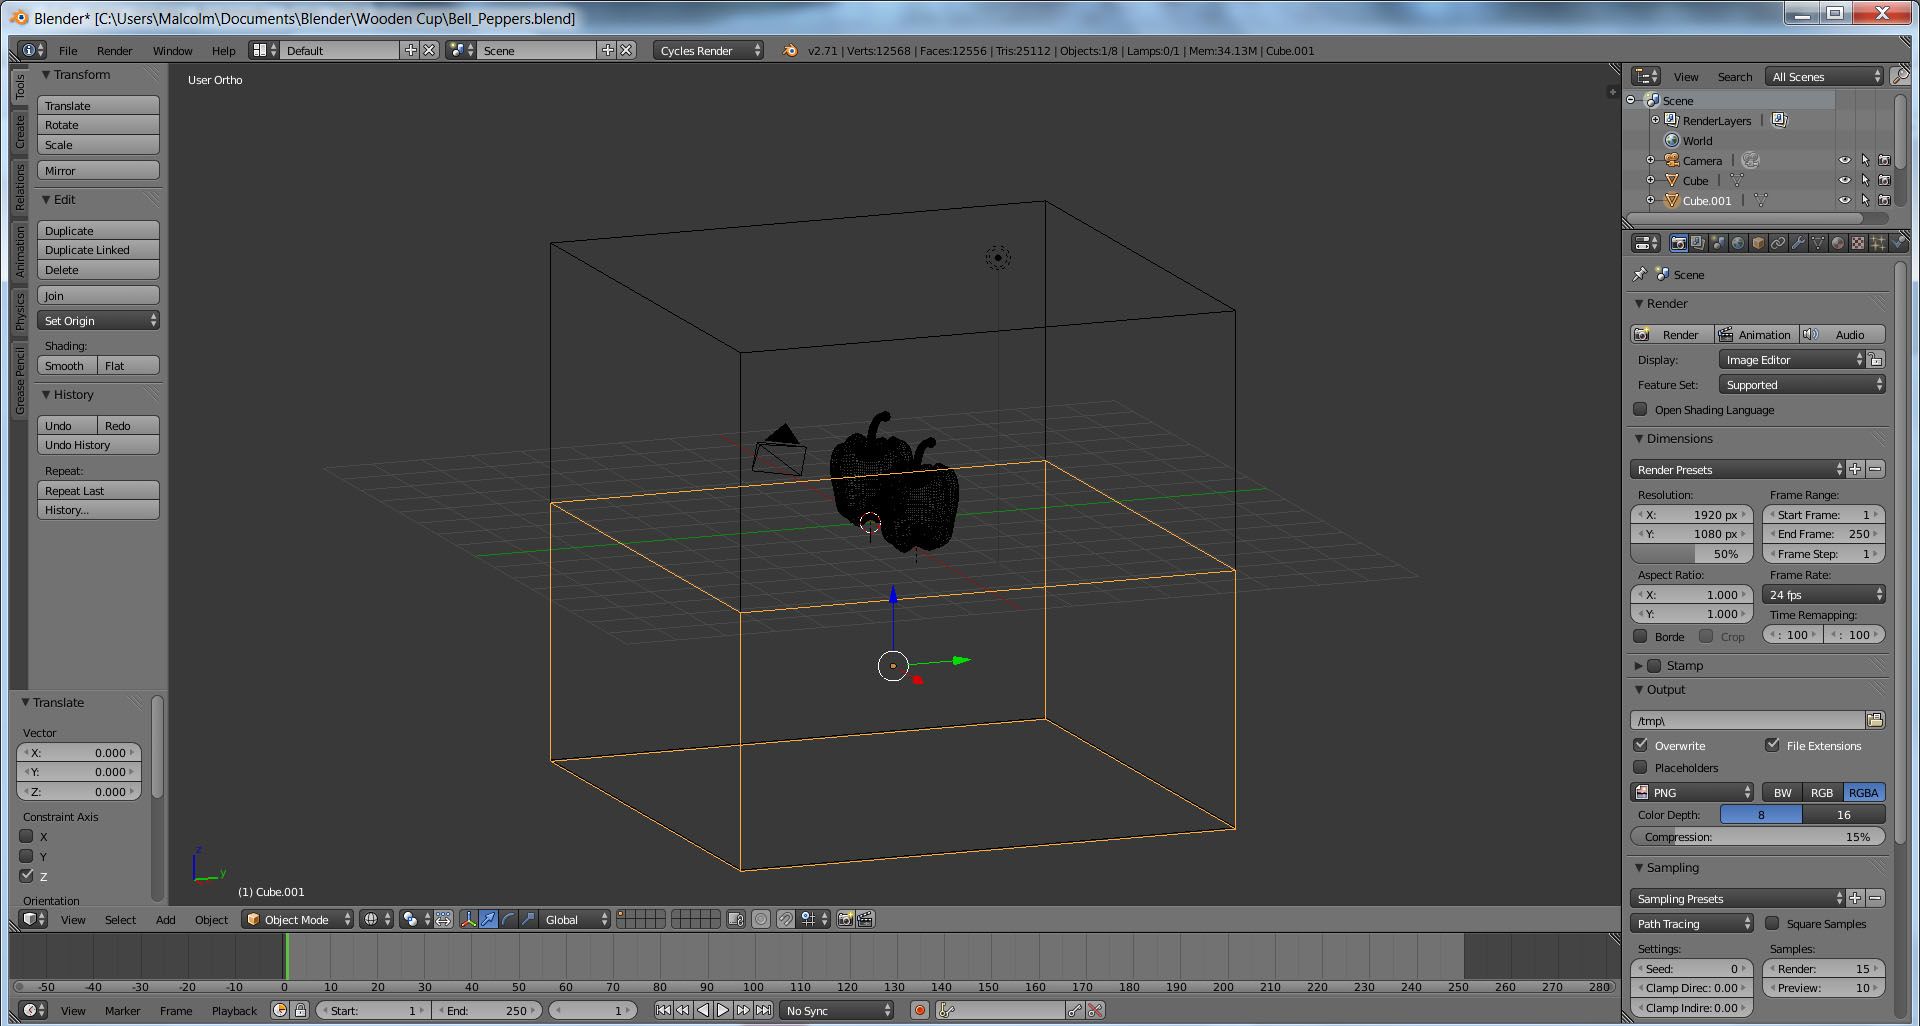
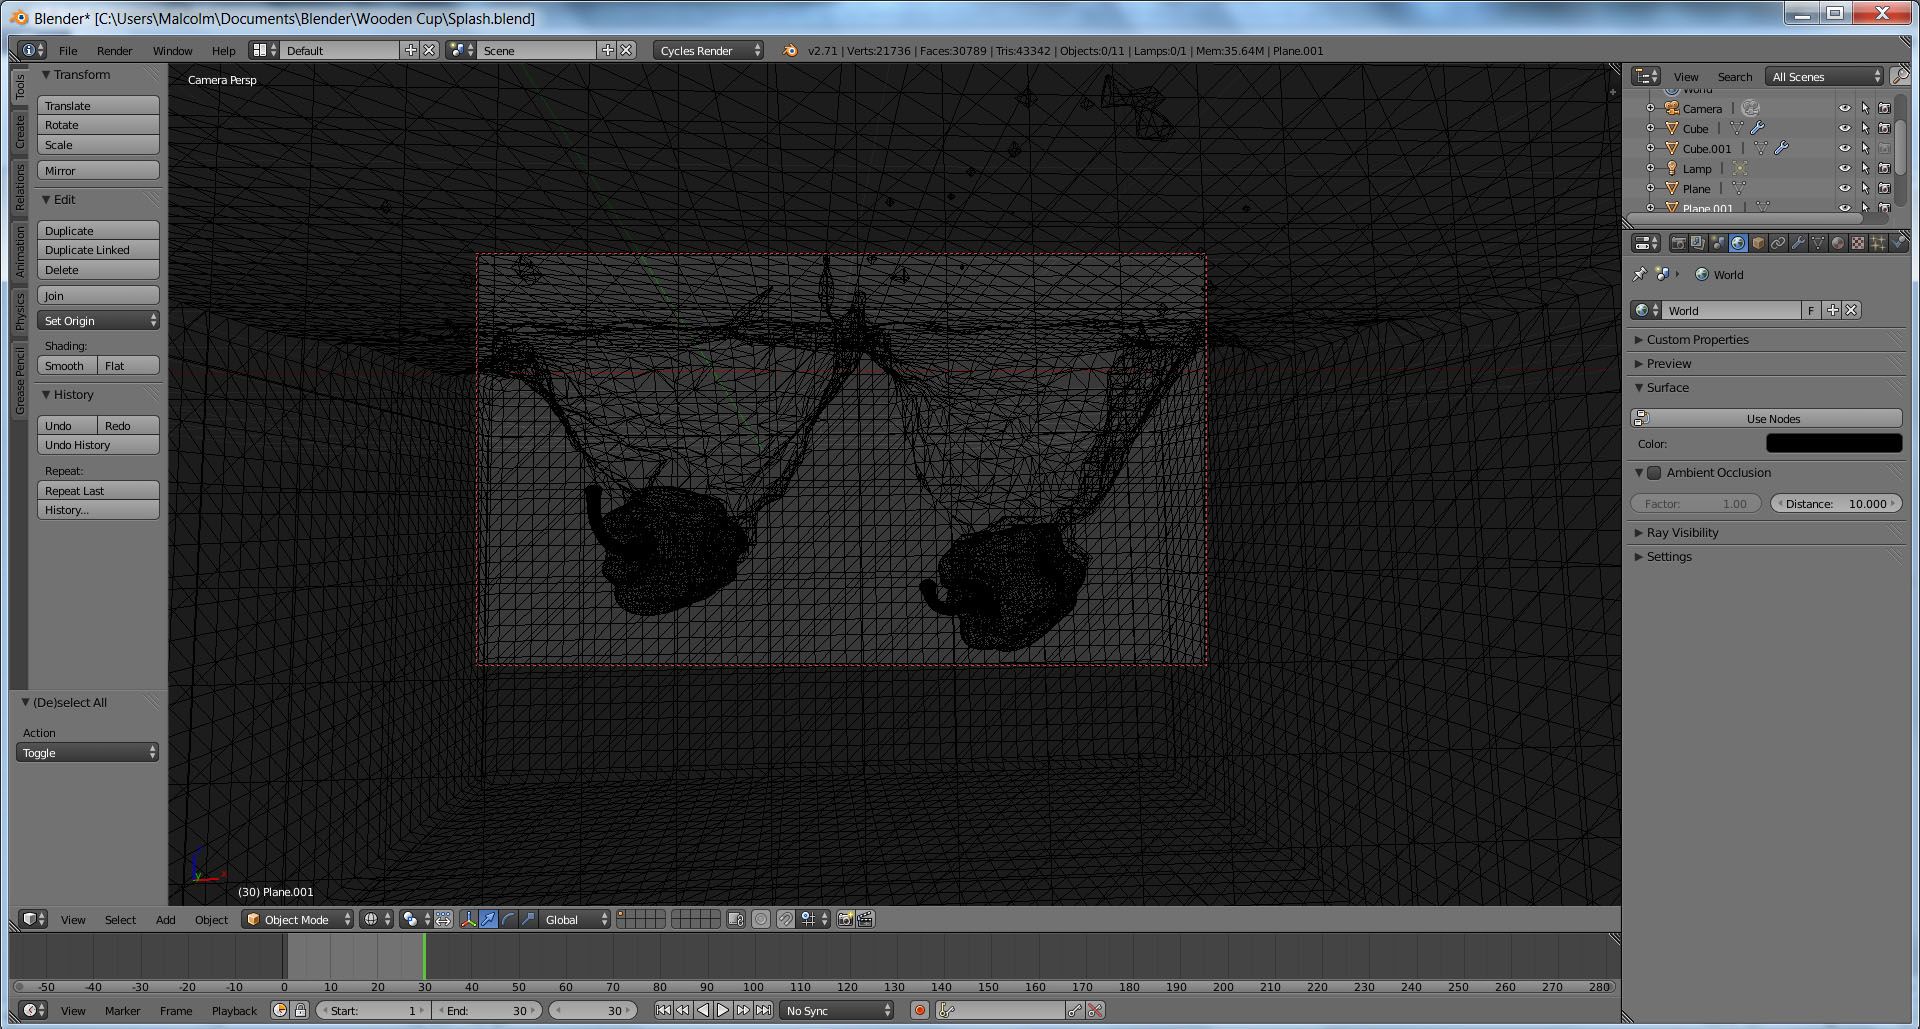
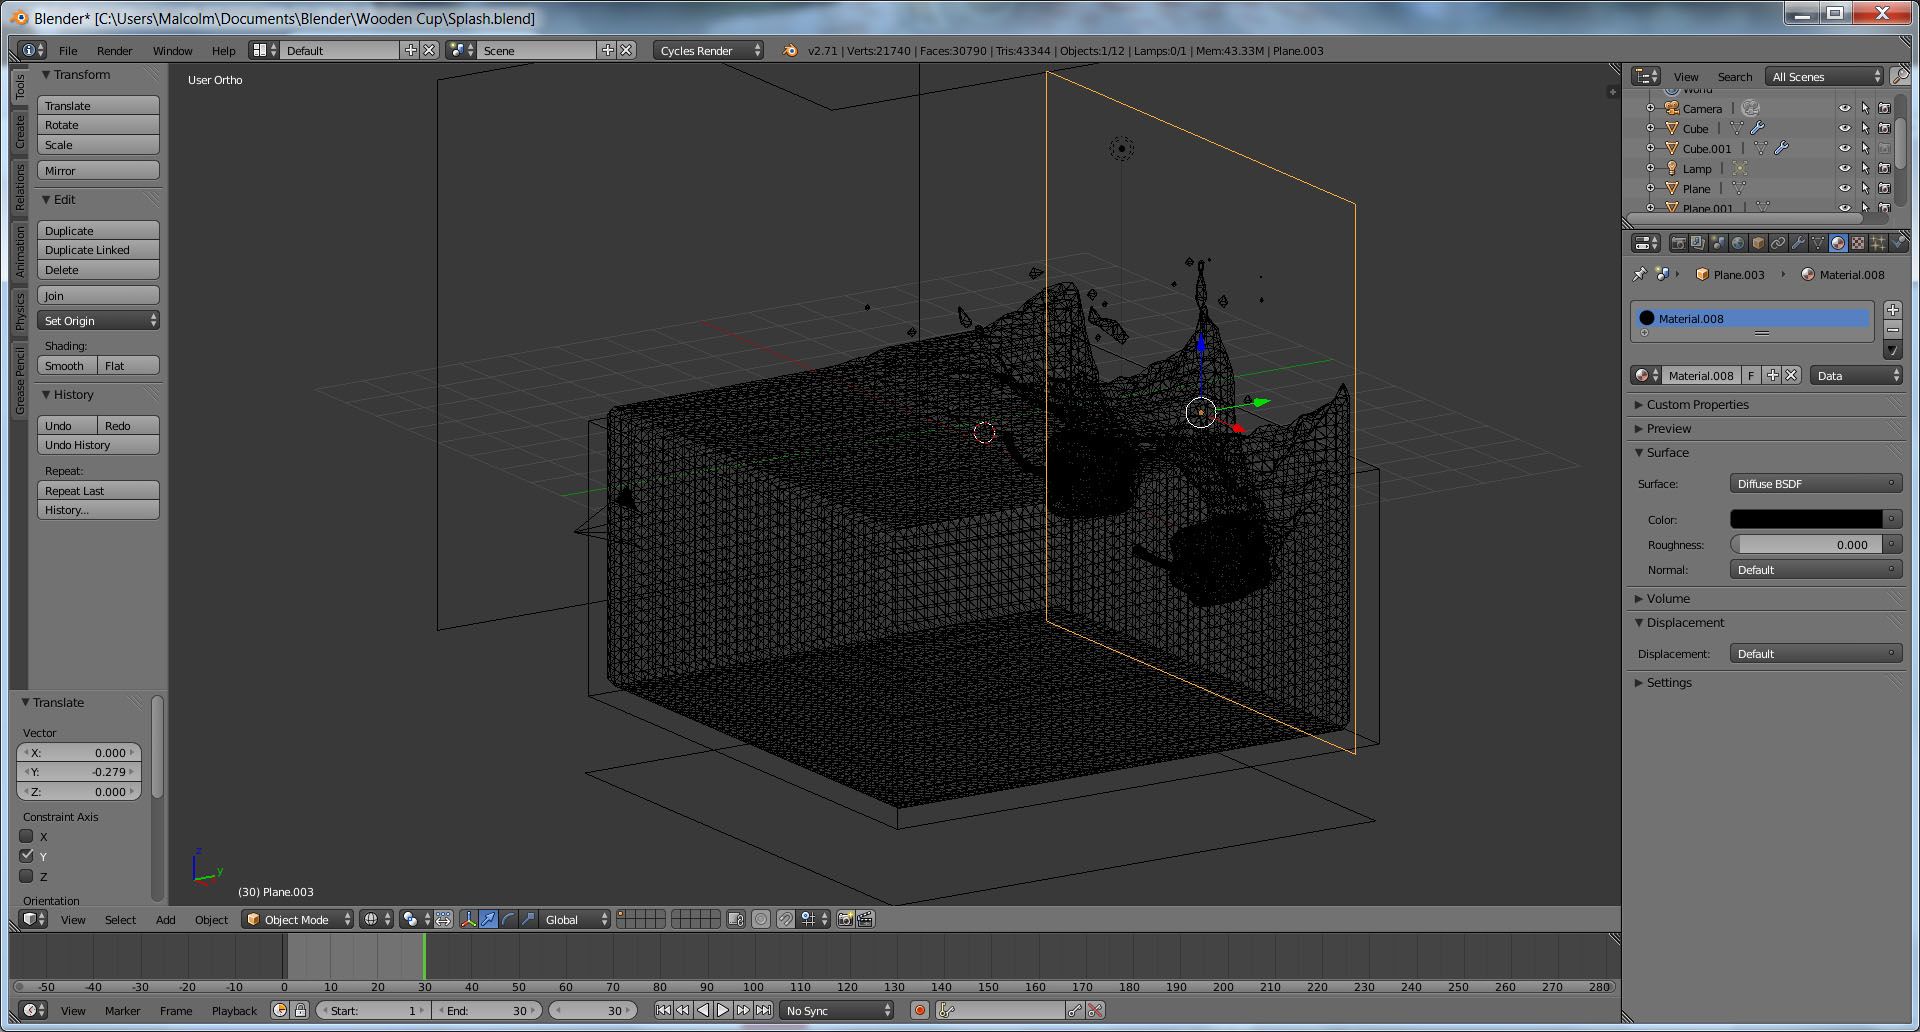
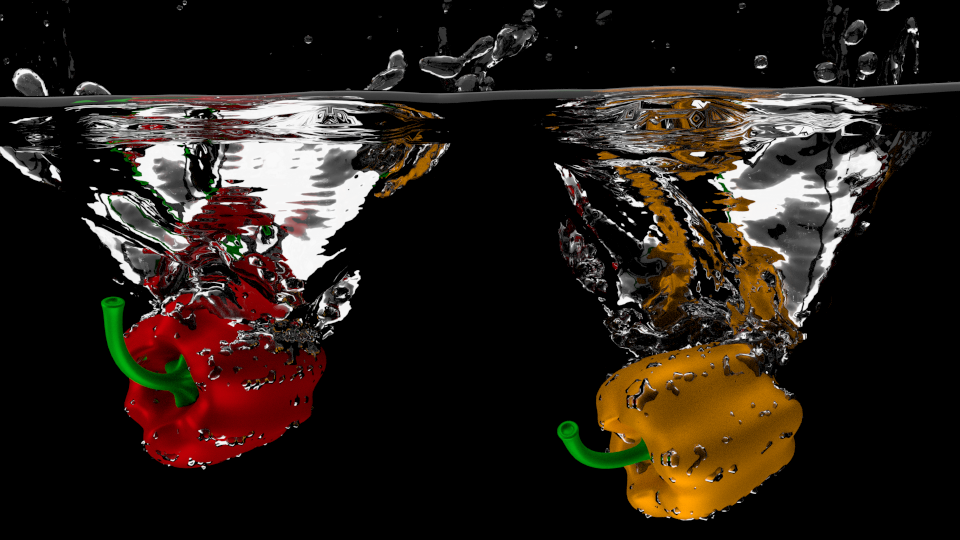
(Bell Peppers Splash! Early dynamics project made with Blender)
Learning the UI (user interface)
3D programs have a whole lot going on in them and if you’re brand new it can be a bit overwhelming. Basically, we can break down a 3D package into several components. I’m going to be speaking about general categories rather than specifics so beginners can get a general understanding of what everything is.

(My very first digital sculpt! I followed a tutorial for this and the results were less than I was expecting - but this took me many hours so I'm still proud to share the workflow and the clay render. Made with Blender)
The Renderer
The renderer draws your final image. A good workflow is to select poor-quality rendering for tests and slowly increase the quality (and time) for your renders as your become more and more satisfied with the scene. Trust me, to get anything to look good in CGI be prepared to spend a whole lot of time on it. Some of my renders took hours for just an individual picture. If you want to render an animation, you need to times that amount by the amount of frames in your scene. Say a project goes for 5 seconds at 24 frames per second and each frame takes about 30 minutes to render. 5x24=120 frames that need to be rendered. 120x30=3,600minutes divided by 60 for hours = 60 hours.
(a more recent sculpt - I still suck - but improving.)
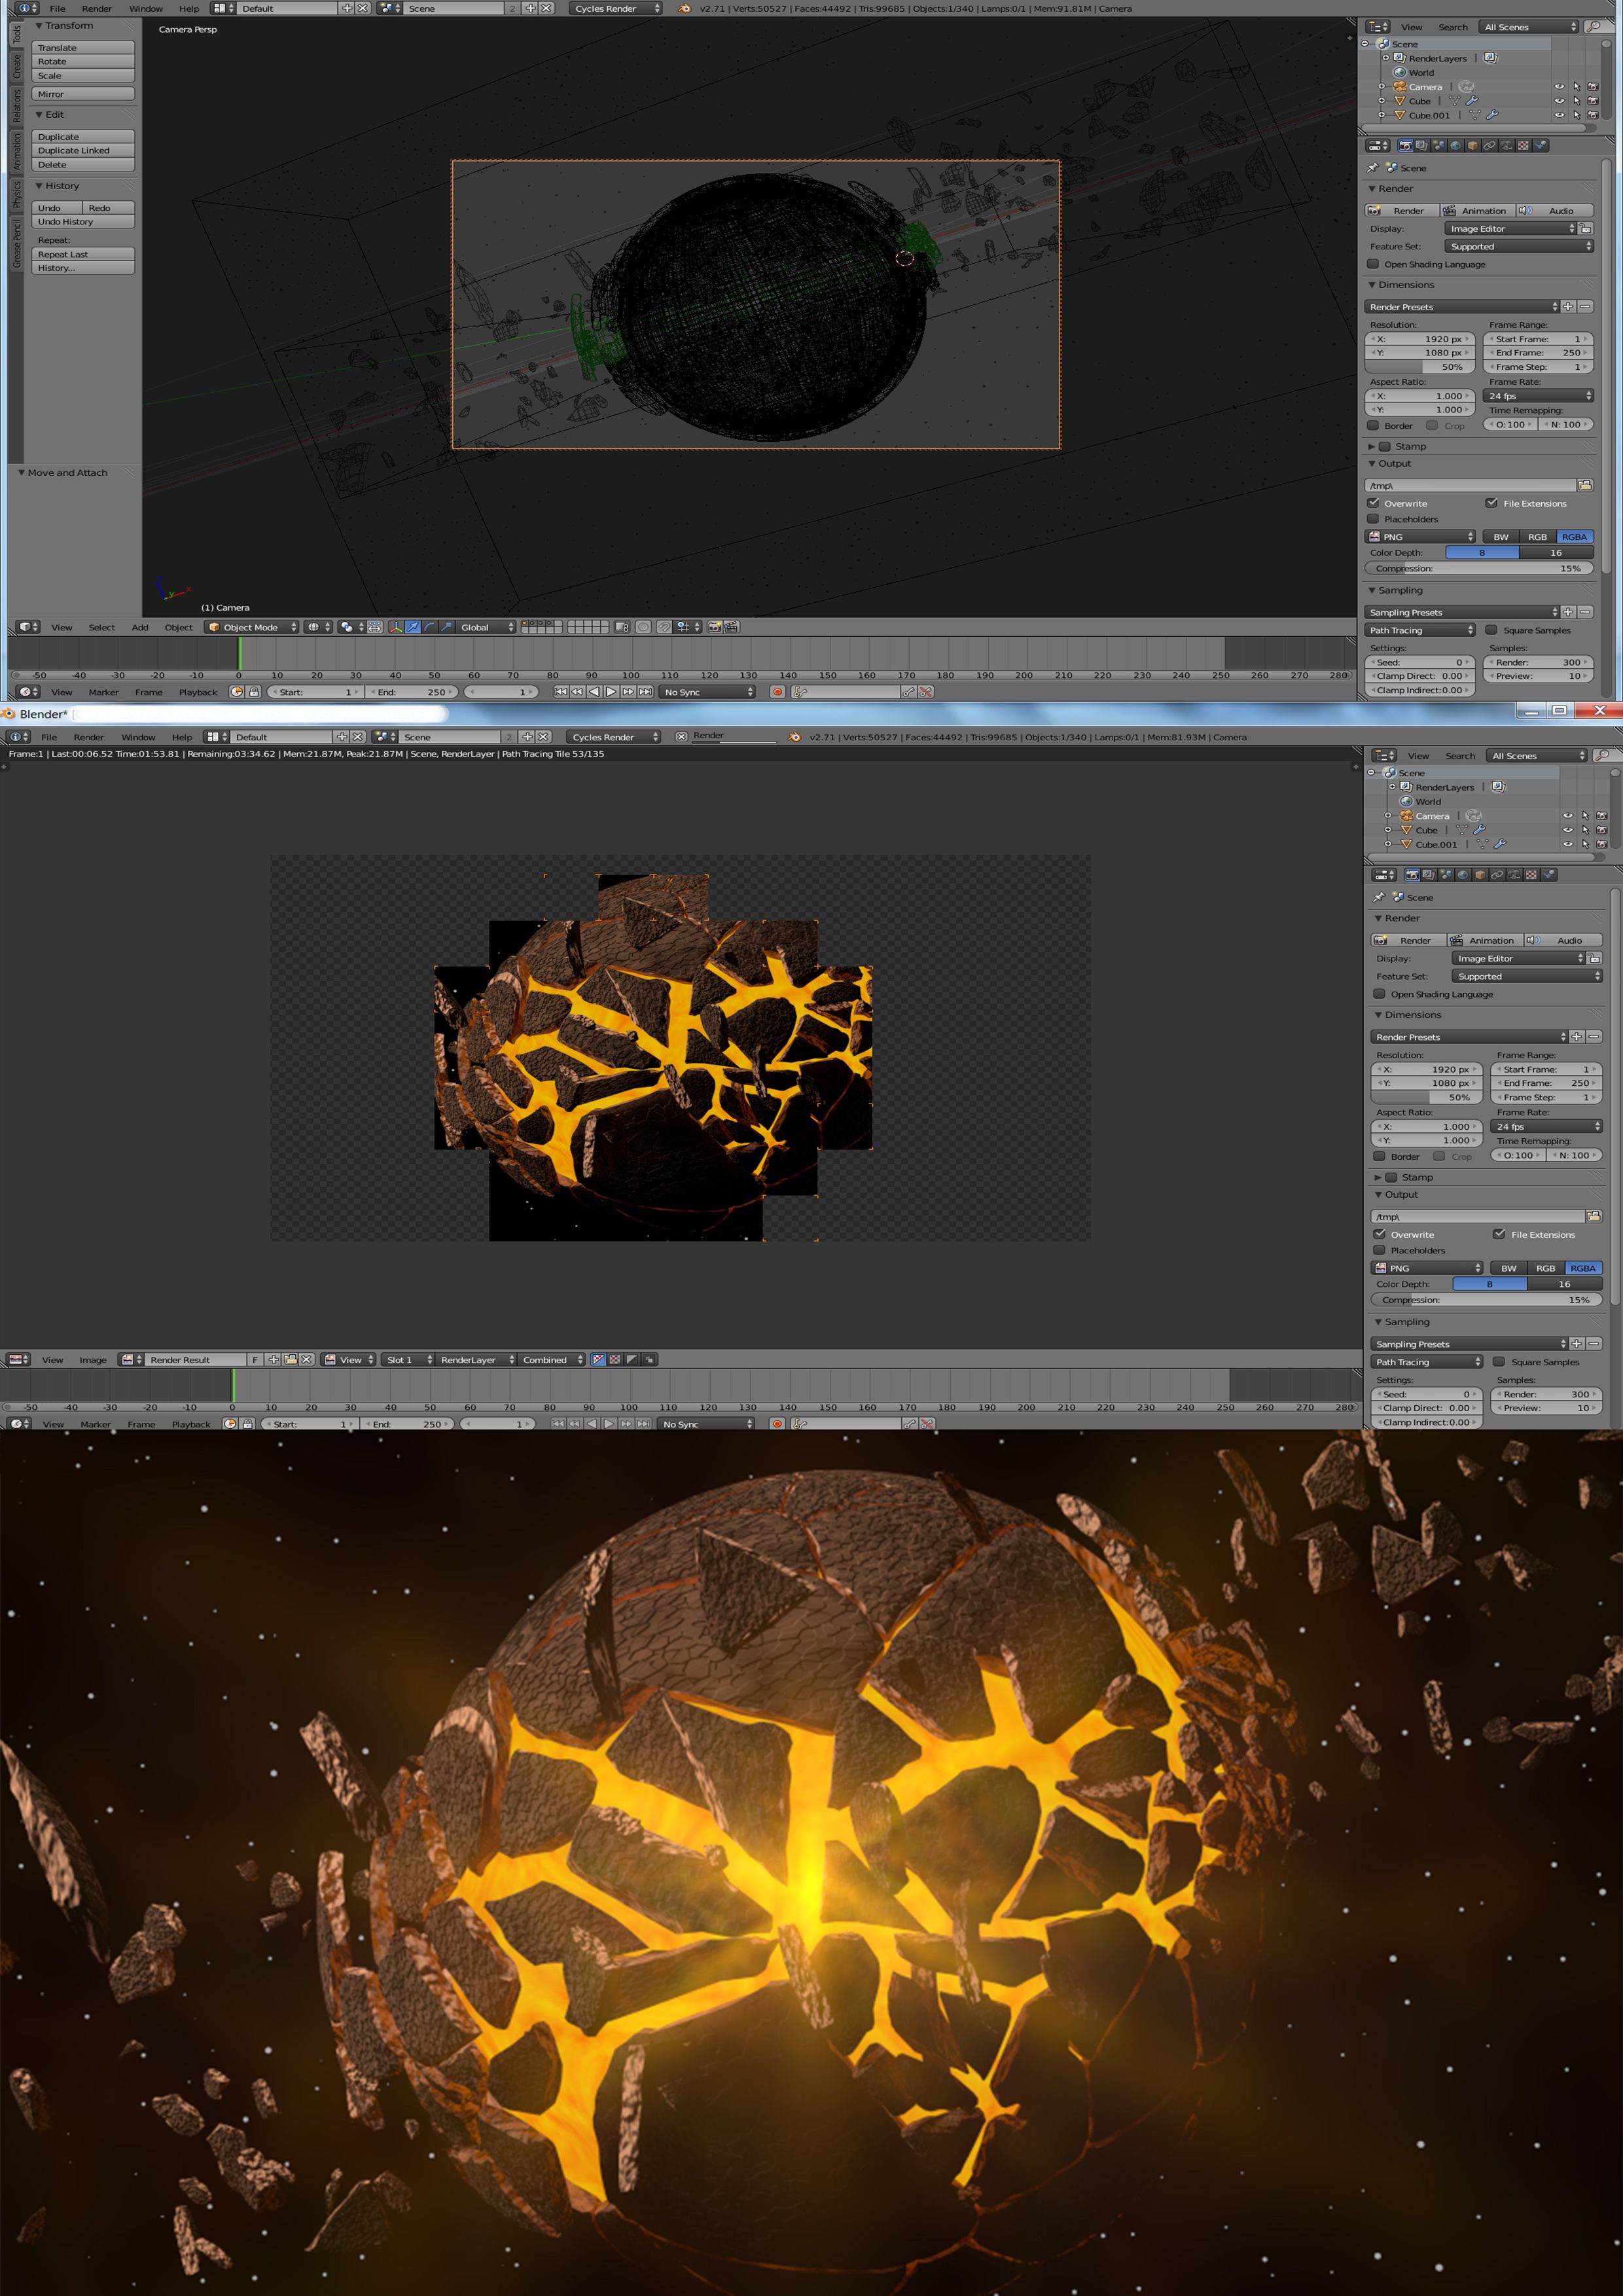
So this hypothetical project would take on average 60 hours to complete rendering. Rendering time is always going to be long even if you have a top of the range gaming PC because the renderer will use all available computational power. Some renderers use the GPU others use the CPU. Your computer will be sluggish during this time so it is best to break up the rendering time for only when you’re sleeping if you need to use the computer for other tasks. Also, it’s best to render individual frames as PNG rather than the whole thing as a movie film. This gives you the option to stop the rendering at any time and not lose your entire project because you can just begin again at the next frame.
The Materials System
A material is something that makes the object look realistic. Material can be metals or skins or fruit – anything really. The default material is usually some grey with a specular (highlight) and needs to be adjusted for every object in your scene. The trees need a tree material and the grass needs a grass material. You have to configure this yourself for each object; sometimes there are pre-sets but these usually need to be configured to the lighting of your scene and the camera.


(Mysterious Purple Drink)
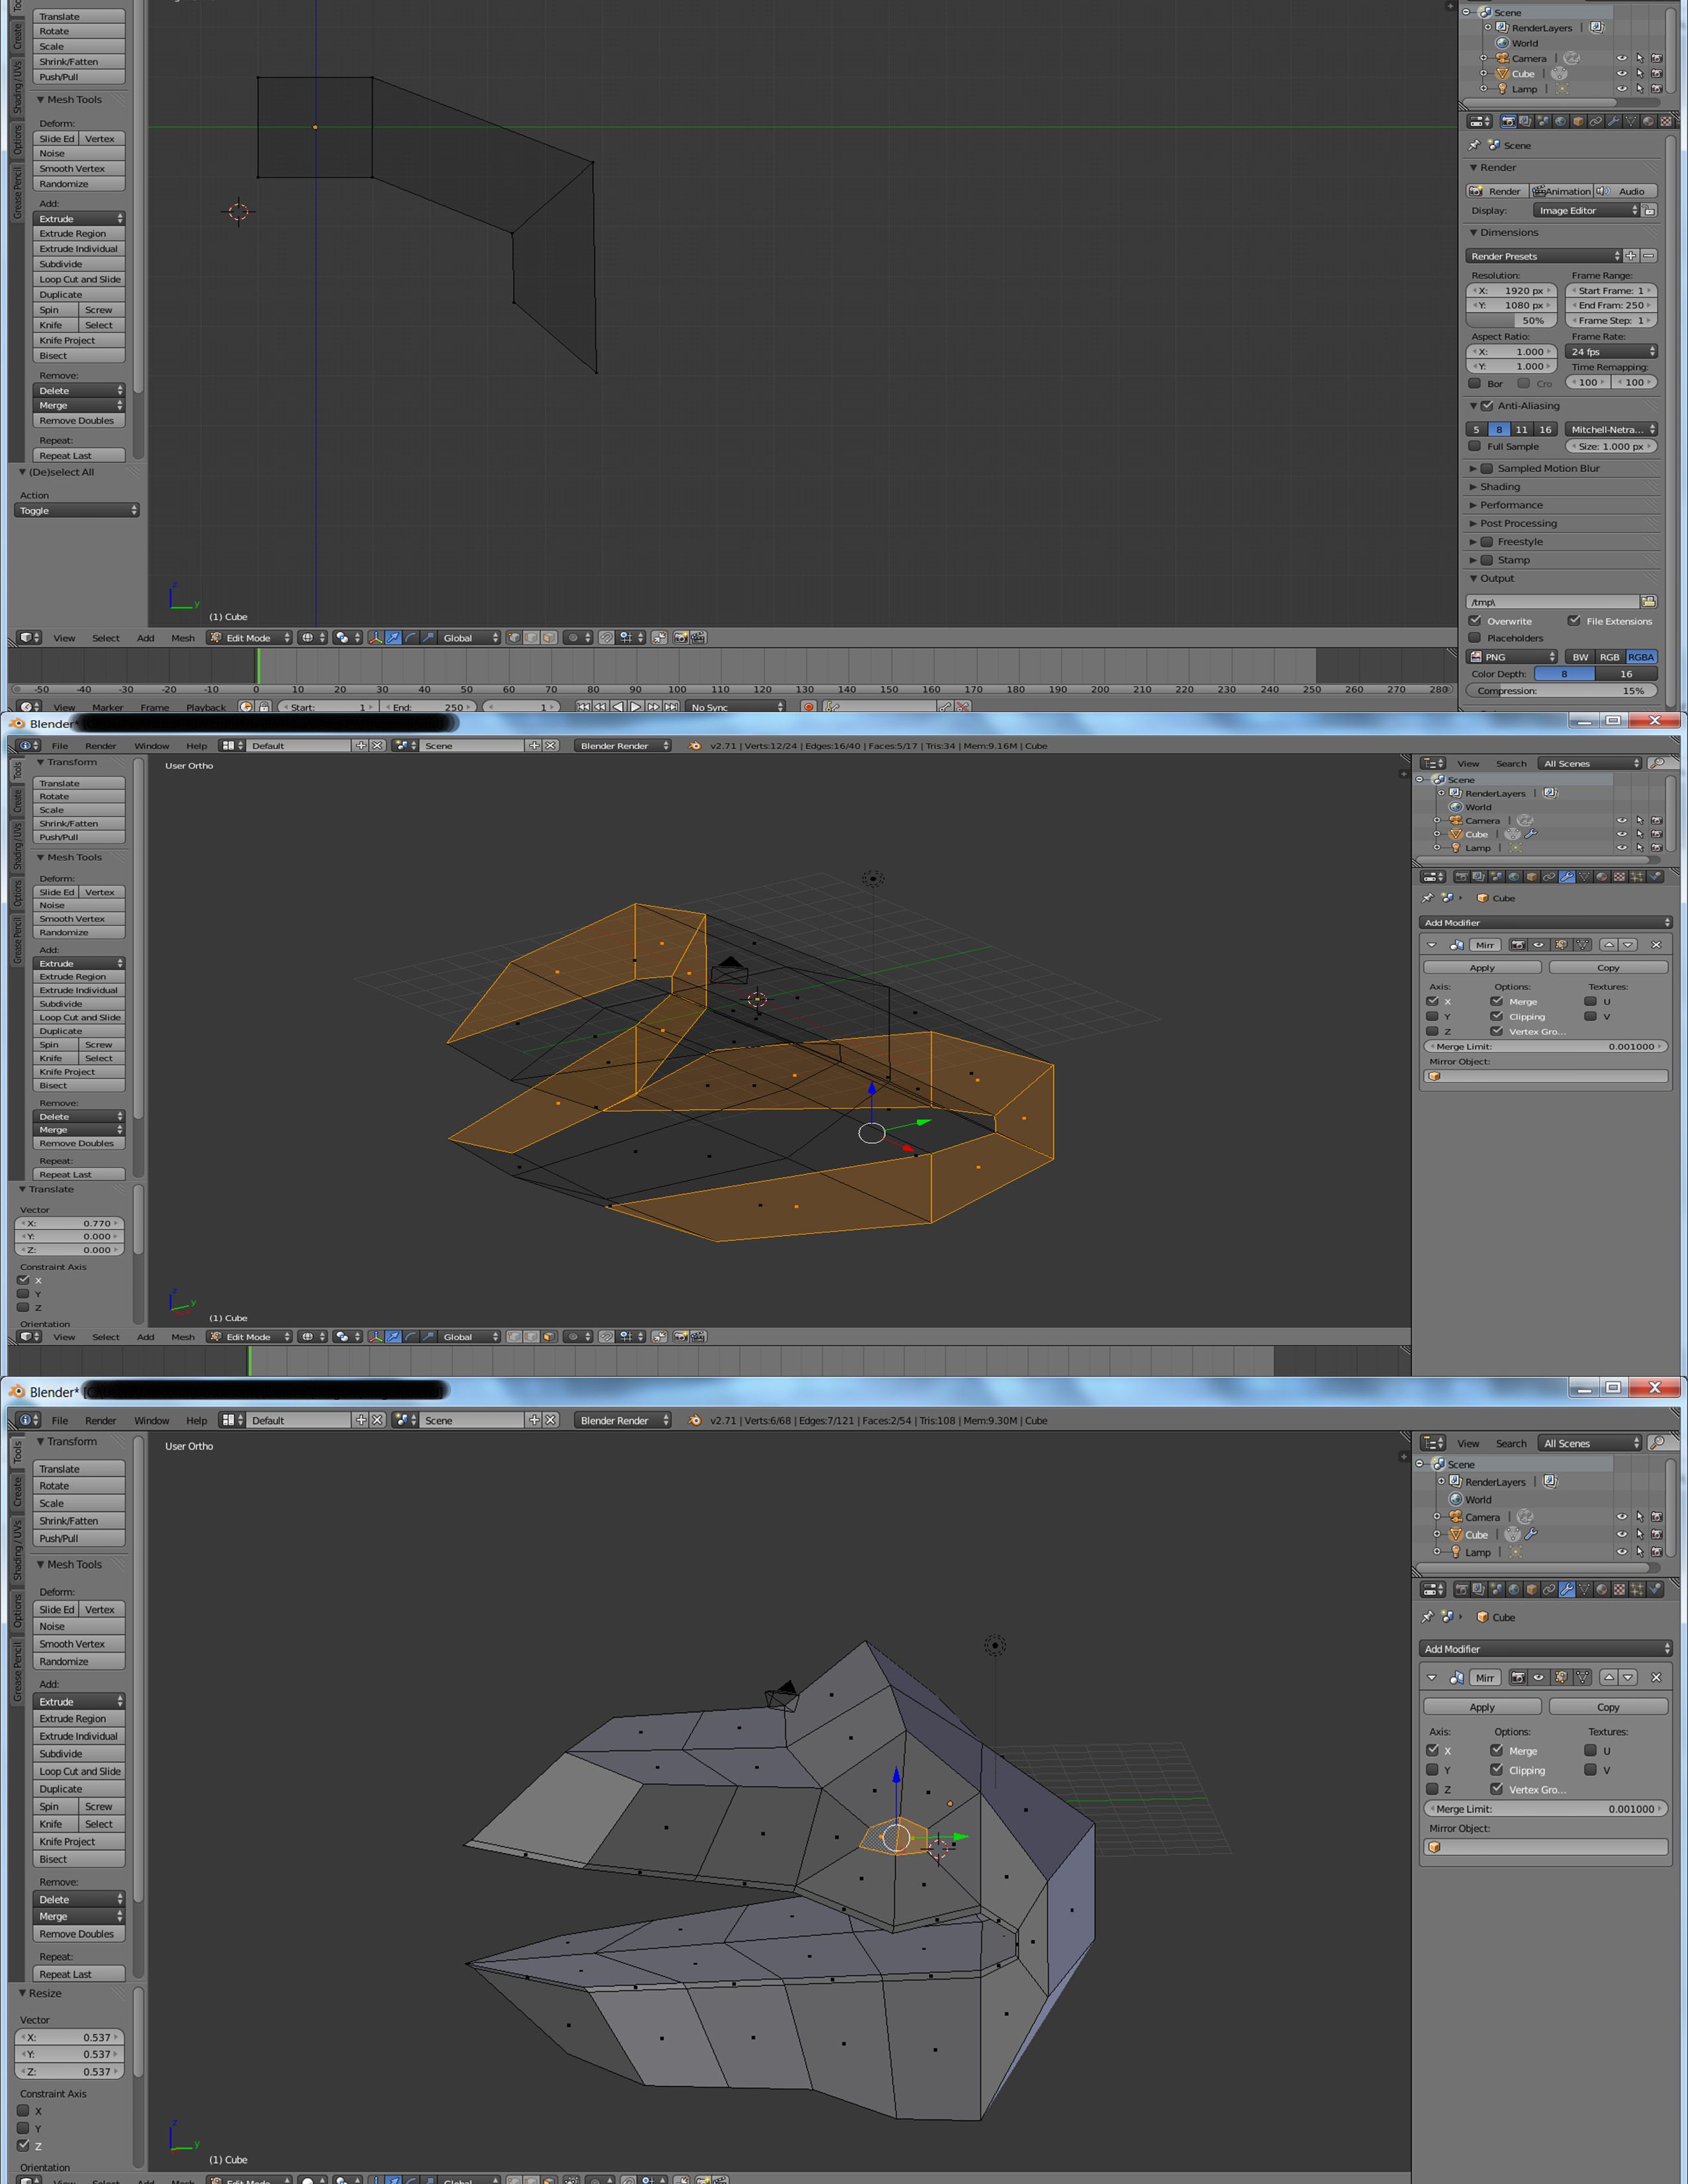
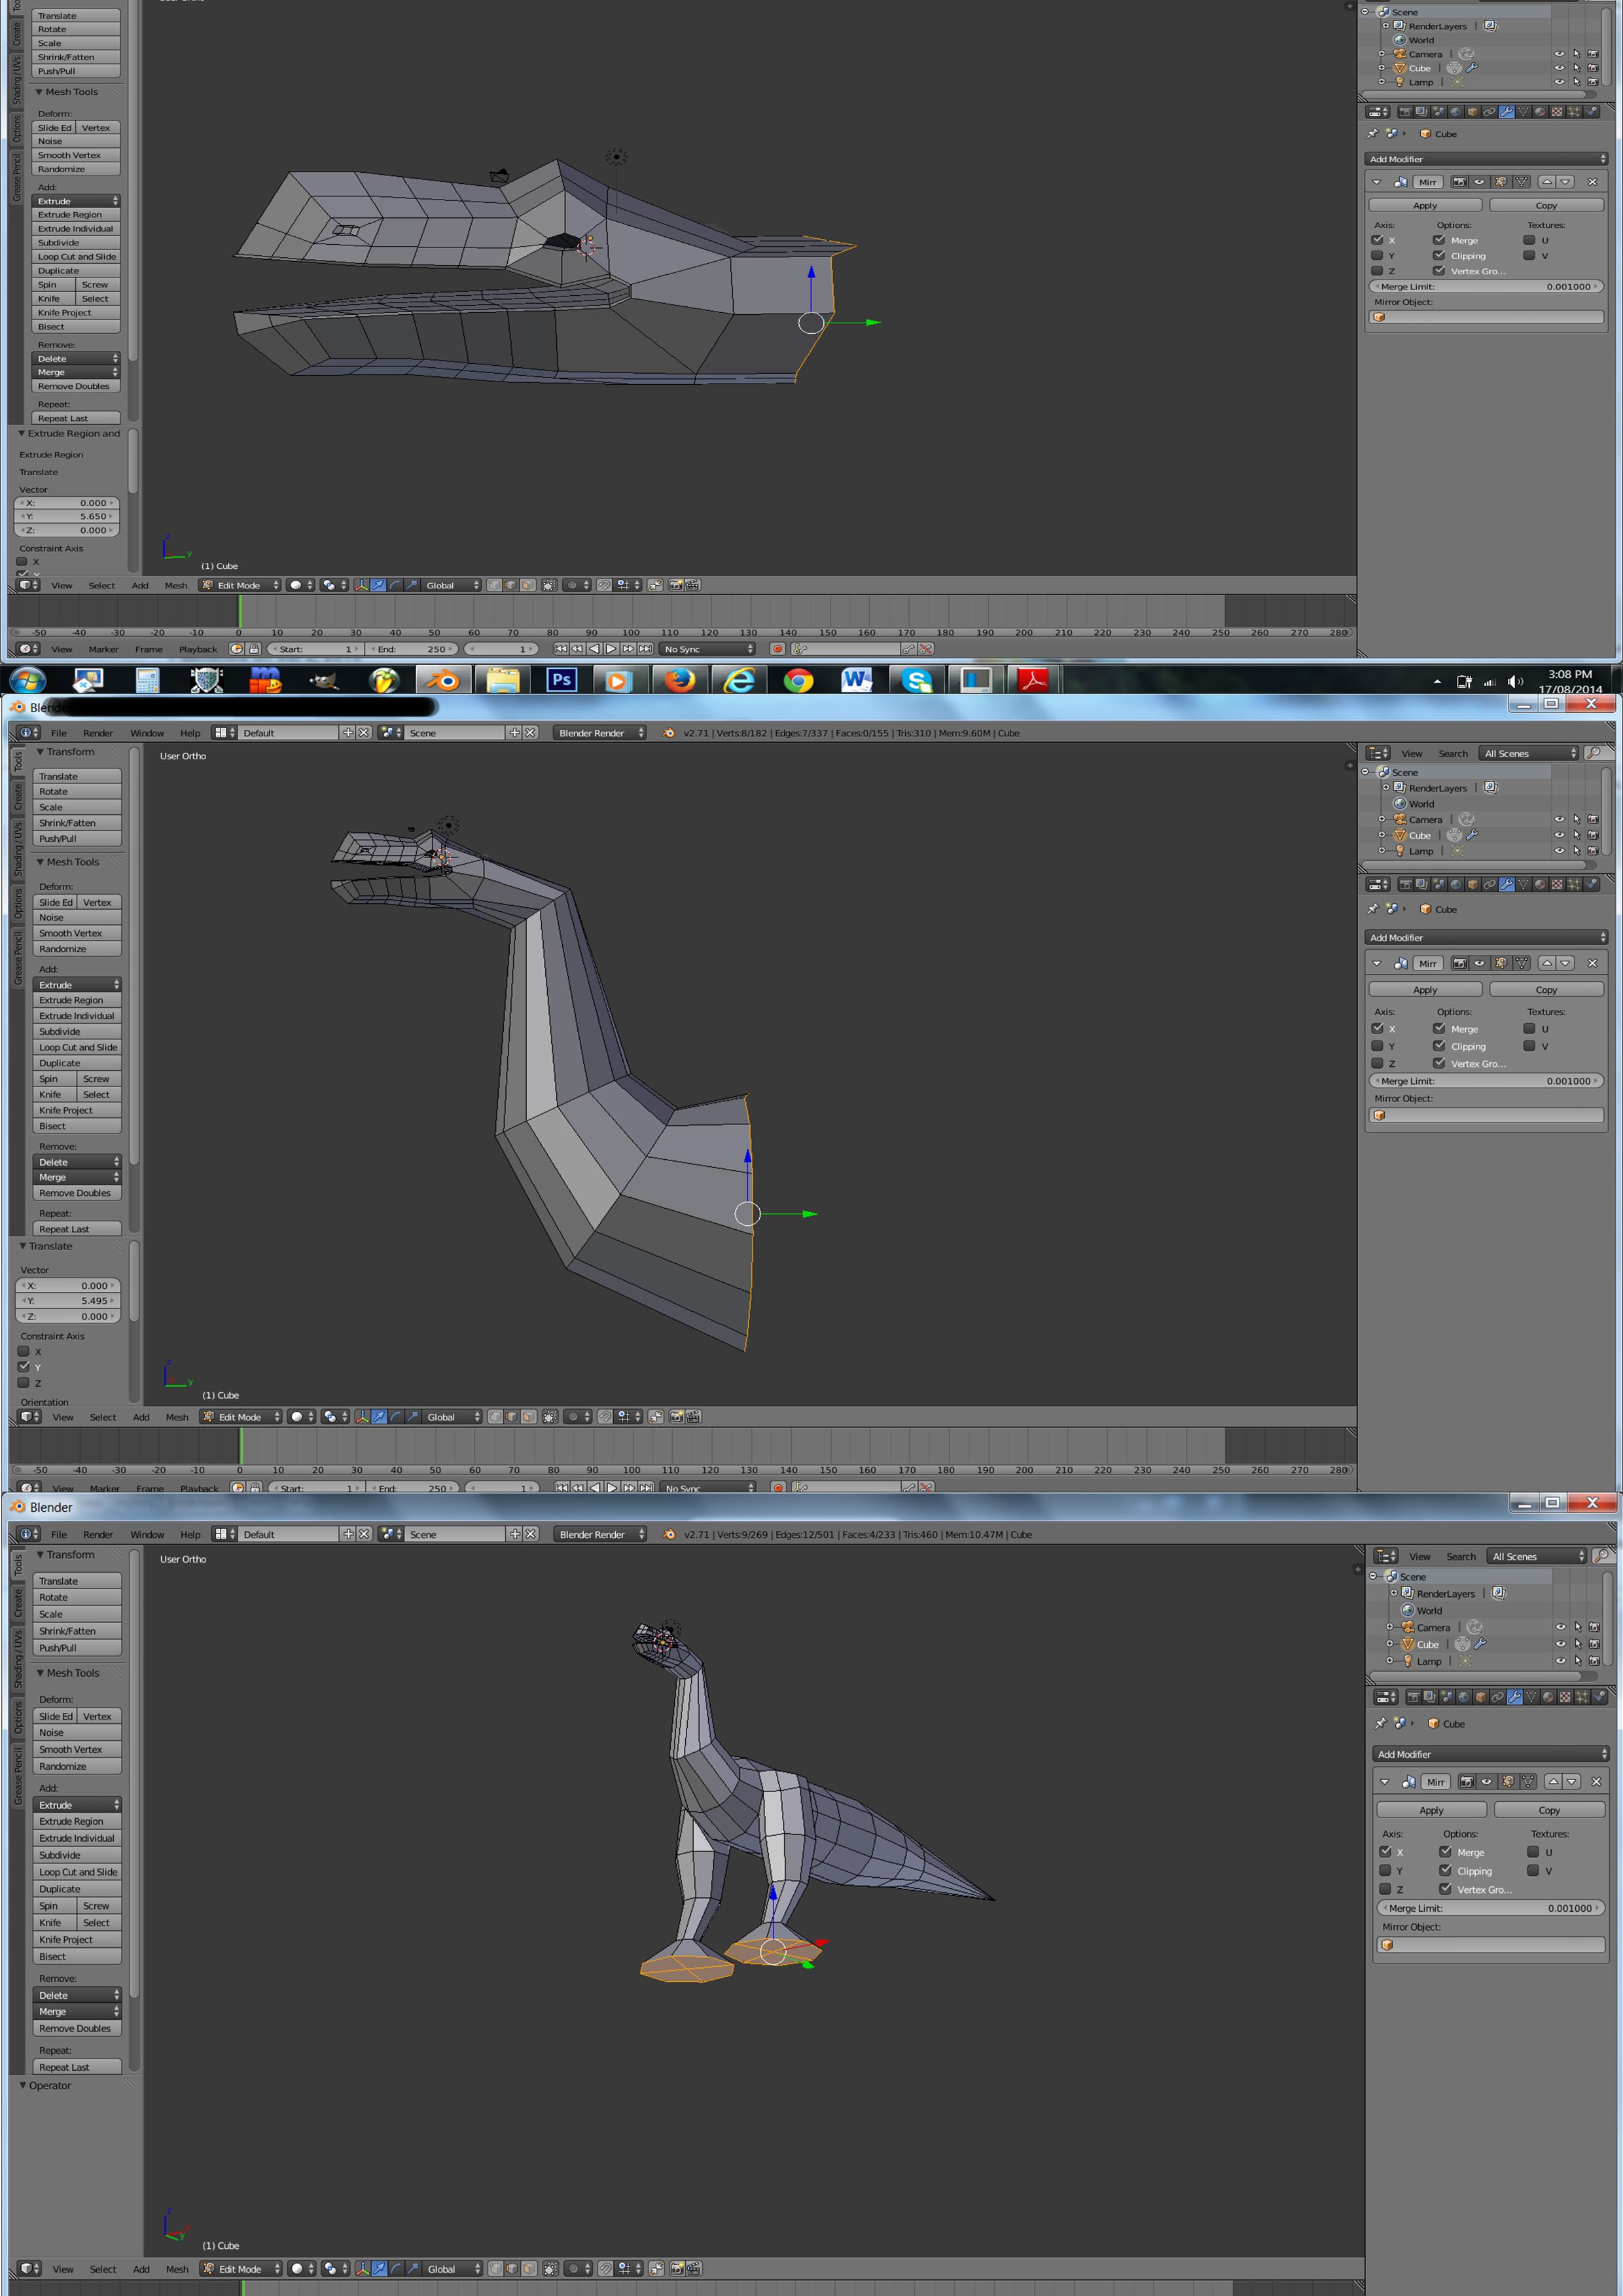
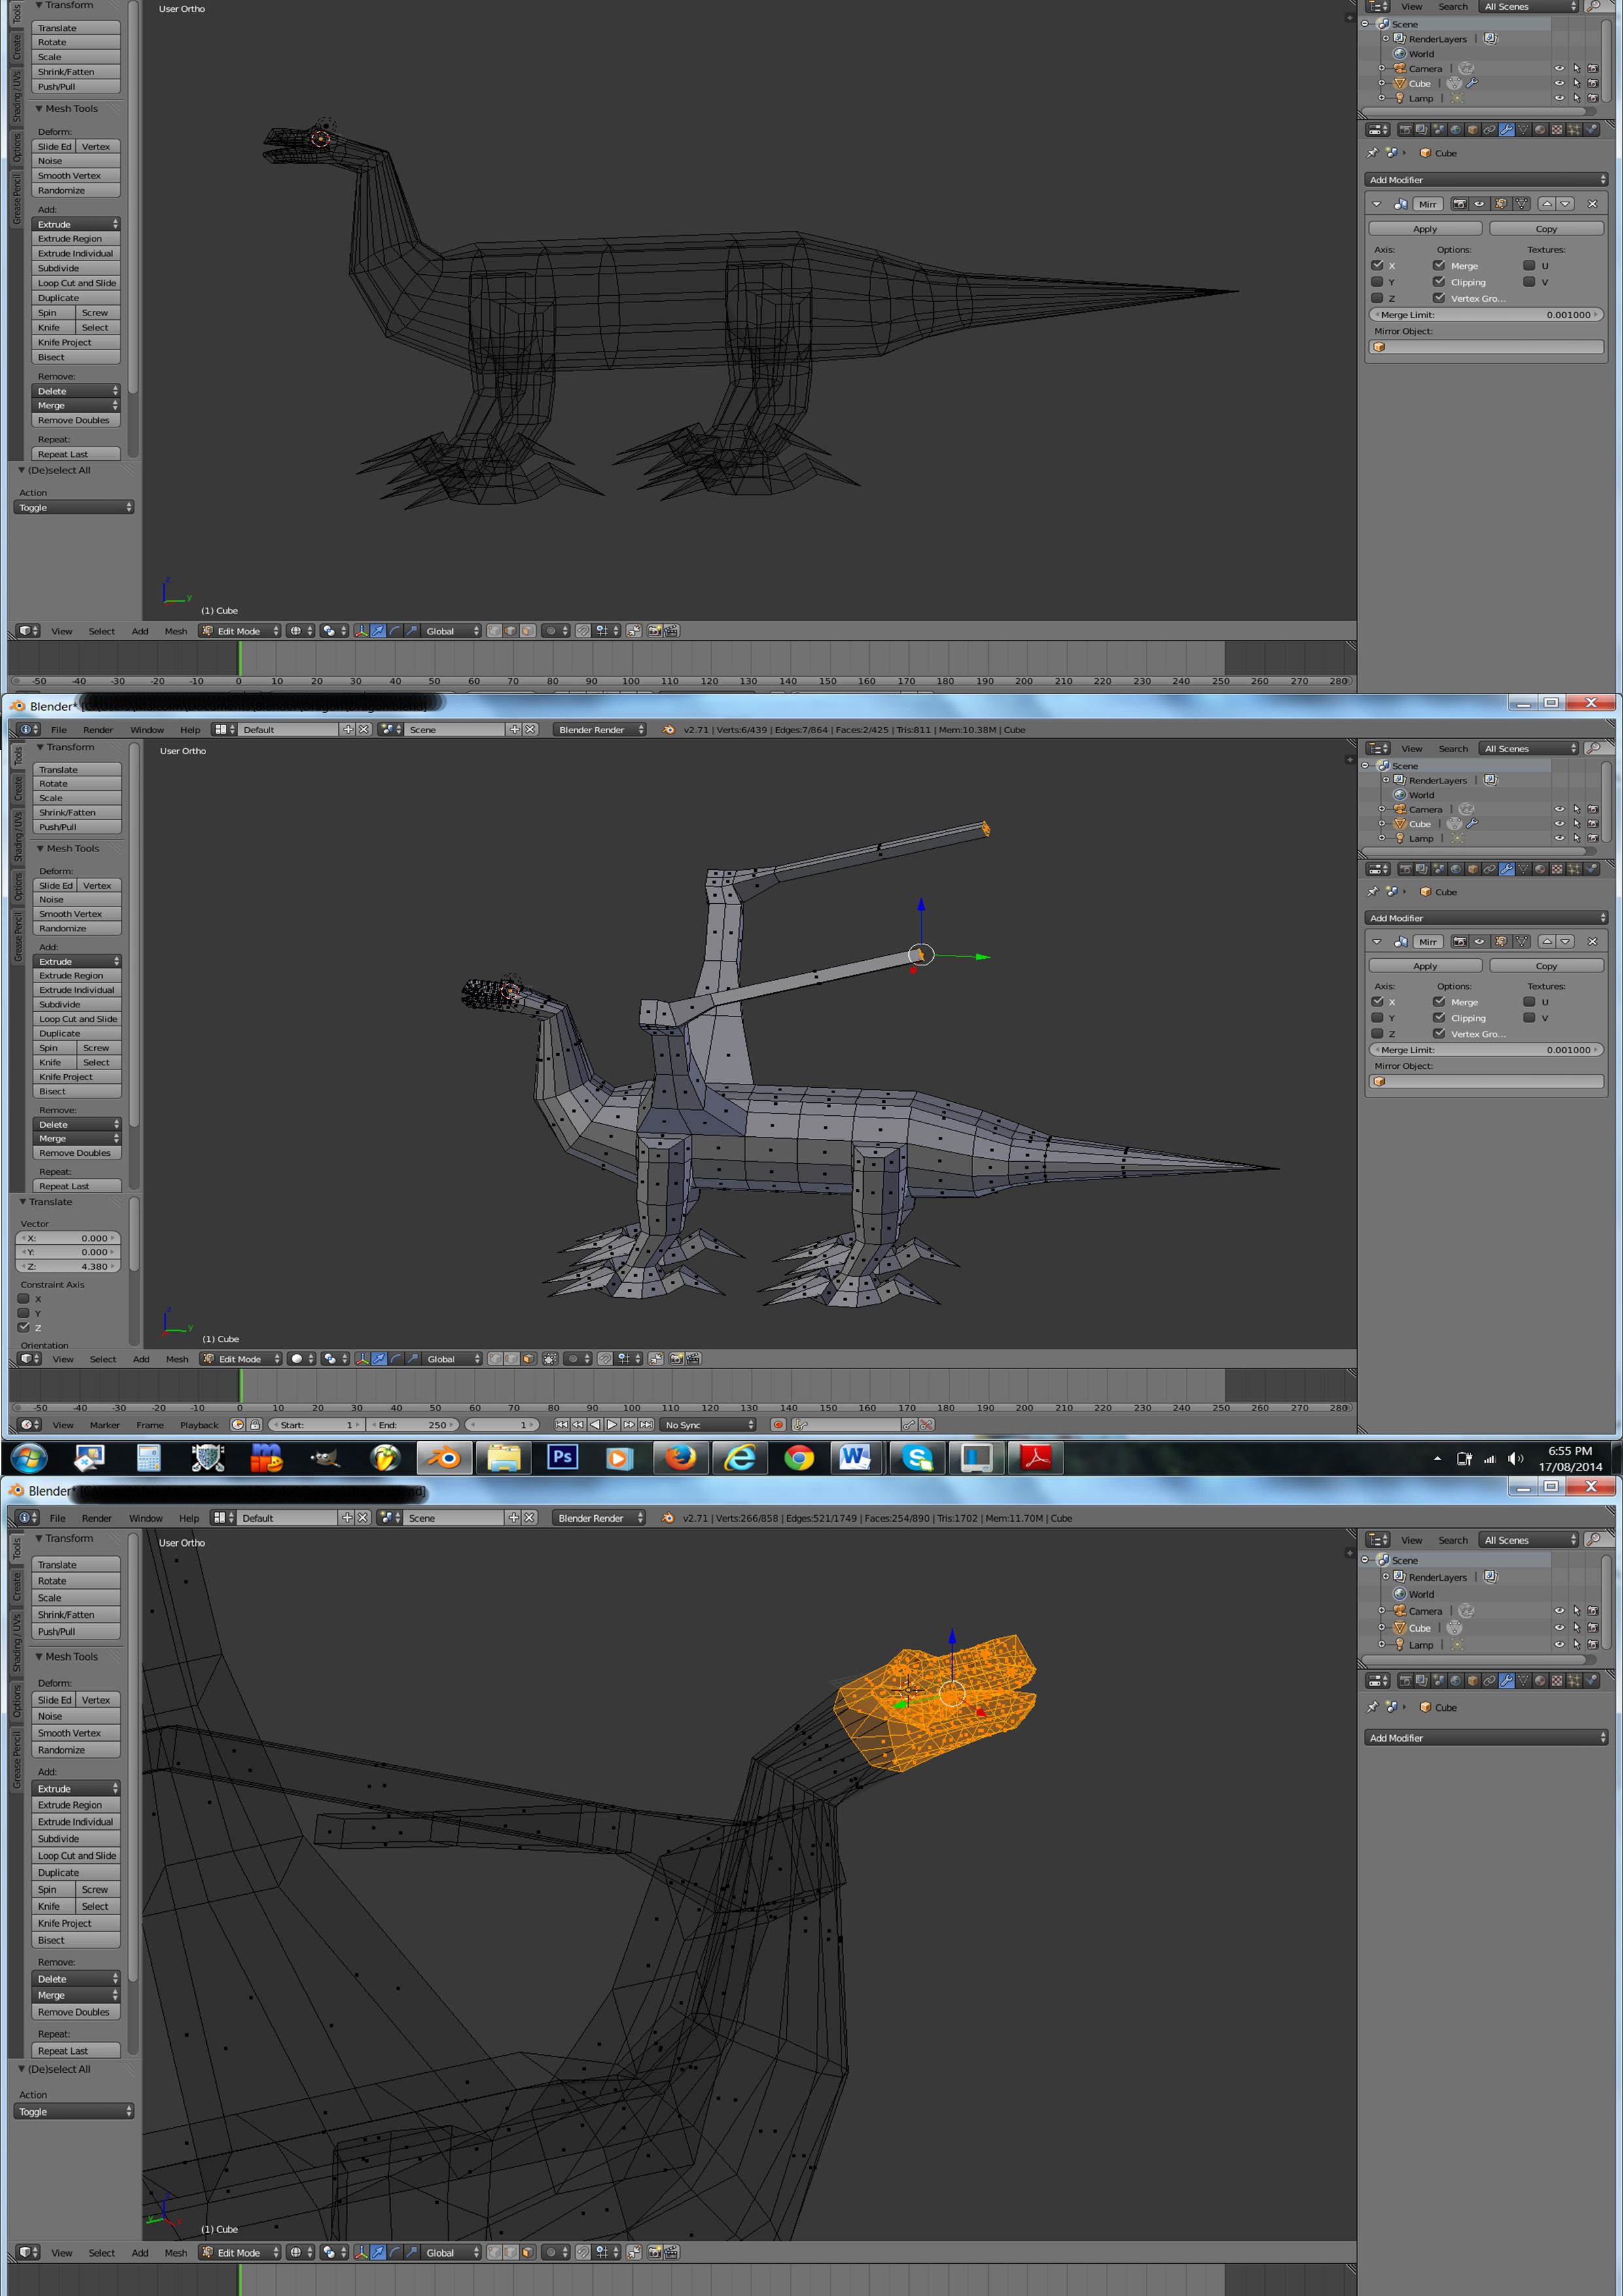
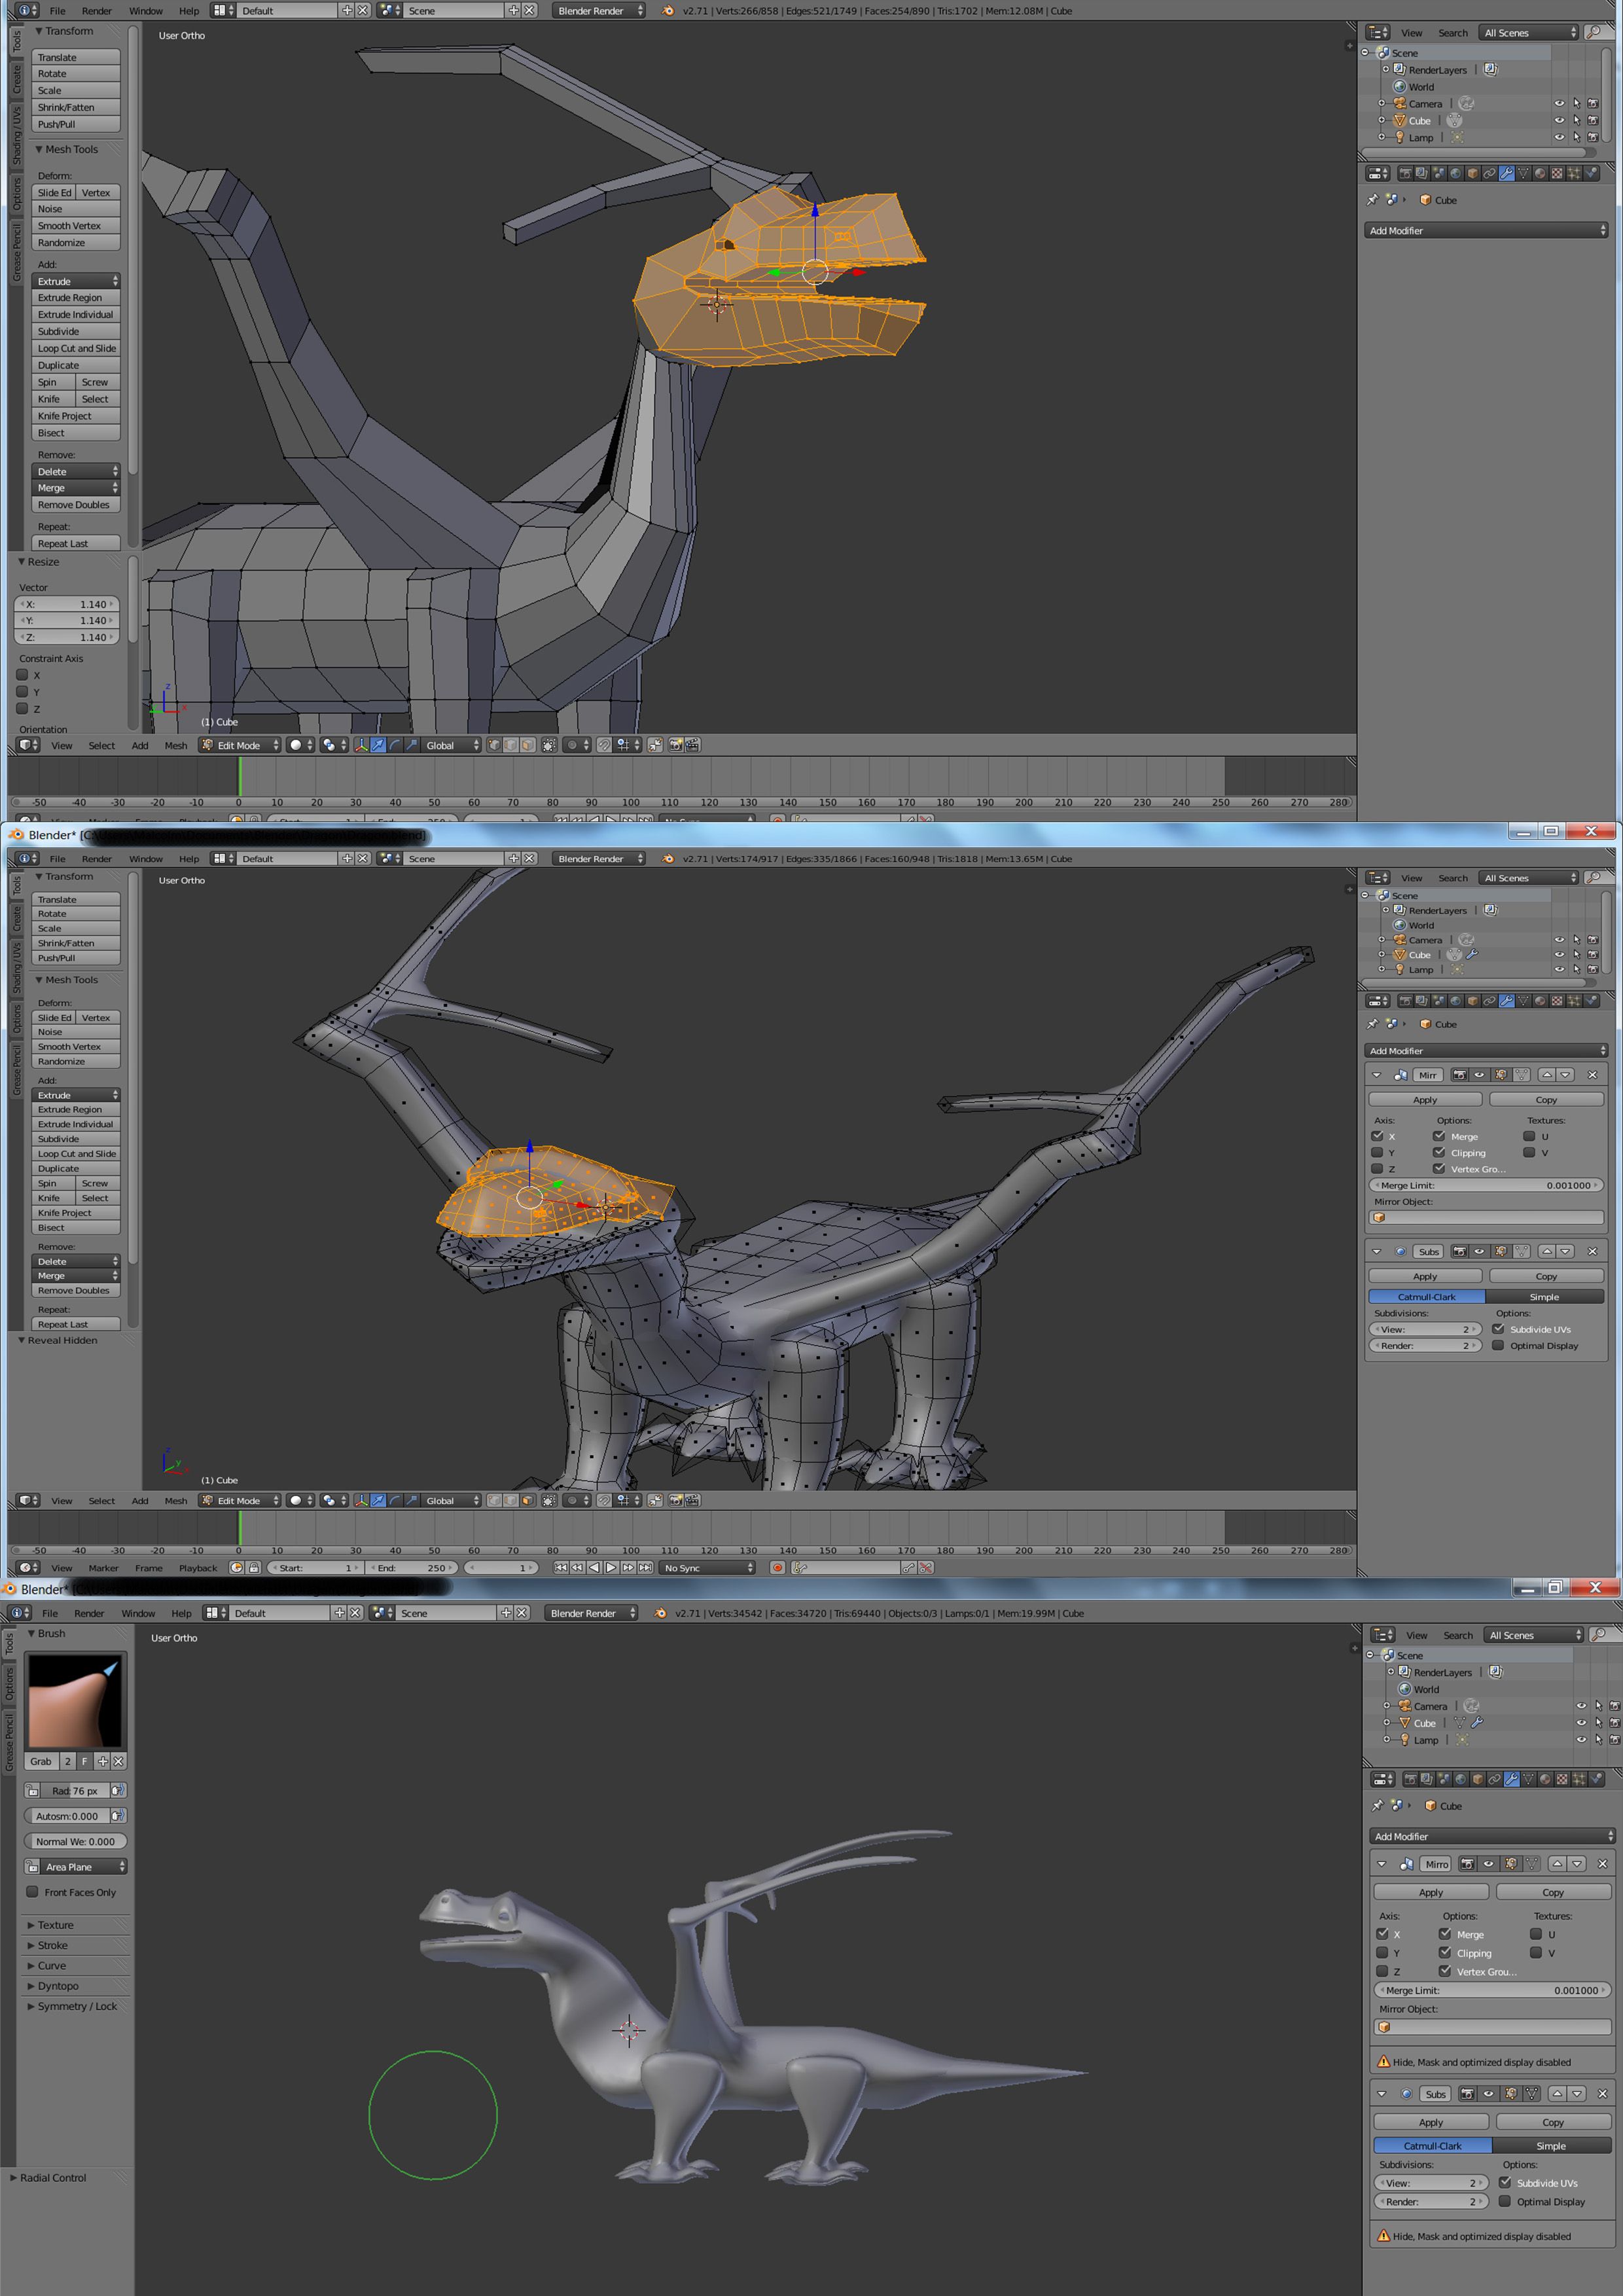
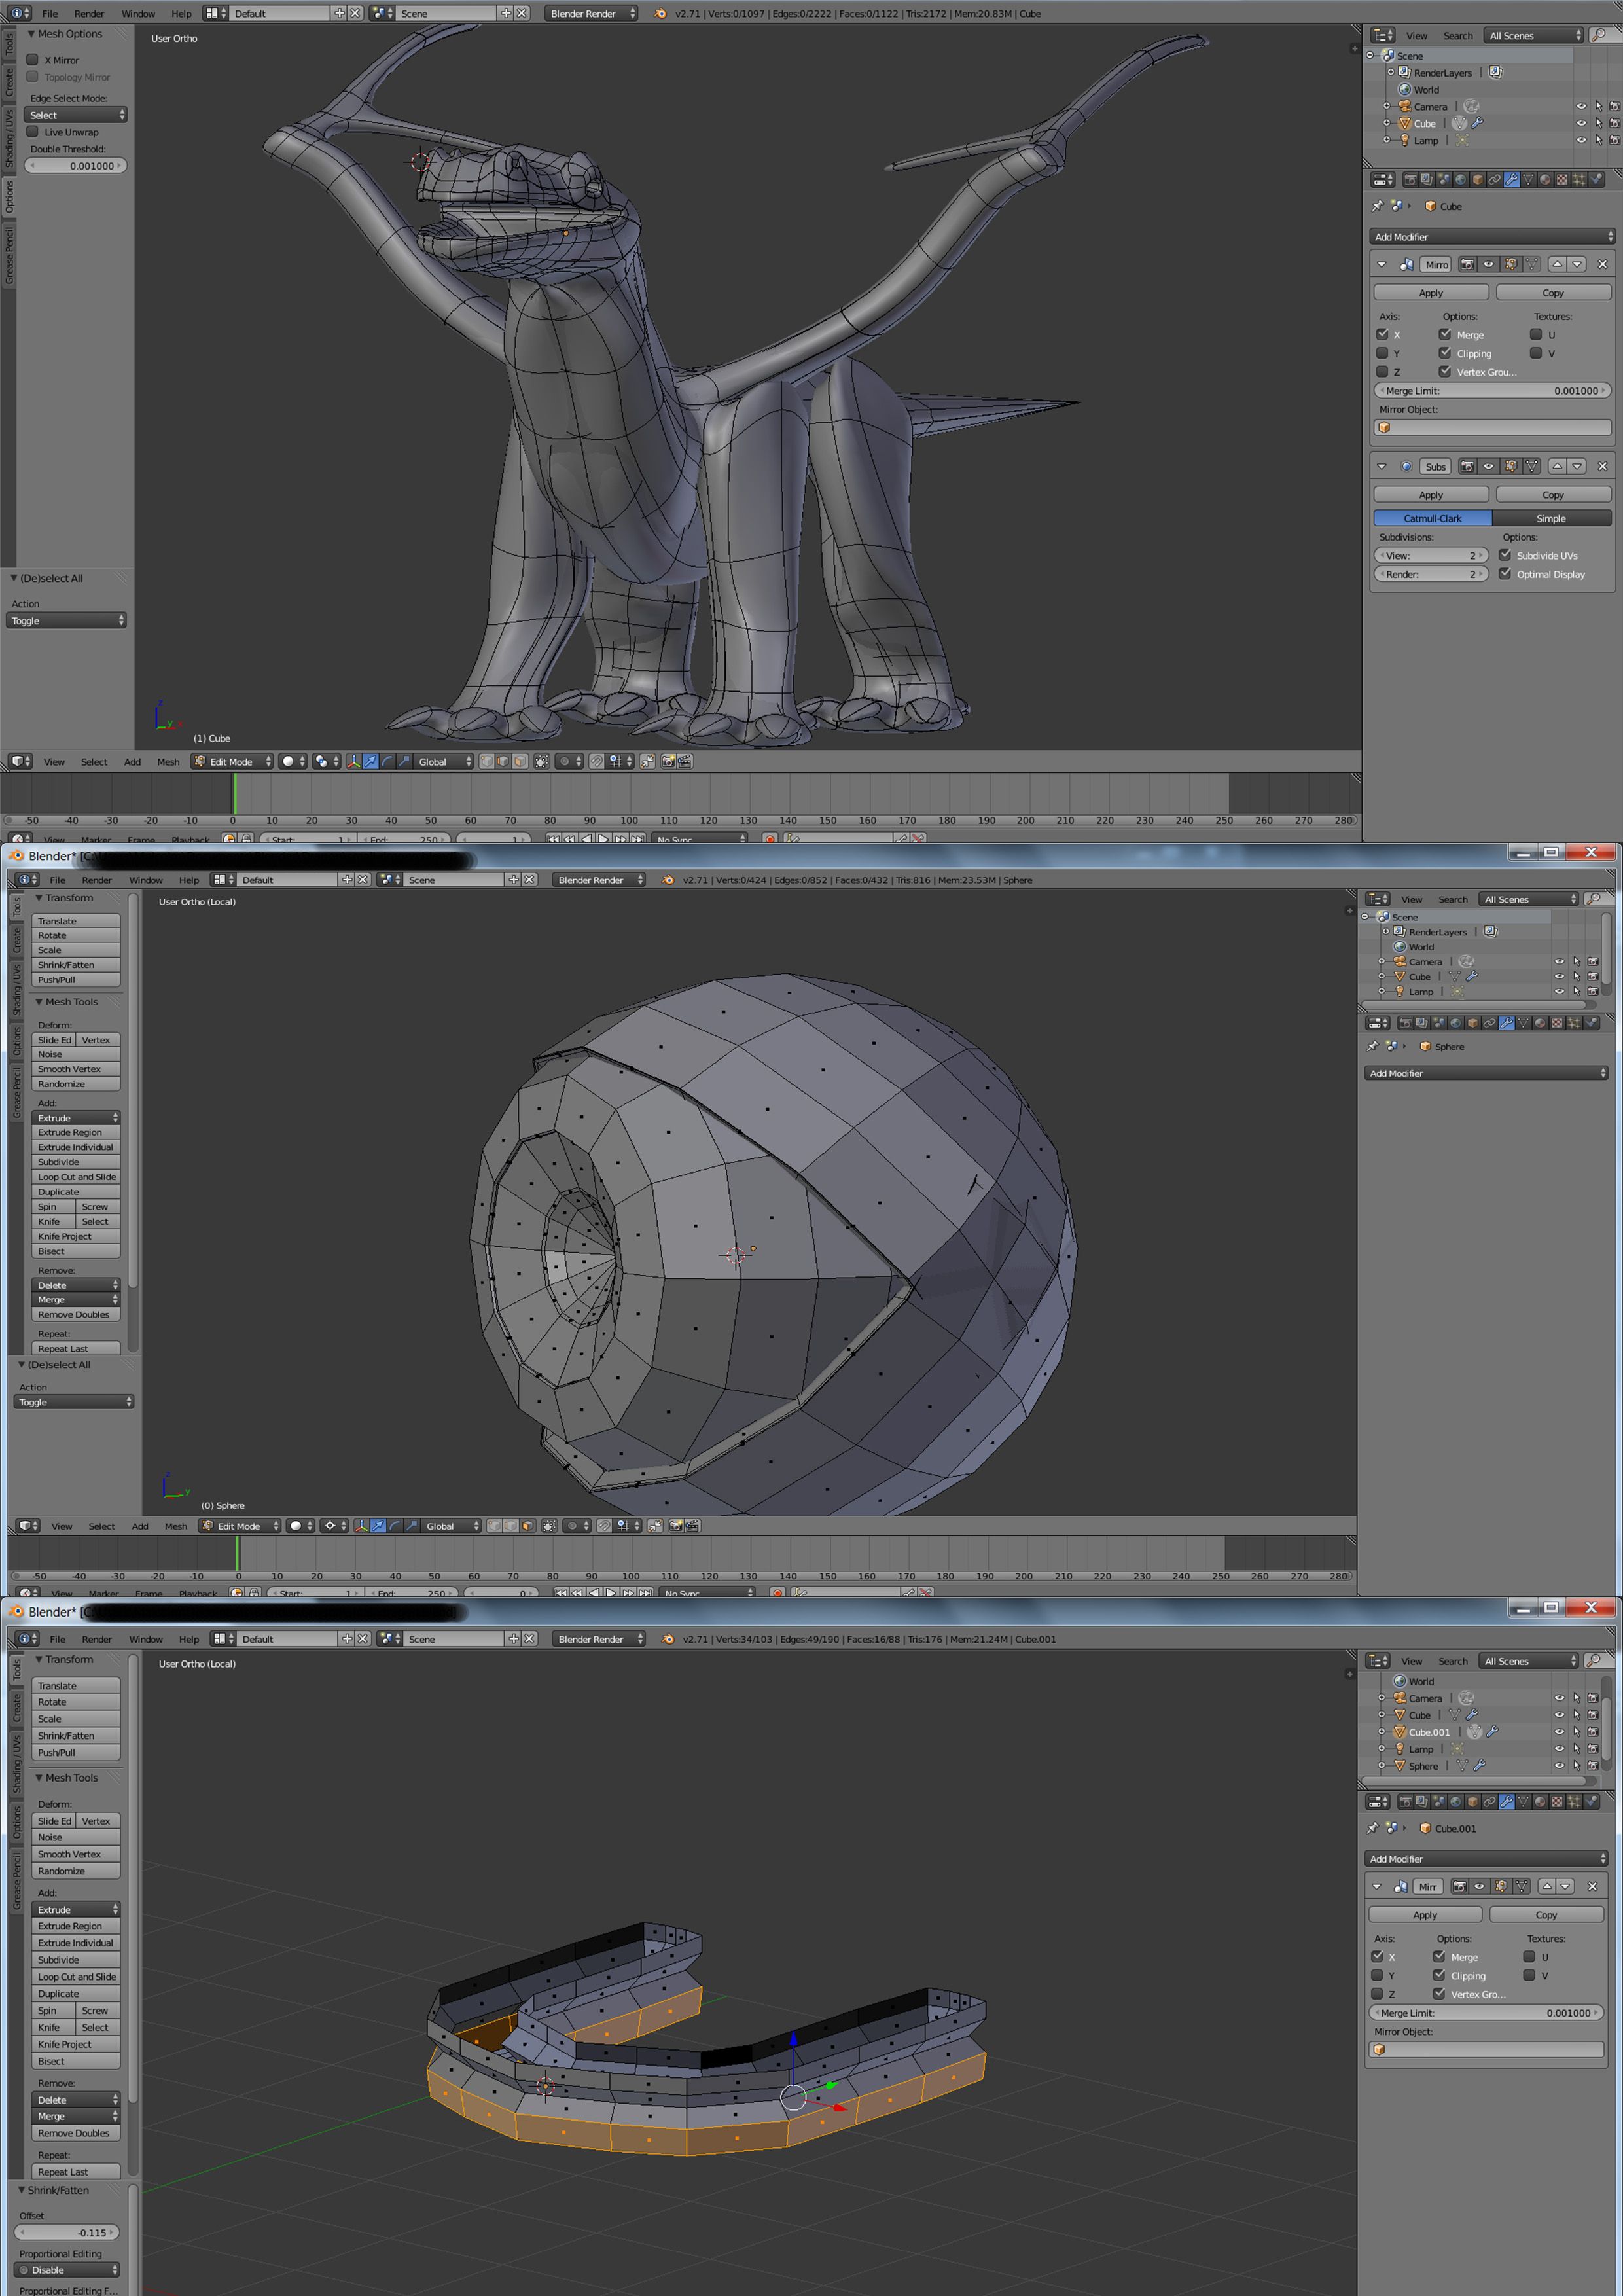
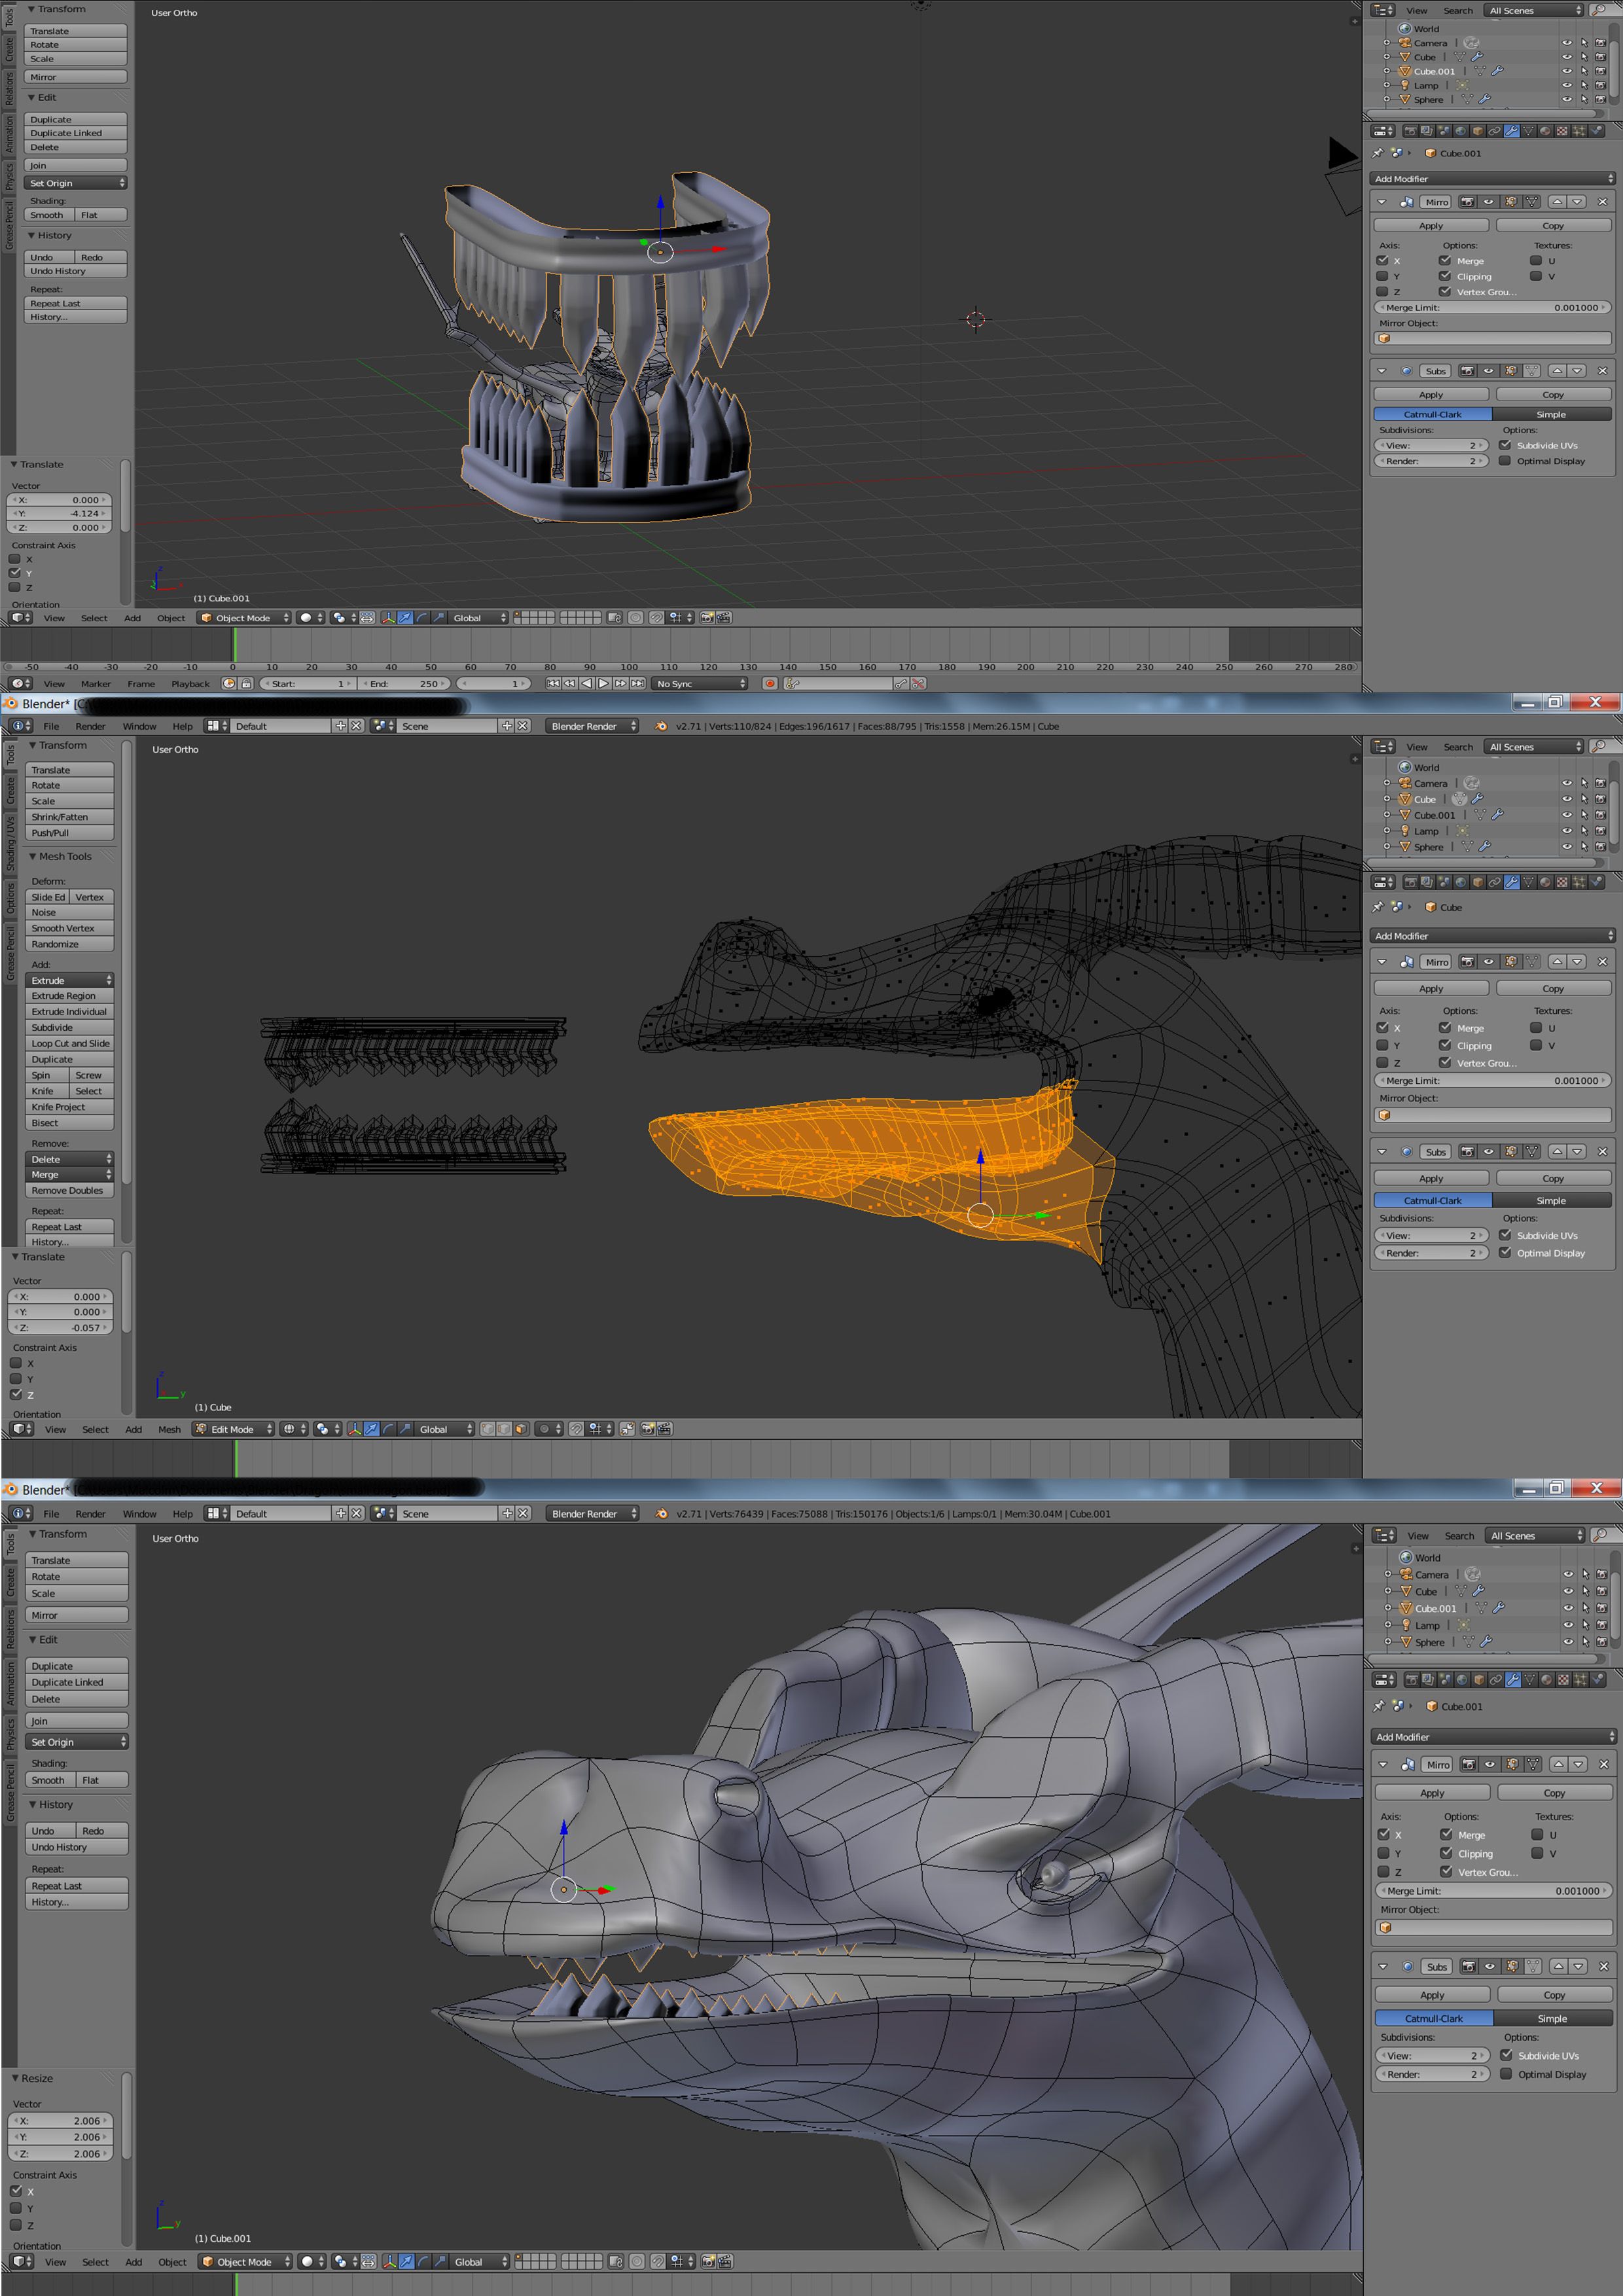
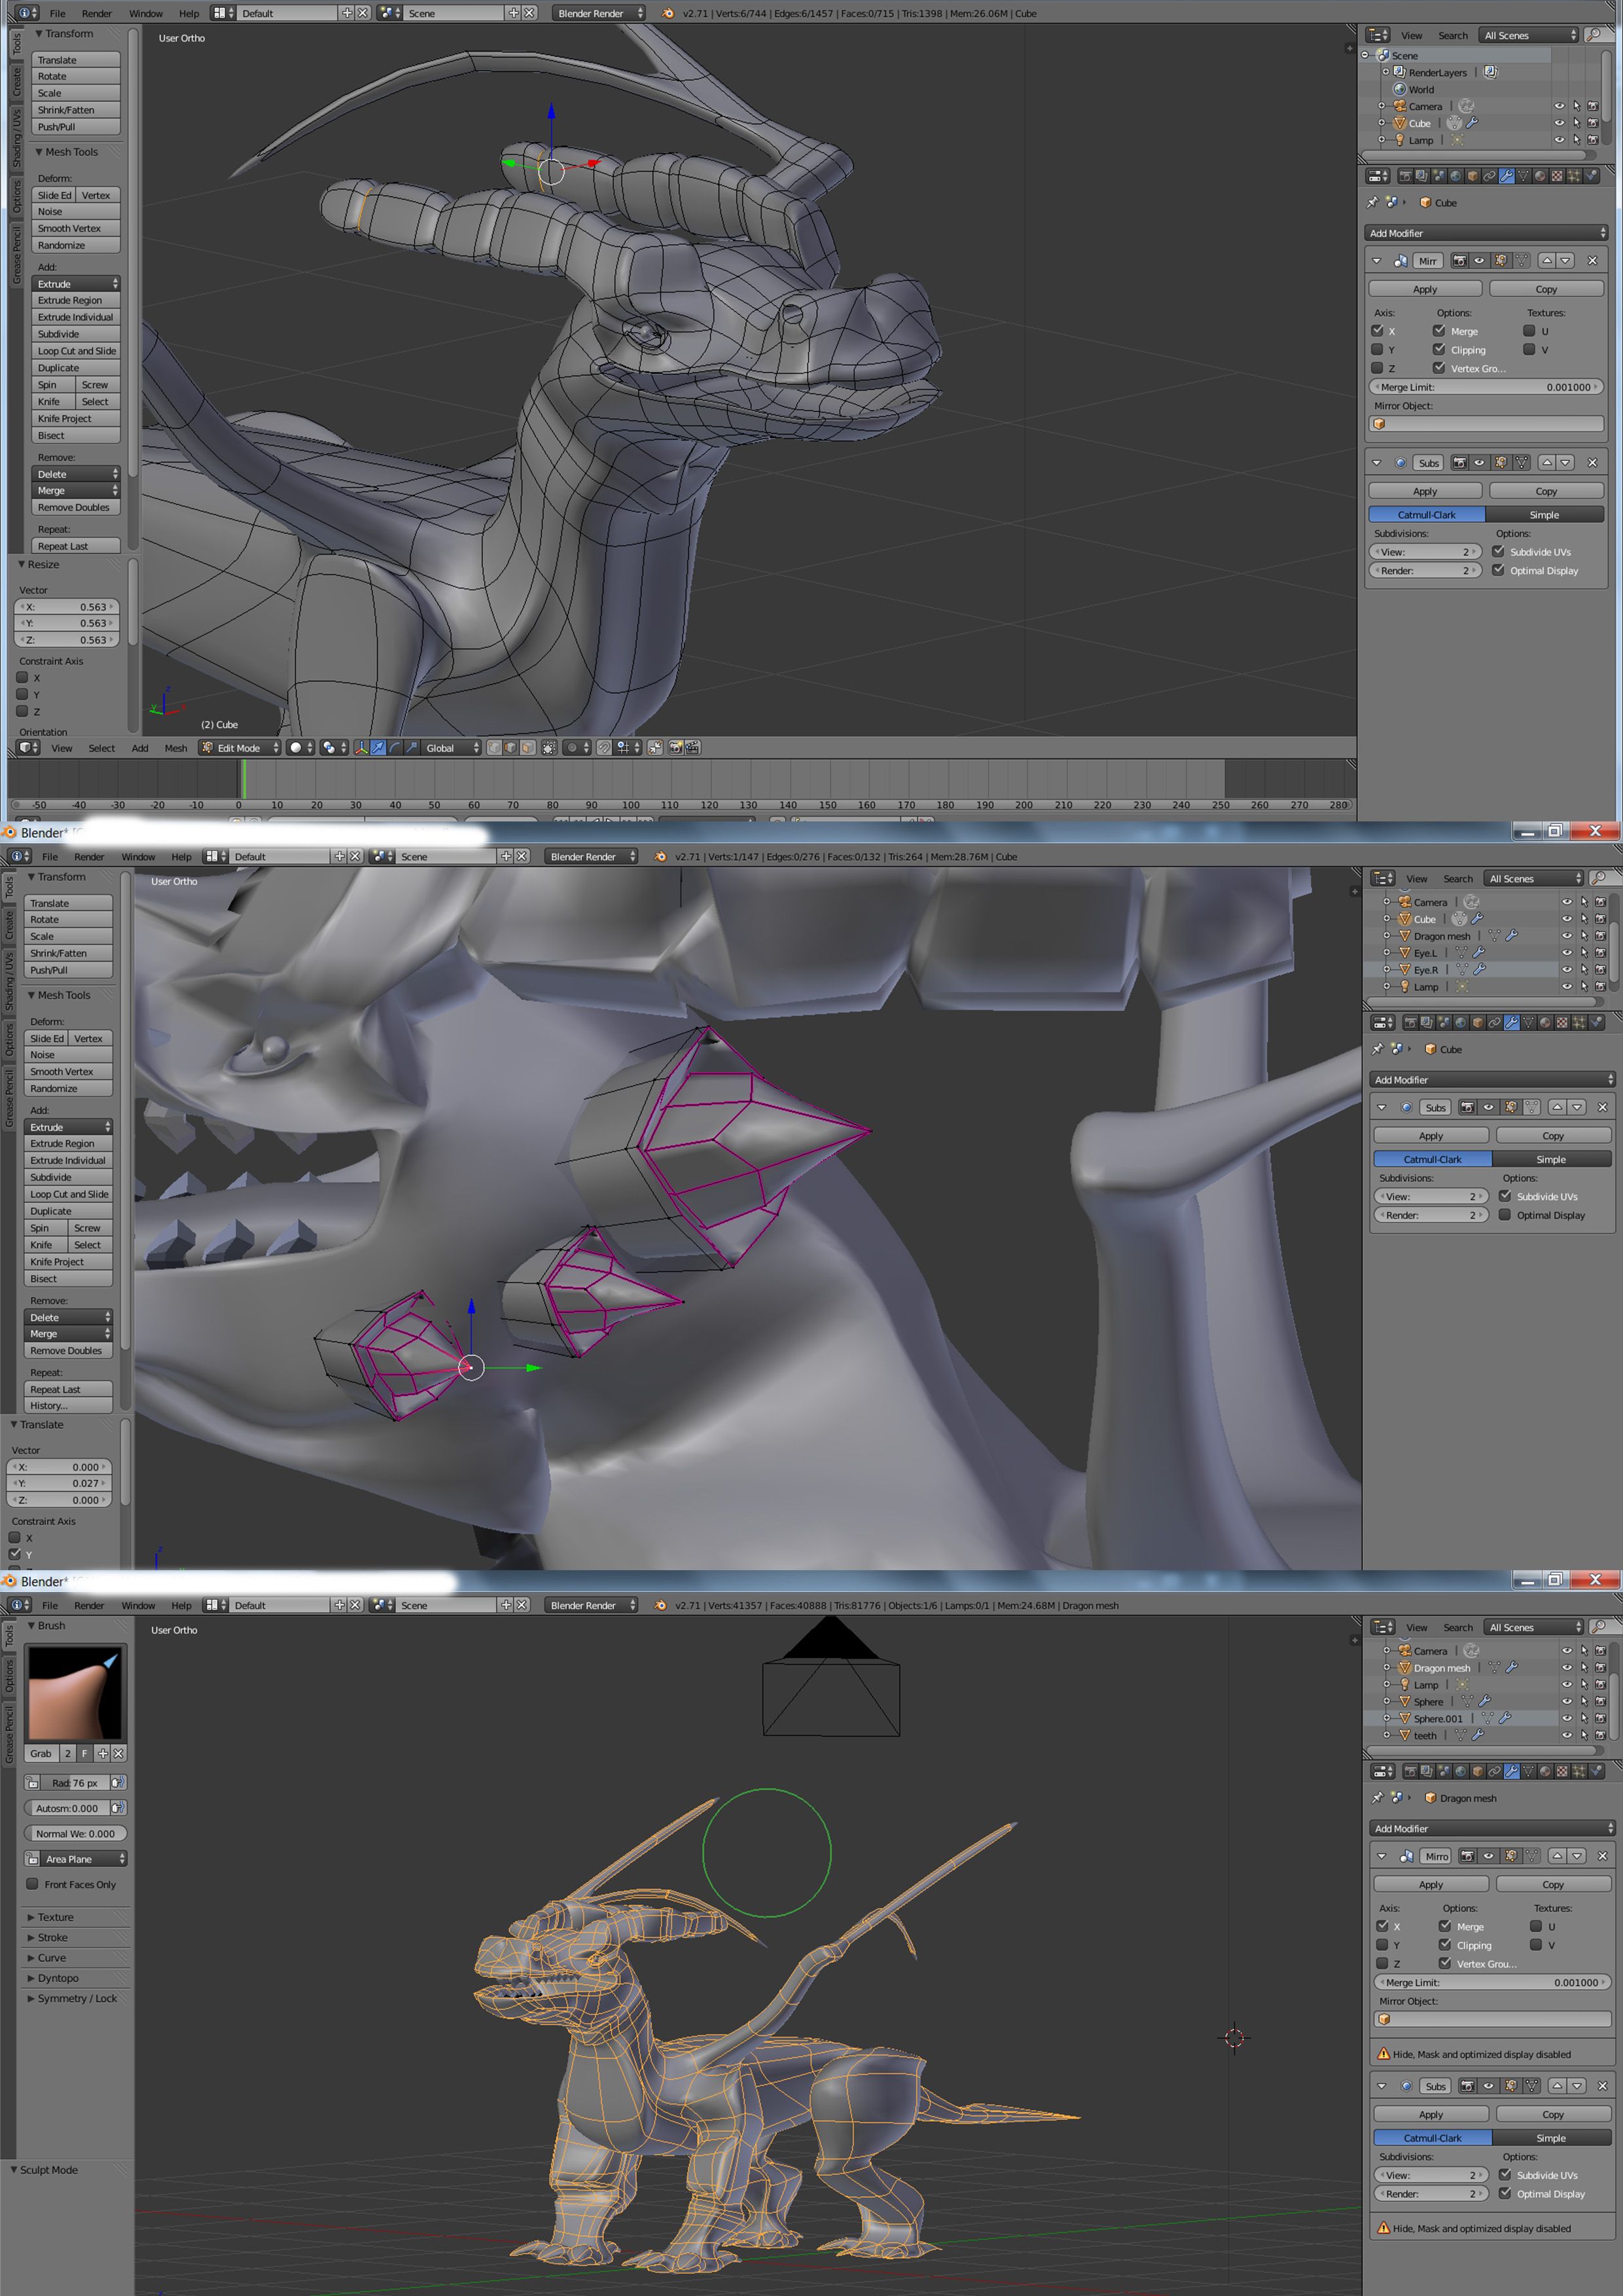
Polygon Modelling
Almost everything (there are plenty of exceptions) generated in 3D began life as a polygon. Polygons are the heart and soul of 3D. A polygon can be broken down in the categories of points, edges, and polygons. A point is a single point in 3D space. Two points make an edge. Four points make a “quad” polygon which has four edges. A polygon should always have four sides. An N-Gon (N standing for Number) is a polygon with more than four points. A triangle has three points and edges. If you learn polygon modelling the significance of this will become apparent as most organic objects need to be made up of “quads” or four-sided polygons.

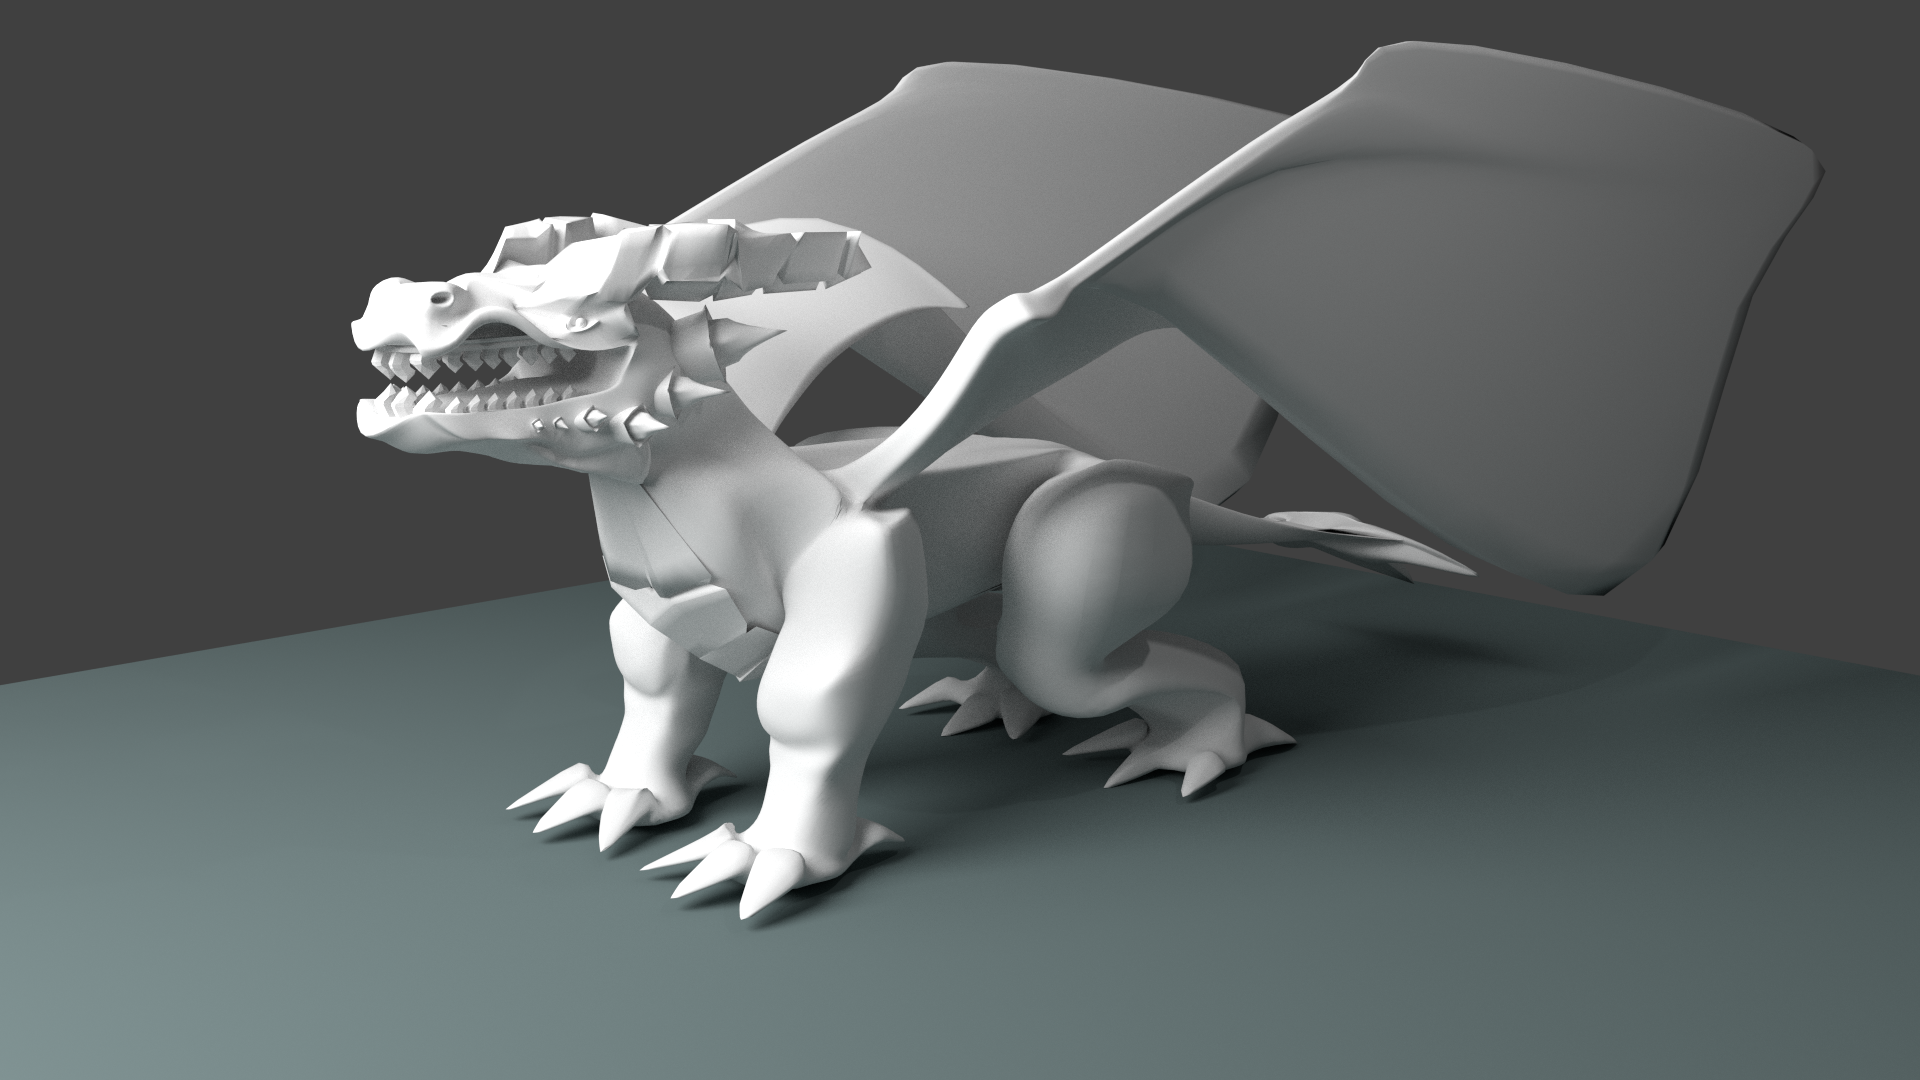
Complex models start as basic shapes. They are then refined and details are added. Thinking in terms of primary, secondary, and tertiary shapes can help you to understand how a complex looking 3D model was created. Breaking down the model into its component parts and reading the structure of a model is fundamental to being a good modeller. I prefer hard surface modelling (mechanical objects and the like) as opposed to soft organic surfaces because, for some reason, my creatures have turned out to be less than what I was expecting. Knowing your abilities is important especially if you’re going to invest many hours into modelling an object.
Lighting
Everything is pitch-black in 3D without lights. Adding lighting really makes your scene shine. Good lighting techniques in 3D can carry over to the real world but others are weird and only applicable to 3D engines. Lighting can take the form of studio scenes, outdoor scenes, complex atmospheric lighting for video games and so on. Just because you don’t have to light outdoor scenes in the real world doesn’t mean that you can set up a physical sun and think you’re fine. The way lighting functions in CGI is different to the real world: light rays are not as bouncy and fill lights must be added in addition to consideration of the contrast ratios and so forth in order to get a realistic or otherwise render.
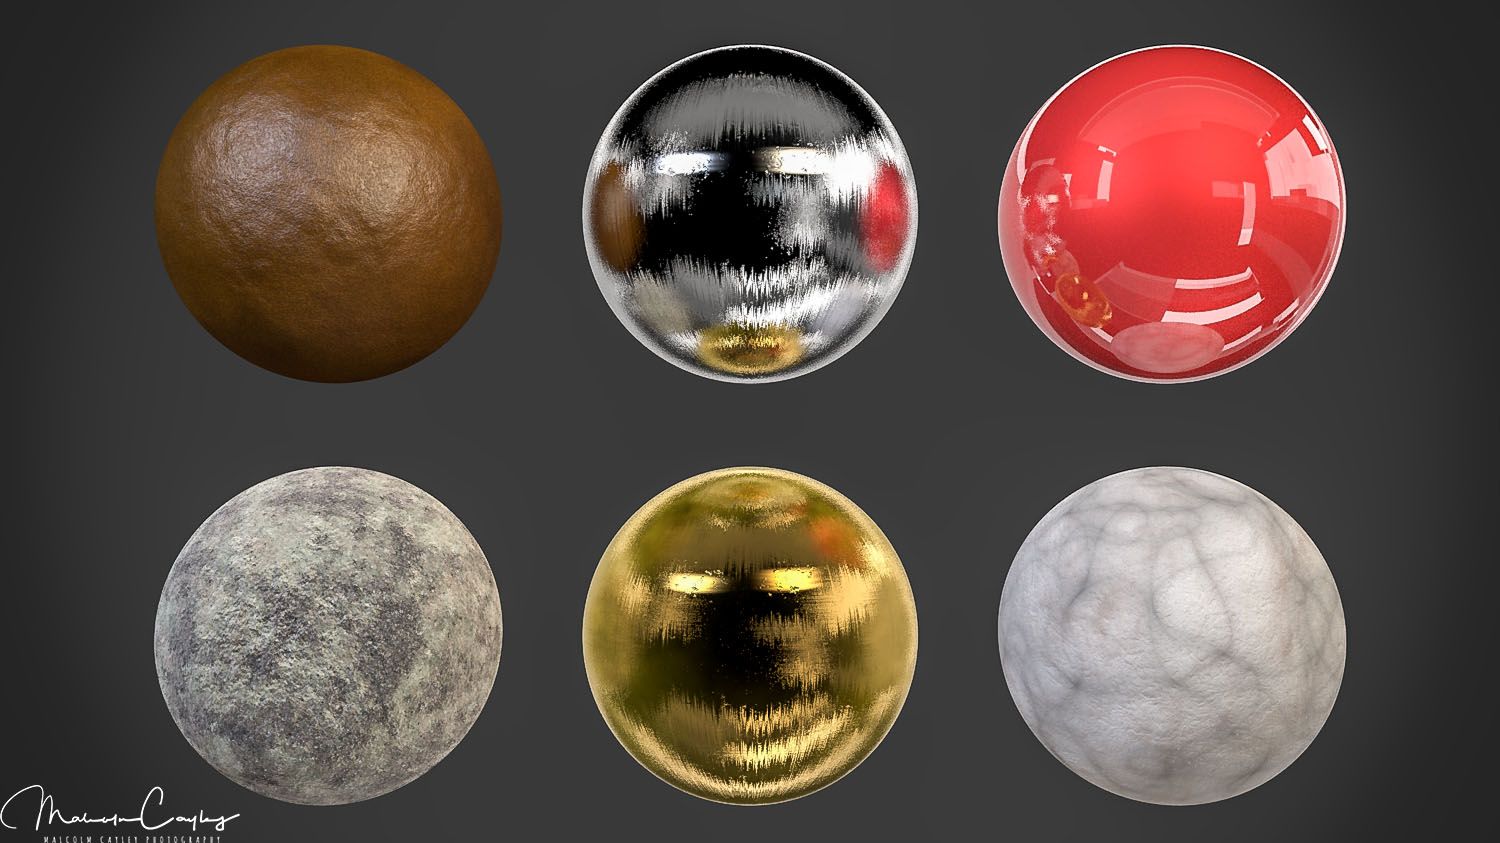
(Materials study)
Camera
The camera allows you to compose your final render. Just like in real life the camera comes with different focal lens but you can adjust the parameters to beyond realistic if you like. Unfortunately, there is no “Nikon” or “Canon” or "Sony" brand cameras in 3D; but realistic renderers like Vray have their own physical camera that helps the scene look realistic. The camera can be calibrated to operate beyond “physical” parameters. For instance, F stops can be extremely low that would either result in either a very expensive lens in the real world or something that doesn’t exist.
Animation
If you fancy yourself the next animator for Pixar but cannot draw to save yourself (like me), 3D might be your ticket on that path. 3D animation requires your object to be made to certain specifications that are too complicated to go into here: basically quad-based geometry with attention to load-bearing vertices and allows freedom of movement without causing the polygons to “break” (turn black in the view port). Once you have your model you have to put the “bones” into it. This is the process of rigging that makes your object or character become a puppet ready to begin animating.

There are many animation techniques. One of the simplest is called key frame animation. You place instructions on certain frames in the animation timeline that state the part of the character must reach this position, scale, or rotation by the time that the key frame is reached. You begin with a start position, scale, or rotation, then decide on the end position, scale, or rotation. Once this is complete you have a jerky movement that needs to be refined by adding a middle position if necessary and adjusting the interpolation of the key frames.
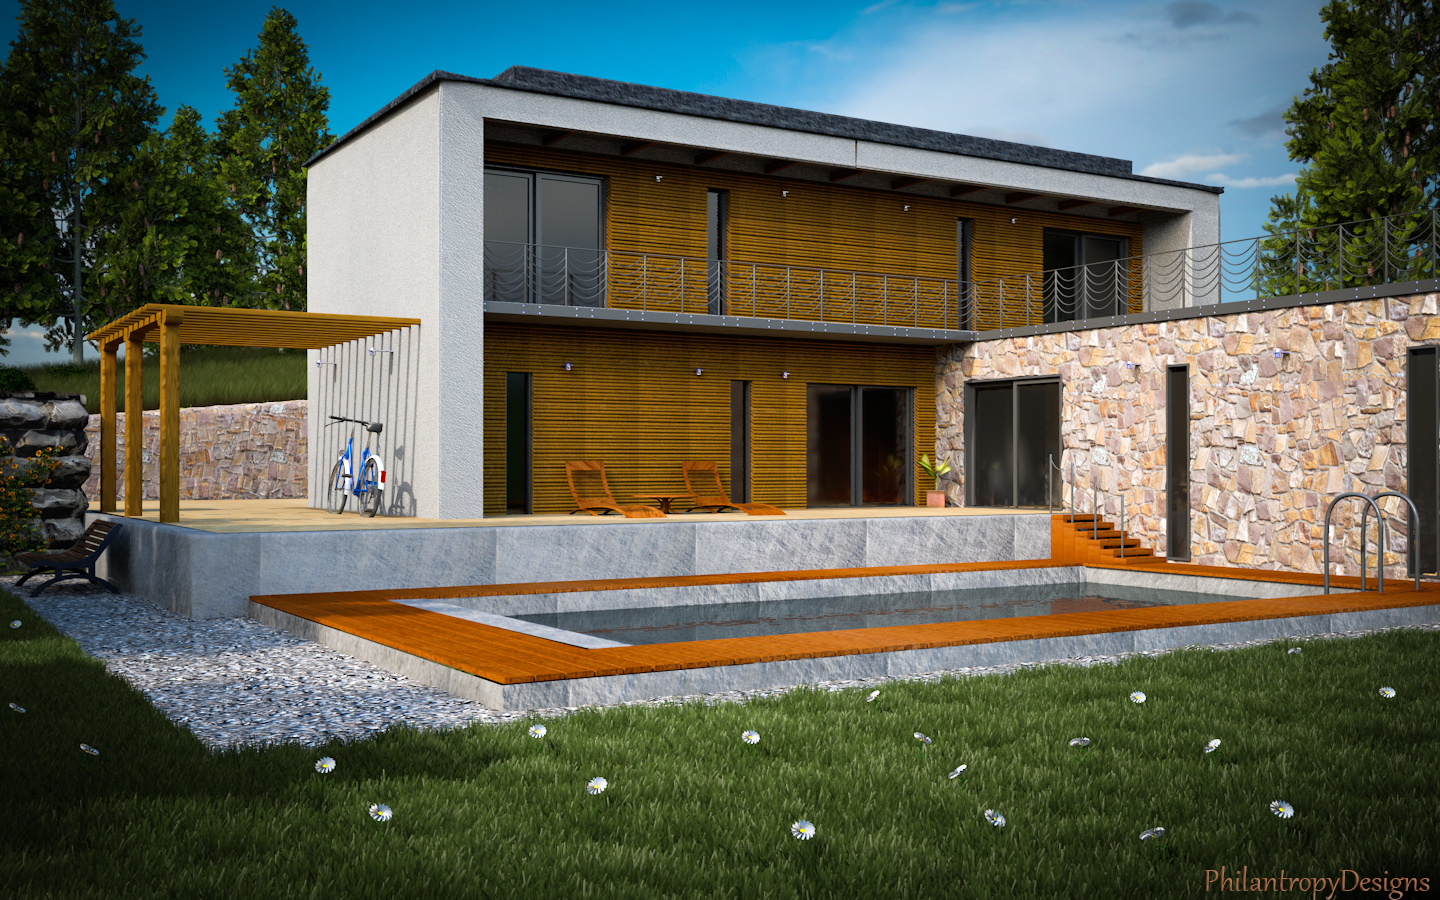
(My first architectural render - the company that released this tutorial was awesome but have been recently taken over and now produce really basic tutorials)
Interpolation means how the key frames will get from the start to the end. Interpolation patterns are displayed usually on a graph and can be linear, step and many others. These control the way the action “feels” and can drastically impact on the emotion you’re trying to convey within the movement.
A 3D package has tonnes of features but I hope you get the idea. Dreams are yours; but software like this can make your dreams reality.
Refine your vision and Pursue Your Goals
What is it you hope to achieve? Why does it need to be 3D? Why not paint it? Why animate it? What are you doing?
Constantly asking yourself questions can help you remain focused on the 3D journey. The amount of options available is a bit overwhelming so in order to keep yourself on track you need to map out exactly, more or less, what you hope to accomplish. If you’re just having fun with the program, try and learn a new part of it every time you turn it on. For instance, the cloth engine for realistic fabric motion is complex and requires time before all its parameters can be understood. Once you’ve understood them, you will rise about the complexity and the program will become another tool for your creativity.

(Rain on glass with lights - another early Blender project completed with the assistance of a tutorial)
Practice Makes Perfect
Learning 3D means learning by doing and repeating it until it becomes second nature. Even navigating the interface can feel strange if you’ve never operated in 3D space before (and that includes those who play video games). Just because you’ve experienced a 3D world doesn’t mean that you can build it. Don’t be discouraged but I see a lot of gamers come to 3D expecting to make AAA stuff straight away and then being disappointed and the quality of their work. Everything takes time to learn if you’ve just been a user playing video games your whole life. Being a user is different to creating 3D.
(Early Blender project)
The best way to learn is to follow tutorials. You’ll get frustrated, things won’t turn out how you expect, you’ll hit some keyboard shortcut and something will change in the program you won’t understand and it will take ages to fix, but you’ll get there in the end. YouTube is a great resource and there are plenty of paid tutorials out there if you want to further your learning.
Further reading:
A brilliant, more elaborate and detailed guide to 3DCGI written by one of the best out there, Neil Blevins:
http://www.neilblevins.com/cg_education/cg_education.htm
Paid Tutorials:
Udemy (generally beginner focused): https://www.udemy.com/courses/design/3d-and-animation/
Gnomon Workshop (usually focuses on more advanced training): https://www.thegnomonworkshop.com/
Hard surface training with ChamferZone (specialised hard surface modelling): https://chamferzone.com/tutorials/
Free tutorials:
BlenderGuru (fantastic tutorials and community; additionally, they sell paid add-ons for the free open sourced Blender): https://www.blenderguru.com/
Tuts+ (variety of art and CGI projects submitted by artists): https://cgi.tutsplus.com
Thanks for reading! If you feel inspired to learn 3D after reading this let me know! If you do 3D share some renders in the comments :)

As always: questions, comments, and polite feedback most welcome :)
Love the watercolour in the back! @deterrencepolicy
Thanks so much @thanh-gianga! glad you enjoyed the post :)