Build guide: the best high-end gaming PC
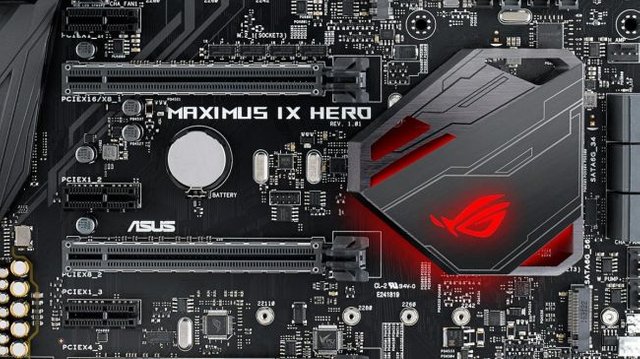
PC gaming can be an expensive pursuit, and building your own rig even more so. Often there's not a large price difference between one component and a step up, but applying that logic across an entire build can really add up. We can't count the number of times we've set out to build a budget rig, only to have the part list balloon out of hand. We're not building on a budget here though. This is a build for high-end gaming.
Not everybody can afford a high-end gaming PC. That’s partly because PC parts generally aren’t cheap, but it can also be the result of differing ideas on what “high-end” actually means. PC Gamer’s high-end PC build guide is aimed at a price tier of $2,000 / £2,000.
A $700 or $800 PC is head and shoulders above any console you can buy. Sure, you can go cheaper with a PC, but racing to the bottom isn’t what PC gaming is about. And once you start dipping below $600 it’s hard to see the advantage of the PC anyway. Console makers get their parts in bulk on the cheap, and it’s hard to fight against that kind of scale with retail parts. At the next tier of $1,300, you can see improved frame rates and quality settings due to the graphics cards that become available. And at this tier of $2,000 (give or take $100 or so), we try to push a good bit further with the highest-end graphics cards within reason.
The price point also doesn't account for the operating system or any peripherals. Check out our buying guides to the best mouse, keyboard, and gaming monitor for our favorite picks to pair with your new rig.
In our latest build, we've updated the GPU to the GTX 1080 Ti. It pushes the price closer to $2,200, but if you're building a PC north of $2,000, it should be equipped with the best gaming-focused GPU possible. Availability for the 1080 Ti is still fairly scarce, but things are getting better now that the card has been out for a few weeks. Availability (and prices) will only get better as time goes on.
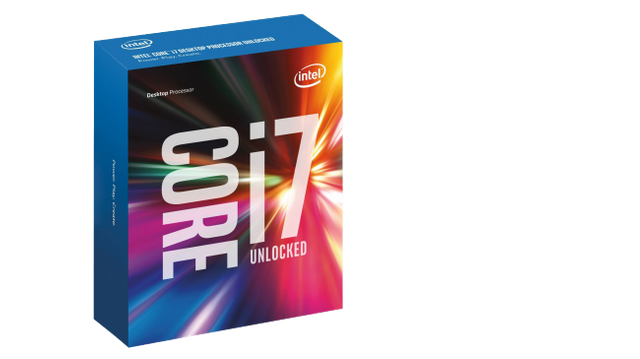
CPU: Intel Core i7-7700K
Last time this guide was touched, I thought about switching to a Haswell-E or Broadwell-E CPU. Then Kaby Lake processors arrived, with even higher clocks than the previous generation, and we added a separate extreme build. The X99 platform really belongs as an extreme option, and with SLI/CrossFire becoming increasingly questionable, the i7-7700K ends up as the best high-end choice.
Compared to the previous generation Core i7-6700K, the i7-7700K isn't a massive upgrade. I could say the same for the i7-4790K as well. The world of CPUs has becoming increasingly limited by the harsh reality of physics. While processors with 10 (or more) cores exist, many applications don't really benefit from going beyond 4-core parts. With higher clockspeeds (around 300MHz higher for all Kaby Lake parts compared to Skylake), this is a moderate speed bump, but then the price increase is likewise moderate at only $10 more.
We also considered AMD's Ryzen 7 CPUs for this build, but in our testing, they simply don't stack up to Intel's when it comes to gaming performance. There are a few games where Ryzen performs quite well, but without the SMT tweaks there isn't a single title where Ryzen 1800X can beat the i7-7700K.
With the ability to routinely hit 5.0GHz via overclocking, the i7-7700K is the fastest CPU for gaming in just about every game we've tested. More cores might help if you're doing video editing, but for gaming, higher clocks combined with a newer architecture beats out the extra cores of Haswell-E, Broadwell-E, and Ryzen.
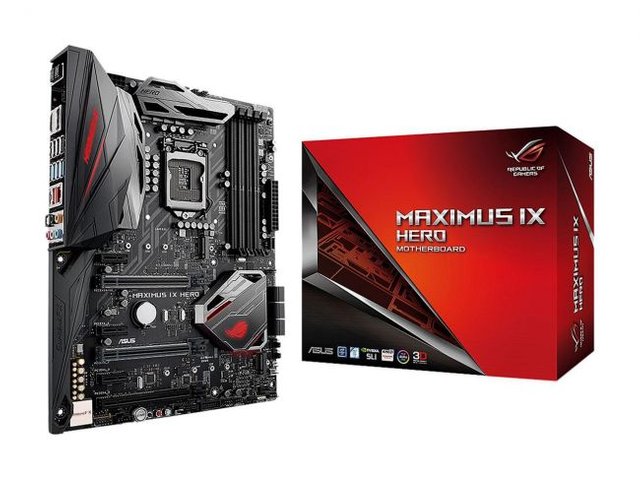
Motherboard: Asus Maximus IX Hero
There are a handful of Z270 motherboards to choose from right now, and the Maximus IX Hero sits comfortably in the midrange area of premium boards.
The Hero is built with overclocking and gaming in mind, but lacks some of the more top-shelf features offered by its bigger brothers the Maximus IX Apex and Formula. To be fair, those boards run for $300 and $390 respectively. With those prices in mind, we’ll take the Hero with a smile.
The Maximus IX Hero has two USB 3.1 ports (one each Type-A and Type-C), three x16 PCIe 3.0 slots, and two x4 PCIe M.2 slots to accommodate our Samsung 960 Pro SSD. It uses Intel networking and has convenient on-board buttons. It’s a standard ATX board, so it will fit in almost any tower case.
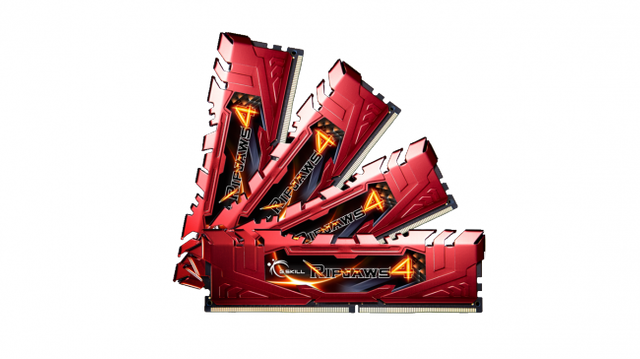
Memory: G.Skill Ripjaws 4 Series DDR4 2400 (32GB)
RAM can often be a question mark when putting together a high-end build. Should you opt for clock speed or quantity? In general, the quantity of your RAM will have more impact than the clock speed of the RAM, so we padded this build with quantity—to the tune of 32GB.
Most modern gaming systems should really have 8GB at bare minimum, 16GB for good measure, and 32GB if you want to be care-free. Want to open 20 tabs in Chrome and play The Division in windowed mode? You can do it with 32GB of RAM.
RAM clocks matter more if you’re going for extreme overclocking, and only starts to make sense when building systems that creep towards $3,000 or $4,000.
Unfortunately, RAM is fairly expensive right now, due to increased DDR4 demand from both PC enthusiasts and smartphone manufacturers. The G.Skill kit we've chosen is a great set of sticks, but your best bet is to simply find the cheapest set of RAM that meets your needs. Check out our DDR4 RAM buying guide for more info.
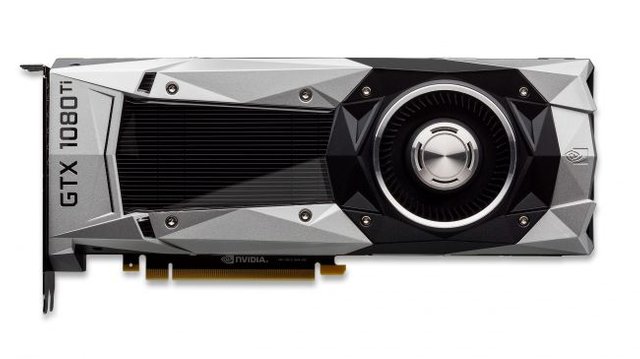
Graphics card: Nvidia GeForce GTX 1080 Ti
The GTX 1080 Ti has officially launched, taking the crown of top-tier graphics performance. Technically the brand-spankin' new GTX Titan Xp is "the world's most powerful GPU," but it comes with a $1,200 price tag, so we're not even putting it into consideration. The 1080 Ti, meanwhile, comes in at around $700 while offering a nice improvement over the old champion GTX 1080.
I'll admit that swapping out the 1080 for the Ti variant pushes the price of this build closer to $2,200, but a gaming PC in this price range simply didn't feel right not having the best card available (Titan Xp notwithstanding).
Availability on the 1080 Ti is currently scarce, but things are getting better now that the card has been out for a few weeks. Prices and availability will only continue to improve in the coming weeks.
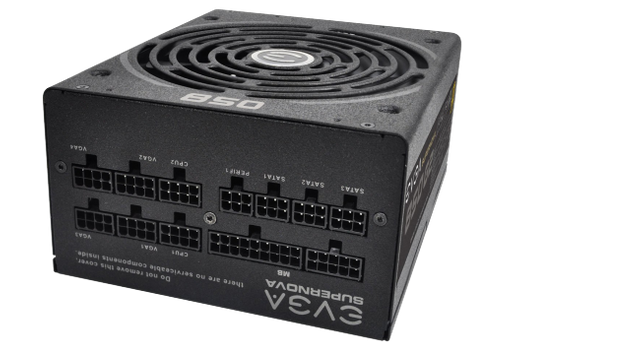
Power supply: EVGA Supernova 850 watt G2 80 Plus Gold
When it comes to power supplies, EVGA’s G2 series are a favorite of mine. All of them sport an 80 Plus Gold Rating, and a fully modular design to help keep cable mess at a minimum. But if there’s one thing that sets the G2 apart from its peers, it the 10-year warranty that it comes with. Lots of power supplies offer warranties of five years, but knowing that your PSU should continue to function with normal use for a decade is the kind of peace of mind I like to have. And I’m saying this as someone who’s had their PSU burn out and fail on them in the middle of a WoW raid.
The 850W maximum load is plenty for this rig, and leaves plenty of room for a second GPU should the need arise. I usually like to leave 50-100W of headroom above the estimated maximum load of the system, and this PSU offers more than that for this configuration.

Primary storage: Samsung 960 Pro SSD (512GB)
SSDs have been more expensive than HDDs since, well, forever. The advent of non-volatile memory express (NVMe) is yet another step above the good ol’ SATA SSD, both in performance and price. With sequential read speeds of up to 3,500MB/s (that’s megabytes per second, mind you), you won’t be spending a whole lot of time on loading screens.
The 960 offers blistering speeds for our operating system, with enough room to spare for games and programs we want to launch especially fast. And at 512GB, it's large enough for your OS and more than a few games. If you want even more storage, a backup drive in the form of a 1TB or more SSD or (much slower) HDD should fit those needs nicely. If going that route, we recommend a 1TB Samsung 850 EVO.
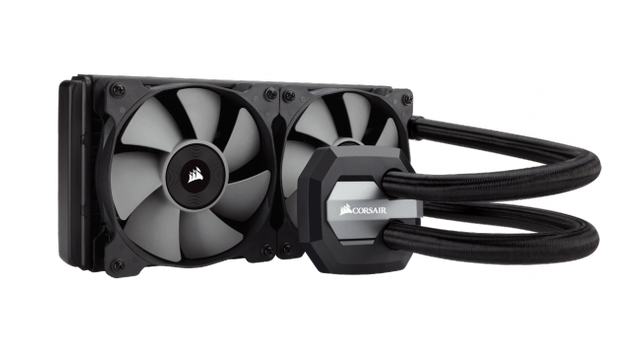
CPU cooler: Corsair H100i v2
Corsair’s Hydro series of CPU coolers are a good solid base when it comes to all-in-one closed-loop solutions. You can find better options, but when it comes to price and simplicity, Corsair’s offerings just get the job done. My current go-tos when it comes to Corsair are the H80i v2 and H100i v2.
Thee biggest difference between the H80i v2 and the H100i v2 are their form factors. If mounted and employed correctly, their cooling abilities are nearly evenly matched. While the H80i is about $20 cheaper than the H100i, I went with the H100i here because it is a more natural fit when top-mounted in the Cooler Master MasterCase Pro 5.
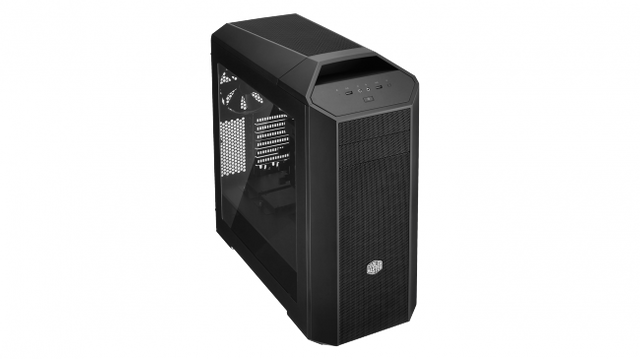
Case: Cooler Master MasterCase Pro 5
I get to build a lot of systems, so I know what I like in a case. I love modularity, which the MasterCase 5 delivers in spades. I also like good cable management and a PSU partition in a case too. Check, and check.
The MasterCase 5 is a great case for it price class. It has wonderful airflow, and the ability to remove all of the cages (including the 5.25-inch ODD cage) if you so desire. The design might not be for everyone, but if you want a clean build without going above $150, this is one of the best cases to get. And this case is easy as hell to build into, so veterans and newbies alike can appreciate it.
I opted for the Pro version in this build guide, which adds $20 to the $105 base price. The Pro version gets you extra accessories that together cost more if they were purchased individually.
The most important accessory here is the radiator shield for the top of the case, which is necessary if you want to mount the H100i up there. If you don’t want to spend the extra $20 for the Pro package, the H100i mounts easily to the front of the case in a vertical configuration. If you choose to go that route, I’d advise you to make sure your chassis fans are mounted to help vent warm air out of the top and rear of the case.
source ---> http://www.pcgamer.com
Hi! I am a robot. I just upvoted you! I found similar content that readers might be interested in:
http://www.pcgamer.com/pc-build-guide-high-end-gaming-pc/
Do not buy M.2 storage! They melt! Don't bother with the thermal pads, they don't work. Just buy a SSD.
Never had a problem with an M.2 btw :)
Hi. I am a volunteer bot for @resteembot that upvoted you.
Your post was chosen at random, as part of the advertisment campaign for @resteembot.
@resteembot is meant to help minnows get noticed by re-steeming their posts
To use the bot, one must follow it for at least 3 hours, and then make a transaction where the memo is the url of the post.
The price per post is the author's reputation, devided by 1000.
(For example 44 reputation means minimum 0.044 SBD or STEEM.)
Even better: If your reputation is lower than 28 re-steeming only costs 0.001 SBD!
If you want to learn more - read the introduction post of @resteembot.
If you want help spread the word - read the advertisment program post.
Steem ON!