*Balfore's Builds* TerrainCraft Tutorials 003: Aerial Combat Stands
Greeting fellow Steemers!
Have you ever had pleasure of having the mathematical nightmare of dealing with aerial combat?
DM: "The Manticore is 10 feet above you"
Player: "Ok, I fly up 30 feet...and I'm 20 feet above the Manticore"
DM: "Well, the Mantocore circles around, and moves above you another 30 feet"
Player: "Umm...ok, that makes him 40 feet from the ground?"
DM: "No, you were already in the air 30 feet in the air, so that would be 70 feet"
Player: "This is confusing...I wish we had something we could use so I could visualize where we all are...instead of this Pringles can, soda can and this upside-down drinking glass...which has now left a water ring on the playmat"
Well, that's why I'm here! Today's build will be some cheap and relatively easy aerial combat stands.
These can be used to help with visualizing where the heroes are at varying heights.
Note: You can do 'actual' measurements if you like, Example: making a 6 inch aerial stand to represent 30 feet, a 12 inch to represent 60 feet, ...etc. But you can make a handful of stands at varying heights, then put a piece of paper on the bottom with the height written on them...as long as one is taller and one is shorter, you should be able to visualize the distance quite easily.
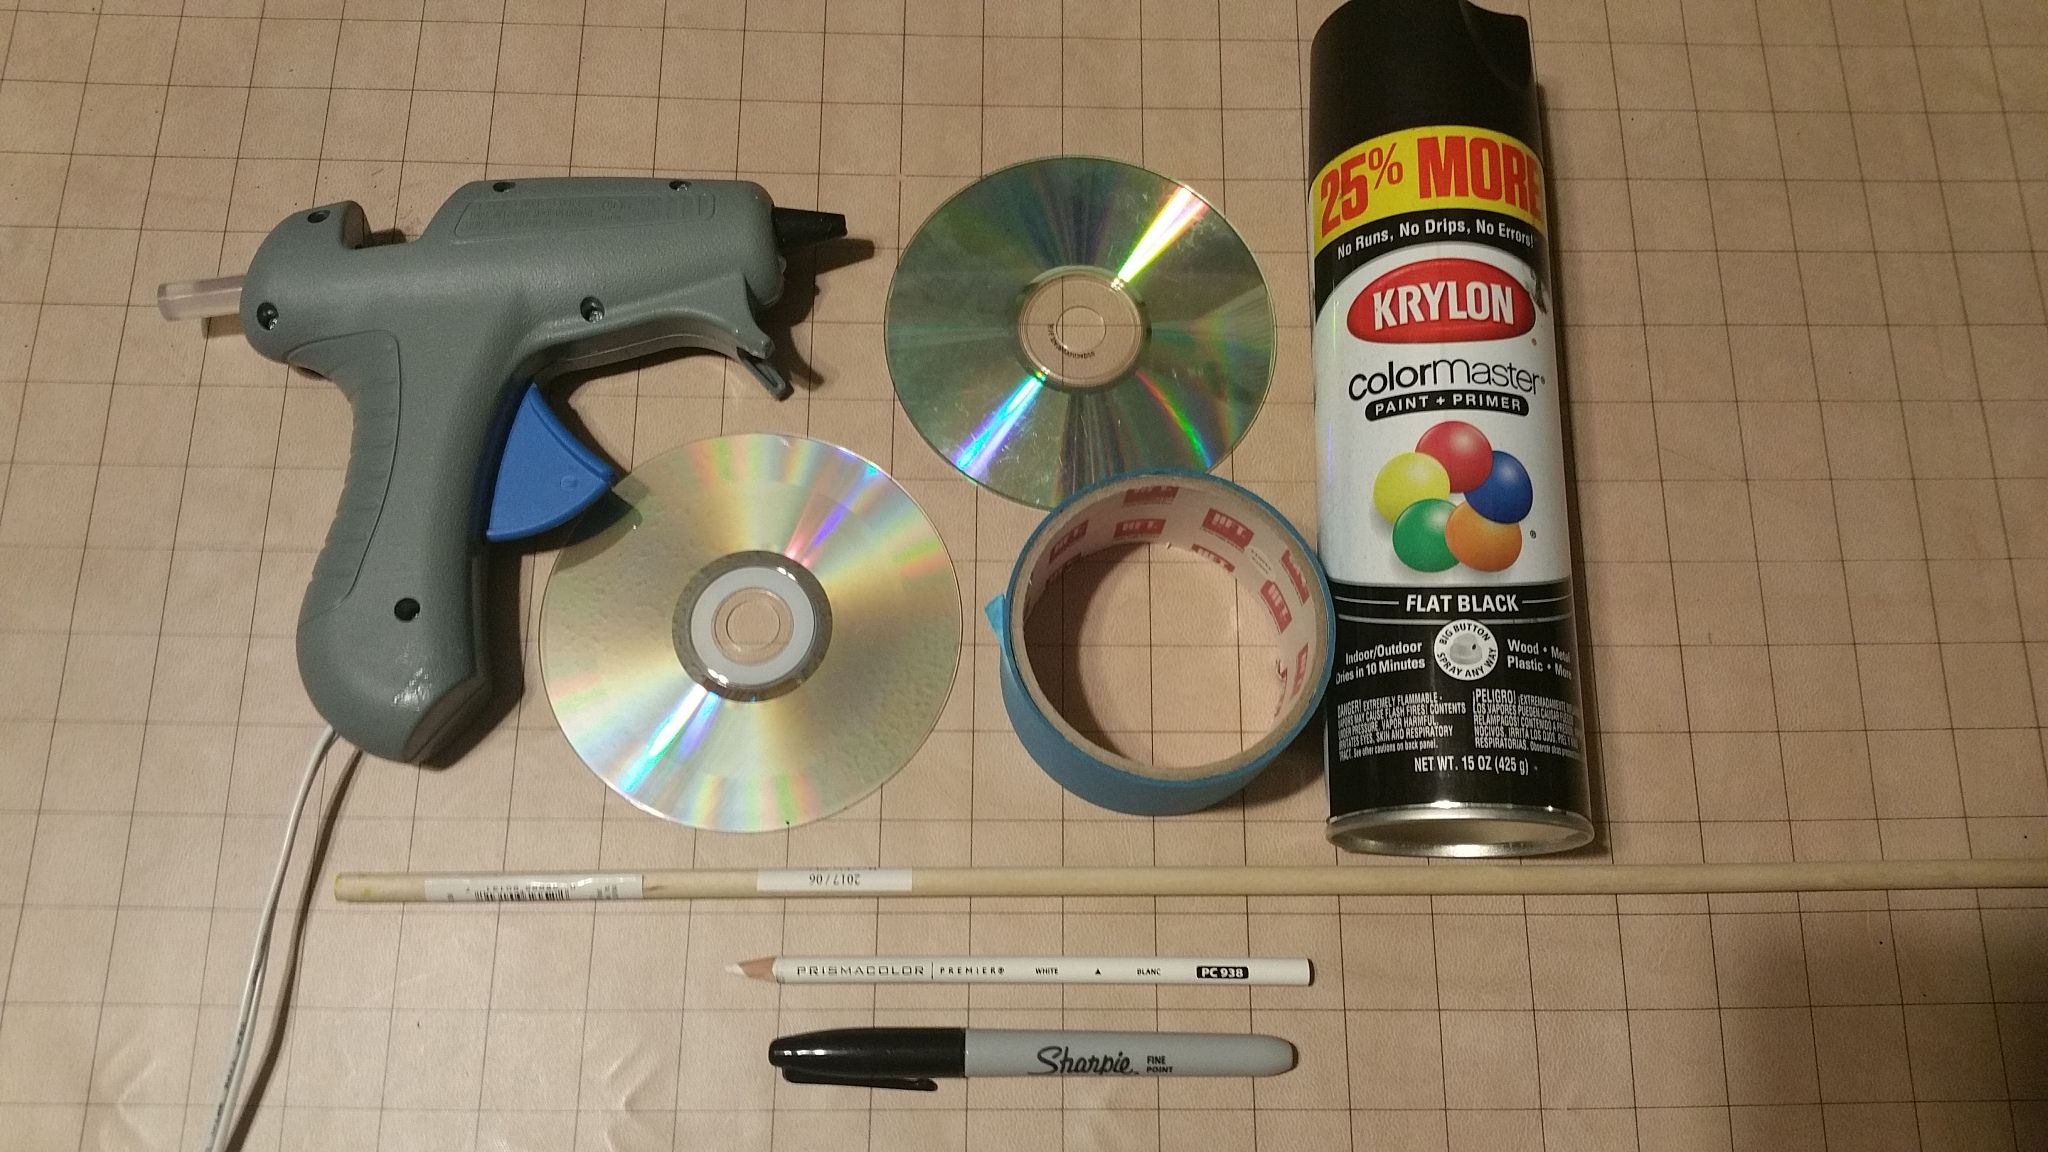
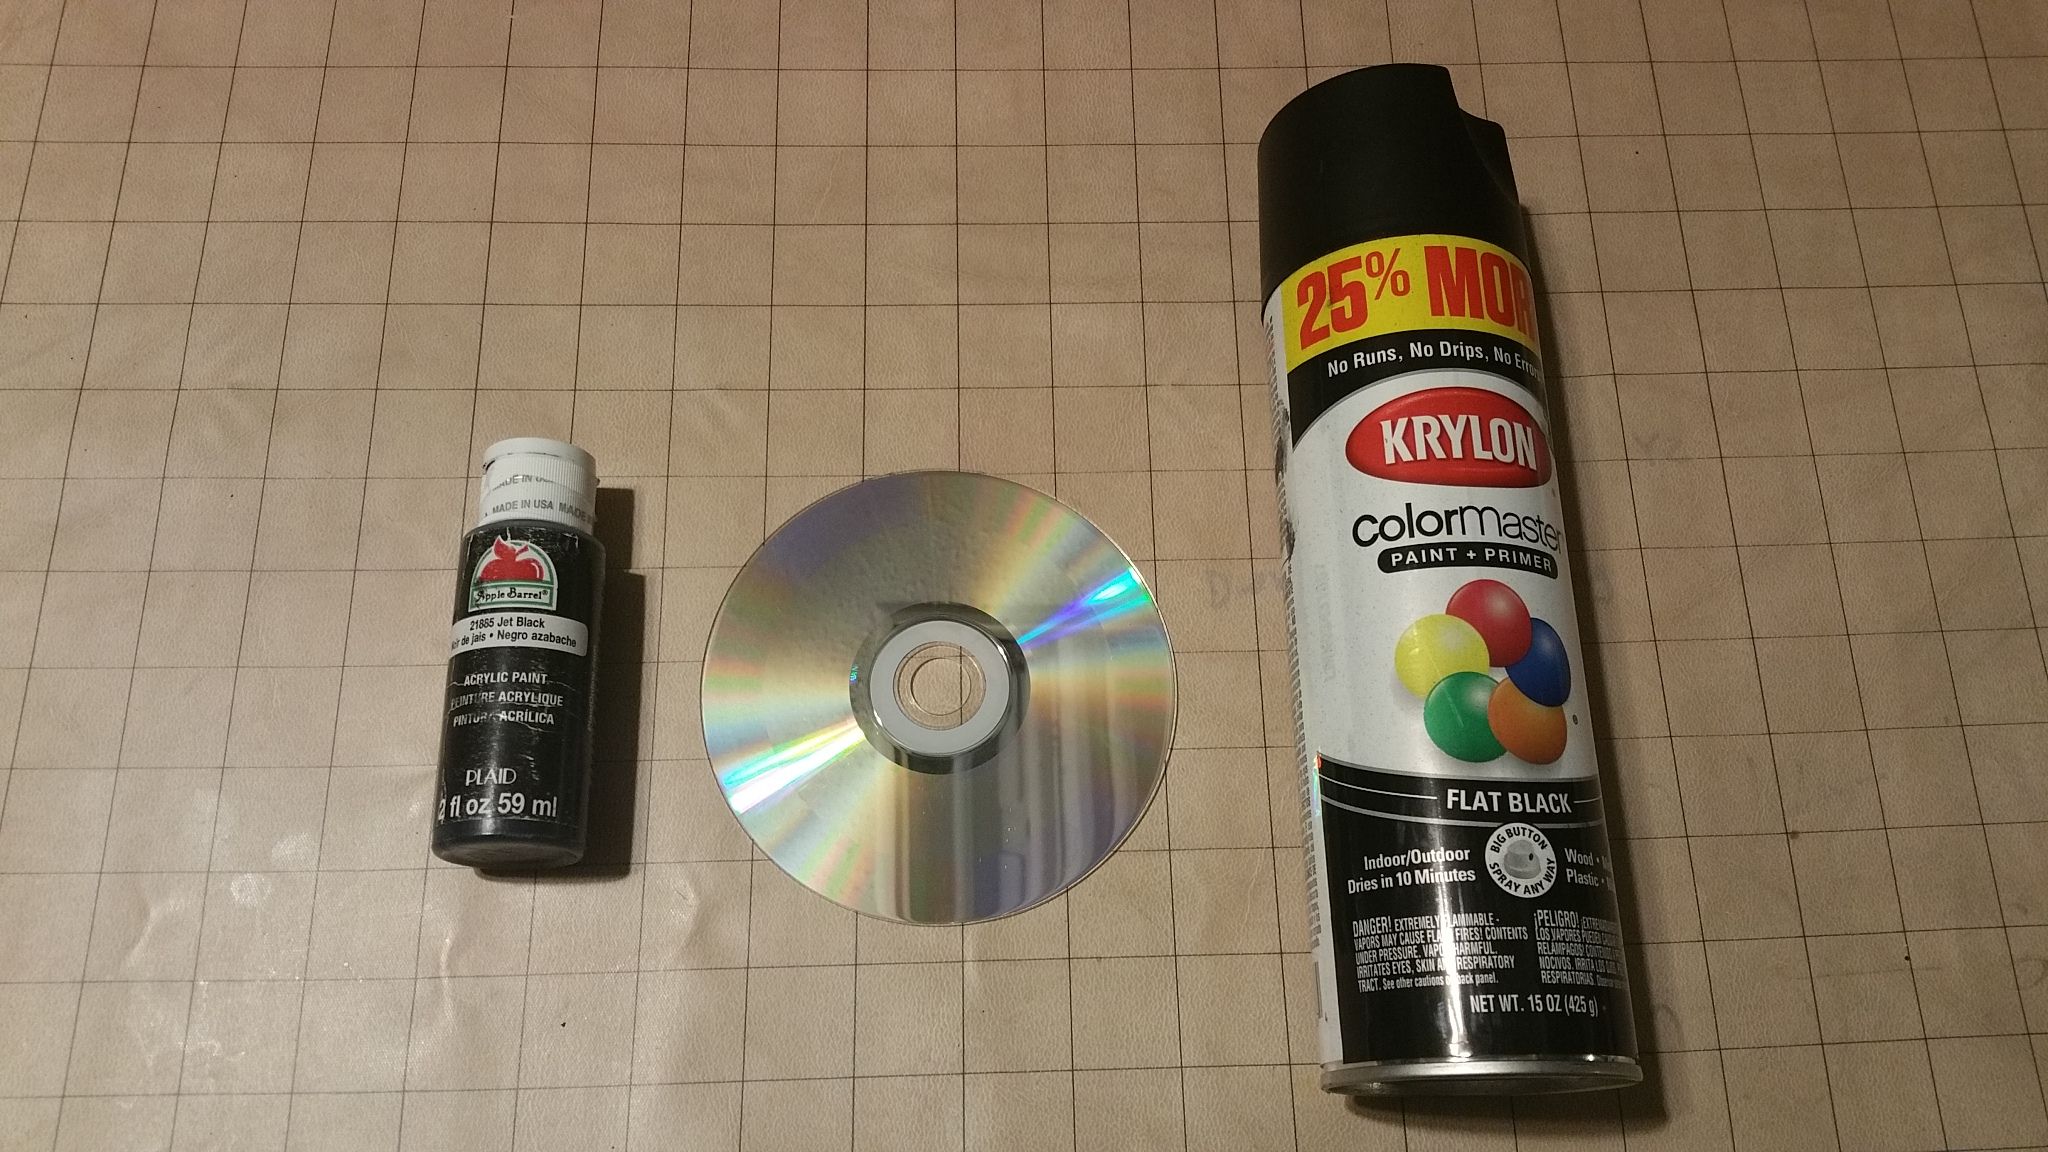
For this build, you will need:
-Some old scratched CD's (you will need 2 CD's for each sized dowel you make. One for the base, one for the platform.
-1/4 or 1/2 inch Wooden dowel rods, your choice based on your needs (you can get these from Walmart in the craft -section). They cost about $1, so I bought about 3 or 4. I got the ones with the 'black painted on the ends"
-Hot Glue Gun (with glue sticks of course)
-Masking Tape
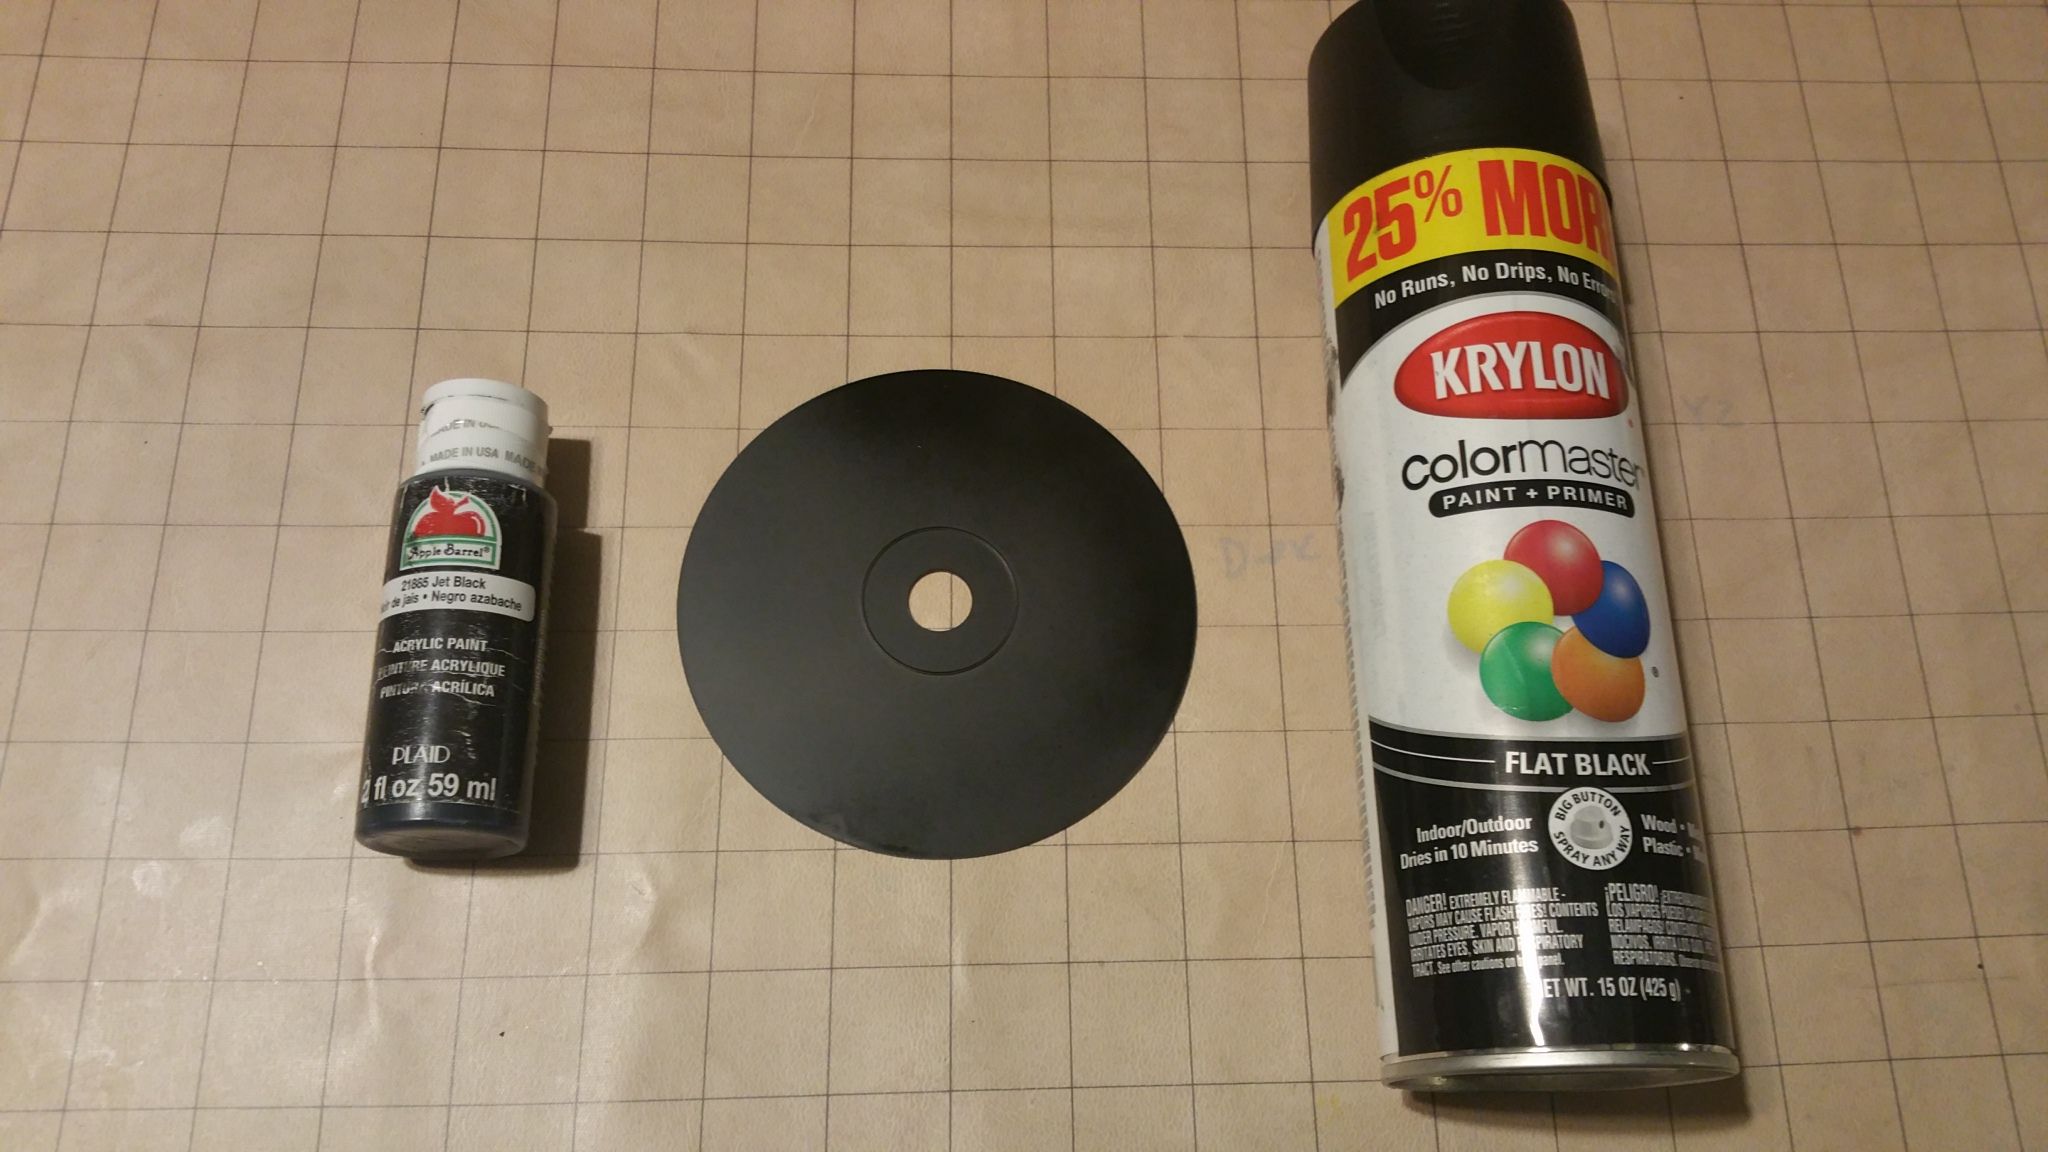
-Paint (depending on the color of your play area...I used black paint)
-A marker/mechanical crayon white/black colored pencil from Prisma color (my favorite), or a black Sharpie
-A cheap $2 saw from Walmart (I forgot to include it in the main supply picture, sorry )

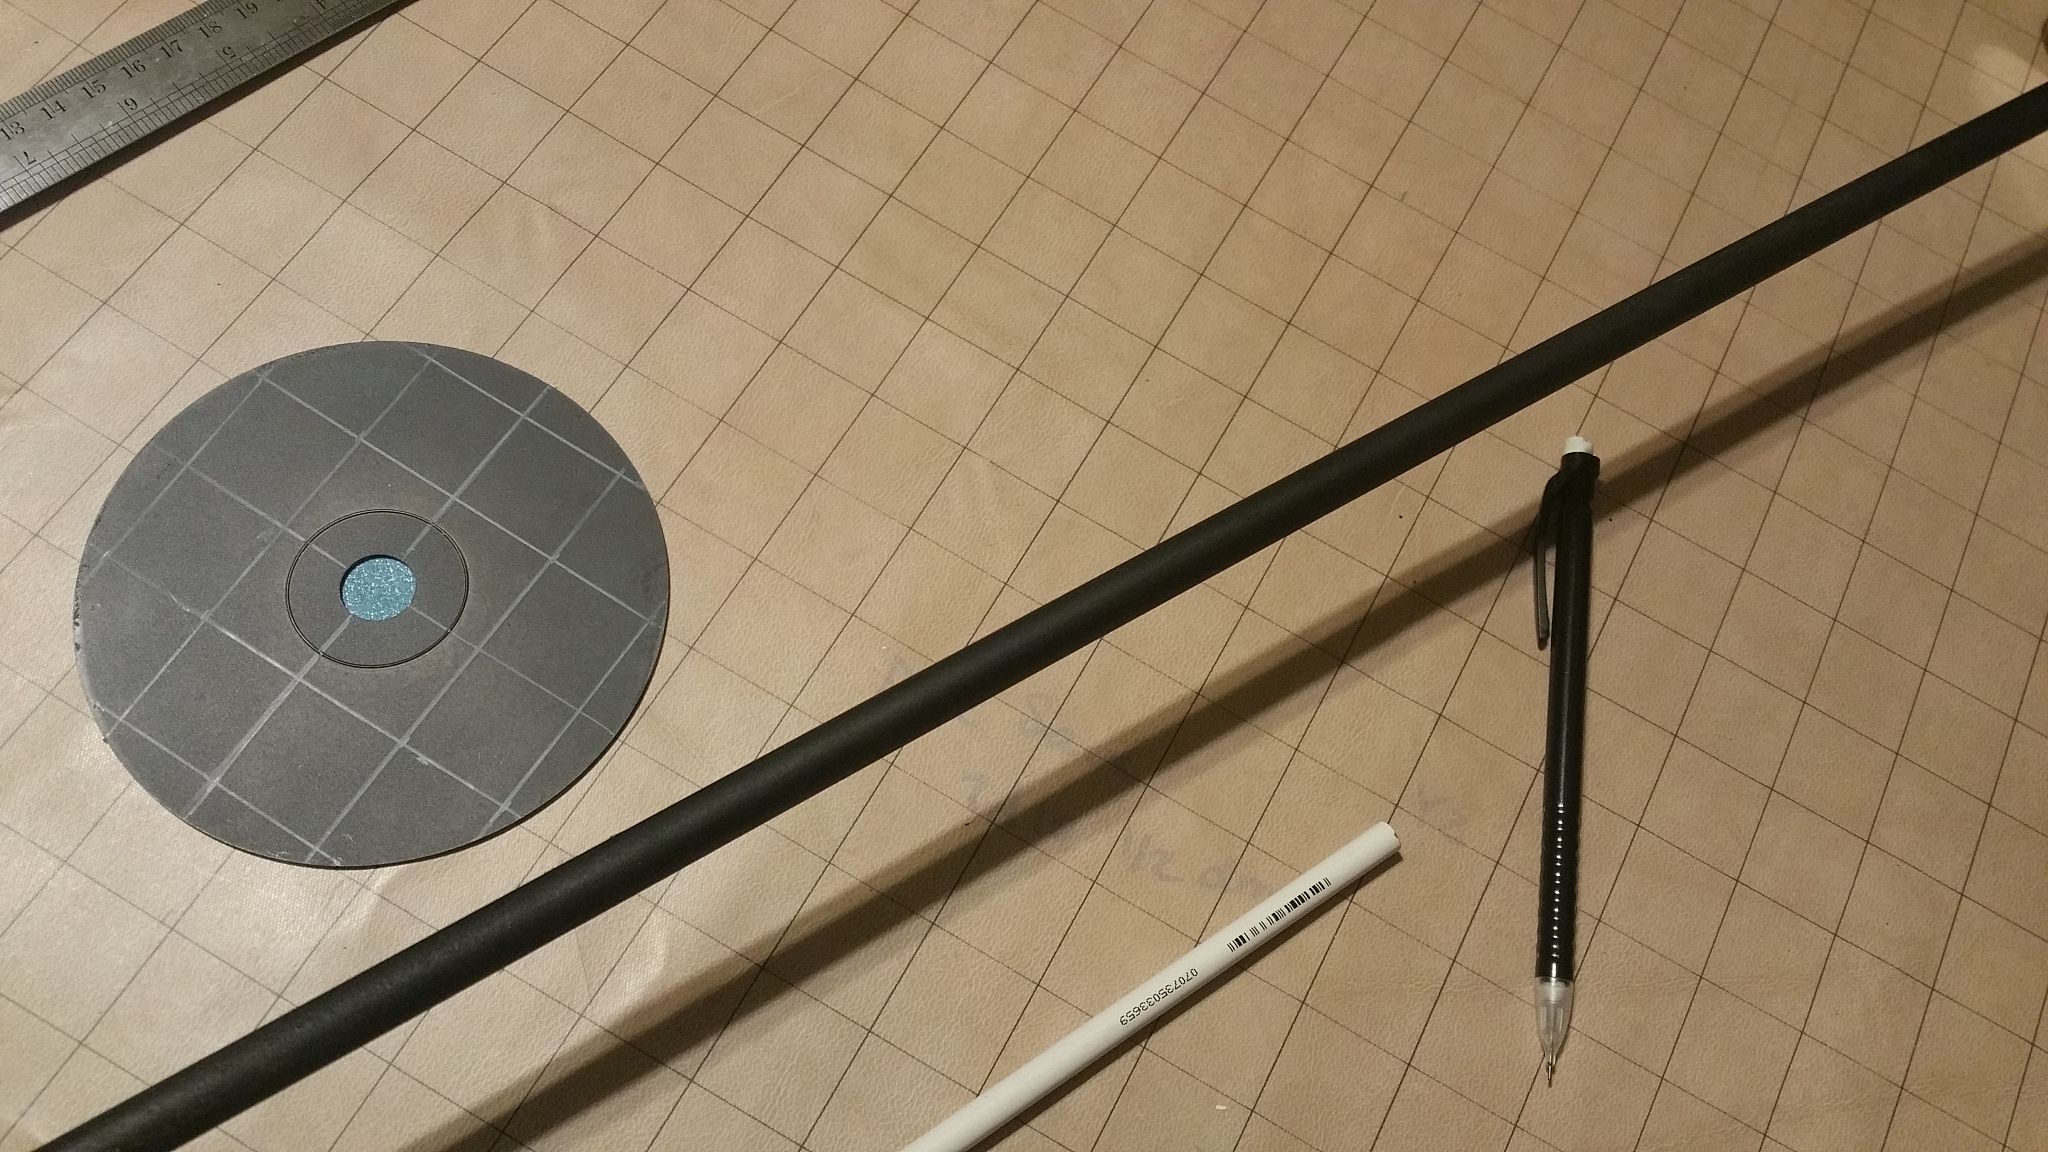
Mark out your dowel rods to the desired length. They are 36 inches, so you can 3 at 12 inches and 6 at 6 inches.
*sometimes they will come up about 1/8 to 1/4 inch too short. don't sweat the small stuff...this wont affect your goal, its okay to be a little off. (if it bothers you that much, and you HAVE to be perfect, just make each cut about 1/16 shorter that your desired length. The you'll be fine). Use the saw to cut the dowels to the desired length.
I made:
6 inches to represent 30 feet each, I made six
12 inches to represent 60 feet each, I made four
24 inches to represent 120 feet, I made one
That's 3 dowel rods, which should be 36 inches each, the ones at Walmart should be 36 inches each.
I assume you know how to measure :-)Paint your CD's and Dowel rods whatever color you want, that fits your campaign setting...I chose black, and I used spray paint, because its faster and lays an even coat. You can use acrylic, or even an airbush if you like. I have found that brushing on acrylic with a paint brush, will leave brush marks.


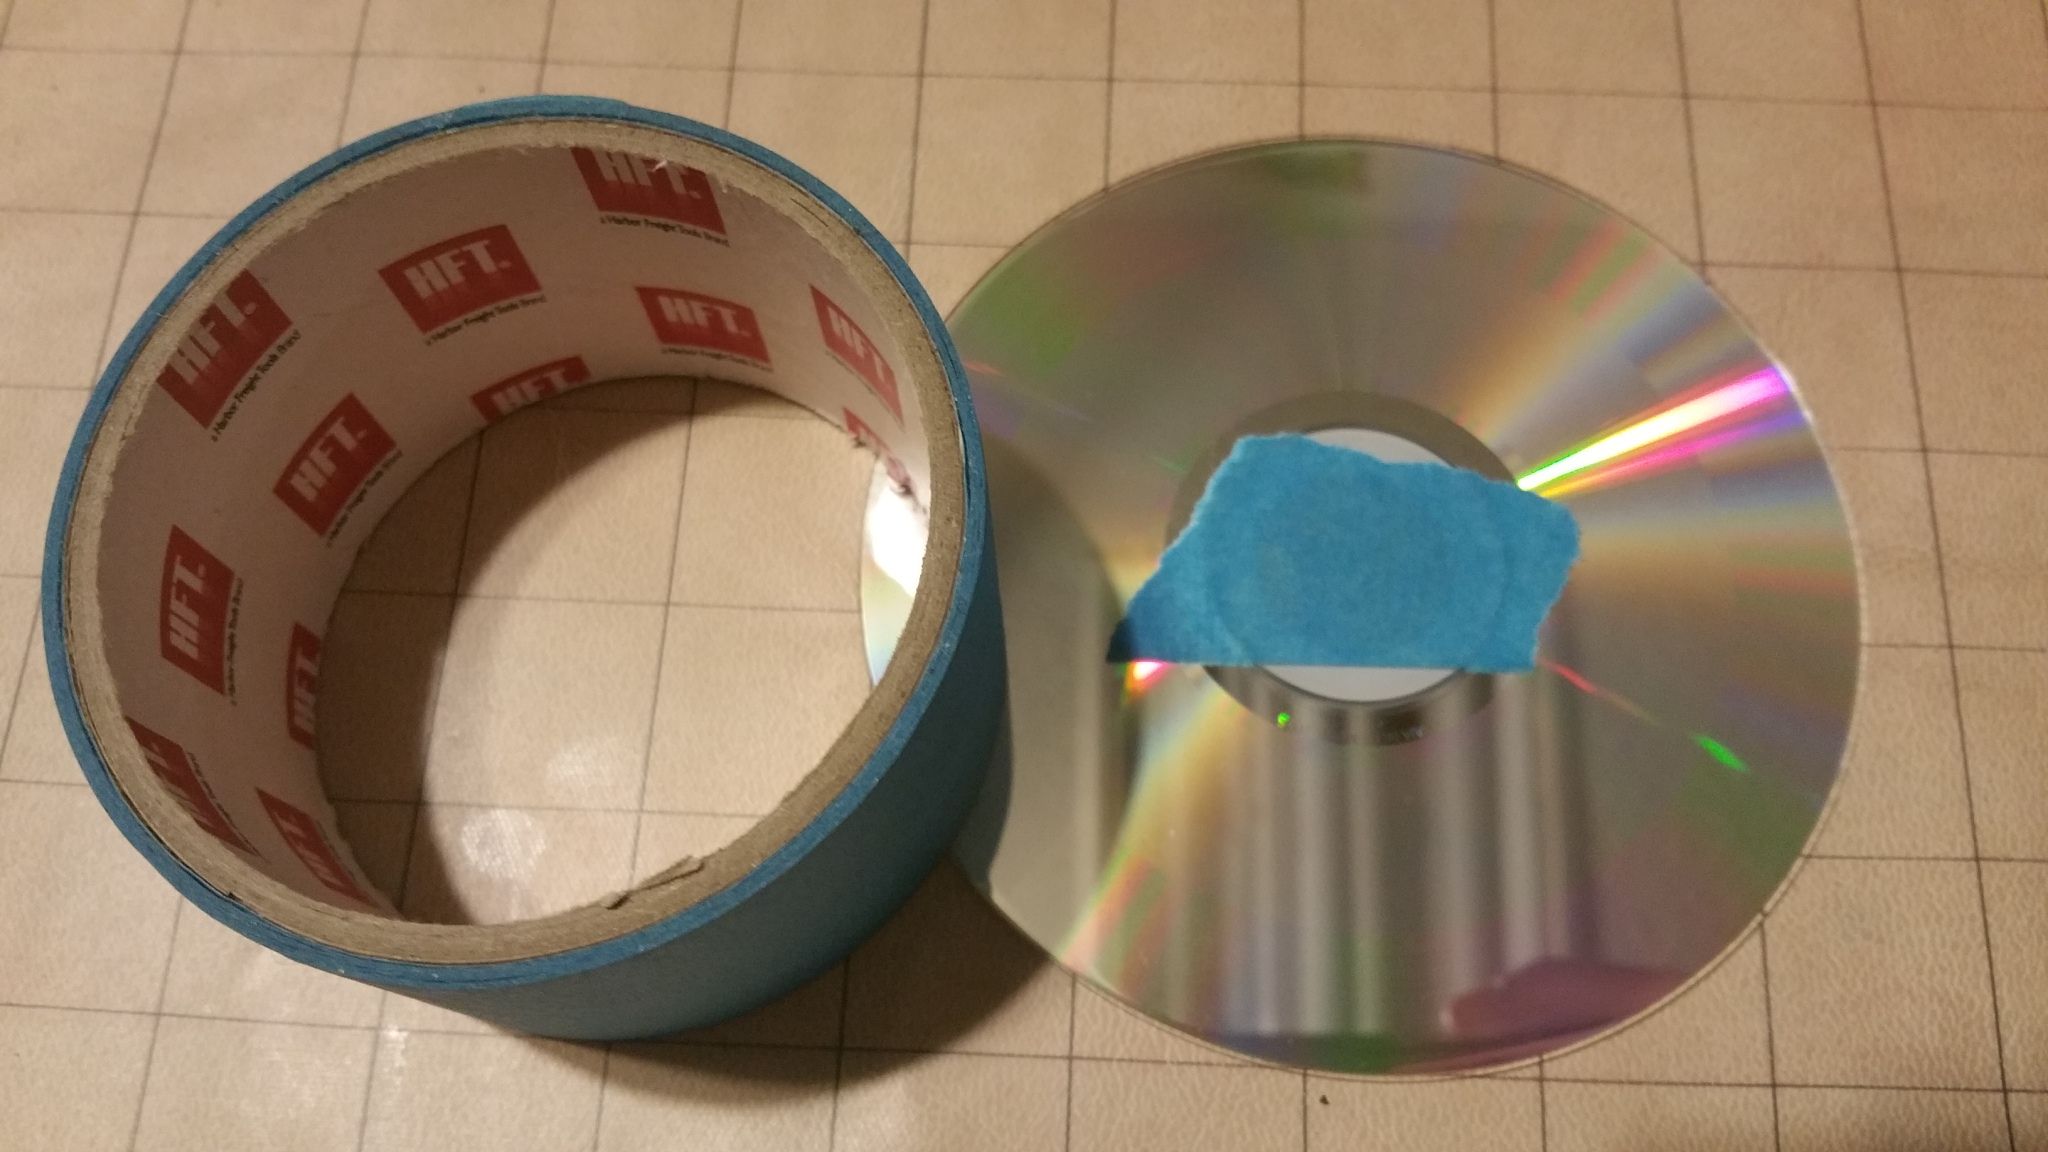
Use some masking tape, or some other kind of easy peel off tape on the bottom like so:
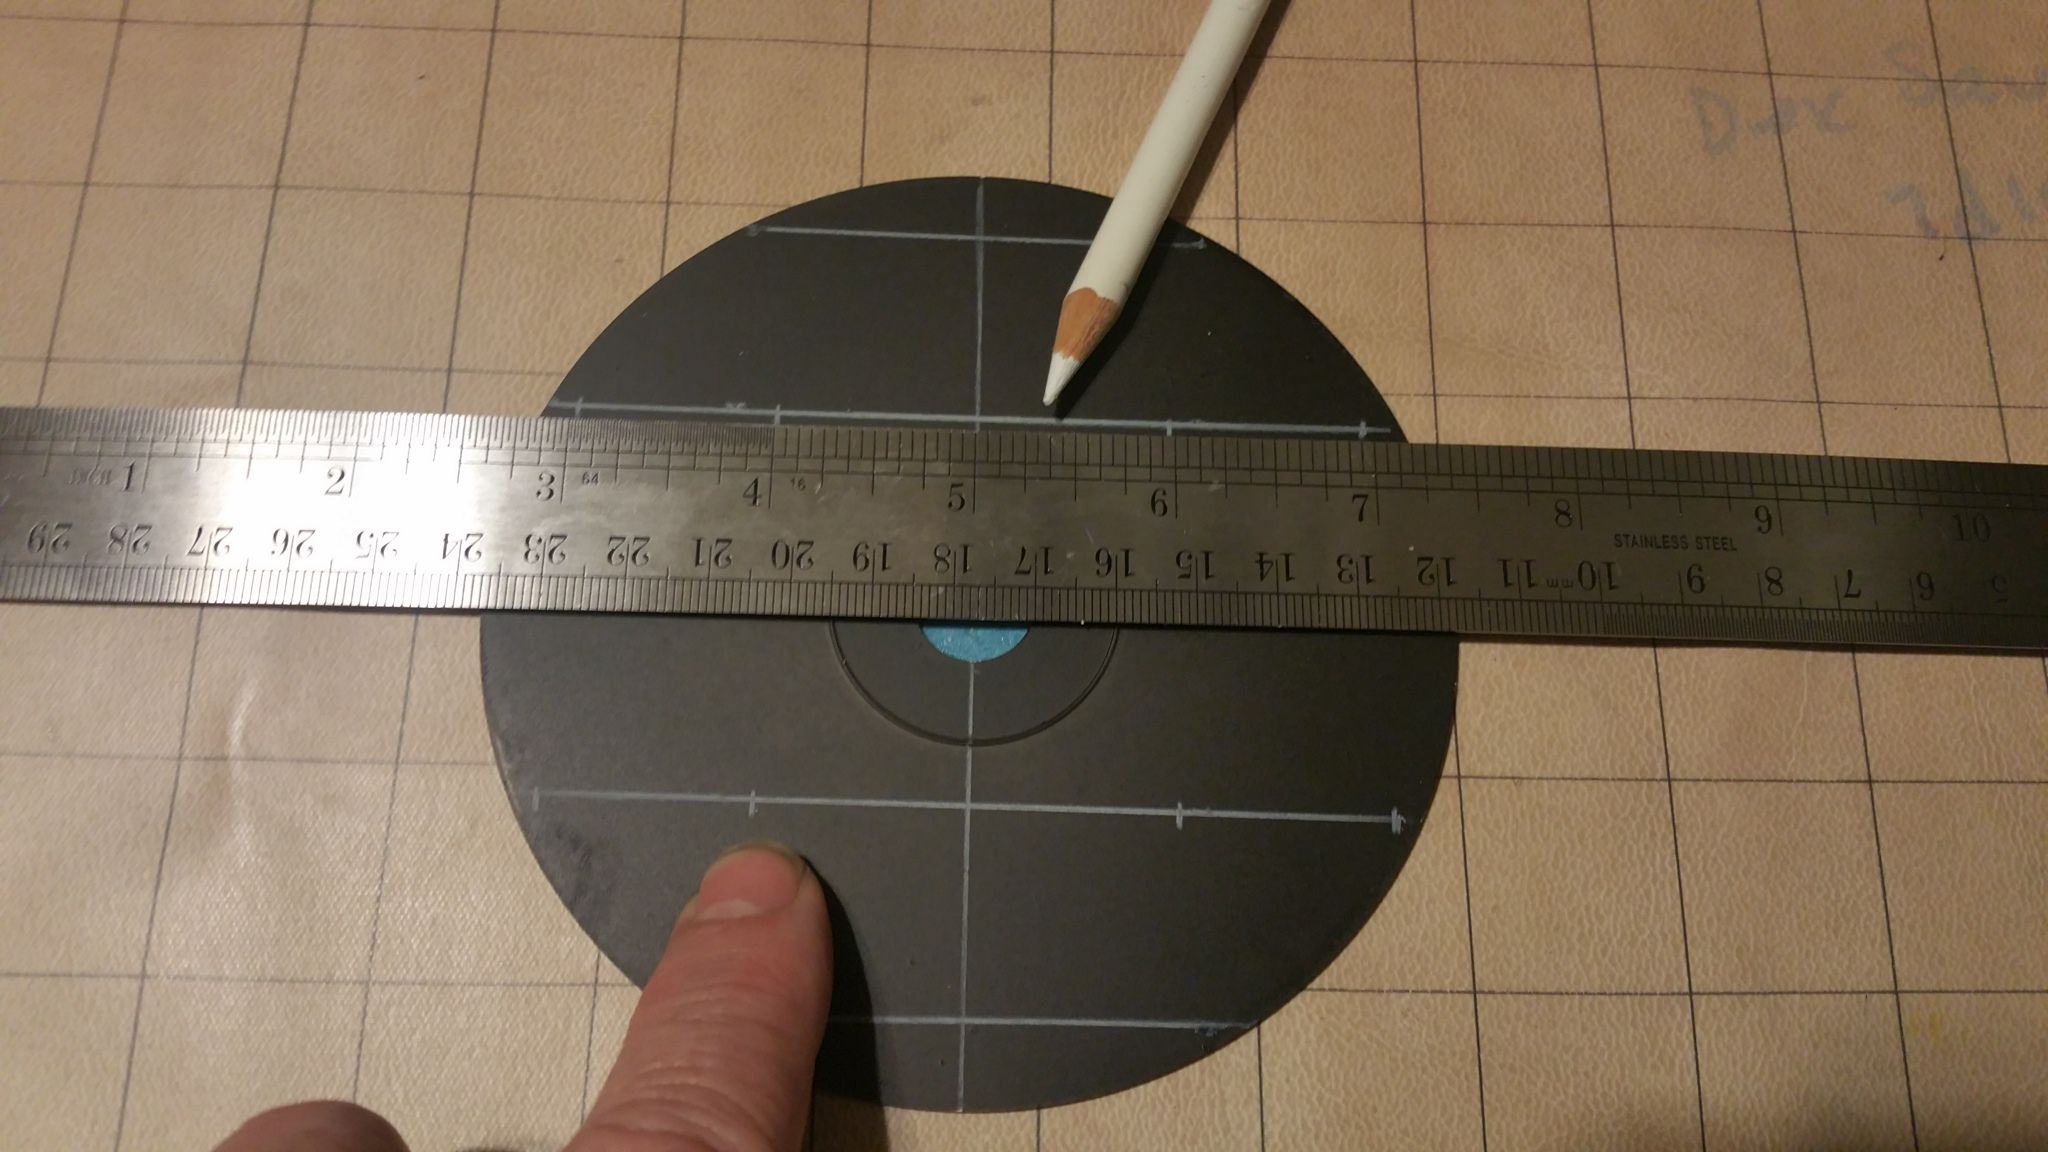
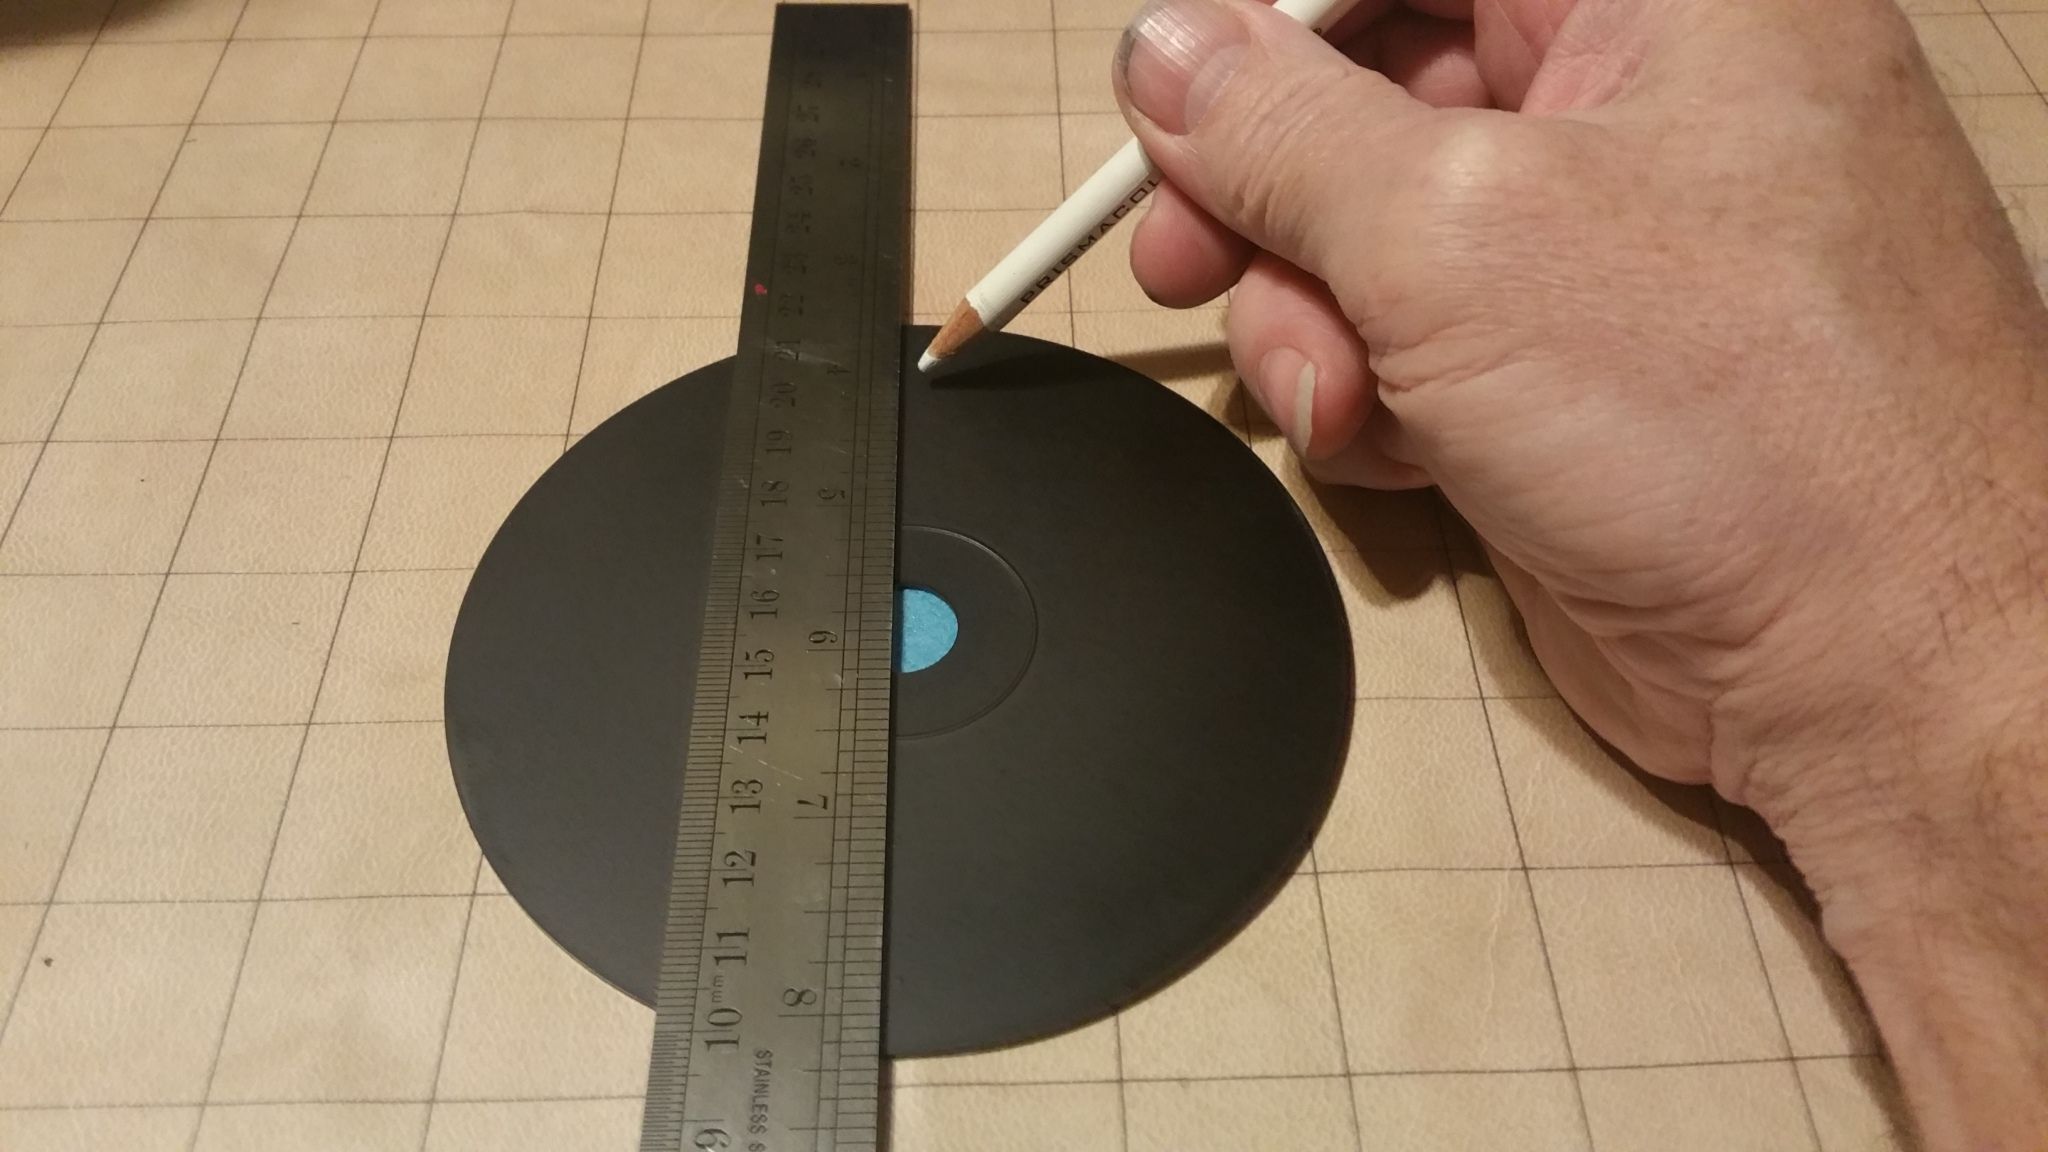
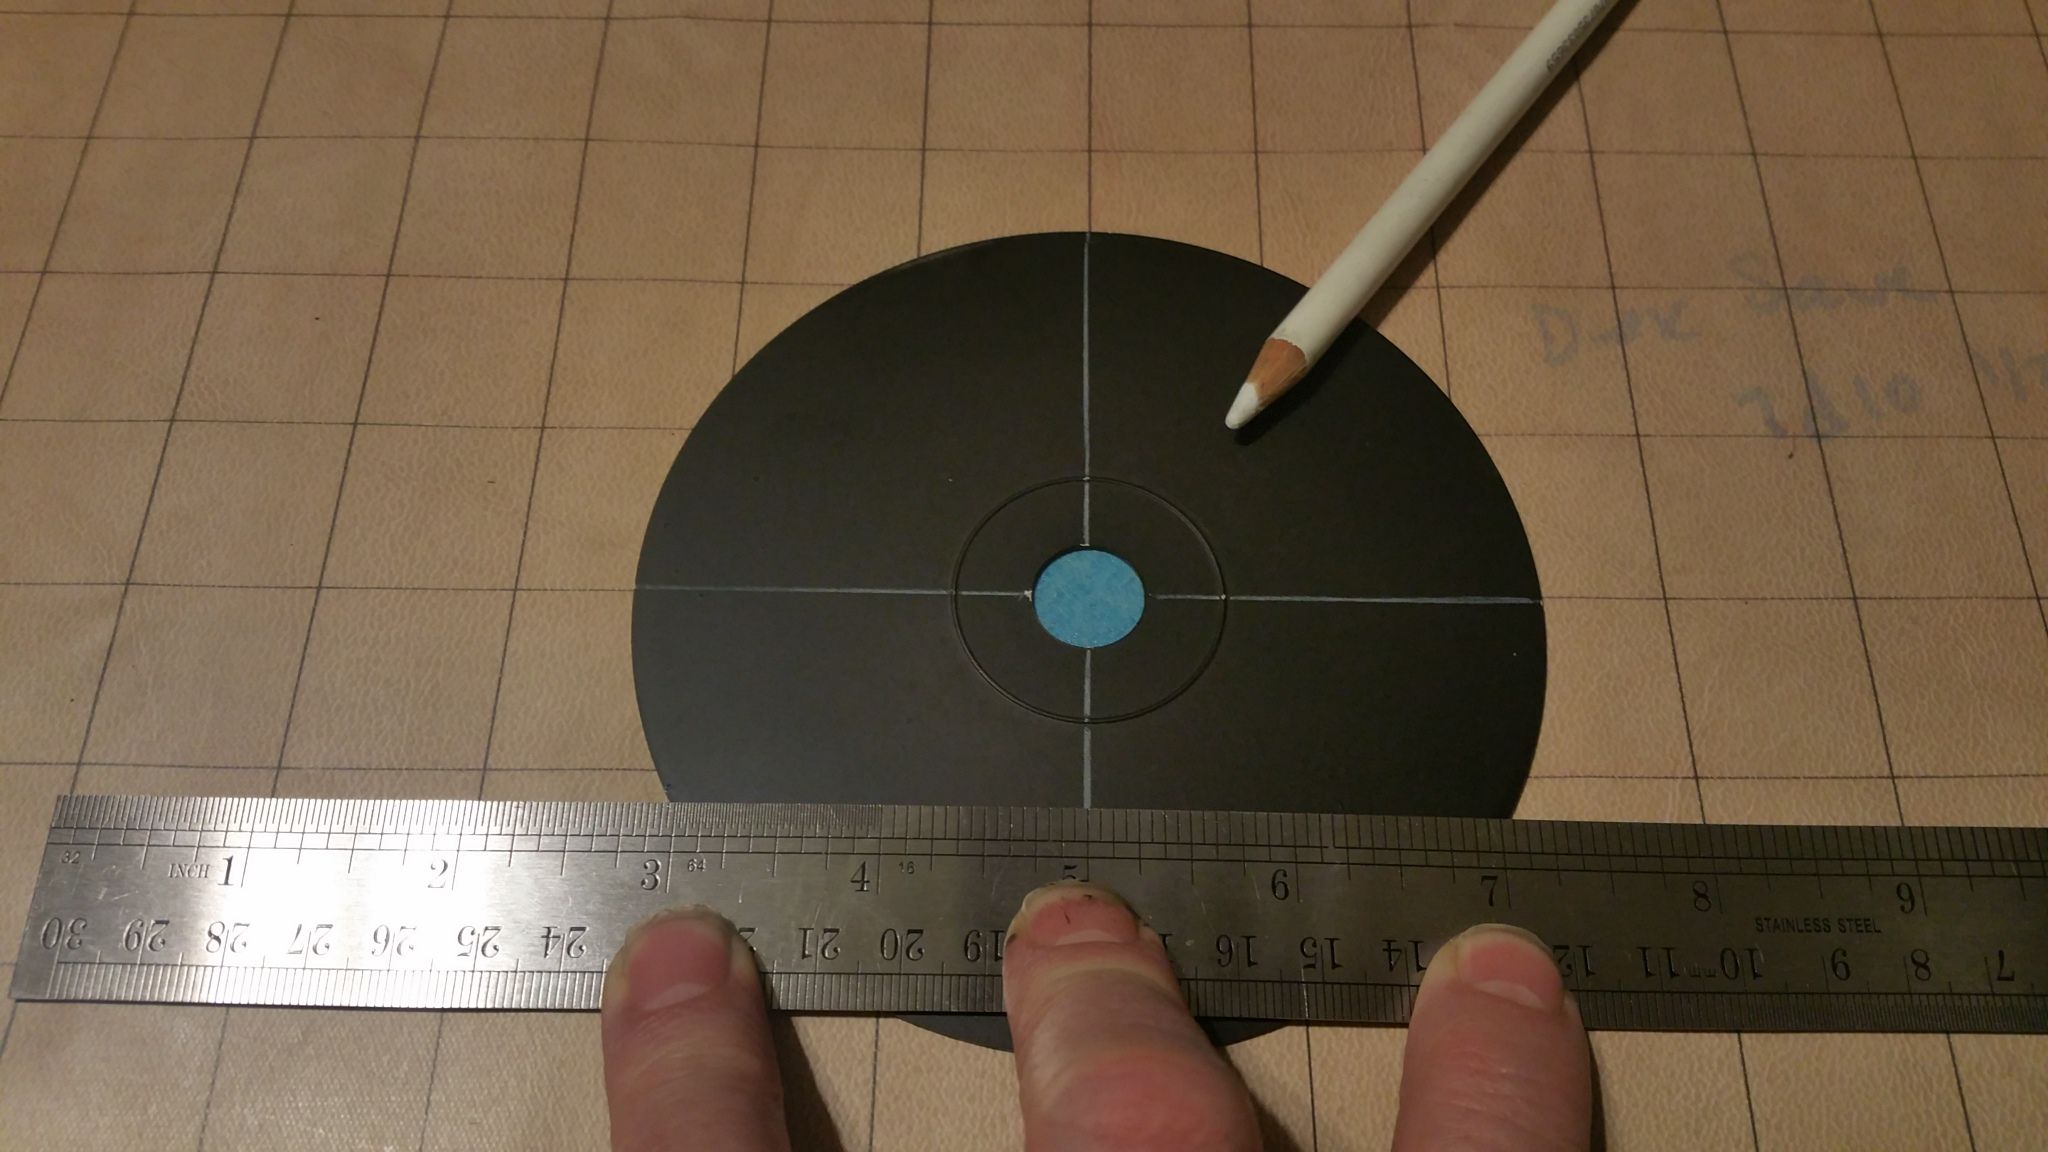
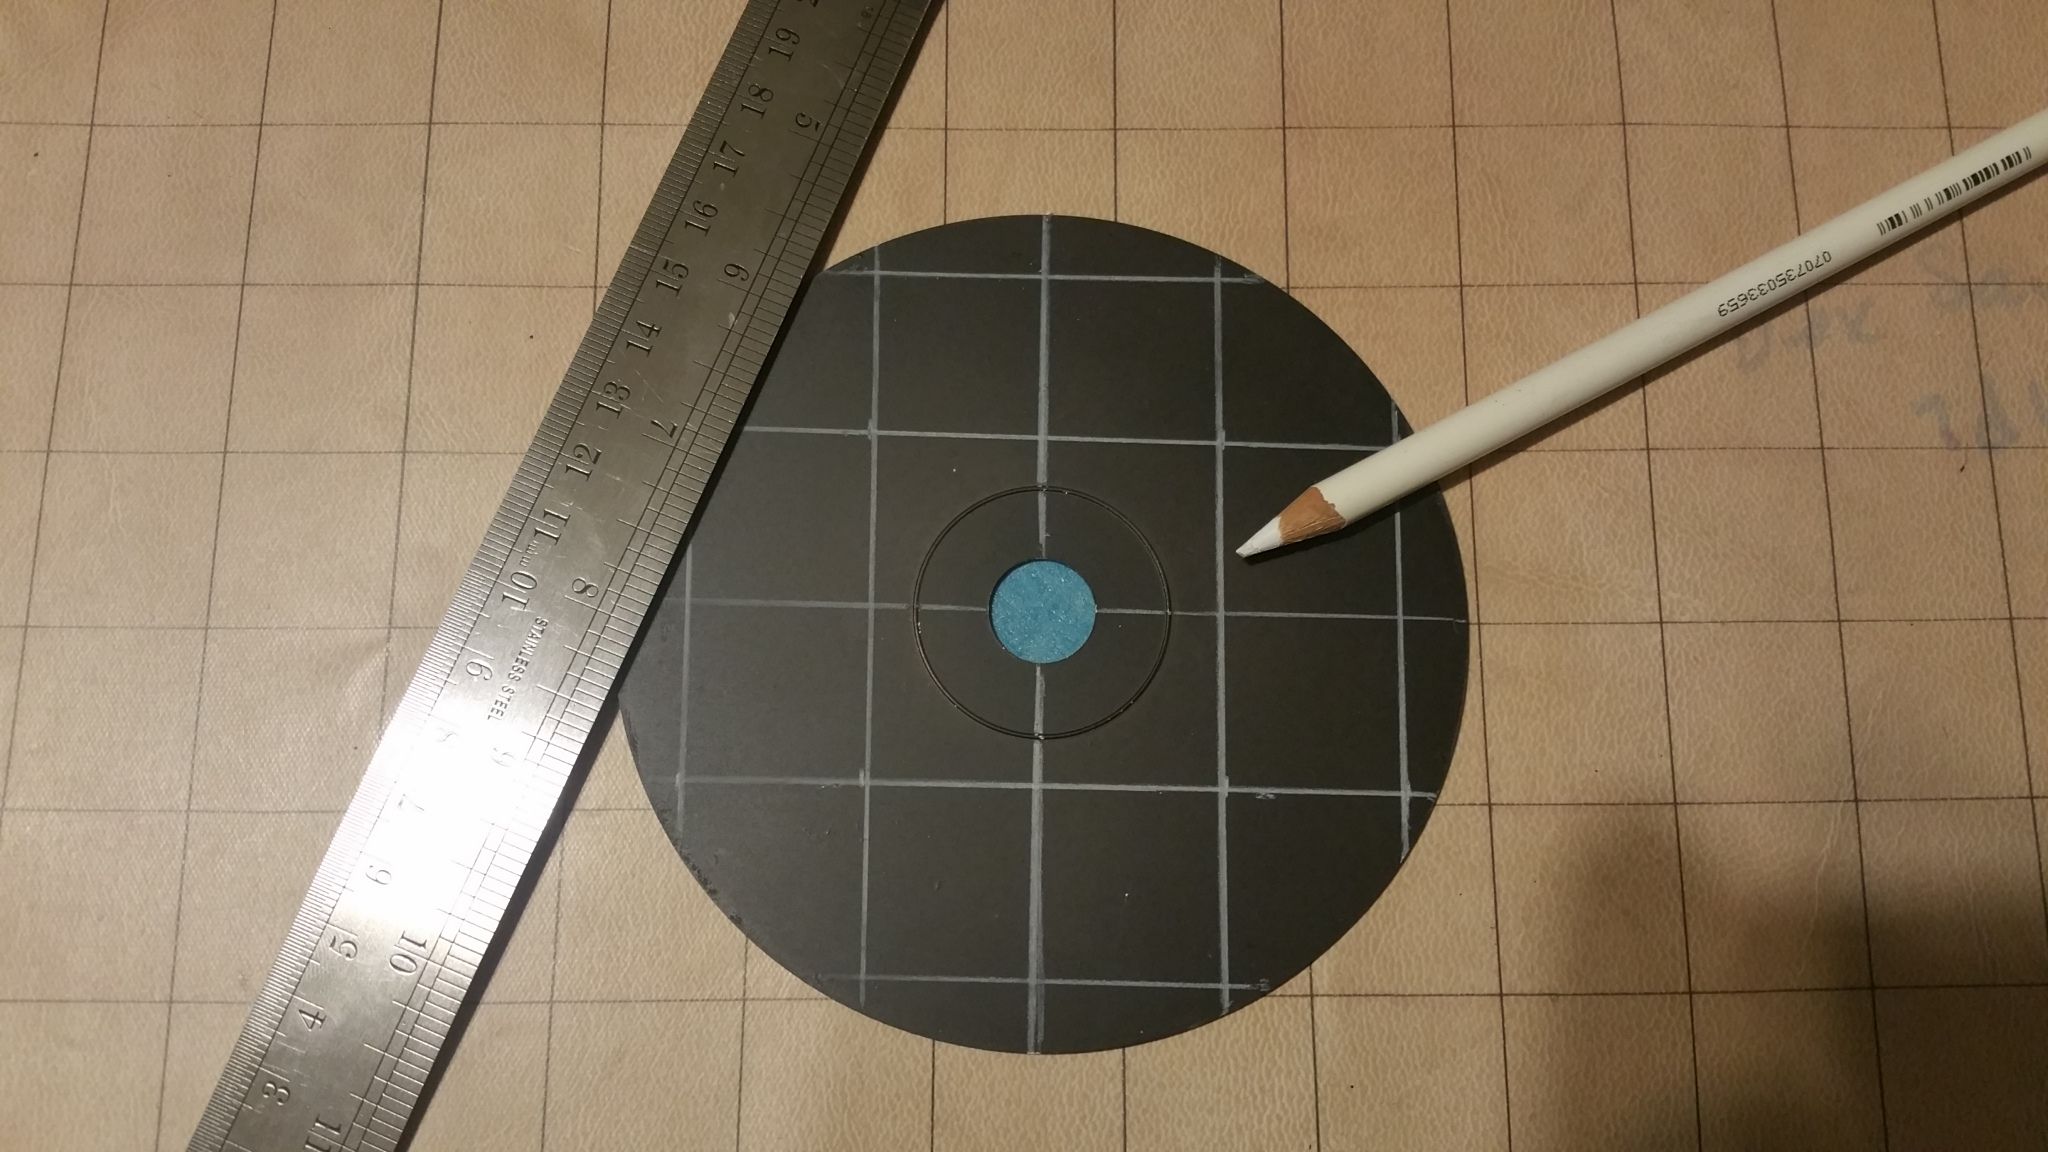
Now grab your ruler (I forgot to mention that in the supplies, again, apologies), and marker of some kind (I'm using the white Prisma colored pencil.
I'm using my wet erase battle map to help find the center of the CD, then I draw a line down the center.

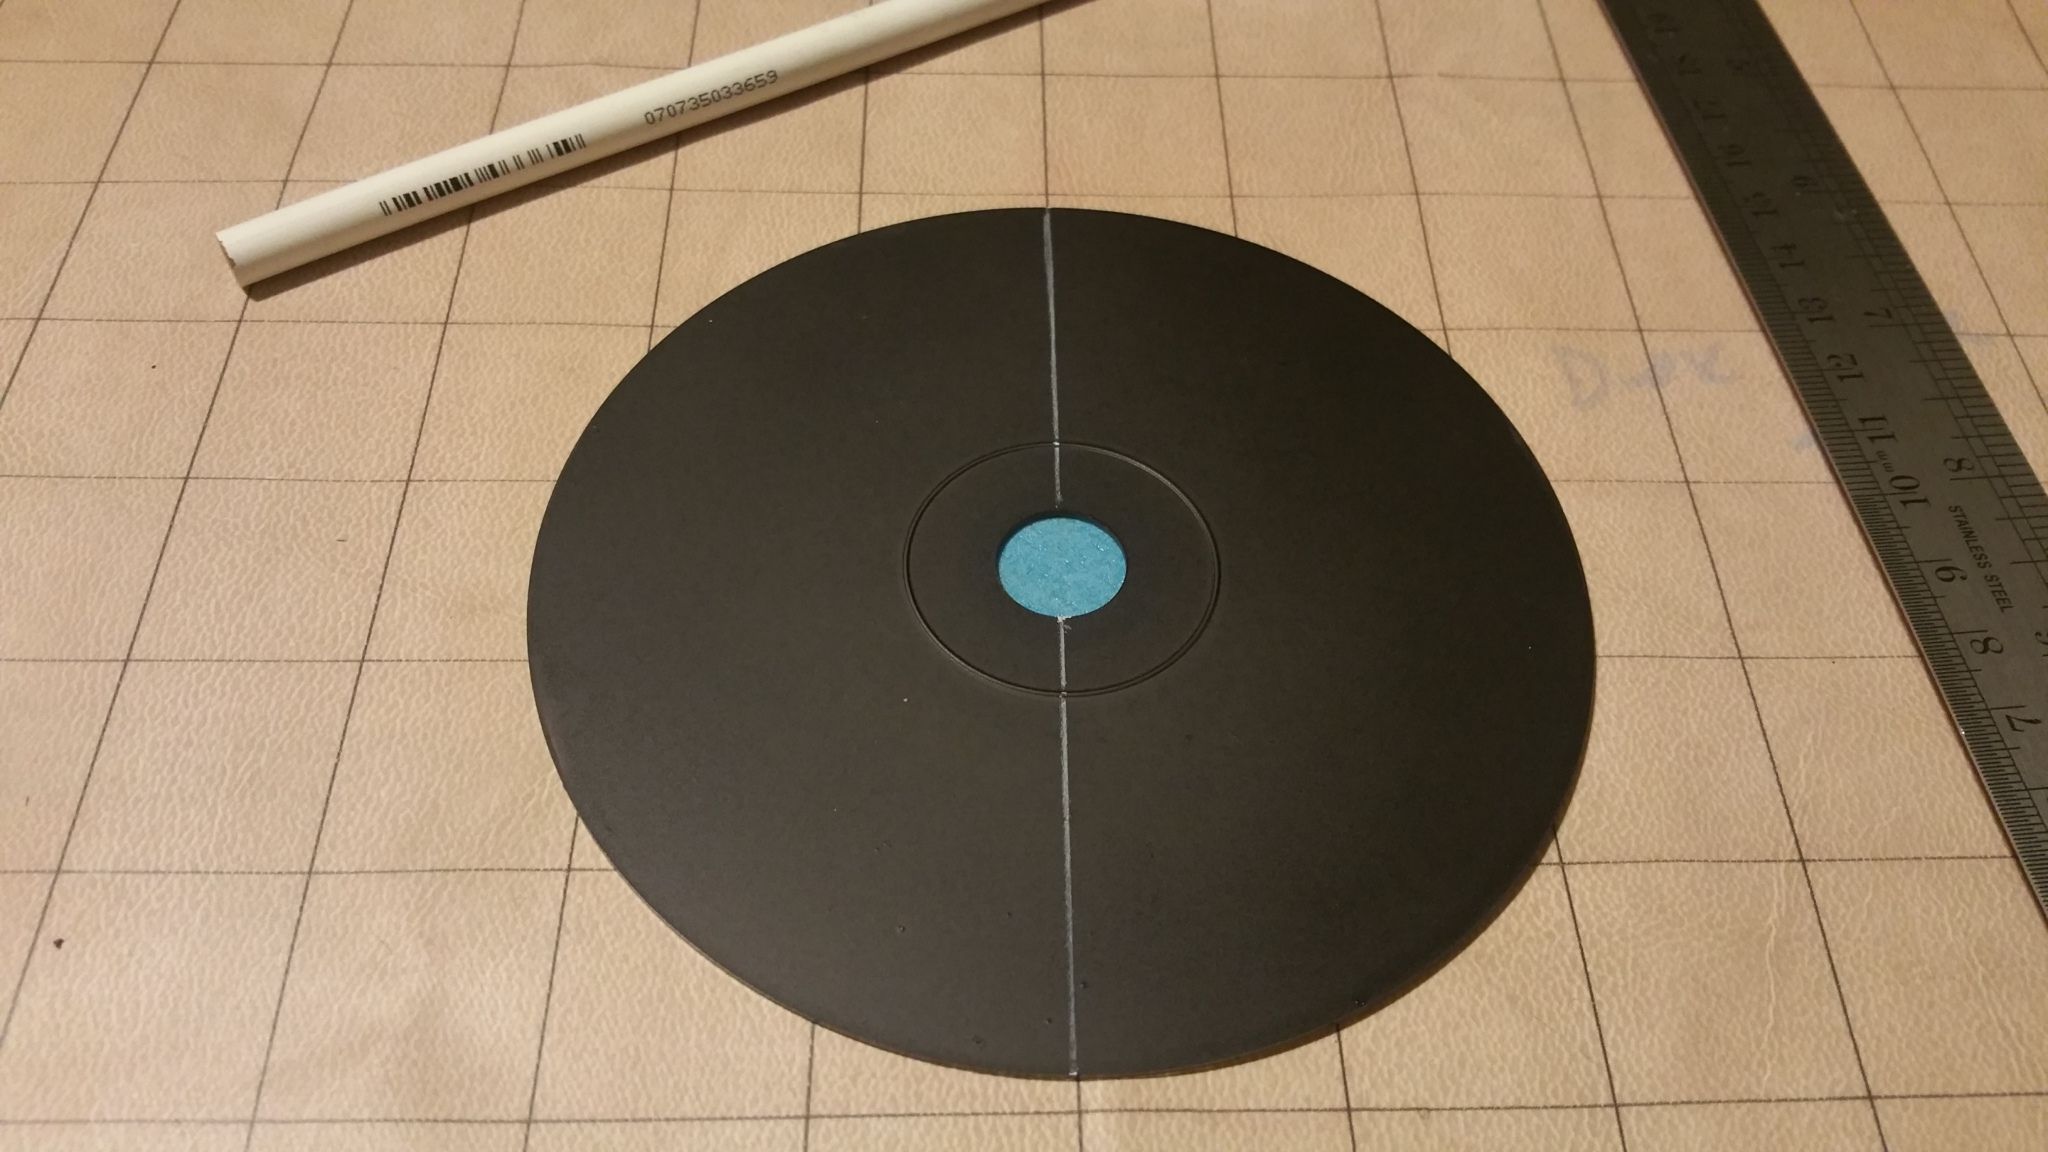
Then I turn it to find the center to run perpendicular to the other line. This should make a near perfect "X" for you to get your 1 inch squares...you'll see...

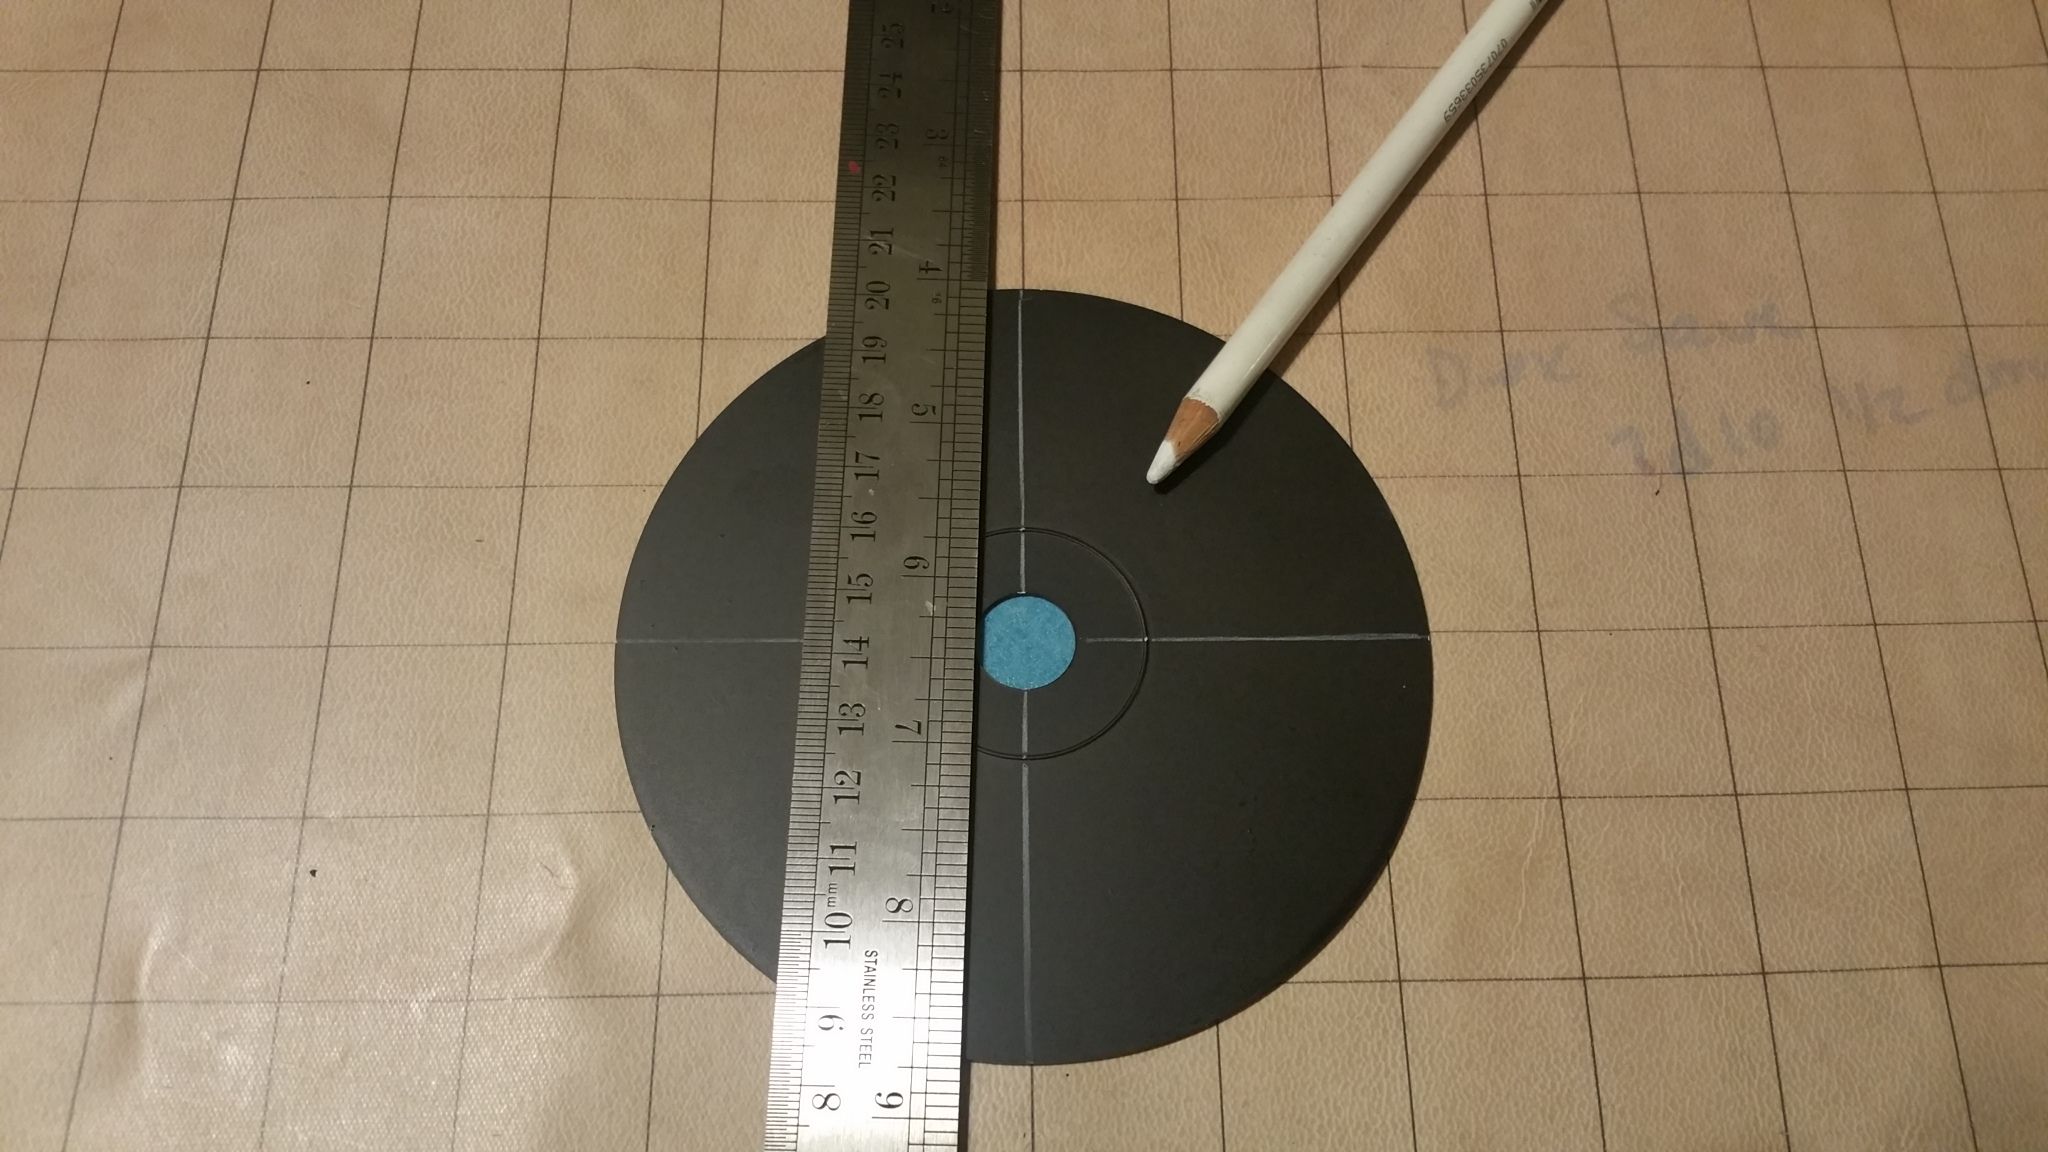
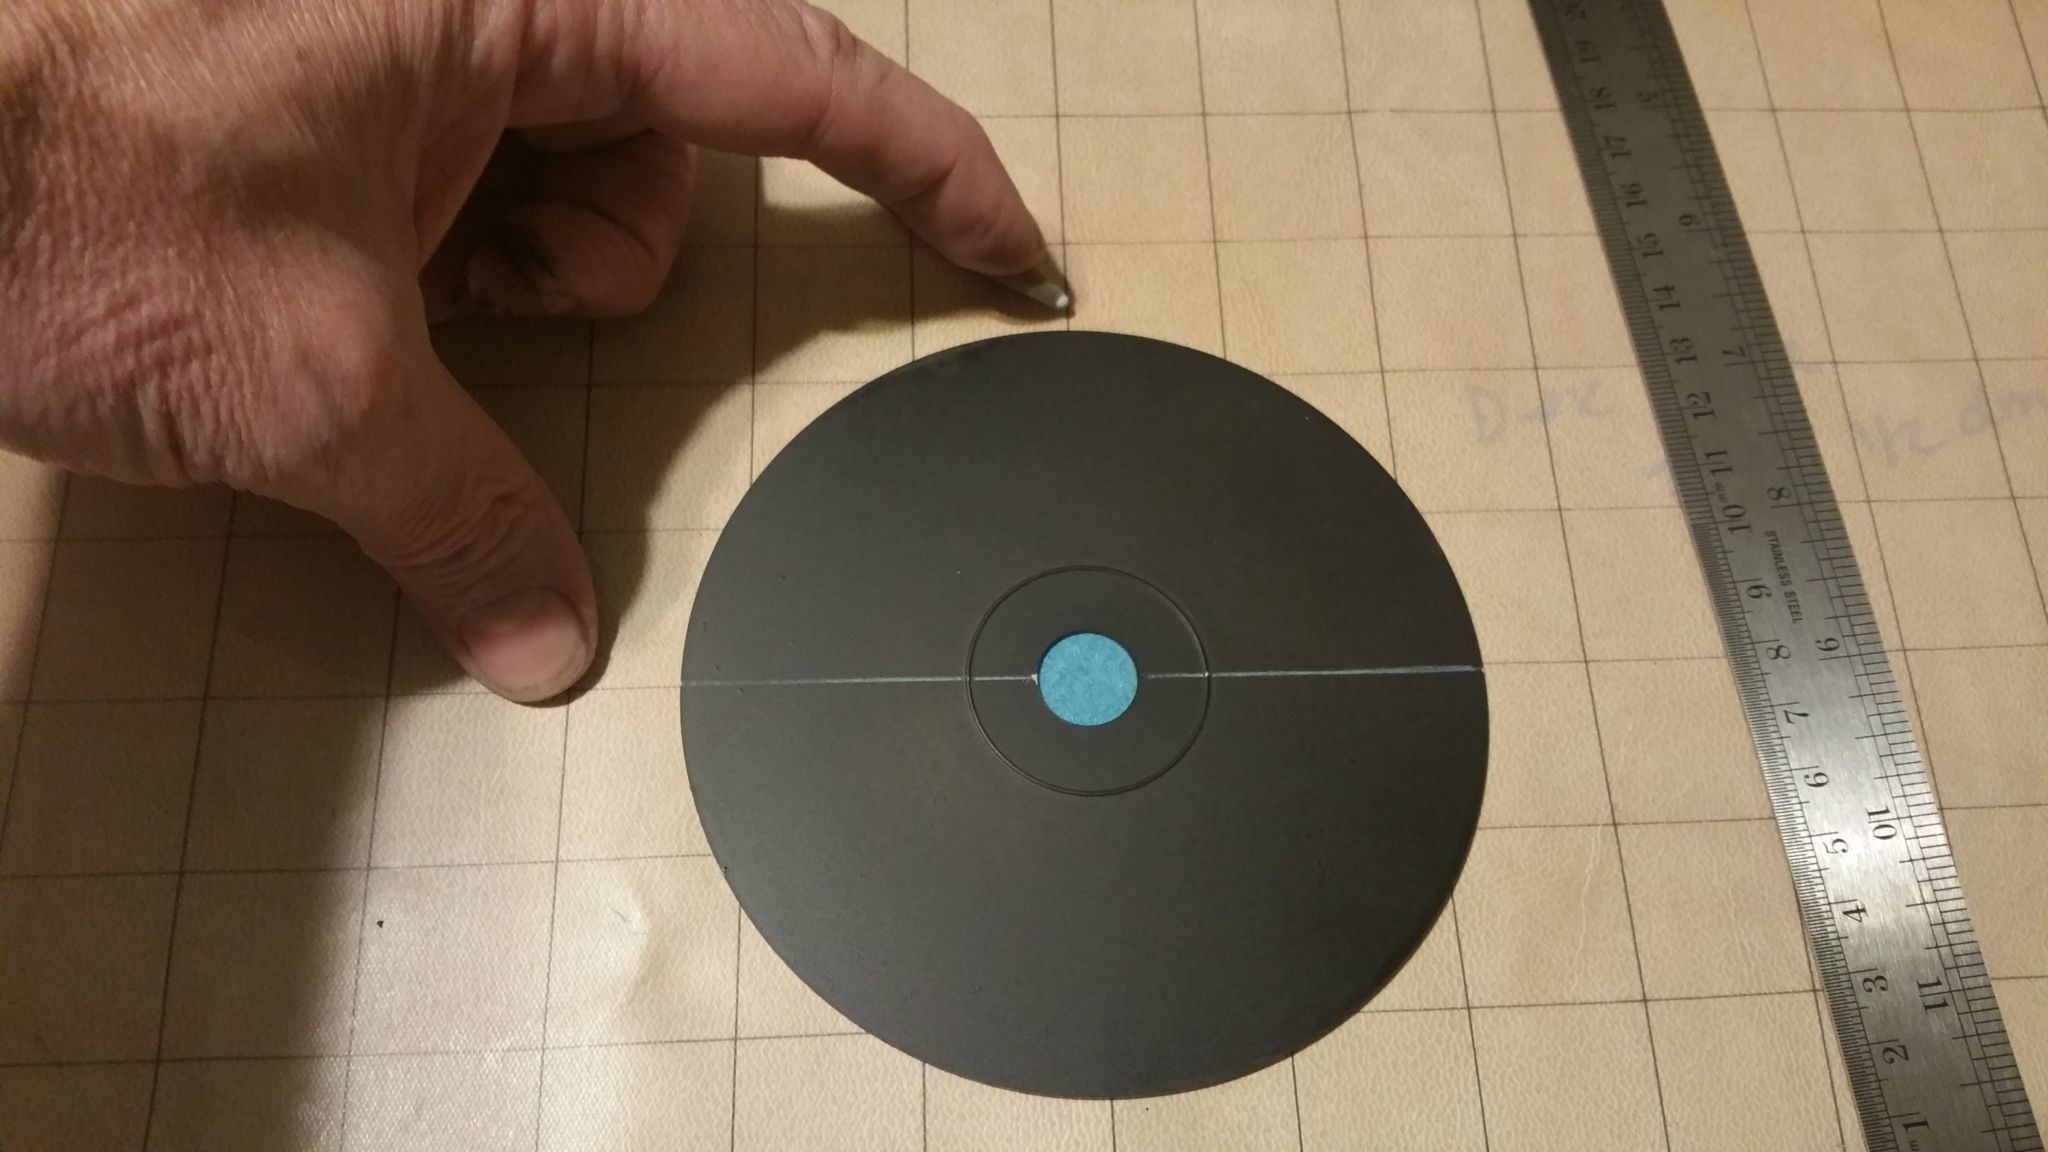
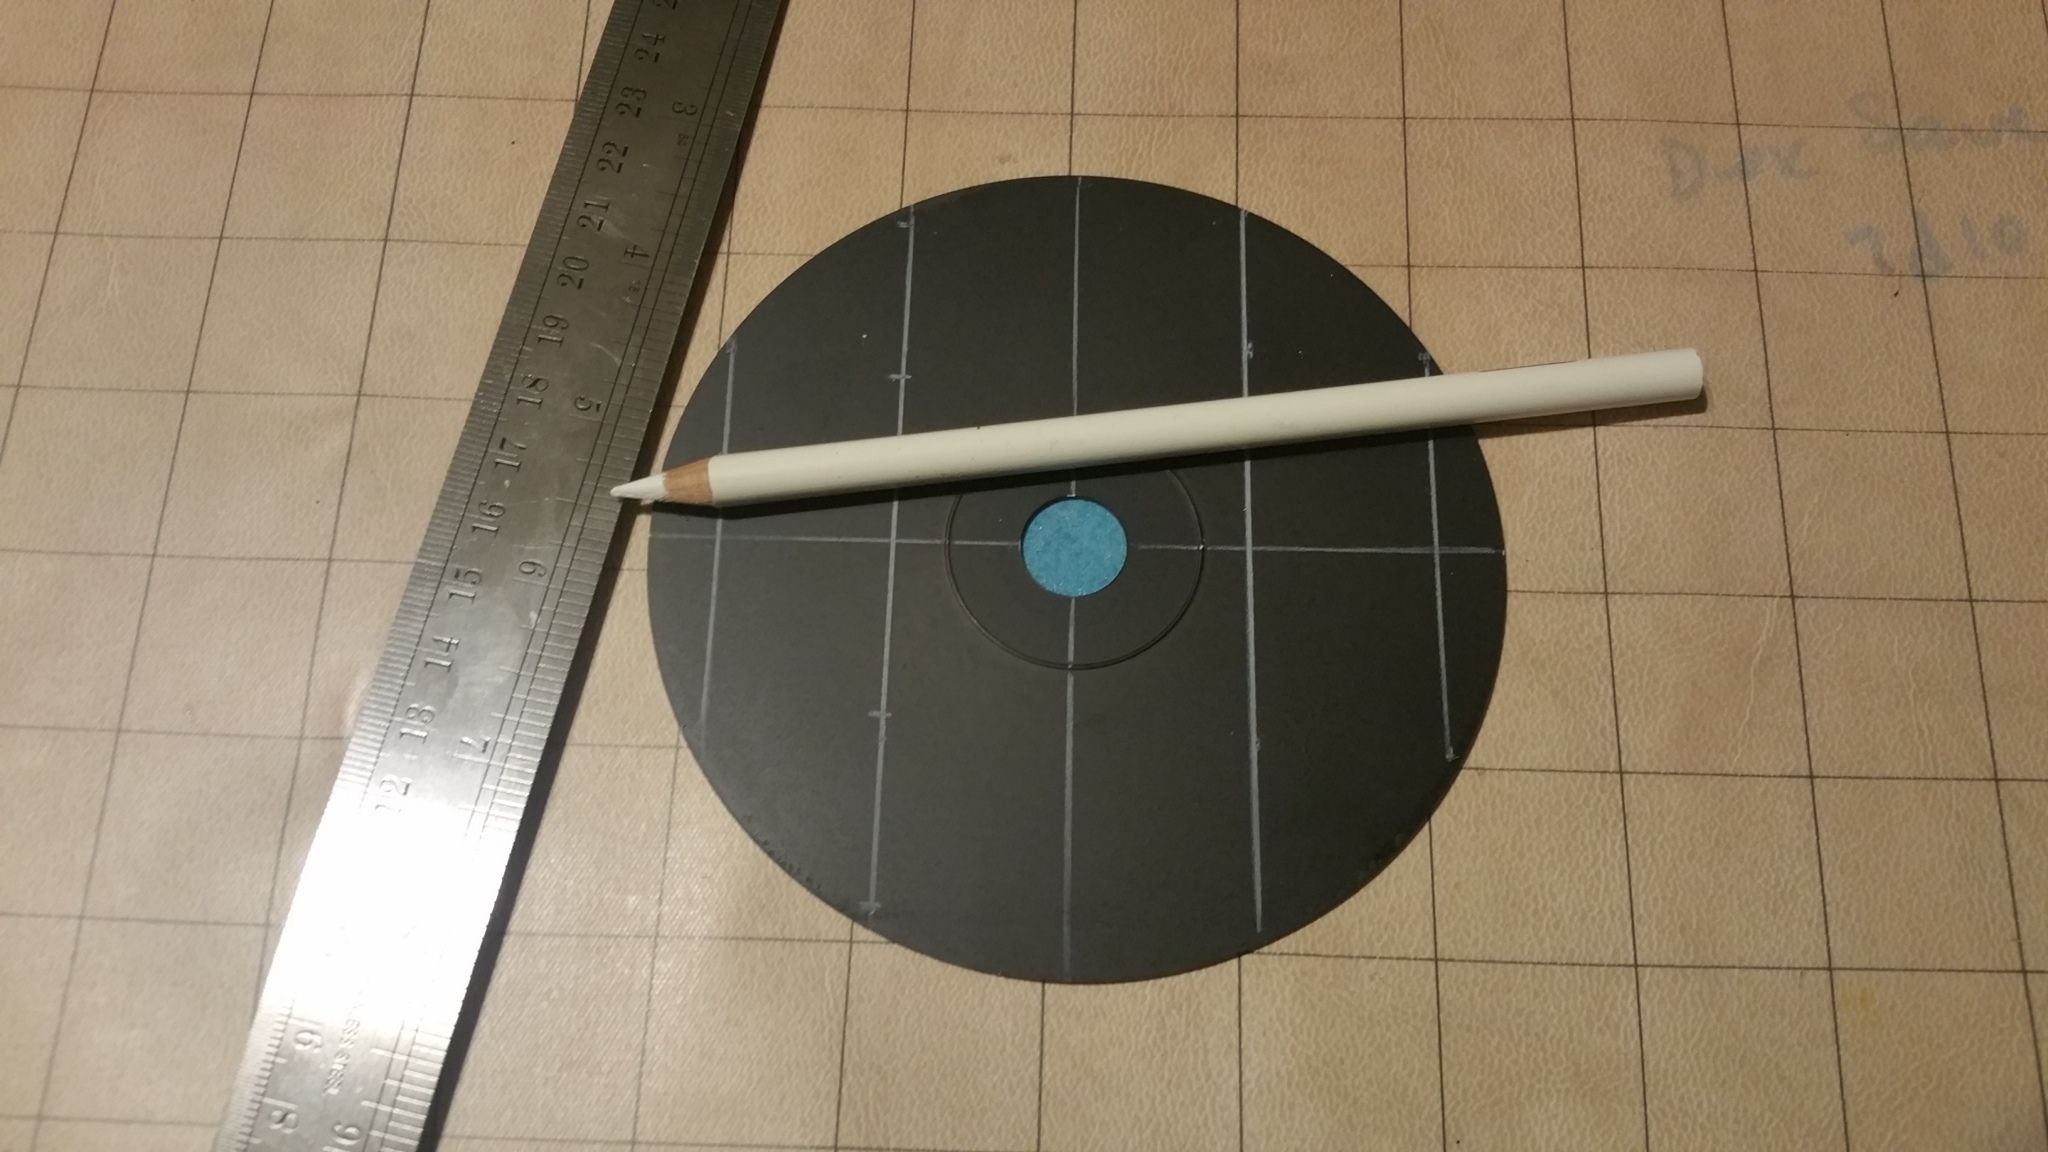
Now make your 1 inch 'tic marks' that are 1 inch apart. NOTE: make your marks so they are as close to the edge as possible. See where my 3 fingers are? That's where you want your inch marks to be.

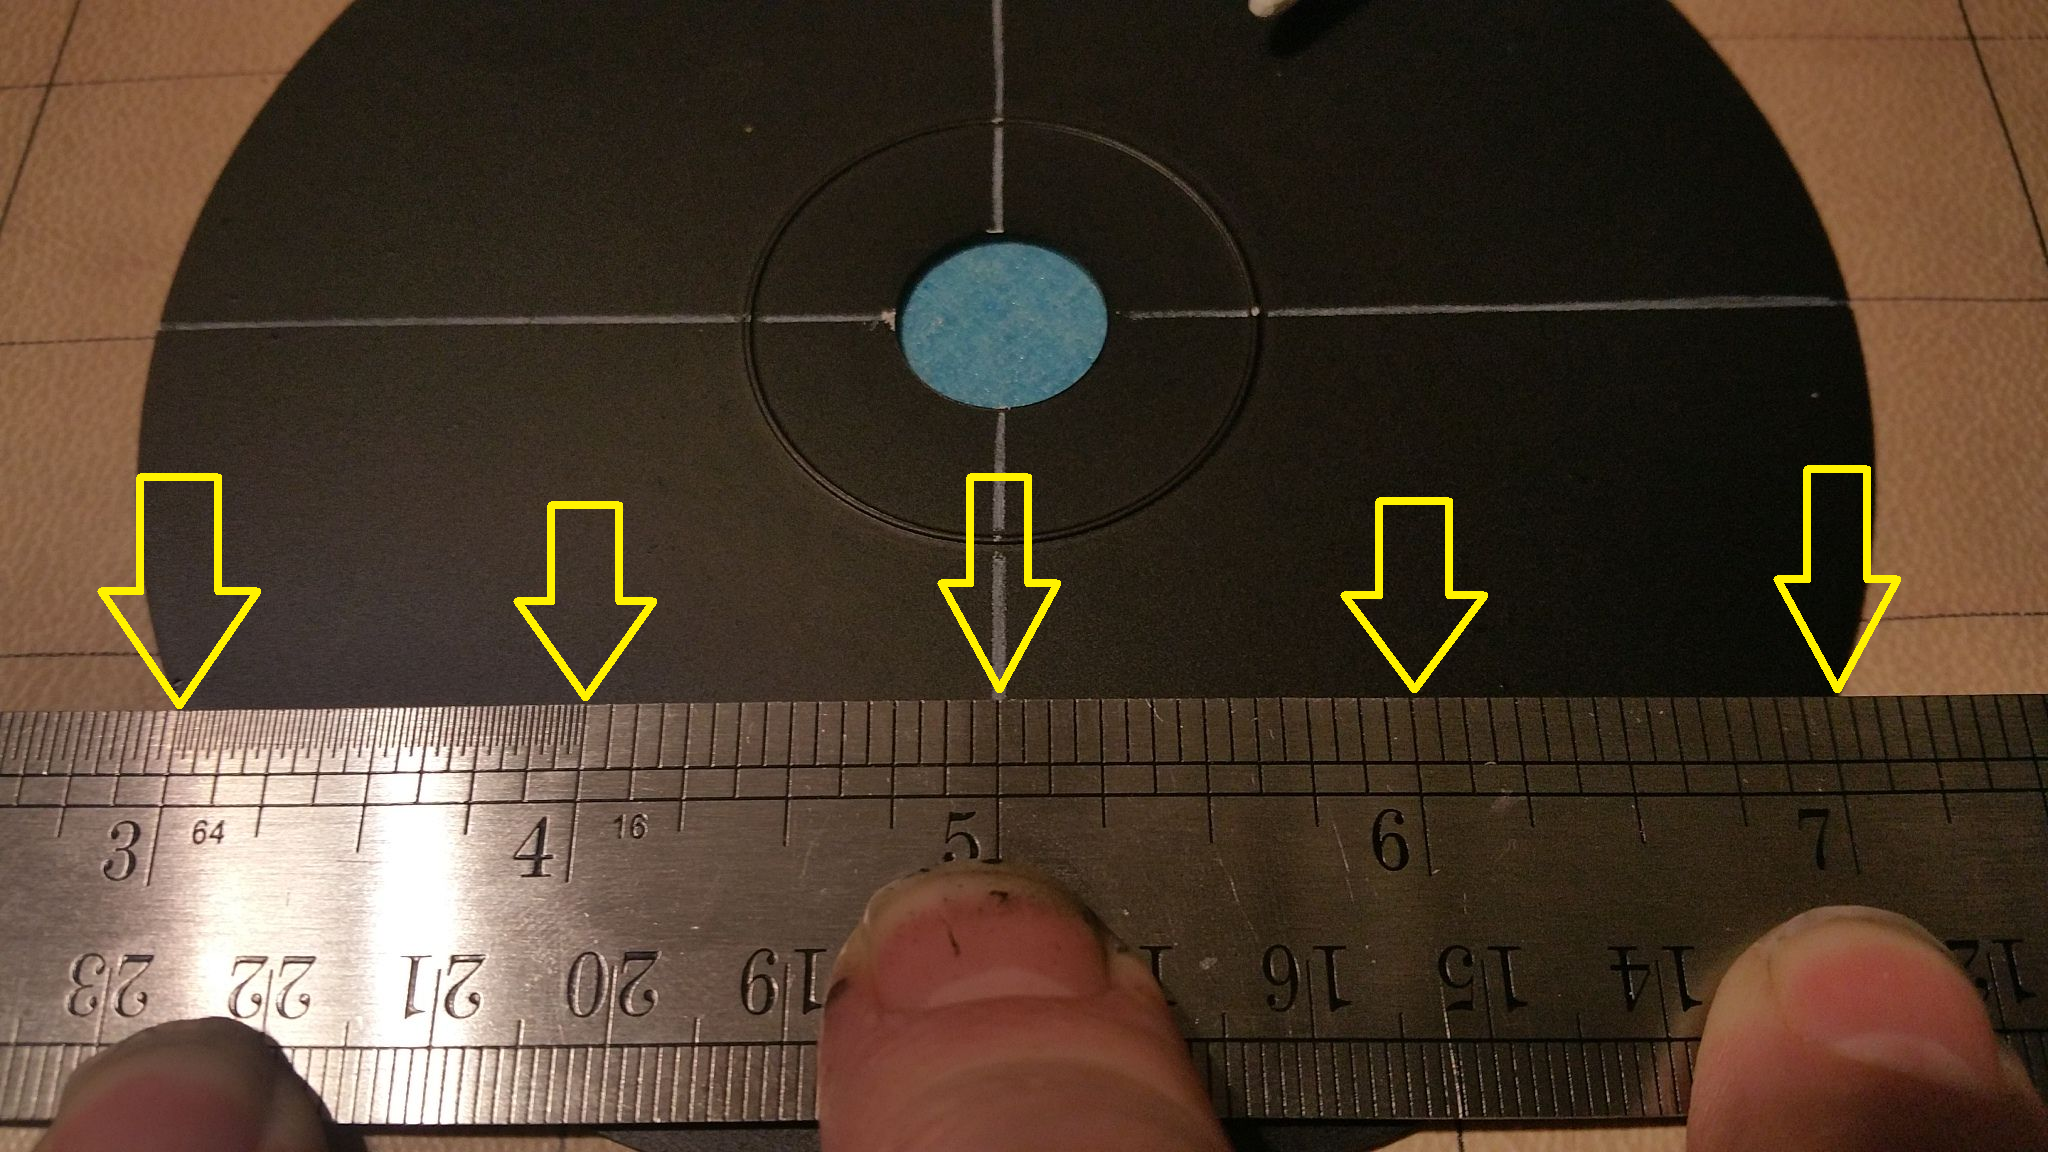

Repeat the process at the top
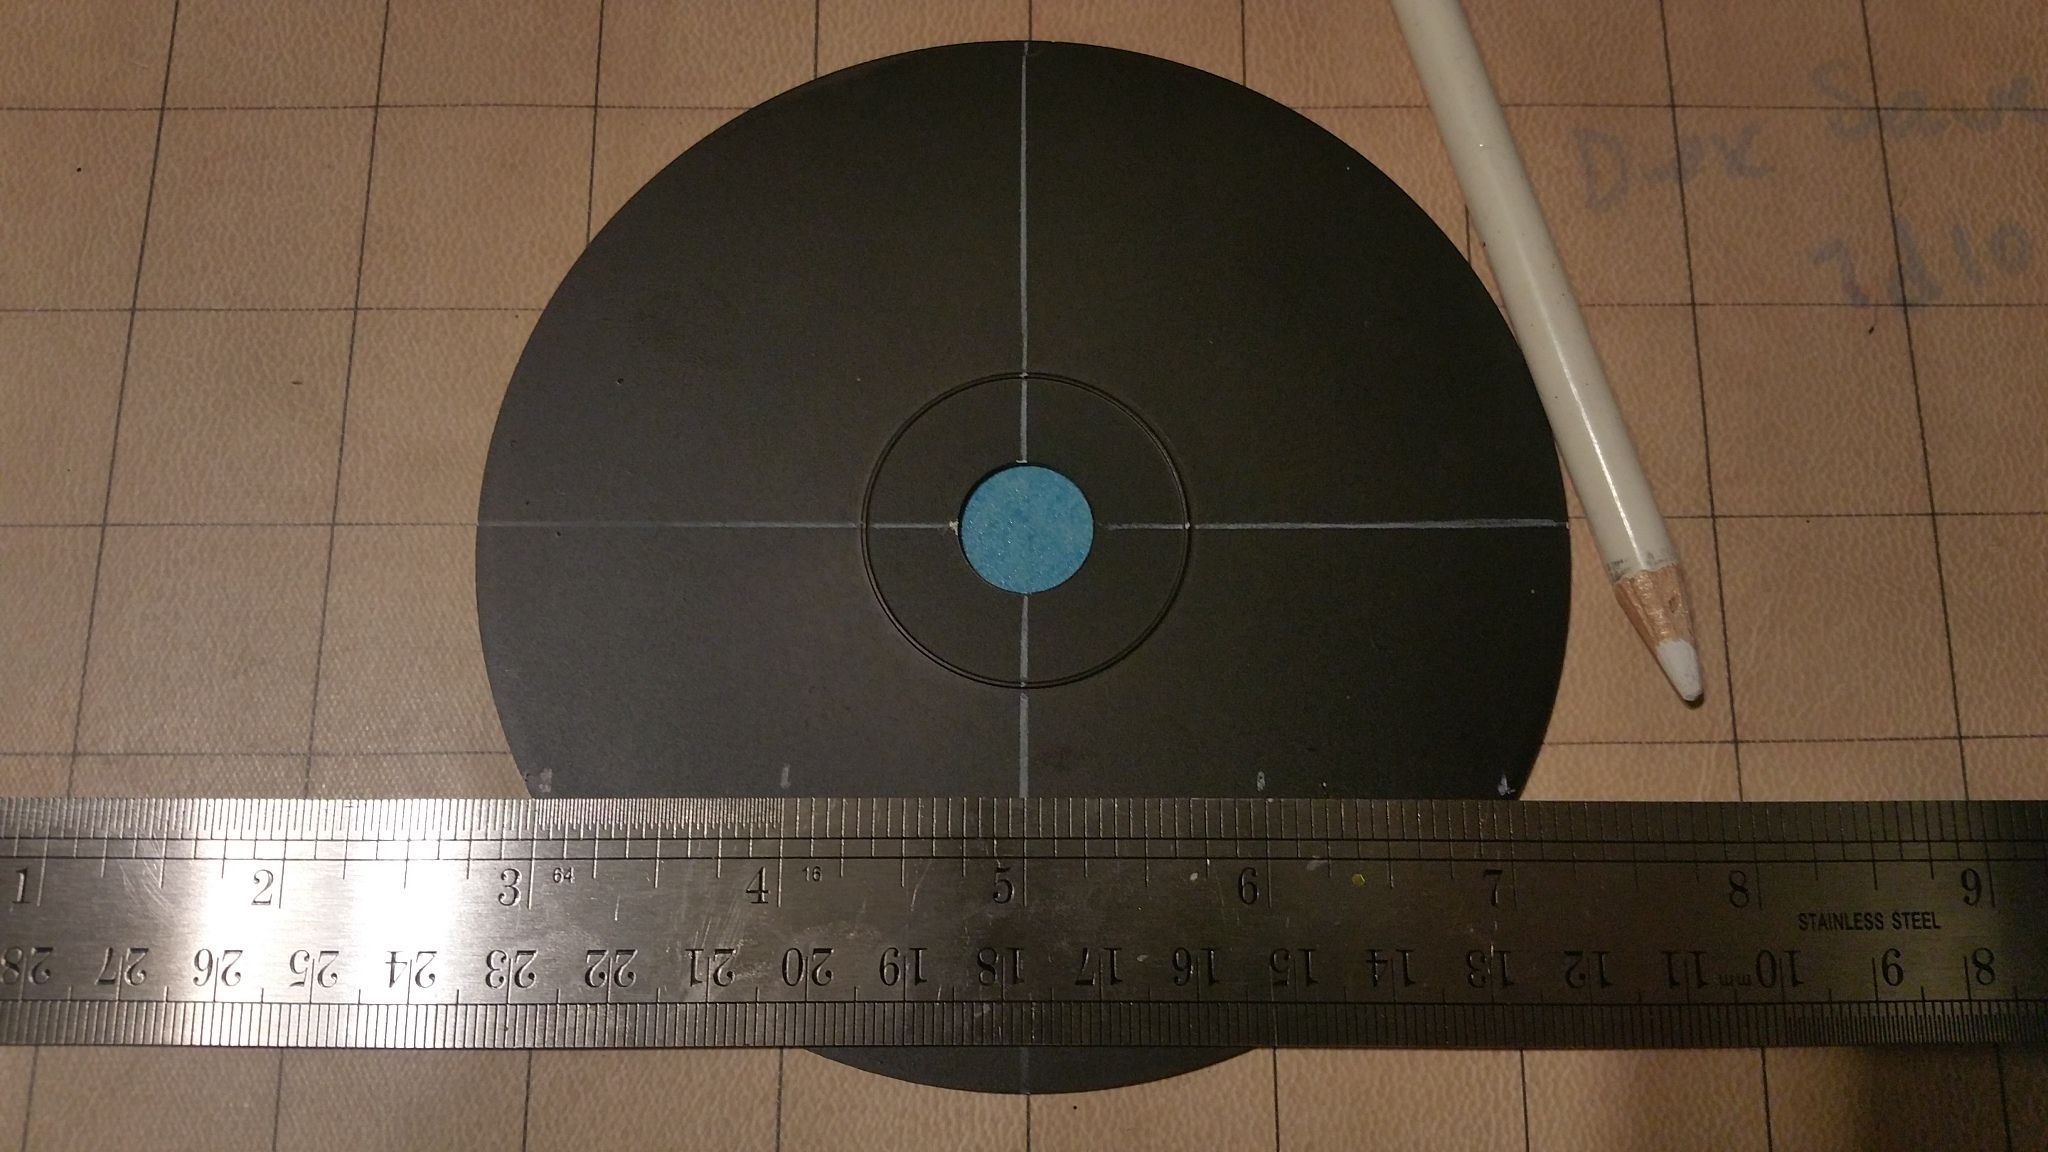
You should have marks that look like this:

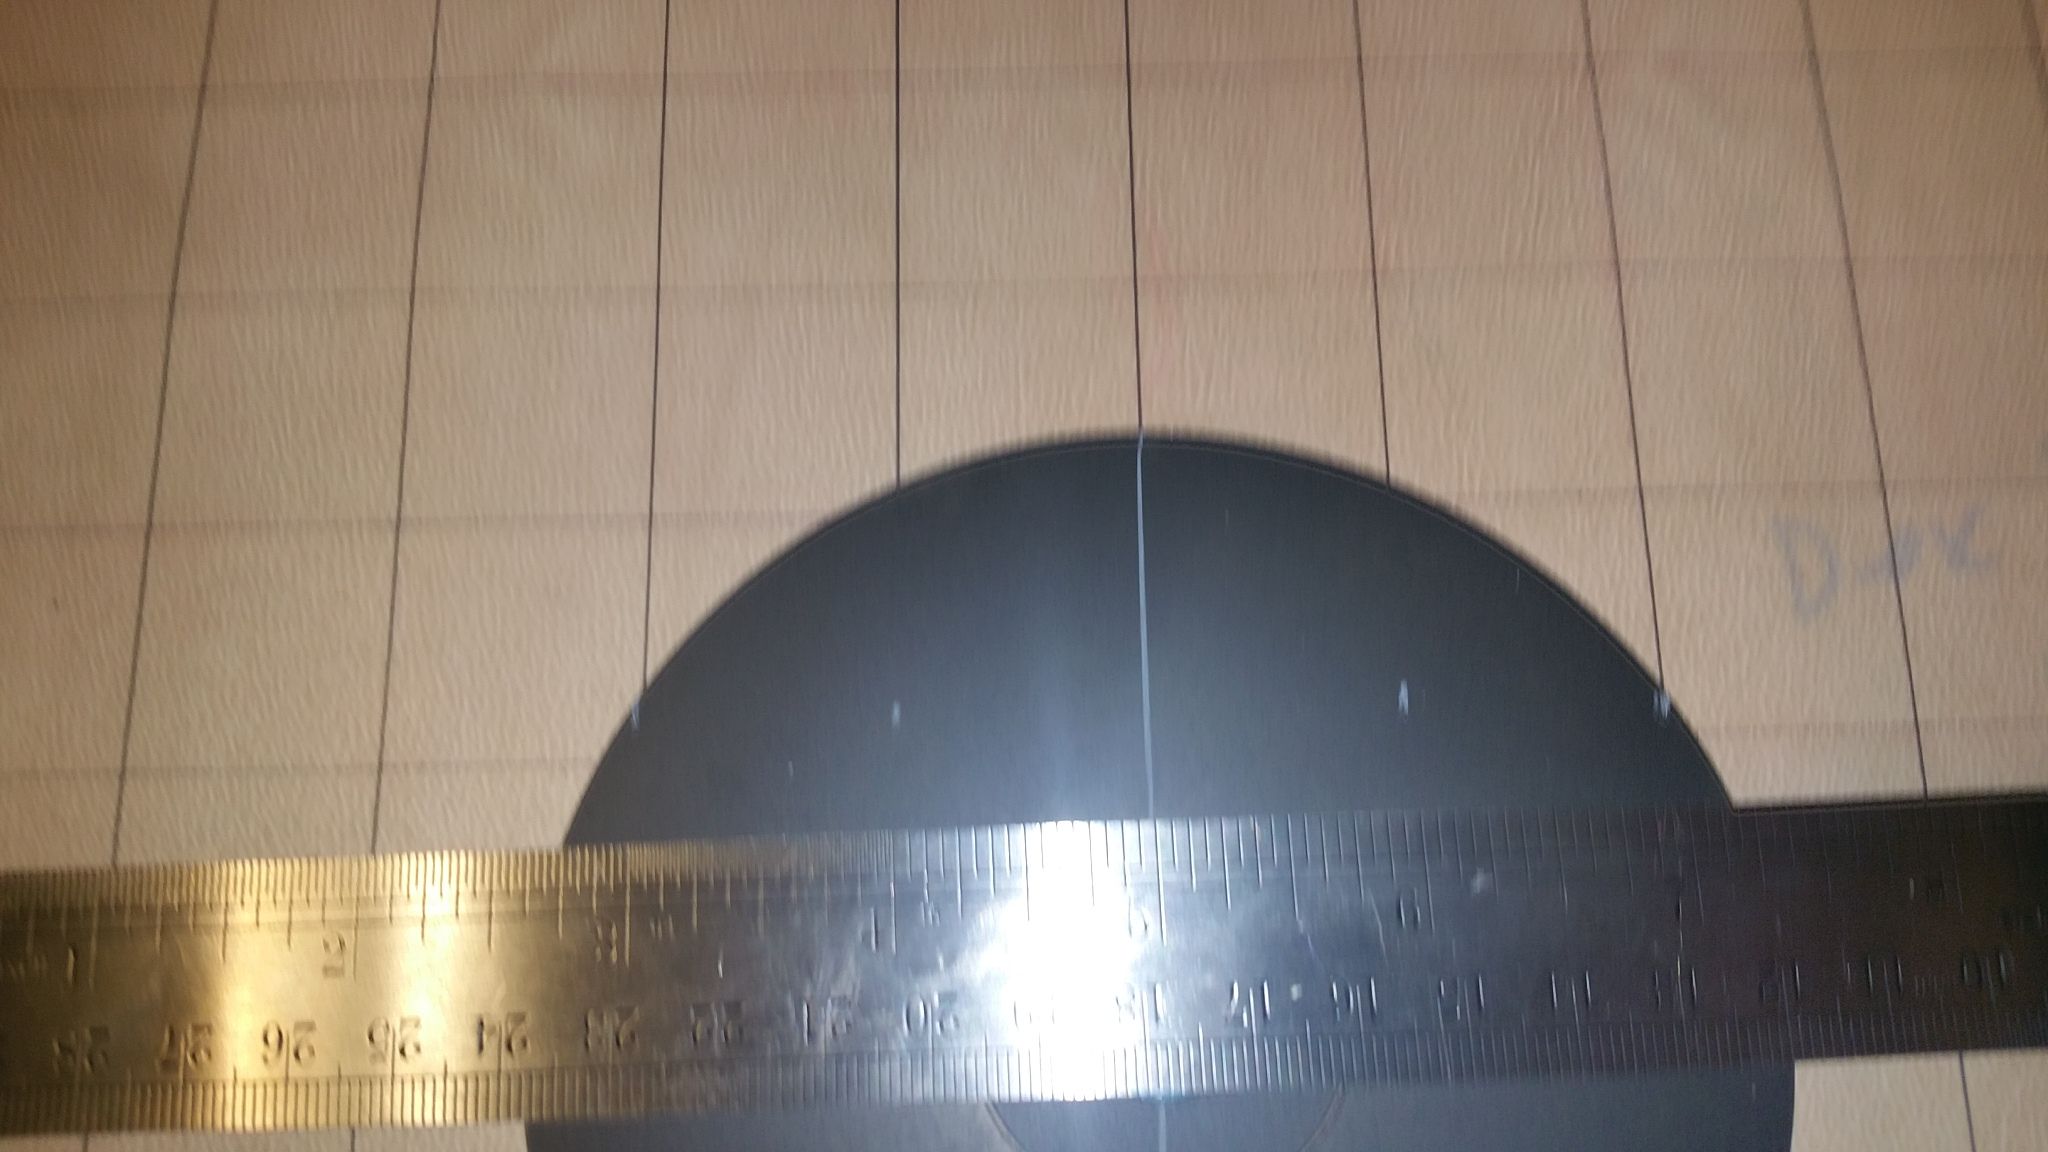
Draw your lines with your ruler
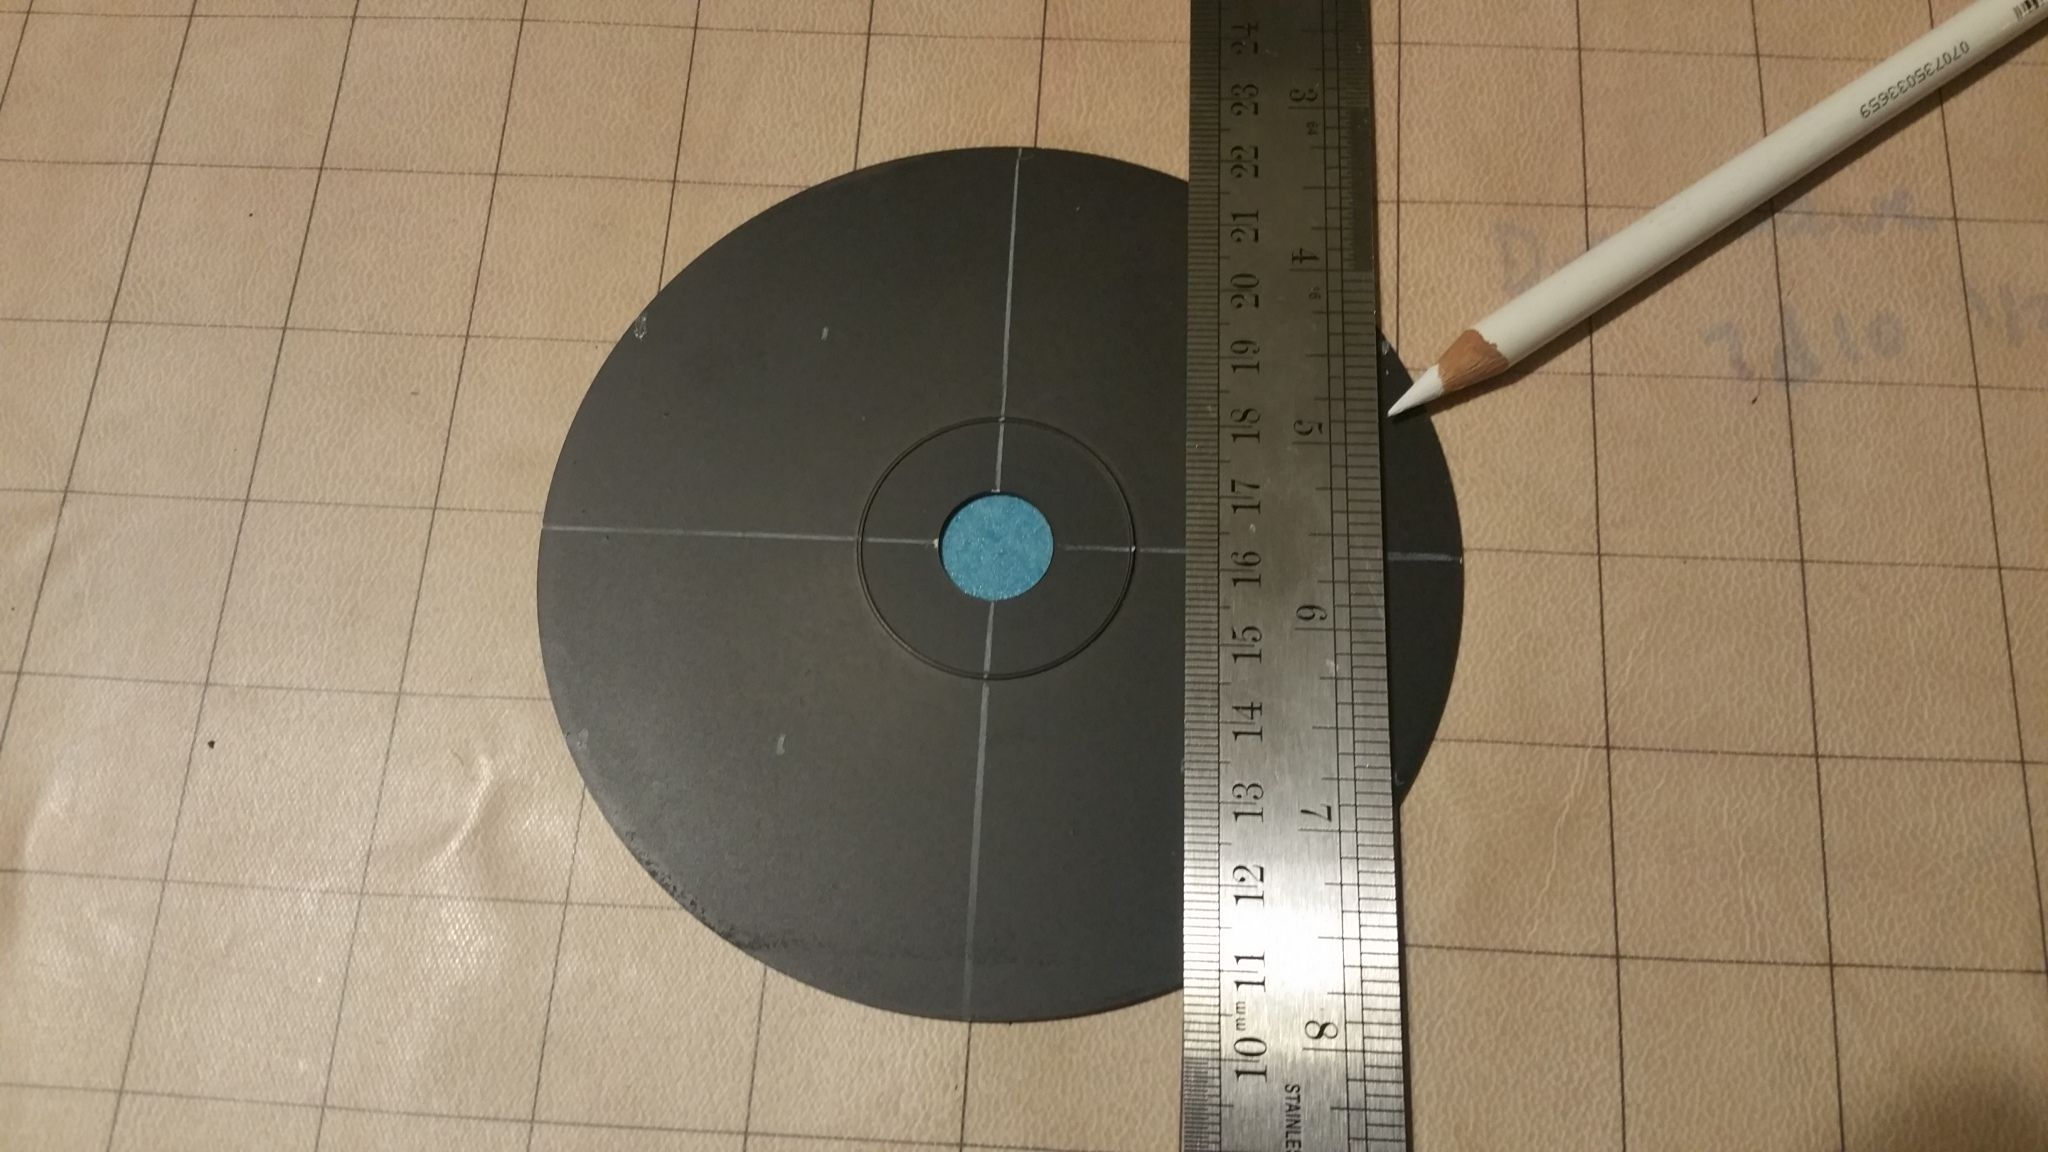

Turn the CD and repeat the process:

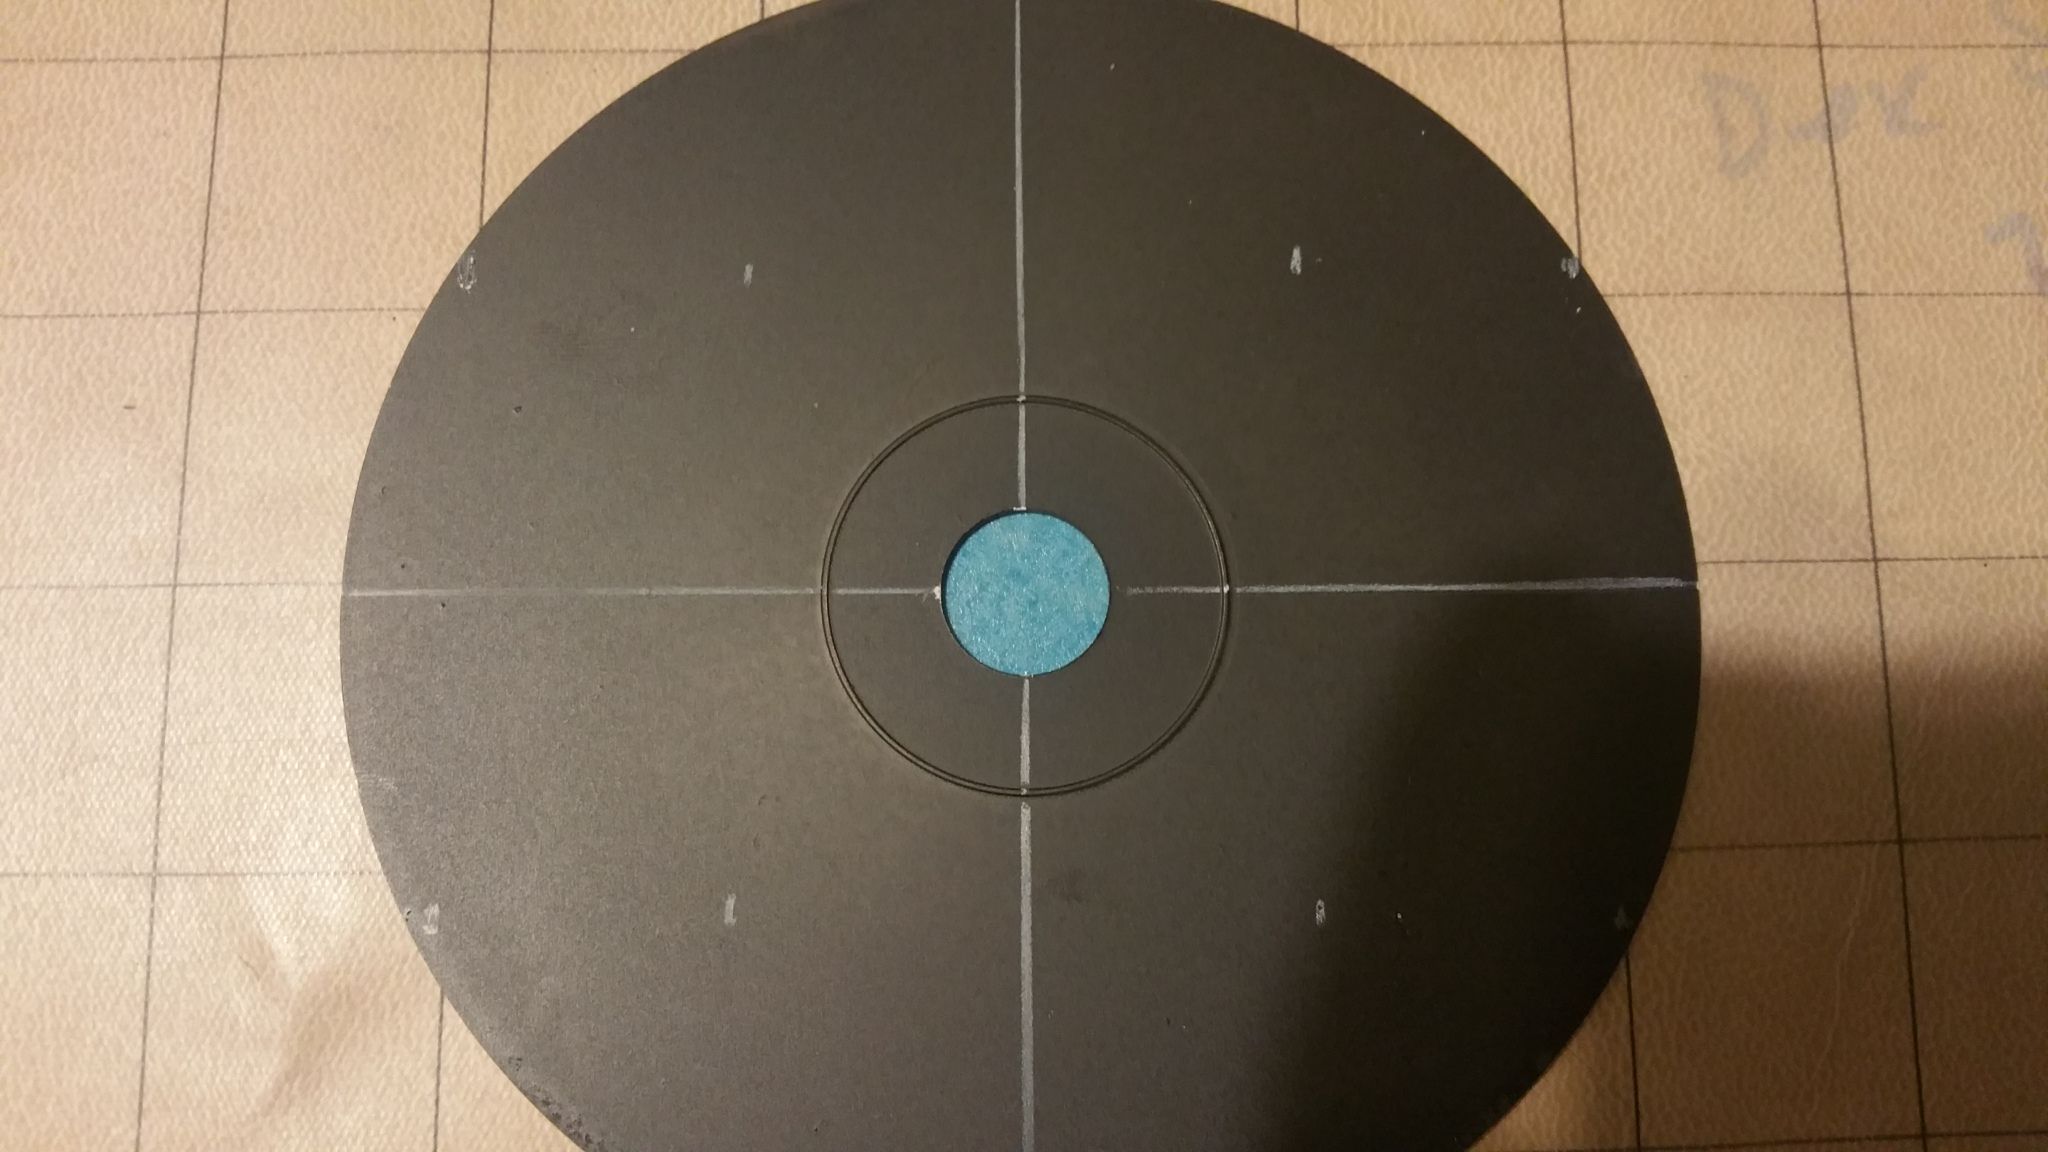
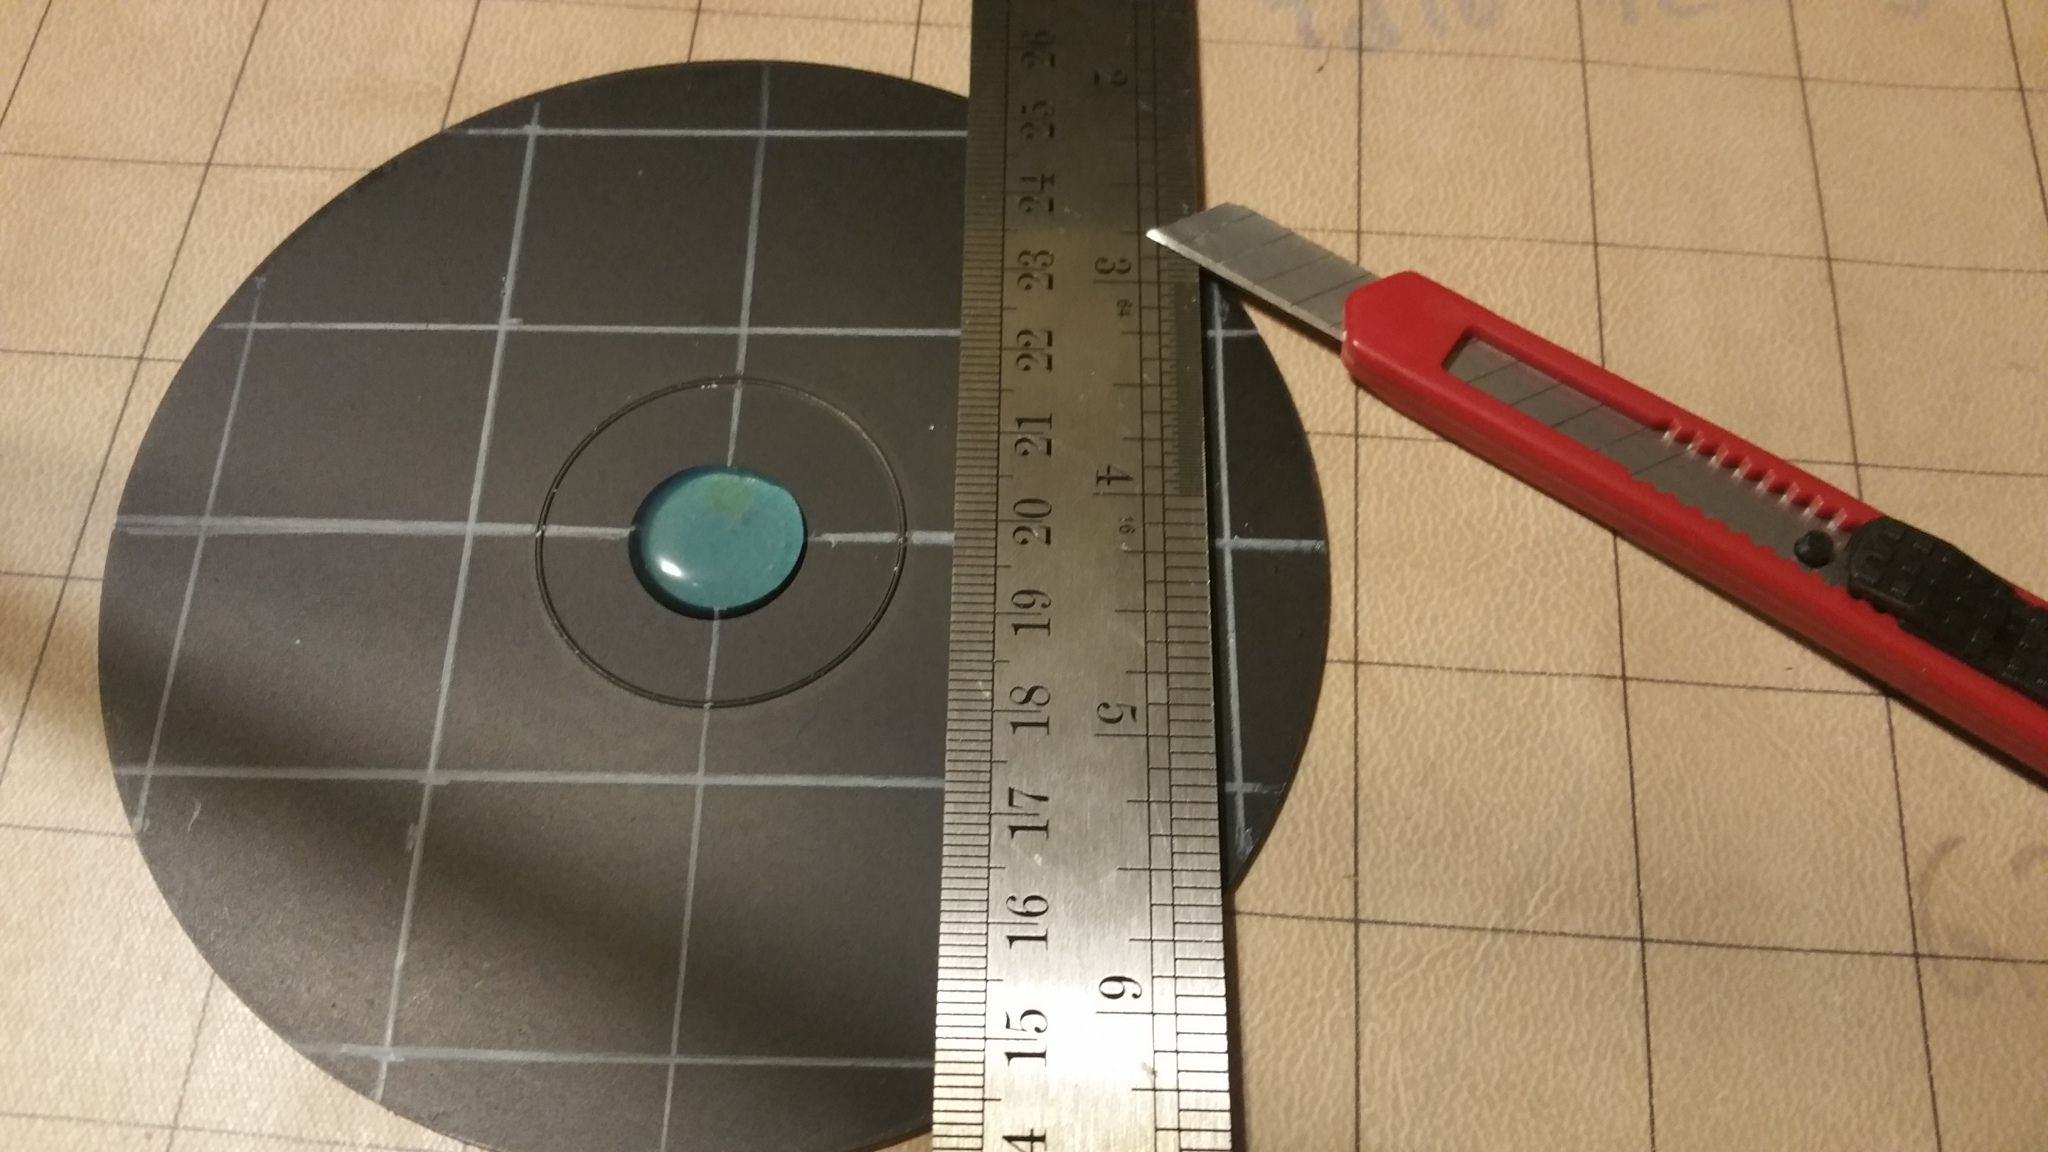
Do this on all your CDs until you have enough to made the top platform and bottom platform for each Aerial Comat Stand. You should have 2 CDs for 1 rod that you have cut. Example: if you have 3 rods, you'll need 6 CDs.
NOTE: You can leave the CDs round, or you can cut off the tiny side spots. If you decide to cut them off, you may want to cur them off before you paint. Cutting them off is hard, and adds extra steps like sanding, cutting, and using pliers to break them off neatly....THIS IS AN EXTRA STEP-YOU DON'T HAVE TO DO THIS IF YOU DON'T WANT TO.
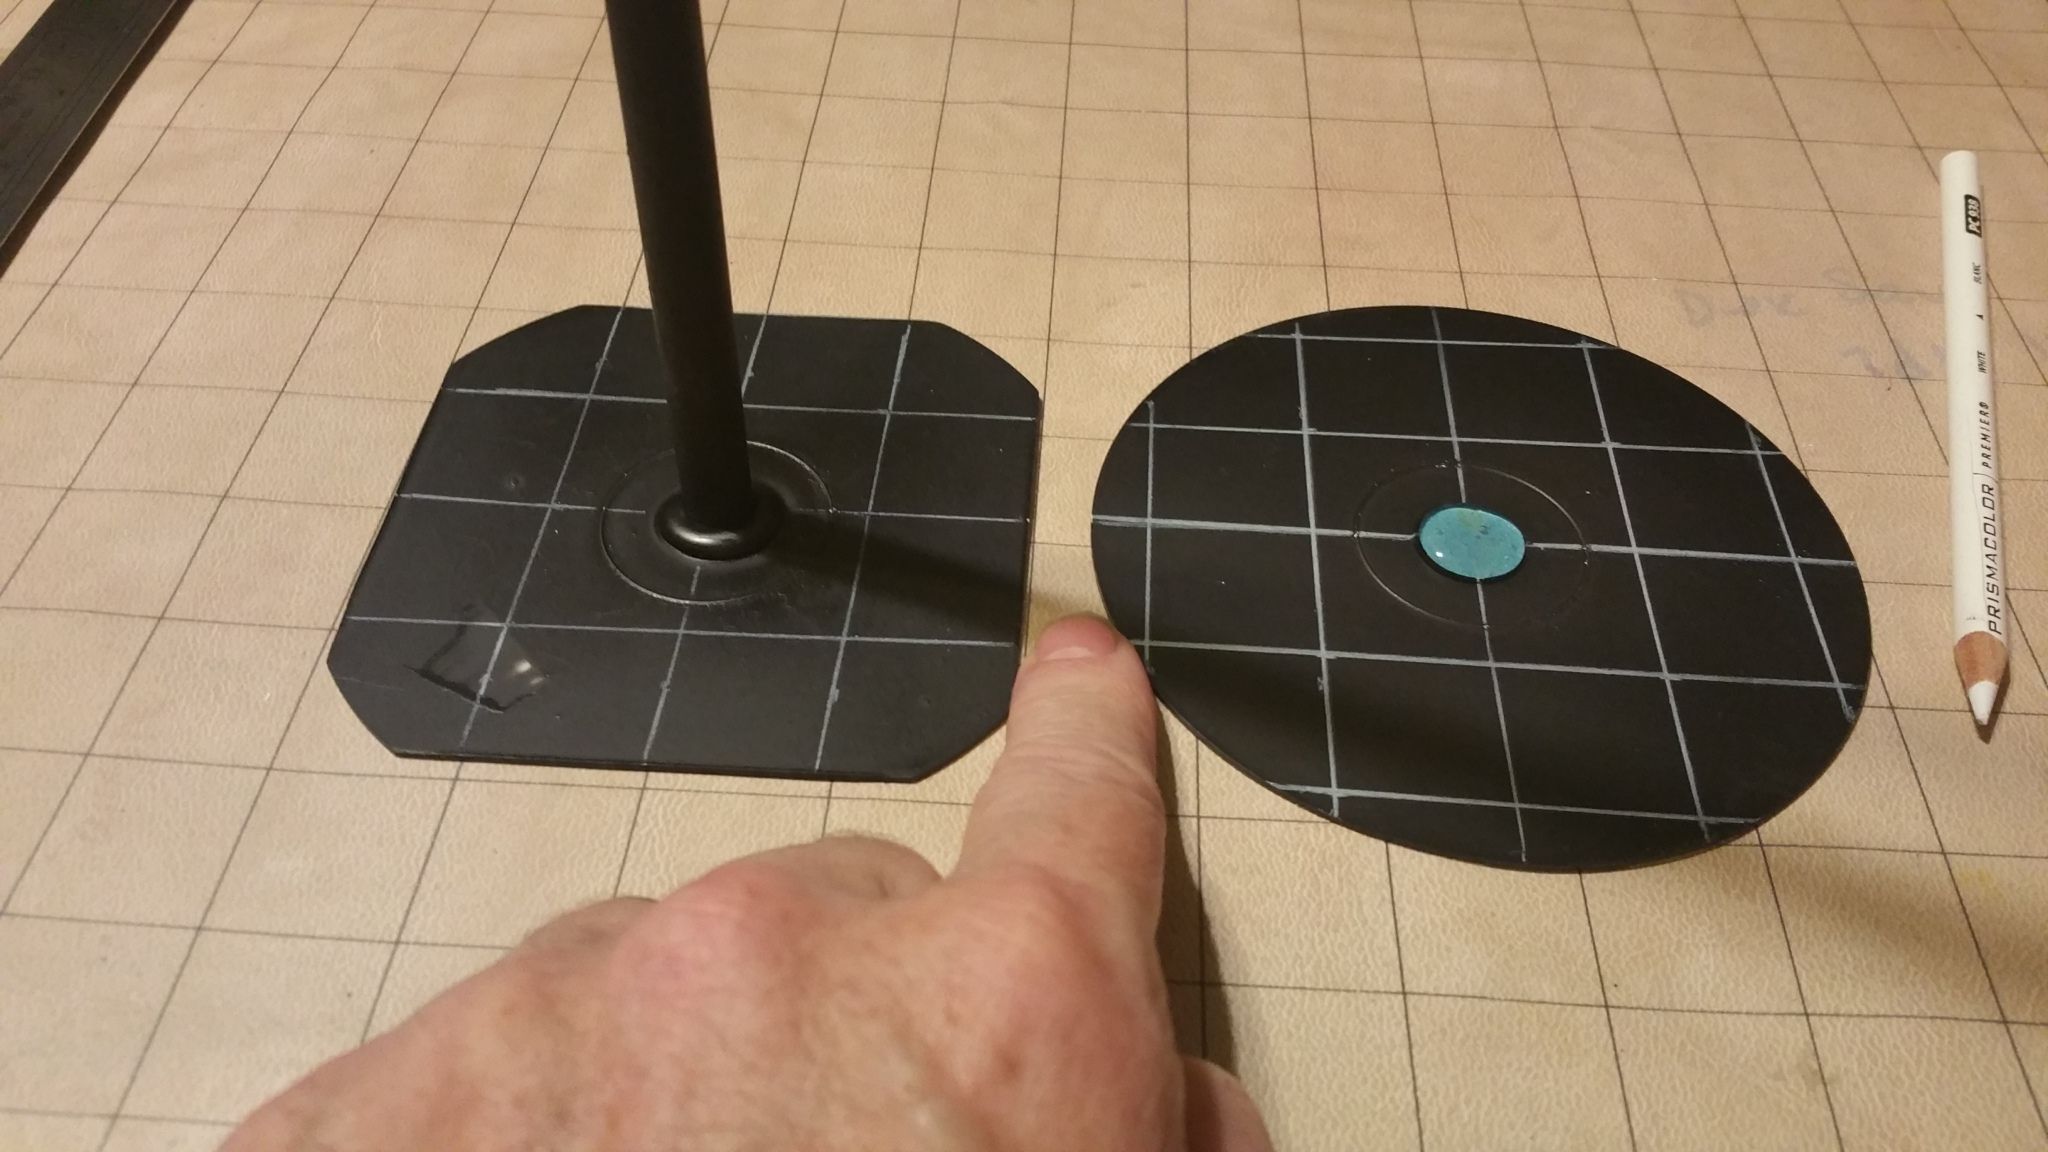

Now we hot glue them together. Carefully using your hot glue gun, make a nice, rounded pool in the center hole of the CD. Make sure you use tiny circles to make a nice clear bead of glue like this.
NOTE: You should have already taped the other side.
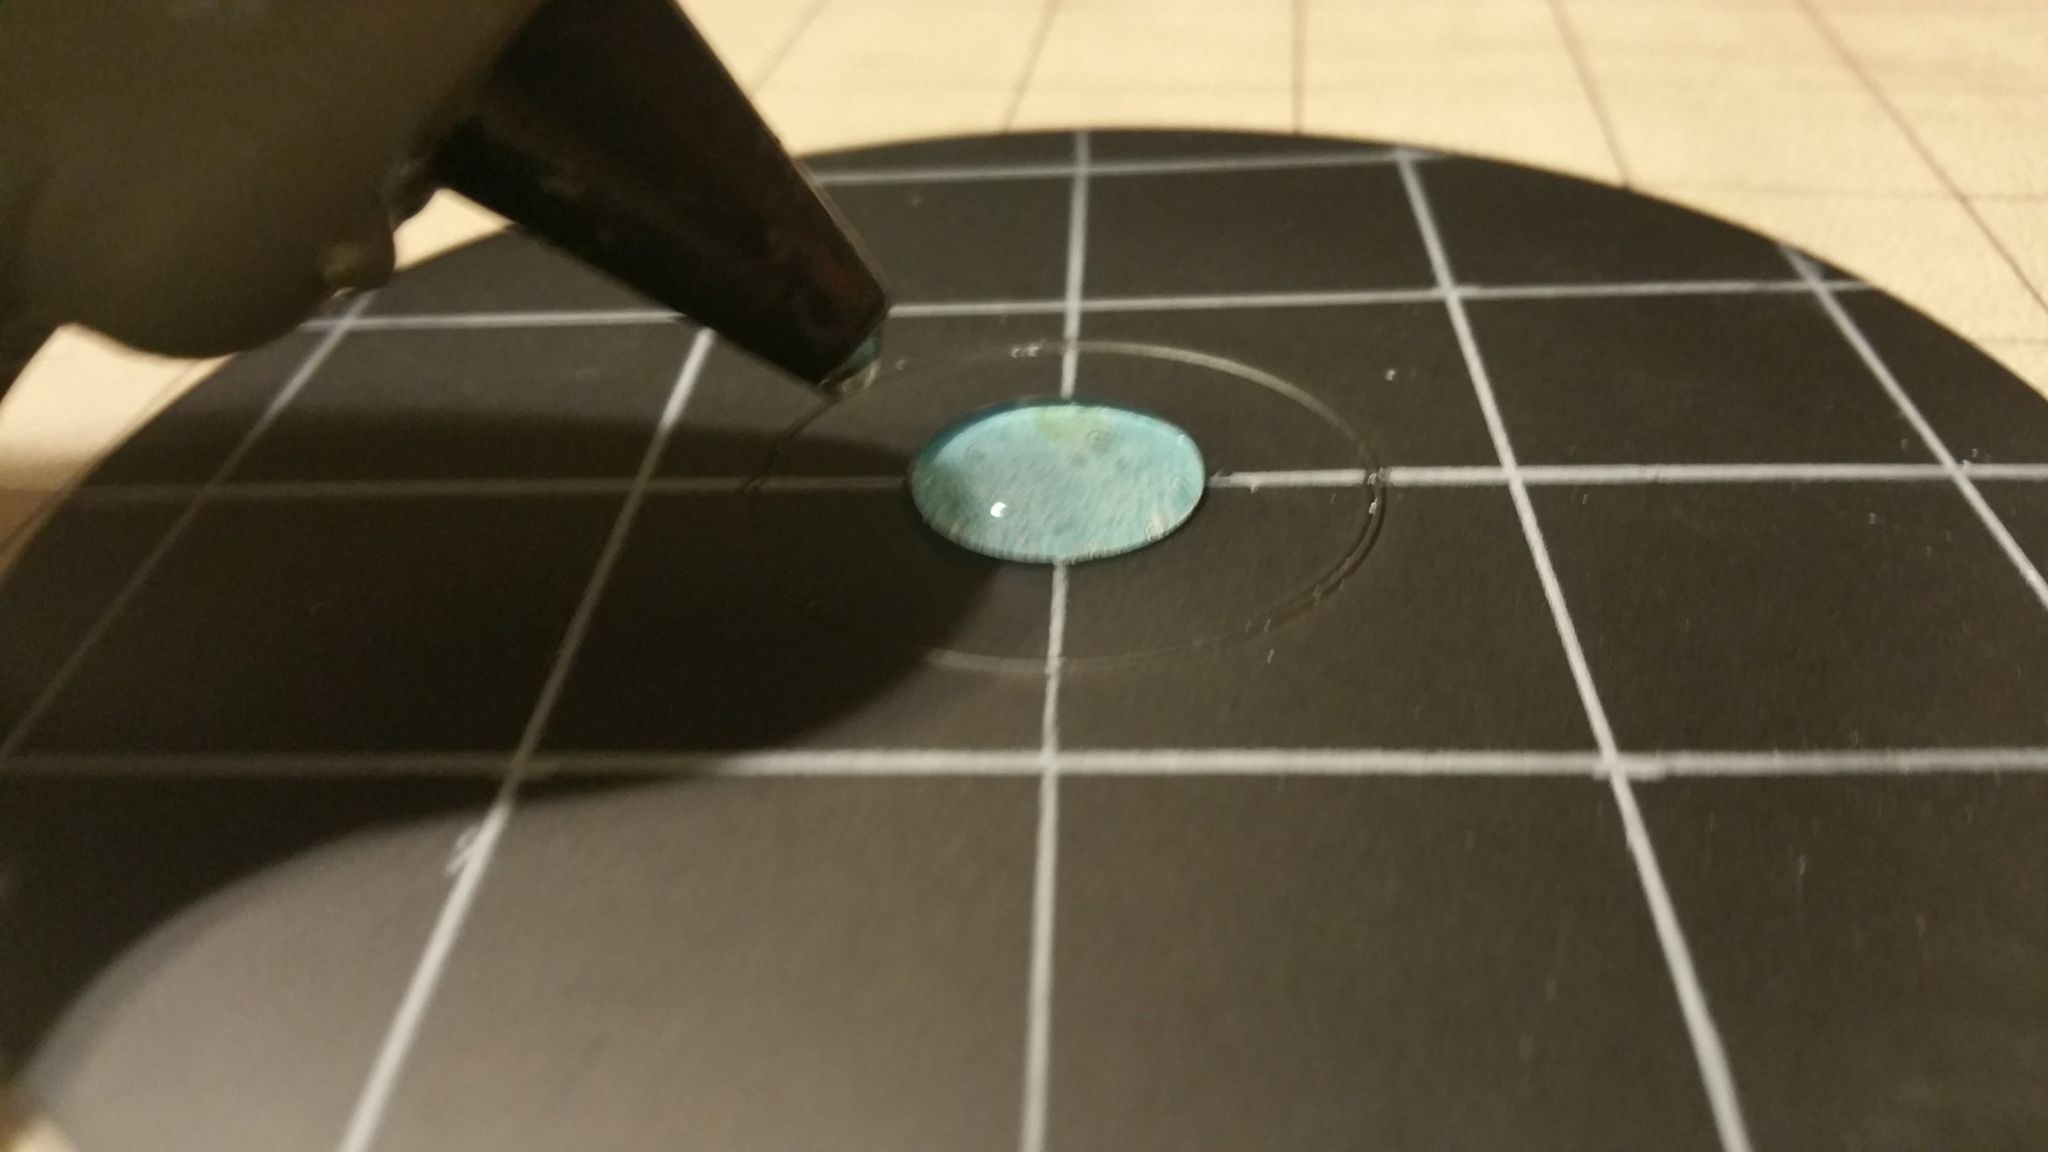
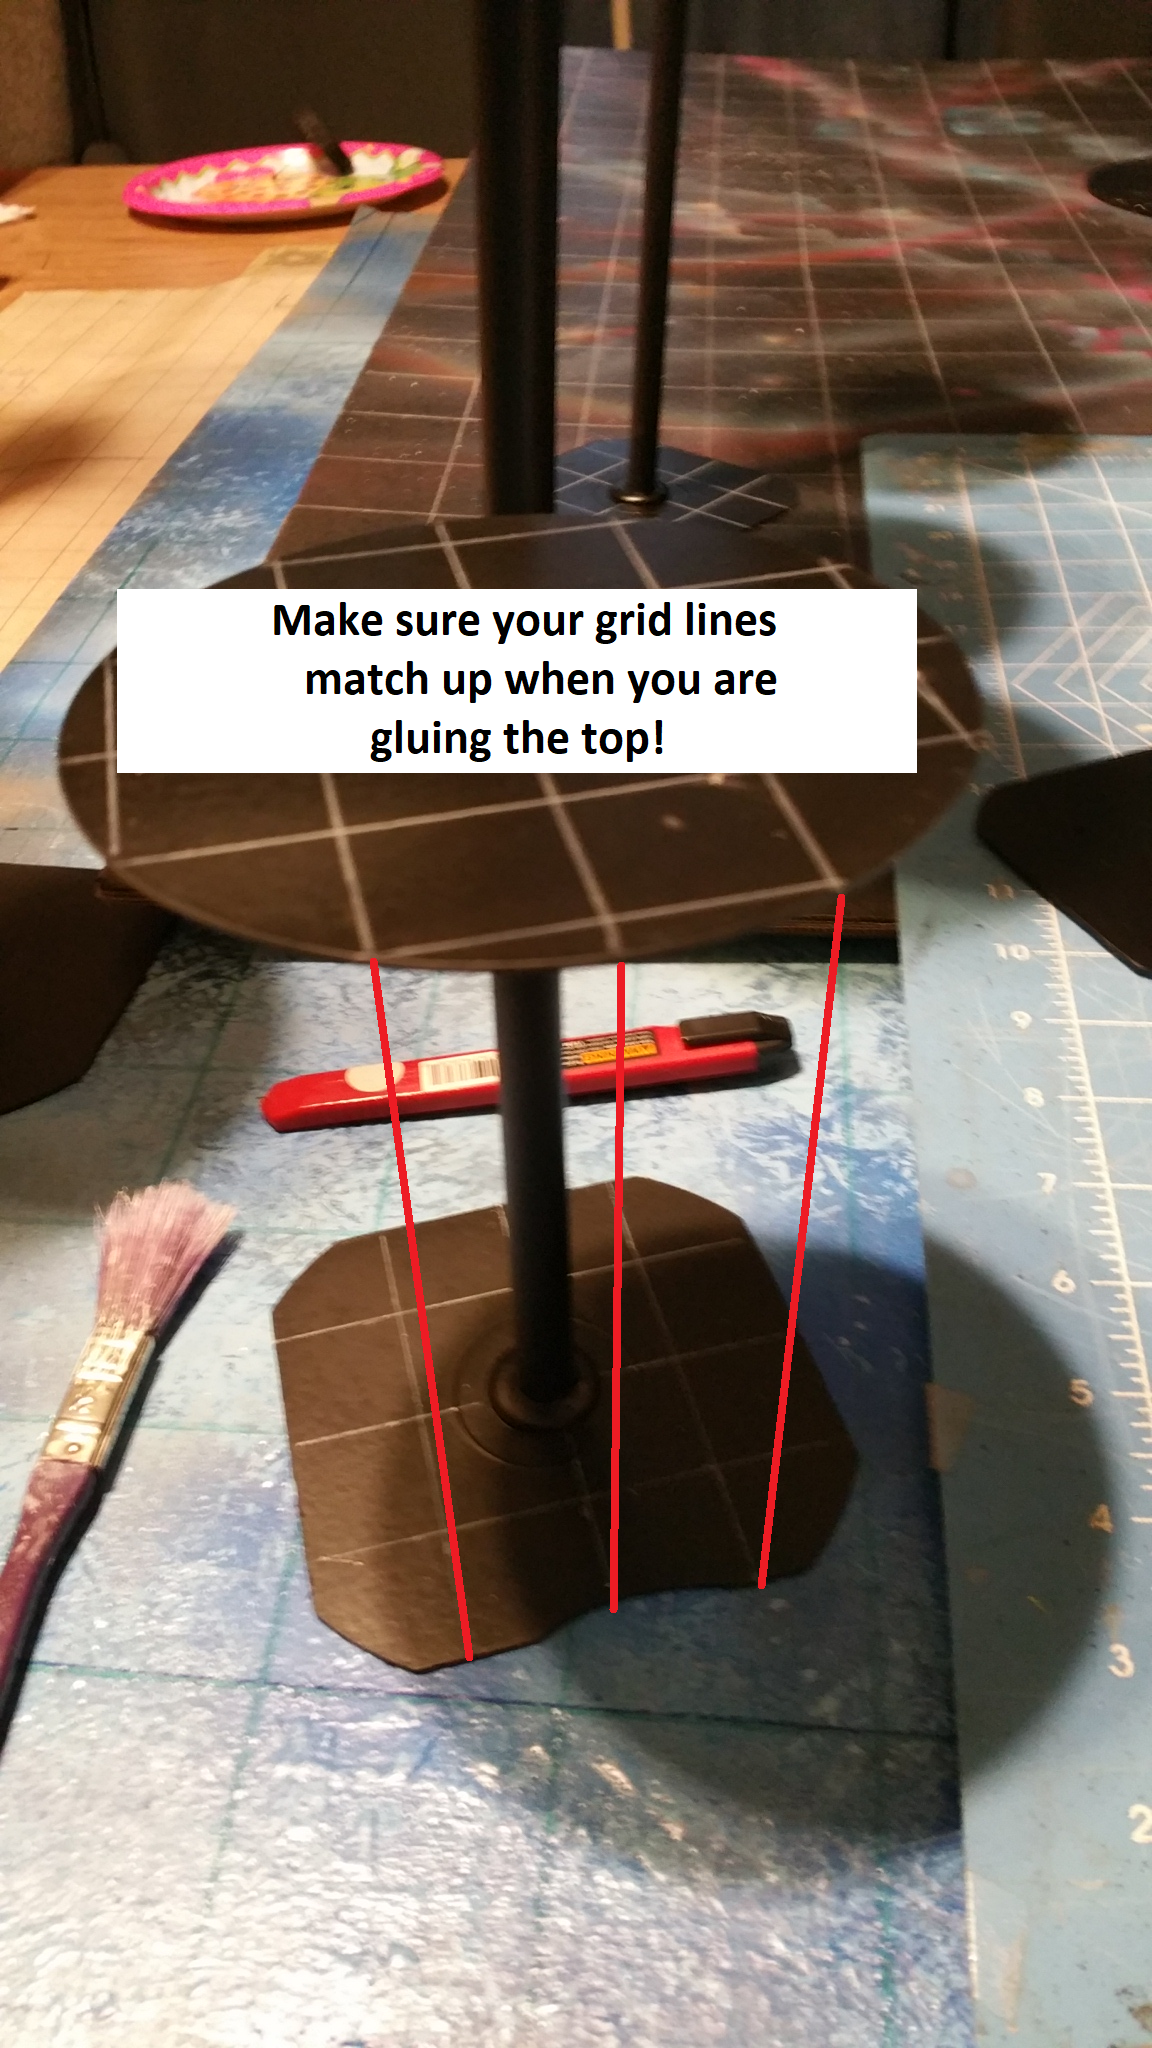
Then attach the dowel to the center. CAUTION: YOU NEED TO MAKE SURE THE DOWEL IS STRAIGHT, OR ELSE YOU WILL HAVE PLATFORMS THAT LEAN!
I leave the CD on the table while i glue the rod-Don't try and hold the CD in your hand. Hold the dowel in place while the CD is on the table!
HOLD THE DOWEL IN PLACE UNTIL THE GLUE IS COMPLETELY DRY...OR ELSE IT WILL LEAN

Now flip it around and glue the other end. Repeat step 11 and 12. Remember to make sure they are straight...or the platform will lean.
IMPORTANT NOTE: WHEN GLUING THE TOP PLATFORM, MAKE SURE THE GRID MARKS MATCH THE DIRECTION OF THE BASE!!
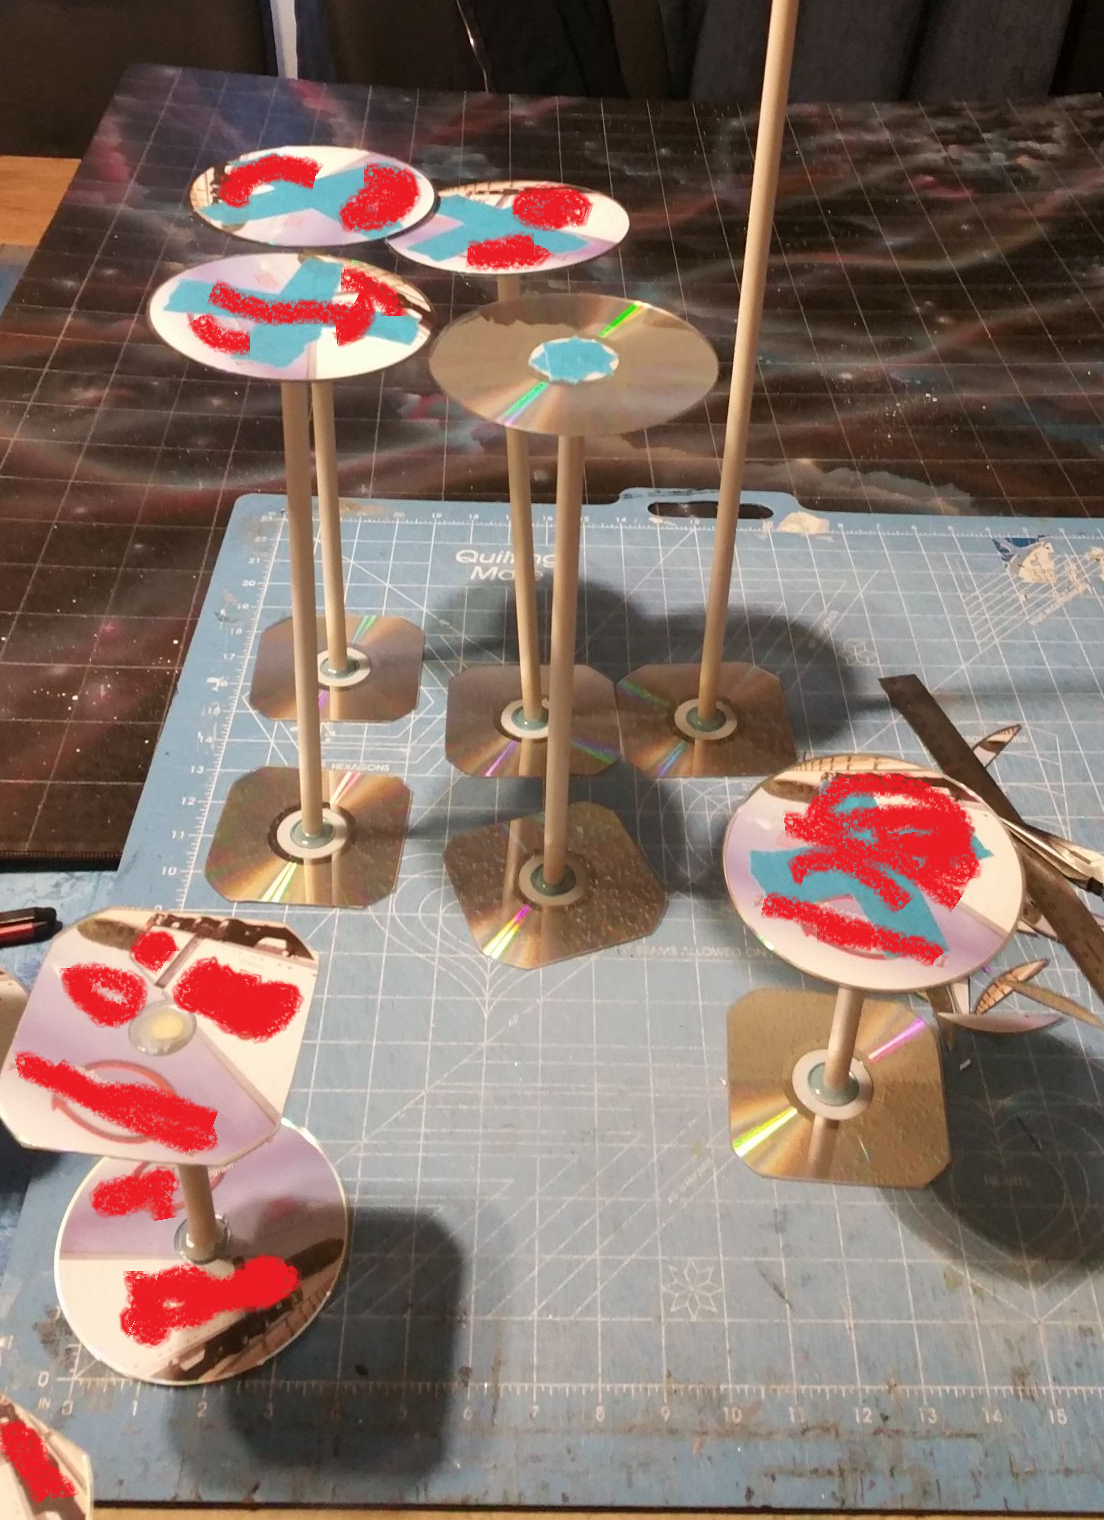
It should look like this when finished:


NOTE: When I made my first set, I put them all together first, then painted them. You can do it this way as well if you choose:
Alrighty! Now that you have all your platforms, you can place them on the battlefield whenever you enter into aerial combat. I made a special battle map form mine. Our battle took place in the Far Realm, so I wanted the map to look cool, instead of just drawing on a wet erase battle map.
Here's what I made:
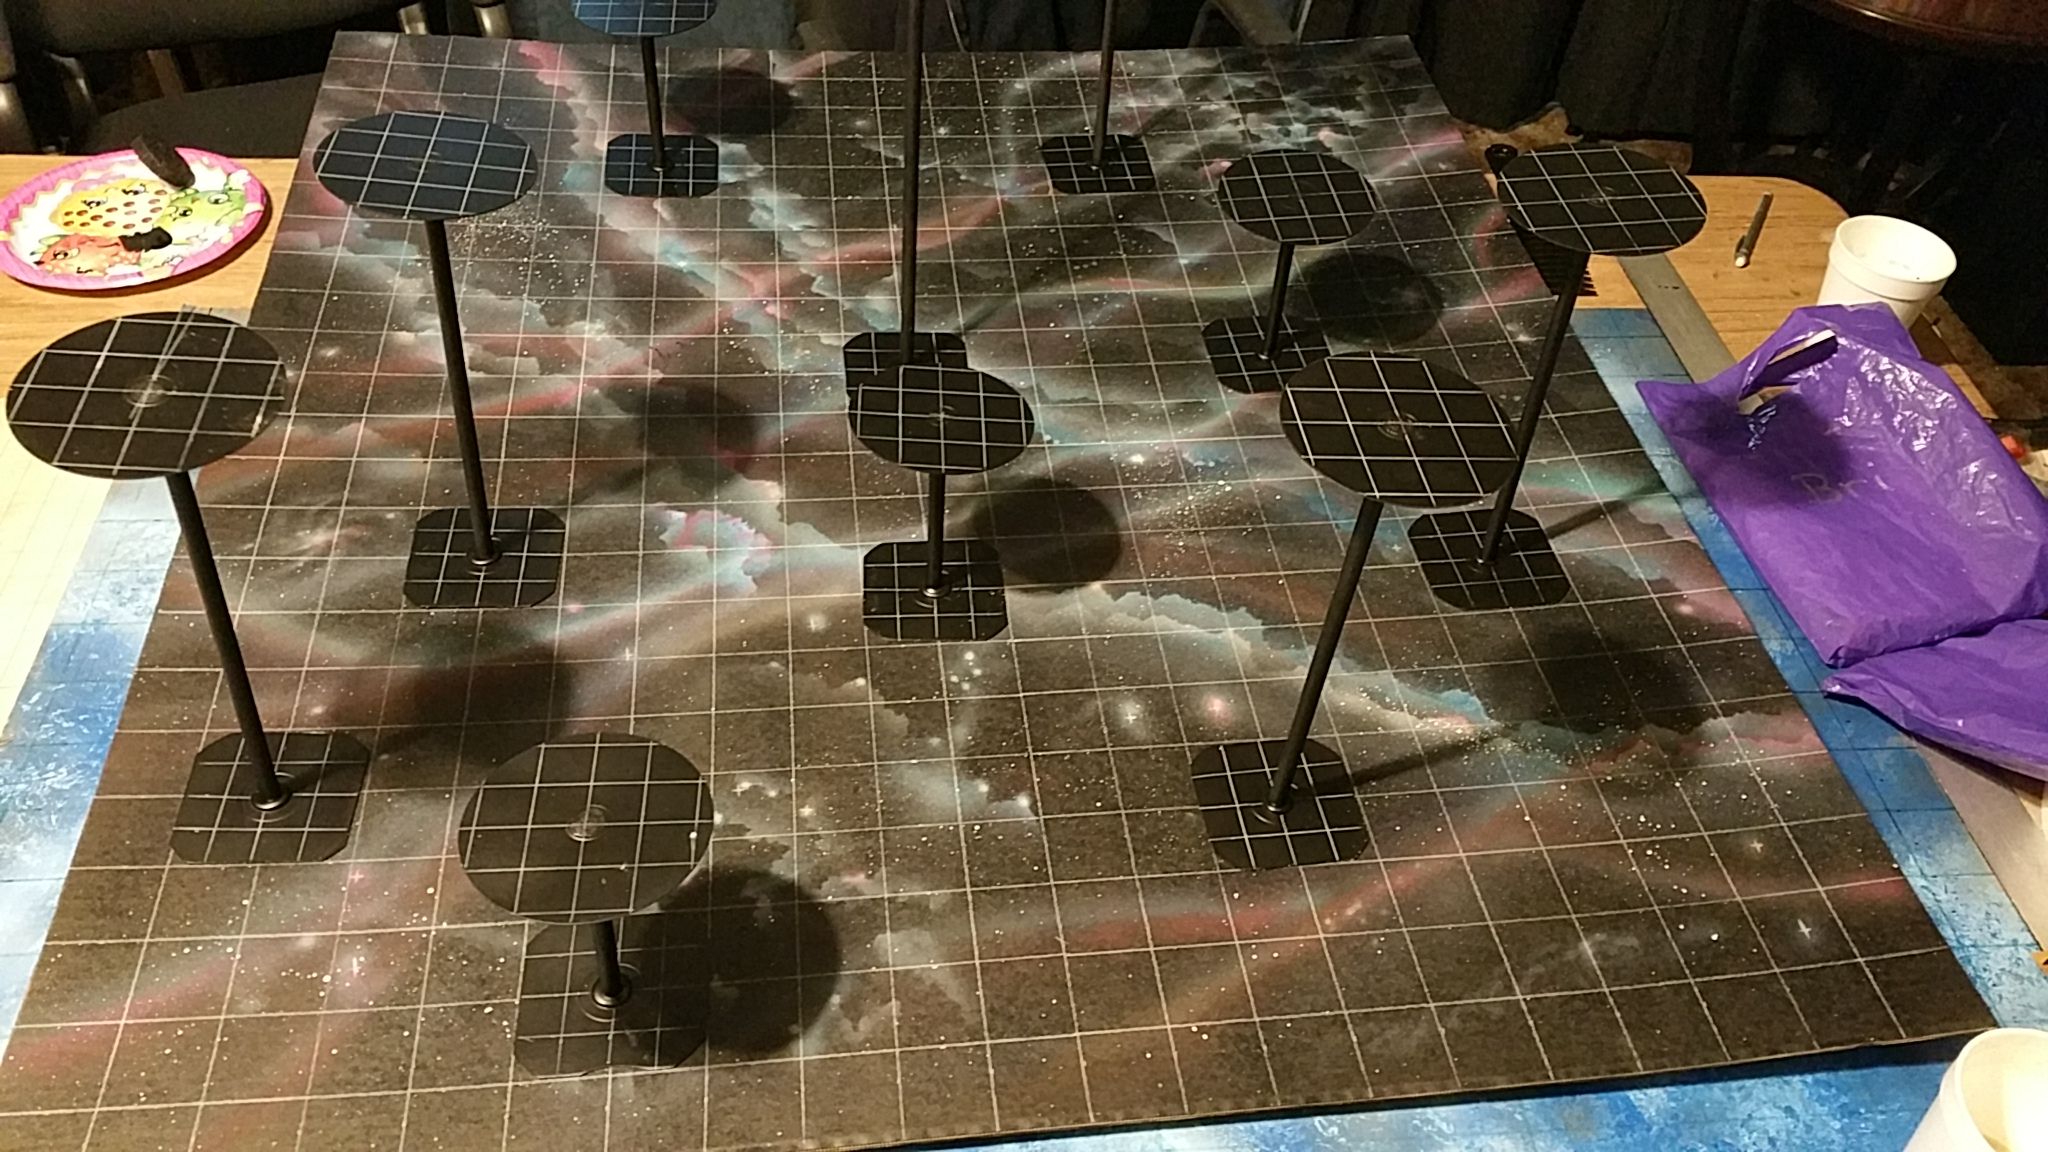
I painted a large piece of cardboard with black spray paint:

Then I did a little airbrushing:
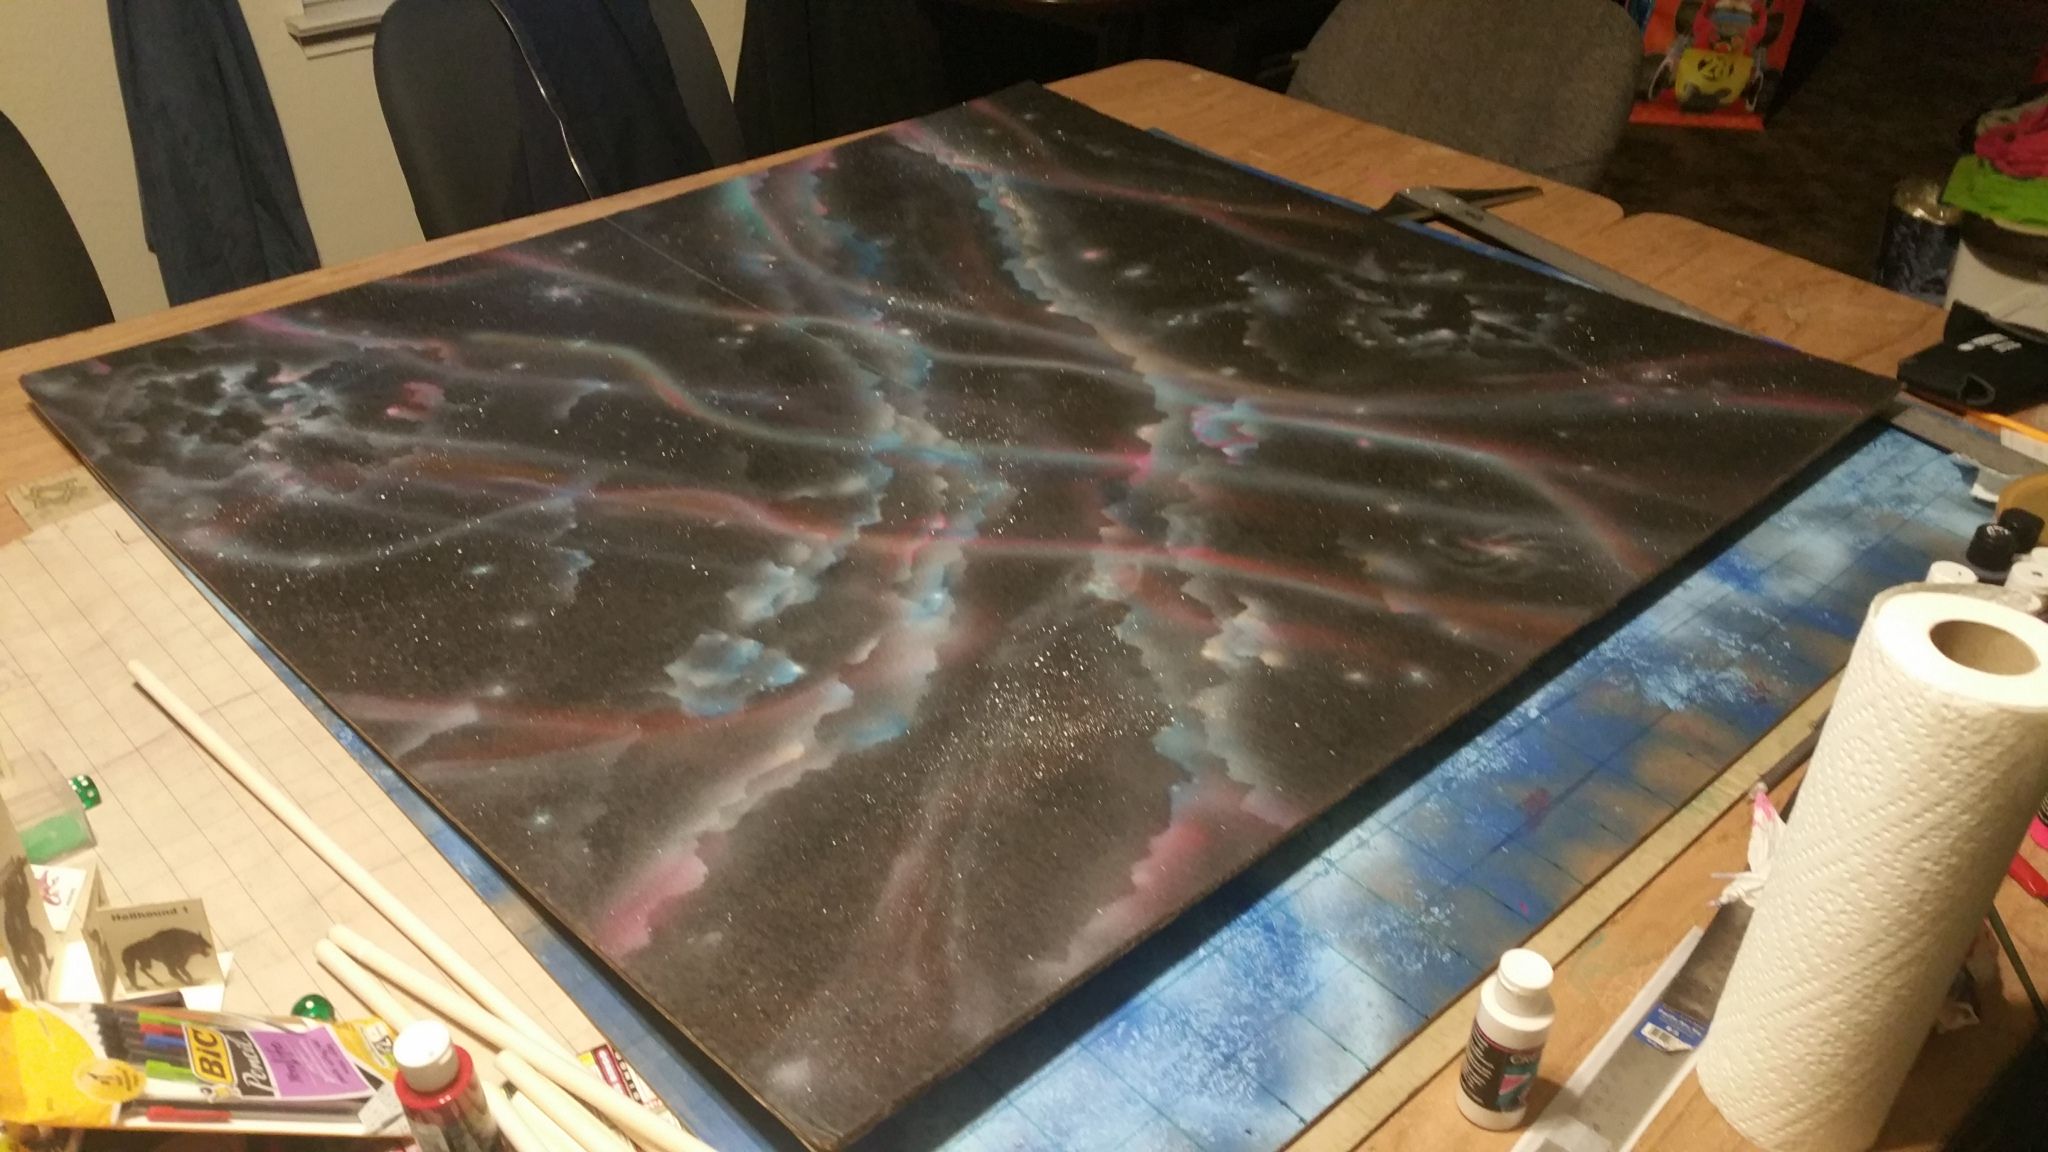


Here's a close up

Here is is with all the Aerial Combat Stands:
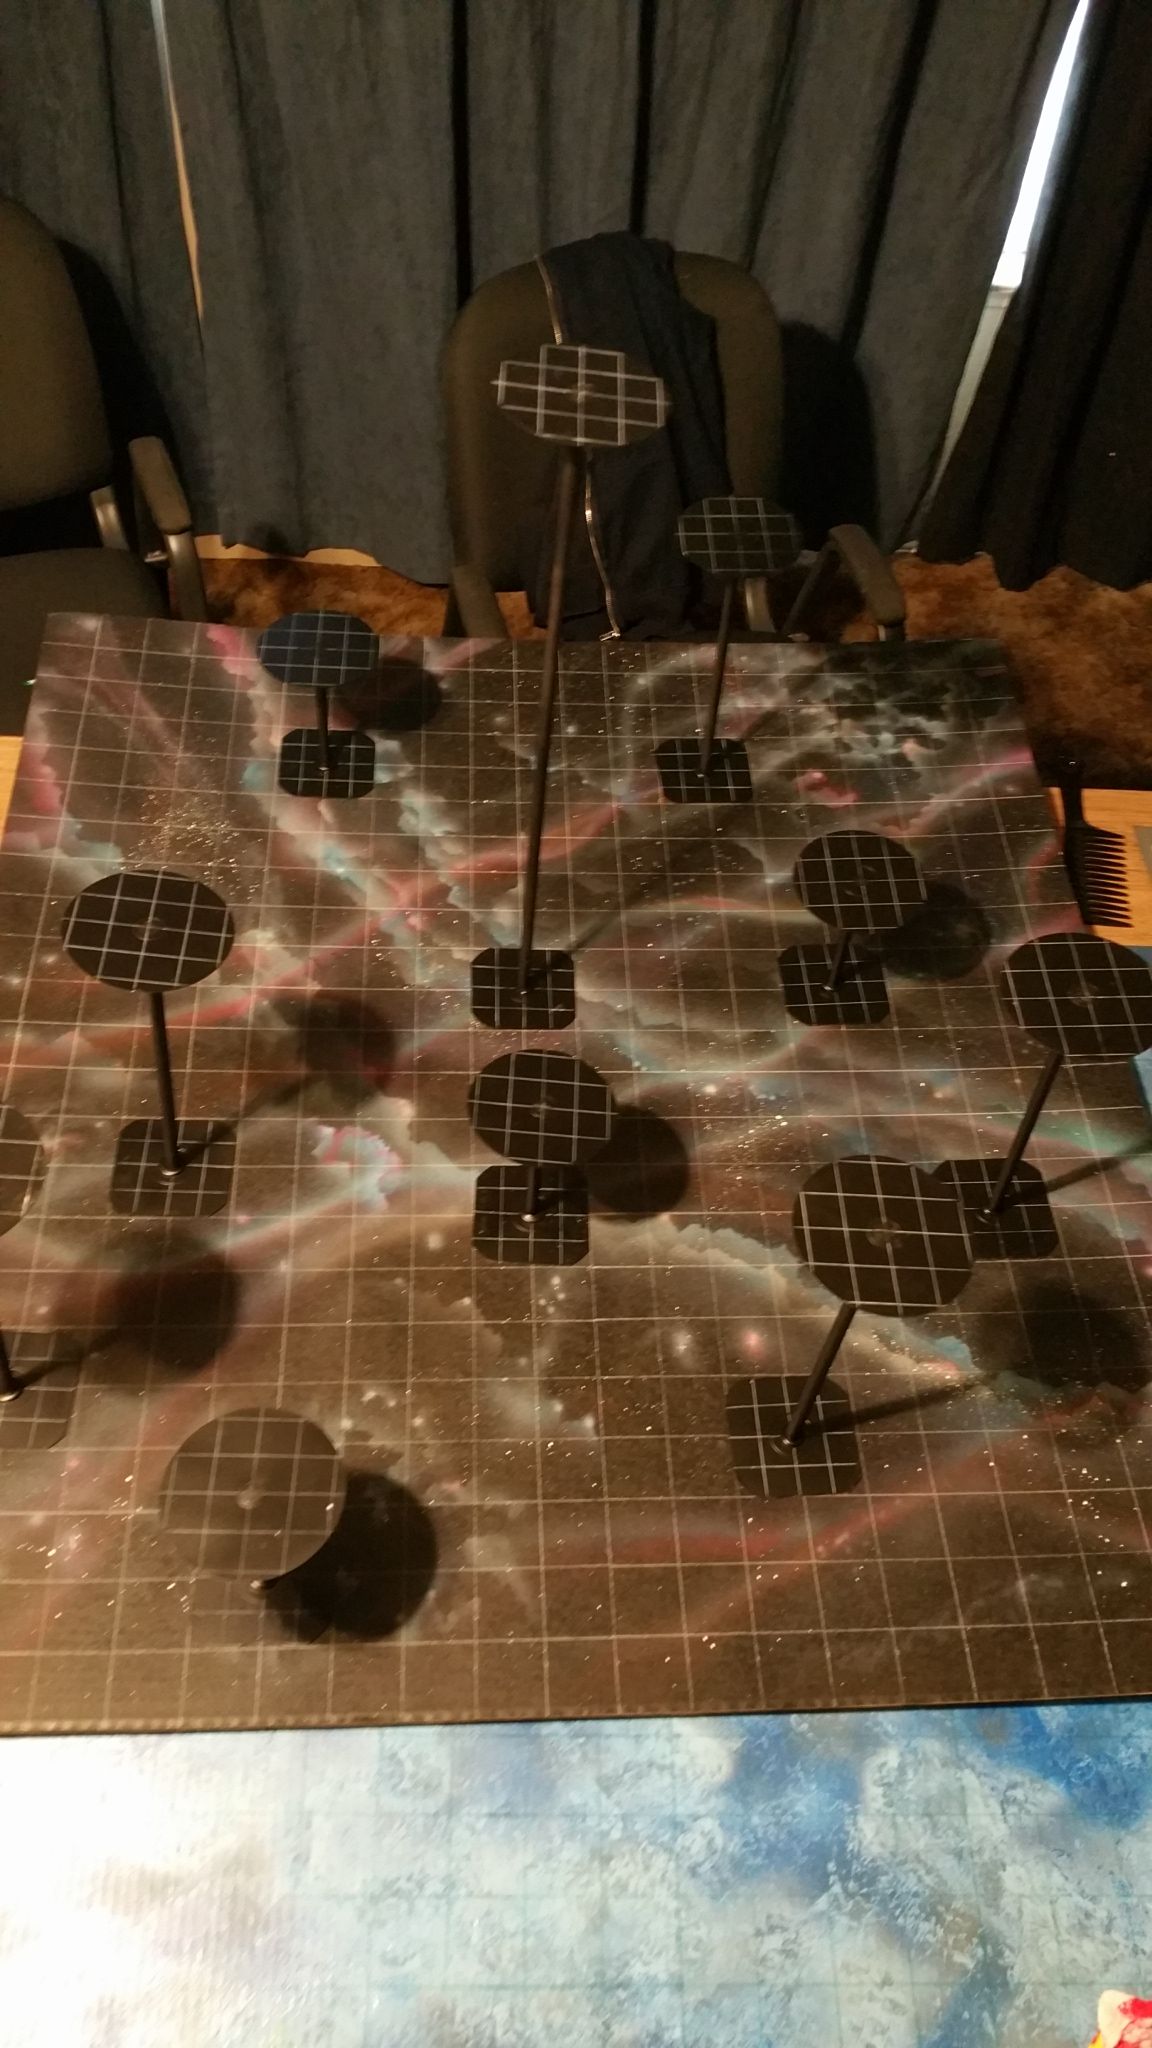

Well, I hope this was helpful. I'm sure you can use them at any time during your campaign. Go on, give the heroes a Ring of Flying... put these stands to good use!
Thanks in advance for taking the time to view :-)
Very nicely done, very good idea! Are the stands very stable?
I have to come up with tiny flight stands for the ships of Twillight Imperium 4, not sure yet what approach to take... So far my best bet will be to design and 3D print the stands.
They aren't too bad. They work for what we want to accomplish.
I have a printer, but need parts to make it work, and im not very savvy with the machine..lol.
I was just offering a cheap way to make something out of stuff tyat may be laying around :-)
I believe you idea is great!
That airbrushing is beautiful!
Thank you so much :-)