Android Login Application
I Just started learning how to make android apps and I just created a login application and I wanted to share it with the community. This is the picture of the finish product. I will try and explain whatever it is made up of this app.
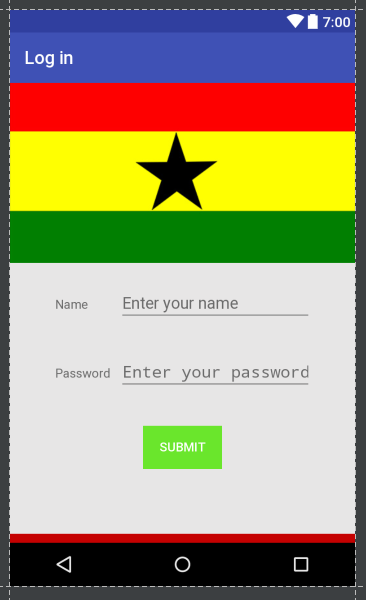
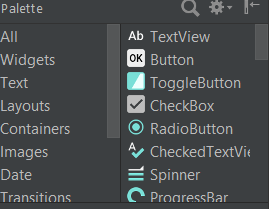
In making of this app you will need two textviews, two editTexts, button, image view. Choose these options from the palette. The EditText is where the user will enter his name and his password. Also the textView act as labels so that it can give information to what the user should do. The button act as when the user click on the button it can take the user to another page of the app called Activity.
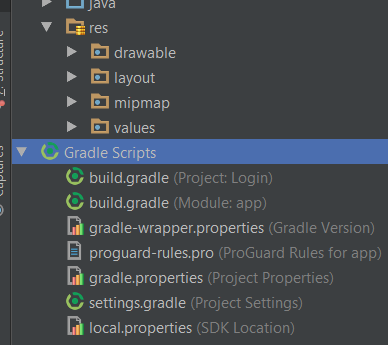
Moreover, android has two options called activity_main.xml, MainActivity.java. The activity_main.xml is where you make your app attractive while the MainActivity.java is where you add functionality to your app. The activity_main.xml is coded in xml and the MainActivity is coded in java

Open the activity_main.xml and follow my code. I will explain every code in the screenshot
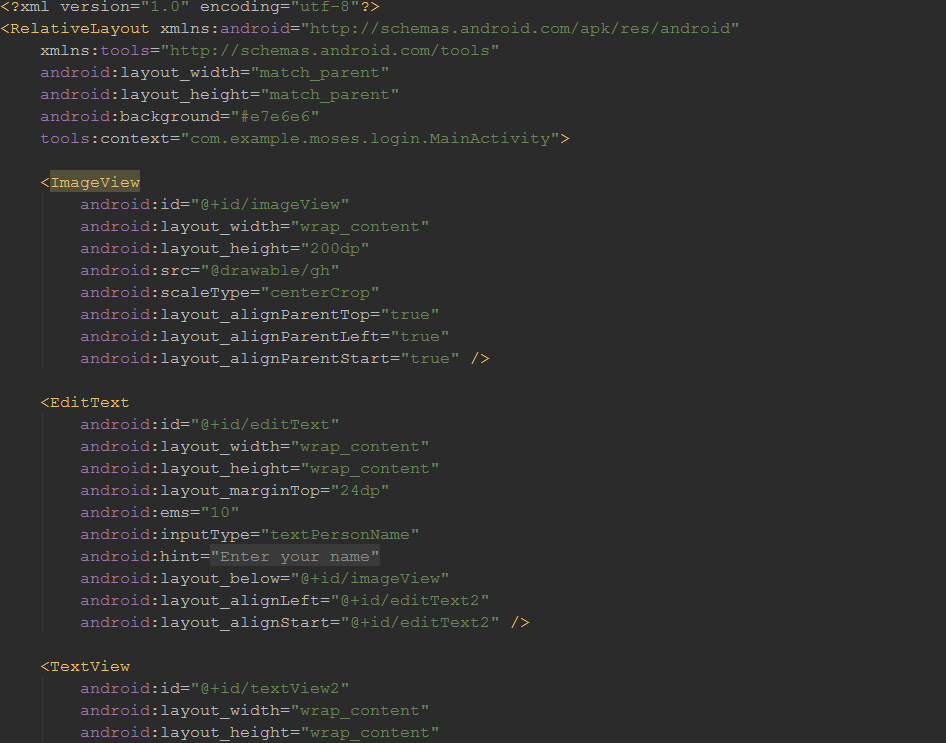

The android:hint as you will suspect mean that it give the user a hint. Copy the code and paste in your app.
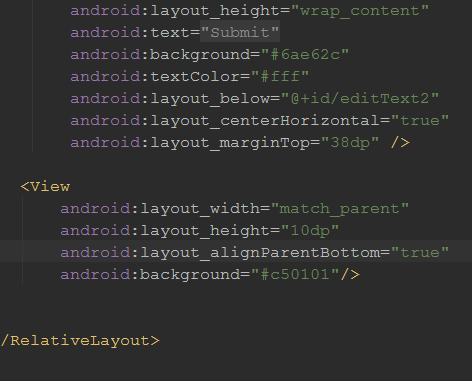
The view is what that will appear beneath your app. I chose to give it background color which is red the code is #c501001, you can change yours by clicking on the color, it will bring you more options so that you can choose yours. I hope you enjoy this simple tutorial, cheeeeeers!!!!!
VERY nice! Thanks for helping to learn programming by the Ghanian Community!
is a pleasure,ackza.
Really cool! Nice design <3
thanks