Unity Asset Review: Mesh Materializer (40% off this week on Unity's Asset Store)

I've wanted Mesh Materializer for awhile but was waiting for it to go on sale again. That happened this week. I am going to play around with this asset a little bit and will share some of the results. They main reason I wanted it is because it includes a lot of the tools I had been wanting. I had been wanting tools that could change visual style of art to polygonal look because I realized that could help mask different styles of art if wanted and actually make it so pretty much any art asset could be used together as long as the polygonal vertex shaded style is your desire. Mesh Materializer has some other tools that might come in handy.
I am no expert on using this asset YET. I just wanted to write a post documenting my findings on this one.
Contents
Here are the contents of this product:
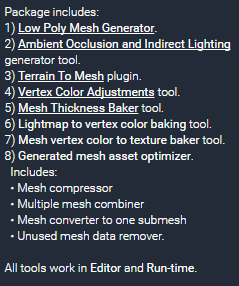
All of the above tools can be purchased individually, but they are all included as part of Mesh Materializer.
Problems
Yesterday I messed with this a little bit after making this tutorial. I used that same character and some things worked, and some things didn't. I've since come to the conclusion that the Daz3D model may have some things that do not work well with these assets. I'll try to find out what in the future. I used many different models I owned for Unity and the problem didn't exist.
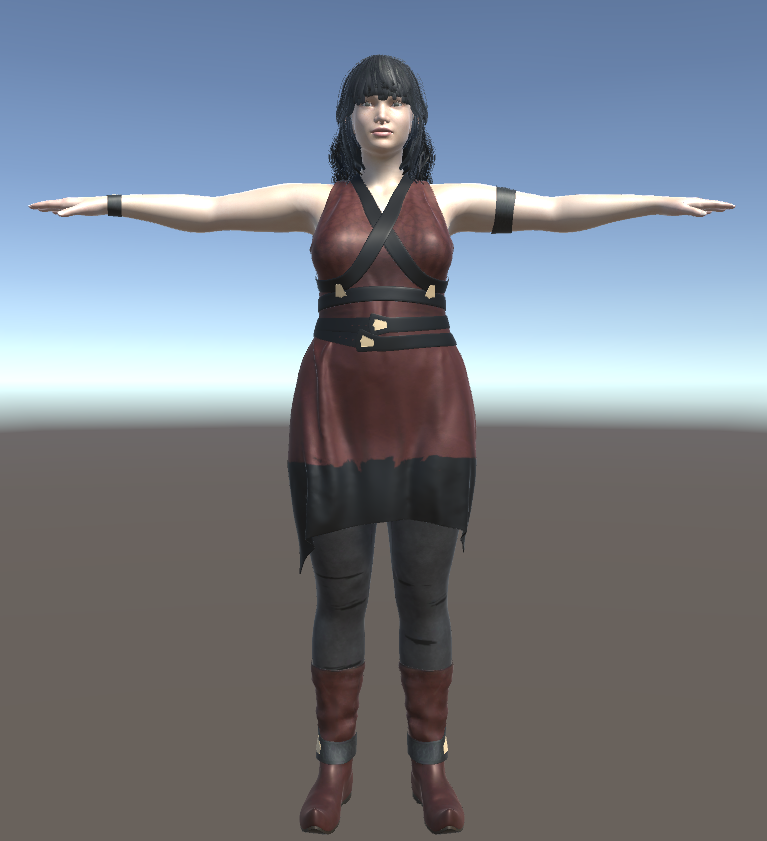
After applying Low Poly look I get the following. I also ran into this problem with the Mesh Materializer main tool.
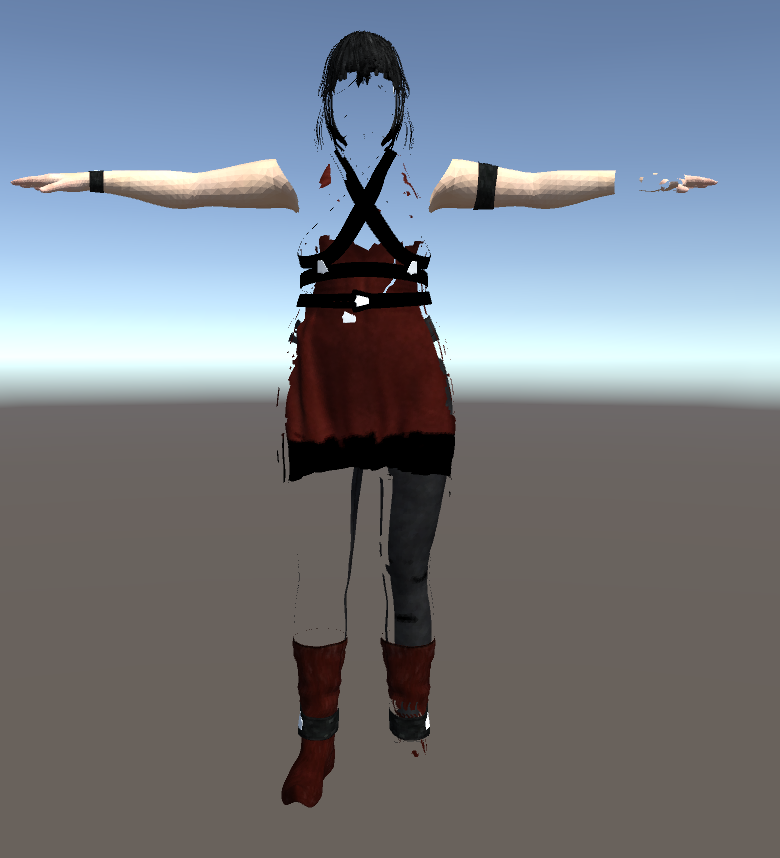
I suspect it may be related to vertice count. Setting up smooth meshes actually takes less vertices to define edges. So since it doesn't actually decimate and just converts the existing triangles to a hard edge I suspect meshes with large vertice count may cause problems, though this doesn't always seem to be the case. I've only seen this with Daz exported FBXes so far.
So I will document the only problem I encountered here. I hope to find a solution. After that I will show some of the neat things I have done with it, and I'll try a few things I haven't tried yet and see what happens.
Assets I am Using With This
The above problems involved a DAZ Studio Character I imported. For the rest of the review I am going to use ONLY Unity Assets. Here are the assets I am going to use.
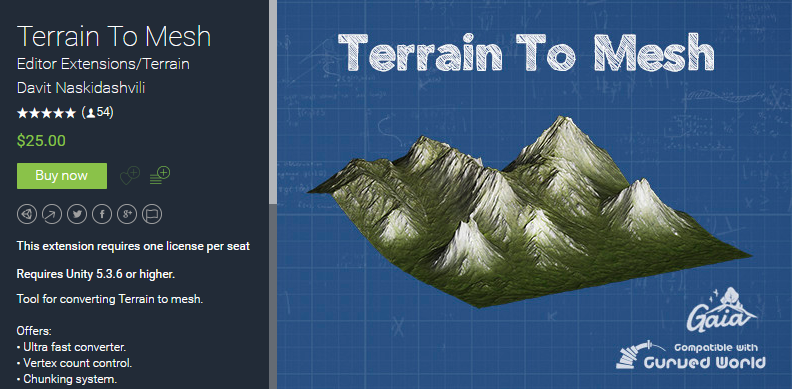
- Gaia
- Dragon (3dfoin)
- Complete J. Suko Animals pack
- FARM ANIMALS PACK (Protofactor)
- Village Interiors Kit (3dForge)
- Army of Skeletons (Mister Necturus)
- Ratkin's Army Pack (Mister Necturus)
- GOBLIN'S ARMY (Mister Necturus)
- Simple LOD
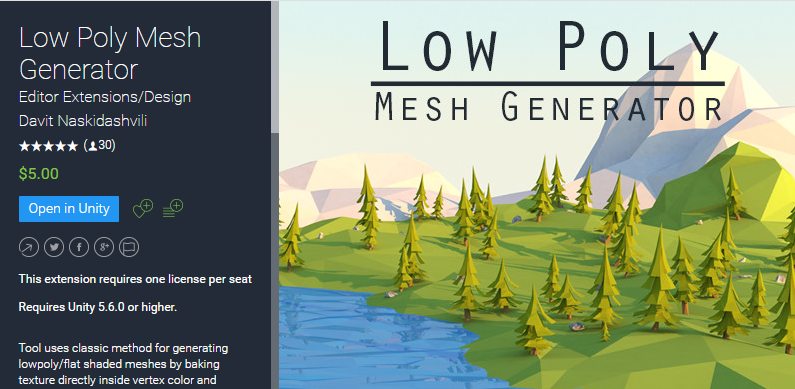
Low Poly Mesh Generator
This is one of the tools I was most interested in as I thought it could make art styles that normally don't look good together primarily due to different texturing actually look good together by converting them to this format. Though it doesn't actually reduce the number of polygons in the actual mesh. I may use Simple LOD combined with this to play around with going for the low poly look while actually reducing the poly count.
I do want to say since it doesn't actually decimate the mesh that this tool's name is misleading. It is not low poly, the polys remain the same. It is simply a faceted look. Yet a lot of people call this style Low Poly though it often has nothing to do with low poly counts. I can use Simple LOD to decimate for lower poly, though it is not controlled so sometimes decimating in a program like Blender is a better approach.
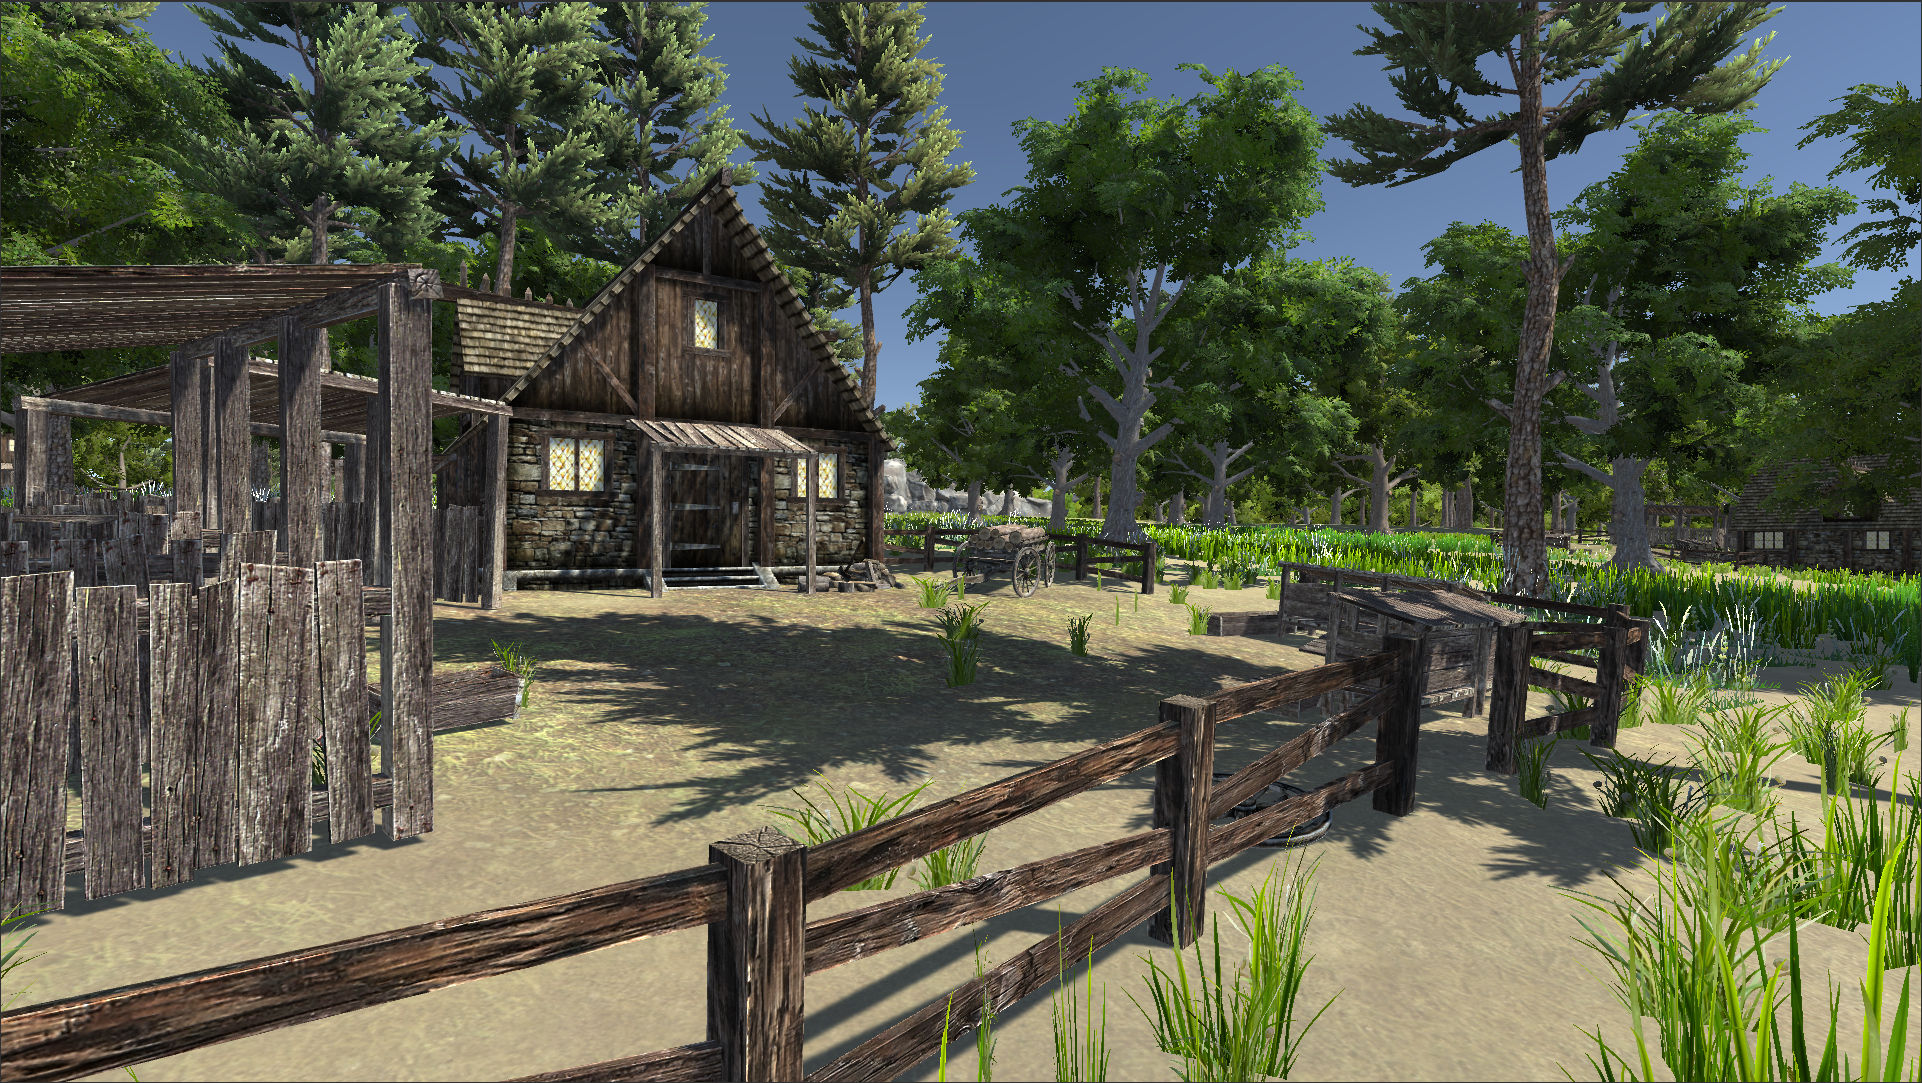
Here is my outdoor scene I am going to use which I created using Gaia.
I am going to try converting the Terrain to Low Poly.
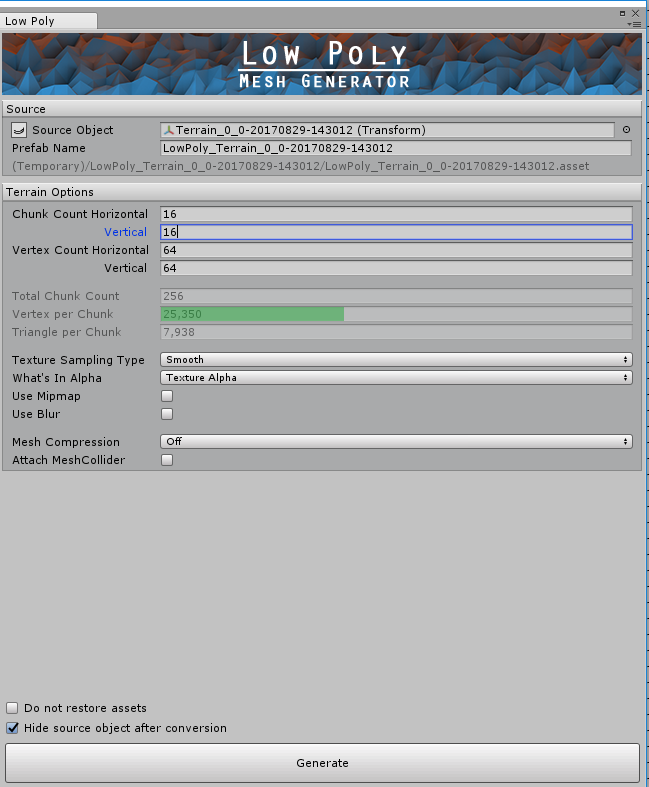
This created a ton of chunks but this actually was a large terrain.
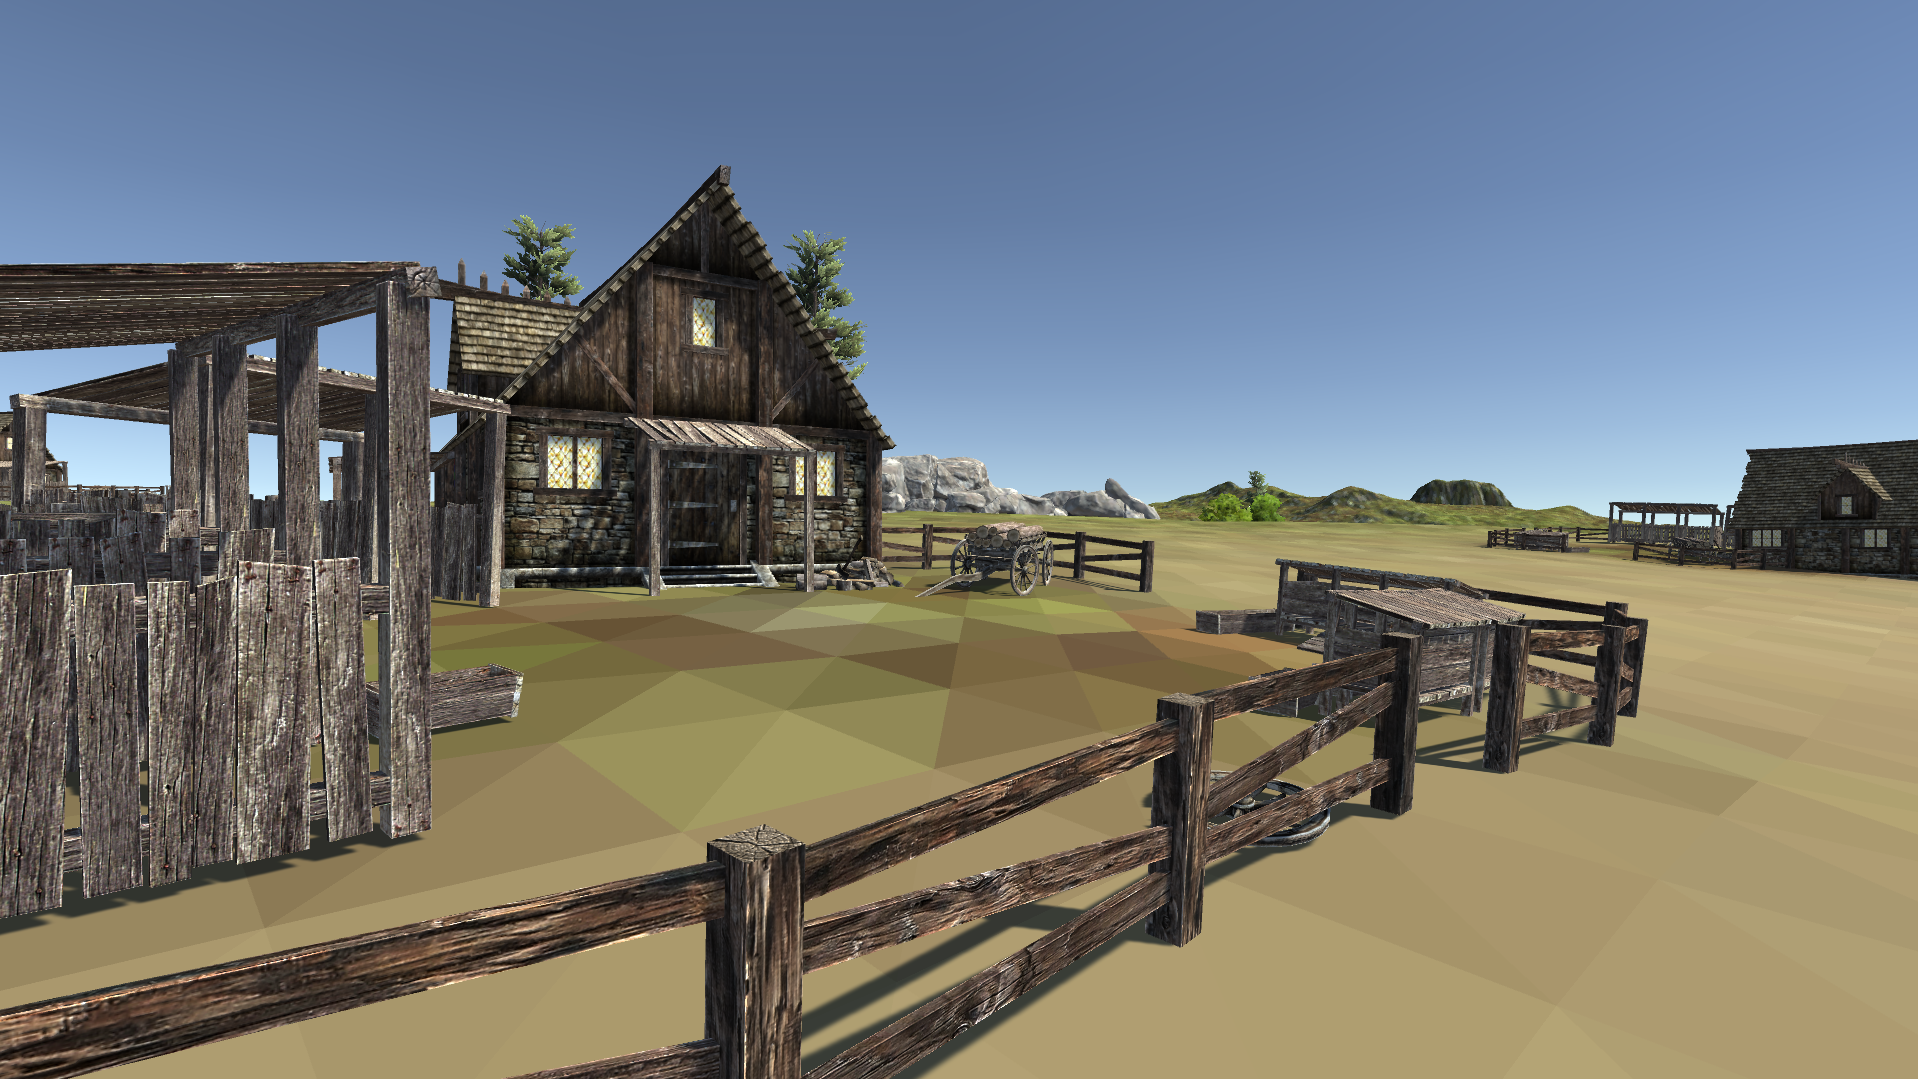
The terrain is converted. I notice that it did not include trees that were part of the terrain, or grass and things like that. So trees that are manually placed as objects are what you would need to use when using this type of asset. I played around with the vertex count and number of chunks to get this look and it is a start.
Now I am going to work on converting the rest of the things in this scene to Low Poly using this same tool.
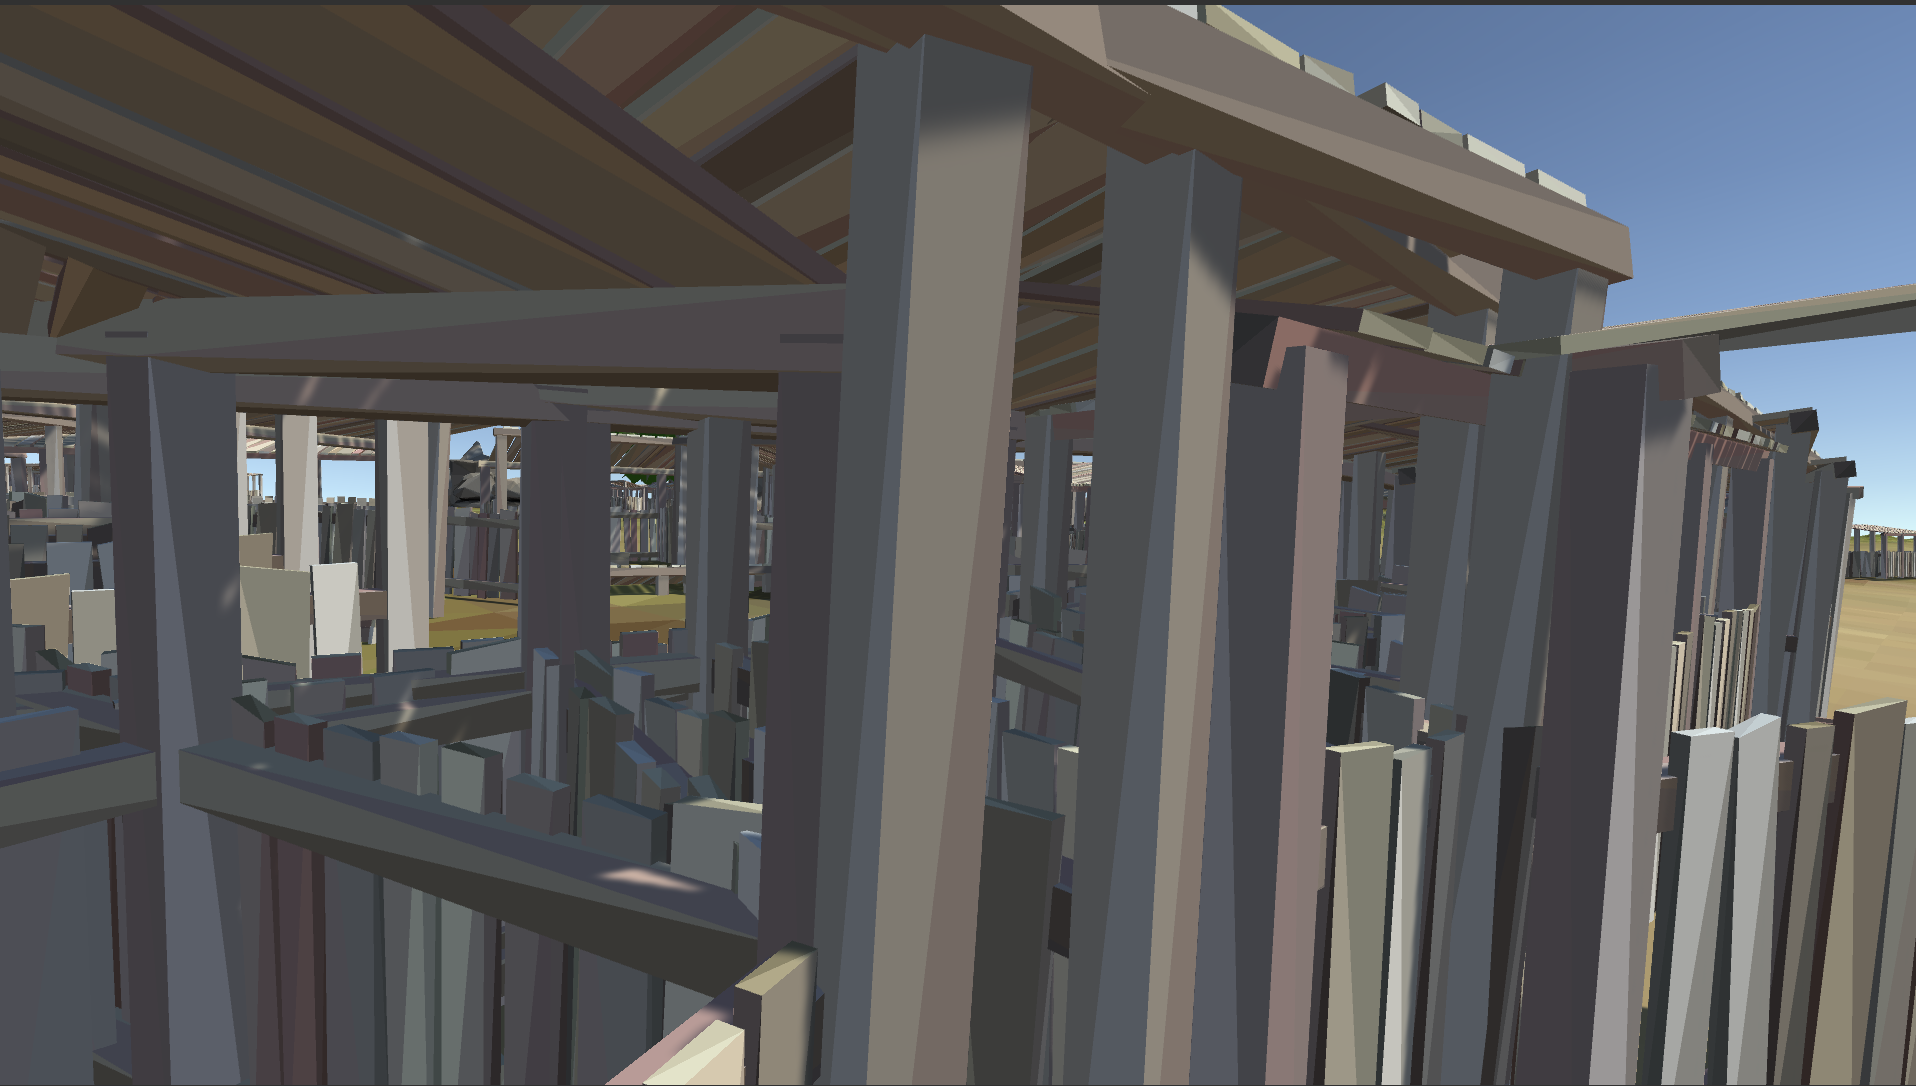
Boom that didn't quite work like I was planning... I tried foing all of the Spawned GameObjects at once that was placed by Gaia.
The result was not as planned.

I am going to back up a step and try one at a time just doing the objects in the area near where the camera is at.
I did just the first house in the scene... and got this....
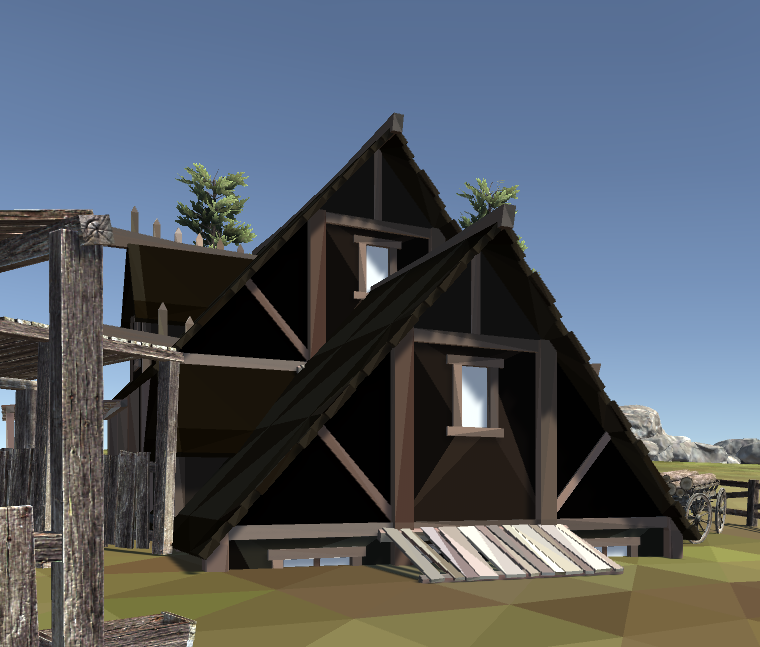
I manually pulled it up and slid it back a bit... it appears to have altered the scale in some way. The shading and look are not bad... but still not as planned.

Okay I found the problem... I needed to uncheck the box that says "Skip Similar Meshes".
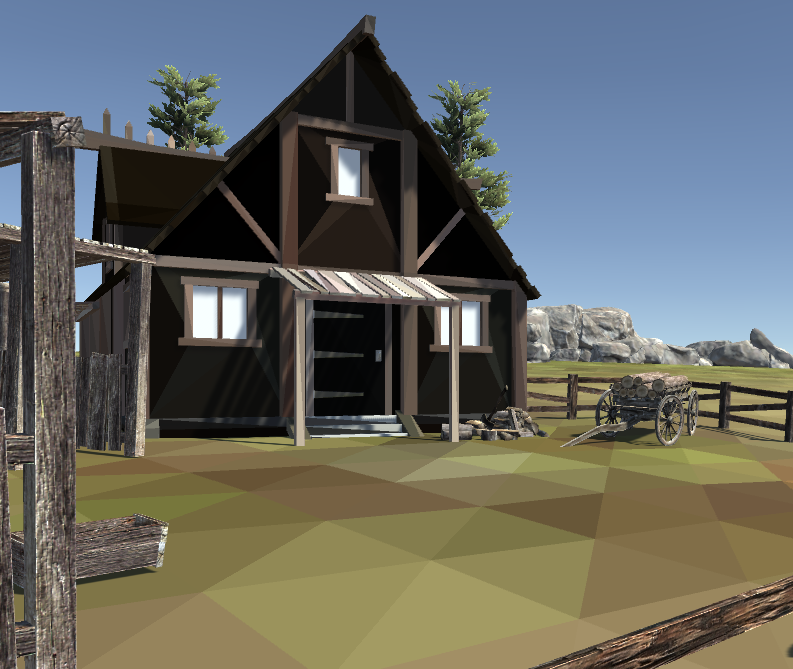
I am going to revert this and then try doing ALL of the objects again.
That took awhile but looks a lot better.
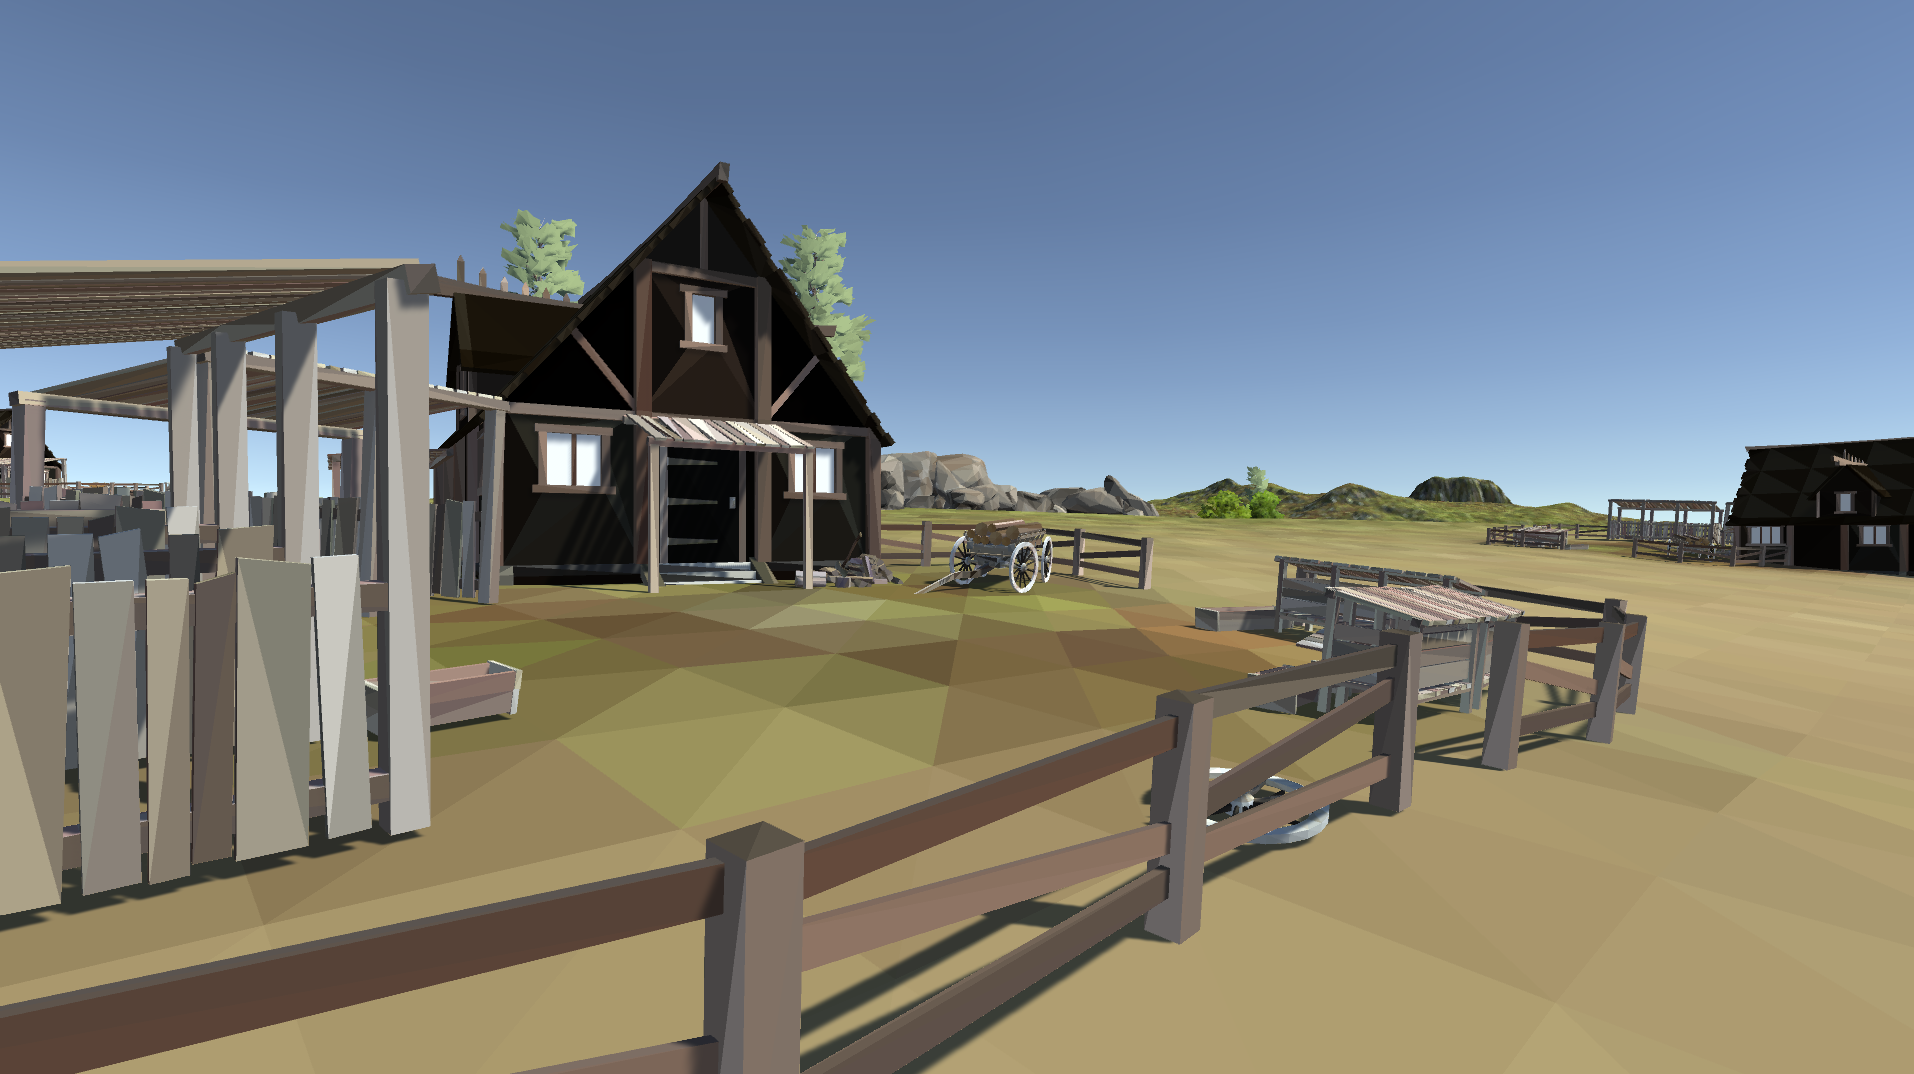
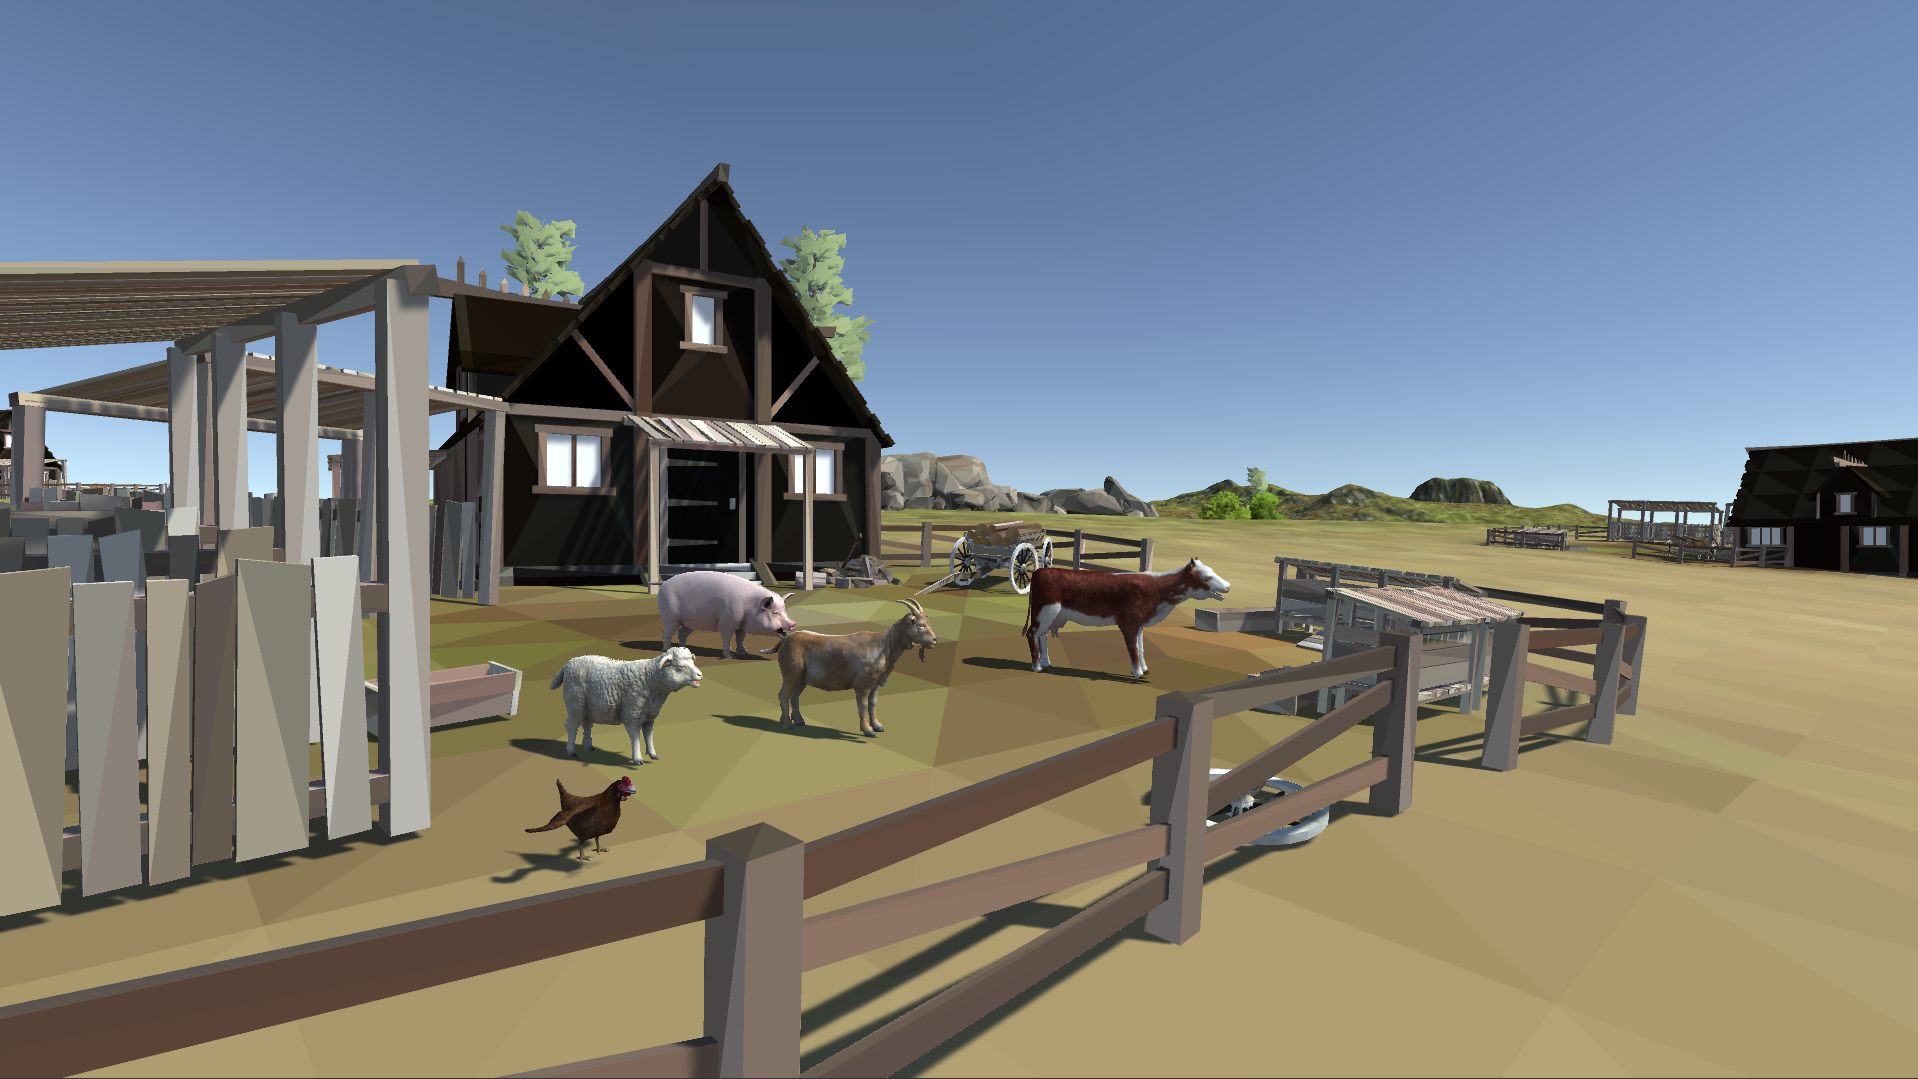
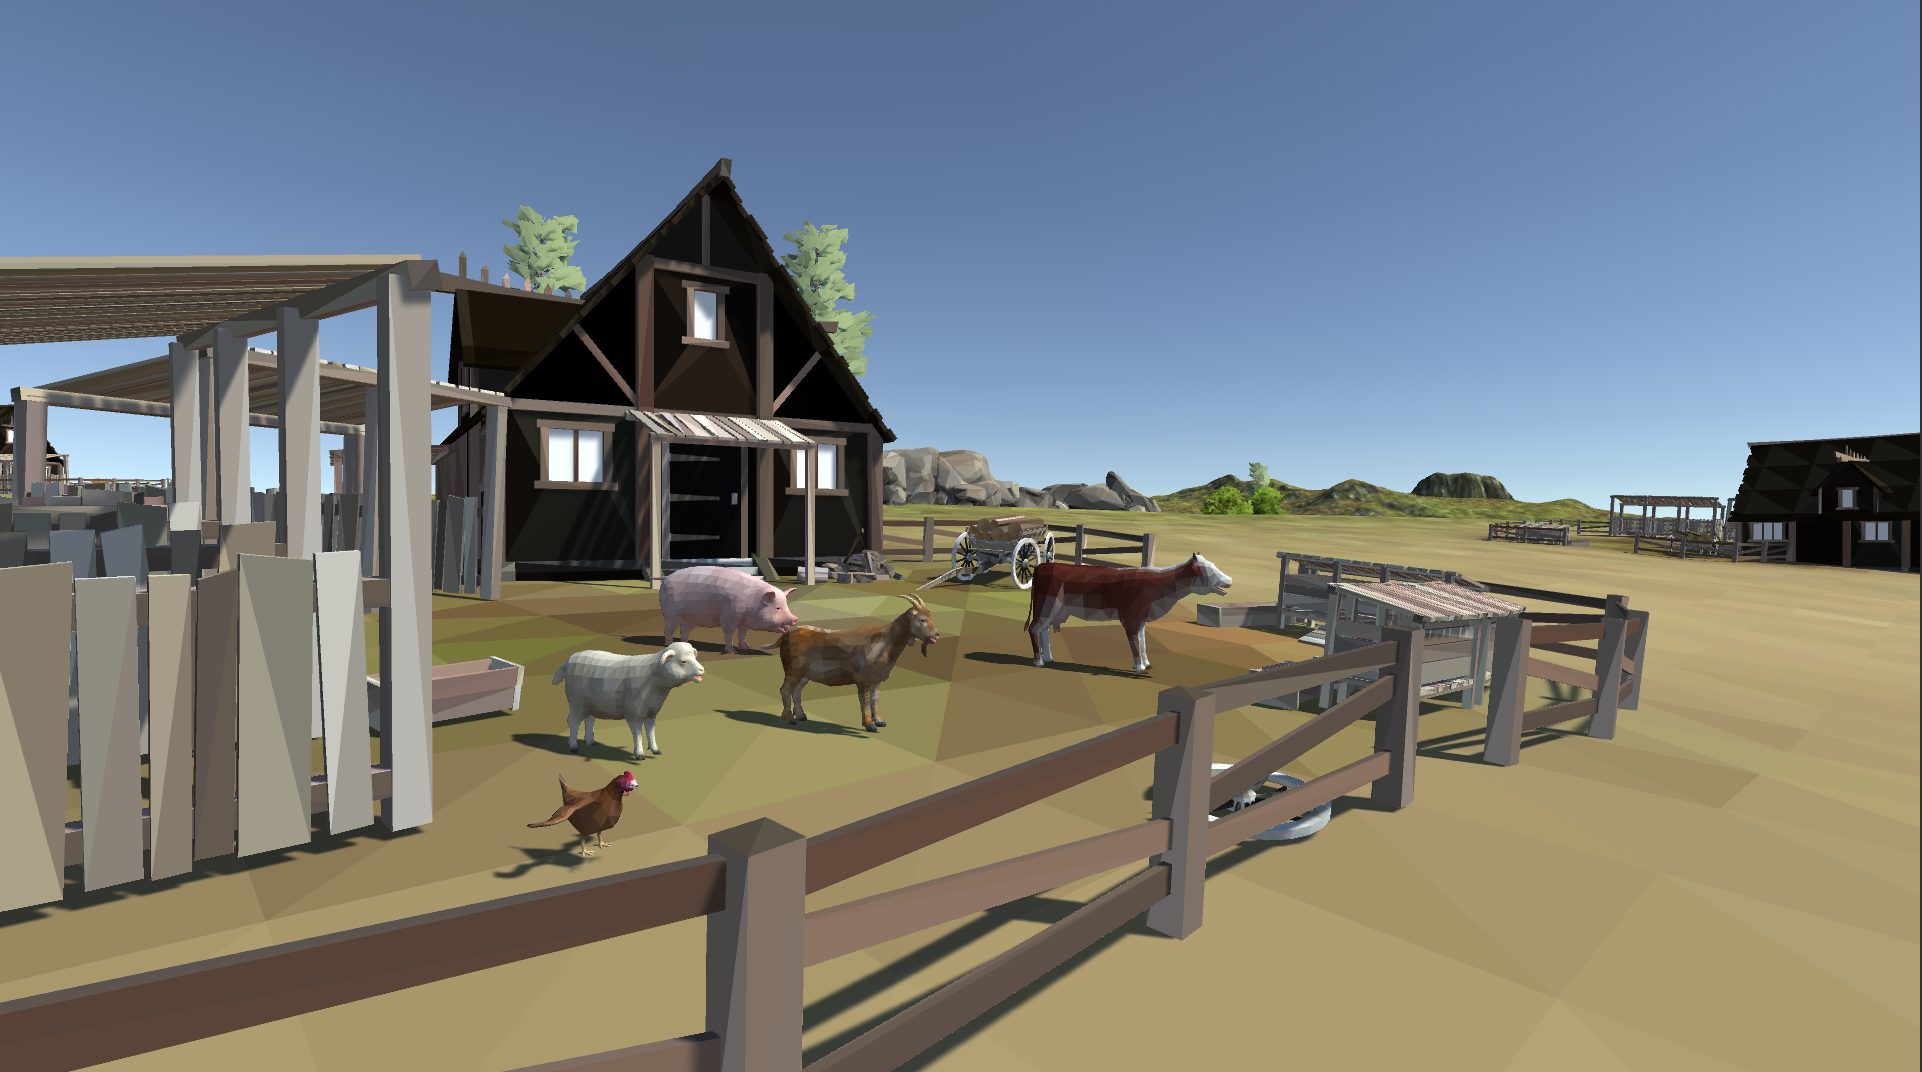
Now I'm going to stick some Protofactor Farm Animals in the scene...
That is before Low Poly conversion...
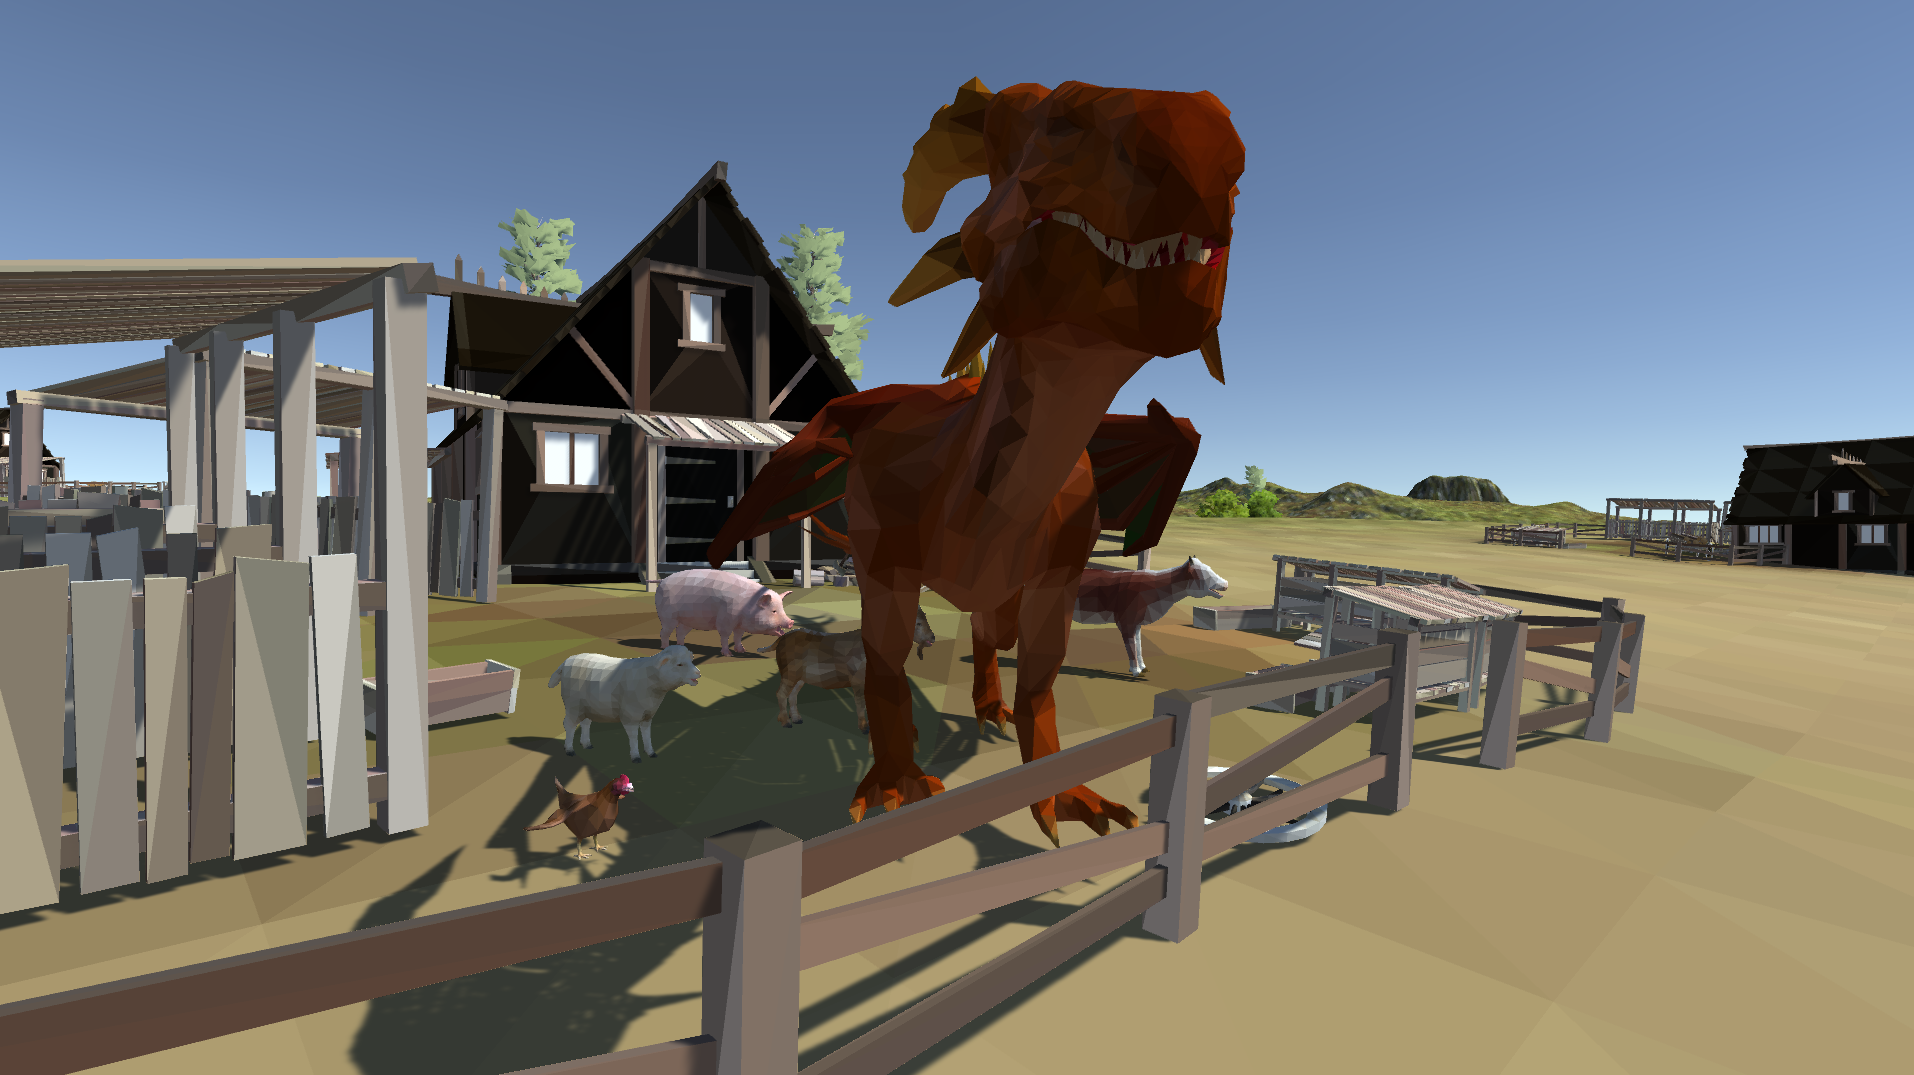
That is after. The polys are actually the same for the creatures, but it is using vertex shading and the meshes are now a faceted rather than smooth look.

I added 3dFoin's Dragon to the scene... now let's "low poly" it.
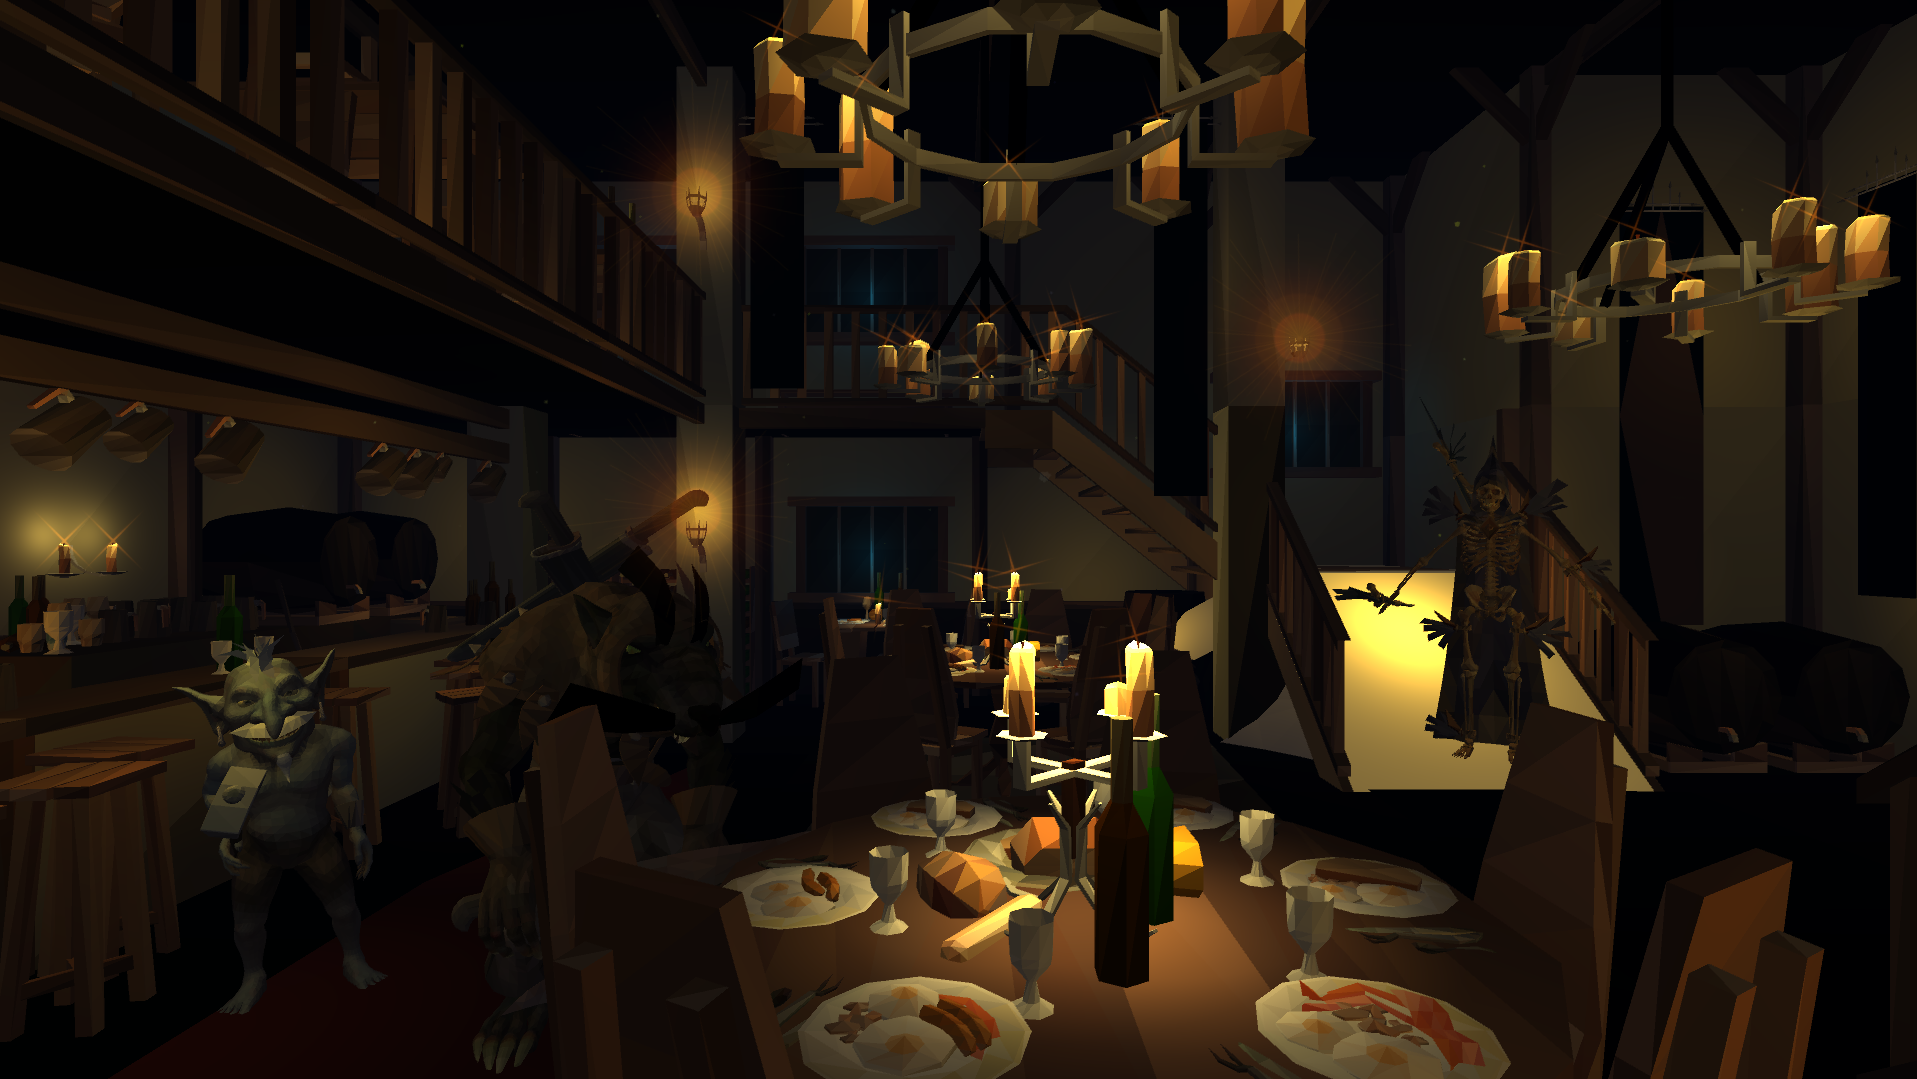
I am now switching to 3DForge's Village Interior Demo "OldEagleTavern" and I created my own camera and positioned it.
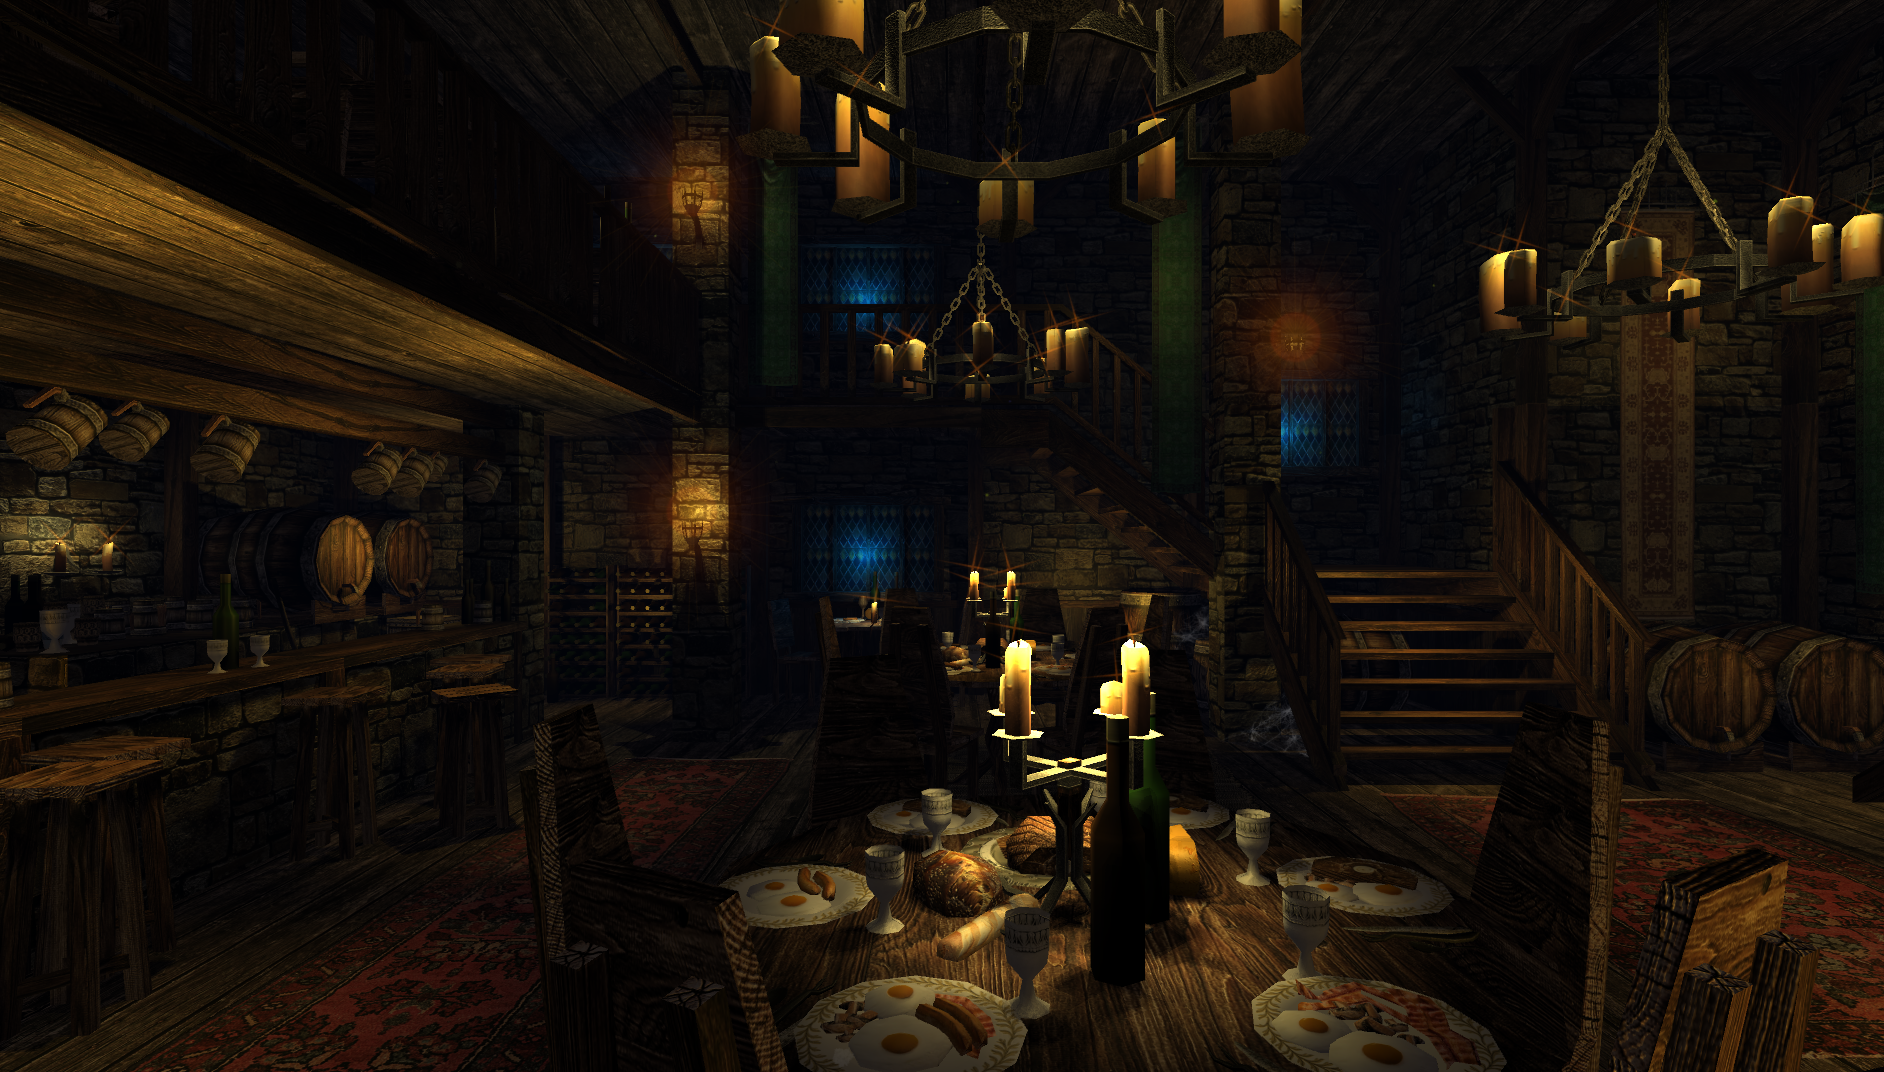
Let's low poly that...
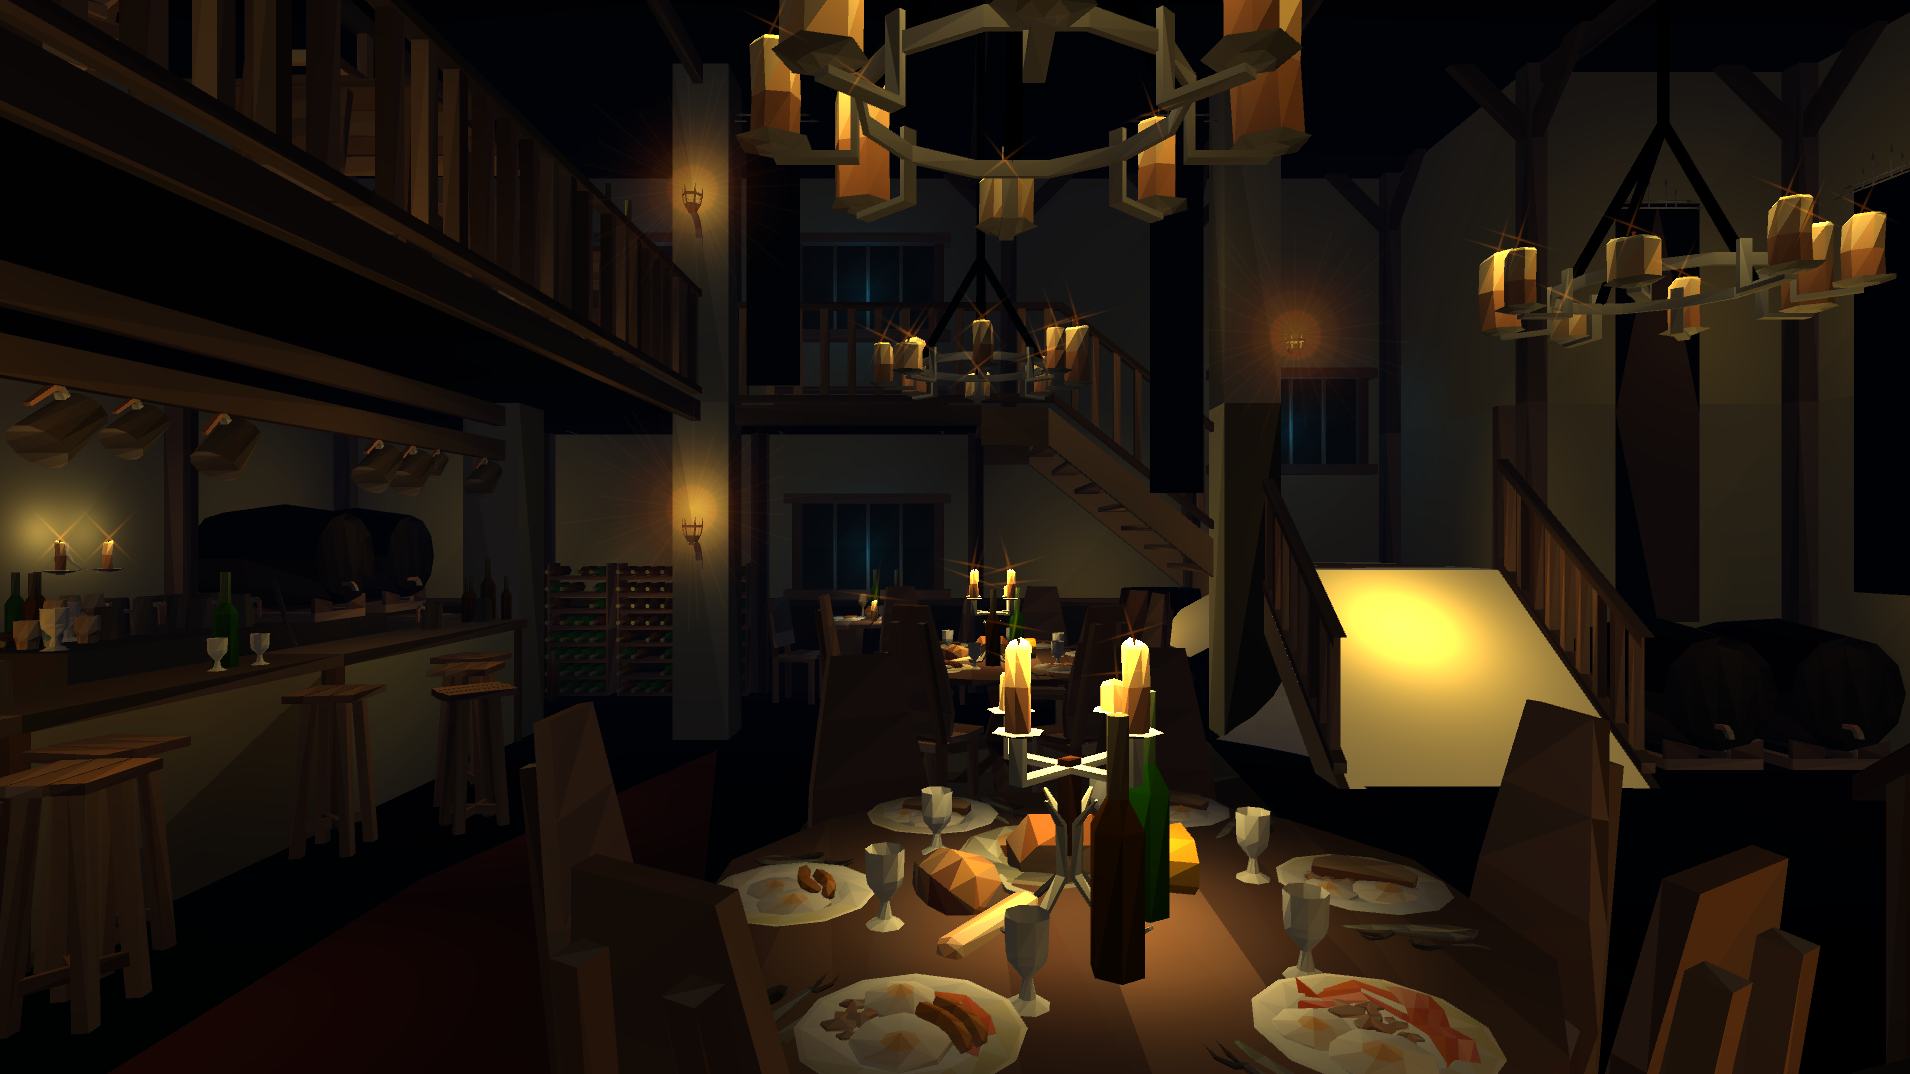
Now let's add some Mister Necturus creatures into it...

Time to Low Poly those...
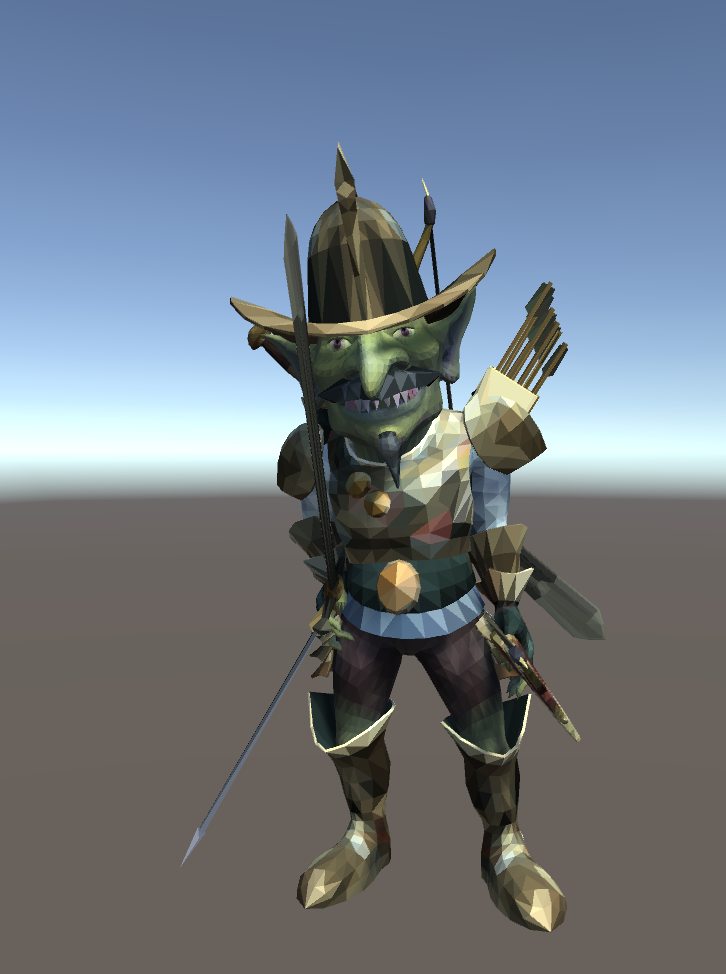
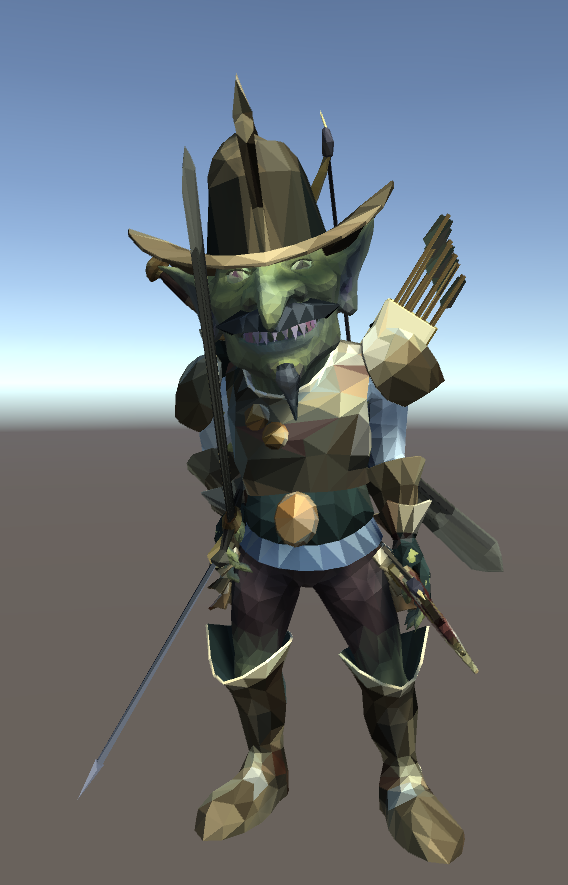
For the last experiment I am going to use the Mister Necturus Goblin Baron.
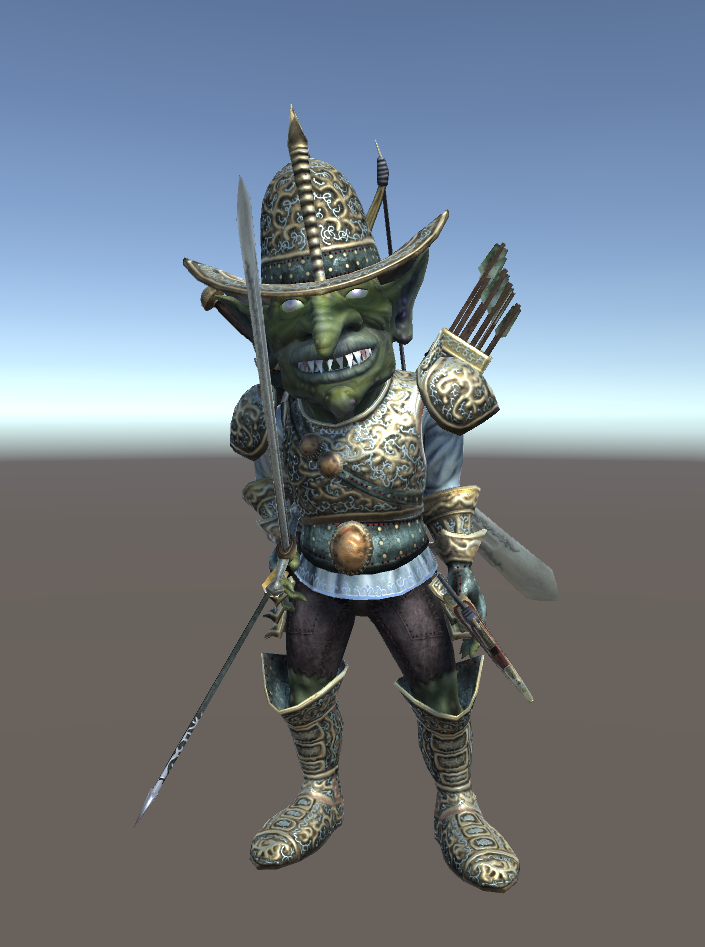
Here it is after it has been converted to "Low Poly".
I am going to use Simple LOD to actually reduce the polys some before applying the Low Poly effect. Here is after Simple LOD. This is just reducing polys by as much as 33%.
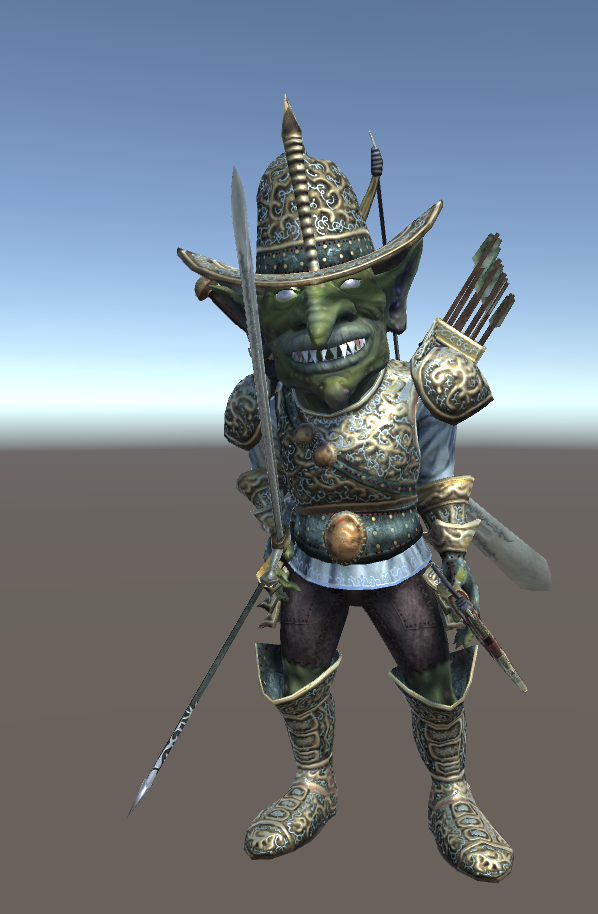
So after applying the Low Poly look...
Stopping here for now
There are a lot of other tools in this pack. This post is already fairly long, so I will not be getting to more of them. I did want to show some examples. I may revisit this later with more focused information after I've used it for awhile.
Thanks for all this documentation. 3D modeling fascinates me but I'm still a beginner.