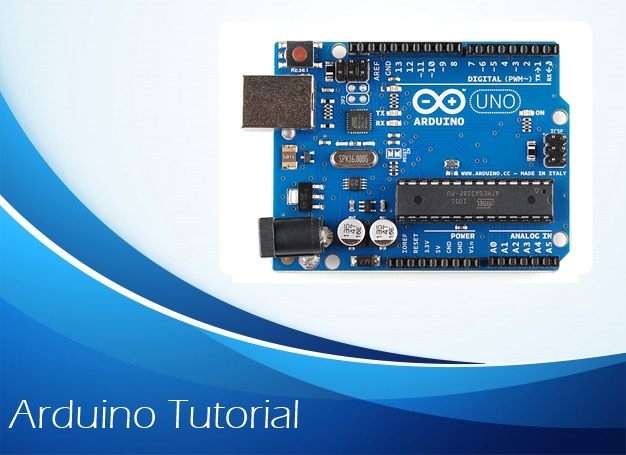
Arduino Tutorial #01 What's the Arduino, Its Models and Different Signals of Arduino
Repository
https://github.com/arduino/Arduino
What Will I Learn?
- You will learn the definition of Arduino, its advantages and disadvantages.
- You will learn the Arduino Uno Board.
- You will learn the difference between digital and analogue signals.
- You will learn how to connect Arduino with power and current calculation.
- You will learn the different models of Arduino.
Requirements
- Arduino IDE, you can download it from here.
- Arduino Board.
OS Support for Arduino
- Windows
- macOS
- Linux
Difficulty
- Basic
Tutorial Contents
In this tutorial we will talk about Arduino, the most famous , easiest, and most popular piece.
Have you ever asked yourself is how and why ? The Arduino is on this rank and importance and how to surpass his peers, now we will respond to your questions.
First, there is no specific number of ideas or problems that you can solve with Arduino, just look around you, you will find dozens or hundreds of problems that can be solved or improved using controllers like " problems at home, in the car, in factories, in parks and many more ".
We will answer the questions: What is Arduino ? Its types ?
How can I control the electrical appliances ?
How to enter the sensor signals to Arduino ?
Our first focus is programming, how I implement Arduino to do a specific job ? This is the important of Arduino.
1) Definition of Arduino, its advantages and disadvantages
Arduino is a small electronic board, cheap and easy to use.
Operates as a controller and a link between different electrical components by programming them.
- Example of entrances : panel buttons, light gauge, heat sensitive.
- Example of exits : bulbs, motors, sound, screen.
The Arduino is characterized by a lot of things, the low price where it is worth about " $10 " and this one of the reasons for his fame as well, where he is especially famous among university students and teachers because of the high prices of the rest of the controls, and also features the ease of use between its instances and the large number of plug-ins compatible with it they are doing various works called " SHIELDS ".
Its website is very organized and useful where it contains all the software commands of Arduino.
The other reason for the spread of the "Arduino " is that it is open source and this means that any company can manufacture the Arduino and develop its plug-ins without any complications and property rights.
But there are some disadvantages, for me I do not consider them disadvantages, the ability of Arduino code is much less than the computer and the current that the Arduino can take out is 20 mA and this is not enough to run the engine or relay, but we can use some elements to amplify current such as transistor.
With Arduino and with a few electronics you will be able to carry out electronic or electrical projects that perform many wonderful tasks such as lighting control, moving things, or accessing the internet ..etc
The program was developed in 2005 to help students teach electronics and programming, that was in Italy.

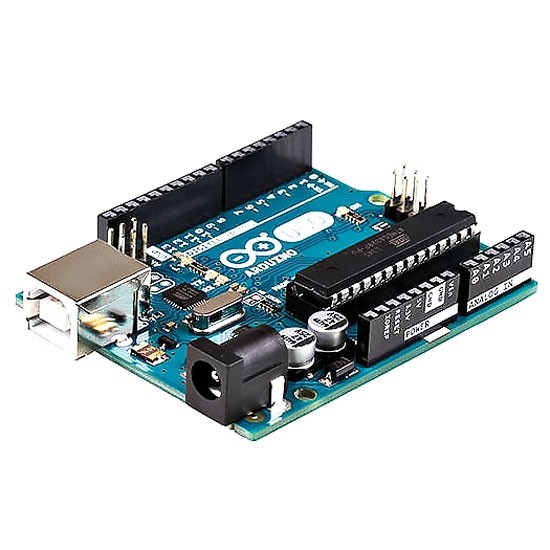
2) Arduino Uno Board
The bottom right side contains the microcontroller chip " ATmega328p " replaceable and contains 28 pins, the left side contains the port of USB cable with a silver color used to operate the Arduino and connect it to the computer for programming, and the external power input can be used to connect the power to Arduino from the charger or battery, and at the top left there is a " reset " button red, when pressed, it restarts (restarting the program).
Internally, the ATmega328p chip contains the following :
- CPU processor running at 16MHz
- 2KB RAM
- Flash memory its capacity is 32KB and used to store code sketches
- 1KB EEPROM memory and is used to store additional data (non-code)
- A circuit to connect with the serial port used in programming is called UART
- I / O ports
- You can buy an ATmega328P chip at about $5
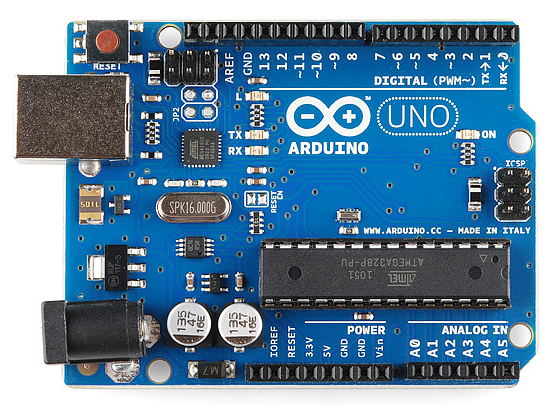
Arduino Ports
The blue board contains many illustrative writings in front of each port, this helps you know the work of each party, we will talk about these port groups.
a- Digital Pins
The number of ports is 14 ports it is numbered (0-13), in the code you can specify the operation of each port when the ports function as outputs, depending on the code you can output 5v or 0v.
You can also make these ports work as digital inputs (For sensing a button case for example), the digital port can extend the load (the thing connected to the port) to 5V and 20mA.
This current is suitable for running a LED projector light but it is certainly not enough to run the engine.
The GND port acts as the ground of the 0v circuit.
The sign " ∿ " means that this party is suitable to output the value of an analogue effort, is also called PWM.
The ports (0,1) are called TX and RX and are used to communicate with the computer ( if you use the Serial.begin command in the code, you can't use the ports 0,1 as digital ports).
The AREF port is rare to use and is used to adjust the highest value in the range of efforts for analogue inputs (0-5v).
b- Power Pins
After running the Arduino and connecting the appropriate power to it, you can use this kit to supply your circuit with the appropriate power (5v or 3.3v).
The GND terminals are called ground and its voltage is 0v, you can also supply the Arduino power by connecting an appropriate voltage (7v - 12v) to Vin, you can also do a Reset operation for the Arduino via using the Reset port (to do this : connect the reset port to GND).
c- Analog inputs
We have 6 inputs (A0-A5) and can measure the voltage (analogue), and be dealt with it by connecting with the wire to measure the voltage , and then control the program.
These can be used as digital inputs or digital outputs, we will explain it later.
3) The difference between digital and analogue signals

ON / OFF Digital Signal Example : The light is only working or not.
While the analogue signal can be controlled by the value of the voltage in it, for example: 0v, 1v, 3.3v, 4.9v.
Thus the lamp can be turned on gradually ( high light, low, very low, and so on ... ).
Example of digital and analog code commands
digitalWrite(13,1);
analogWrite(3,127);
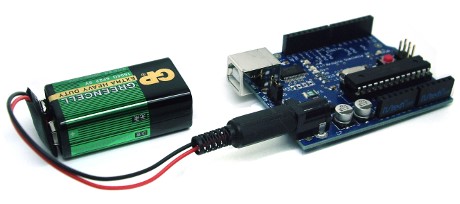
4) Connecting Arduino with power and Current Calculation
- From the computer or charger to the USB port.
- Power input 5.5 mm-2.1mm jack you must find the appropriate adapter 7v-12v
- Apply input voltage 12v - 7v directly on the ports Vin and GND
Calculate the current pulled by the Arduino and the rest of the circle
As you know not all chargers are equal in voltage and current (example iPhone charger and iPad charger).
The Arduino UNO usually pulls 45mA, but the more plugins are plugged in, the more power will be pulled (Example lighting, sound, relays ...).
The consumer current of the circuit can be measured using appropriate devices.
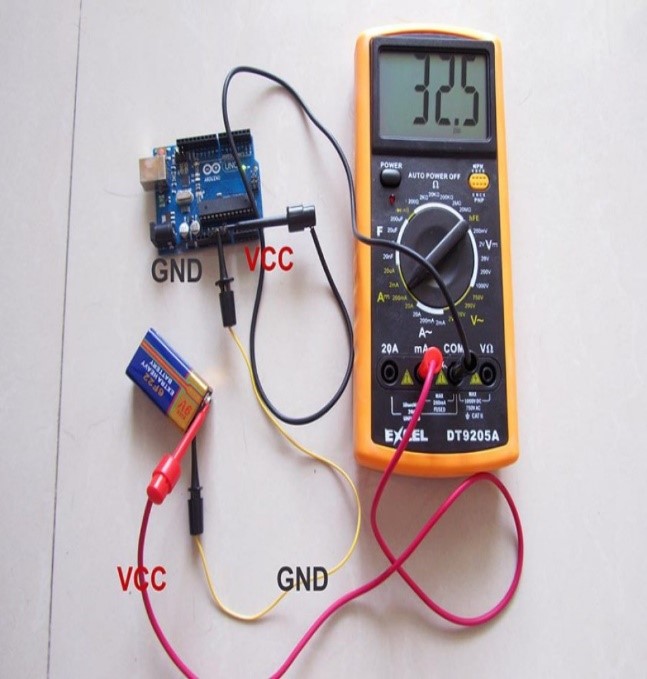
The current that the Arduino can output from the single digital port is about 20mA.
The current that can be pulled from the Vcc and GND terminals is about 200mA.
5) Different models of Arduino
There are many versions of the Arduino boards, including differences in size and technical features (such as memory port and number of ports). All boards are programmed in the same way, do not worry.
Arduino UNO R3
The most important feature of this board is the possibility of replacing the microcontroller chip, this allows you to manufacture your own circuit after programming the chip . We will explain this wonderful feature in the next tutorials.
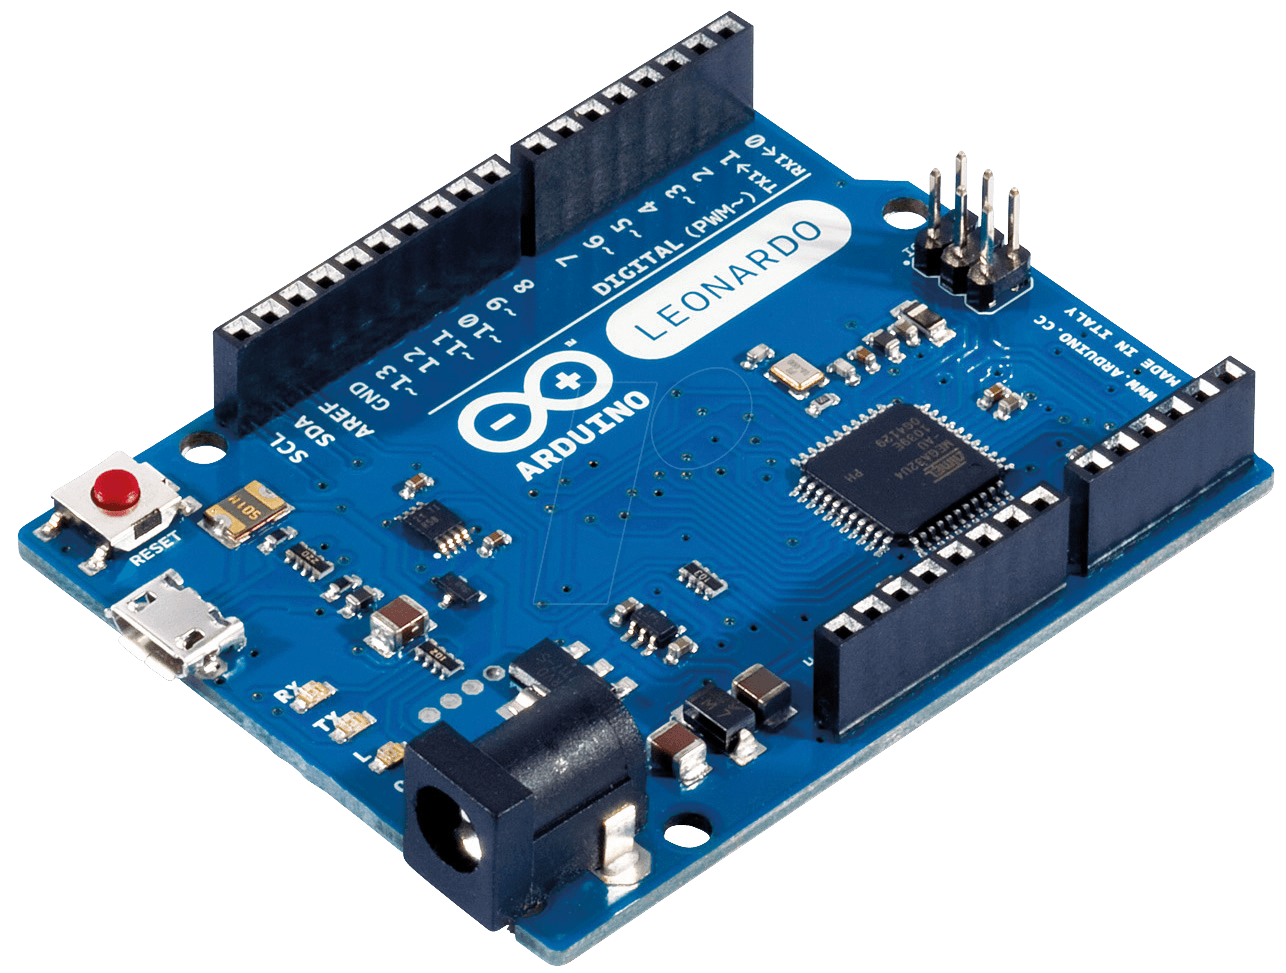
Arduino Leonardo
It is no different from the arduino UNO, but the microcontrol chip is installed and can not be replaced, the USB port used is micro USB and not USB typeB as before, Its price is also cheaper than the UNO.
Arduino YUN
The YUN is characterized by built-in with a Wi-Fi connection, YUN also offers advanced Linux programming options. However, YUN programming is usually like any Arduino by the Arduino IDE. It can also be wirelessly programmed if Wi-Fi is defined on the same network as the computer.
At the start of the YUN it will create a wireless network named
arduinoYun-xxxx
Connect, open the browser and enter the address
192.168.240.1
Enter the password : " arduino ", you will encounter a page in which the settings of the YUN.

Arduino Mega
The Arduino Mega differs to the UNO that it has many inputs and outputs and the left side like the UNO, this makes it easy to use the same software, and connect wires the same way. Also this allows the use of the same additional circuits that operate on the common types of arduino.

Arduino Due
It is similar to the Mega in size and number of ports, but it has a different processor running at a higher speed (84MHz) as it works on a voltage of 3.3v and not 5v like the remaining types of Arduino, this makes some extra circuitry not working on the Arduino Due.

In some applications you will need to minimize the circuit as much as possible. There are many small models of the Arduino, its drawback is the difficulty of using the usual Shields with it.
- Arduino Micro
Dimensions : 48 * 18 mm
Digital ports : 20 _ 7 pwm
Analog inputs : 12
- Arduino Nano
Dimensions : 45 * 18 mm
Digital ports : 22 _ 6 pwm
Analog inputs : 6
- Arduino Mini
Dimensions : 30 * 18 mm
Digital ports : 14 _ of which 6 pwm
Analog inputs : 8
The mini can not be connected directly to the computer, you must use an intermediate circuit.
Arduino Esplora
The idea of the Arduino Esplora is that Arduino's board is combined with many different additions therefore, Esplora can be considered as a laboratory to integrate sensors with programming.
It is useful for educational applications.
Contains a lot of additions :
- Light sensors, heat, sound and movement.
- Analog controller
- 4 pressure buttons
- Variable linear resistance
- buzzer
- Input for SD card memory

Arduino Lilypad
This model is distinctive and oddly shaped from the Arduino, it can't be programmed to connect to the computer, but it needs an additional circuit to be programmed.

Finally there are many Arduino boards developed from other companies than the parent company, which contributed to the success of Arduino.
Curriculum
This is the first part in this series.
Proof of Work Done
There is no code in this tutorial to be uploaded.
Thank you for your contribution @alexendre-maxim.
After reviewing your contribution, we suggest you following points:
Thank you for your work in developing this tutorial.
Your contribution has been evaluated according to Utopian policies and guidelines, as well as a predefined set of questions pertaining to the category.
To view those questions and the relevant answers related to your post, click here.
Need help? Chat with us on Discord.
[utopian-moderator]
Thank you for your review, @portugalcoin! Keep up the good work!
Congratulations @alexendre-maxim! You have completed the following achievement on the Steem blockchain and have been rewarded with new badge(s) :
You can view your badges on your Steem Board and compare to others on the Steem Ranking
If you no longer want to receive notifications, reply to this comment with the word
STOPTo support your work, I also upvoted your post!
Vote for @Steemitboard as a witness to get one more award and increased upvotes!
Hi @alexendre-maxim!
Your post was upvoted by @steem-ua, new Steem dApp, using UserAuthority for algorithmic post curation!
Your post is eligible for our upvote, thanks to our collaboration with @utopian-io!
Feel free to join our @steem-ua Discord server
Hey, @alexendre-maxim!
Thanks for contributing on Utopian.
We’re already looking forward to your next contribution!
Get higher incentives and support Utopian.io!
Simply set @utopian.pay as a 5% (or higher) payout beneficiary on your contribution post (via SteemPlus or Steeditor).
Want to chat? Join us on Discord https://discord.gg/h52nFrV.
Vote for Utopian Witness!
Congratulations @alexendre-maxim! You received a personal award!
You can view your badges on your Steem Board and compare to others on the Steem Ranking
Vote for @Steemitboard as a witness to get one more award and increased upvotes!