How to Install LAMP Stack on Debian 9 'Stretch' (English/Indonesia)
Internet is a combination of networks that are connected to each other. There are terms like server and host in Internet. Server is responsible for serving all kinds of requests requested by host, in a more concise manner, there are servers serving mailing, to serve database, some are serving web request, LAMP one of them.
LAMP is a collection of each task owned by a server to serve web companies hosting, web developers and others. LAMP itself is stand for Linux, Apache, MySQL (MariaDB), and PHP.
- Linux (We will use Debian 9 Stretch).
- Apache as Web Server.
- MySQL/MariaDB. (Debian 9 makes MariaDB the default database)
- PHP (Some people prefer Python or Perl)
1. Linux
Debian Linux will be used as a server this time. Debian is known for its rock-solid Linux distro. Debian does not follow the six-month release cycle like most other Linux distributions, Debian will only release when the collection of apps inside the repo is completely stable.
Please refer to @jekisatria's post about How to Install Linux Debian 9 Stretch Gnome. If the process is success, do update and upgrade patches by running the command;
$ sudo apt update && sudo apt upgrade
2. Apache as Web Server
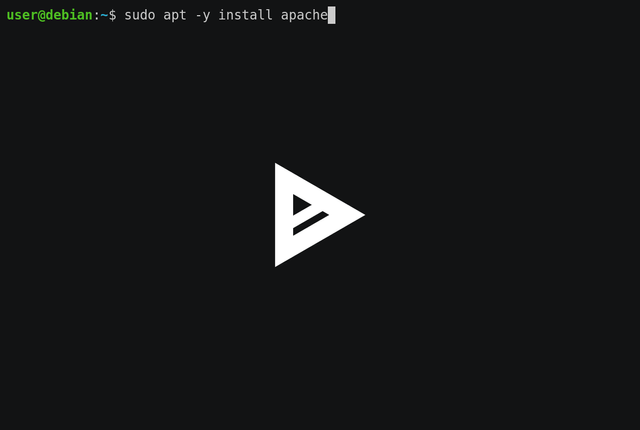
The second step is to install Apache web server. This can be done with;
$ sudo apt -y install apache2
to start the Apache server, run;
$ systemctl start apache2.service
to stop the Apache server, run;
$ systemctl stop apache2.service
to restart, run the command;
$ systemctl restart apache2.service
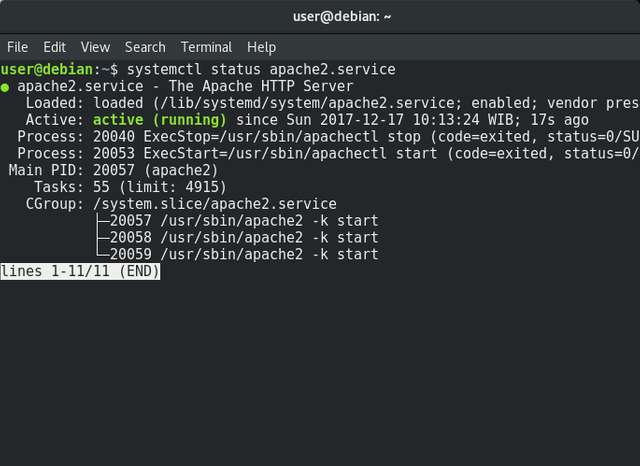
if you want to check whether the apache2 service is running or not, it can be done by running;
$ systemctl status apache2.service
In many cases, you will find firewall within network, now to permit HTTP Apache server to be accessed via firewall, then run the following command;
ufw status
ufw allow 80/tcp
ufw allow 443/tcp
ufw reload
ufw enable
If all the installation process is successful and running smoothly, the next step is to try Apache web server. Open any web browser you like, then at URL bar write;
http://localhost/
or
http://your-ip-address/
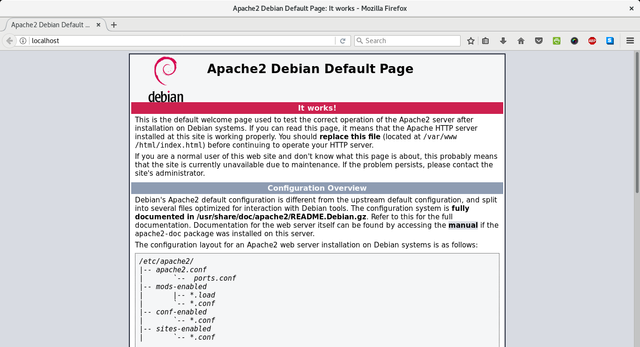
You will be redirected to the default "Apache2 Debian" page, this indicates that the web server that we created is already running.
You can change the default page by editingindex.html file located at /var/www/html folder, for example;
$ sudo nano /var/www/html/index.html.
For main configuration file located at/etc/apache2/apache2.conf.
3. MariaDB
Since Debian 9 was released, the Debian developers used MariaDB instead of the MySQL server that Oracle has acquired. MariaDB is one of the most popular database server. Created by MySQL creators with a guarantee it will always be Open Source. To install the MariaDB server, execute the following commands;
$ sudo apt -y install default-mysql-server
or
$ sudo apt -y install mariadb-server

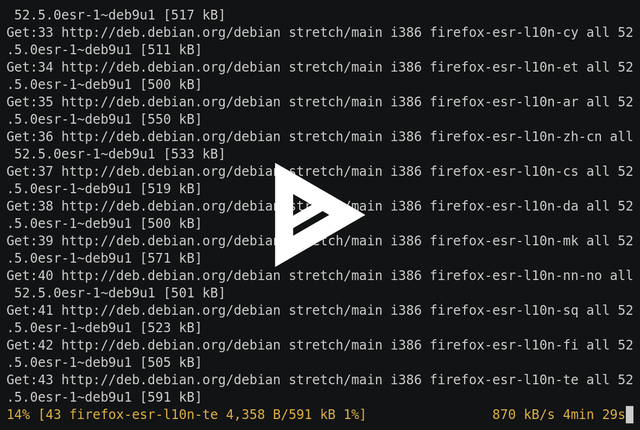
Typically, during this installation stage, file information and file size will be displayed, user can press y or yes button to continue. Well, the -y parameter as mentioned above is to install immediately downloaded and installed without having to wait for they or yes input of the user.
The next step is to make MariaDB more secure by executing the mysql_secure_installation command. It aims to improve the security of MariaDB database which is not maximal enough, including;
- Set the root password for the database.
- Restrict root account for localhost use only .
- Removes
anonymous user. - Not allow root account to have remote access.
- Removes the
testdatabase and any permissions associated withtest_.
before proceeding, make sure that MySQL service is running by typing;
$ /etc/init.d/mysql start
[ ok ] Starting mysql (via systemctl): mysql.service.
$ sudo mysql_secure_installation
NOTE: RUNNING ALL PARTS OF THIS SCRIPT IS RECOMMENDED FOR ALL MariaDB
      SERVERS IN PRODUCTION USE!  PLEASE READ EACH STEP CAREFULLY!
In order to log into MariaDB to secure it, we'll need the current
password for the root user.  If you've just installed MariaDB, and
you haven't set the root password yet, the password will be blank,
so you should just press enter here.
Enter current password for root (enter for none):
OK, successfully used password, moving on...
Setting the root password ensures that nobody can log into the MariaDB
root user without the proper authorisation.
Set root password? [Y/n] y
New password:
Re-enter new password:
Password updated successfully!
Reloading privilege tables..
 ... Success!
By default, a MariaDB installation has an anonymous user, allowing anyone
to log into MariaDB without having to have a user account created for
them.  This is intended only for testing, and to make the installation
go a bit smoother.  You should remove them before moving into a
production environment.
Remove anonymous users? [Y/n] y
 ... Success!
Normally, root should only be allowed to connect from 'localhost'.  This
ensures that someone cannot guess at the root password from the network.
Disallow root login remotely? [Y/n] y
 ... Success!
By default, MariaDB comes with a database named 'test' that anyone can
access.  This is also intended only for testing, and should be removed
before moving into a production environment.
Remove test database and access to it? [Y/n] y
 - Dropping test database...
 ... Success!
 - Removing privileges on test database...
 ... Success!
Reloading the privilege tables will ensure that all changes made so far
will take effect immediately.
Reload privilege tables now? [Y/n] y
 ... Success!
Cleaning up...
All done!  If you've completed all of the above steps, your MariaDB
installation should now be secure.
Thanks for using MariaDB!
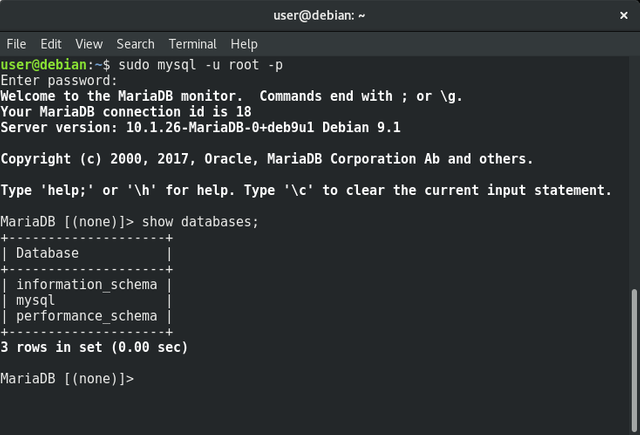
Now let's see the result, type;
$ sudo mysql -u root -p
4. PHP Version 7
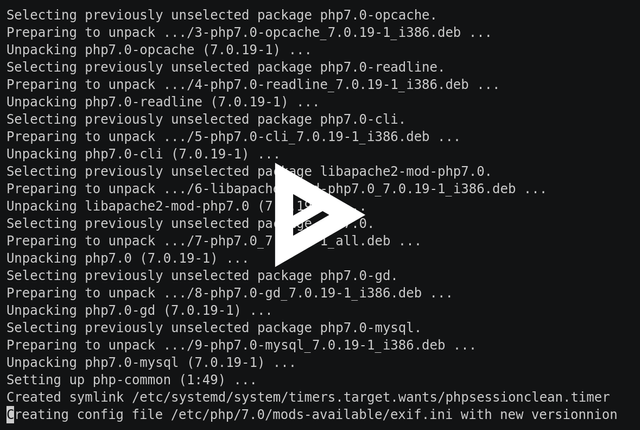
Now we will install PHP version 7 together with some PHP modules on our Debian server.
$ sudo apt install php7.0 libapache2-mod-php7.0 php7.0-mysql php7.0-gd php7.0-opcache
If the installation process is successful, we need to restart our Apache server by running the command;
$ systemctl restart apache2.service.
to try PHP installation, create a script file named coba.php in/var/ www/html/coba.php, and insert the following line of code;
<?php
phpinfo();
?>
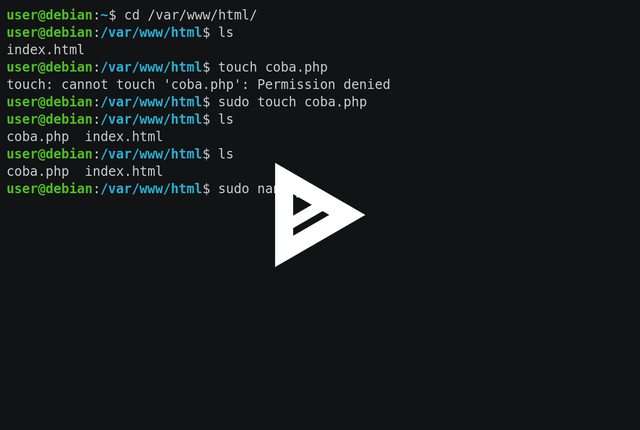
dont forget to restart Apache server.

You have now successfully installed LAMP Stack Server on Debian 9 Stretch. Hopefully this article could help anyone who want to install LAMP Stack on their Debian server ,if there are suggestions, please leave a comment.
Best regards, @iqbaladan.
---------------------------------------------------EOF----------------------------------------------
Bagaimana Memasang Server LAMP Stack di Debian 9 'Stretch'
Internet merupakan gabungan dari jaringan-jaringan yang saling terhubung satu sama lain. Dalam internet ada istilah server dan host. Server bertugas melayani segala macam permintaan yang diminta oleh host, secara lebih ringkas, ada server yang melayani bagian surat menyurat, ada yang tugasnya melayani basisdata, ada pula yang melayani urusan web, LAMP salah satunya.
LAMP merupakan kumpulan dari masing-masing tugas yang dimiliki oleh sebuah server untuk melayani perusahaan web hosting, para pengembang web dan lain-lain. LAMP sendiri merupakan kepanjangan dari Linux, Apache, MySQL(MariaDB), dan PHP.
- Linux (Kita akan menggunakan Debian 9 Stretch).
- Apache sebagai Web Server.
- MySQL/MariaDB. (Debian 9 menjadikan MariaDB sebagai basisdata default)
- PHP. (Beberapa orang lebih memilih Python atau Perl)
1. Linux
Linux yang akan digunakan pada percobaan kali ini adalah Distro Linux Debian sebagai server. Debian dikenal dengan Distro Linux yang rock-solid. Debian tidak mengikuti siklus rilis enam bulan sekali seperti kebanyakan distro-distro Linux lainnya, Debian hanya akan rilis apabila kumpulan aplikasi yang berada di dalam repo sudah benar-benar dalam status stabil.
Silahkan baca postingan @jekisatria tentang How to Install Linux Debian 9 Stretch Gnome. Apabila proses pemasangan telah berhasil, jangan lupa untuk melakukan update dan upgrade patches jika ada dengan menjalankan perintah;
$ sudo apt update && sudo apt upgrade
2. Apache Sebagai Web Server
Langkah kedua adalah melakukan pemasangan Apache web server. Ini dapat dilakukan dengan perintah;
$ sudo apt -y install apache2
Untuk memulai server Apache, jalankan perintah;
$ systemctl start apache2.service
untuk menghetikan server Apache, jalankan perintah;
$ systemctl stop apache2.service
untuk memulai kembali, jalankan perintah;
$ systemctl restart apache2.service
jika ingin memeriksa apakah servis apache2 sudah berjalan atau tidak, dapat dilakukan dengan perintah;
$ systemctl status apache2.service
kadang dalam sebuah jaringan terdapat firewall, nah untuk mengizin HTTP Apache server untuk dapat diakses melalui firewall, maka jalankan perintah berikut ini;
ufw status
ufw allow 80/tcp
ufw allow 443/tcp
ufw reload
ufw enable
Jika semua proses pemasangan berhasil dan berjalan lancar, langkah berikutnya adalah mencoba Apache web server. Buka peramban web apa saja yang jadi favorit Anda, lalu di URL tuliskan;
http://localhost/
atau
http://ip-addres-milikanda/
Anda akan diarahkan ke halaman default "Apache2 Debian", ini menandakan kalau web server yang kita buat sudah berjalan.
Anda dapat mengubah halaman default tersebut dengan mengedit berkas index.html yang terletak di direktory /var/www/html, misalkan;
$ sudo nano /var/www/html/index.html.
Untuk berkas konfigurasi utamanya terdapat di /etc/apache2/apache2.conf.
3. MariaDB
Sejak Debian 9 dirilis, para pengembang Debian menggunakan MariaDB sebagai ganti dari MySQL server yang telah diakuisisi oleh Oracle. MariaDB merupakan salah satu server basisdata yang sangat populer. Dibuat oleh para pembuat MySQL dengan jaminan akan selalu menjadi Open Source. Untuk memasang server MariaDB, jalankan perintah berikut ini;
$ sudo apt -y install default-mysql-server
atau
$ sudo apt -y install mariadb-server
Biasanya, pada tahap pemasangan ini, akan muncul informasi berkas apa saja yang akan dipasang beserta ukuran berkasnya, lalu tekan tombol y atau yes untuk melanjutkan. Nah, parameter -y di atas bertujuan agar aplikasi yang ingin dipasang langsung diunduh dan dipasang tanpa harus menunggu masukan y atau yes dari si pengguna.
Langkah berikutnya adalah menjadikan MariaDB menjadi lebih aman dengan menjalankan perintah mysql_secure_installation. Ini bertujuan untuk memperbaiki keamanan basisdata MariaDB yang secara bawaan masih kurang maksimal, diantaranya adalah;
- Mengatur kata sandi root untuk basis data.
- Membatasi akun root hanya pada
localhostsaja. - Menghapus
anonymous user. - Tidak membolehkan akun
rootuntuk mempunyai akses secara remote. - Menghapus basisdata
testdan segala izin yang berkaitan dengantest_.
sebelum melanjutkan, pastikan servis MySQL sudah berjalan dengan menjalankan perintah;
$ /etc/init.d/mysql start
[ ok ] Starting mysql (via systemctl): mysql.service.
$ sudo mysql_secure_installation
NOTE: RUNNING ALL PARTS OF THIS SCRIPT IS RECOMMENDED FOR ALL MariaDB
      SERVERS IN PRODUCTION USE!  PLEASE READ EACH STEP CAREFULLY!
In order to log into MariaDB to secure it, we'll need the current
password for the root user.  If you've just installed MariaDB, and
you haven't set the root password yet, the password will be blank,
so you should just press enter here.
Enter current password for root (enter for none):
OK, successfully used password, moving on...
Setting the root password ensures that nobody can log into the MariaDB
root user without the proper authorisation.
Set root password? [Y/n] y
New password:
Re-enter new password:
Password updated successfully!
Reloading privilege tables..
 ... Success!
By default, a MariaDB installation has an anonymous user, allowing anyone
to log into MariaDB without having to have a user account created for
them.  This is intended only for testing, and to make the installation
go a bit smoother.  You should remove them before moving into a
production environment.
Remove anonymous users? [Y/n] y
 ... Success!
Normally, root should only be allowed to connect from 'localhost'.  This
ensures that someone cannot guess at the root password from the network.
Disallow root login remotely? [Y/n] y
 ... Success!
By default, MariaDB comes with a database named 'test' that anyone can
access.  This is also intended only for testing, and should be removed
before moving into a production environment.
Remove test database and access to it? [Y/n] y
 - Dropping test database...
 ... Success!
 - Removing privileges on test database...
 ... Success!
Reloading the privilege tables will ensure that all changes made so far
will take effect immediately.
Reload privilege tables now? [Y/n] y
 ... Success!
Cleaning up...
All done!  If you've completed all of the above steps, your MariaDB
installation should now be secure.
Thanks for using MariaDB!
Sekarang kita coba lihat hasilnya, jalankan perintah;
$ sudo mysql -u root -p
4. PHP Versi 7
Sekarang kita akan pasang PHP versi 7 bersamaan dengan beberapa modul PHP pada server Debian kita.
$ sudo apt install php7.0 libapache2-mod-php7.0 php7.0-mysql php7.0-gd php7.0-opcache
Jika proses pemasangan berhasil, kita perlu melakukan restart Apache server kita dengan menjalankan perintah;
$ systemctl restart apache2.service.
untuk mencoba pemasangan PHP, buat sebuah berkas skrip dengan nama coba.php di dalam /var/www/html/coba.php, lalu sisipkan baris code baris kode berikut;
<?php
phpinfo();
?>
jangan lupa untuk memulai kembali Apache server.
Sekarang Anda telah berhasil melakukan pemasangan LAMP Stack Server pada Debian 9 Stretch. Semoga tulisan ini dapat membantu, jika ada saran, silahkan tinggalkan komentar.
Best regards, @iqbaladan.
Posted on Utopian.io - Rewarding Open Source Contributors
Hey @iqbaladan I am @utopian-io. I have just upvoted you!
Achievements
Community-Driven Witness!
I am the first and only Steem Community-Driven Witness. Participate on Discord. Lets GROW TOGETHER!
Up-vote this comment to grow my power and help Open Source contributions like this one. Want to chat? Join me on Discord https://discord.gg/Pc8HG9x
wah pingin bisa install debian di laptop ane
Coba Ubuntu aja dulu, bro. Lebih User friendly, lagian komunitasnya juga banyak, jadi kalau ada masalah banyak tempat bertanyanya.
Thank you for the contribution. It has been approved.
You can contact us on Discord.
[utopian-moderator]
Thank, Om @slempase.
mantaps ... terus sajikan ilmu yang baru bang @iqbaladan
Insyaallah.
Good post! Thanks ;)
any time ;)