How To Integrate Google Maps to Your Ionic Project
What Will You Learn?
In this tutorial you will learn how to integrate Google Map API on your ionic project, I will try to tell you the easiest and the shortest way so you can directly implement it on your project
Requirements
Before starting this tutorial there are some basic things you should learn so that it can easily apply this tutorial. that is
- Basic knowledge of HTML and CSS
- Basic knowledge of Typescript
- Basic API usage
- NPM and Ionic CLI installed
Difficulty
- Basic
Tutorial Contents
The first thing to do is install ionic 3 project on your computer. first lets make a folder called map on our desktop , or you can create a folder anywhere, as long as it follows the steps I made next. Now I will go to the map folder with my terminal and then type this command to create ionic blank project
ionic start ionic-maps blank
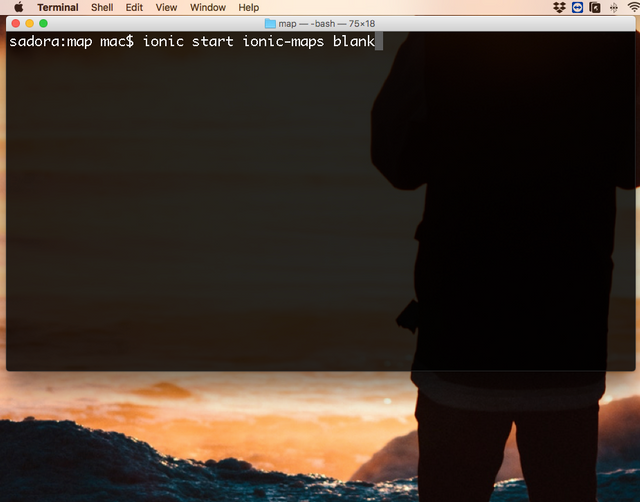
now lets press the enter button and wait to the next command line dialog.
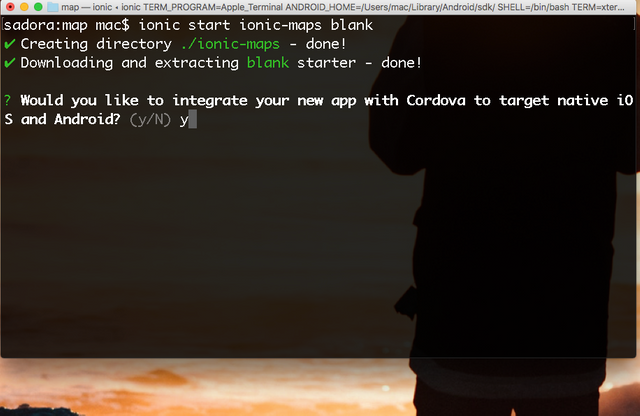
now lets select y to integrate this project with Android and iOS cordova target native, and then press enter again.
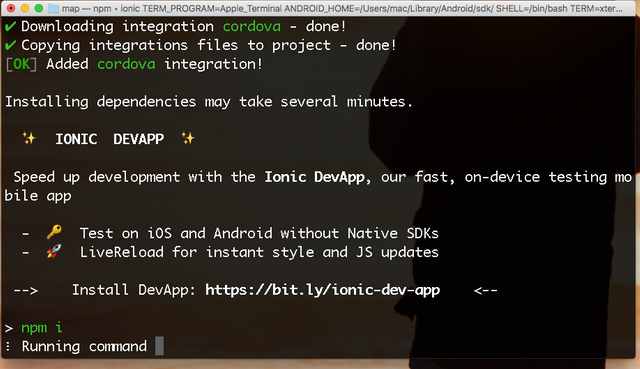
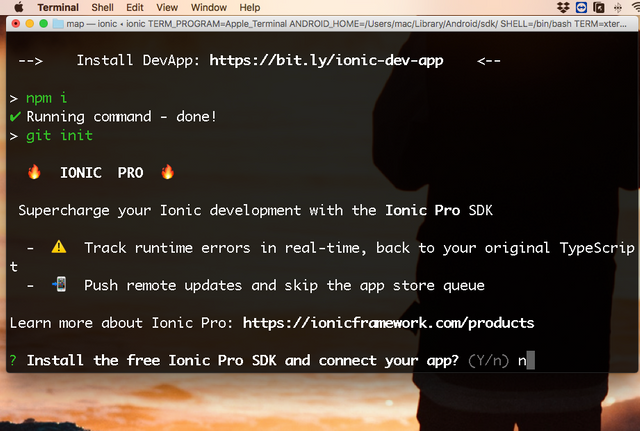
now the last command line dialog will ask us to connect our IONIC Project with IONIC pro , type "n" to disconnect our IONIC Project with IONIC pro.
Now lets open our IONIC Project with our favorit Editor , In this tutorial I Will use Visual Studio Code.
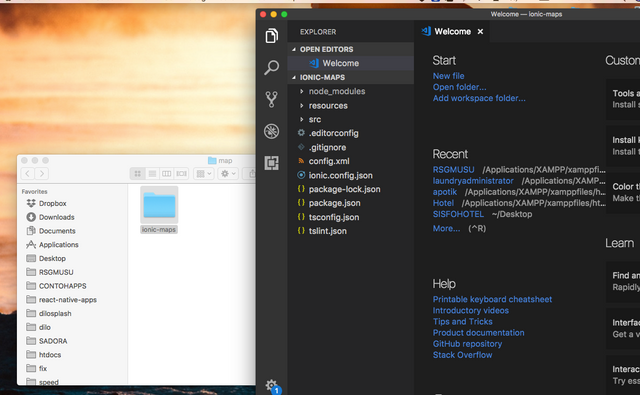
GOOGLE MAP API JS
before creating the application folder we must first have API key from Google Map, please go to the following web page https://developers.google.com/maps/documentation/javascript/
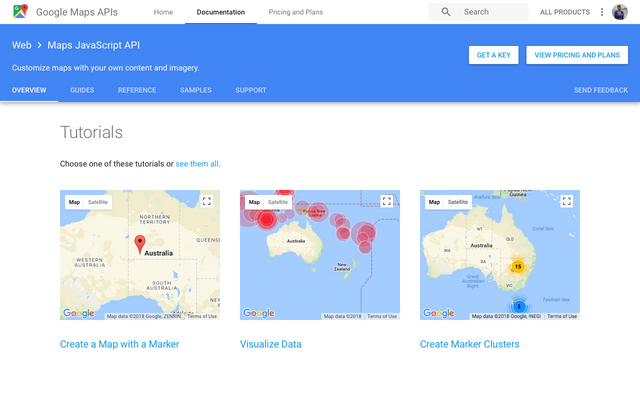
now please press the "get a key" button
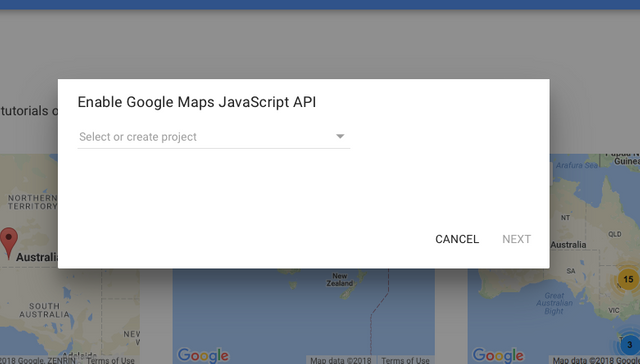
you will be prompted to create a new project or choose an old project that google will generate its API key for you. After selecting or creating a new project lets press the "next" button.
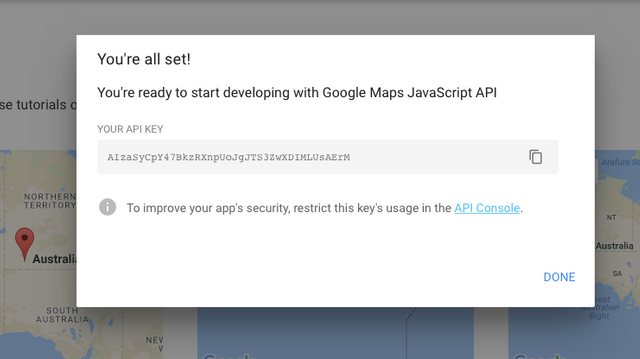
After that you will get your Google Map JS API Key to use to your IONIC project. To set up google map api key go to src > index.html add this code below the meta tag

Creating Layout
Now lets open our editor and go to src > pages > home > home.html
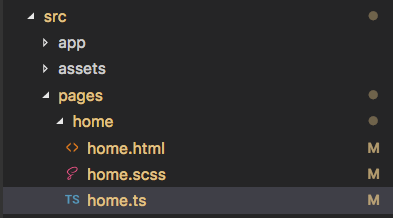
on home.html lets modify the basic code to be like this
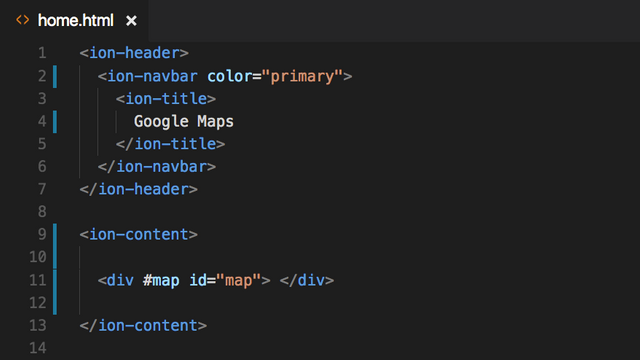
this code will display a page with the title google map. And the contents of a div that we will fill in google map later. You can check it by typing this command to your Visual Studio Code integrated terminal
ionic serve --lab
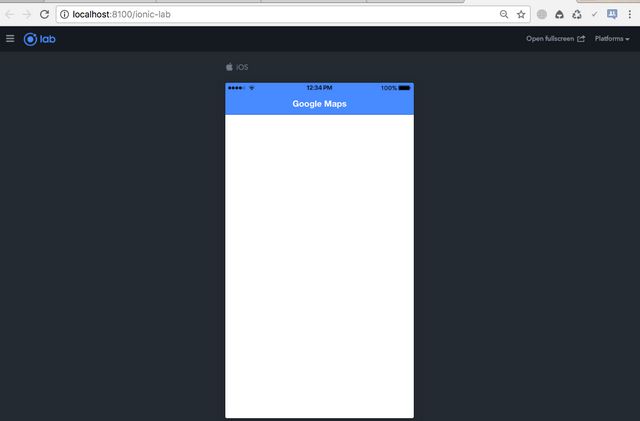
then open home.scss we will set the map's height size to 100% on the screen. Type the following code
page-home {
 #map{
     height: 100%;
 }
}
Displaying The Map
To display the map we must do in home.ts file open the file on src > pages > home > home.ts
now lets modify the first line ont home.ts file , add ViewChild and ElementRef from angular/core package.
import { Component, ViewChild, ElementRef } from '@angular/core';
on this project we will use google variable to be used to display google map, lets declare this variable be a public variable and give "any" as this variable type
declare var google : any;
add the code above after all import declaration like this image

Load Map Function
Now it's time to create a function to display the map, I give this function name loadMap.
First in this fuction we need a constant variable to save location coordinate.
 // Location coordinate (Latitude and Longitude)
const location = new google.maps.LatLng(51.507351, -0.127758);
Now lets make the option variable that will display in our map , this variable contains center option to our location and zoom value to display google map zooming value to our location
   //Map Options
    const options = {
      center: location,
      zoom: 10
    }
Now Lets add the Option variable to our maps by typing the code below.
this.map = new google.maps.Map(this.mapRef.nativeElement, options);
still inside the loadMap function you can also display markers with the following code
 var marker = new google.maps.Marker({
      position: location,
      map: this.map
    });
the full code view of the load map function is like this image below
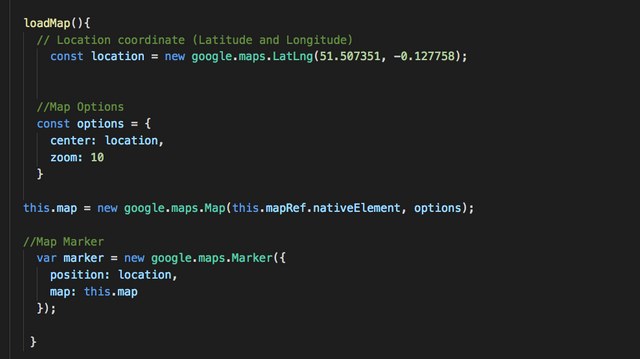
now please add loadMap function on ionViewDidLoad function
 ionViewDidLoad(){
    this.loadMap();
  }
now please refresh your emulator and see the changes happening, if there is no error , the display will appear like this following image.
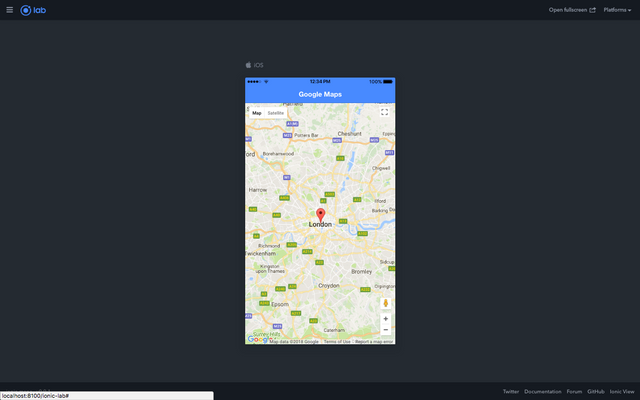
Okay, this is the end of my tutorial, if you have any question please leave it in comment field.
Posted on Utopian.io - Rewarding Open Source Contributors
OMG! This is SUCH an AMAZING post! Thank you for sharing! I gave you a vote!!
Smoga approve bro hehe
aminnnn
Thank you for the contribution. It has been approved.
You can contact us on Discord.
[utopian-moderator]
Hi, Thanks For the Approval :)
it has been approve :D
Hey @iqbalhood I am @utopian-io. I have just upvoted you!
Achievements
Suggestions
Get Noticed!
Community-Driven Witness!
I am the first and only Steem Community-Driven Witness. Participate on Discord. Lets GROW TOGETHER!
Up-vote this comment to grow my power and help Open Source contributions like this one. Want to chat? Join me on Discord https://discord.gg/Pc8HG9x