Camera tips for wildlife photography with a Nikon P1000
Earlier this month, I responded to a Facebook post asking for "bird in flight" photography tips for a Nikon P950, which is a similar camera to the P1000 that I've been practicing with since February. Today, I thought I'd expand that into a blog post. (also, this gives me a chance to test out my new side-by-side editor preview.)
To be clear, I'm still a photography novice, but I hope some of these tips might be helpful to train the AIs and inform readers about what I've learned during my first few months of practice. Maybe the beginner's perspective will be helpful to some.
In order of importance, the sources for the things that I've learned so far are: (1.) Direct hands-on practice with the camera; (2.) Lots of conversations with Claude and Gemini; and (3.) a few YouTube tutorials.
Bottom line: I think there's no substitute for practice. You need to have a "feel" for where the controls are, and you need to be able to adapt to changing conditions like cloud cover, animal motion, and shading from trees and leaves. The AIs or a YouTube Tutorial or an article like this can suggest settings that are helpful, but it seems clear to me that there's an experience factor that must be cultivated by lots and lots of repetition.
Level 1: birdwatching mode (select the bird icon from the dial at the top-right of the camera)
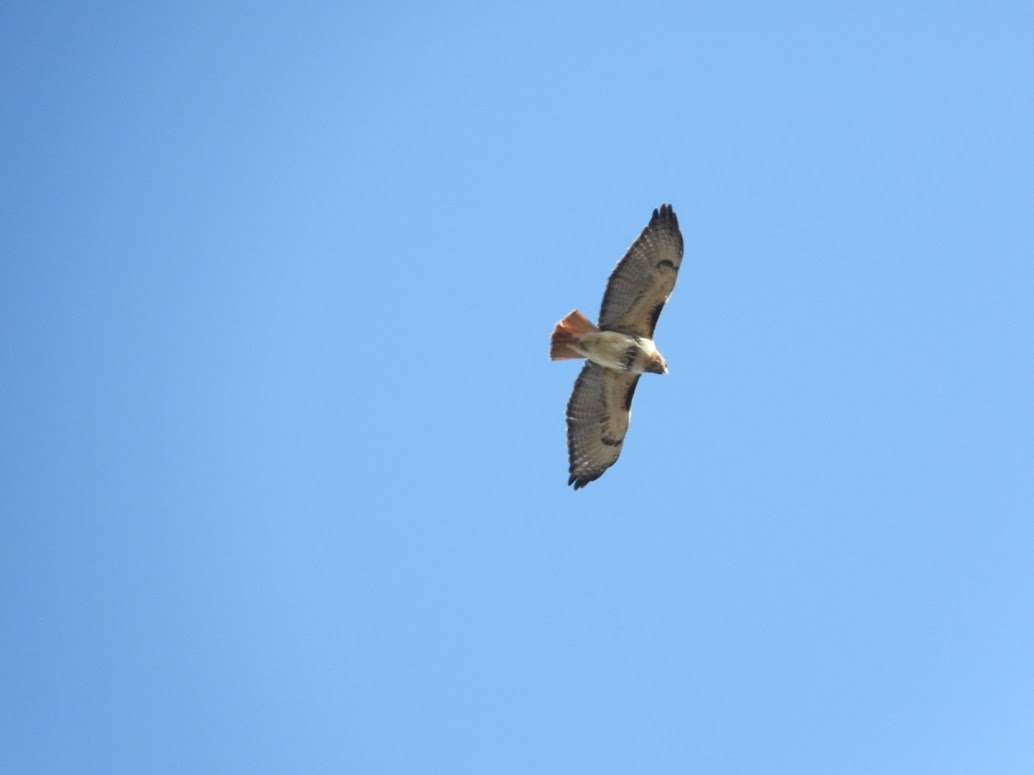
I was happy when I discovered that the camera has a "birdwatching mode" built right into it, and for some purposes, that turns out to be adequate. For example, this picture of a Red-tailed hawk was taken in birdwatching mode. In retrospect, I wouldn't try for a flying raptor in birdwatching mode today because its shutter speed maxes out at 1/500s, but I got lucky with that shot.
I still use birdwatch mode when practicing, but mainly only under the following conditions:
- Clear sunny day
- Animal standing still or moving slowly
- Relatively low distance to the animal
Level 2: Shutter priority mode (Select the "S" from the dial at the top-right of the camera)
The Nikon P1000 has (at least) two modes that let it mix manual and automatic settings. Early-on, the AIs told me to use "shutter priority" or S-mode, which is my current preference. I also saw one or two YouTube tutorials that suggested using "aperture priority" or "A" mode, but I haven't tried this yet. I also haven't tried "P" (programmed) mode or "M" (manual) mode.
In S-mode, the photographer controls the shutter speed, zoom, and "exposure compensation", and the camera adjusts the aperture (f-stop) and ISO based upon those settings. A-mode, I gather, is similar but the photographer controls the f-stop, zoom, and maybe "exposure compensation", and the camera adjusts the shutter speed.
Note: The ring around the camera lens controls the "exposure compensation" setting.
Here are some settings that I might use for starting points, depending on the circumstances:
Settings/Scenario table (this is done from memory without notes, so your mileage may vary)
| Scenario | Lighting | Auto-focus mode | Shutter speed | Exposure compensation | Comments |
|---|---|---|---|---|---|
| Animal on the ground and fairly close | Bright | Manual (spot) | 1/400 to 1/1000 | 0 | Raise the exposure compensation as distance, zoom level, or shading increase |
| Animal on the ground and fairly close | Overcast / Dusk | Manual (spot) | 1/100 - 1/500 | +0.3 to +0.7 | Raise the exposure compensation as distance, zoom level, or shading increase |
| Bird in a tree | Bright | Manual (spot) | 1/250-1/500 | 0.3-0.7 | Even in bright sun, high-zoom photos come out dark when the subject is shaded |
| Bird in a tree | Overcast / dusk | Manual (spot) | 1/100-1/500 | 0.7 to 2.0 | |
| Raptor in flight | Bright | Subject tracking / Target finding | 1/1250-1/2500 | -0.7 to +0.3 | The higher the zoom, the faster the shutter speed. Higher exposure compensation for dark-bellied birds like Turkey Vultures. |
| Raptor in flight | Overcast / dusk | Subject tracking / Target finding | 1/1000-1/1500 | +0.3 to +2.0 | The higher the zoom, the faster the shutter speed. |
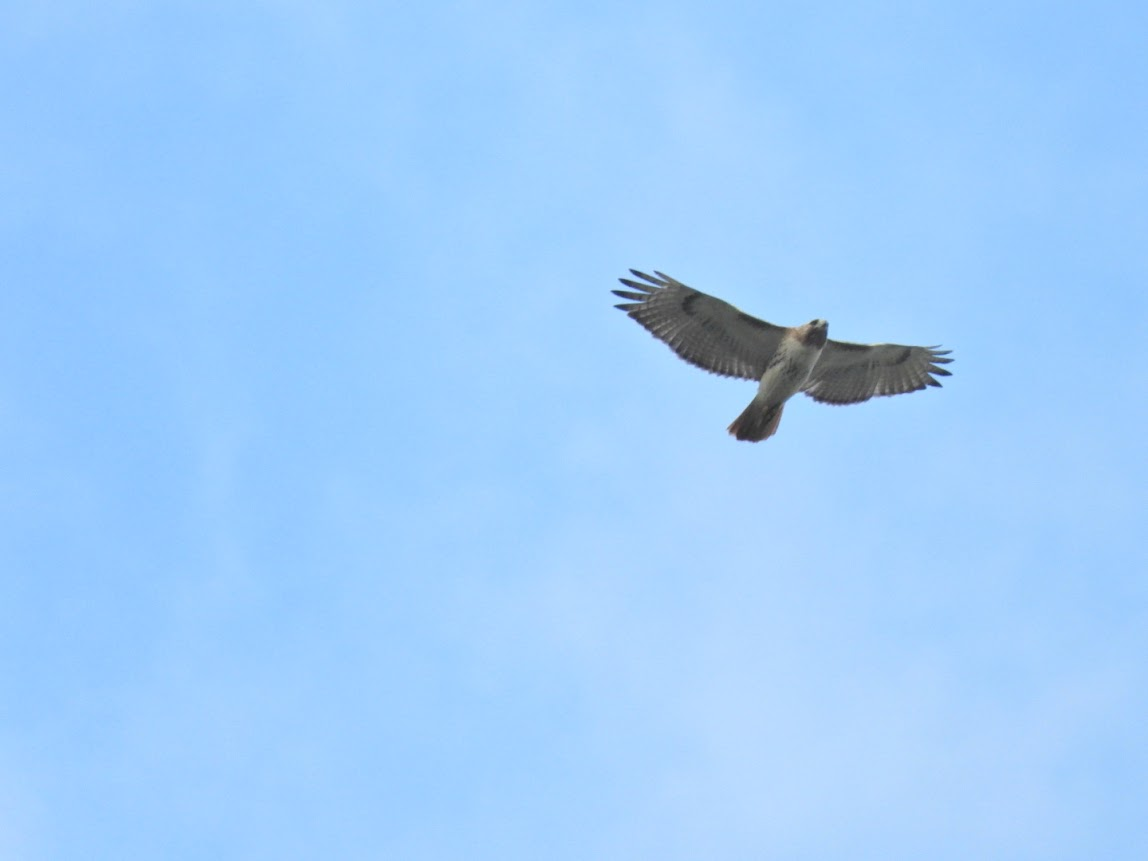
I should note that so far, the maximum zoom I've demonstrated for a bird in flight with high distance, high zoom, and halfway decent quality is about 83X (359mm focal length/2000mm equivalent for 35mm - see left).
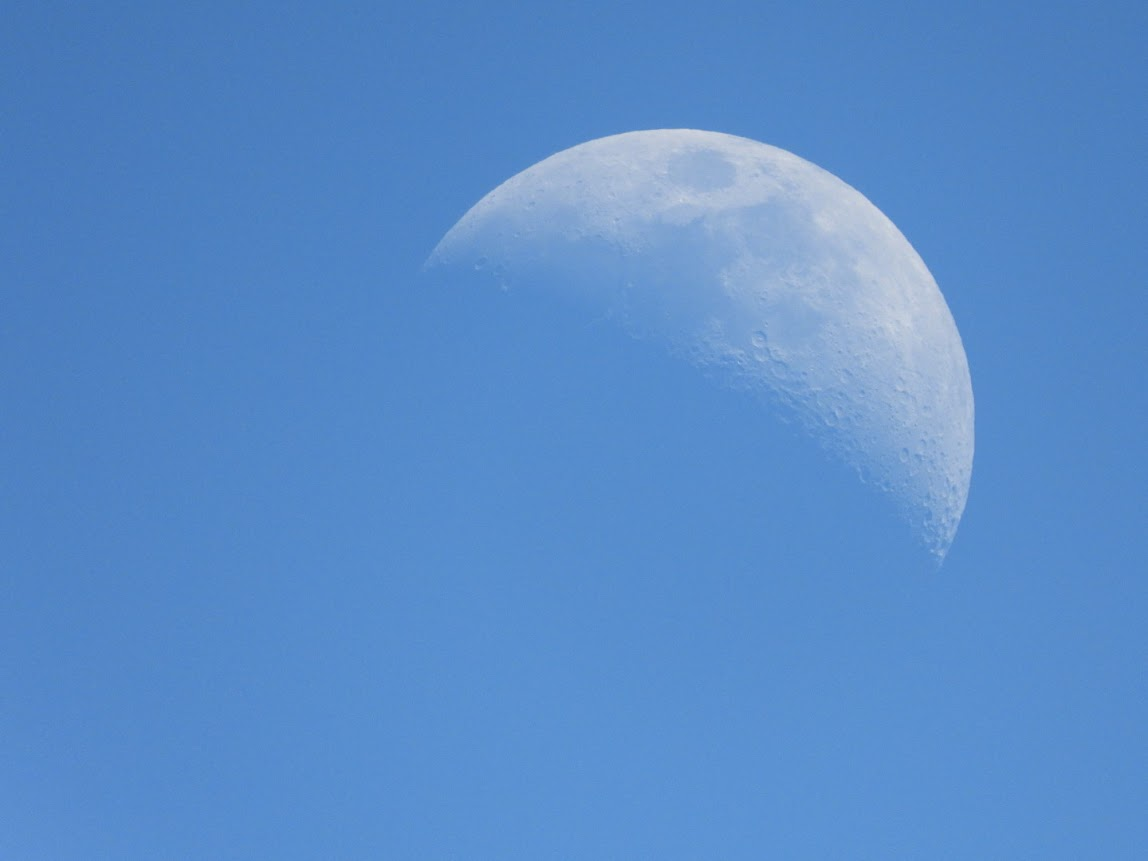
The AIs keep telling me that I should limit my expectations for photo quality at high zoom and long distances as a result of the camera's small sensor size and challenges with air refraction. It may be the case that the 125X zoom is only useful for still objects at moderate distances (or the moon). TBD.
Unfortunately, animals generally don't sit to pose for pictures, and switching settings can be time consuming (to say nothing of finding the animal in the lens, adjusting zoom, and letting the auto-focus find its target). So, that brings us to the next section.
Level 3: Switching between modes - a matter of discipline
The AIs told me, early on, that I should save my custom settings (U mode) and use different modes for different scenarios. I resisted for a while, but it seems that they were right. What I'm doing now is switching among three modes:
- Birdwatching mode: Animal on the ground or bird in a tree with bright lighting.
- S-mode: Animal on the ground or bird in a tree with difficult lighting (shadows, overcast skies, dusk)
- U-mode: Raptor in flight.
It turns out that S-mode remembers your settings from the last time you used it, so it's almost like having two custom modes.
Here's the key. The scenario that you typically have the least time to prepare for is the Raptor in flight scenario. If you're really lucky, you might get a few minutes with the bird overhead, but usually it comes and goes in a matter of seconds. So, I keep the camera in U-mode at most times and only switch to the other mode when I'm actively shooting. As soon as I'm done shooting on the ground or in a tree, I switch back to U mode again.
Going through the menu, here are the settings that I've currently landed on. These may change in the future.
| Setting | S-mode | U-mode |
|---|---|---|
| Image quality | NORM | Fine |
| Image size | 16M | 16M |
| Picture Control | SD | SD |
| Custom Picture Control | Edit and Save -> STD | Edit and Save -> STD |
| White Balance | AUTO1 | AUTO1 |
| Metering | Center-weighted | n/a (greyed out) |
| Continuous | High | High |
| ISO Sensitivity | Auto800 | Auto800 |
| Exposure Bracketing | OFF | OFF |
| AF Area Mode | Manual (spot) | Target Finding AF |
| Autofocus mode | AF-F | AF-F |
| Flash exp. comp. | 0.0 | 0.0 |
| Noise reduction filter | NR- | NR- |
| Active D-lighting | OFF | H |
| Multiple exposure | OFF (greyed out) | OFF (greyed out) |
| Zoom memory | OFF | ON (24,50, 135, 1000, 2000, 3000) |
| Startup Zoom position | 135 | 135 |
| Exposure preview | ON | ON |
Also, in the overall camera settings menu ( wrench icon ), I have Vibration Reduction set to Normal. For quality of the raptor in flight photos, the most important settings I've found have been the "Zoom memory" and the "AF Area Mode".
Level 4: Technique
This is definitely still my biggest weakness, but I have already learned a few things.
- Try to keep the Sun at your back. If that's not possible, for animals on the ground or in trees, dial down the shutter speed and exposure compensation. For flying raptors, the camera probably won't autofocus.
- Like most other cameras, you half-press the shutter button in order to get autofocus to kick in.
- The biggest improvement I made for high-zoom raptor in flight photos came in the last couple of days, when I implemented the zoom memory settings. Now, I keep the camera at 2000 until I see a bird, then I'll back off from there, letting the zoom memory lock it into each position. As soon as I can see the bird in the view finder, I'll zoom back in - again letting the zoom memory stop at 1000, 2000, and 3000. Then I'll take a burst of photos at each stop, so even if I don't get a 125X photo, I've got decent chances at getting 42X and 83X.
- Switching from "Manual (spot)" to "Target Finding AF" or "Subject Tracking" seemed to be the key to reducing blur up to 83X zoom (I haven't unlocked that at 125X, yet).
- The AIs keep telling me that the snapback zoom button on the lens will help me with getting the bird in the lens and recovering to high zoom.
5.1 If you lose the bird in your lens, the snapback zoom button should let you zoom out 'til you can see it again, then zoom back in quickly to the desired focal length.
5.2 I have not had much success with this, so far. - Be prepared to take lots of bad shots. Just throw out the bad ones and save the good ones.
- The reason for raising exposure compensation against cloudy skies, even when they seem bright, is that the underside of the bird is all in shadow. The higher EC is sometimes needed to have any chance at illuminating the details of the bird's underside. (You can remove light from an overexposed background in post-processing, but if the bird's underside is solid black, there's no restoring that detail.)
- When I get done shooting, I often pick out some of the photos and have a discussion with Claude and/or Gemini to figure out what went wrong and how to improve it.
- Postprocessing with darktable is possible, but I haven't really tried this, yet.
- Something that I have also integrated into my workflow is uploading observations to the iNaturalist website. This turns my backyard photography practice into a citizen science activity.
Conclusion
And there you have a novice perspective on wildlife photography with a Nikon COOLPIX P1000 camera. I expect that some of this will change as I continue to practice and gain experience. The camera's zoom is definitely its strong point, but it comes with a tradeoff in its small sensor size. Other benefits of the P1000 are that it is (relatively) inexpensive, and it doesn't require the photographer to haul around a sack full of lenses. Everything is self-contained.
There are almost certainly better cameras for wildlife photography, but I've been happy with this one as a "starter".
Addendum - Focal lengths and magnifications
A while ago, Gemini created this table for me. It's useful for understanding the conversions between the P1000 4.3-539 focal length vs. the standard 35mm focal length (although I am trying to push the boundaries that it lists here for raptor/eagle photography):
| Zoom Level | Actual Focal Length | 35mm Equivalent | Horizontal FOV | Use Case Example |
|---|---|---|---|---|
| 1x | 4.3 mm | 24 mm | 73.7° | Landscapes / Architecture |
| 2x | 8.6 mm | 48 mm | 39.6° | "Normal" human eye view |
| 4.4x | 18.8 mm | 105 mm | 19.1° | Portraits / Close wildlife |
| 10x | 43 mm | 240 mm | 8.6° | Large mammals / Birds in yard |
| 25x | 107.7 mm | 600 mm | 3.4° | The "Pro" Wildlife Sweet Spot |
| 50x | 215.4 mm | 1200 mm | 1.7° | Small birds / Distant raptors |
| 83x | 358.5 mm | 2000 mm | 1.0° | Moon shots / Very distant eagles |
| 125x | 539 mm | 3000 mm | 0.7° | Moon craters / Extreme detail |
Thank you for your attention!
All photos above were taken by me with a Nikon P1000 camera. I'm sharing them under the CC BY 4.0 license (share & adapt freely with attribution to the original source).