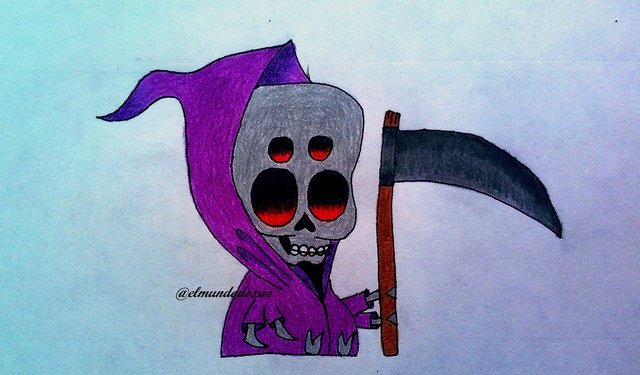
Hello everyone, welcome to my blog. Since we are close to the Halloween celebrations so I wanted to incorporate some drawings related to these festivities and to start I will do it with a modification I made to an image that I had planned to draw but while I was doing the sketch it occurred to me to make certain modifications to begin to practice my own design but as any learning process is somewhat slow I must start by modifying small characteristics of characters and thus understand what would be the best methods to obtain the desired results.
The materials I use: white paper, pencil, 0.5 marker, eraser and colors.
I usually use images and video material to complement my learning, so at the end I leave the link I used on this occasion.
Next I start the step by step of the drawing:
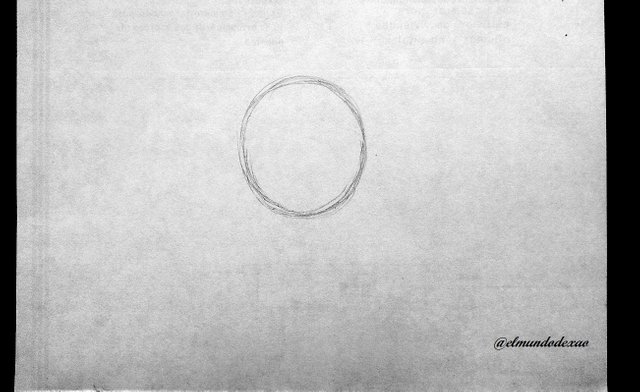
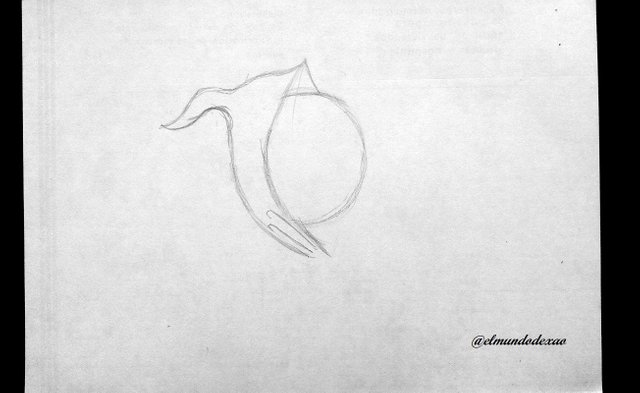
Step # 01: As usual the first thing I do is a circle; I remind you that if you want to try it and you don't get the circle just practice it daily at first it seemed tedious to me but after a few days you could already notice the improvement you should also remember that the idea is to make a circumference or something more or less similar it doesn't have to be a perfect circle; then I draw the hood and for it it will only be enough a couple of vertical and arched lines placed on the left side of the circumference; something similar to a half moon to then make a kind of tail to the hood it can be short long everything will depend on our taste also we must draw a small line from the top of the half moon to the front; this will be like a small triangle.
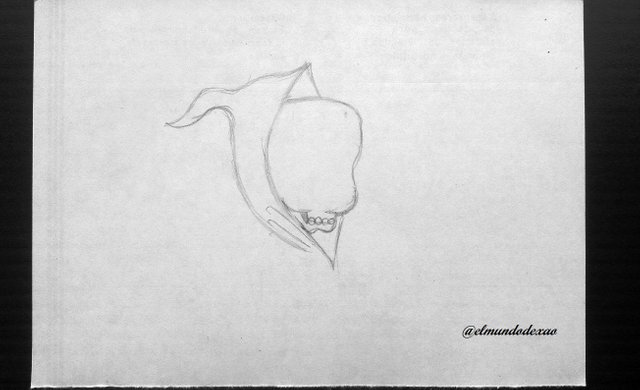
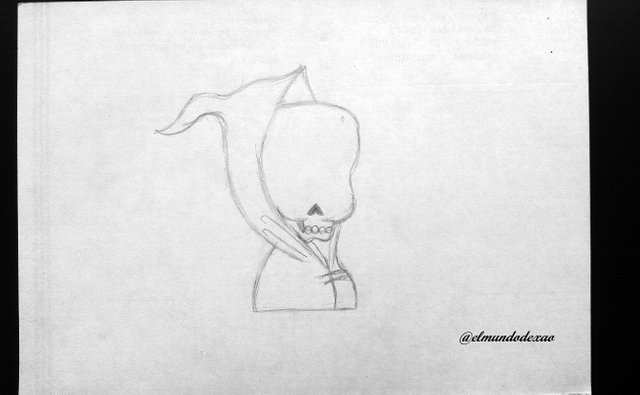
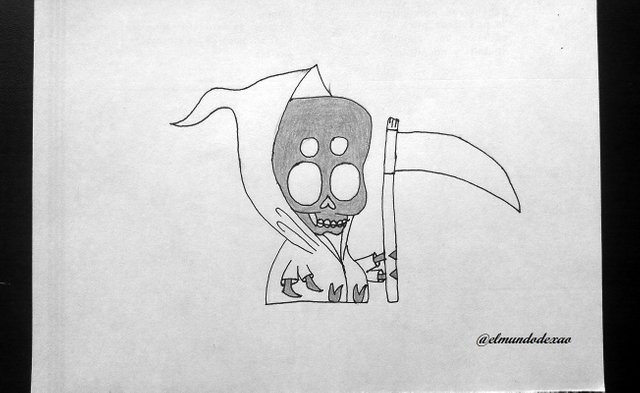
 Step # 02: We begin to mold the head of our character by erasing the right side of the circumference and drawing a wavy line as shown in the following image; then we define the jaw and add four circles to define the teeth; for the body it will be enough to draw three lines arched downwards and a horizontal one to know the limit or size of the body.
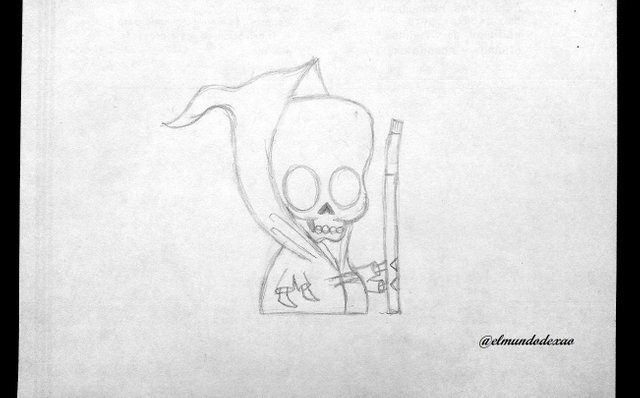
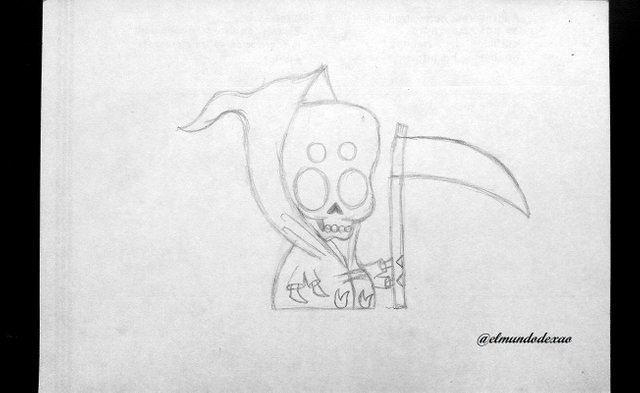
 Step # 03: I add a couple of circles on the head for the eye sockets and I add two pairs of hands, remember that I wanted to make our character have arachnid characteristics; at once I define the handle of the scythe that will go on the pair of hands that go to the right then I draw the blade, a pair of legs and of course a detail that could not be missing; a pair of additional eyes just a little smaller and the sketch is ready.
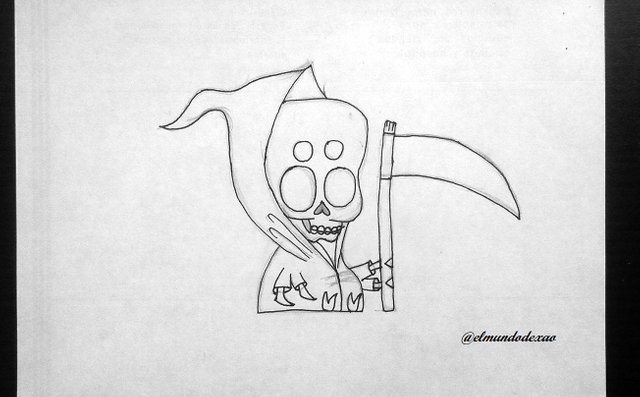
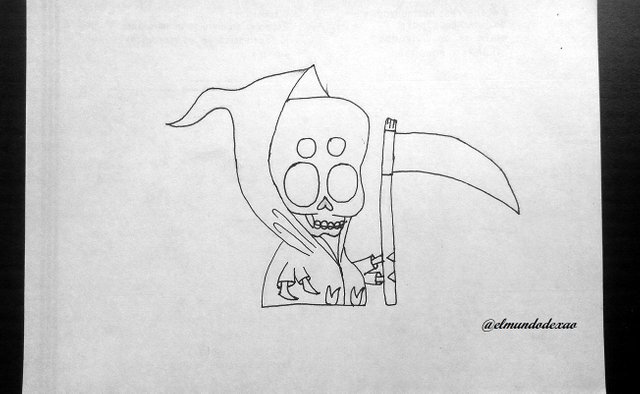
 Step # 04: I proceed to highlight with ink and in this way accentuate some details or simply not include them, for example I added one more tooth and the nose that had a triangular shape I changed it for an inverted heart; once ready I erase all the graphite and clean the sheet.
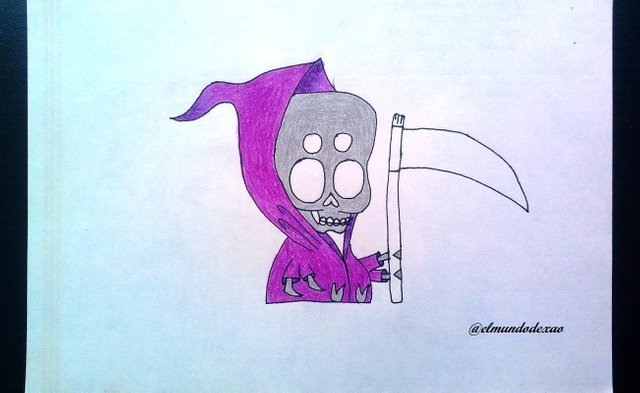
 Step # 05: I start coloring using a gray color for the face and paws; as for the tunic I will give it a purple tone and with the black color I darken the parts that I need to give shadows.
 Step # 06: For the eyes I will first use a red color in the lower half and for the upper part I will use black; of course I must blend it with the red to achieve a better finish; the scythe will have a brown handle since it is made of wood and the blade will be black with gray and that is the end of this tutorial.
Well friends I say goodbye wishing you all a great day.
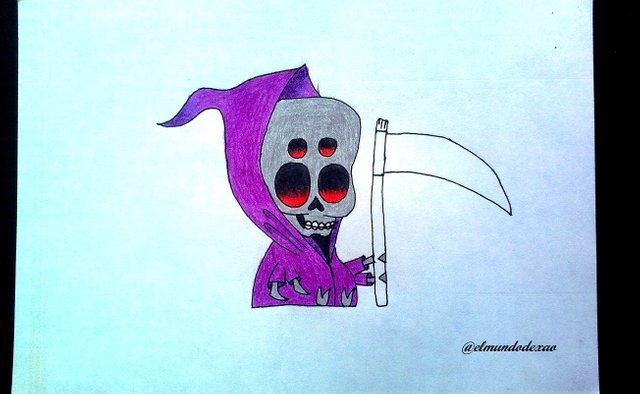
Photo Source: Own photos captured with a Síragon camera.
Modified size: With the Paint Program.
Thanks for visiting my Blog… AH! Don't forget to vote, reblogear, and comment.
Translated with:

www.DeepL.com/Translator (free version)

Dibujando Halloween al estilo Kawaii “Muerte Arácnida”.
Hola a todos Bienvenidos a mi blog. Ya que estamos próximos a las celebraciones de Halloween por lo que quise incorporar algunos dibujos relacionados con estas festividades y para comenzar lo haré con una modificación que le hice a una imagen que tenía planeado dibujar pero mientras estaba haciendo el boceto se me ocurrió hacer ciertas modificaciones para comenzar a practicar mis propios diseño pero como todo proceso de aprendizaje es algo lento debo iniciar modificando pequeñas características de personajes y así entender cuáles serían los mejores métodos para obtener los resultados deseados.
Los materiales que utilice: Papel blanco, lápiz, rotulador de 0.5, borrador y colores.
Por lo general utilizo imágenes y material de vídeo para complementar mi aprendizaje por lo que al final les dejo el enlace que utilice en esta ocasión.
A continuación inicio el paso a paso del dibujo:
Paso # 01: Como ya es costumbre lo primero que hago es un circulo; les recuerdo que si quieren intentarlo y no les sale el circulo solo practíquenlo a diario al principio a mí me parecía tedioso pero al cabo de unos días ya se podía notar la mejora también deben recordar que la idea es hacer una circunferencia o algo más o menos parecido no tiene que ser un círculo perfecto; luego dibujo la capucha y para ello solo bastara un par de líneas verticales y arqueadas colocadas del lado izquierdo de la circunferencia; algo parecido a una media luna para luego hacerle una especie de cola a la capucha podrá ser corta larga todo dependerá de nuestro gusto además debemos trazar una pequeña línea desde la punta de arriba de la media luna hacia el frente; esta quedara como un pequeño triangulo.
Paso # 02: Comenzamos a moldear la cabeza de nuestro personaje borrando el lado derecho de la circunferencia y trazando una línea ondulada como se puede observar en la imagen siguiente; después definimos la quijada y agregamos cuatro círculos para definir los dientes; para el cuerpo bastara con trazar tres líneas arqueadas hacia abajo y una horizontal para saber el limite o tamaño del cuerpo.
Paso # 03: agrego un par de círculos en la cabeza para las cuencas de los ojos y le agrego dos pares de manos recuerden que quise hacer que nuestro personaje tuviese características arácnidas; de una vez defino el mango de la guadaña que ira en el par de manos que van a la derecha luego dibujo la cuchilla, un par de patas y por supuesto un detalle que no podía faltar; un par de ojos adicionales solo que un poco más pequeños y está listo el boceto.
Paso # 04: Procedo a remarcar con tinta y de esta forma acentuar algunos detalles o simplemente no incluirlos como por ejemplo agregue un diente más y la nariz que tenía una forma triangular la cambie por un corazón invertido; una vez listo borro todo el grafito y limpio la hoja.
Paso # 05: Comienzo a colorear utilizando un color gris para la cara y las patas; en cuanto a la túnica que porta le daré un tono morado y con el color negro oscurezco las partes que necesito darle sombras.
Paso # 06: Para los ojos voy a utilizar primero un color rojo en la mitad inferior y para la parte superior coloco negro; por supuesto debo difuminarlo con el rojo para lograr un mejor acabado; la guadaña tendrá el mango marrón ya que es de madera y la cuchilla de color negro con gris y así damos por terminada este tutorial.
Bueno amigos me despido deseándoles a todos que tengan un grandioso día.
Fuente de Fotos: Propias capturadas con una cámara Síragon.
Modificado el tamaño: Con el Programa Paint.
Gracias por visitar mi Blog… ¡AH! No se olvide de votar, rebloguear y comentar.