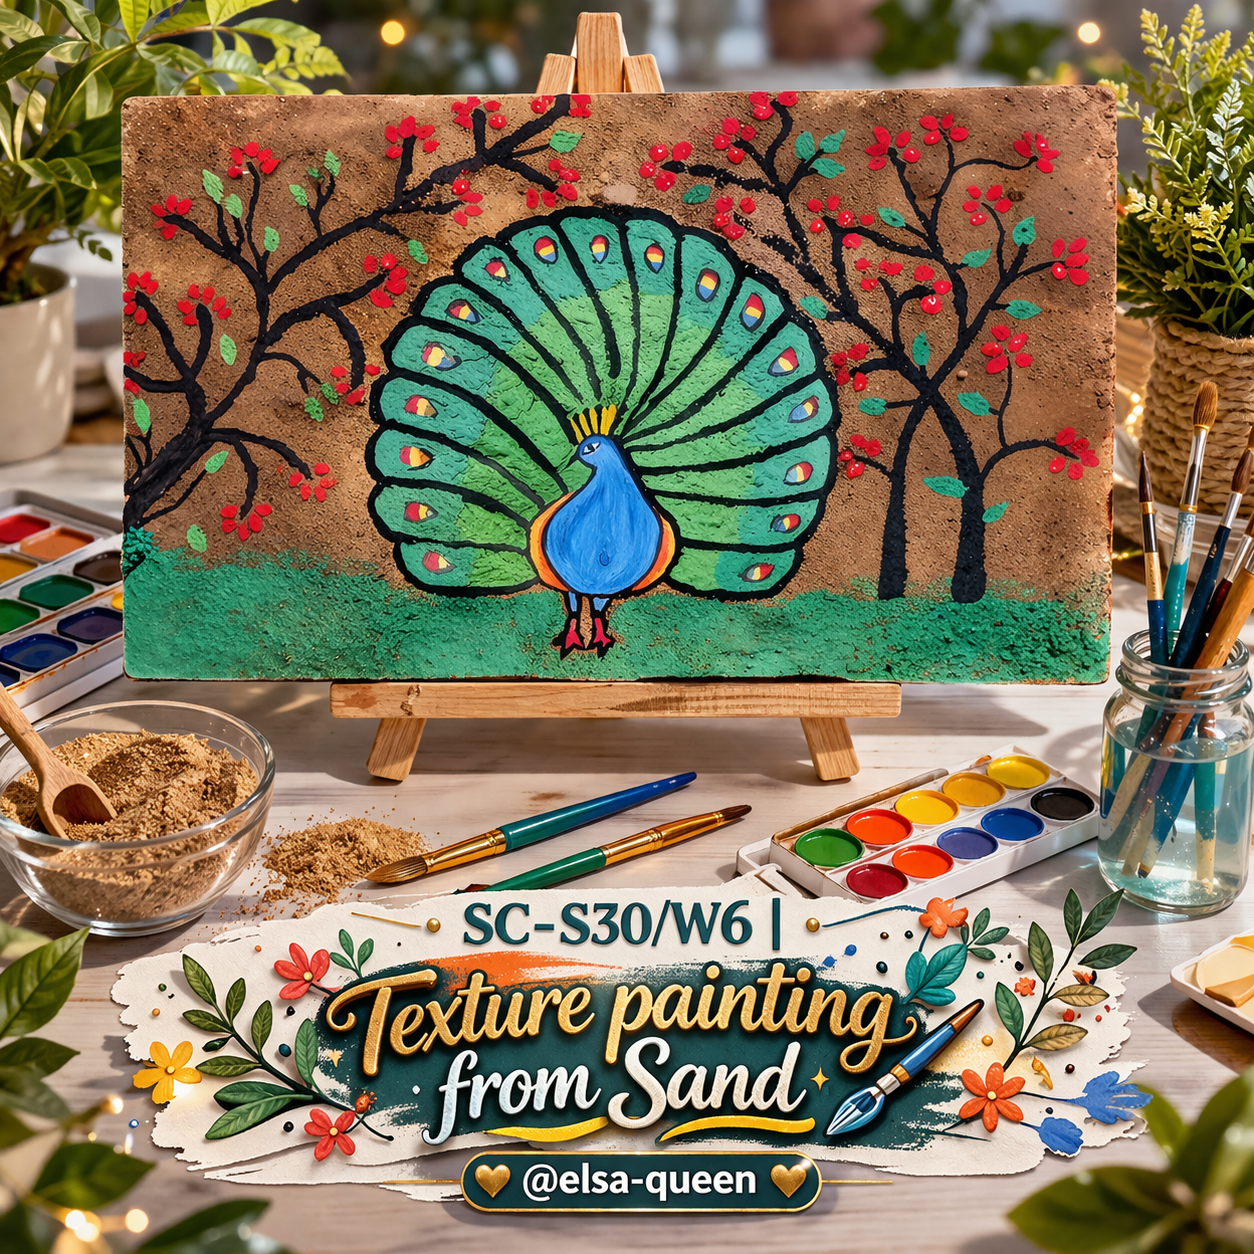
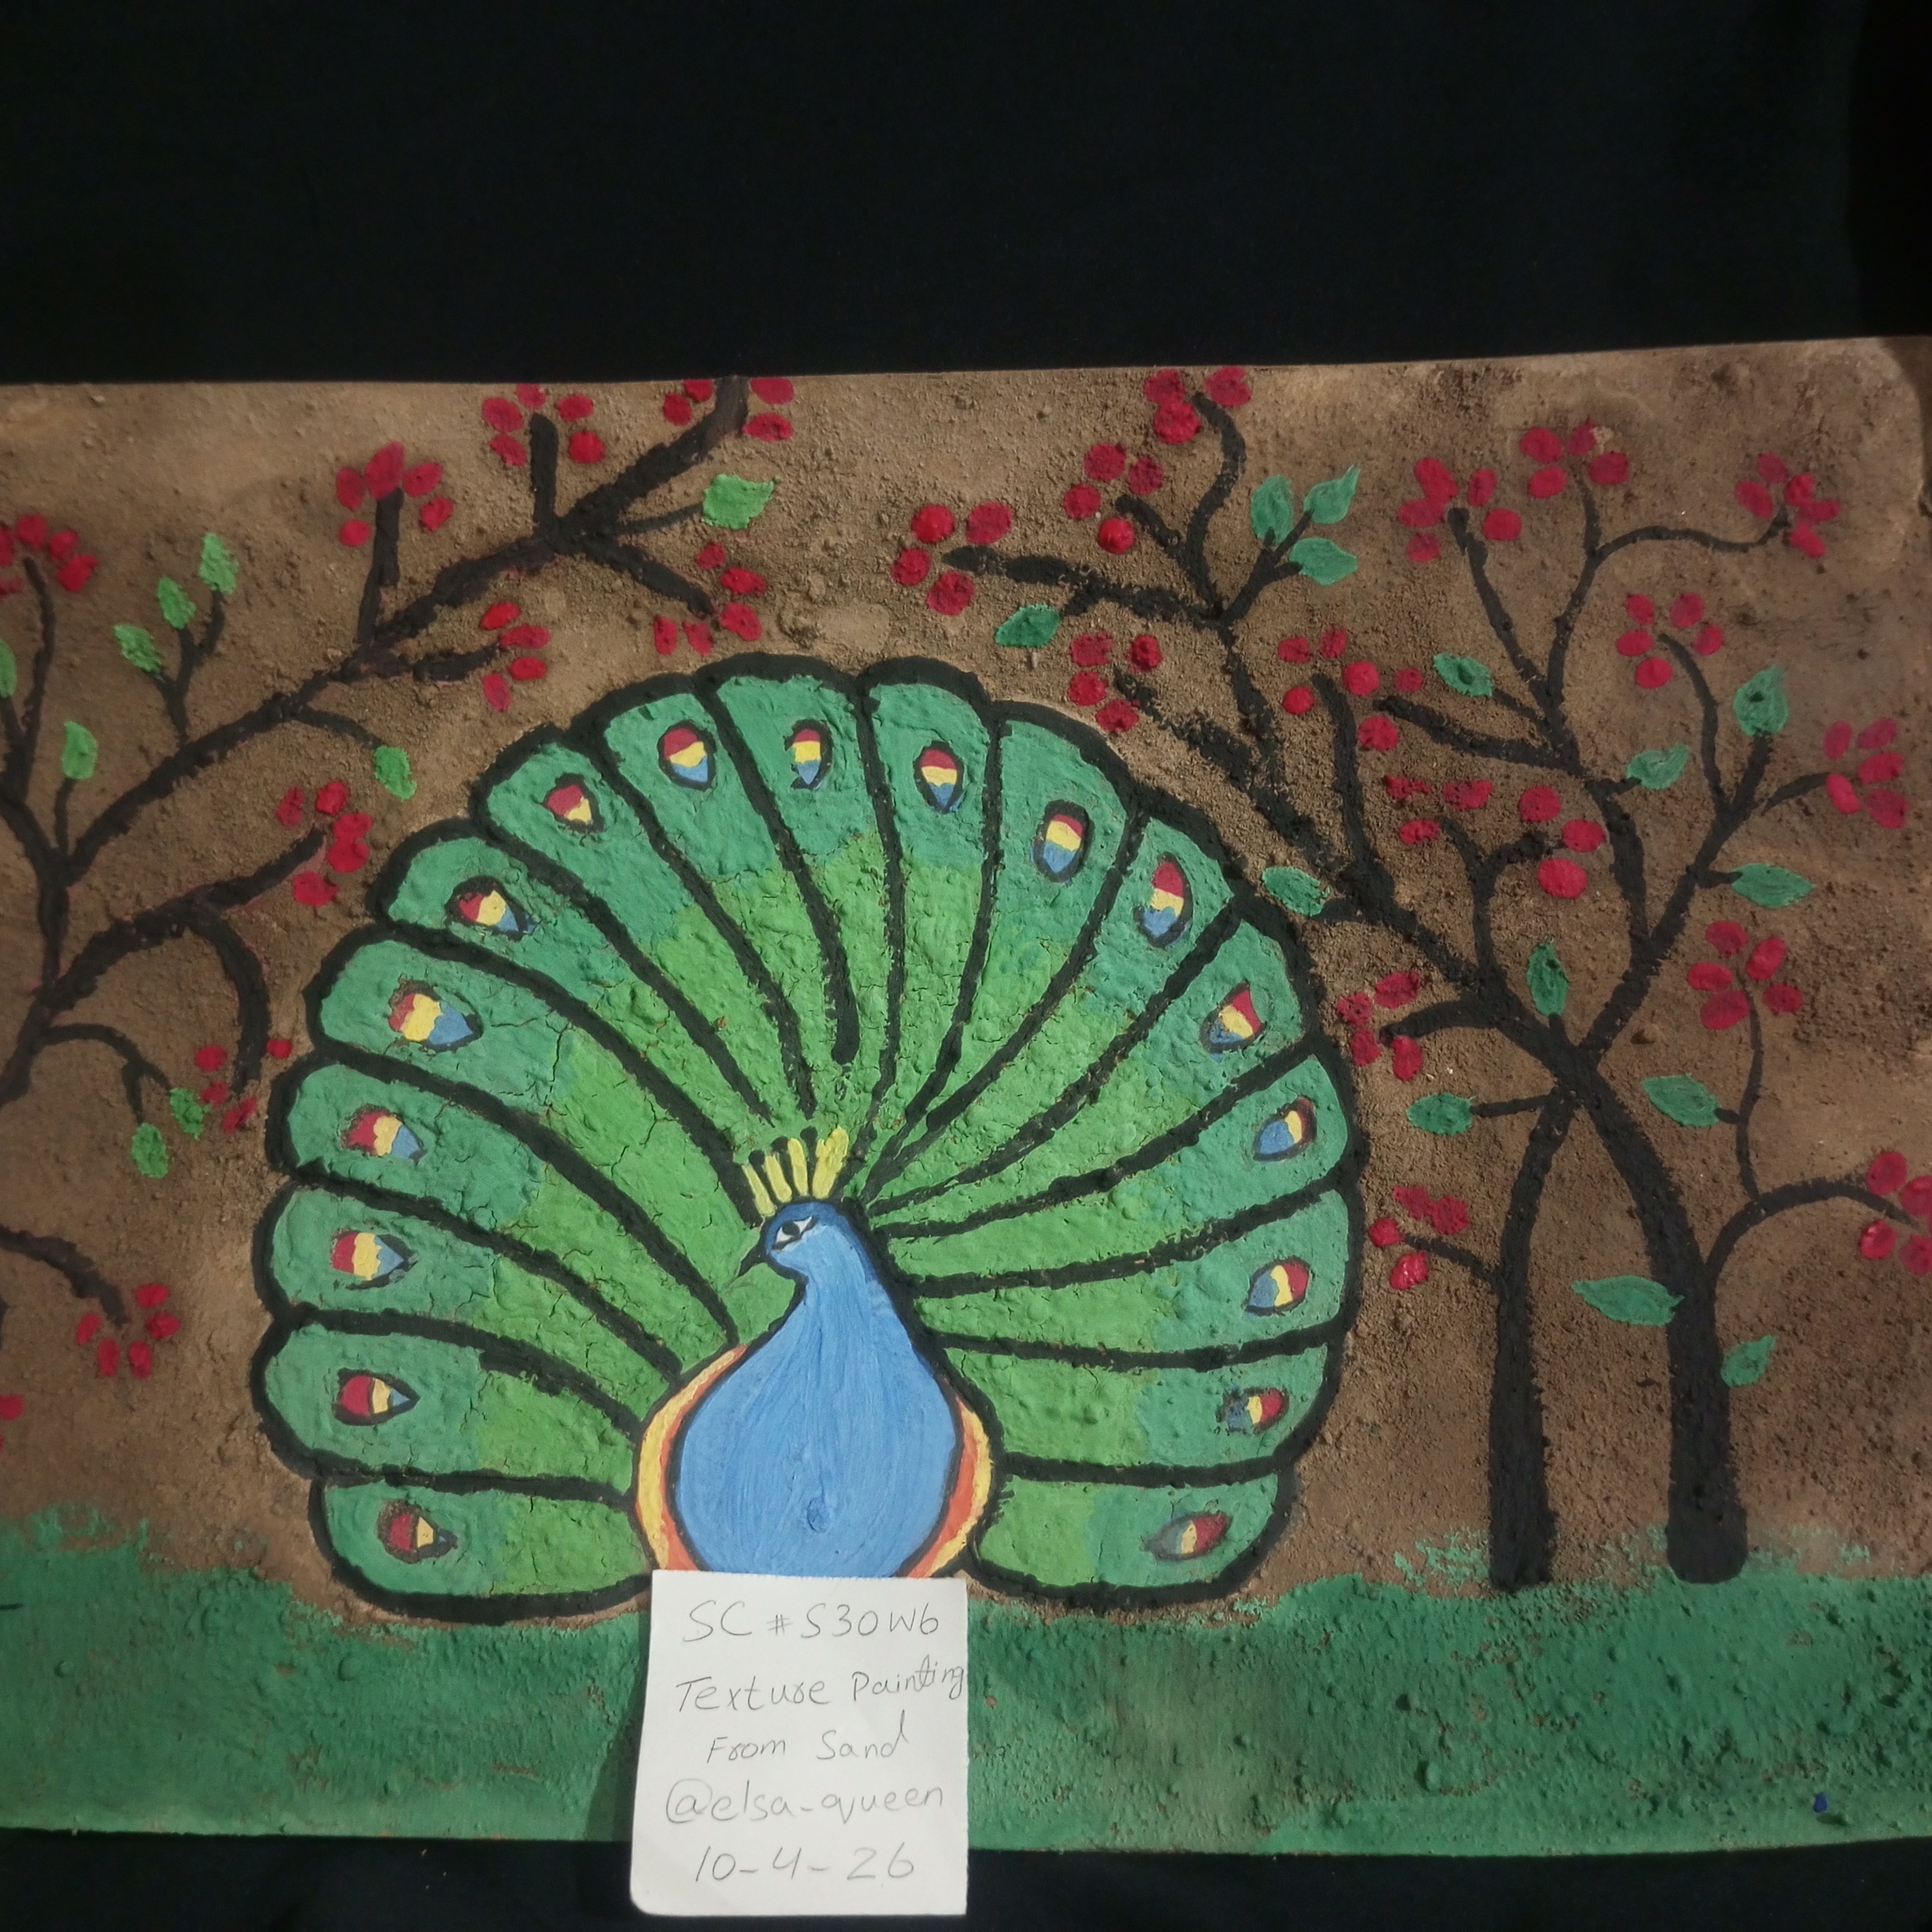
"SC-S30/W6| "Texture painting from Sand🖌️"||
This Image Is Designed By ChatGPT
🌟اَلسَّلَامُ عَلَيْكُمْ وَرَحْمَةُ اَللَّهِ وَبَرَكَاتُهُ🌟 |
|---|
Hey lovely friends! Your bestie @elsa-queen is back with another creative update. I hope you all are doing well and making beautiful memories through your art. I am happy to participate once again in a Steemit challenge. This time I joined the Texture painting from Sand Challenge hosted by the talented ma’am @sualeha.
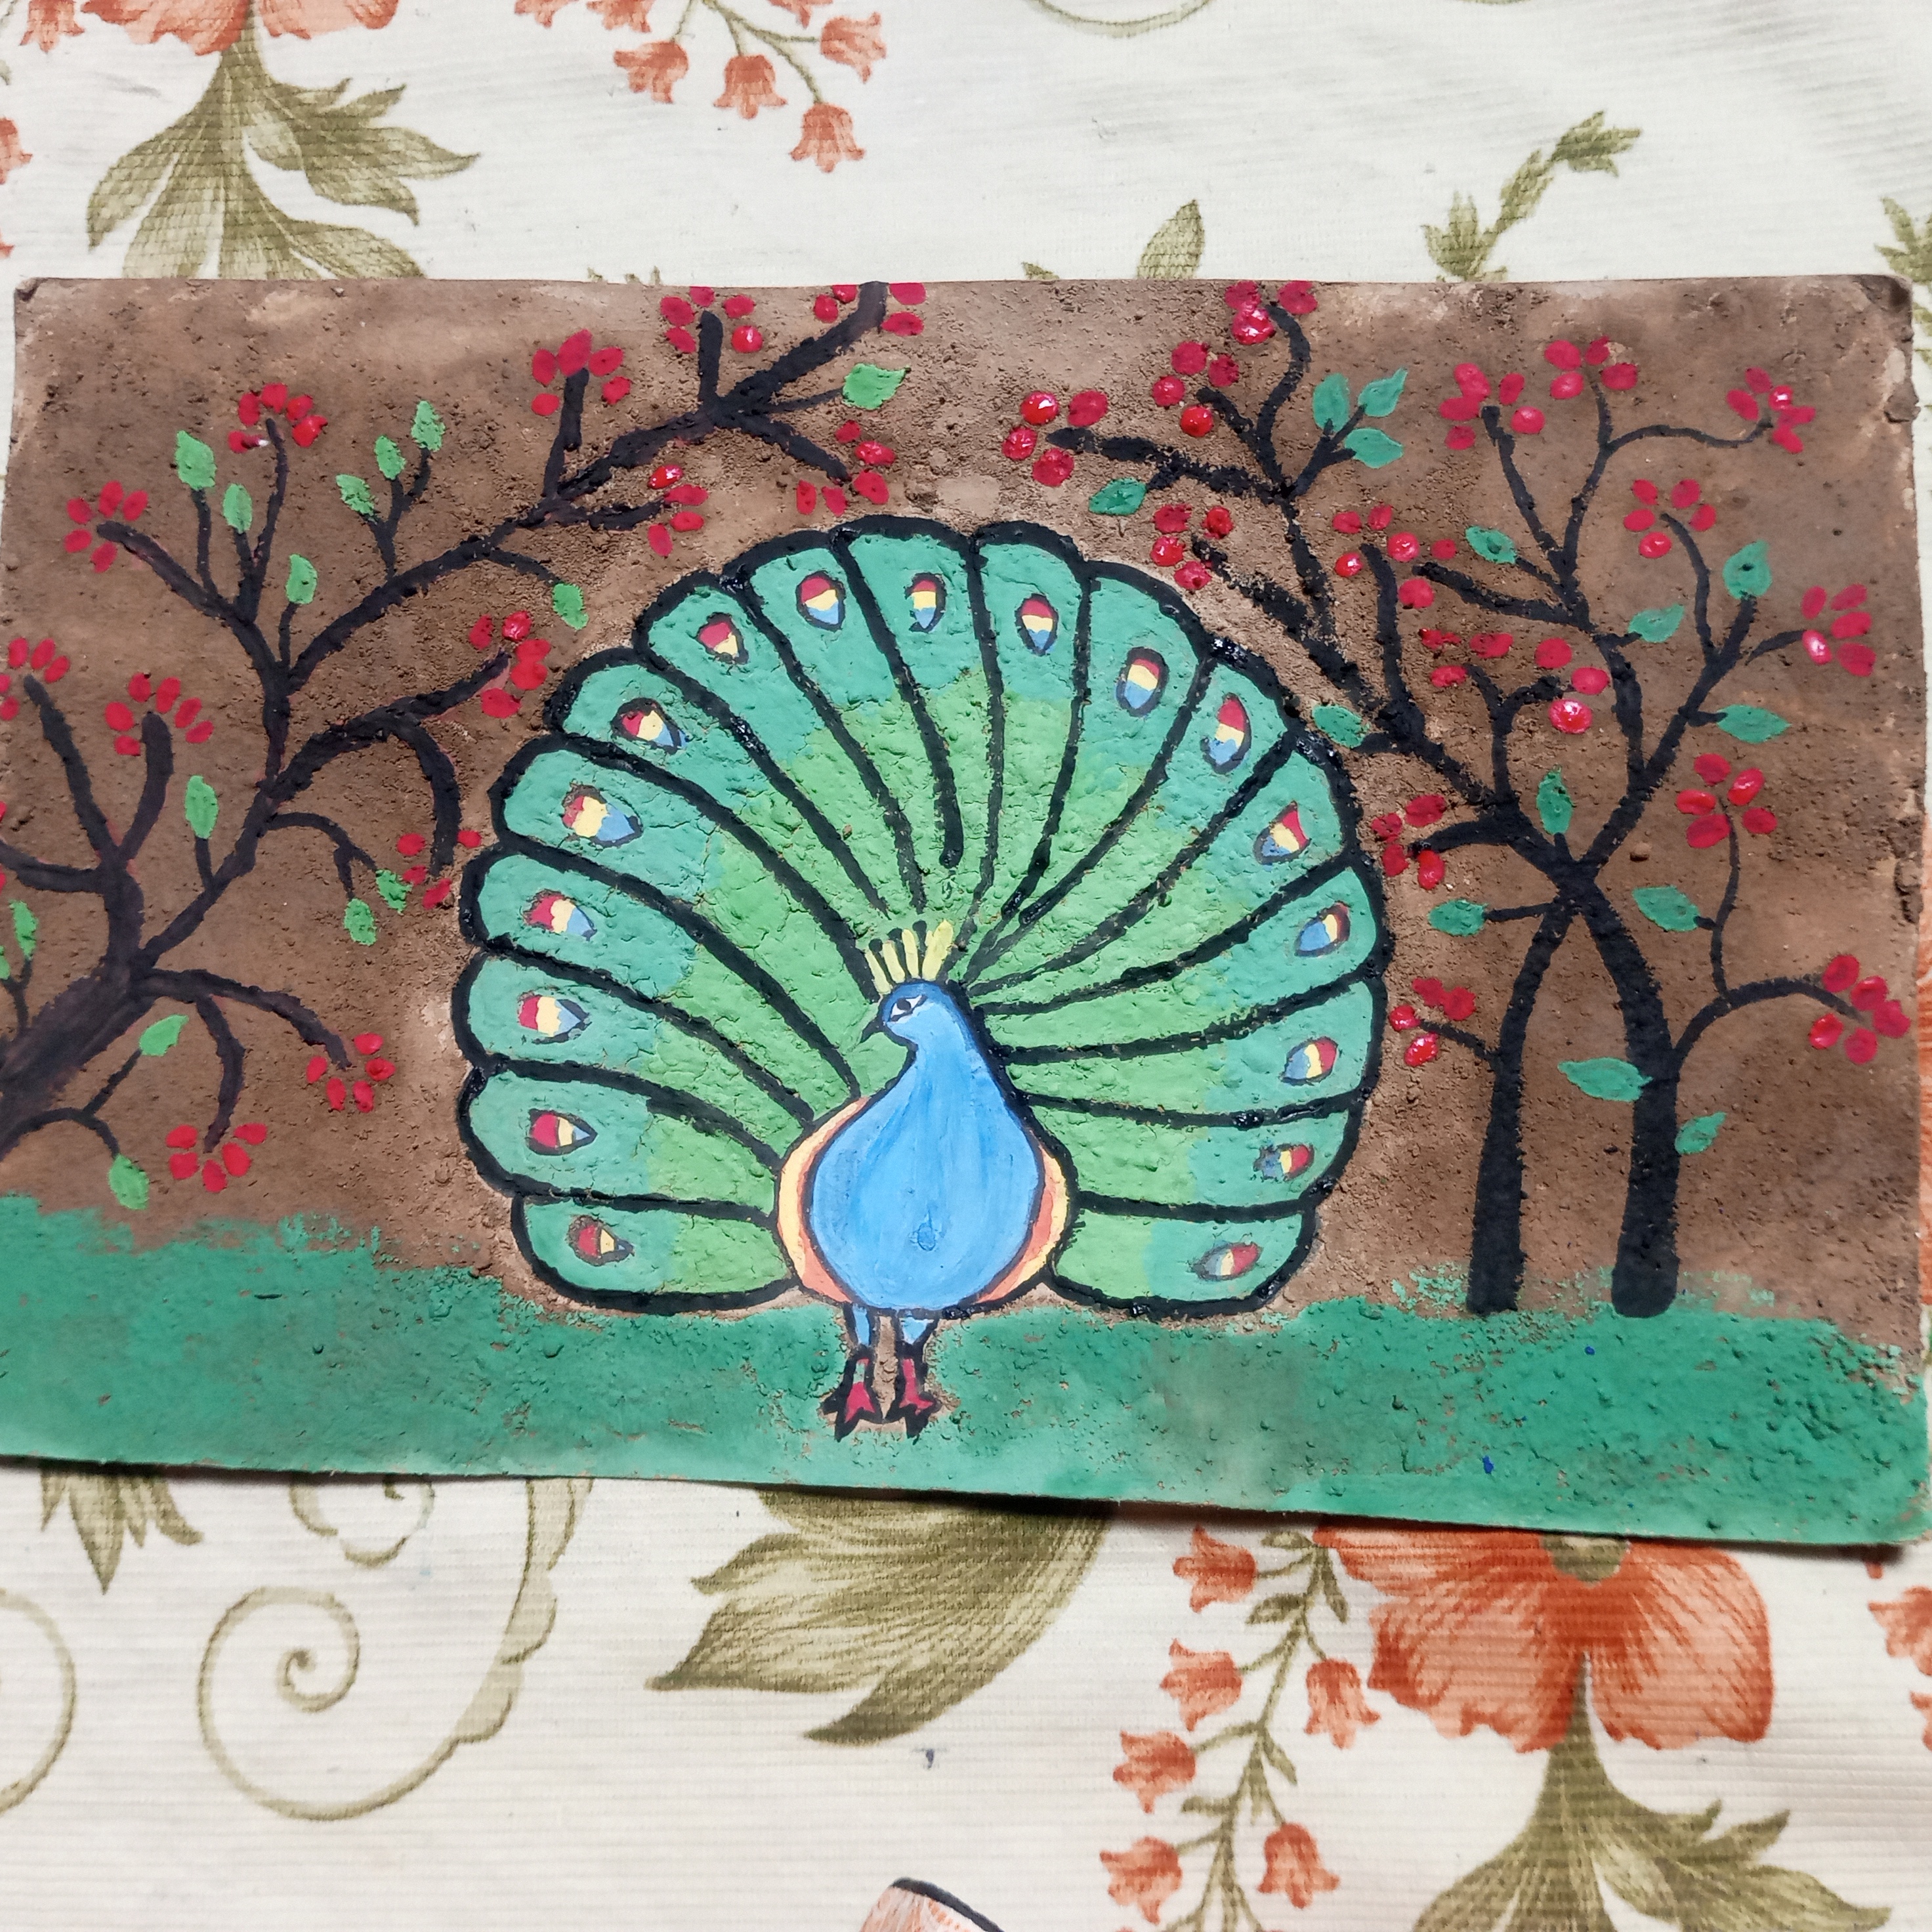
For this challenge I created a sand texture painting on a hard cardboard. The rough, grainy texture of sand give my artwork a unique look. This added a special charm to the design. A big thanks to ma’am for arranging such a creative and motivating challenge. That encourages all of us to explore new artistic ideas.
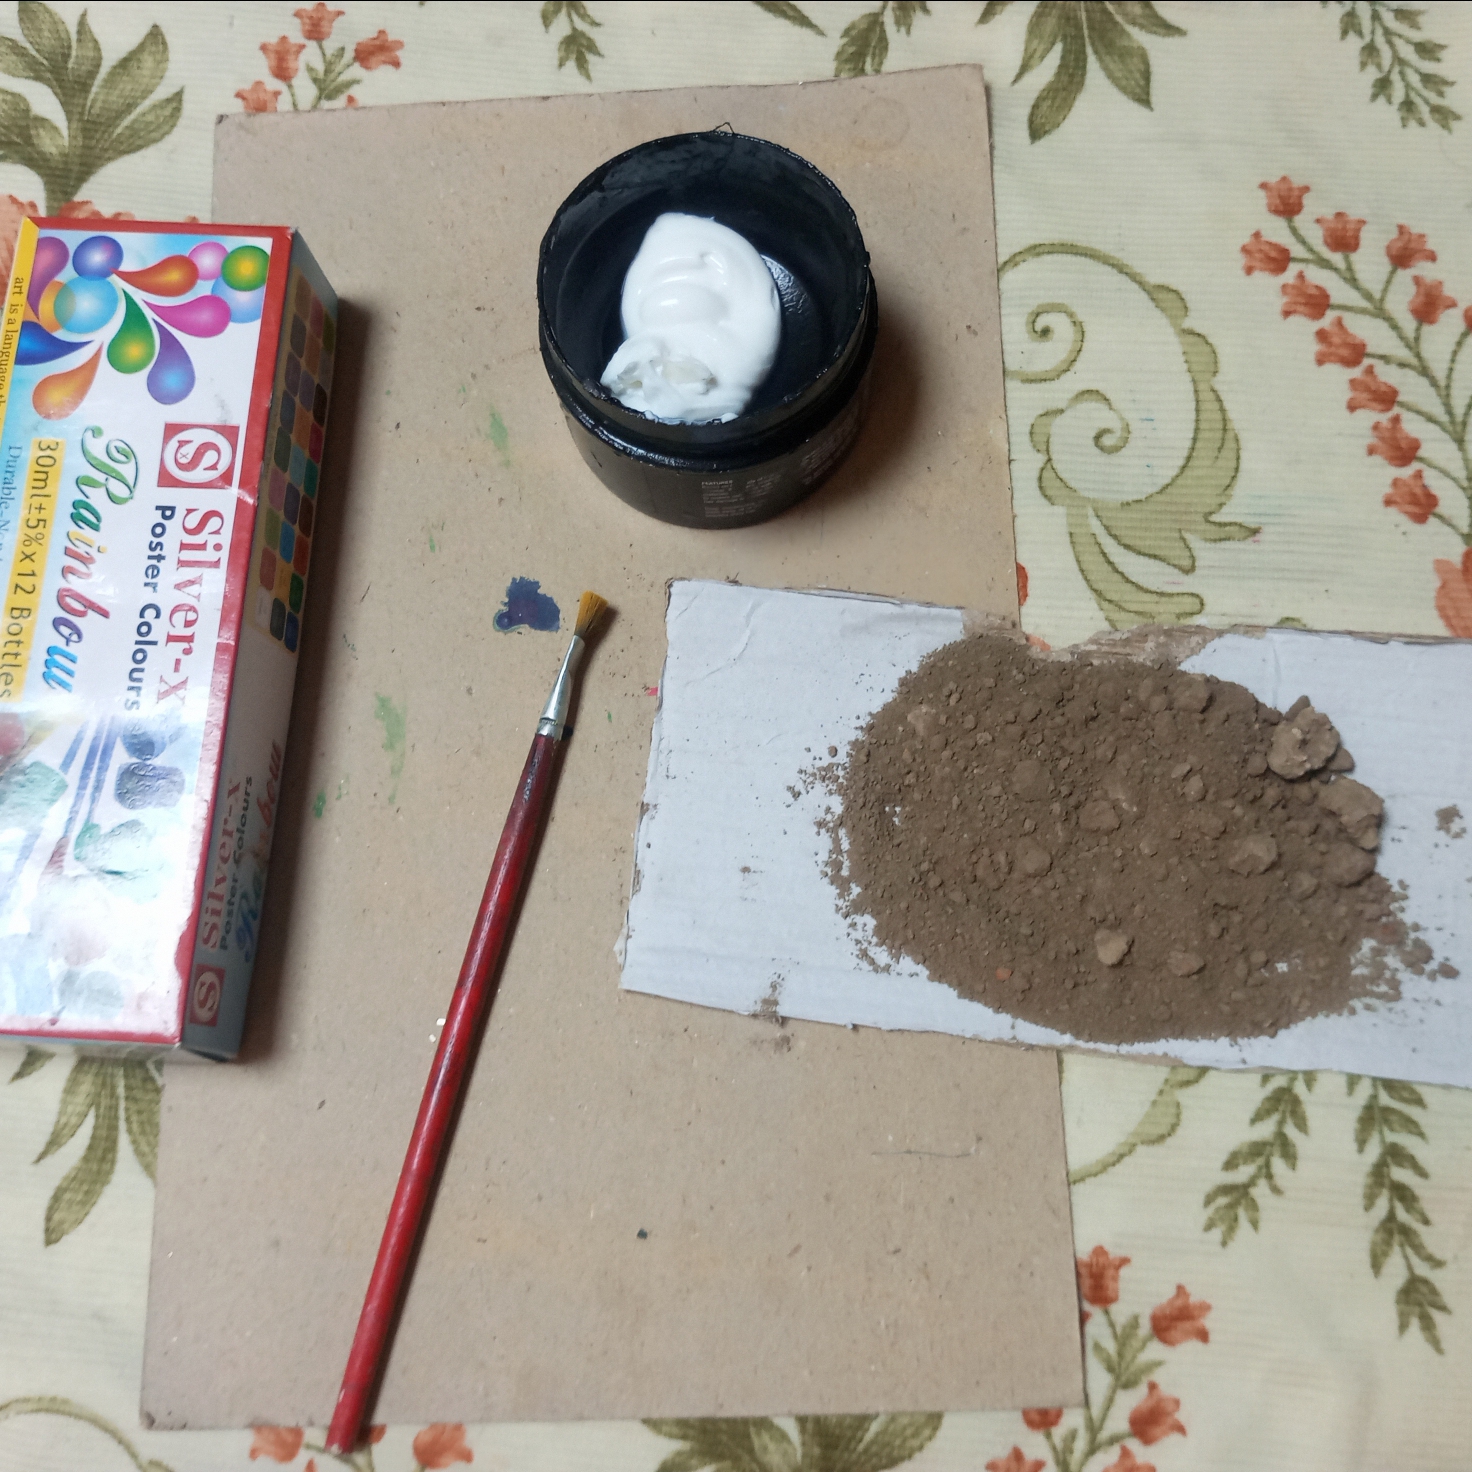
Share with us texture sand painting, on canvas or any medium to convenience...create any design as you like but don't forget to share step by step procedure with images So, let's start making the amazing painting.
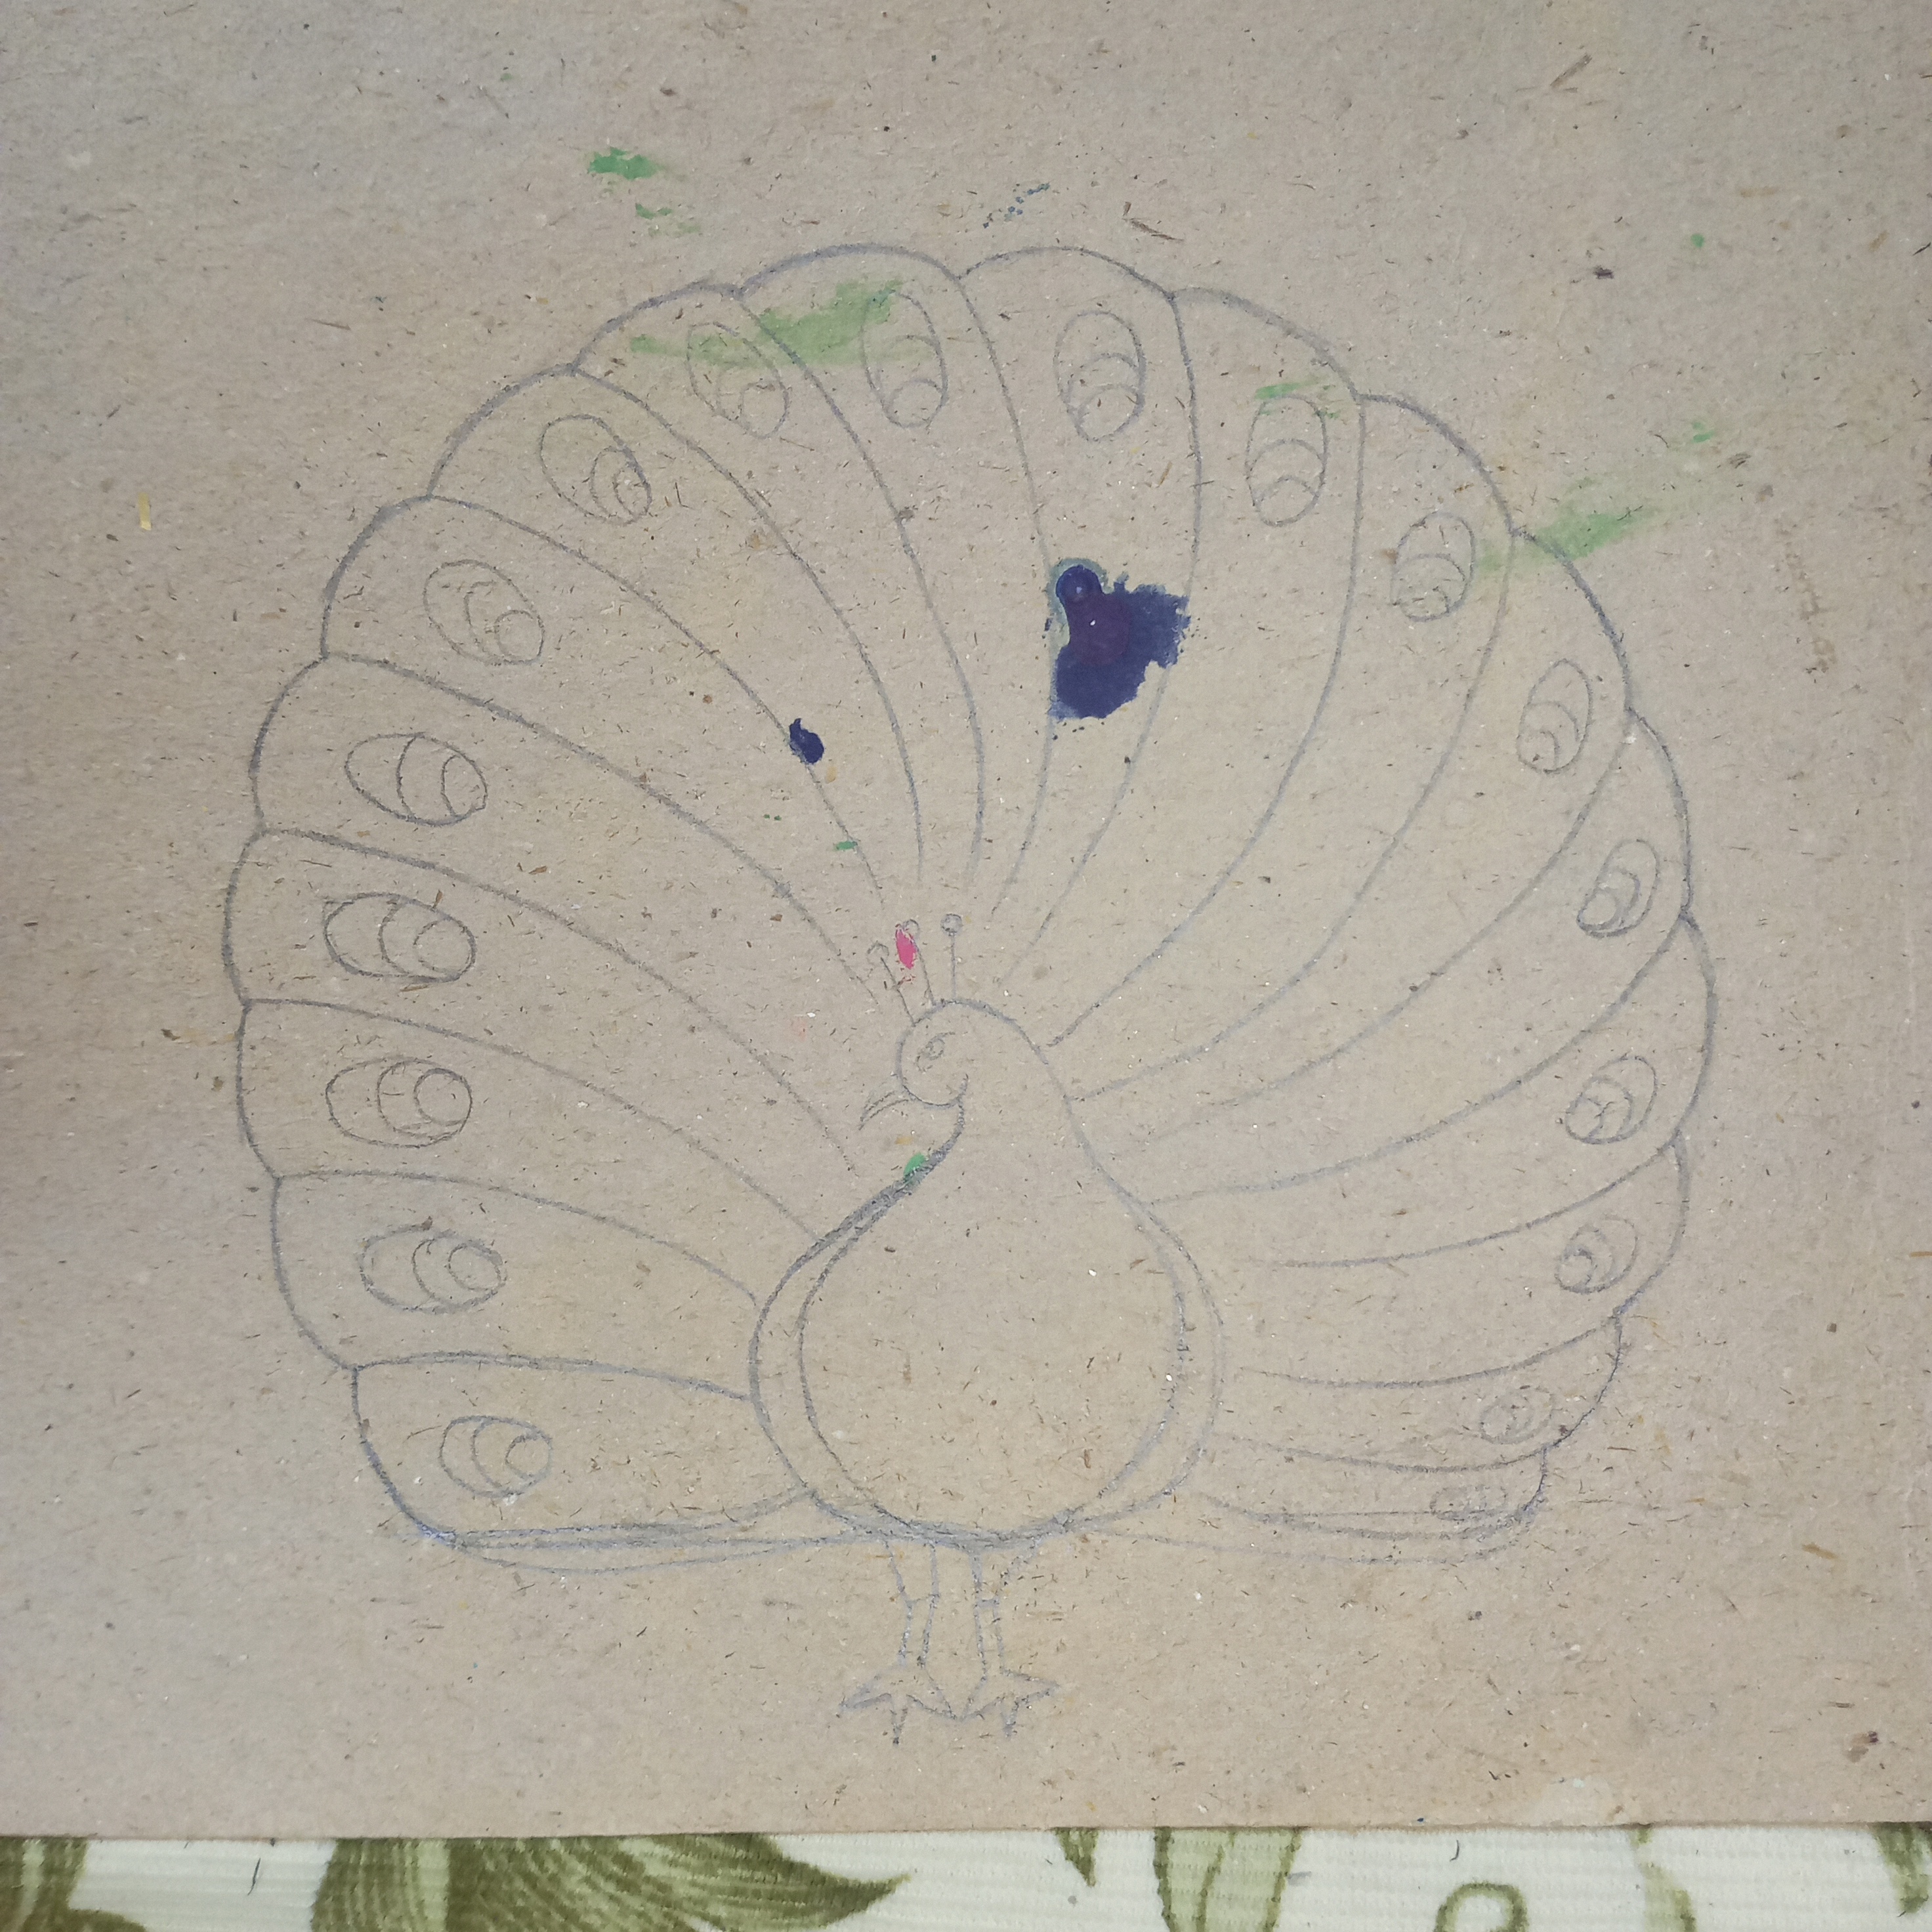
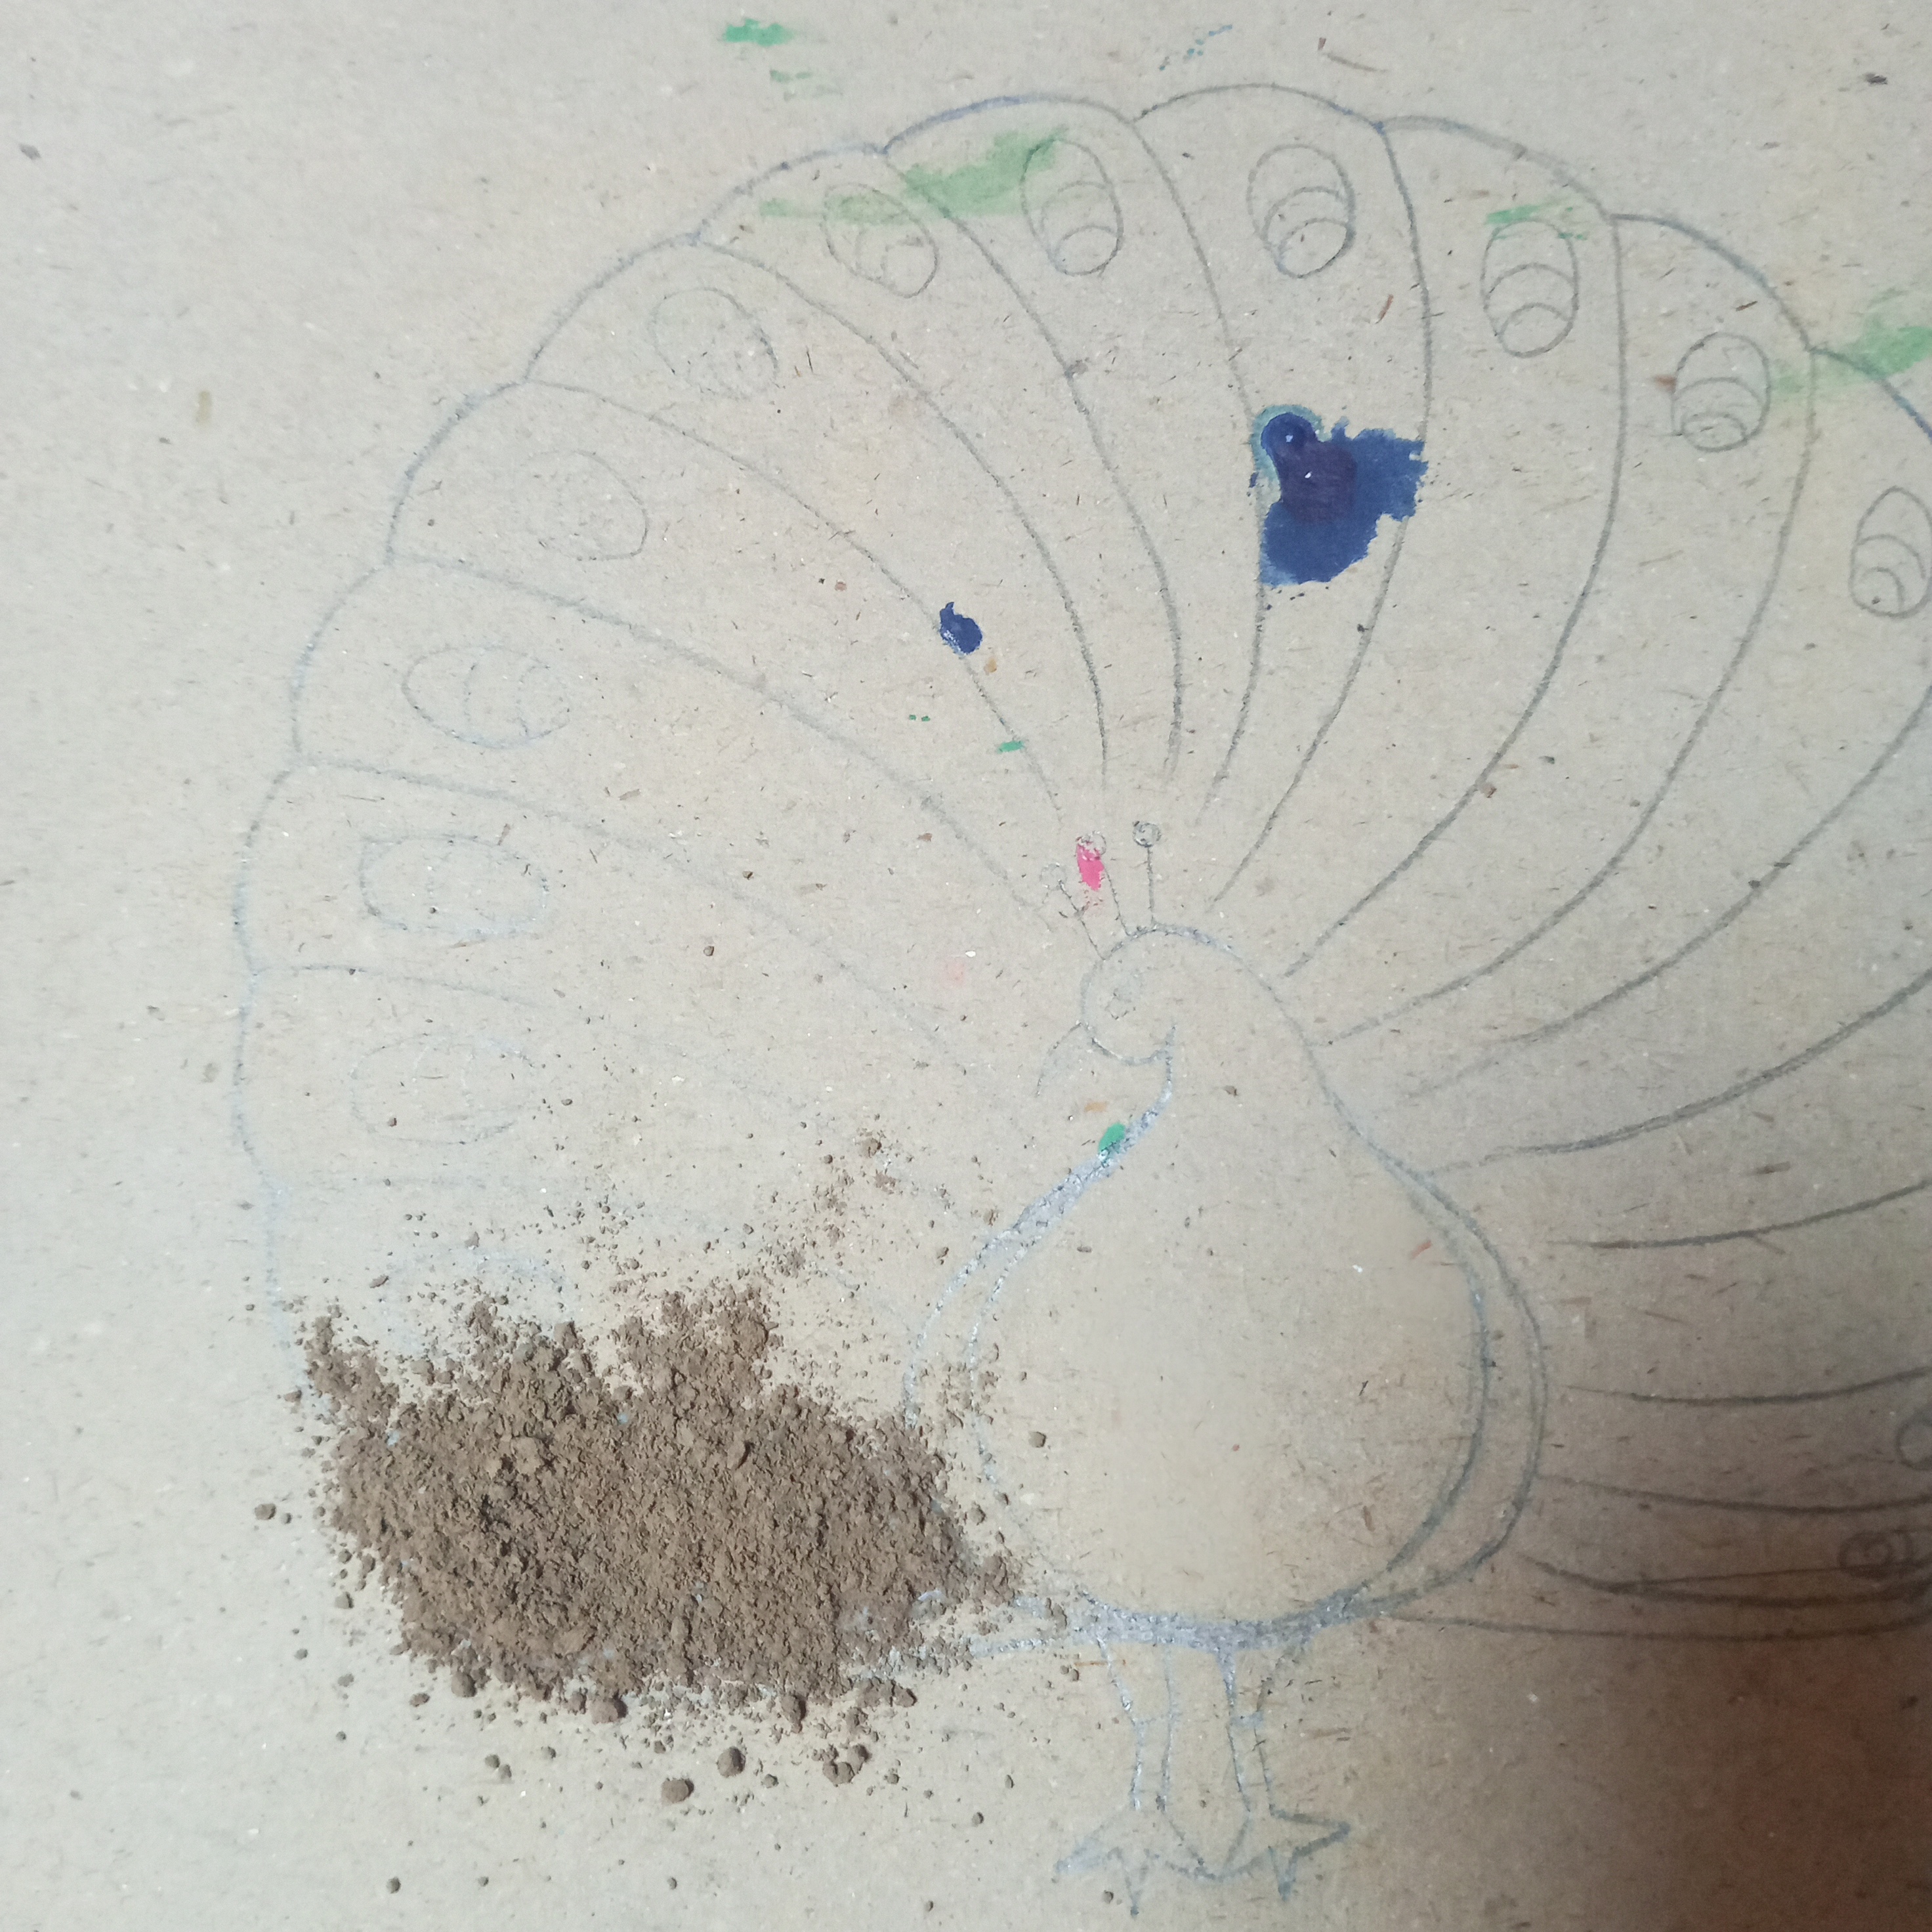
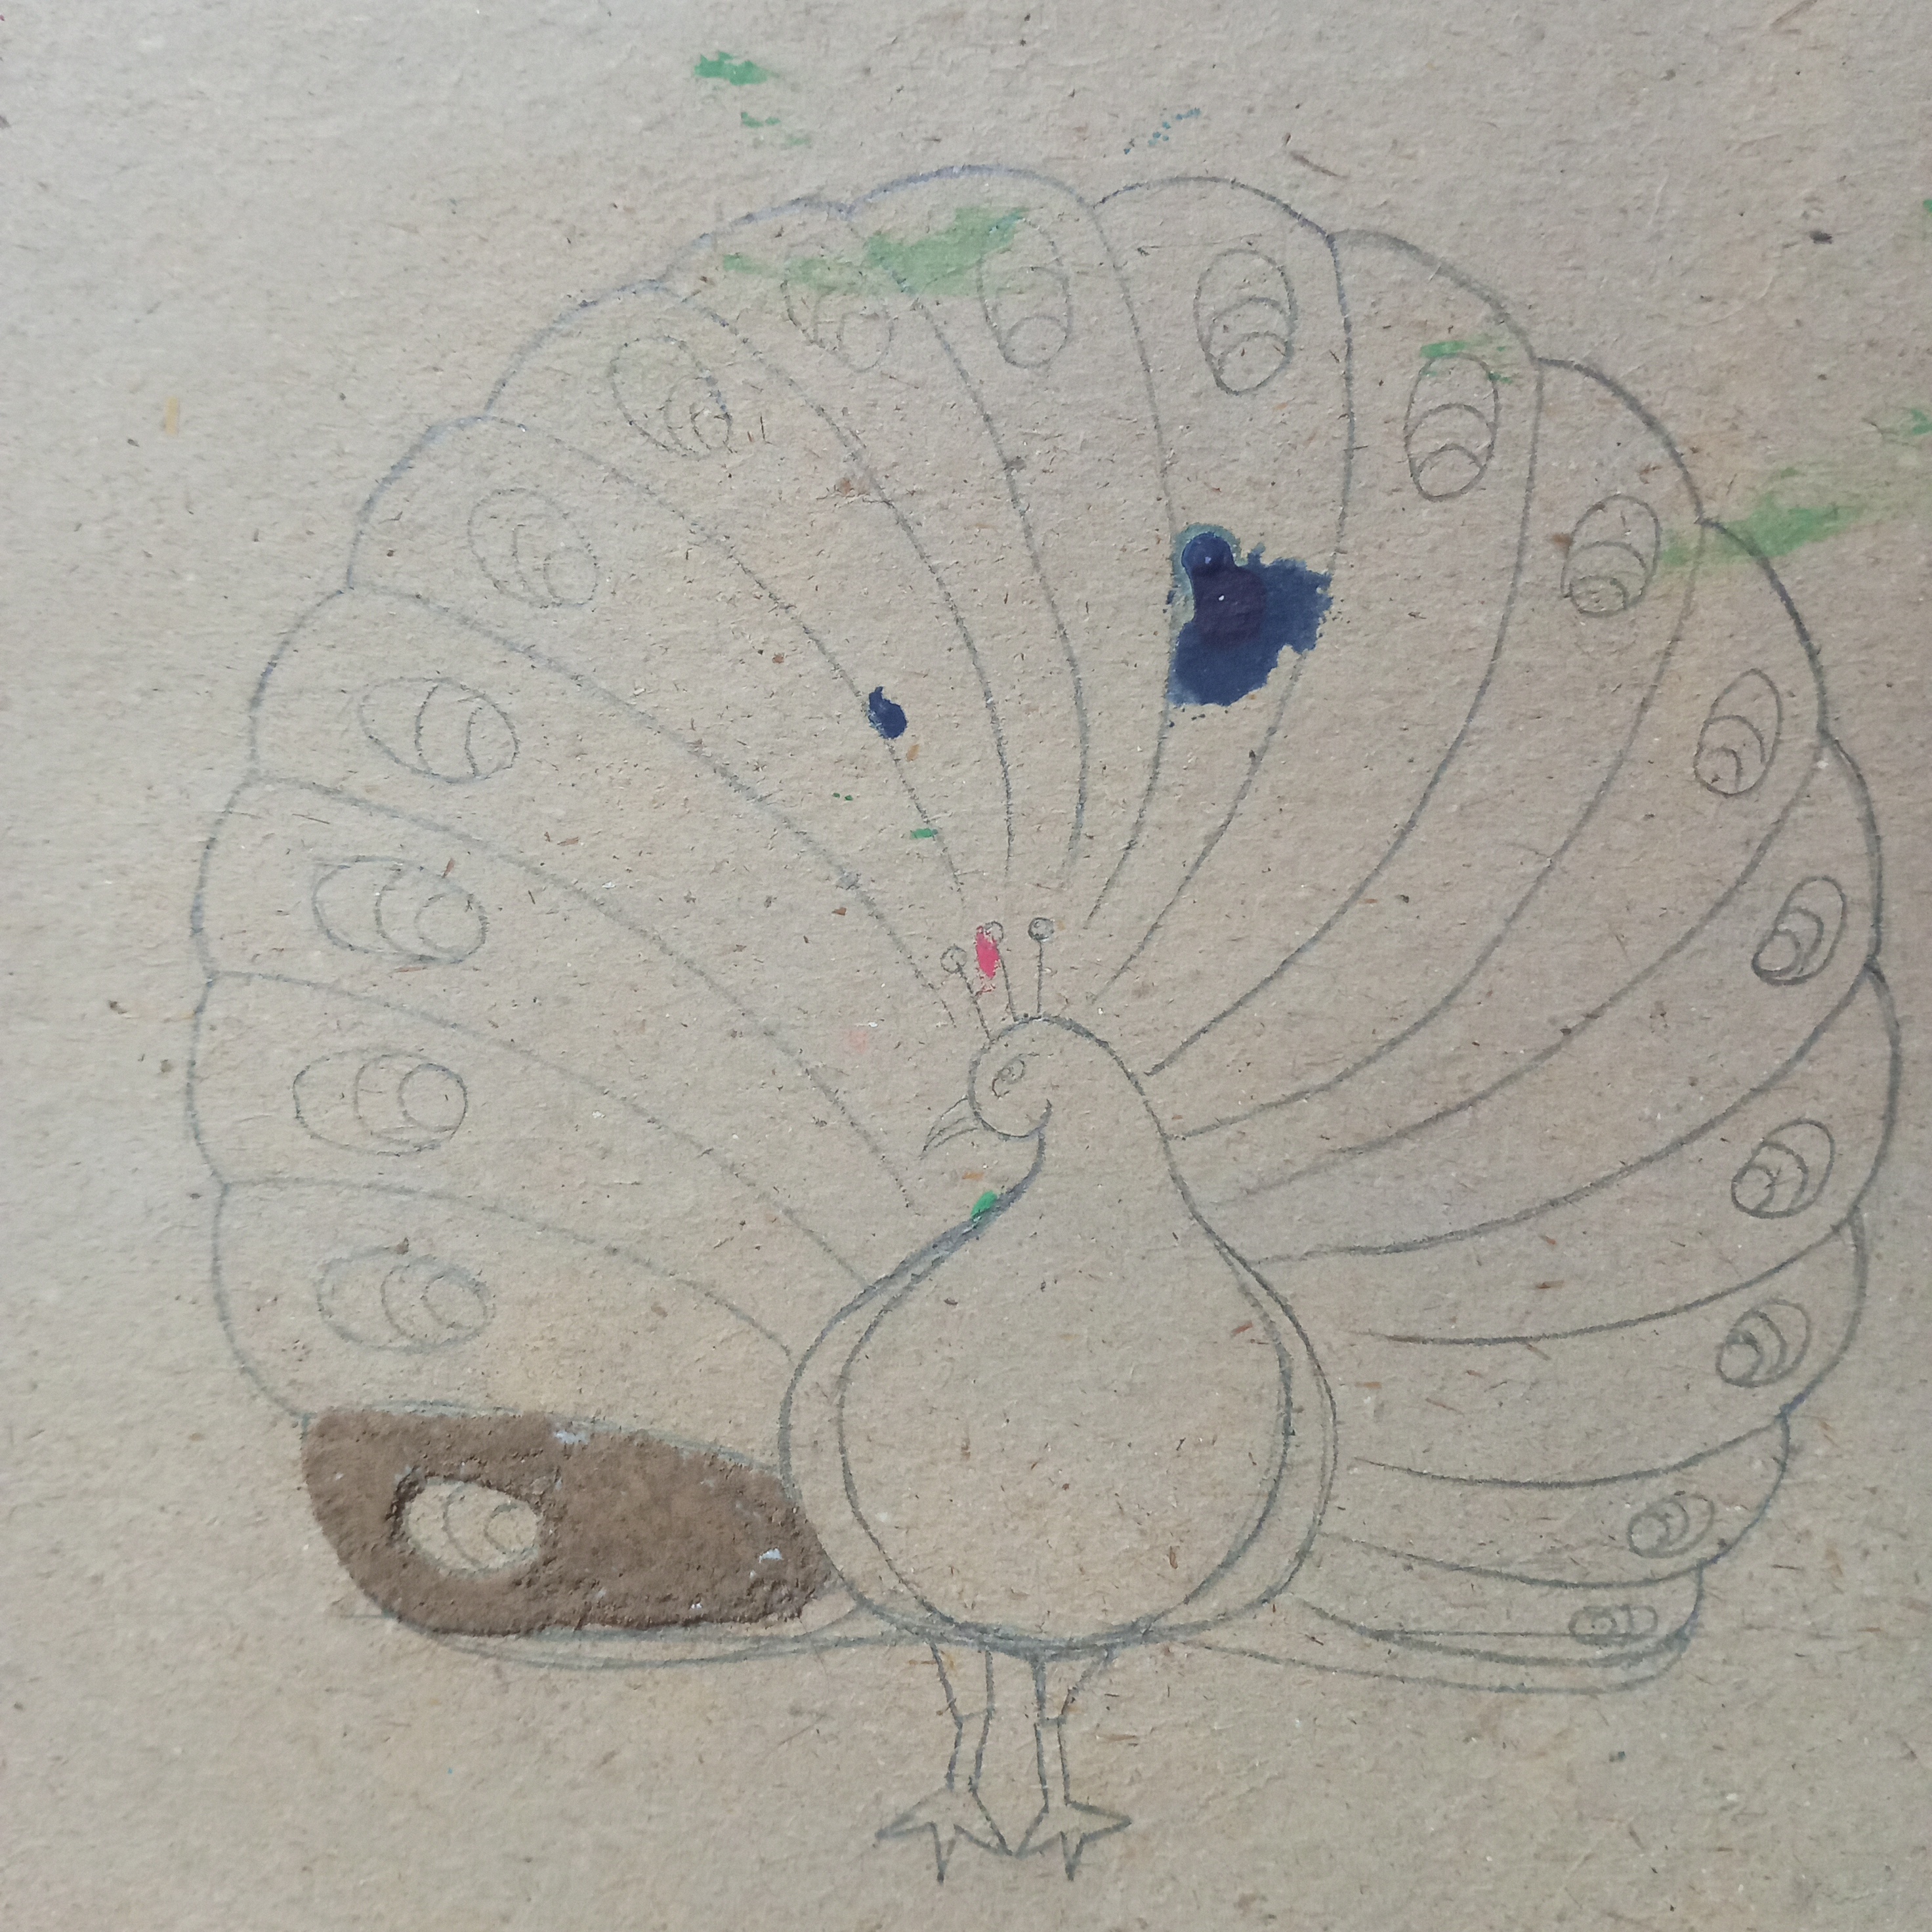
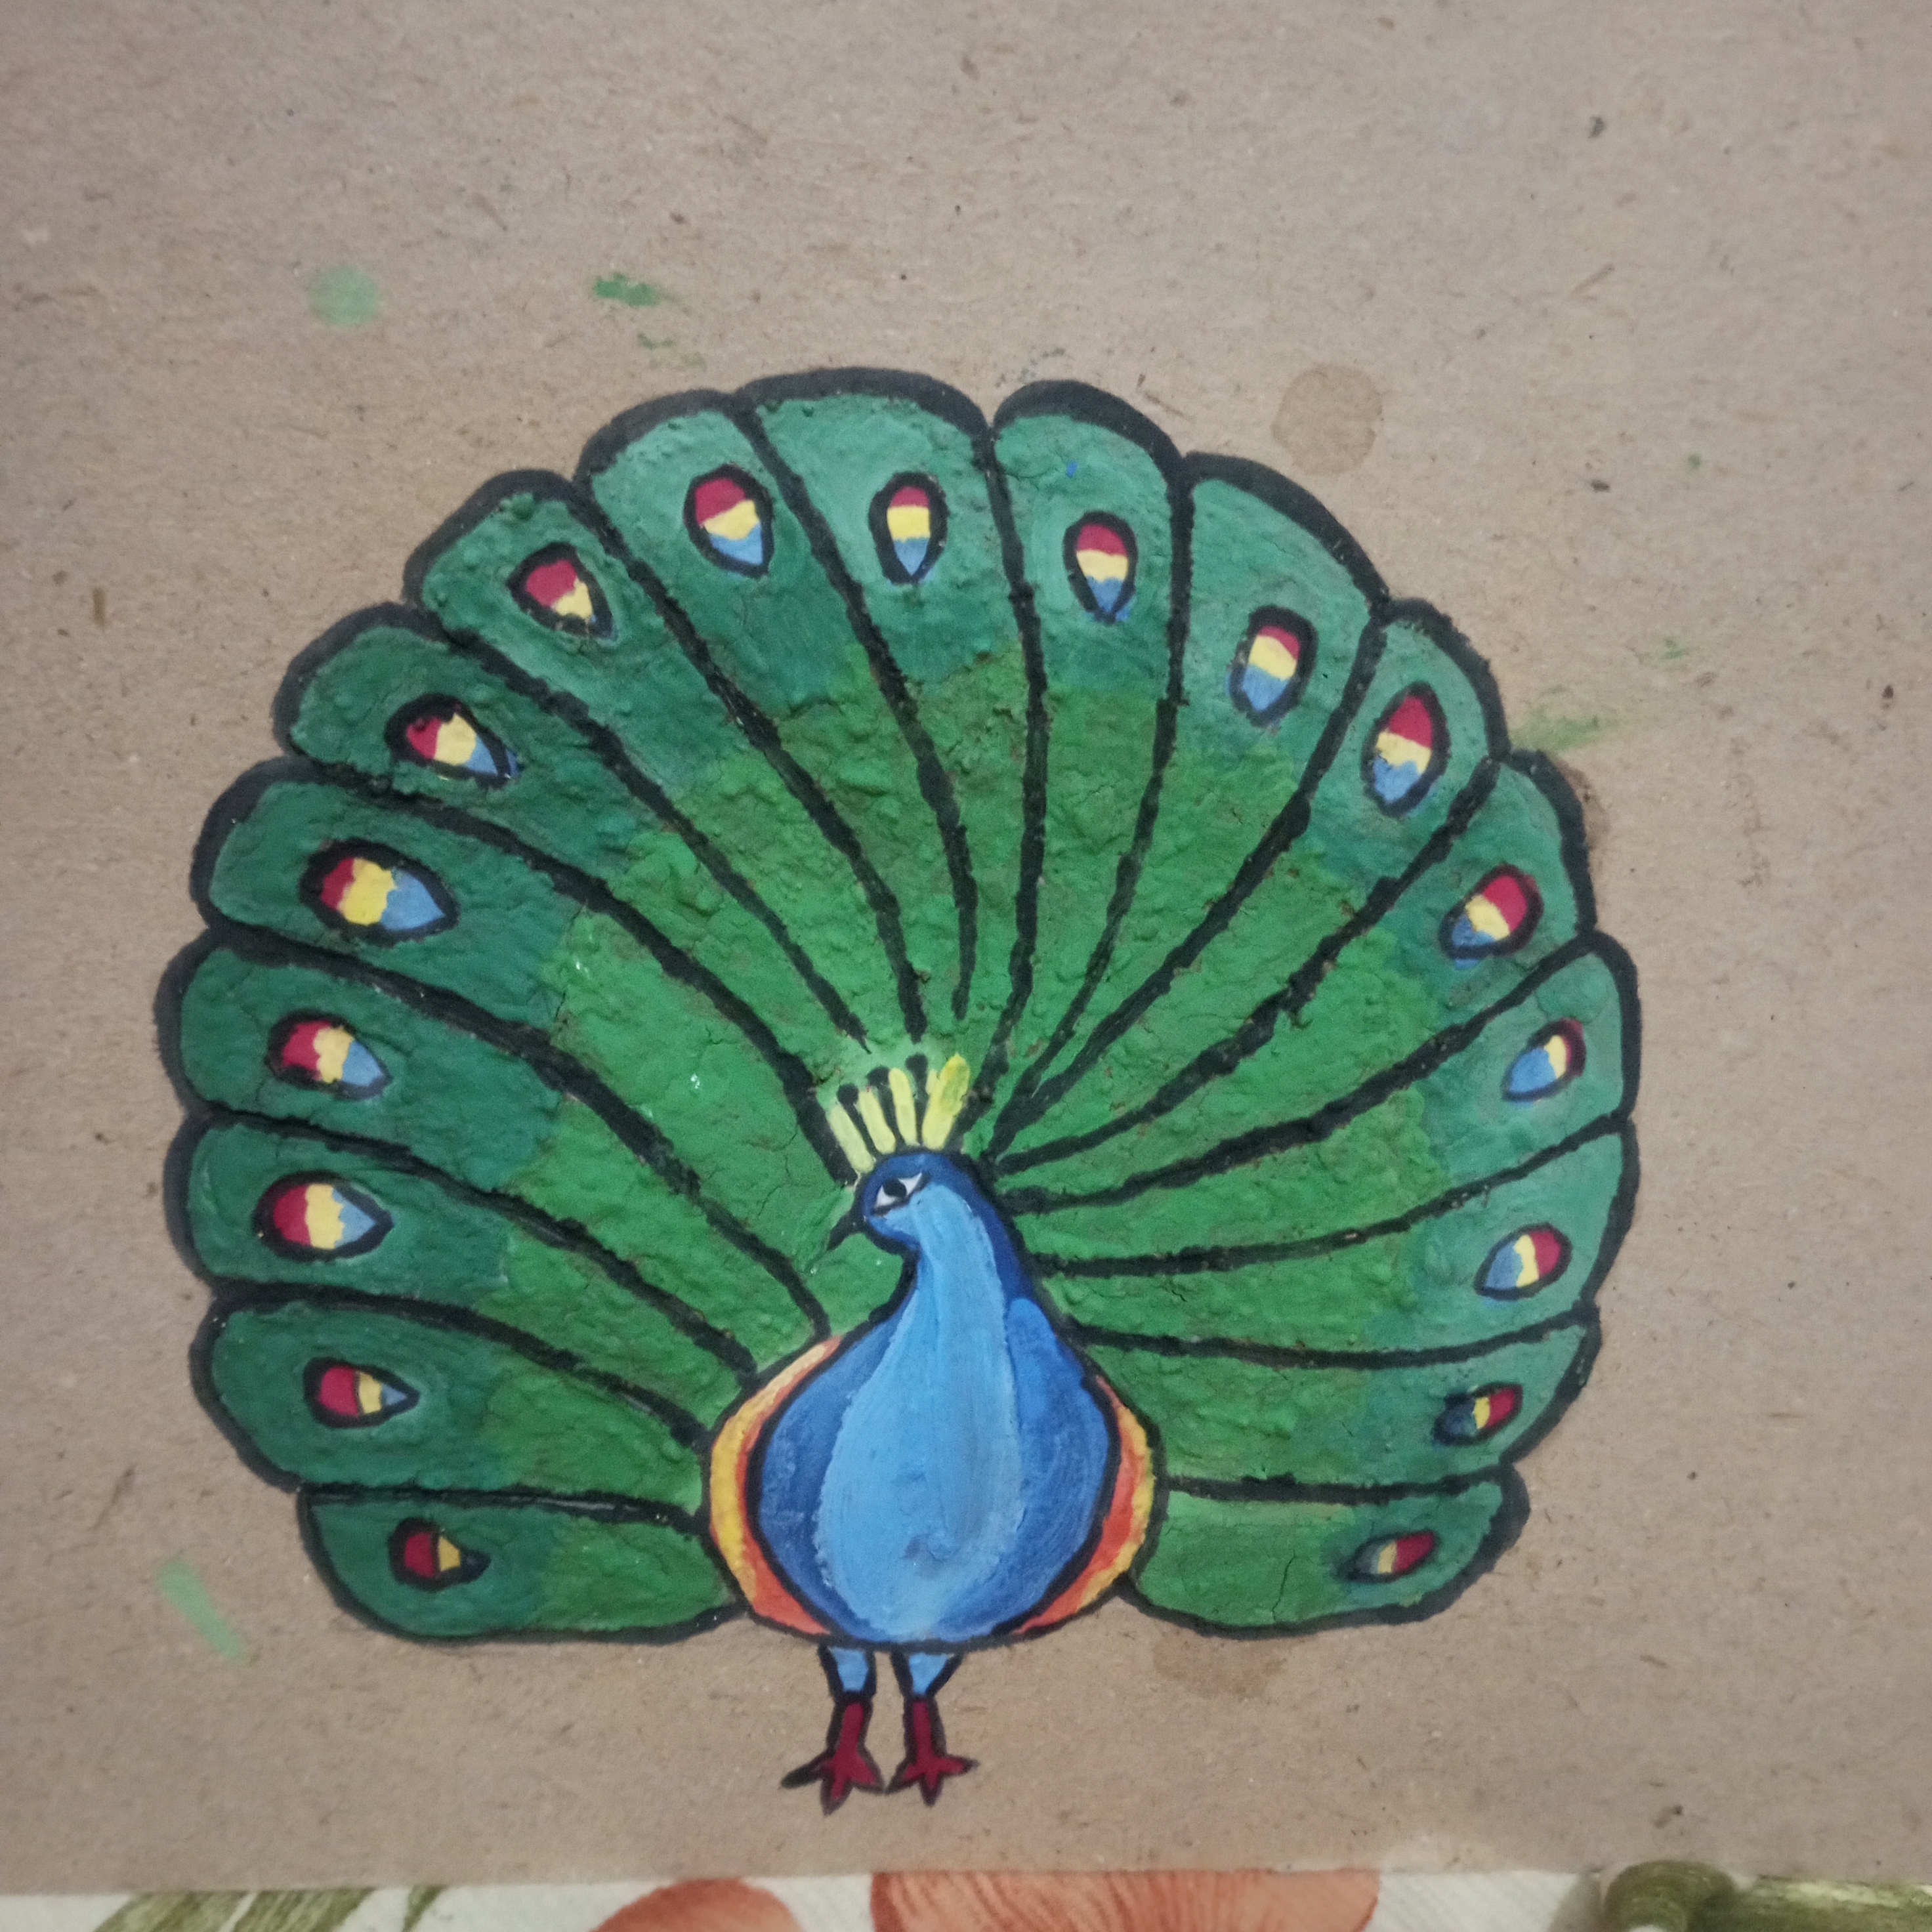
🌟Step 1🌟! I draw a peacock with the pencil. I carefully outlined its beautiful structure and also shaped its body. Then I added its feathers in such a way. That it looks like the peacock is standing gracefully with its feathers spread out behind it. In this way I created a lovely and elegant design.
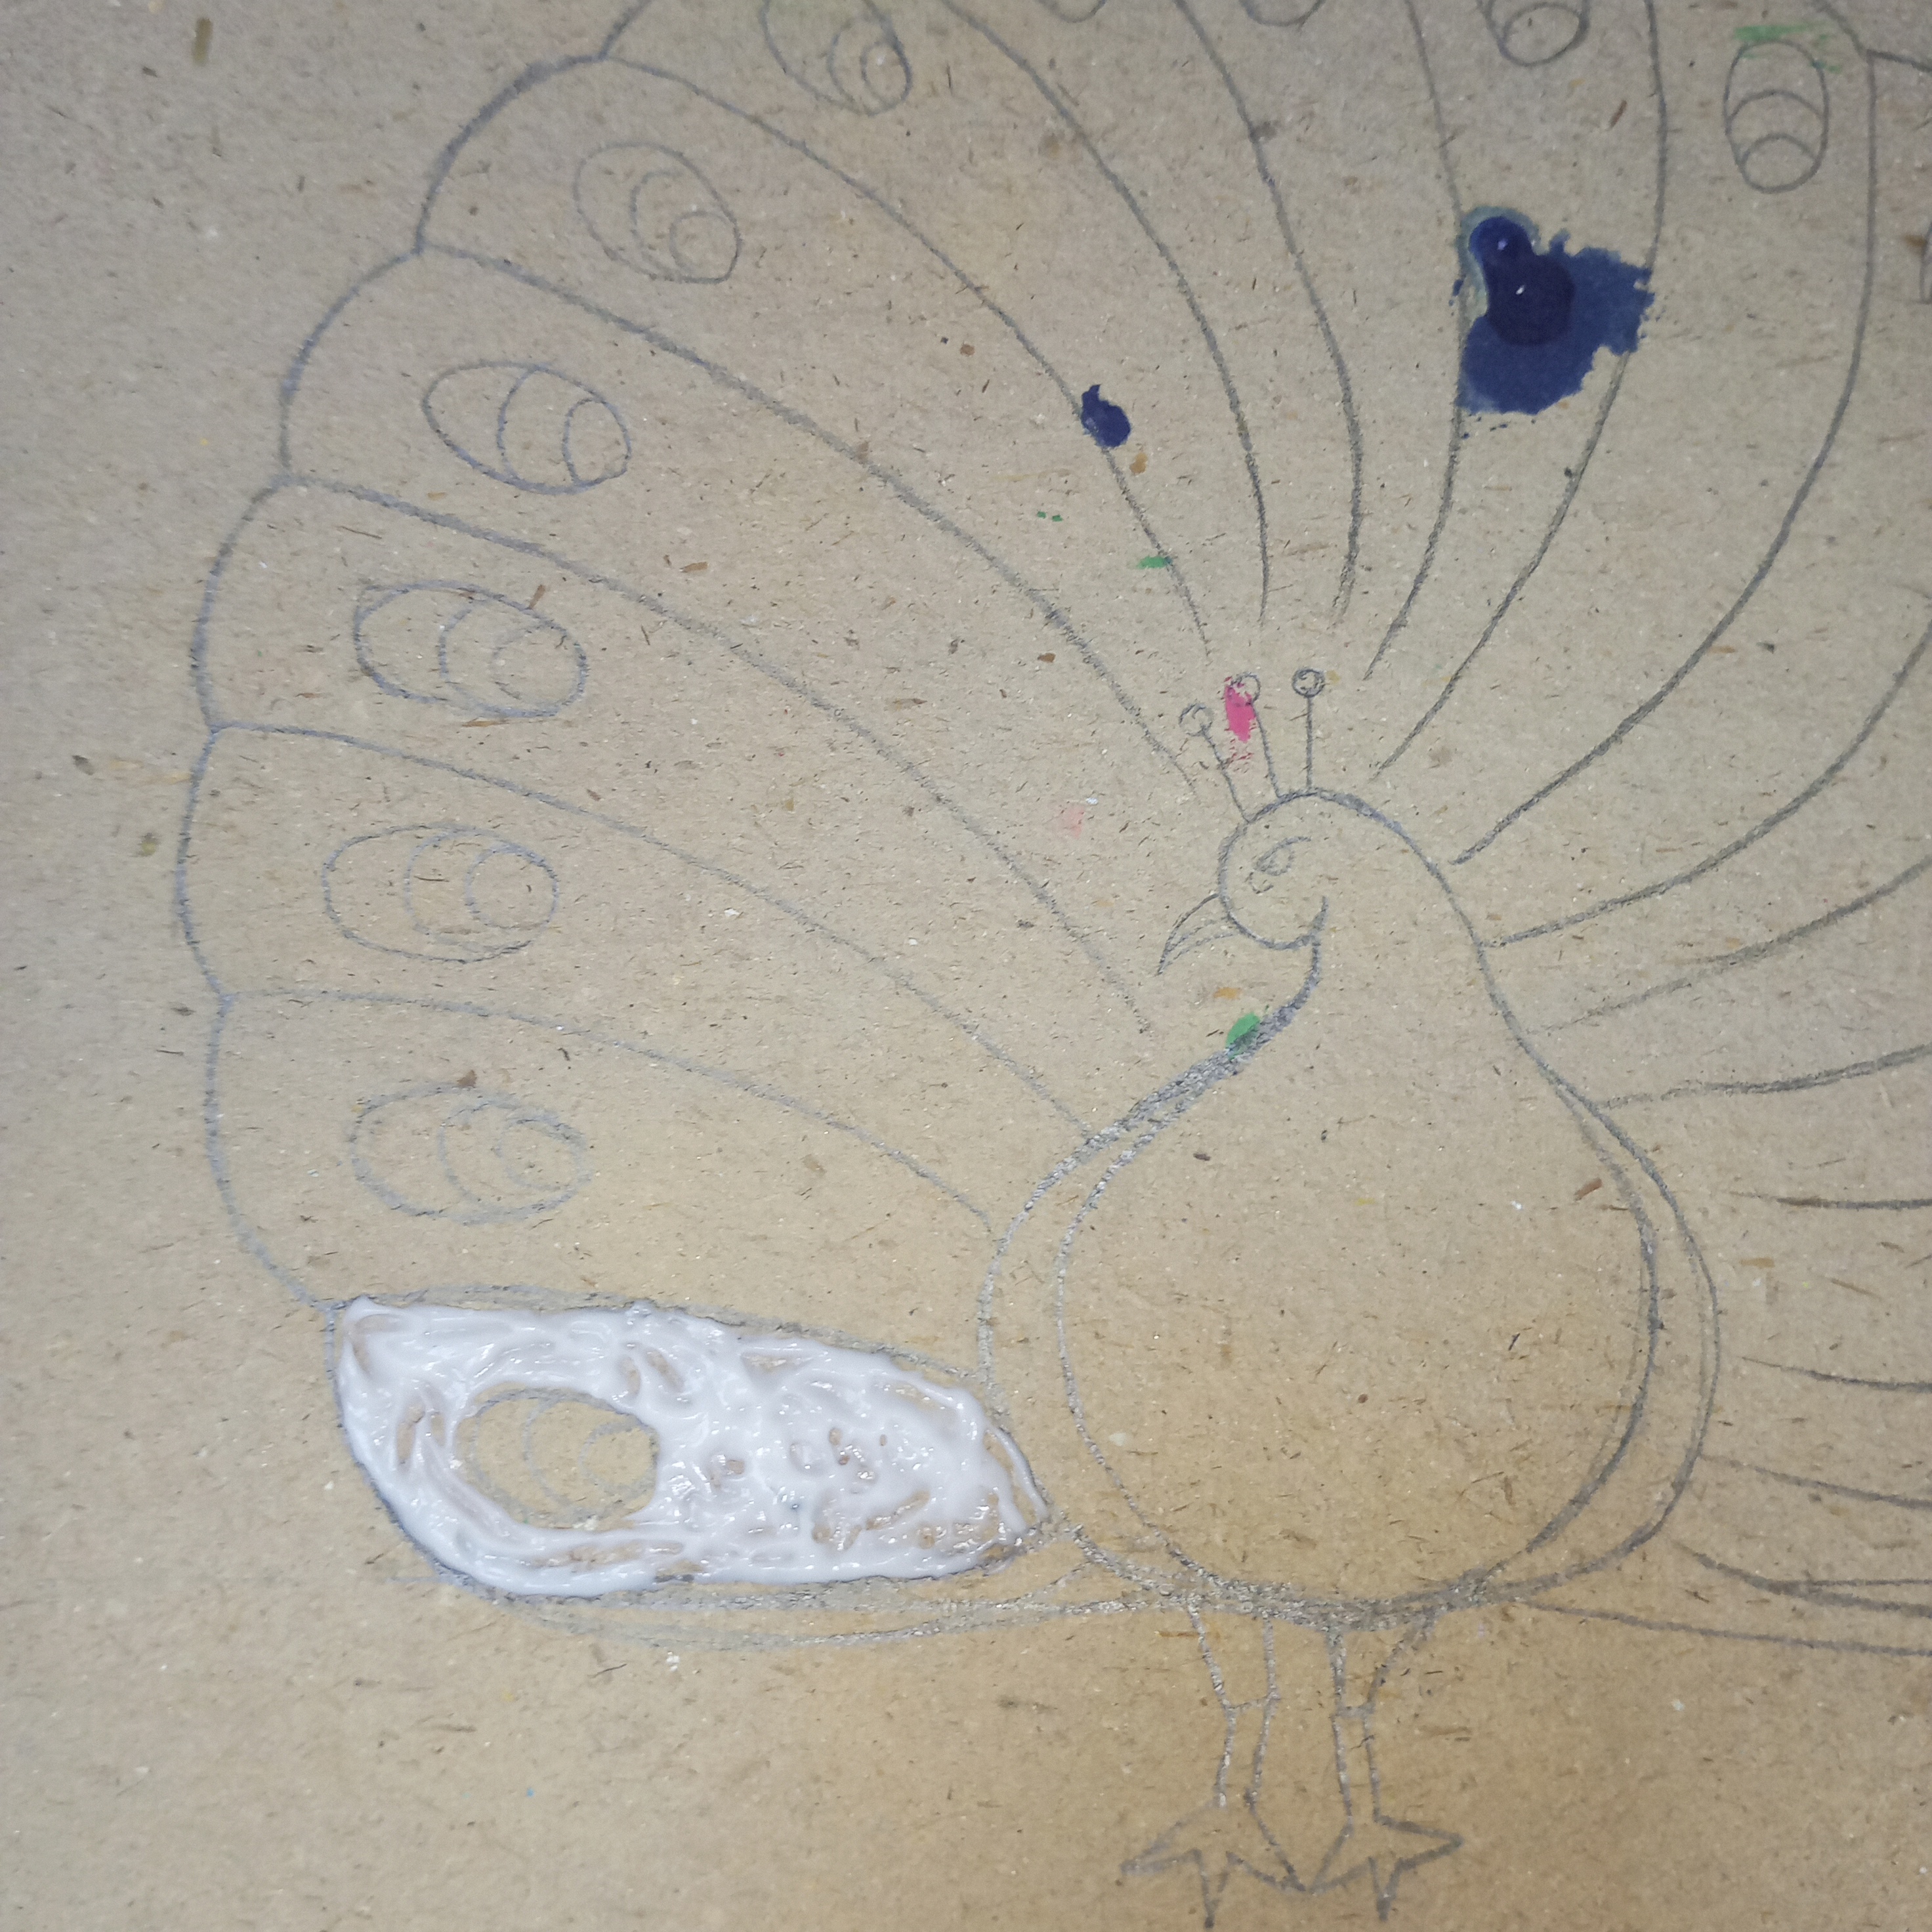
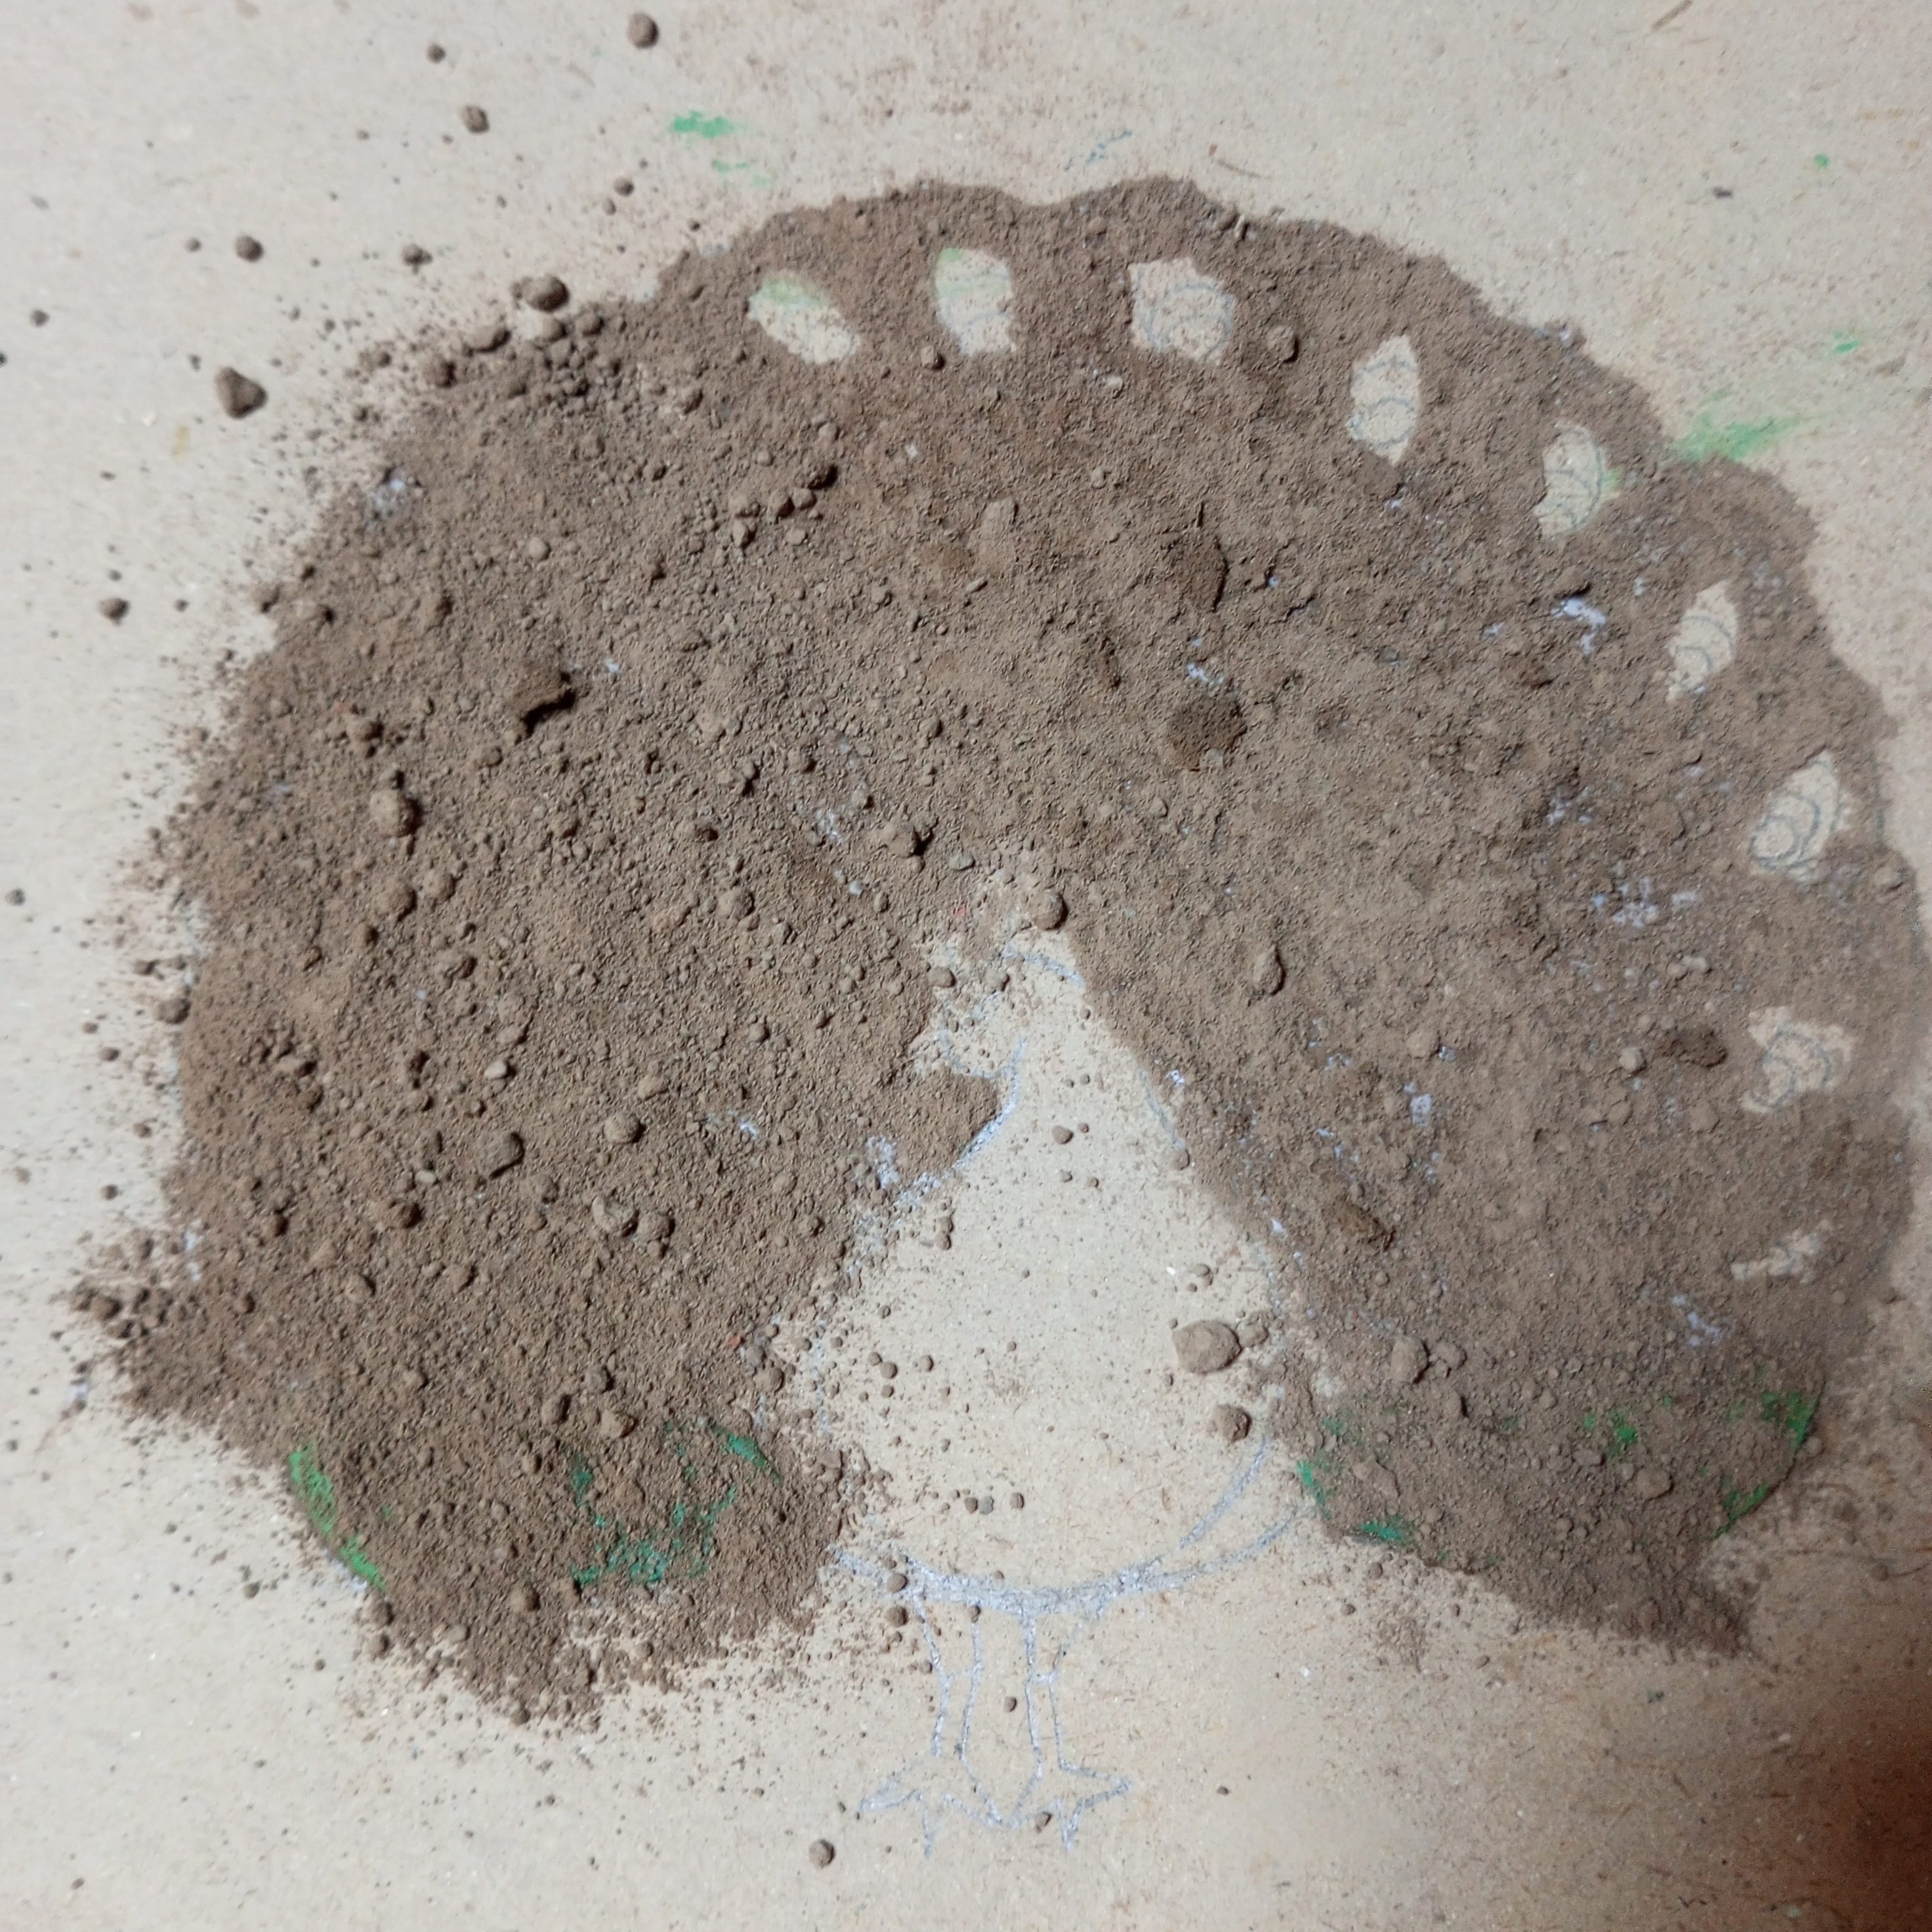
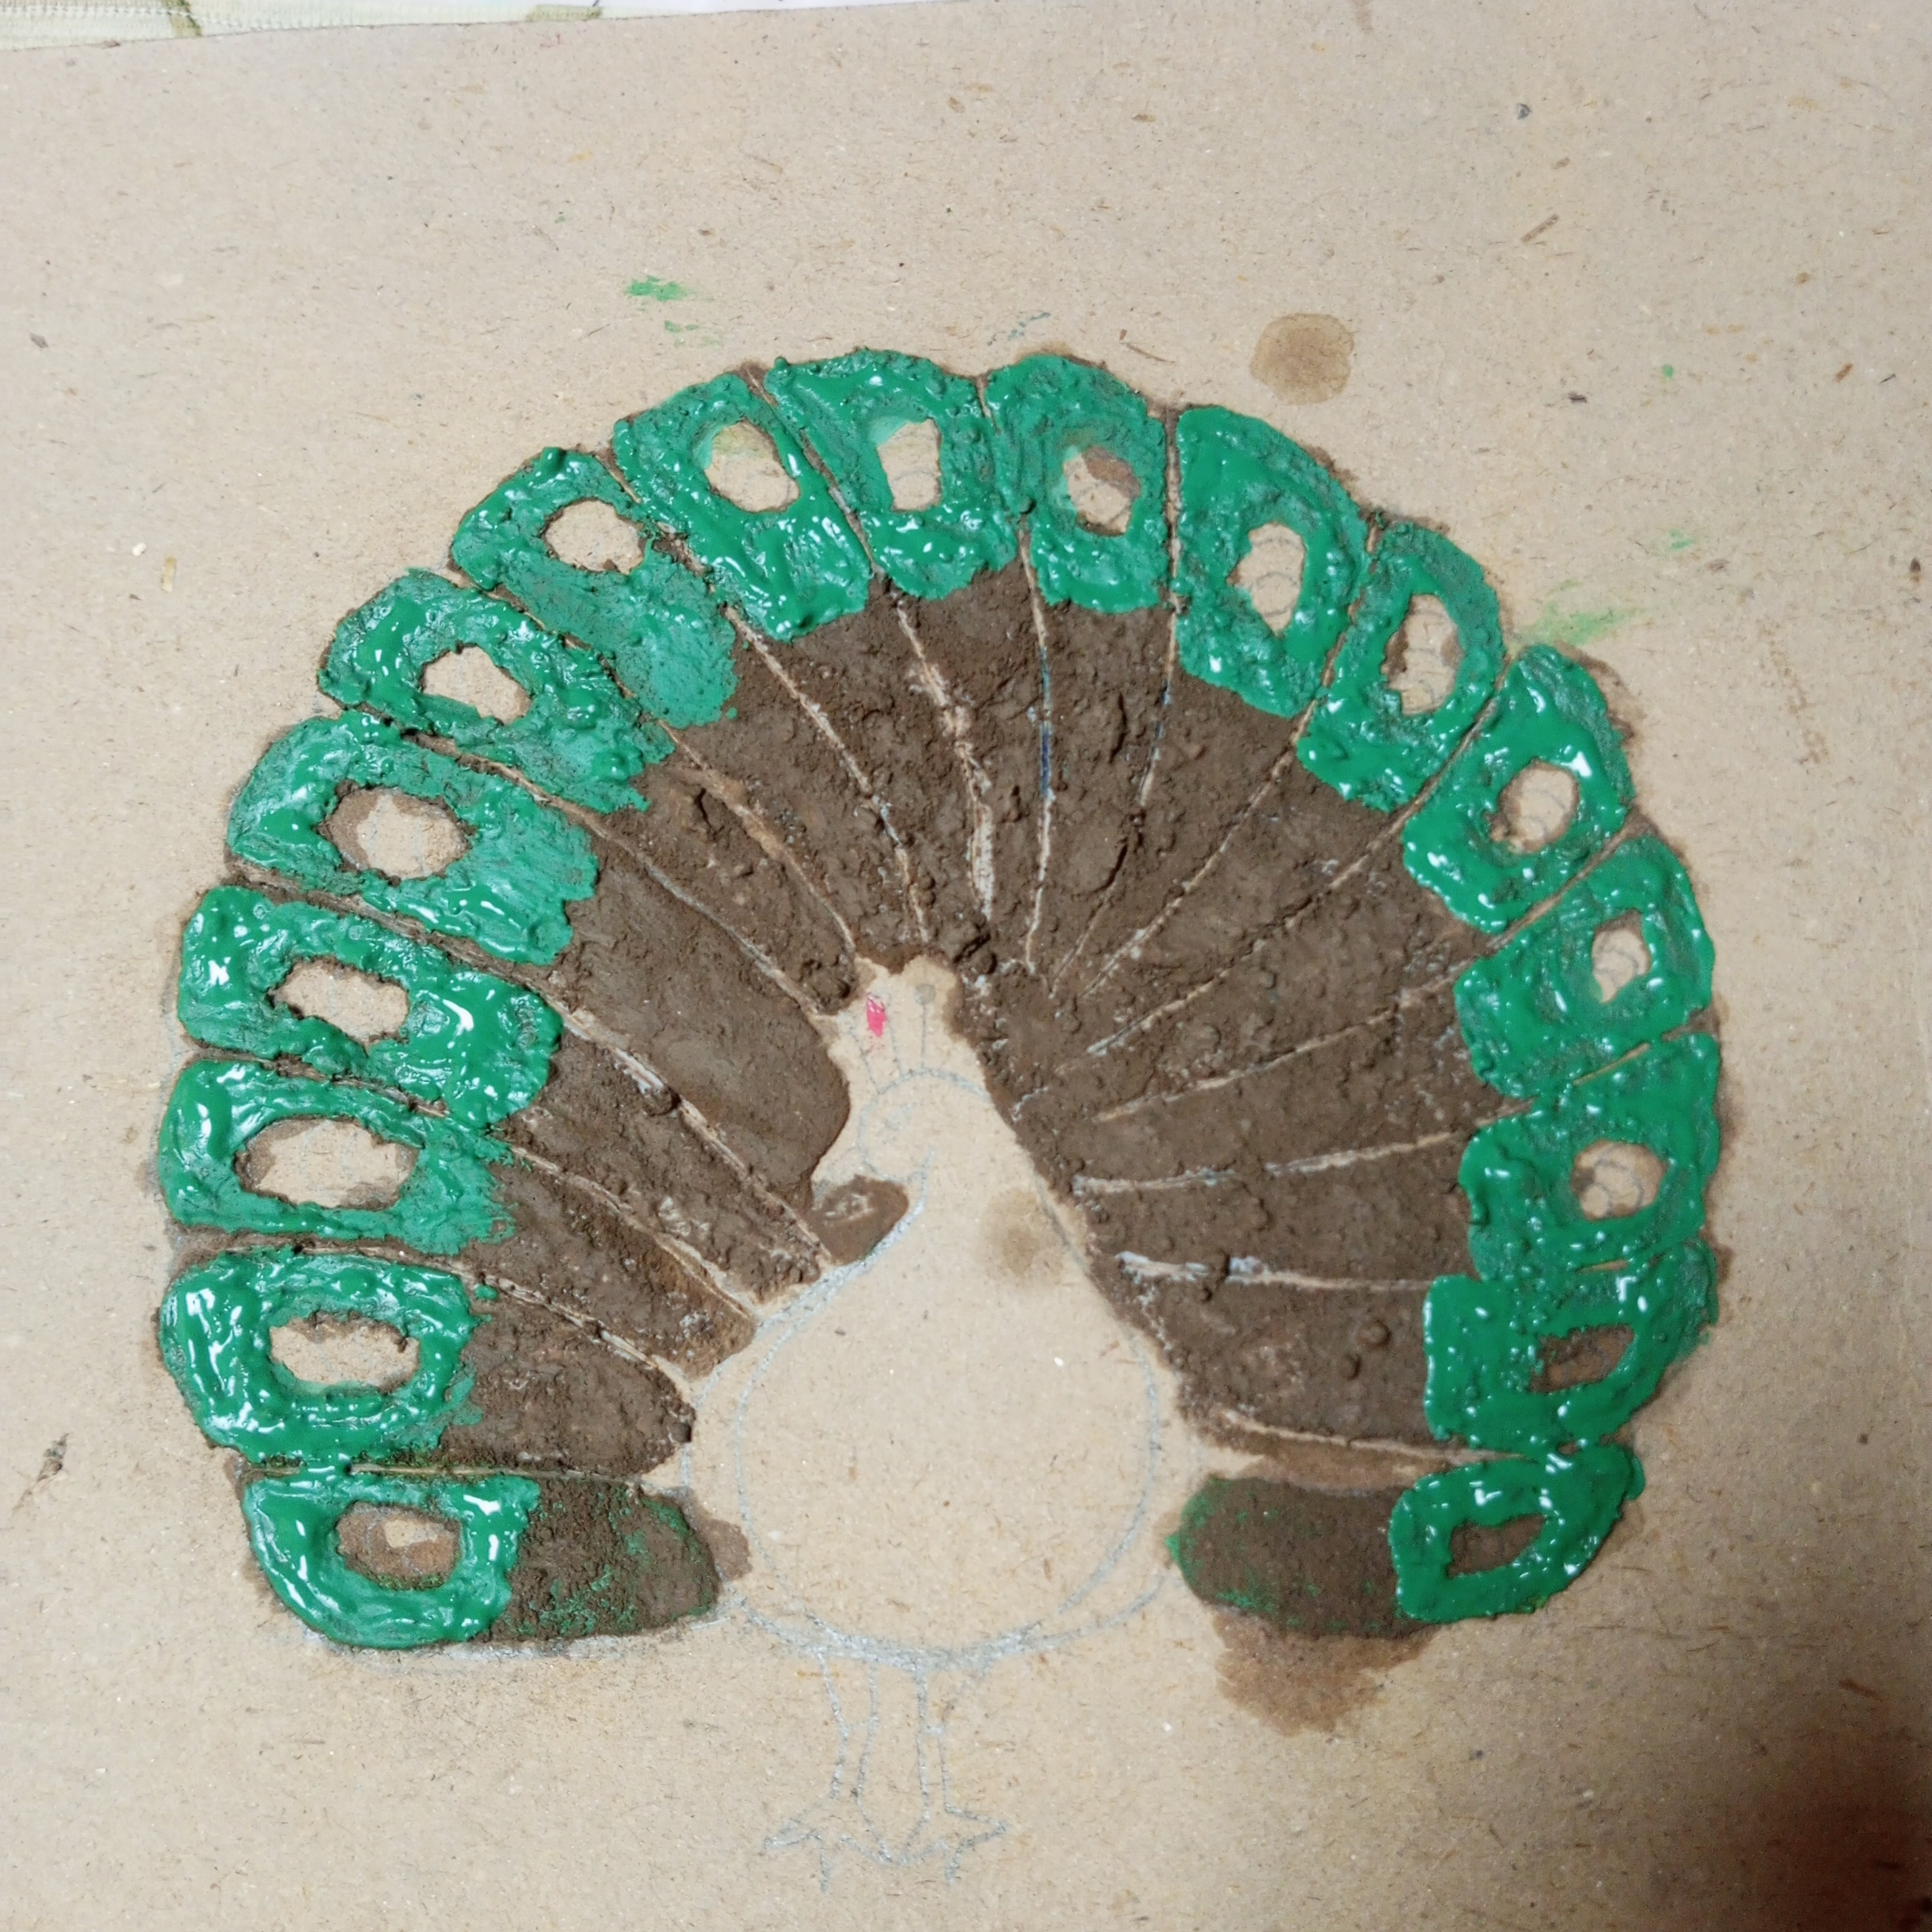
🌟Step 2🌟! Then I working on the texture by applying sand. I carefully spread glue on the selected parts of the design. I making sure it stayed neatly within the outlines. After applying the glue. I sprinkled sand over it. This allowing it to stick properly. This technique gave the peacock’s feathers a beautiful textured look. Any excess sand was then removed and saved for later use.
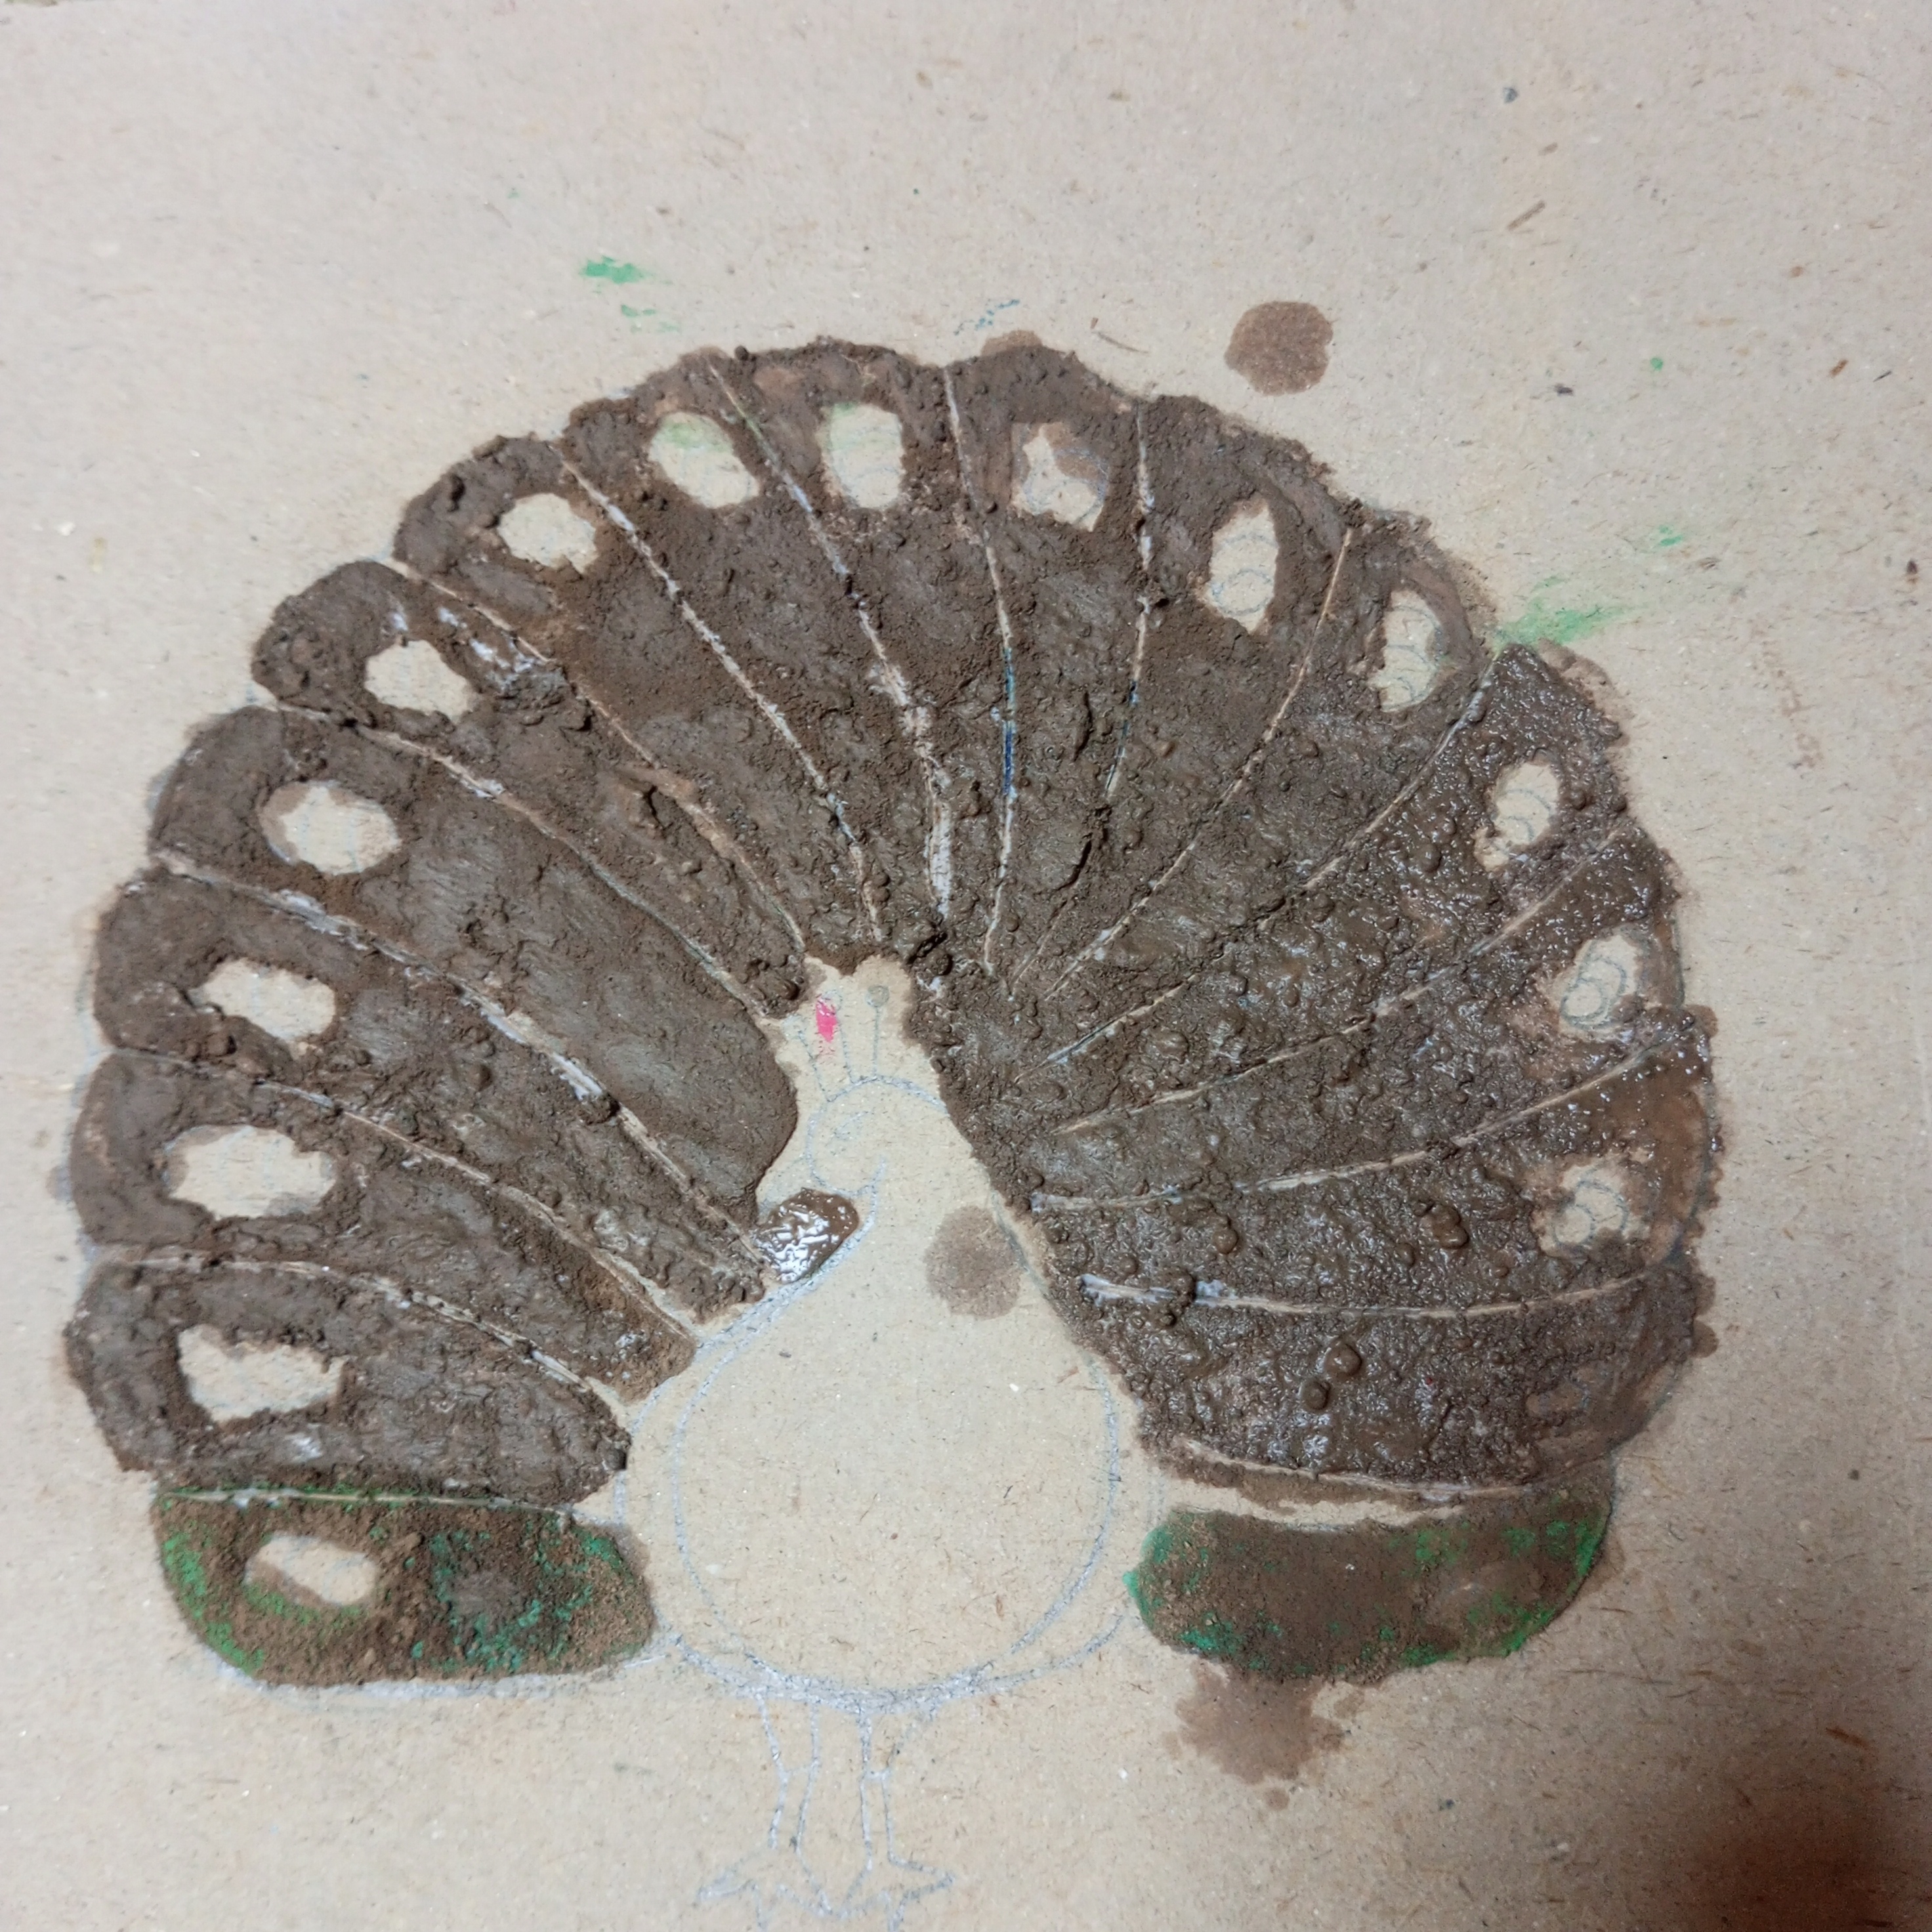
🌟Step 3🌟! Then I continued the same process for the entire feather area of the peacock. I evenly applied glue. Then covered it with sand. I letting it stick firmly to create a textured surface. After removing the extra sand. I used a knife to carefully carve and refine the shapes of the feathers. I am following the original pencil sketch. This step helped bring more detail and definition to the artwork.
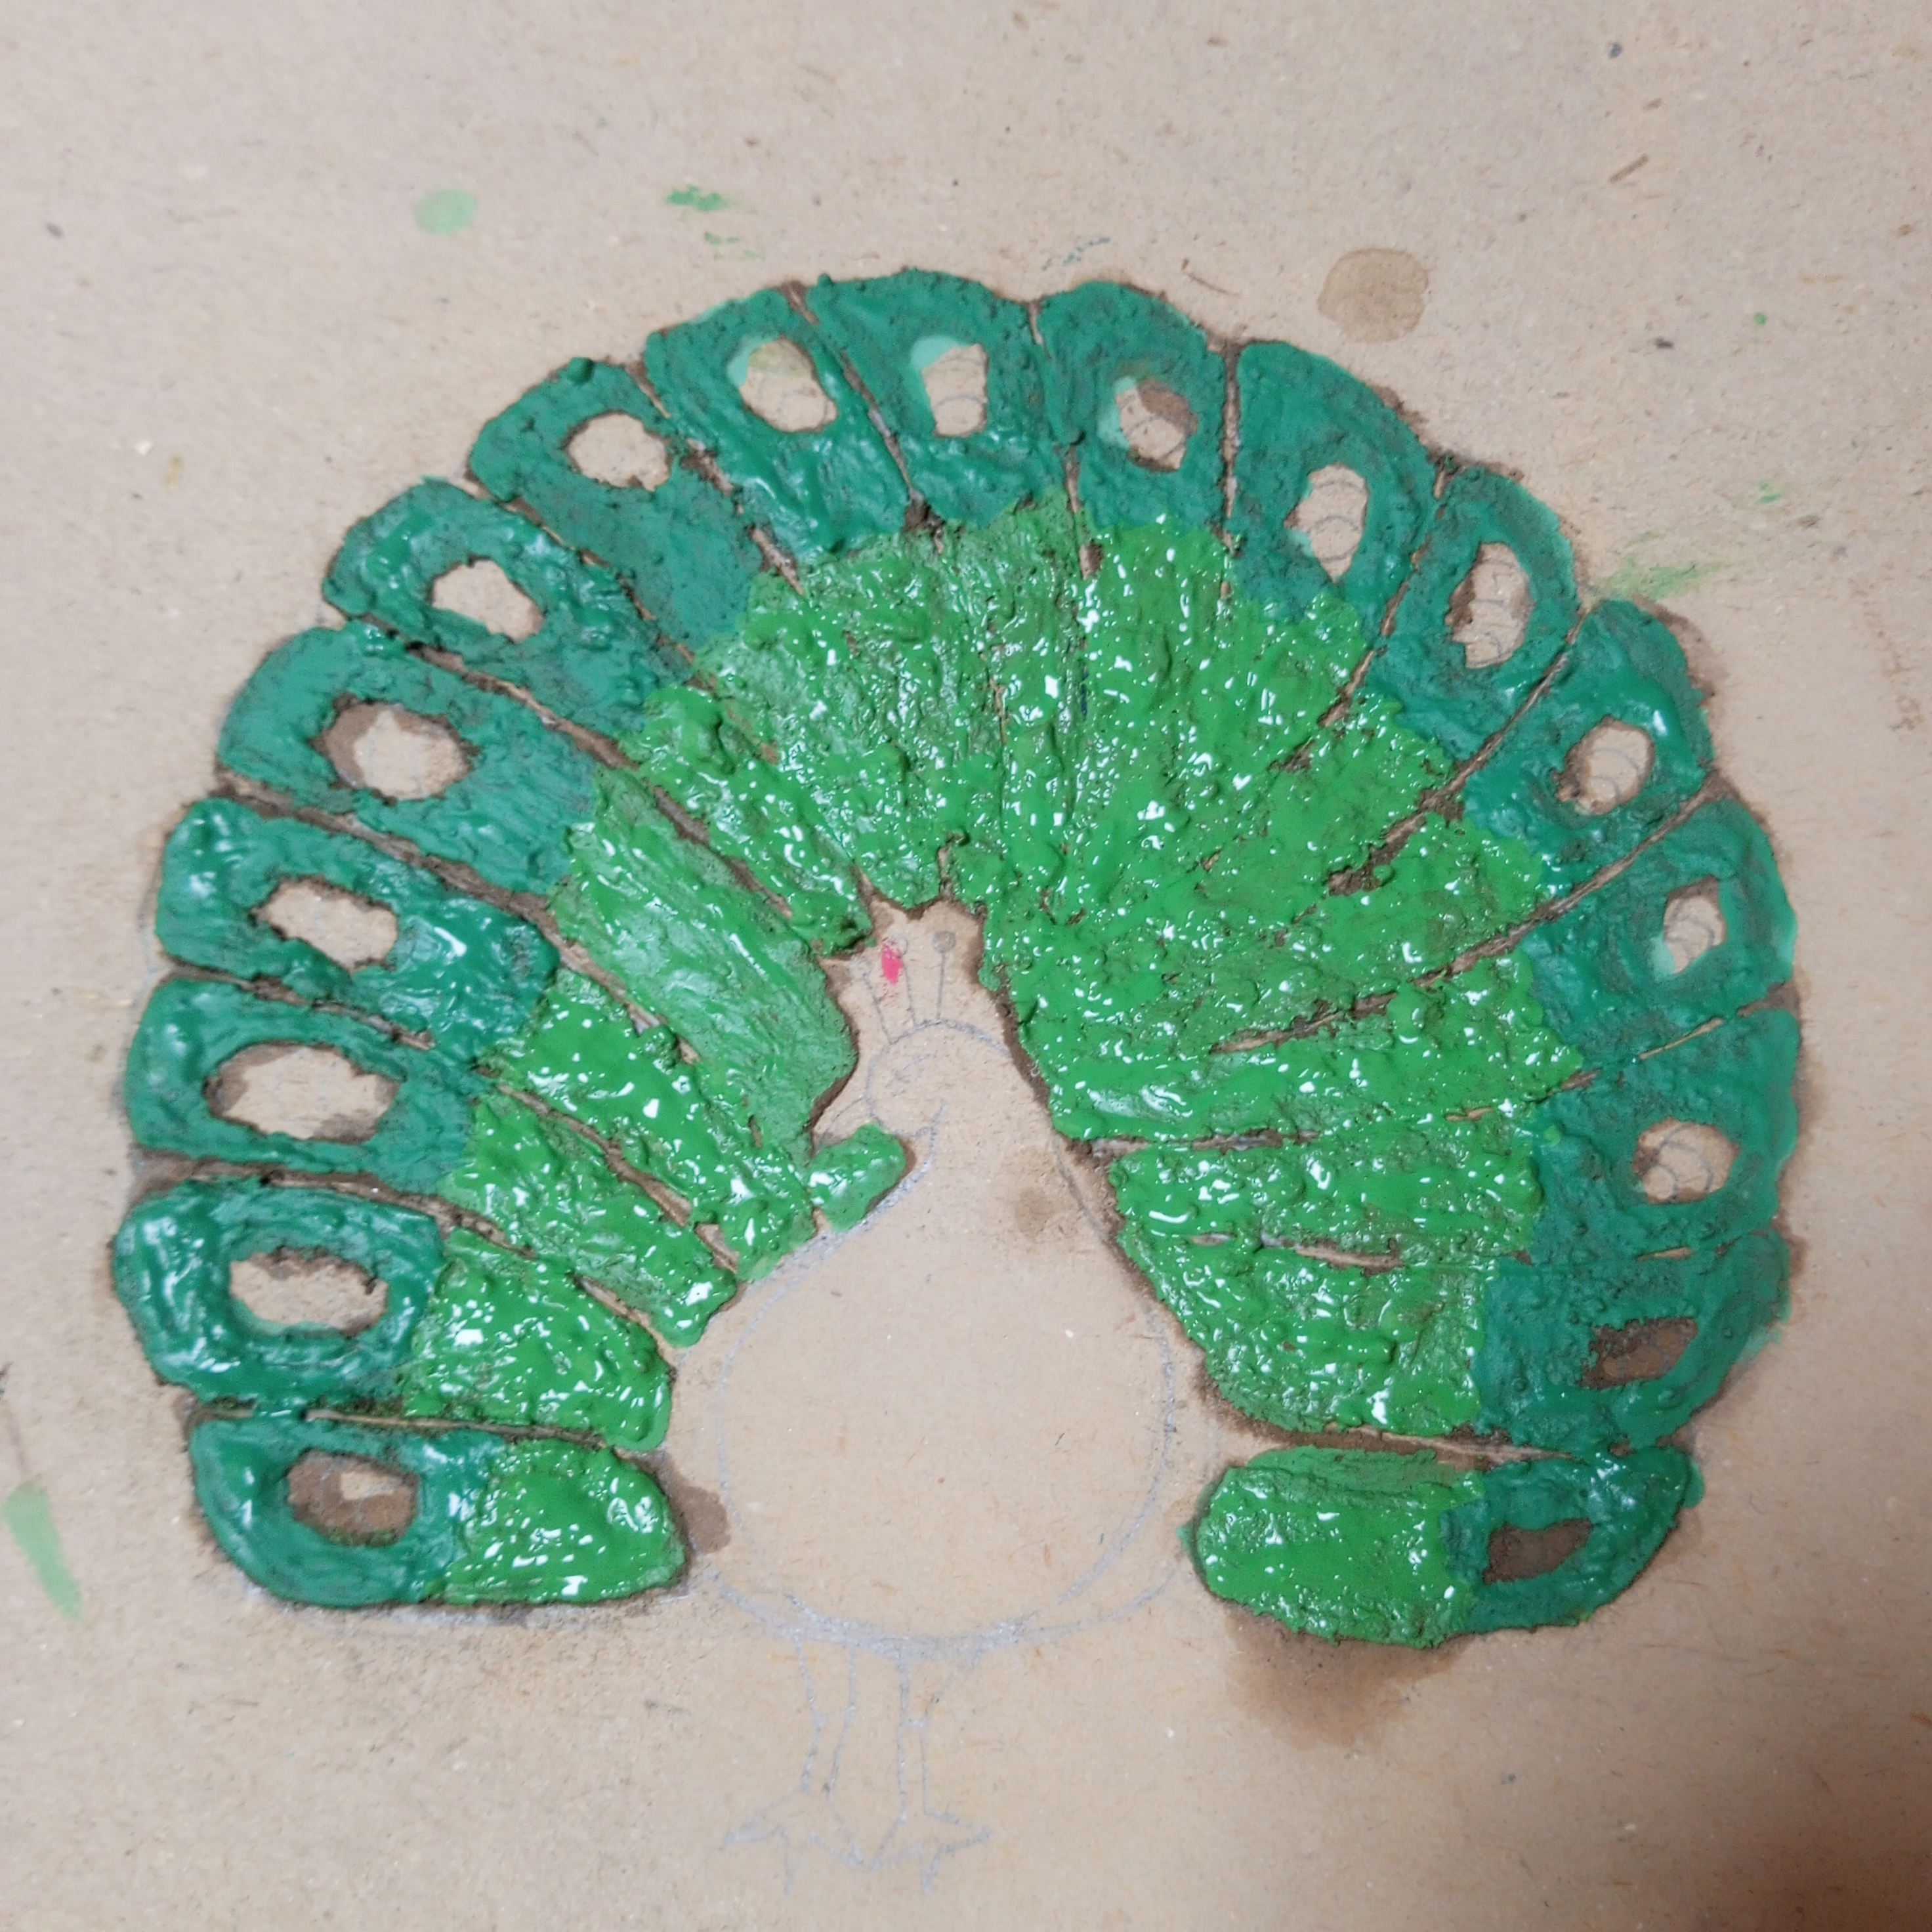
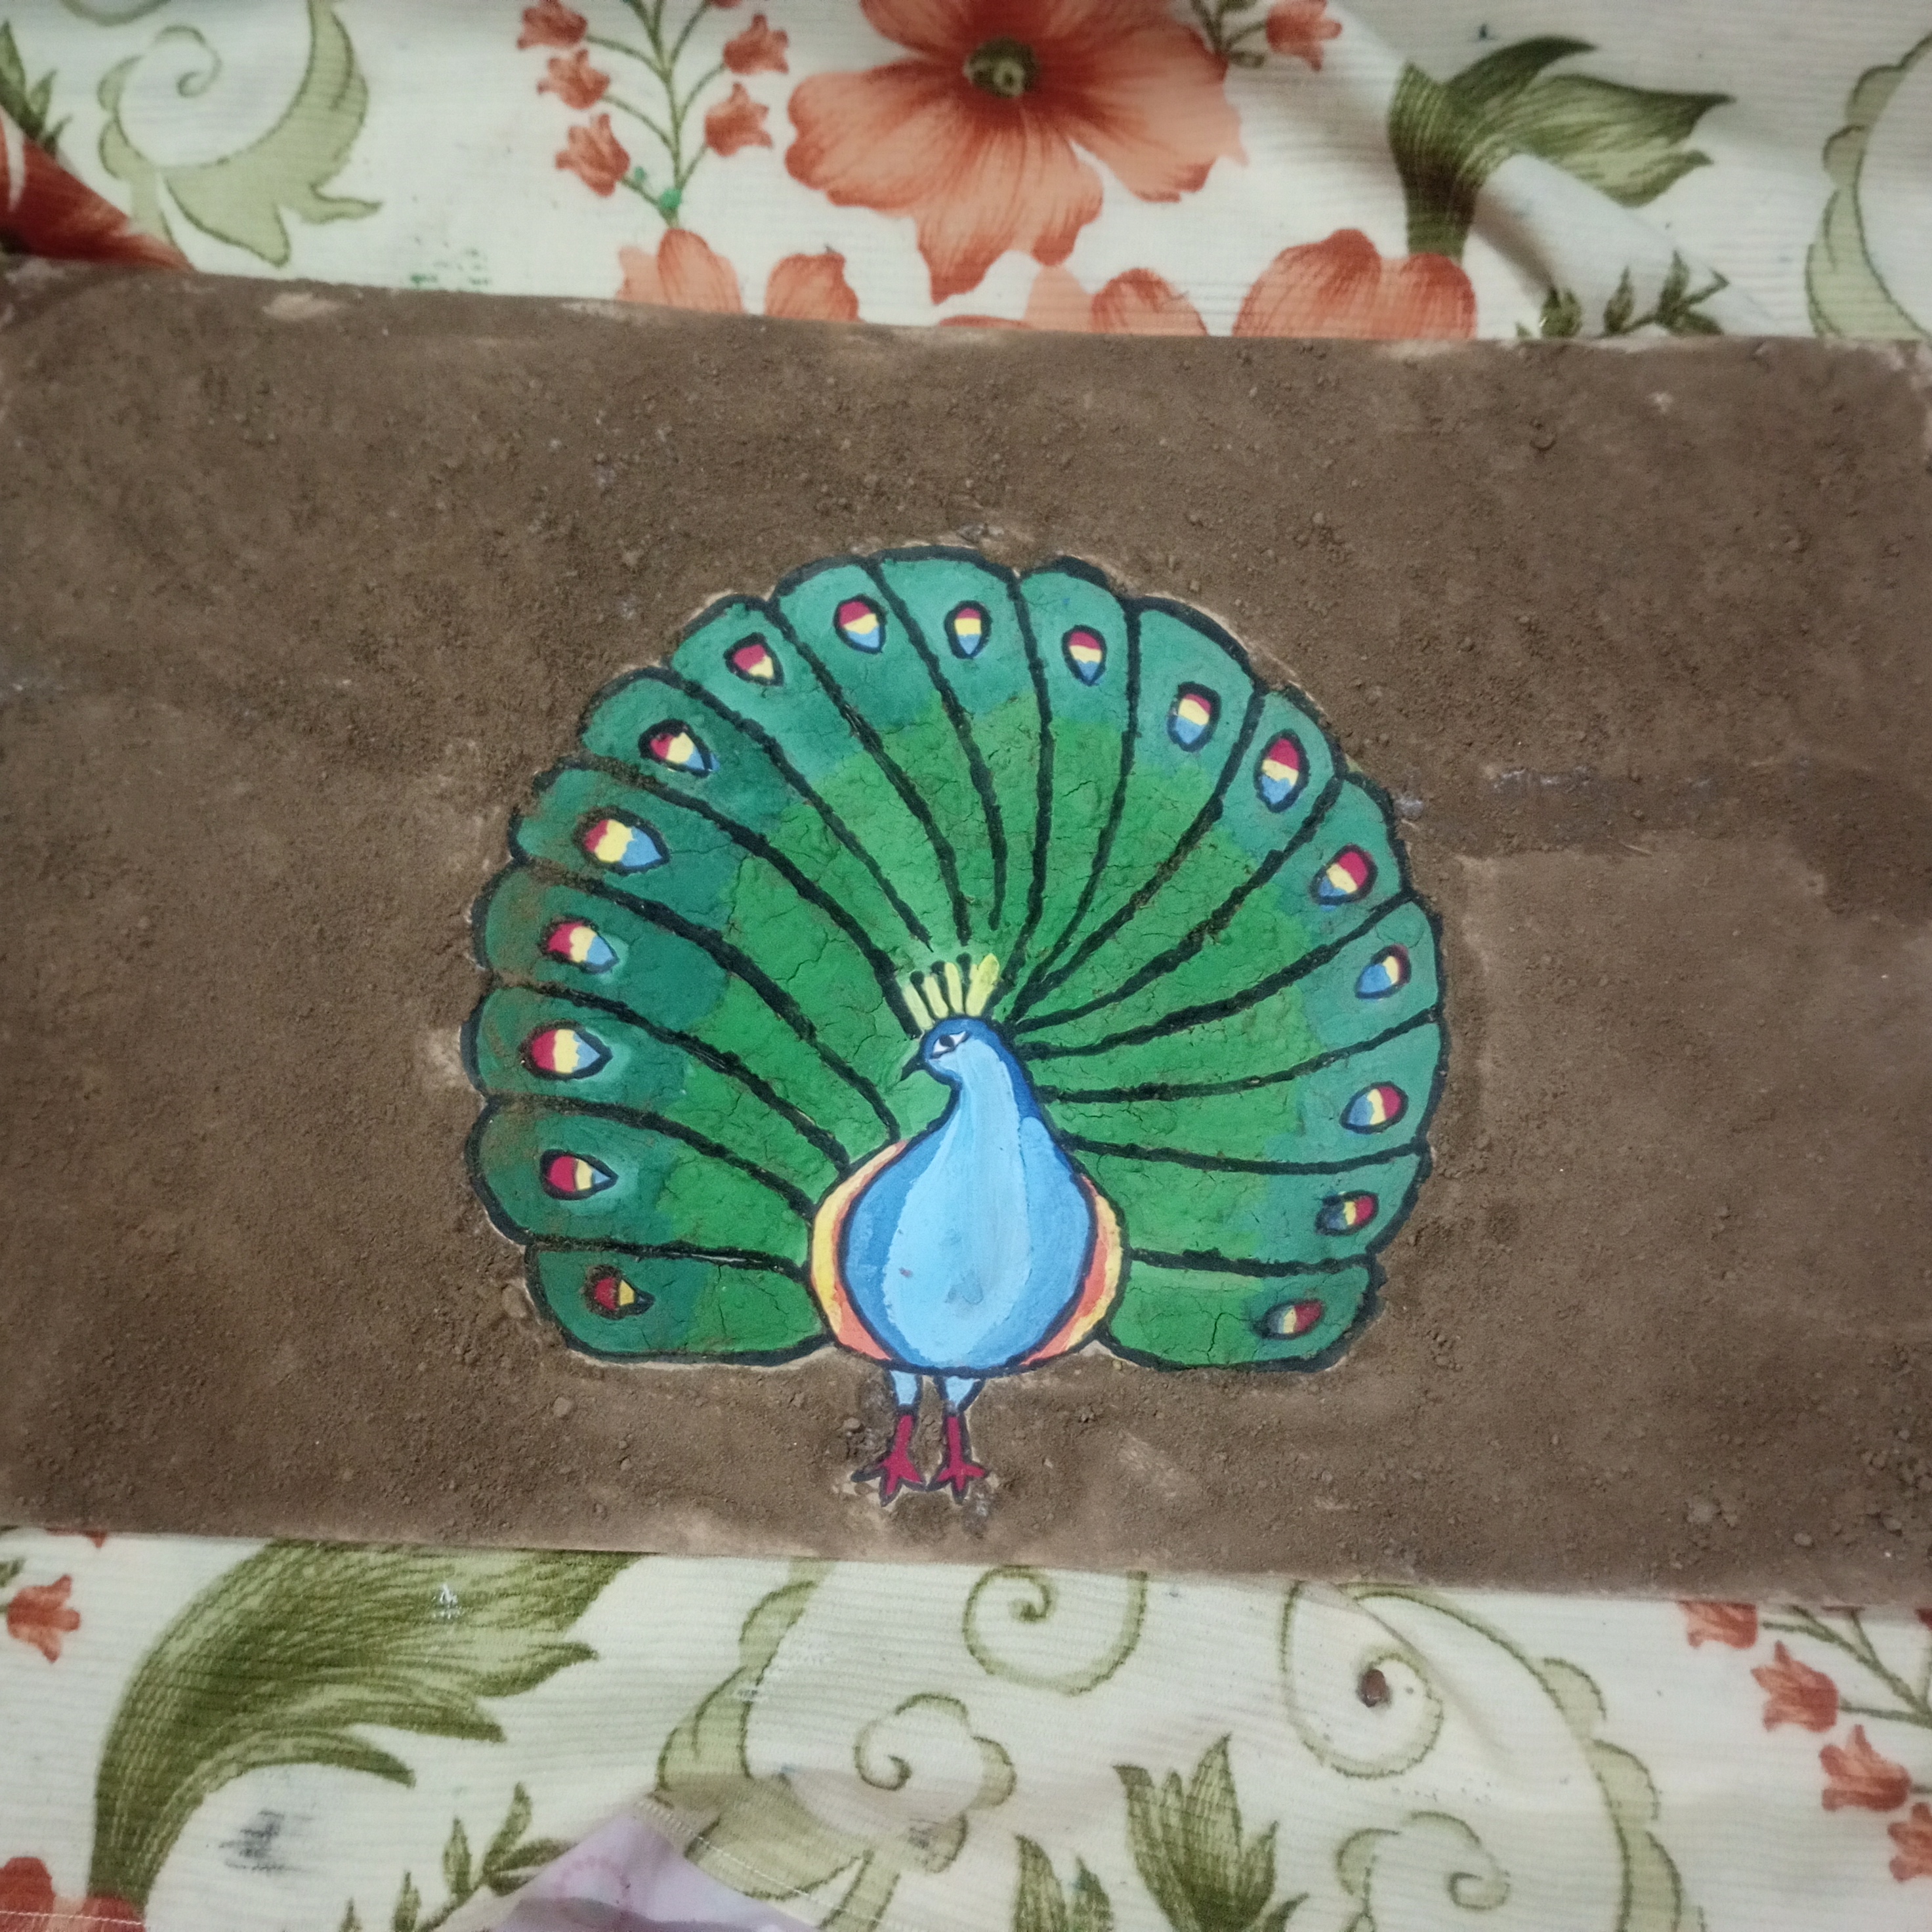
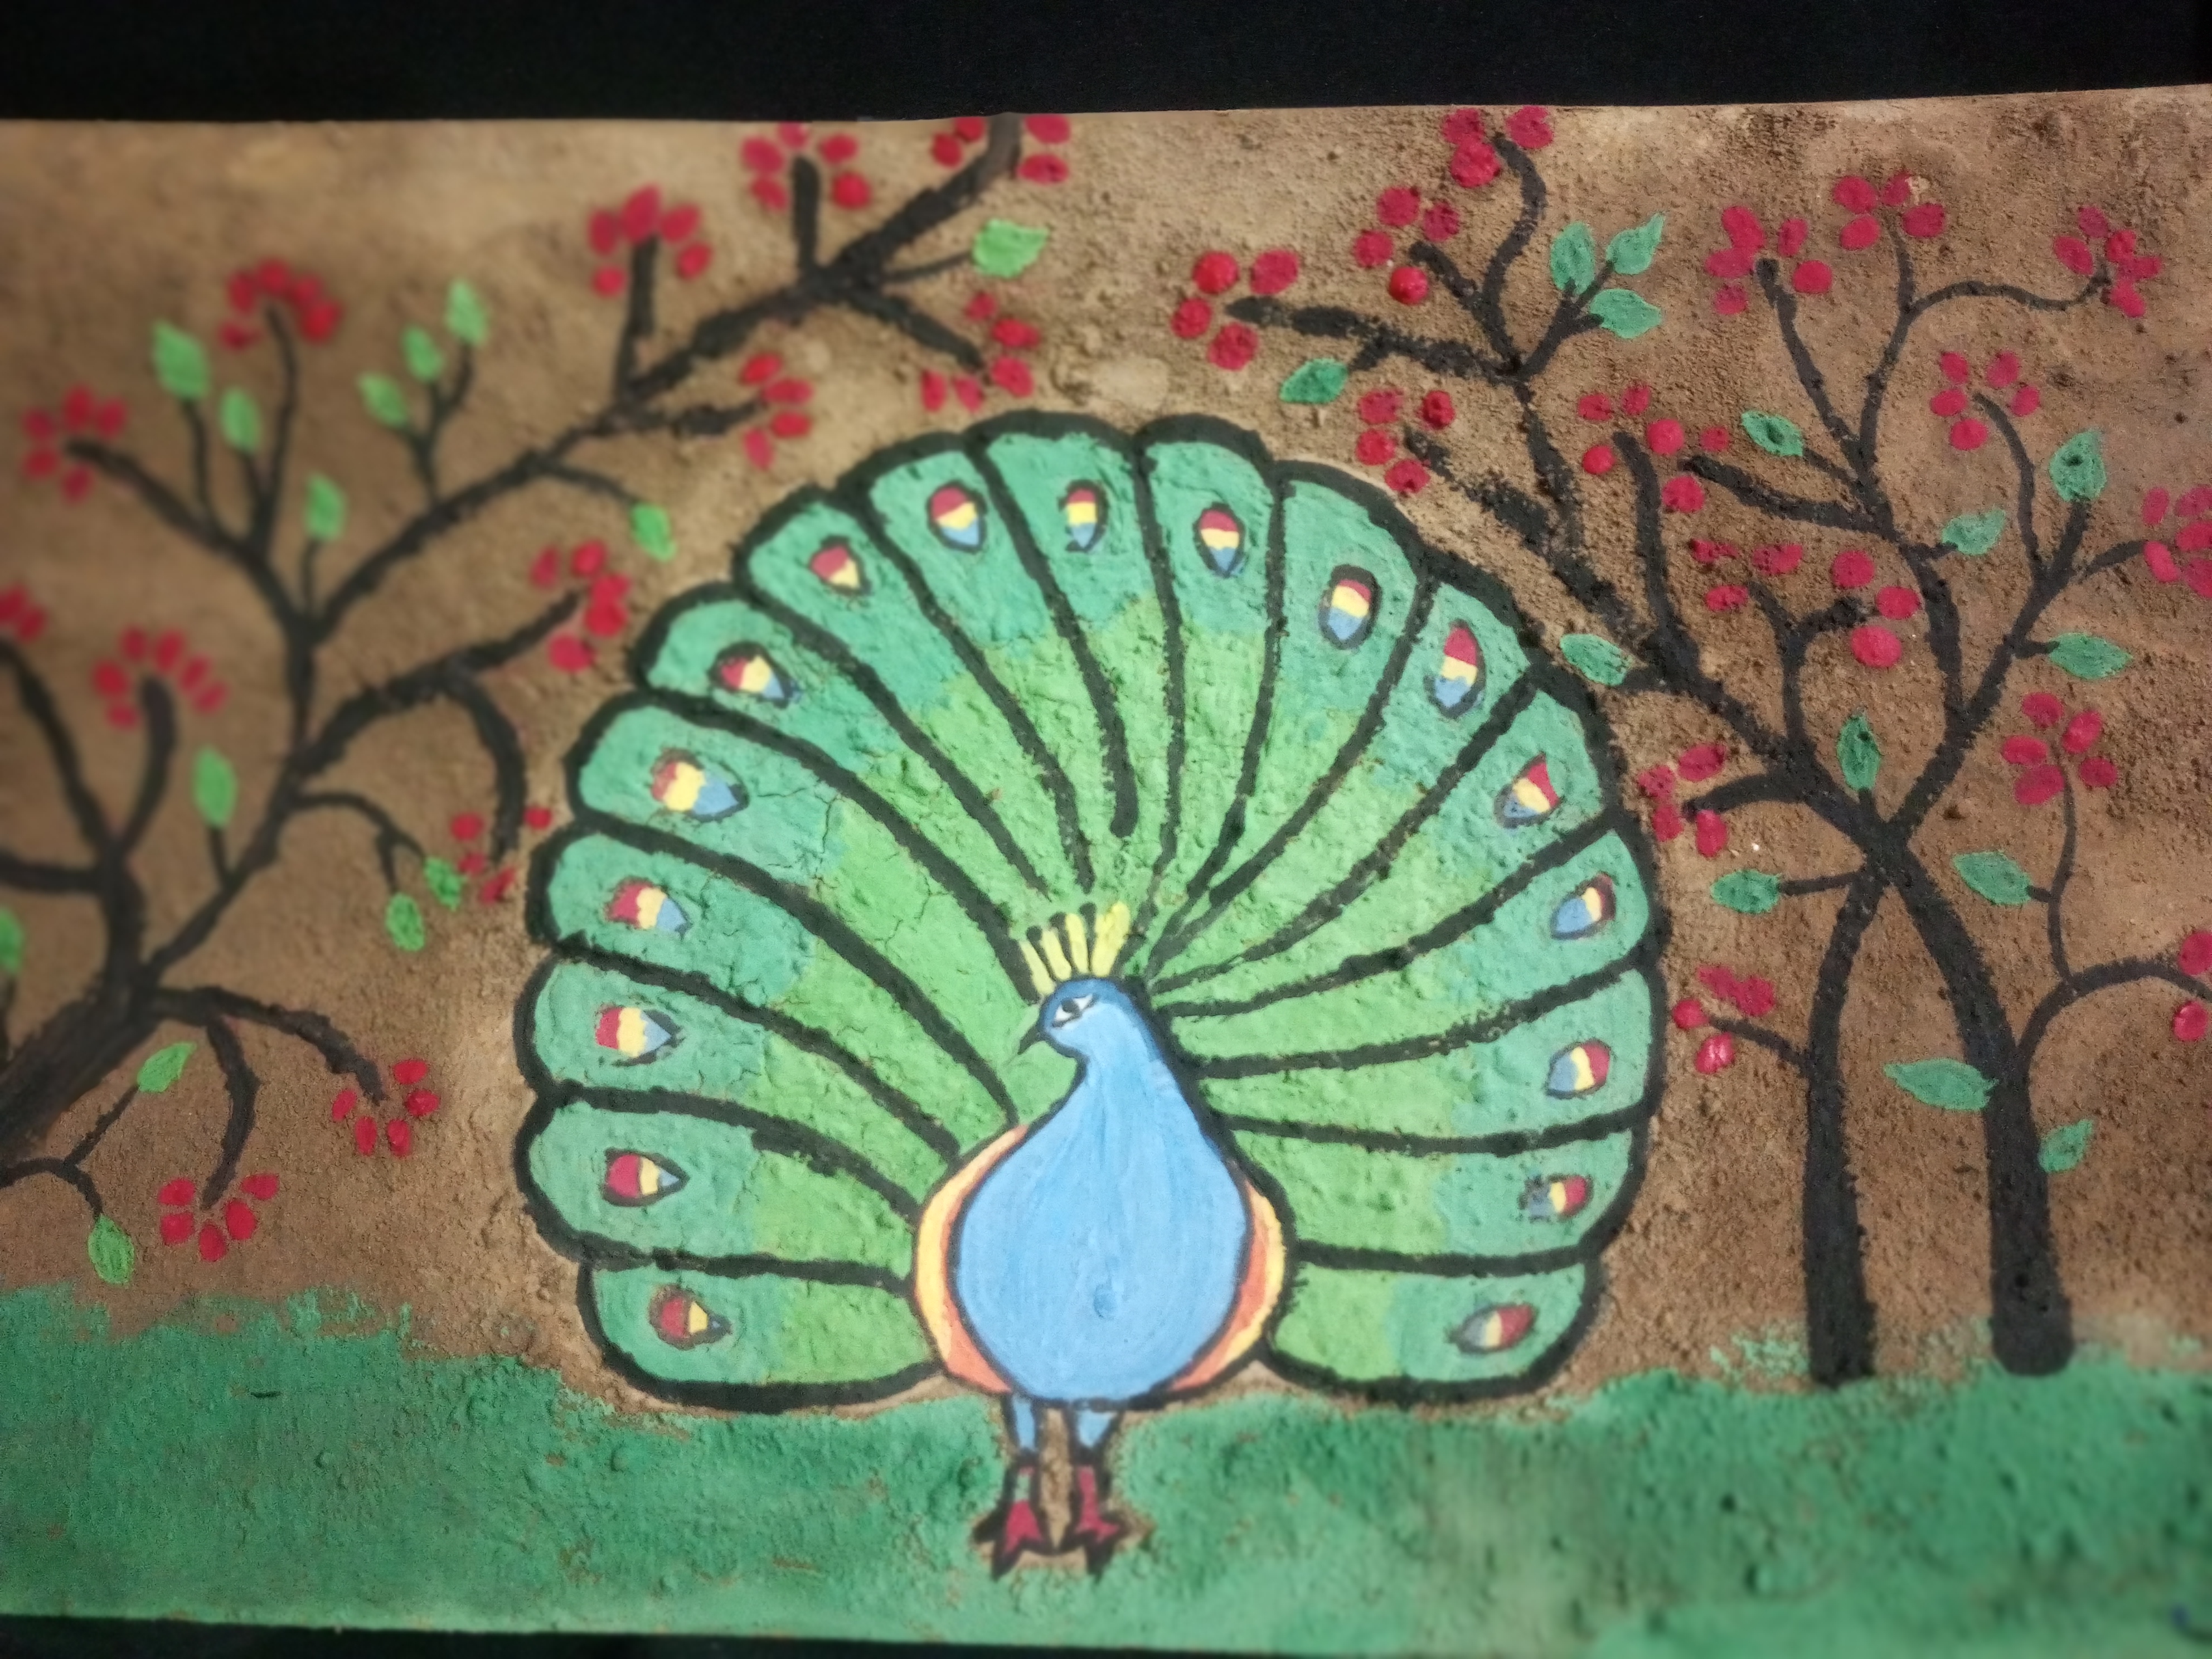
🌟Step 4🌟! After that I started painting the features of the design. I applied a dark green color to the upper part of the feathers. Then used a light green shade for the lower sections. In this way. I created two different tones. The dark green and light green. This added depth. This also add beauty to the peacock’s feathers.
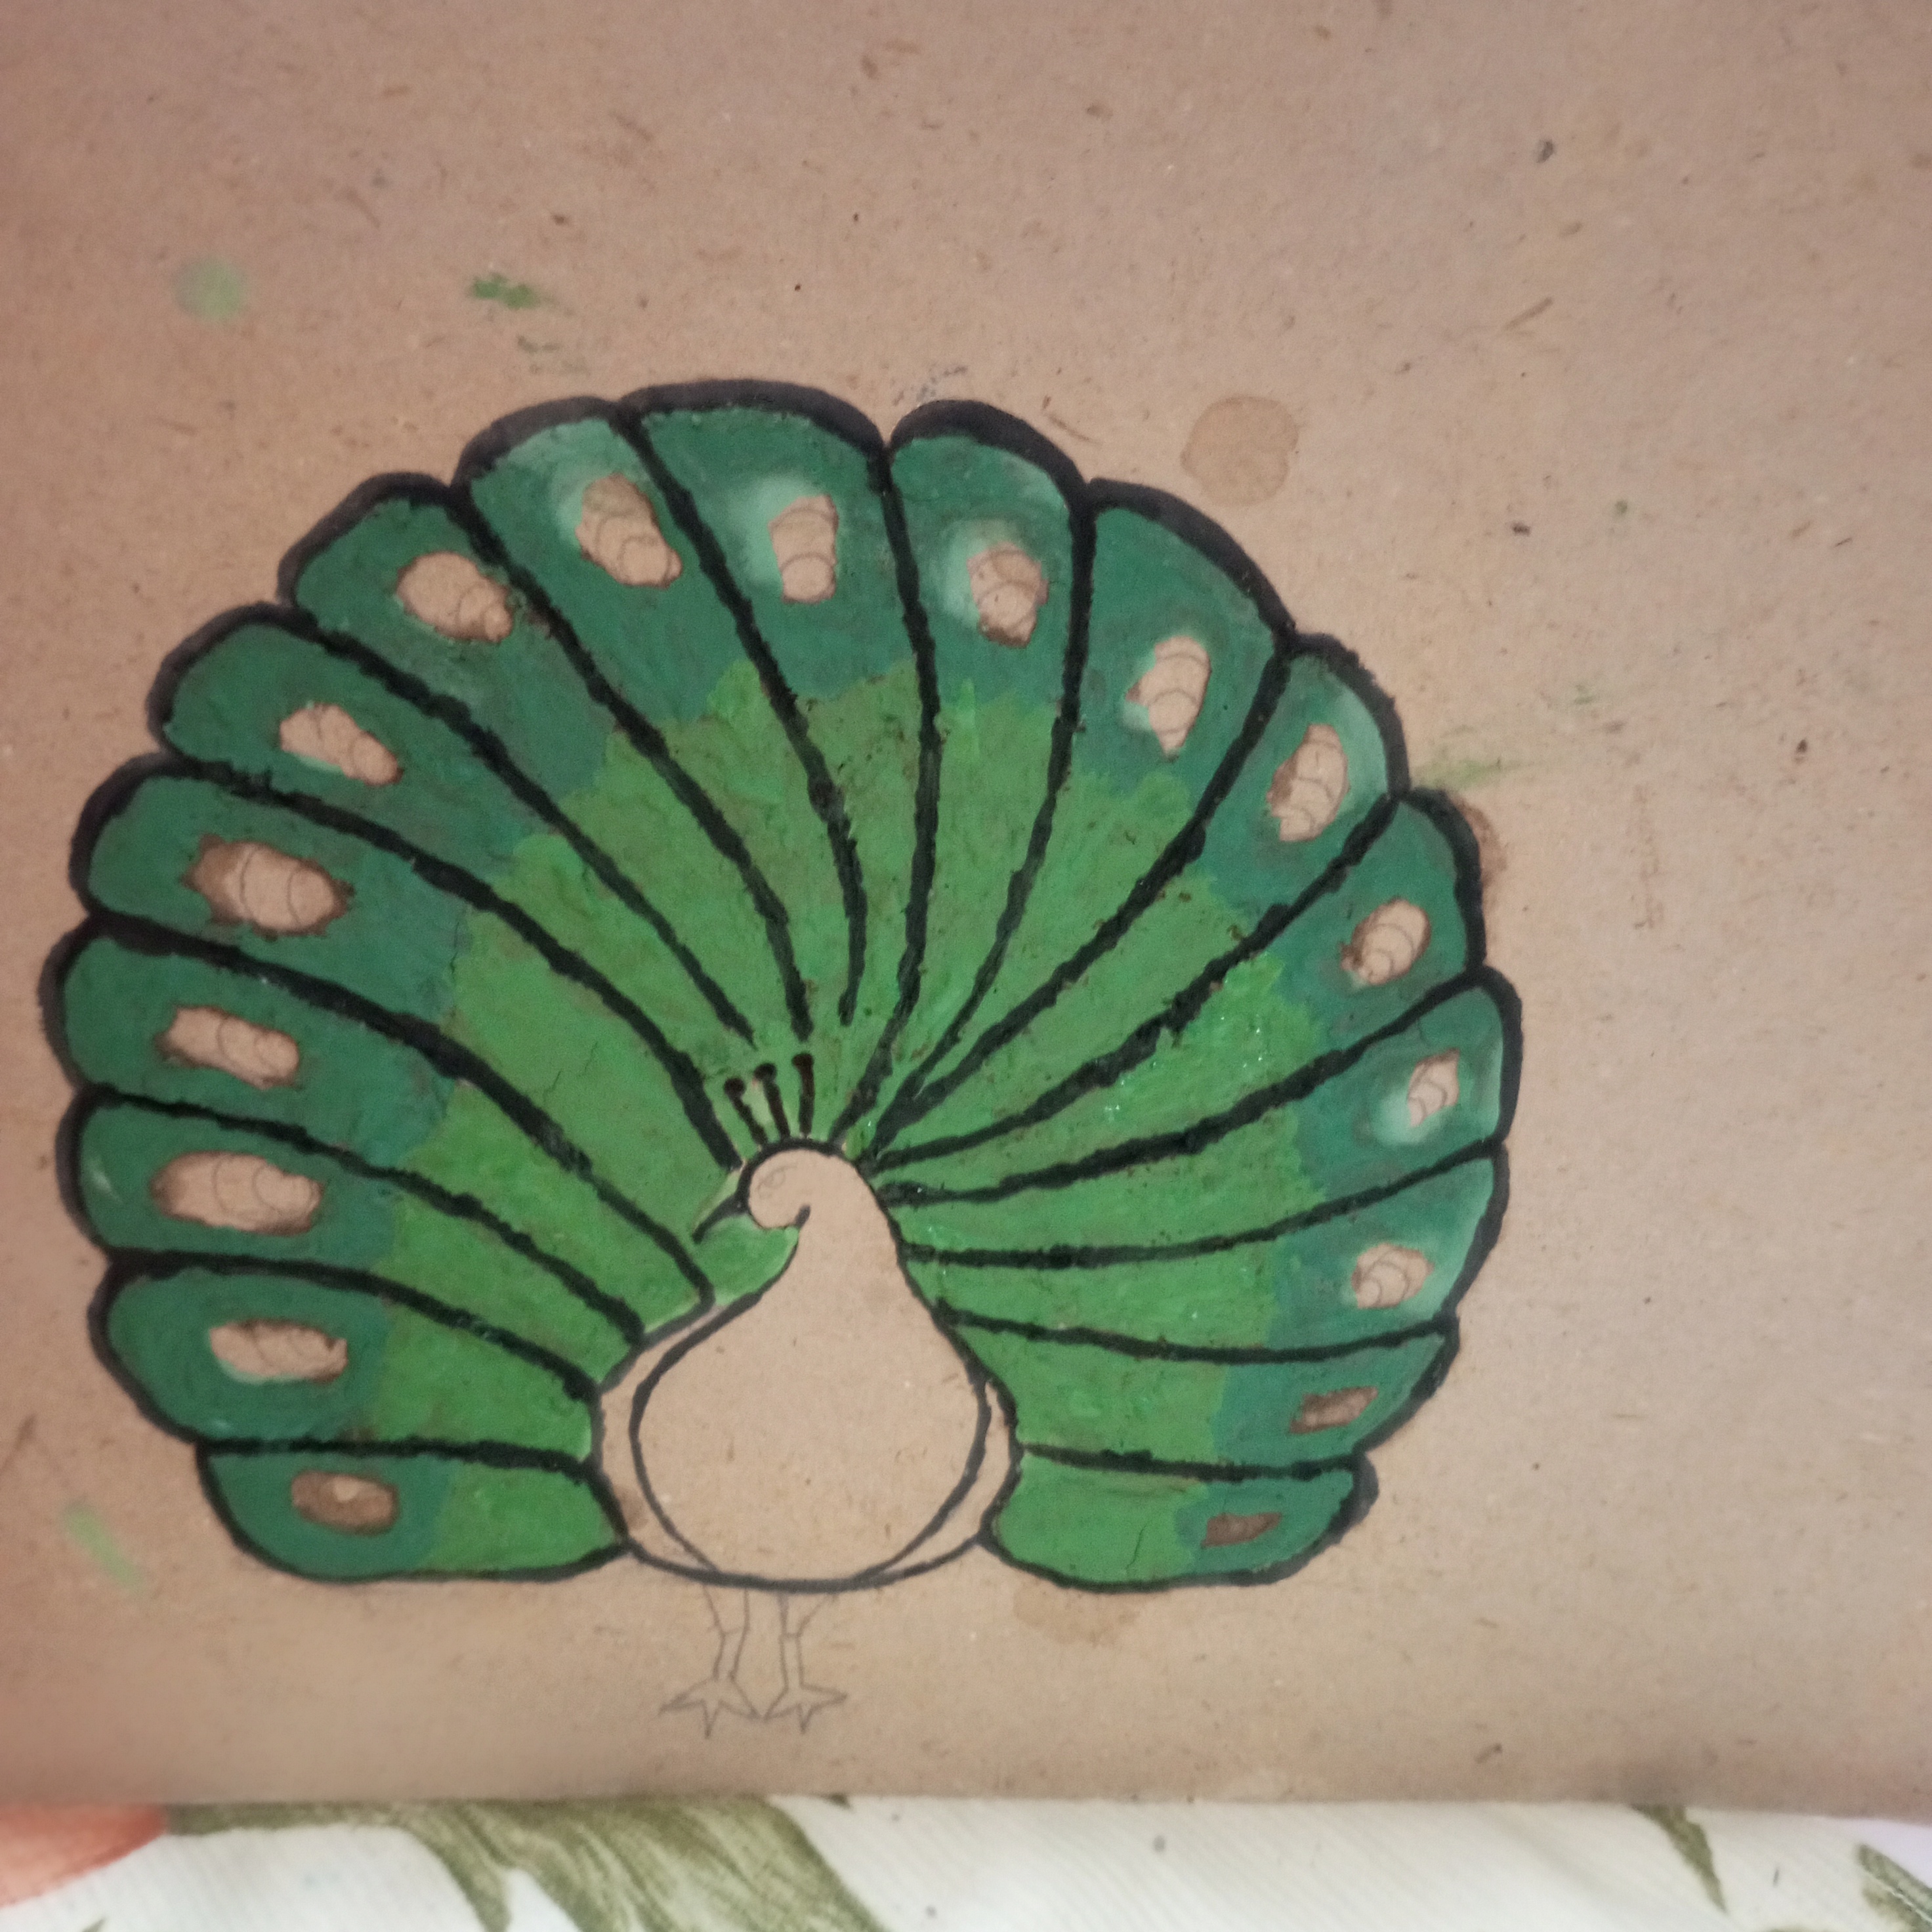
🌟Step 5🌟! After that to give the design a beautiful and elegant look. I outlined all the features with black paint. I carefully outlined the feathers as well as the peacock’s body. This made the overall design more defined and attractive.
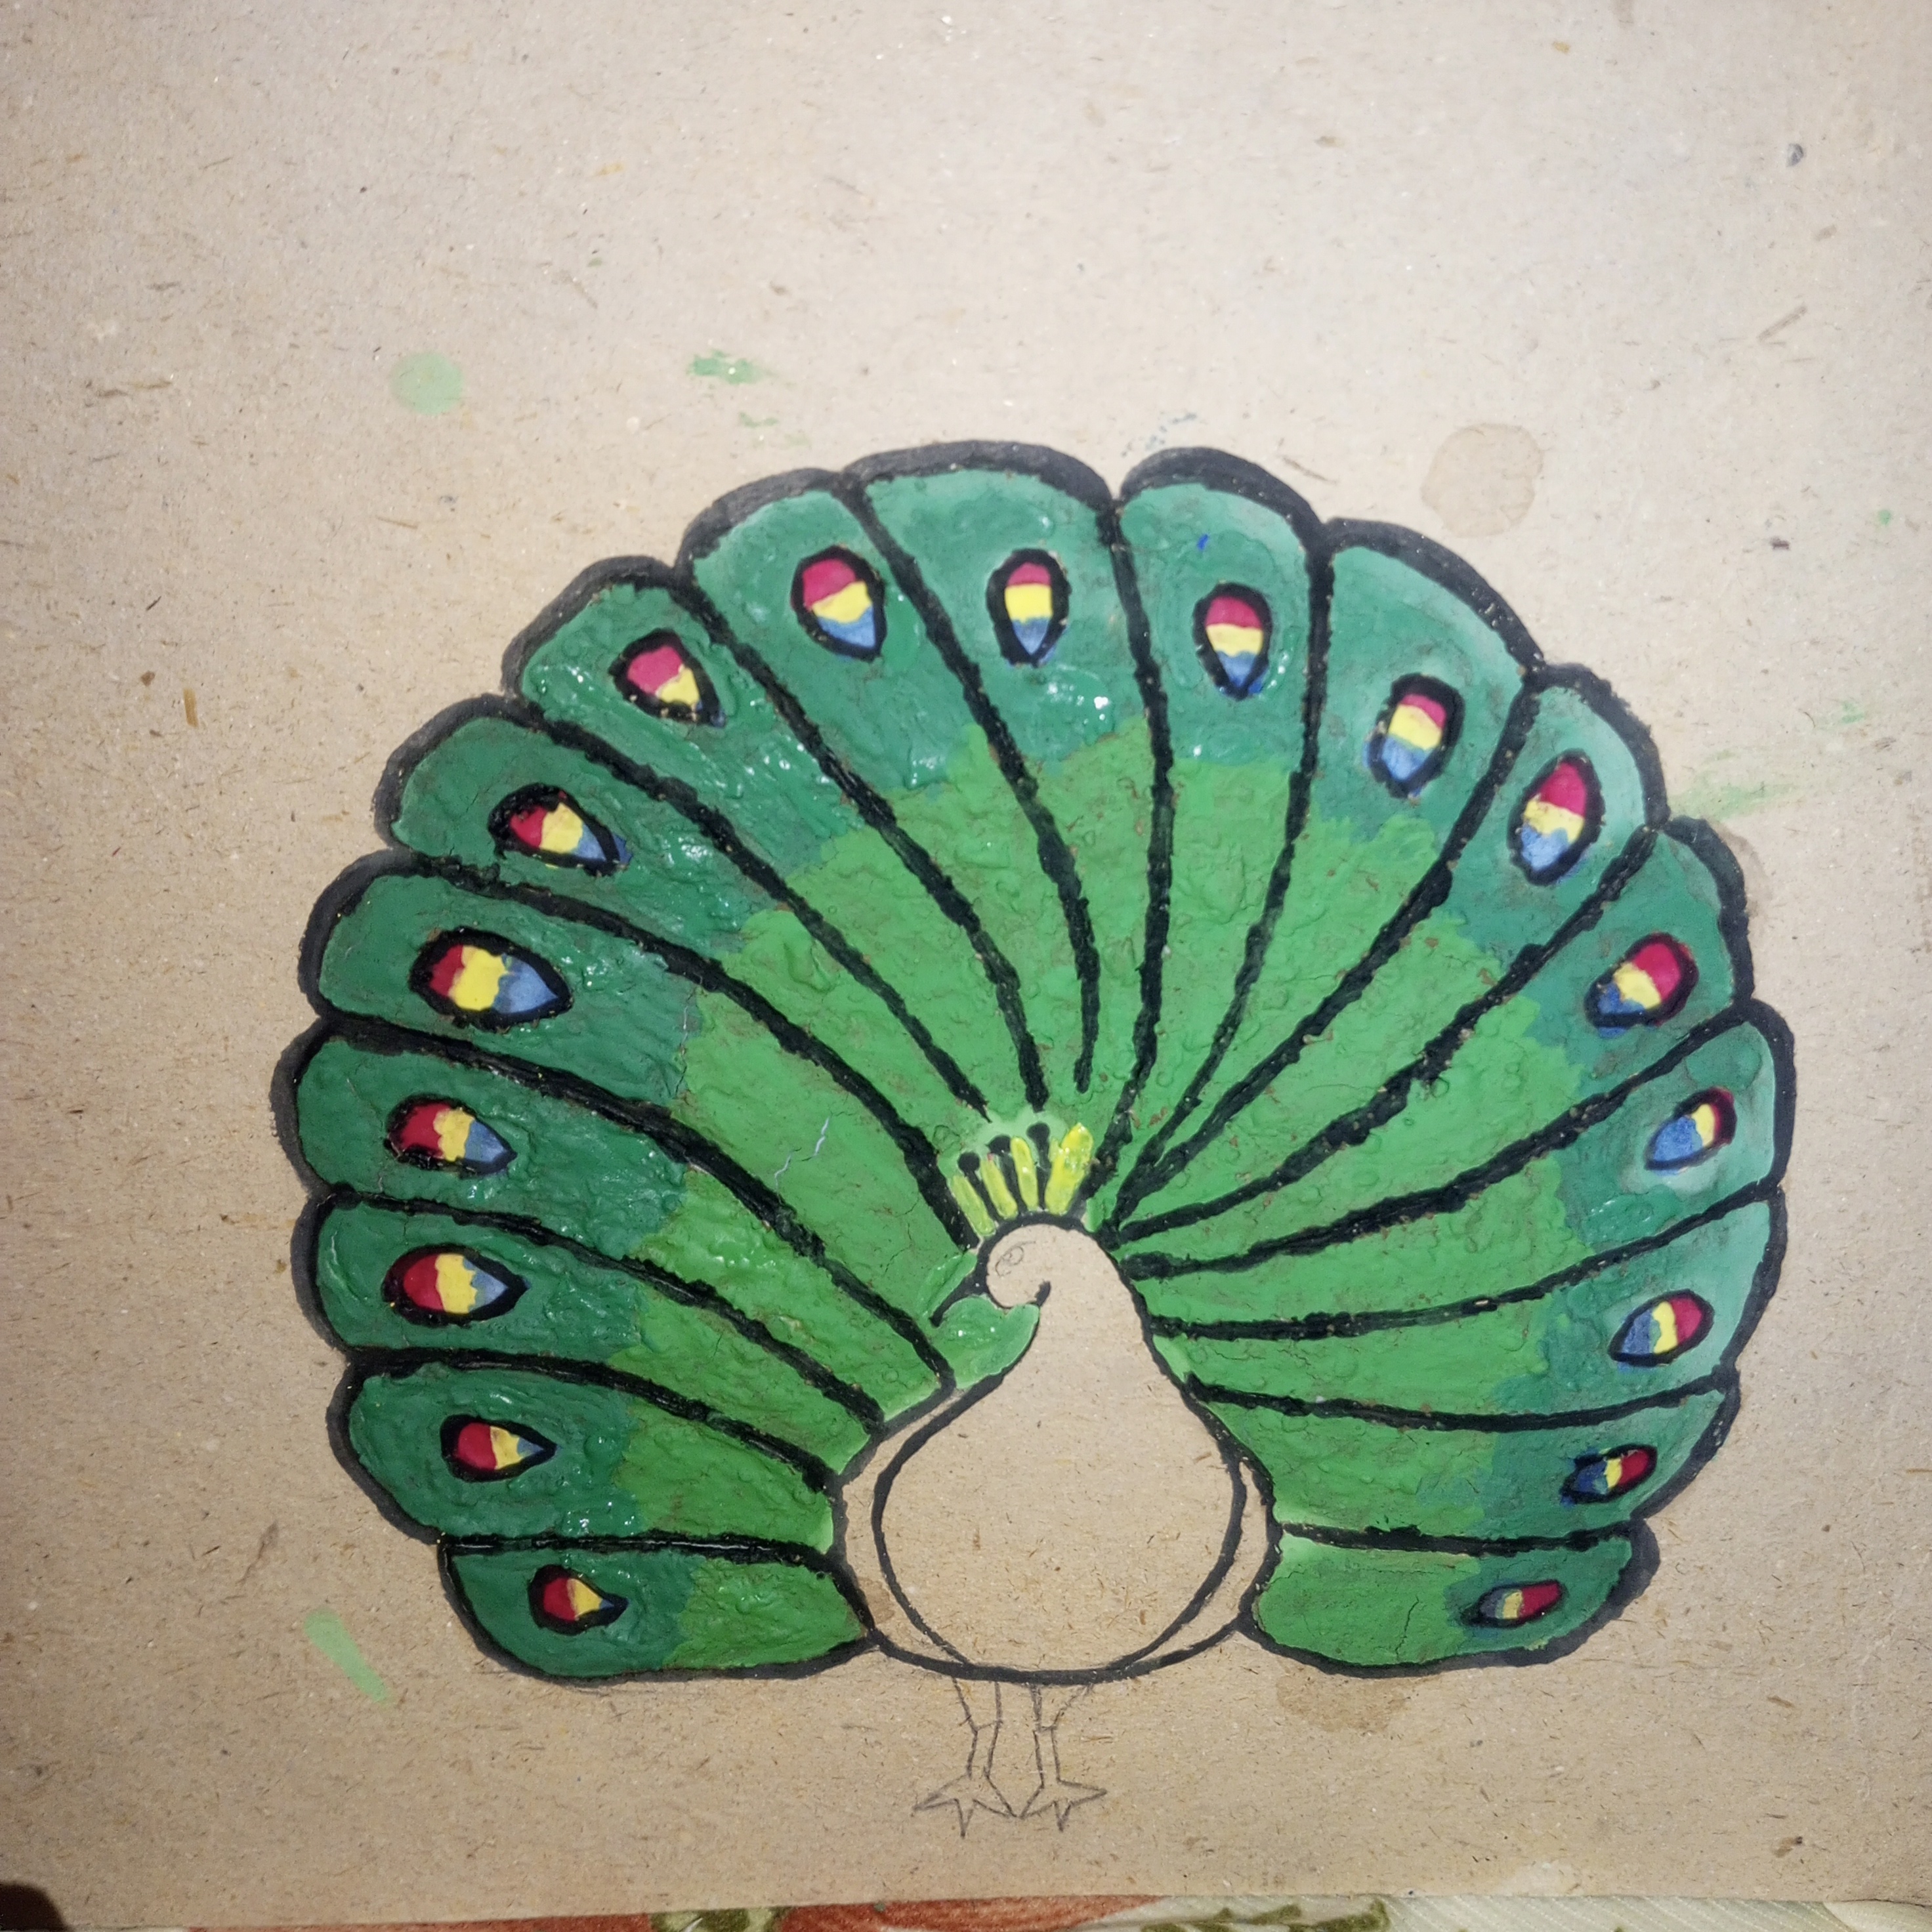
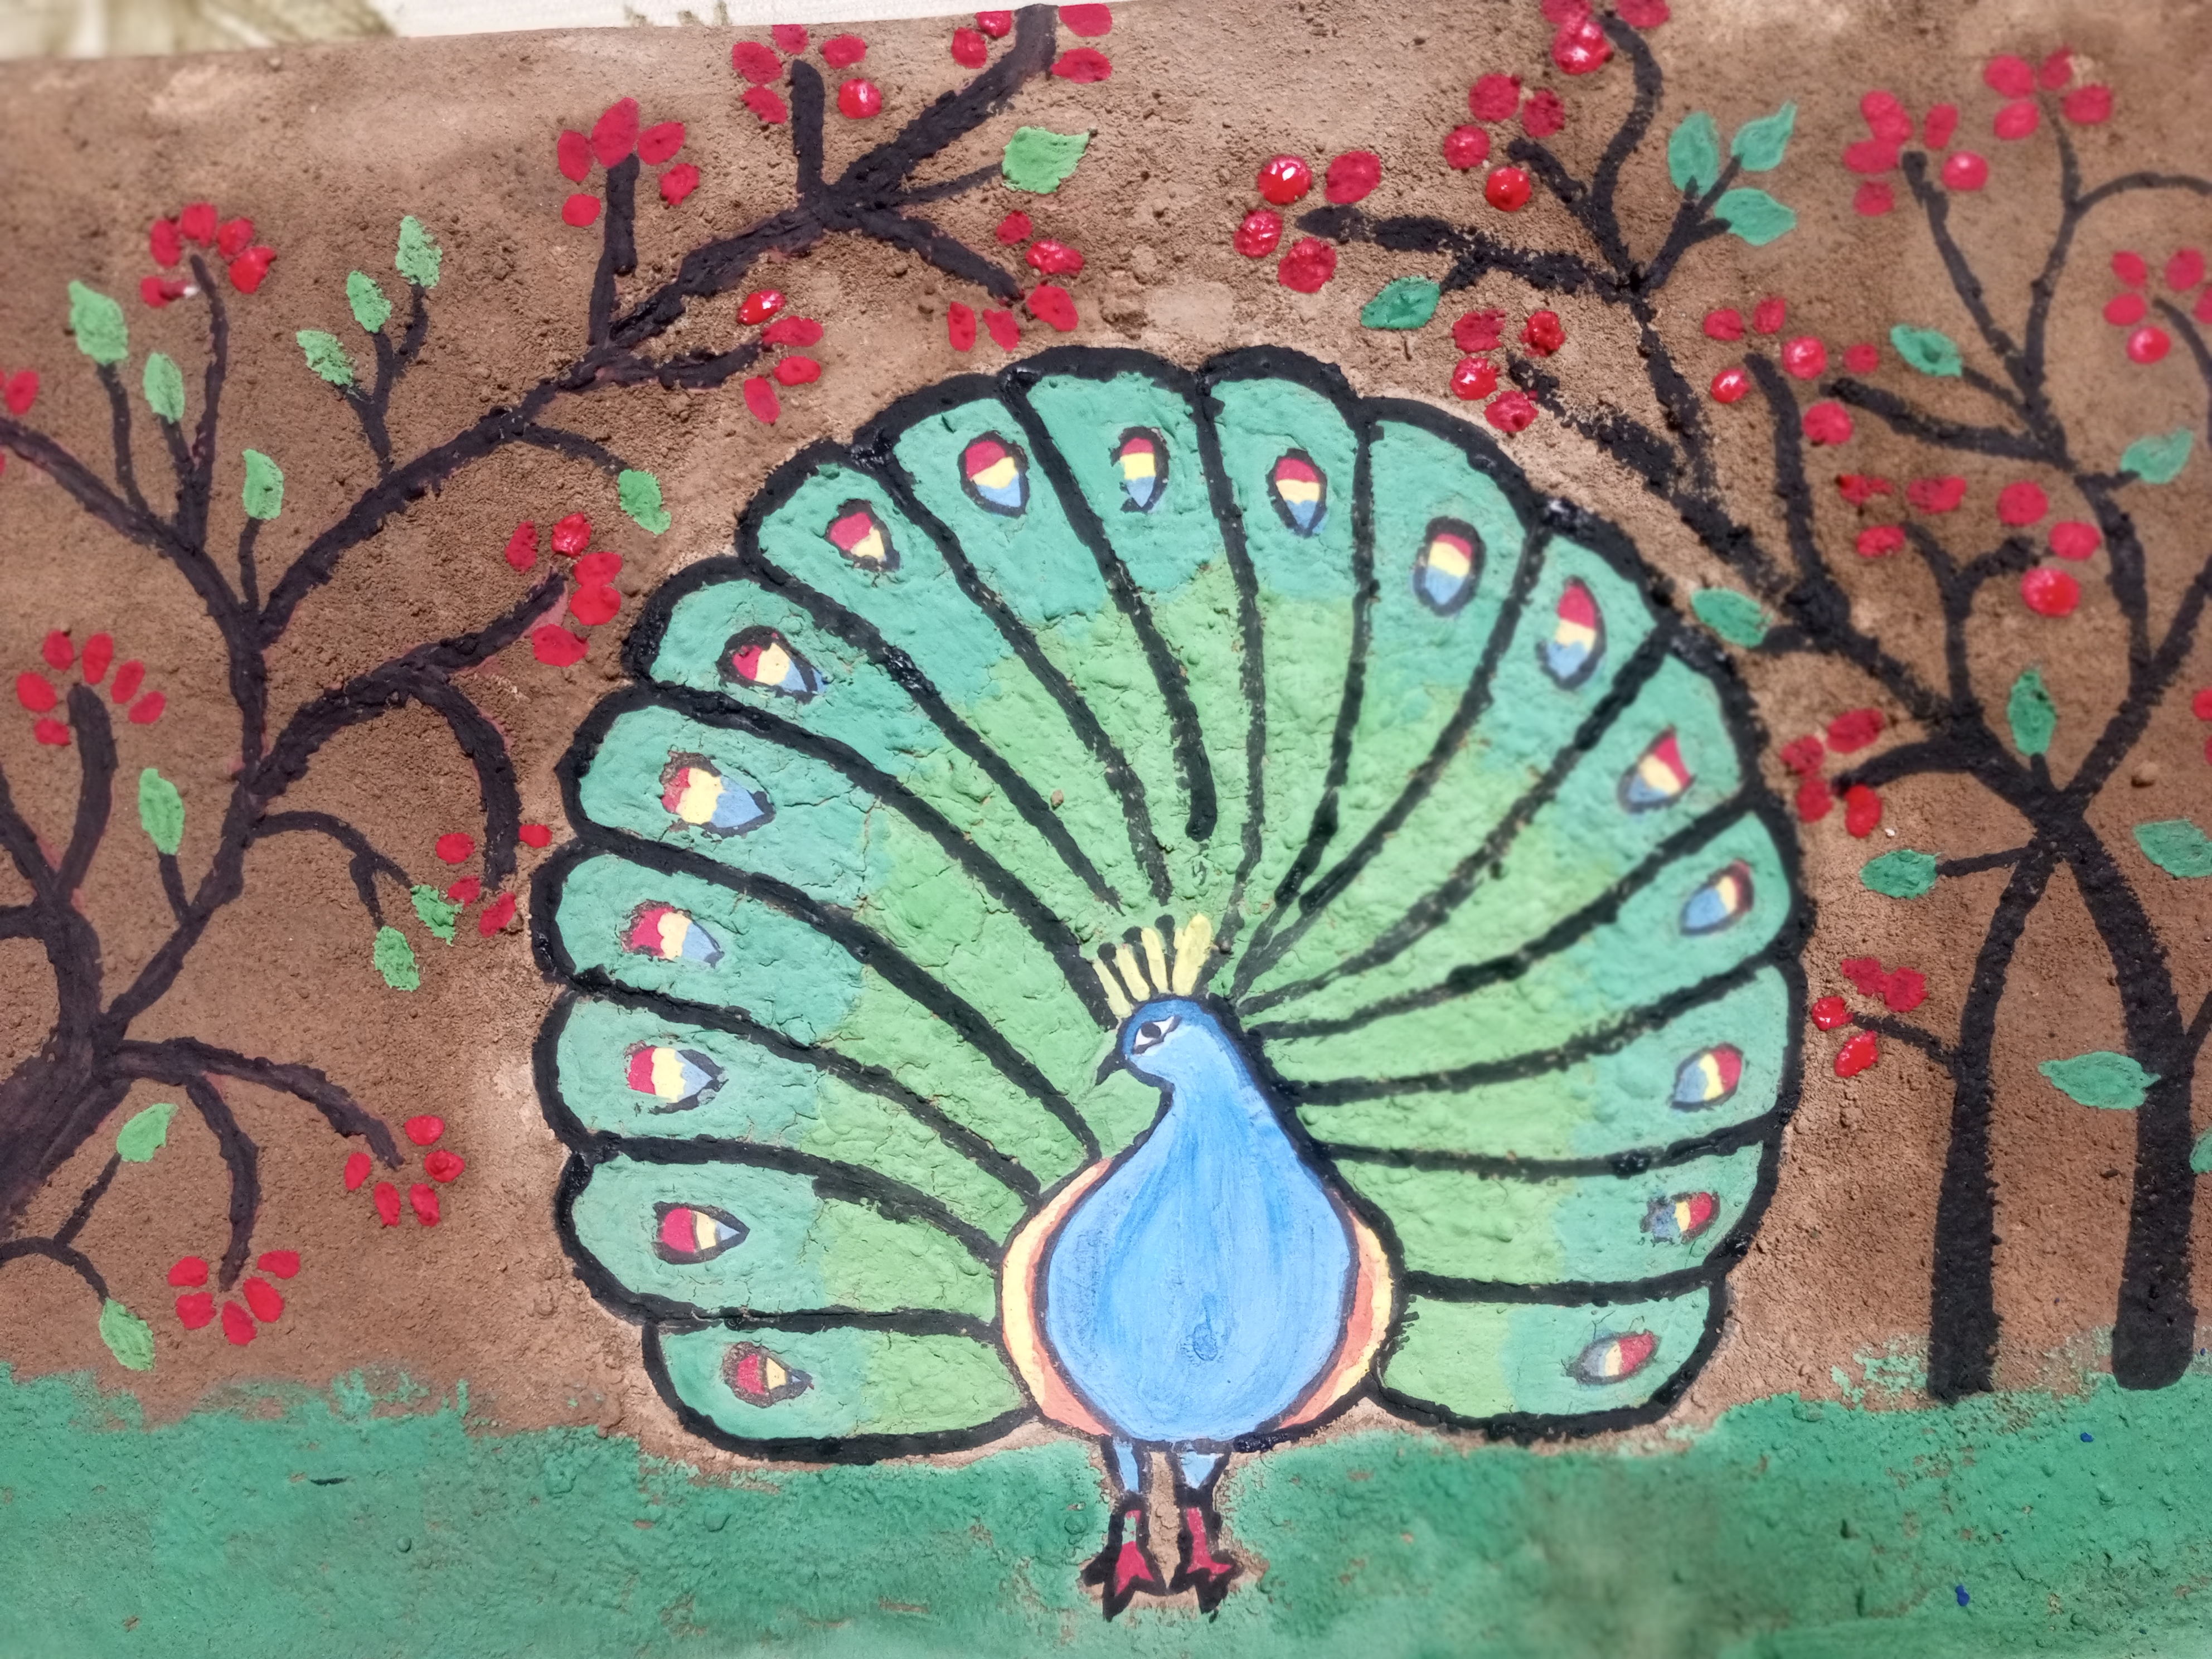
🌟Step 6🌟! After that I painted the peacock’s body to complete the artwork. I used dark blue and light blue shades for the body. I added orange and yellow tones on the sides to enhance its beauty. I also painted the legs in red. This added a nice contrast. Finally I carefully drew the eye. I giving the peacock a more lively and graceful appearance.
🌟Step 7🌟! After that I started working on the surrounding area of the peacock. First I applied glue all over the cardboard. Then sprinkled sand on it. I making sure it stuck properly to create a textured background. When the sand was set. I began painting over it.
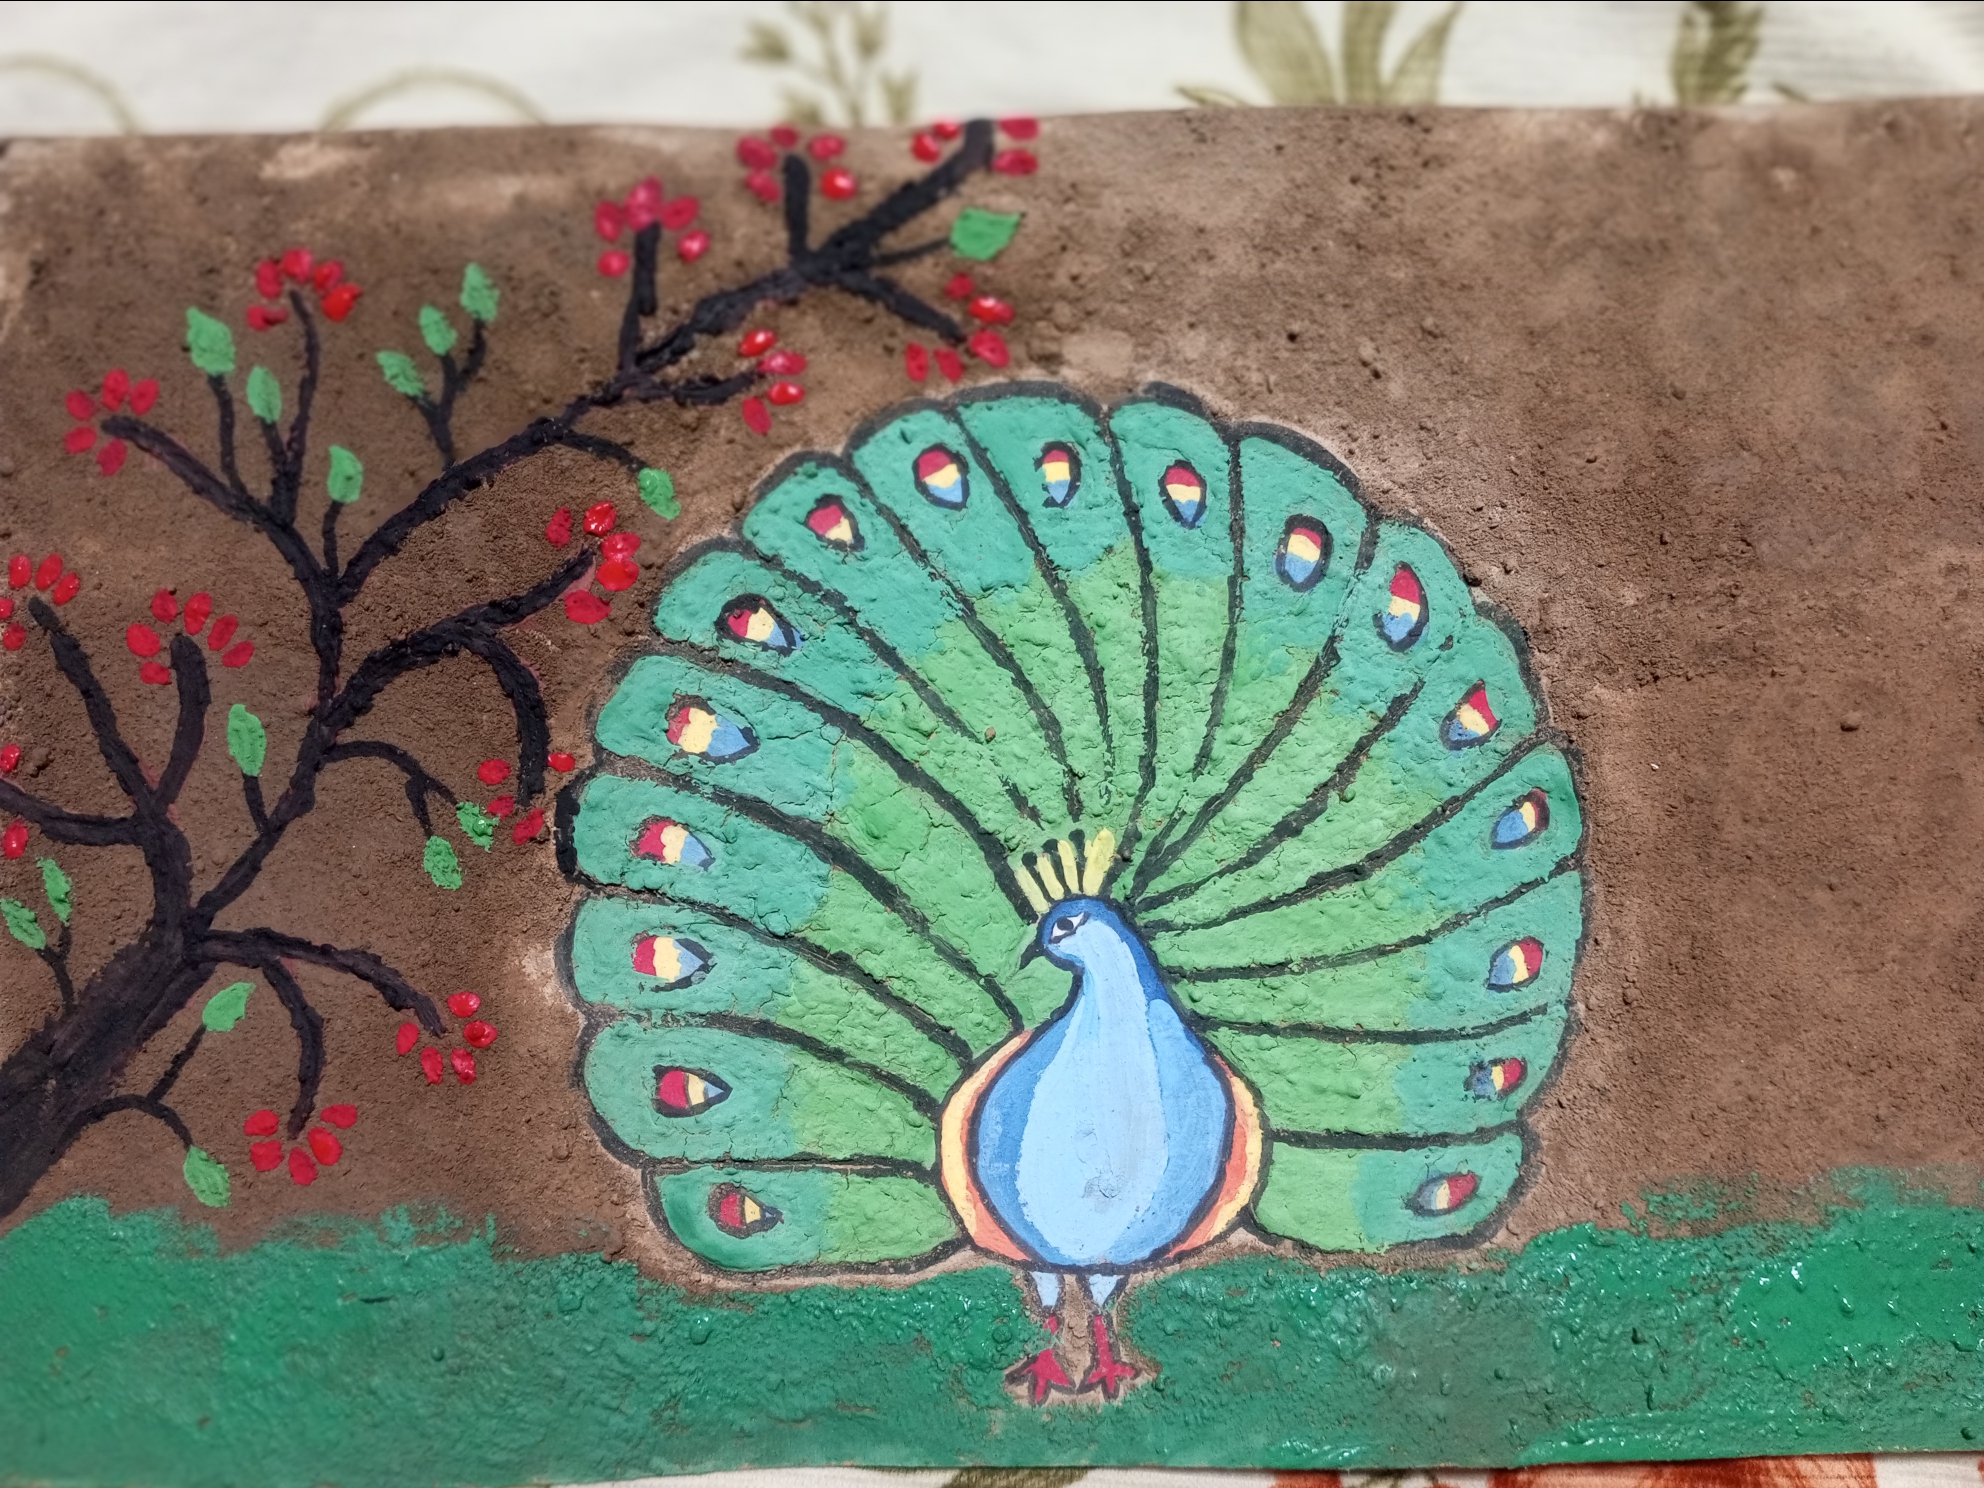
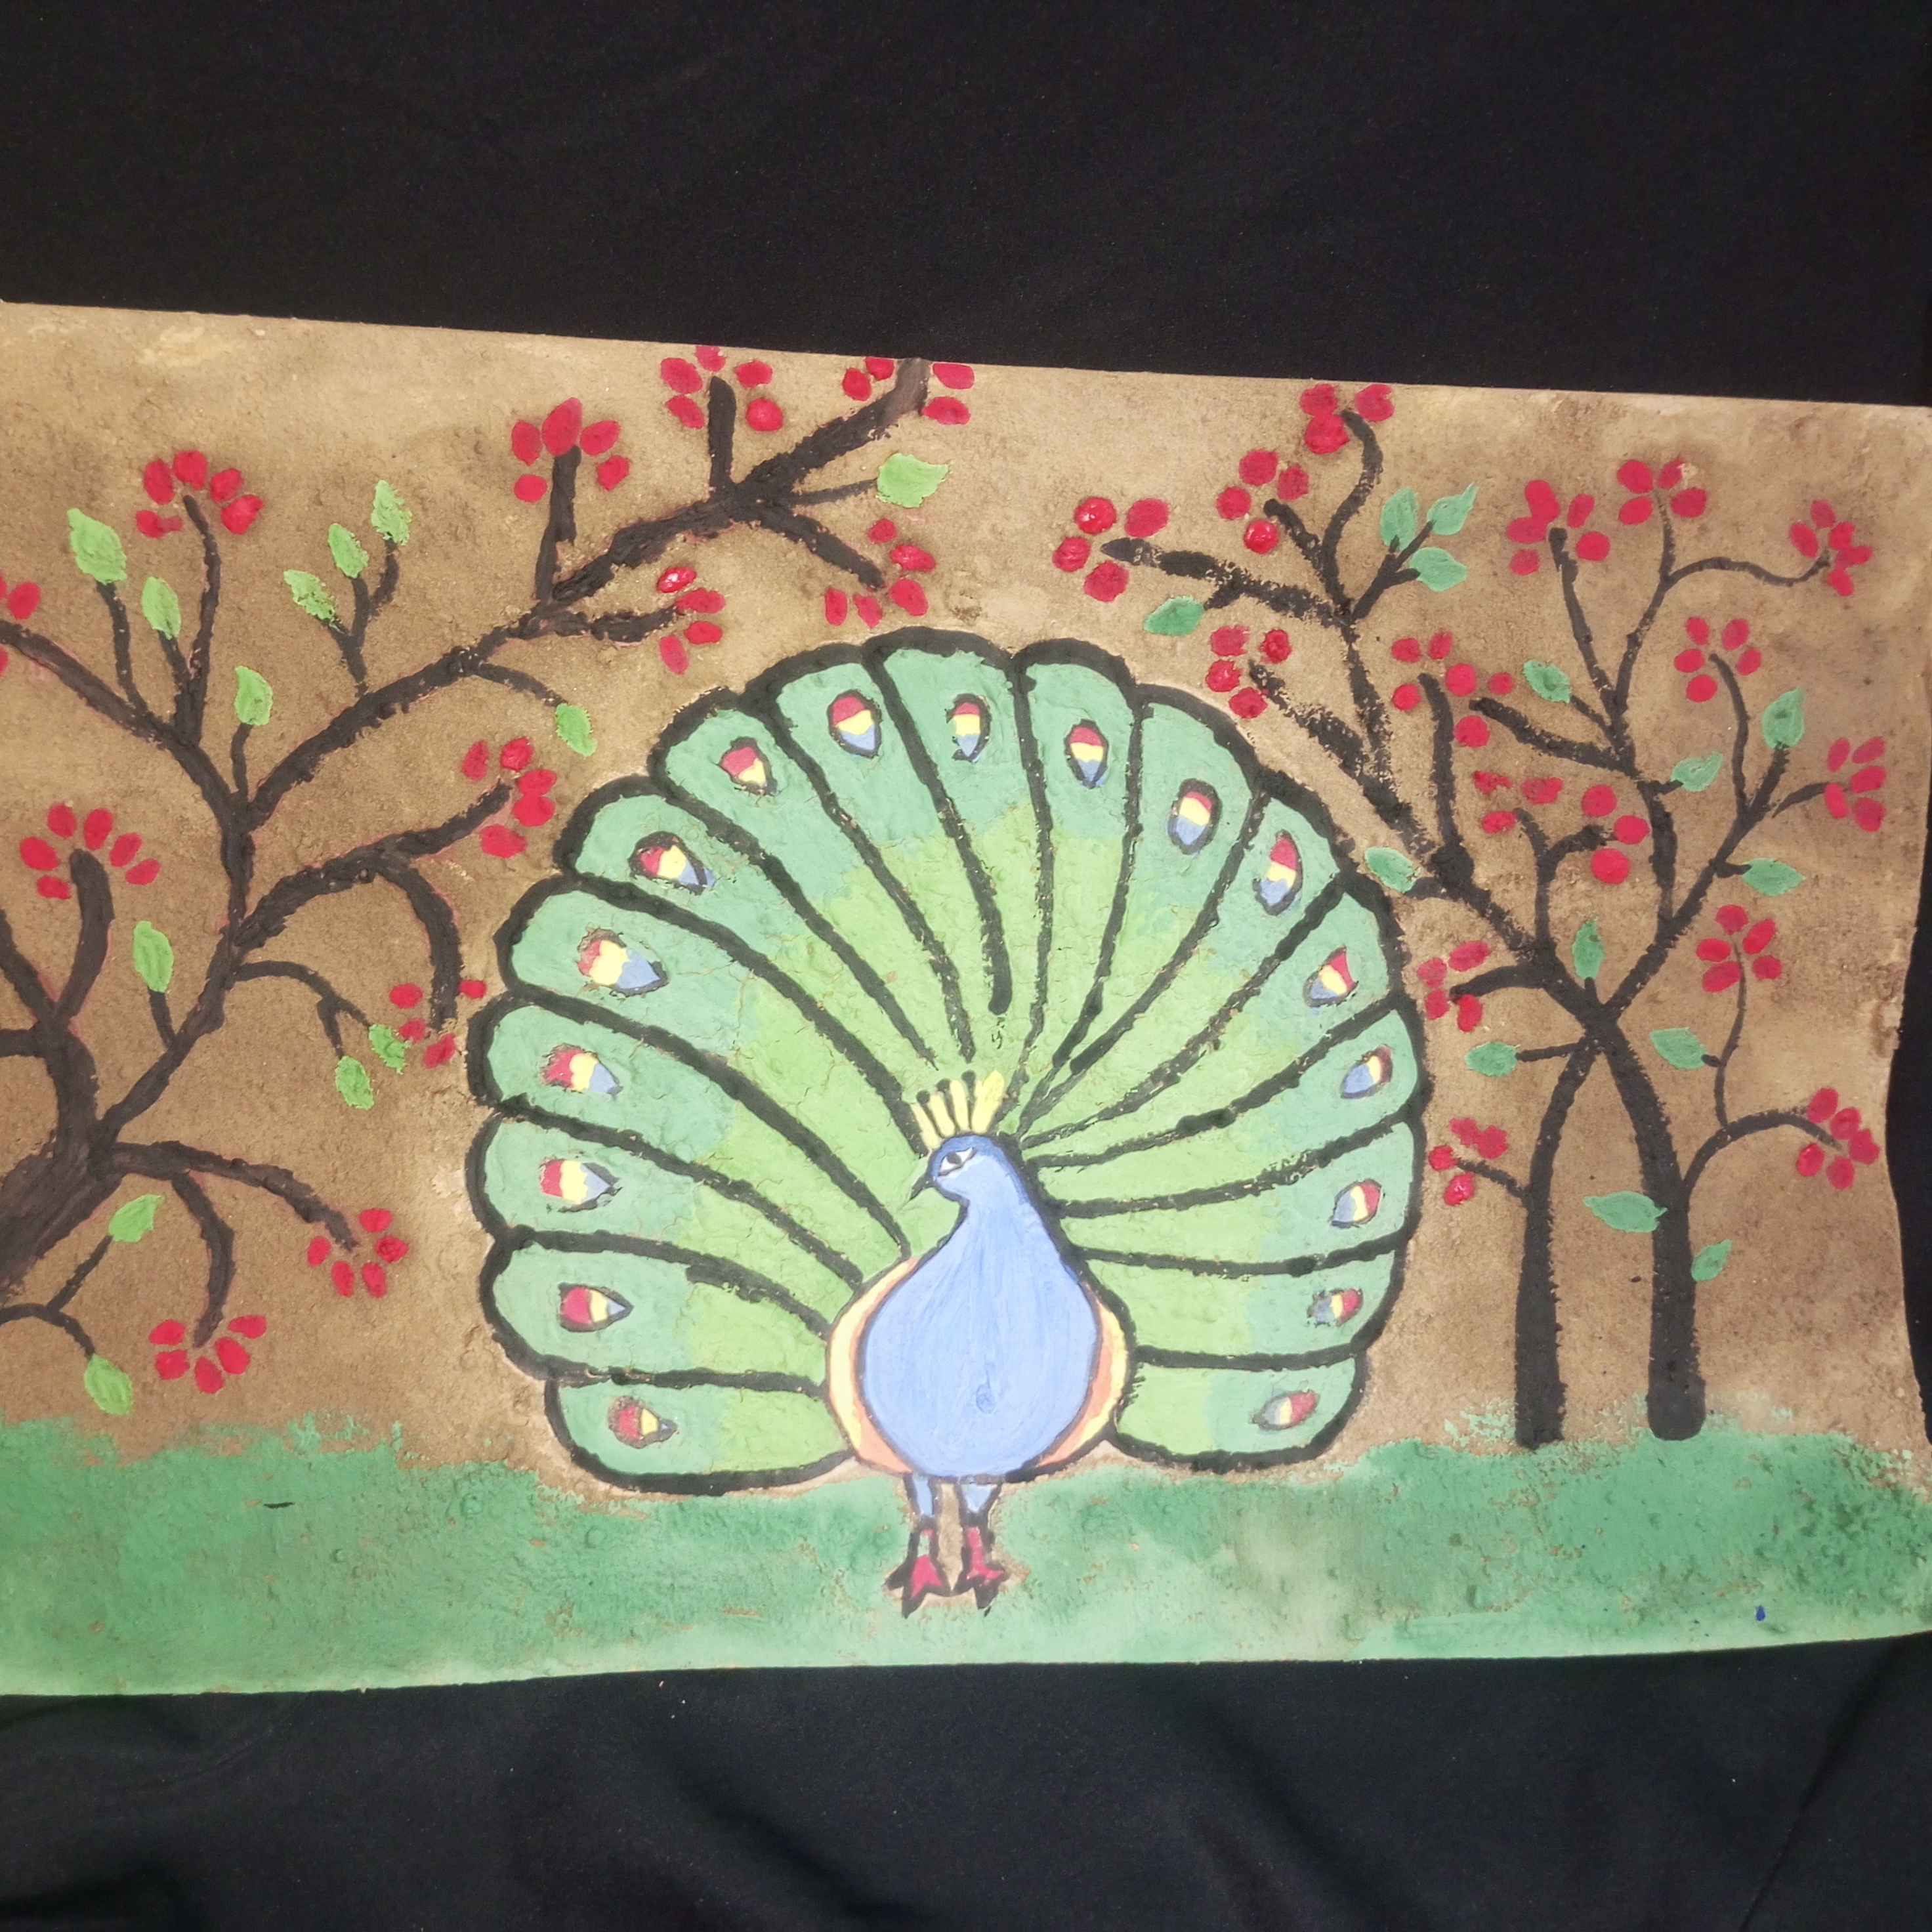
🌟Step 8🌟! After that I used red paint to create small and delicate flowers on the artwork. I carefully designed tiny floral patterns. This made the piece look very beautiful and detailed. Along with this I also used green color to draw leaves on the same section. In this way the combination of red flowers and green leaves created a natural and vibrant look. Then around the area where I had drawn the peacock. I painted the lower side with green color. This helped create a grassy, natural environment. This is like the peacock is standing in lush greenery. Overall this scene gives a very fresh and realistic garden like feeling.
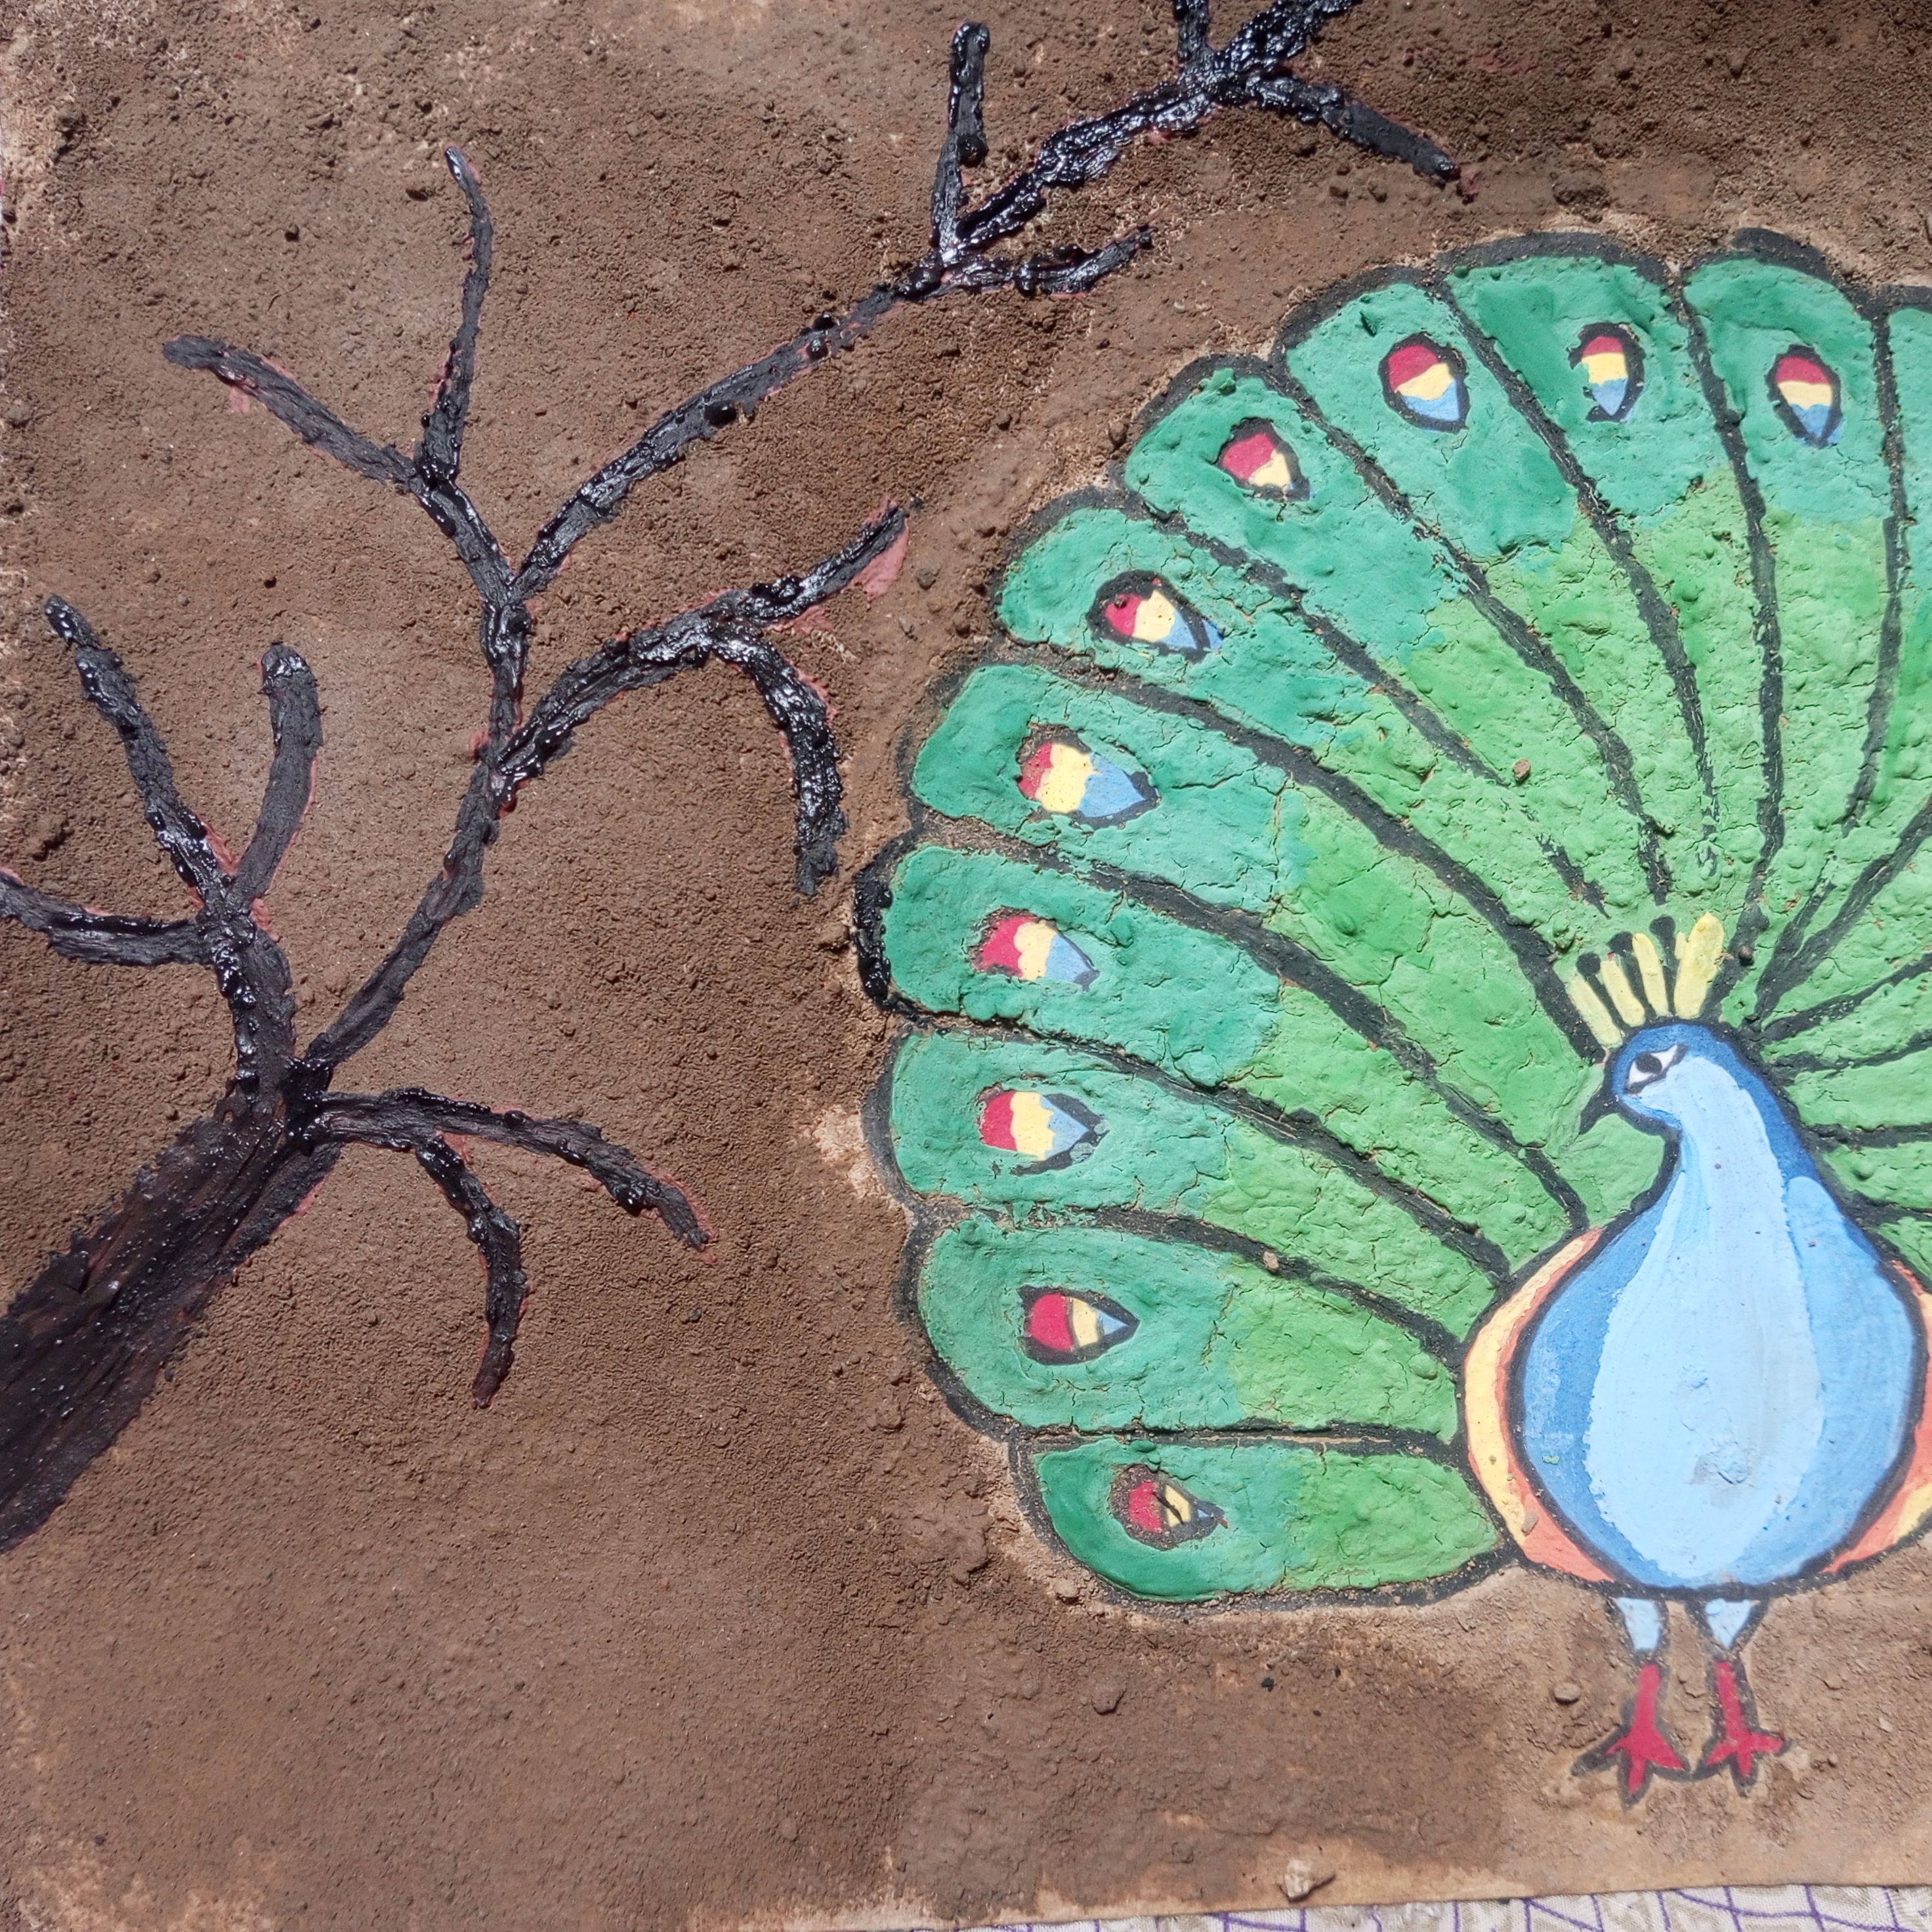
🌟Step 9🌟! Then following the same process. I started by painted two trees on the right side. Both trees placed in opposite directions. Facing away from each other. This created a balanced and natural composition.
Yes I like the sand texture a lot. Because it gives a unique, natural and beautiful look to the painting. When we use sand in painting. It creates not only color but also a certain texture and depth. This makes the artwork look more real and impressive.
My opinion on Steemit Challenge Season 30 Painting CourseI really enjoyed participating in the Steemlet Challenge Season 30 painting course. It was a very beautiful and useful experience for me which enhanced my creativity. Each challenge is very interesting. This made the learning process easier also more fun. In this season I get to learn many new things. I learn like using colors, creating textures, designing and working with the details. I particularly enjoyed the challenge of sand texture painting. It creates a natural and realistic effect in my artwork. Overall this season has been very awer. It improved my painting skills. It boost my confidence. I am grateful for this opportunity.
I am tagging my friends so they can also enjoy participating in this contest @ahsansharif , @max-pro and, @suboohi , @m-princess , @kafio .
Heartfelt Thanks :Sincerely :, |
|---|


It is interesting but I like the background + trees/branches + flowers more than the Peacock. The Peacock doesn't look as realistic and unlike what you said I do not see any depth.
I wonder how long it took to let the sand dry and what the glue was you used and also if all the sand didn't stick to your brush as you tried to paint wet sand.
Thank you very much for your feedback. I'm glad you like the background, trees and flowers. But the fact is that I have also worked very hard on Peacock. It took a lot of time while making it because I wanted the colors, shape and details to be good. That depth or realism may not be fully visible in the picture, but actually a lot of hard work and finesse went into making it. Hopefully, if you saw it from the front, you might like Peacock even more. 😊
Thank you for your support. I wish you a great week ahead.
Your creation is truly mesmerizing. This peacock made with the beautiful texture of sand looks very attractive and eye catching. The choice of each color and its sophistication is a testament to your high artistic skills. Especially the fine details given in the peacock's wings and the beautiful combination of colors bring it closer to reality. The reflection of trees flowers and greenery in the background makes this scene more charming. Your hard work, dedication and creative thinking are truly commendable. May Allah grant you more successes and may your art flourish day by day.
Wow dear, your texture painting looks Nice. The way you've explained all the steps is very easy to understand. And the final look of the painting is amazing.
Good Job .and best wishes for you. Will love to see more creativity from you creative Brain and creative Hands .
I am sure @wakeupkitty can also make a beautiful texture painting. :-)
Thank you so much dear. Your kind and encouraging words mean a lot to me. I'm glad you like my texture painting and found its steps easy. Your appreciation really motivates me to work harder and create something new.God willing I will share more of my creative work with you soon.Thank you from the bottom of my heart for your prayers and support
Nice it is, but I wouldn't be so sure I can make this as well. I could have a look if the sand on the road dried,but even if the question remains what to create.
Upvoted! Thank you for supporting witness @jswit.
🎉 Congratulations!
Your post has been upvoted by the SteemX Team! 🚀
SteemX is a modern, user-friendly and powerful platform built for the Steem community.
🔗 Visit us: www.steemx.org
✅ Support our work — Vote for our witness: bountyking5
Curated by: @ahsansharif
I sincerely appreciate your support sir @ahsansharif. May Allah grants you endless success and happiness.