week40 Let's do it...Do It Yourself👉Craft, Creativity, Drawing, origami, DIY, Recycling and more
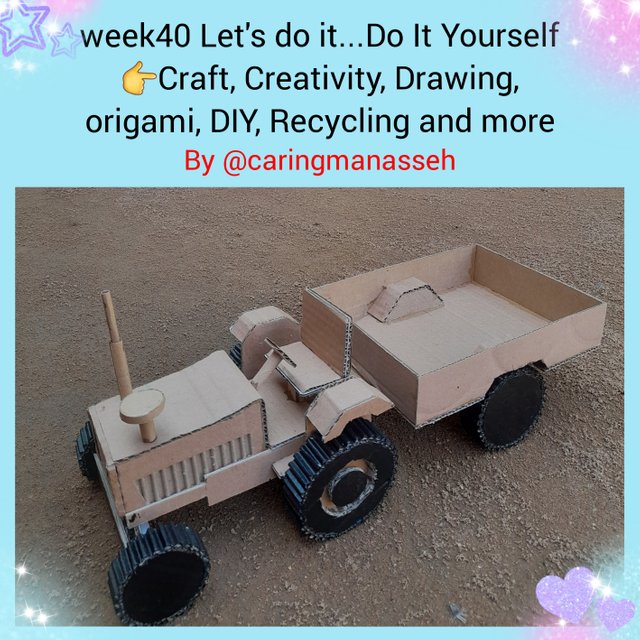
Edited using GridArt
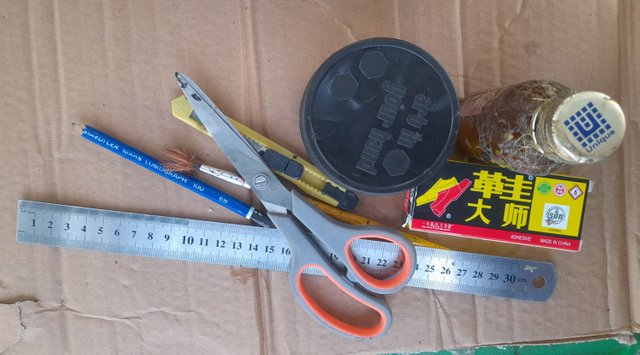
Materials for construction
- waste carton
- Ruler
- Pencil
- Sharpener
- Paper cutter
- Scissors
- Adhesive
- Evostik gum
- Acrylic colour
- Brush
Step 1
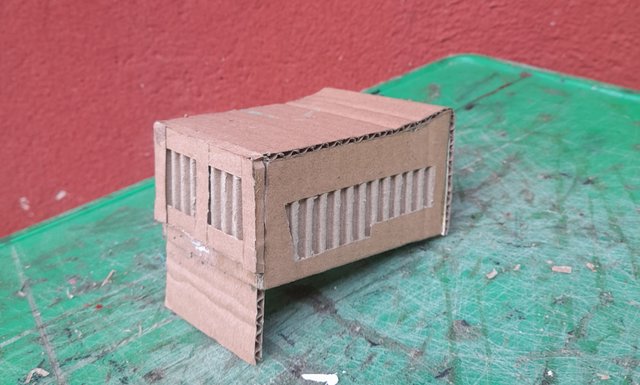
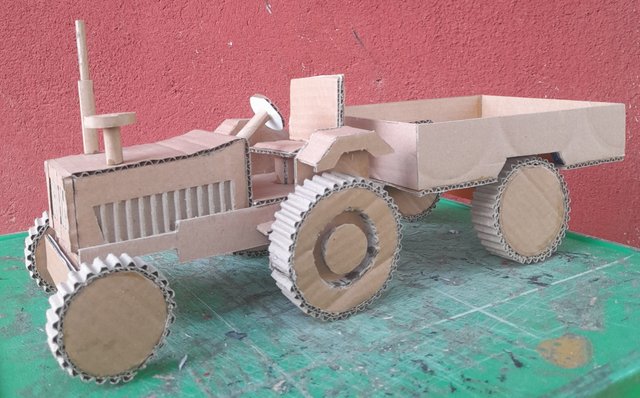
I began by constructing the engine cover. I first took all the measurements on the carton and cut them using a paper cutter. The length of the engine cover is 11cm, the width is 8cm, the height at the front is 5.5cm and the front is 6. 5cm. I then gummed the parts using my evostik gum to form the engine cover. I measured and peeled both sides of the engine cover for ventilation and I also designed the front to serve as the radiator of the tractor.
Step 2
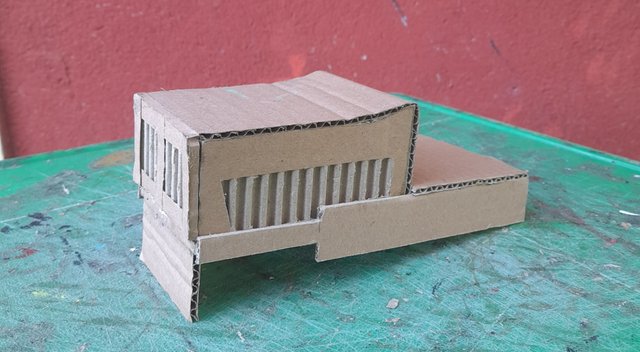
Again, I measured and cut another carton to serve as the connection between the engine and the driver's space. The connection is 20cm long and the drivers space is 9cm long. After the cutting, I gummed it with evostik gum.
Step 3
The next thing I did was to construct the wheels of the tractor. I constructed four of them. The small ones are in the front and the big wheels are at the back.
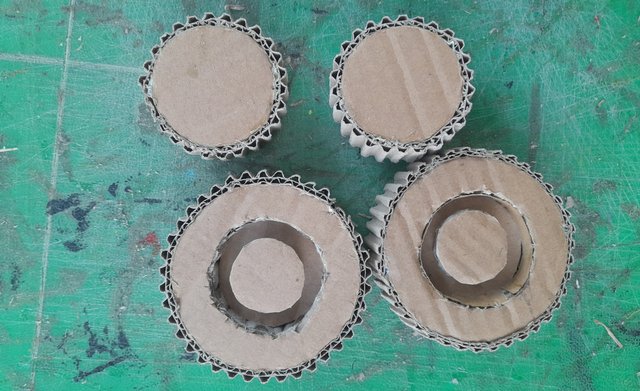
Step 4
I mounted the wheel and I also constructed the motor guard of the rear wheel.
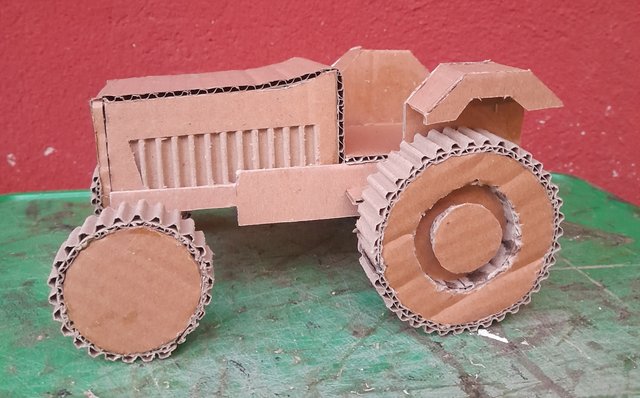
Step 5
I constructed the exhaust pipe, the air cleaner and the driver's seat and then mounted them on the tractor.
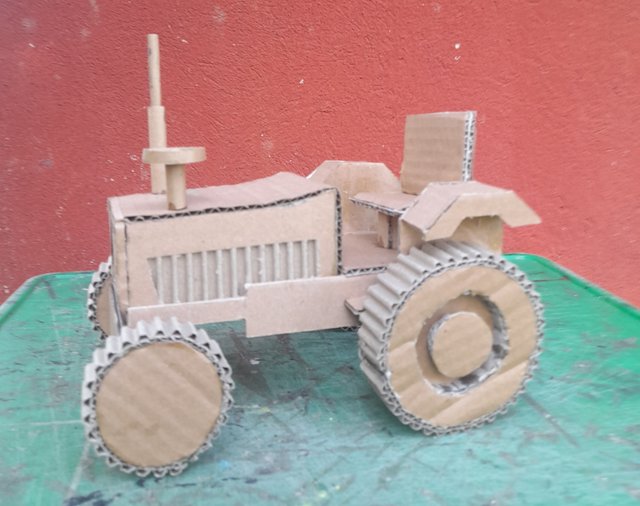
Step 6
Here I formed the steering wheel and gummed it on the tractor using adhesive.
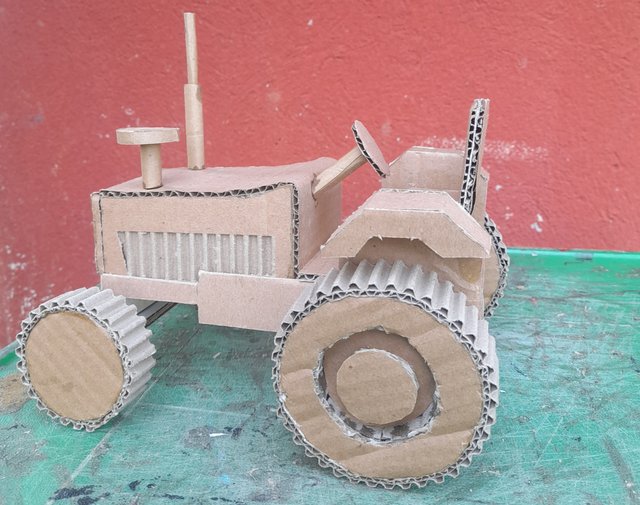
Step 7
Here I took measurements for the construction of a detached open boot. The length of the boot is 24cm, the breadth is 18cm and the height is 5. I also measured and cut the floor of the boot.
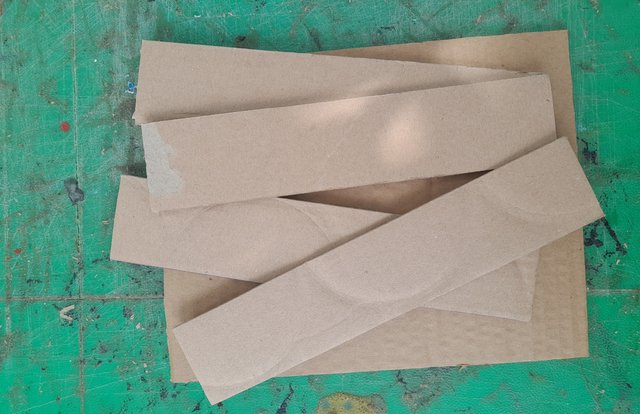
Step 8
At this step, I took measurements and cut out cartons for the measurement of a wheel for the boot.
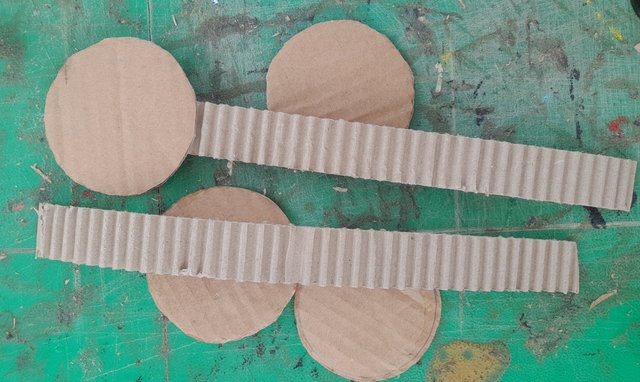
Step 9
I gummed the measurement taken in step 7 above using Evostik gum to form my open boot for parking goods and I also fixed the wheel
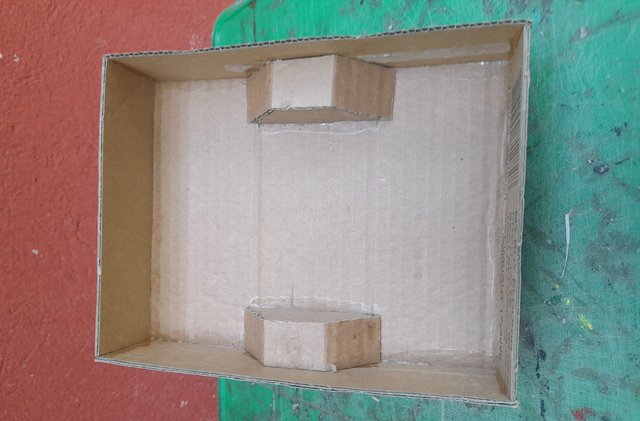
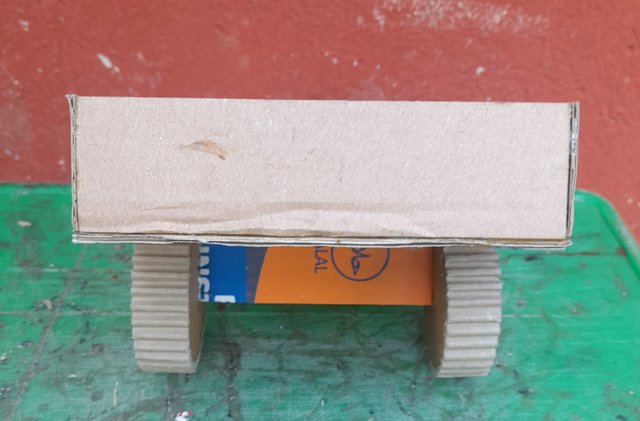
Step 10
At this step, I connected the open boot to the head of the tractor
Step 11
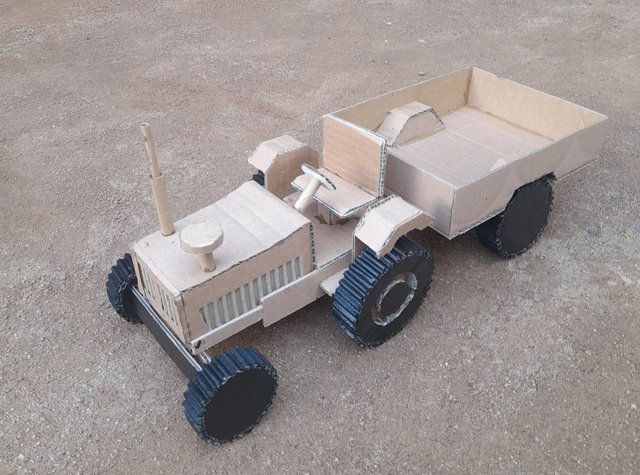
Finally, I coloured the wheel of the tractor using black acylic colour
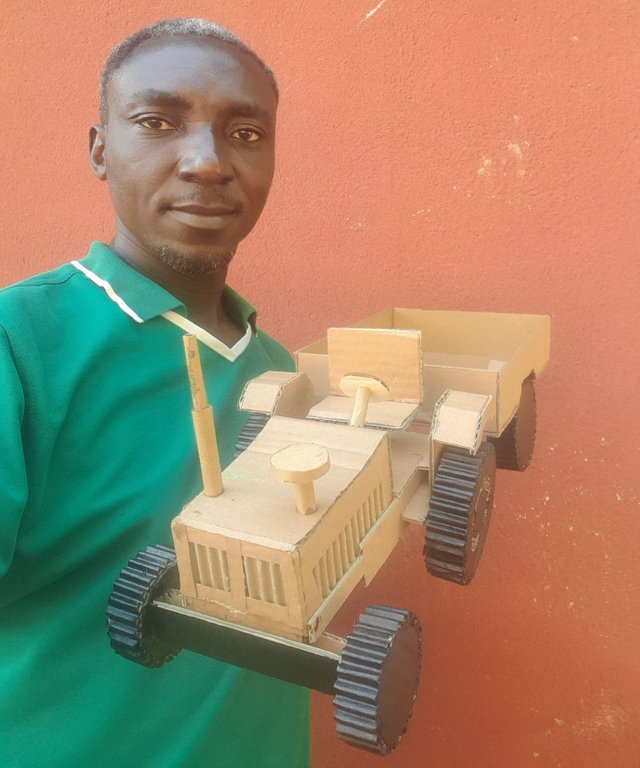
Selfie
Conclusion
Friends this is my craft for this precious contest titled "week40 Let's Do It...Do It Yourself👉Craft, Creativity, Drawing, origami, DIY, Recycling and more". I appreciate @mesola for organising this contest. Finally, I hereby invite my friends to also participate in this contest:
@Shawlin
@vickyson
@mini80
10% beneficiary support to @steemkidss
Upvoted. Thank You for sending some of your rewards to @null. It will make Steem stronger.
X Share (Twitter)
https://x.com/Manasseh3600/status/1848291463043465266?t=d8jViGPycCqevg1fk8eWvg&s=19
Oooo this is so beautiful truck toy. You make it with yourself and this mind-blowing
Thank you
Thank you
You have excellent creativity friend, the skill of being able to create a toy like this is very skillful. Personally, I admire people who make this type of art, I congratulate you, friend.
Thanks for the invitation.
Thank you