"New DIY contest week47 begins// DIY//LETS SEE WHAT YOU CAN CREATE /
Hello Everyone ♥️
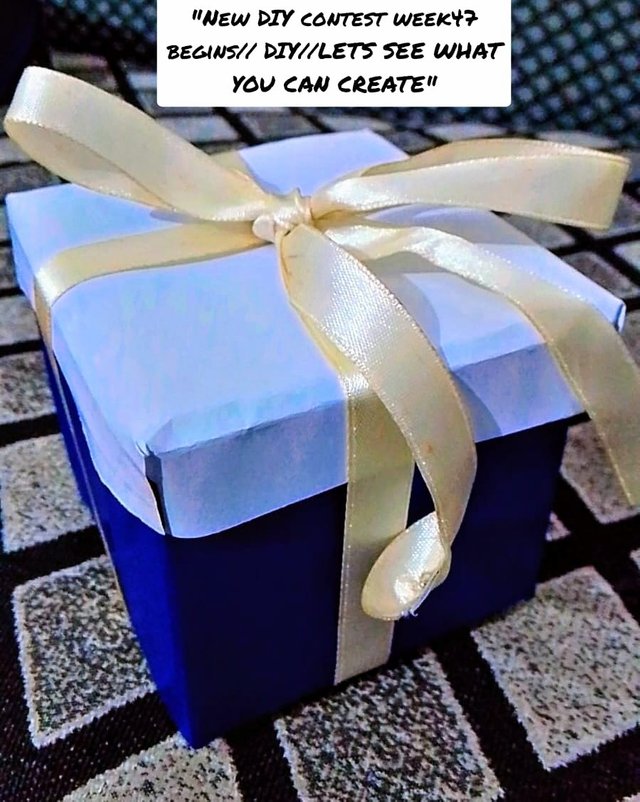
Today i'm here with my new participation in this new week contest🍀 DIY contest week 47 begins// DIY//LETS SEE WHAT YOU CAN CREATE|| by @mesola
Today I'm going to do another interesting and fun doing craft so without any delay let's get started.
The materials I used
• Blue and white paper
• Glue
• Pencil
• Scale
• Scissor
• Ribbon
Step 1
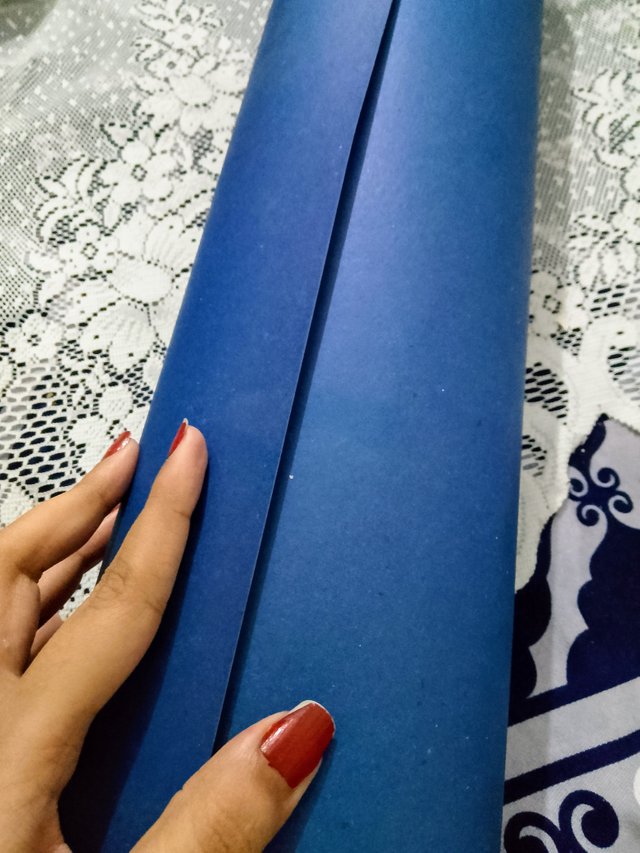
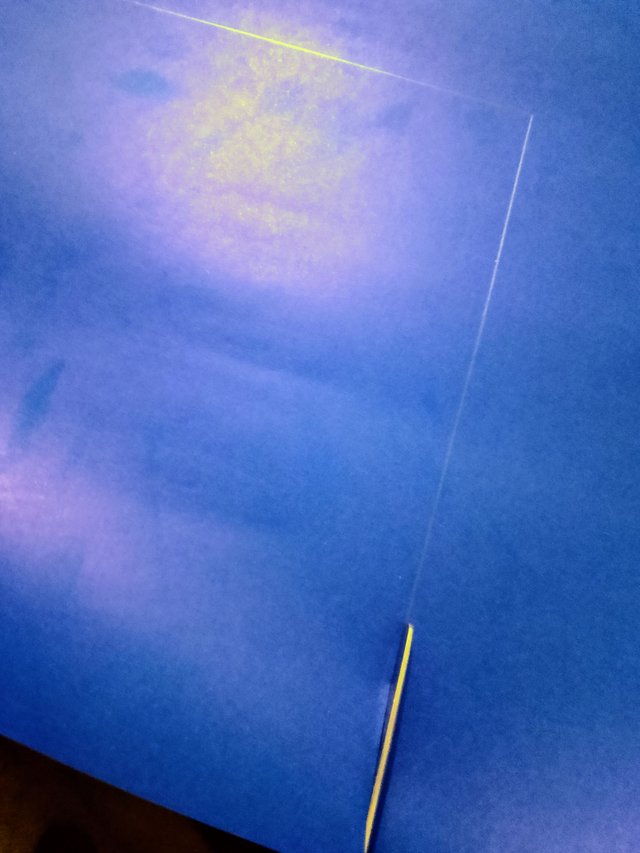
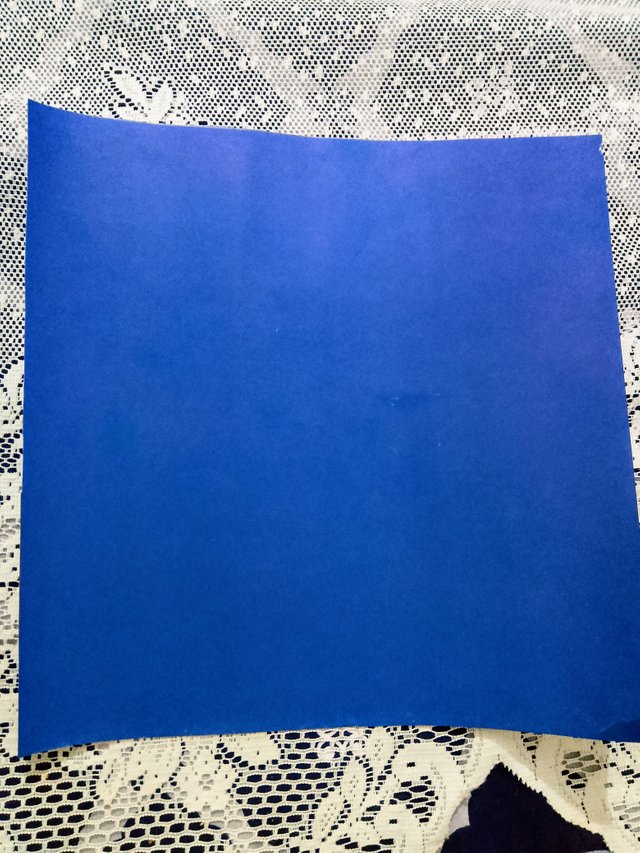
In step one, I am using blue color chart paper to make the gift box, you can use any color here i had only blue color so that's what I am using. Then I measured it with a scale and cut it into square shape. While cutting it, make sure that it is in an even shape from all sides.
 |  |  |
Step 2
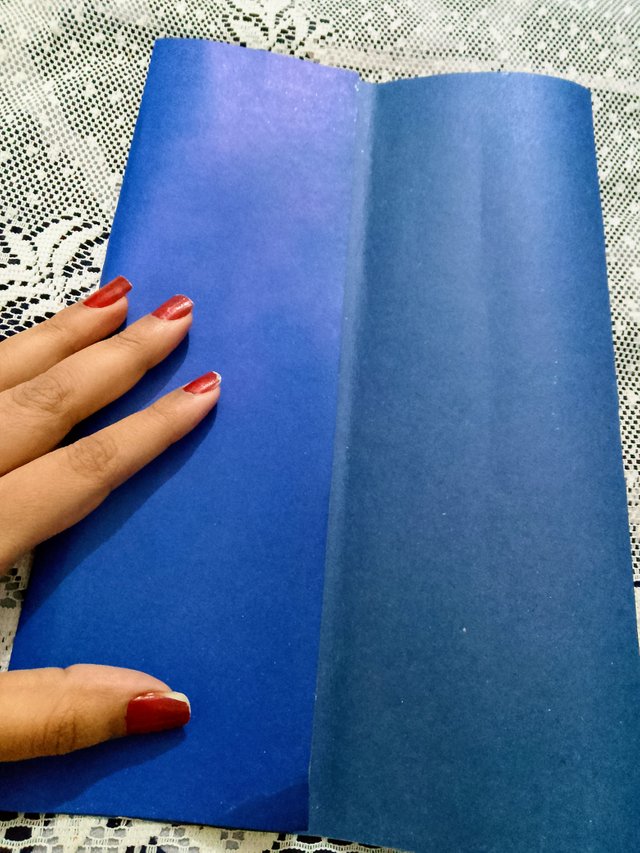
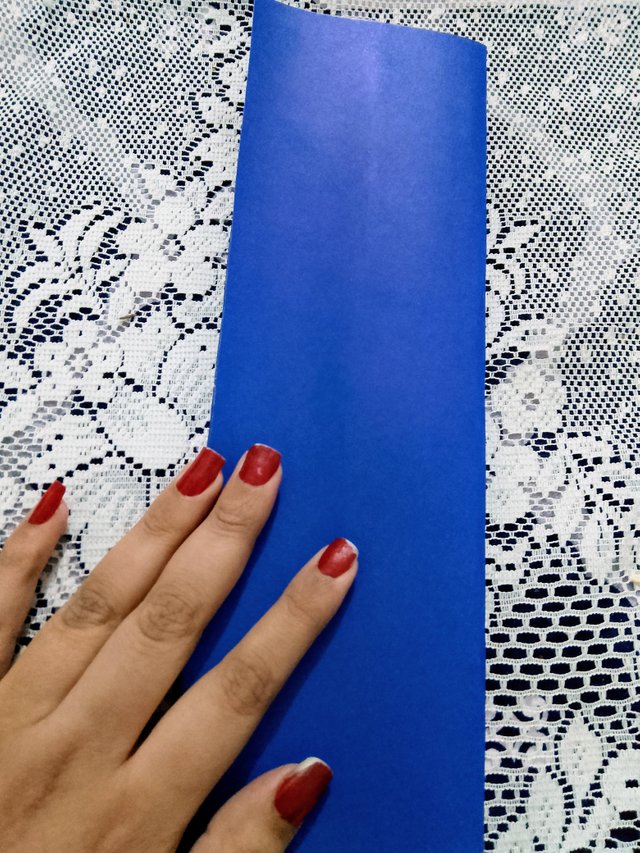
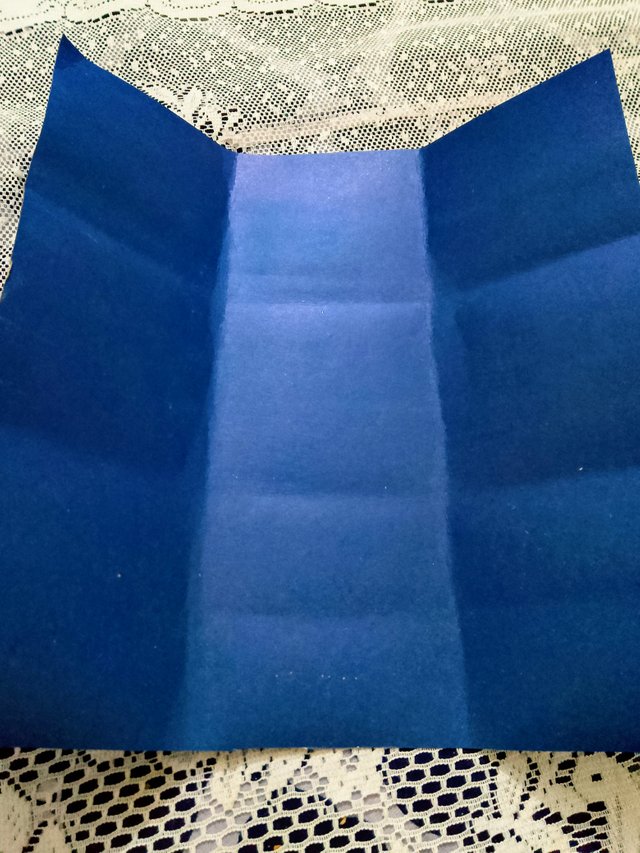
After that I folded the cut square piece on one side and pressed it then I folded it on the other side and pressed well like this.Same process I repeated from the other side too after this step, lines were created in the paper like this.
 |  |  |
Step 3
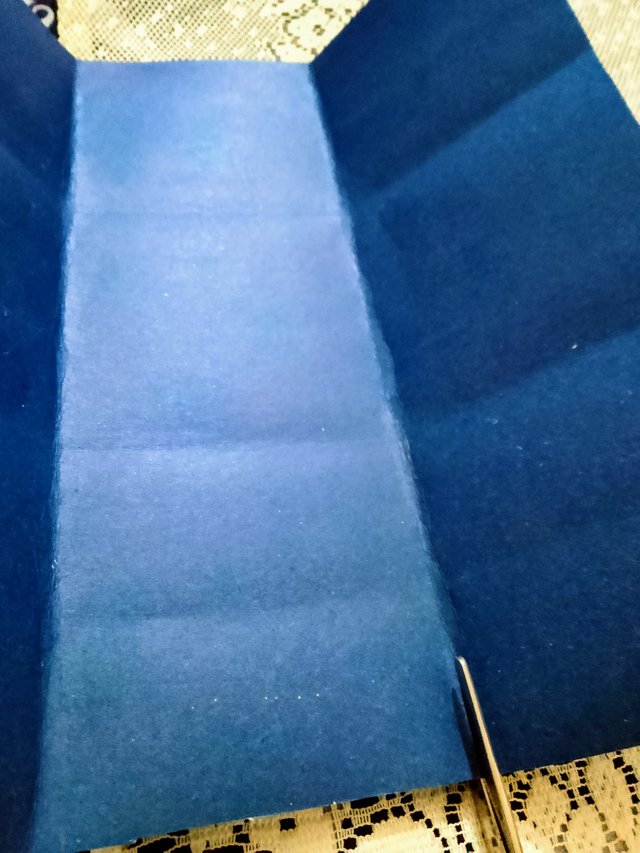
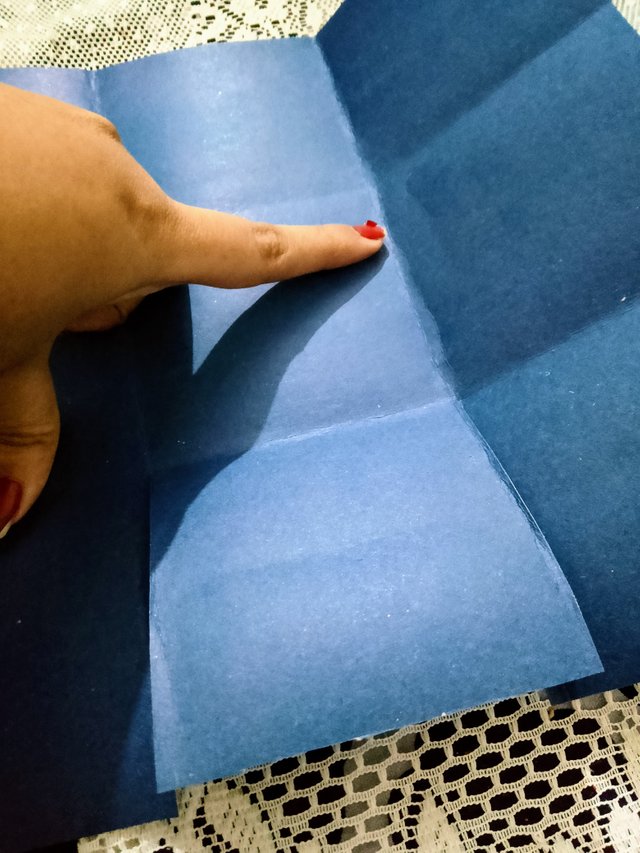
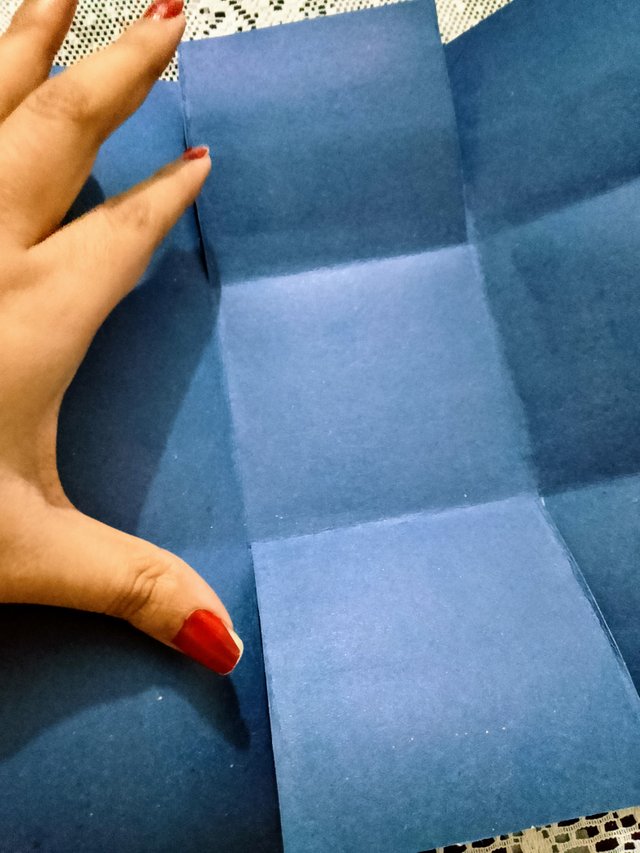
The lines that were drawn in the paper, I cut both of them with the help of scissors and I repeated the same process on the other side, after cutting both sides in half with scissors, it looked something like this. After cutting the both sides, there was a space left in the middle like this.
 |  |  |
Step 4
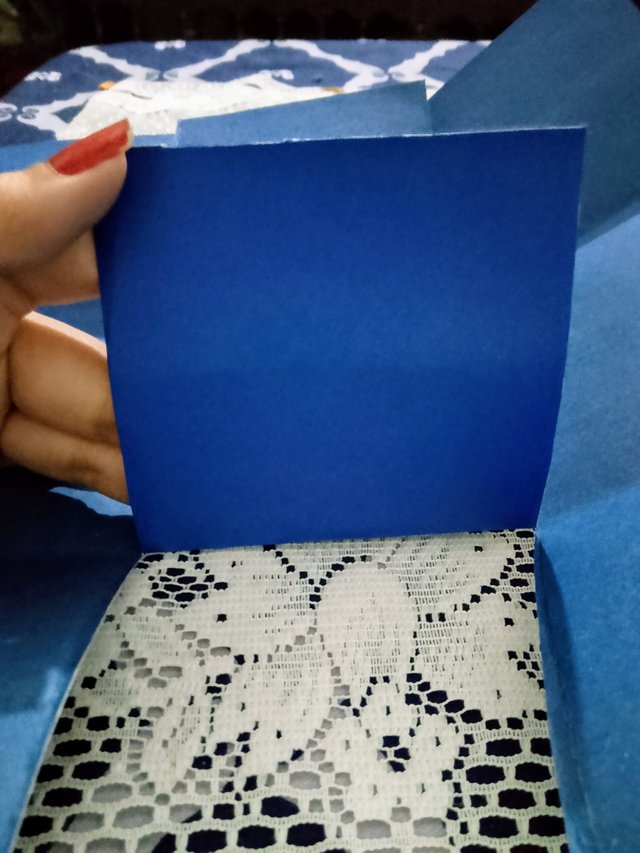
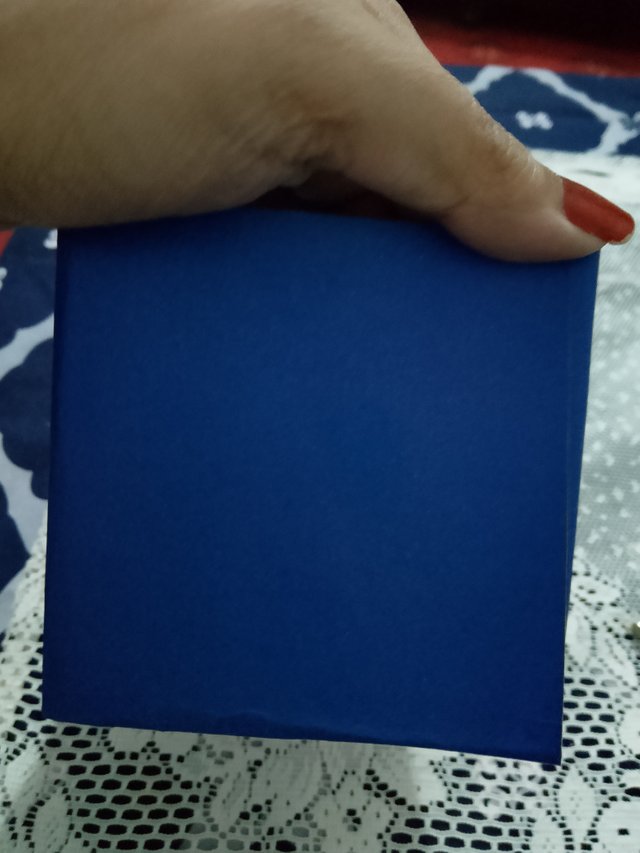
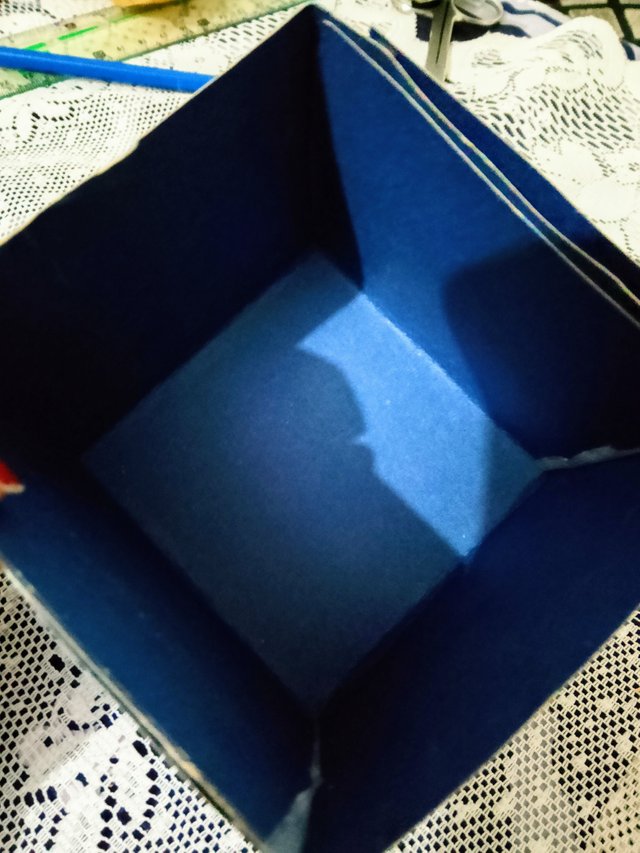
Then pick up the cut piece from the middle and join it with the side piece by applying glue. In the same way we have to take the middle paper of the other side and glue the side ones with it. After connecting both sides it will be ready in the shape of a box like this.
 |  |  |
Step 5
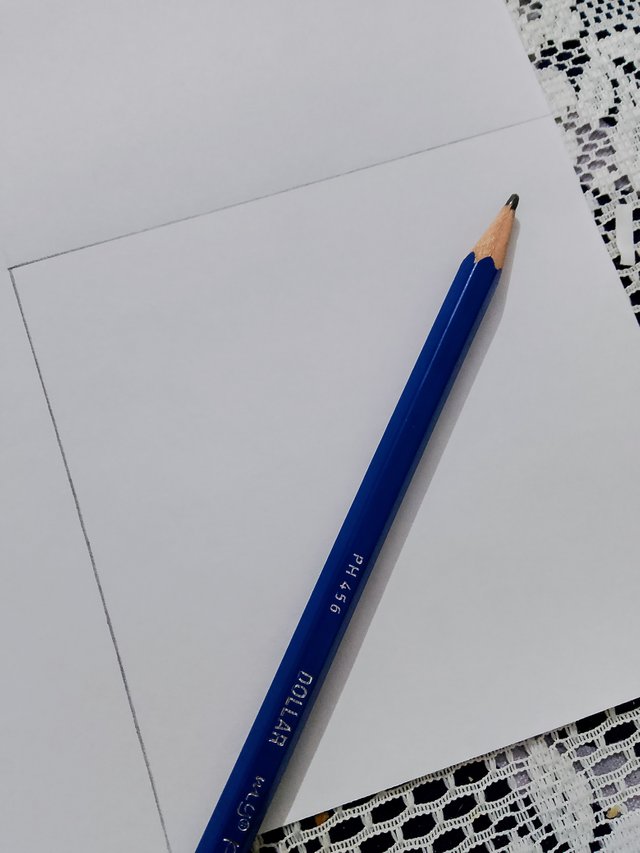
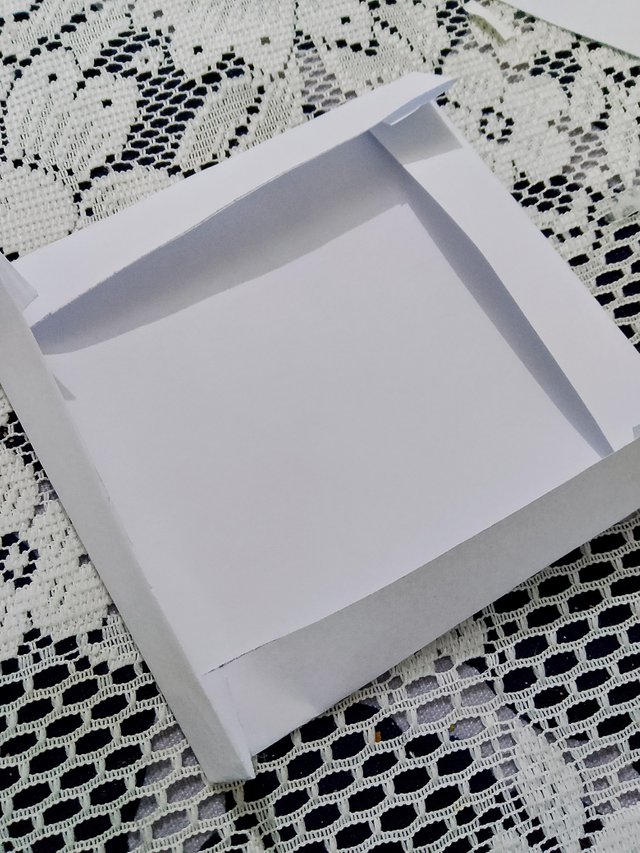
Then I took a white color paper and with the help of pencil scale I made a square shape then I cut the square shape with scissor. Then I folded the cut paper neatly from all four corners.
 |  |
Step 6
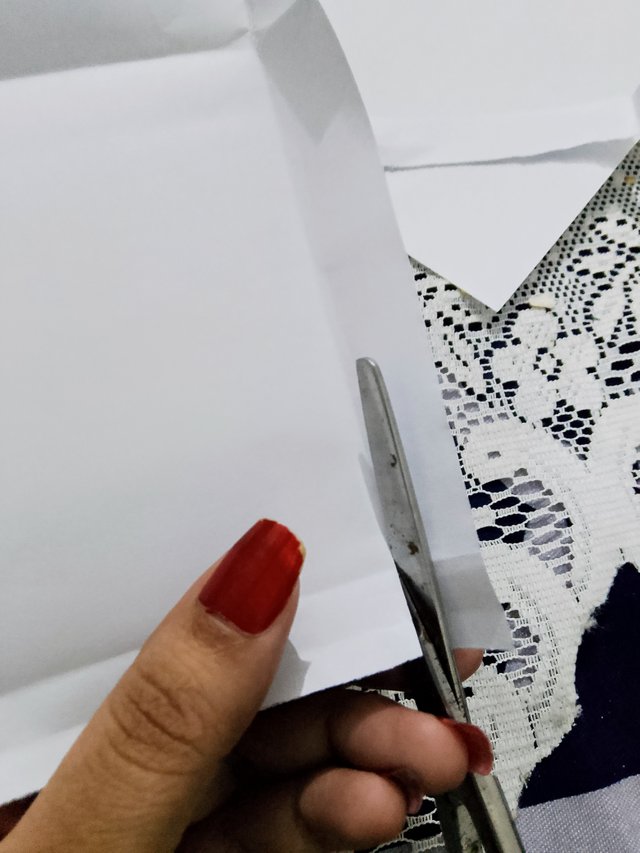
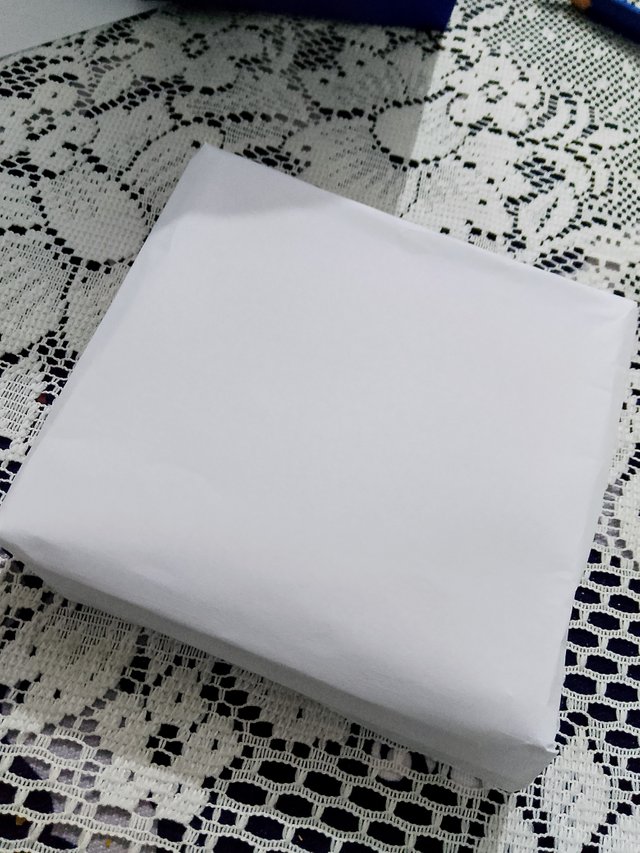
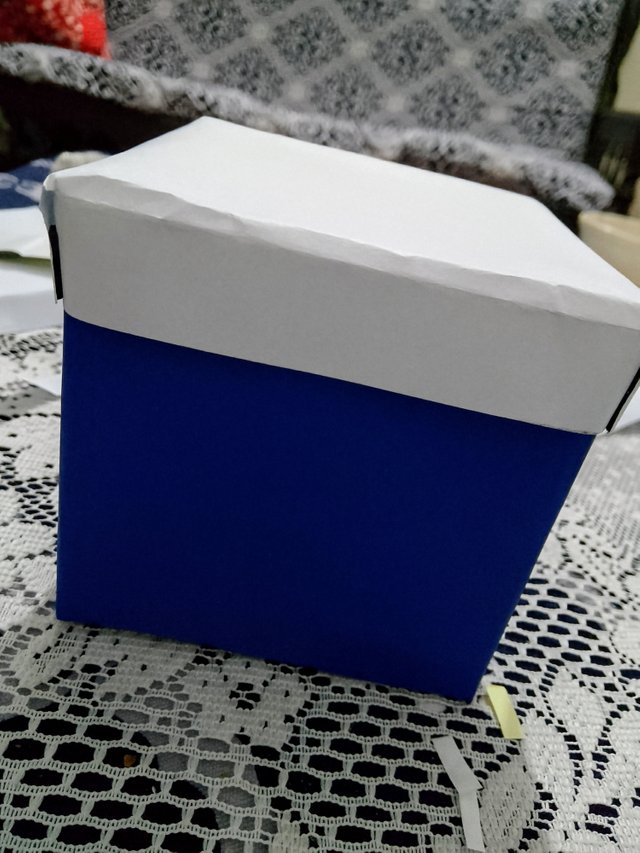
In the next step I unfolded the corners and from the four corners I made a small cut with scissor. I then attached the cut corners with glue and the cover of the box was also ready. I placed the cover on the box and the box and it's complete.
 |  |  |
Step 7
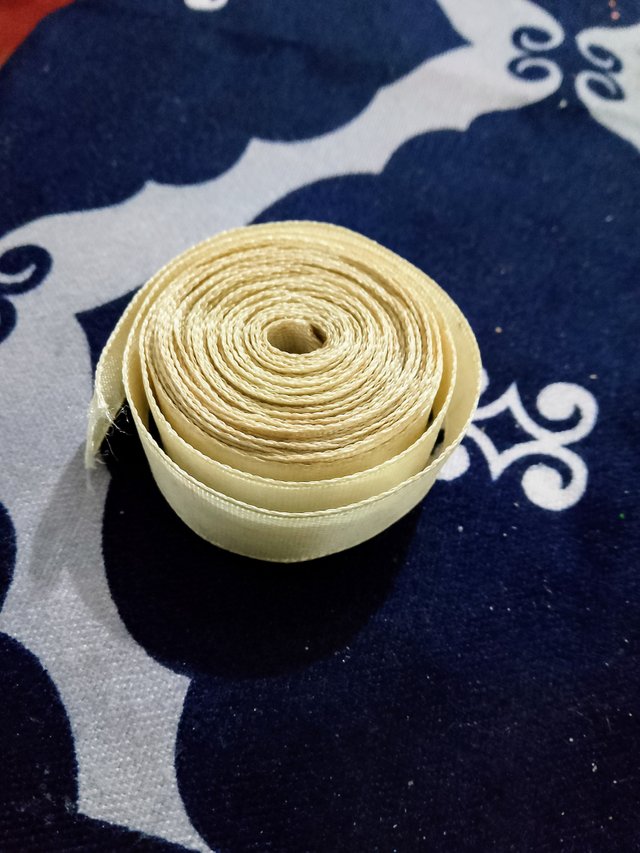
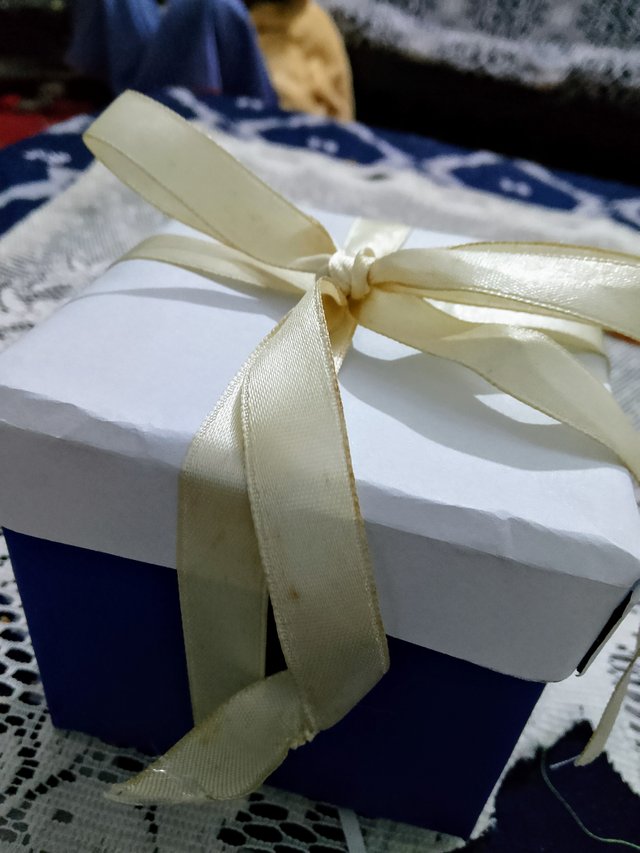
Right now it looks incomplete to me so I took a white color ribbon then i cut it to a good length. After that I tied the ribbon and make a bow on the box and the gift box was complete.
 |  |
Here is the Final Look
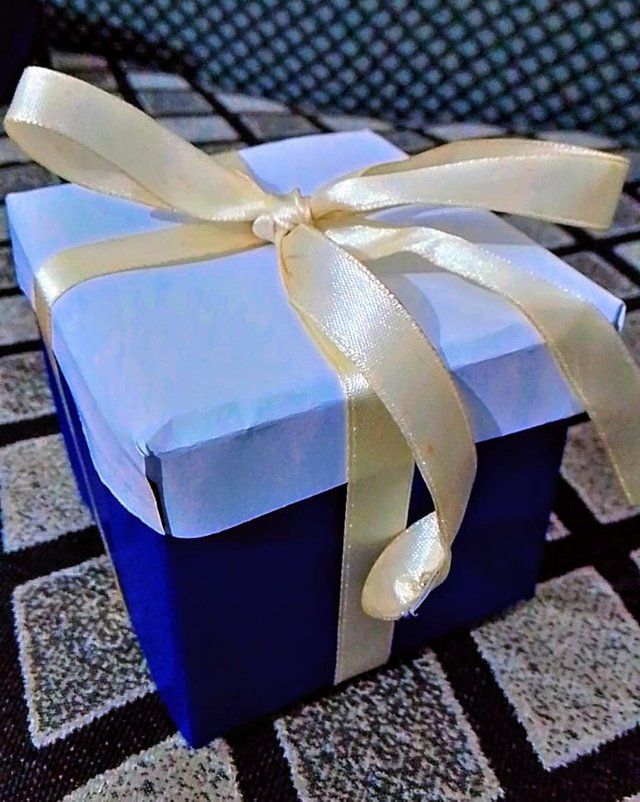
Selfie with my gift box
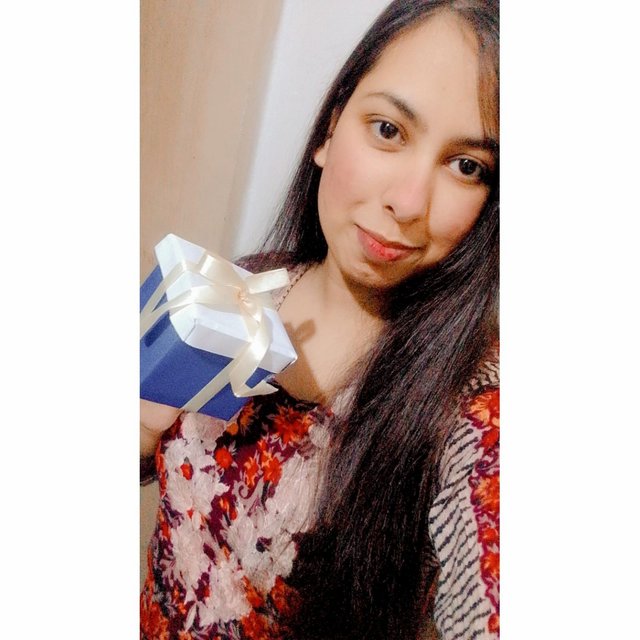
I would like to invite my 3 friends
@iffatilyas
@meehu
@pink-ring
Truly
@zoyabhatti06
https://x.com/Zoyabhatti06/status/1868360565166592029?t=jNS6jApJpM6Md3d1McEu_g&s=19
Thank you for publishing an article in the Steem Kids & Parent community today. We have assessed your entry and we present the result of our assessment below.
MODs Comment/Recommendation:
You have made a beautiful gifting box. I appreciate your idealistic creative product for using. All the best to win contest. Keep engaging with other's users posts too. Thank you.
Remember to always share your post on Twitter. This POST LINK is a guide to that effect.
Thank you so much mam for the appreciation 😌♥️
TEAM 7
Congratulations! This post has been voted through steemcurator09 We support quality posts, good comments anywhere and any tags.