Islamic art - eightfold shapes

Hi friends!
We have already seen some of this knowledge when studying perspective in early posts, so in some cases, I will refer you to those posts.
It is necessary to emphatically say that the use of these geometric elements is crucial to correctly develop Islamic art, as we will see throughout this and the next posts.
Therefore, I advise you to take this as a crucial and unavoidable stage to get started in this geometric art, which has come down to us today as a very interesting artistic movement, with great exponents such as Kandinsky, Vasarely or Escher, each with his imprint.
Firstly, we'll set a common centre point as a reference to draw the shapes, because we'll work with radial symmetry.
By setting the centre point as follows, we get also the intersection points to divide into four for the next shape we'll draw.
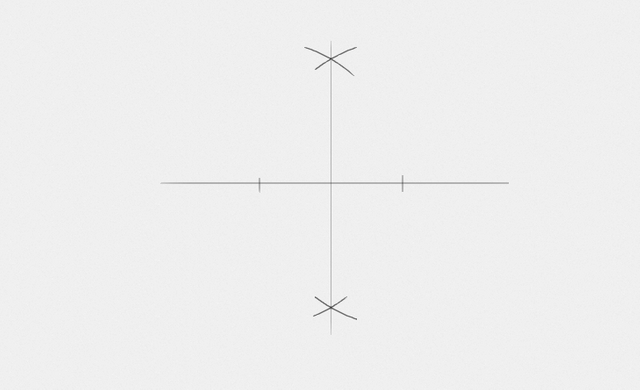
We will then draw a circle as shown below, whose centre is at the intersection of the perpendicular lines already drawn.
Note that the circle is now divided into four.
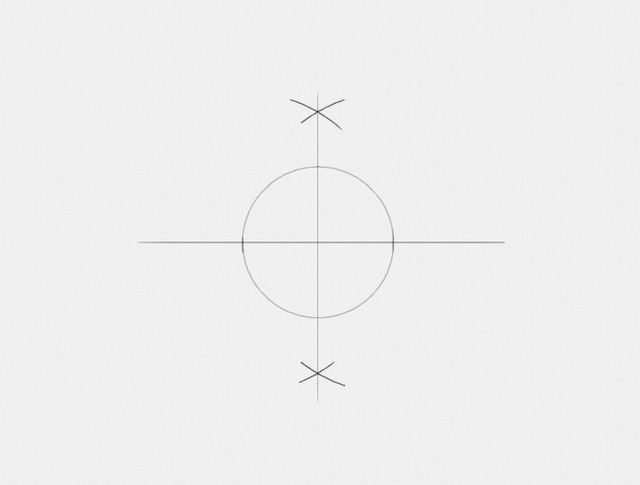
Divide the circle once again to obtain an eightfold. You get this by cutting into two equal parts each right angle.
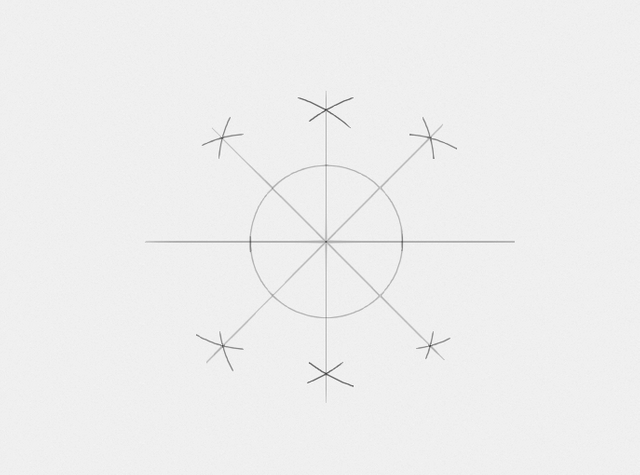
With this process, we get the intersection points necessary to draw a perfect square into the circle.
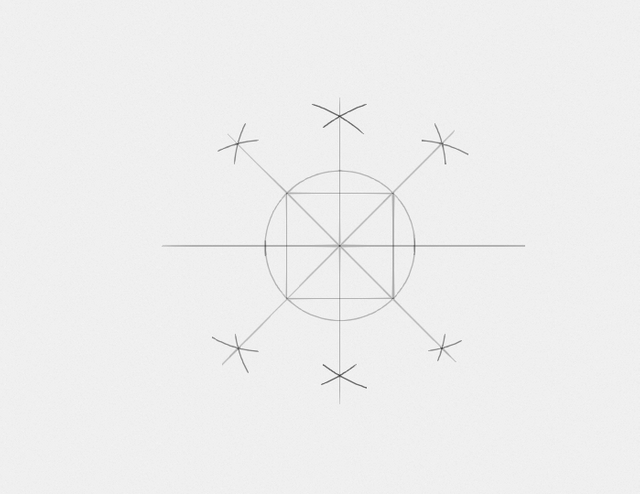
We also have the intersection points to draw another identical square rotated at 45°.
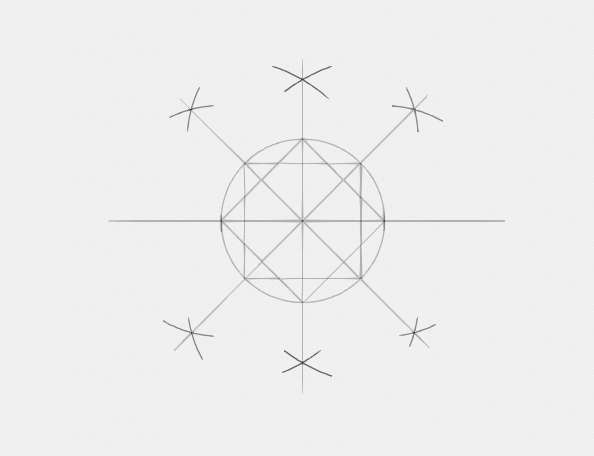
If you want, you can draw the radial lines intersecting the overlapping squares, perhaps they can be useful for drawing more than a single shape.
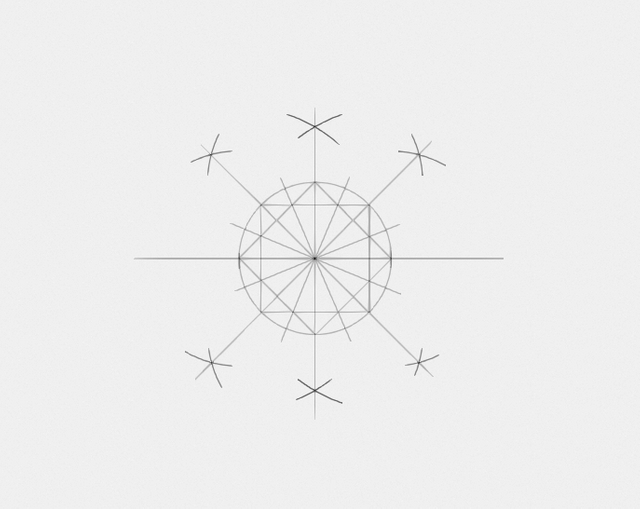
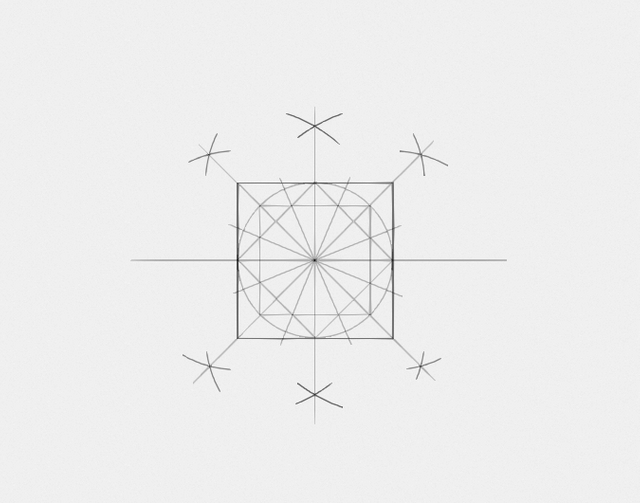
At last, we´ll draw an external square involving all the shapes. Notice that all the shapes have the same centre point.
The following image shows the actual position where I started the drawing in the centre of the drawing paper. Note that the lines are barely visible, this will allow us to easily erase them once our design is finished.

By extending the horizontal and vertical lines of the external and inner squares through the drawing paper we get the primary grid.
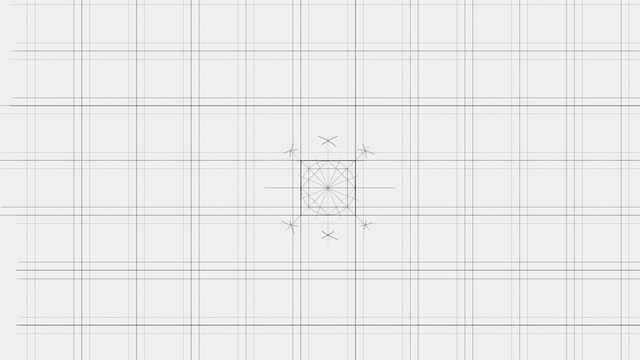
In the same way, we extend the diagonal lines in both directions that form the other internal square (the one with a 45° inclination).
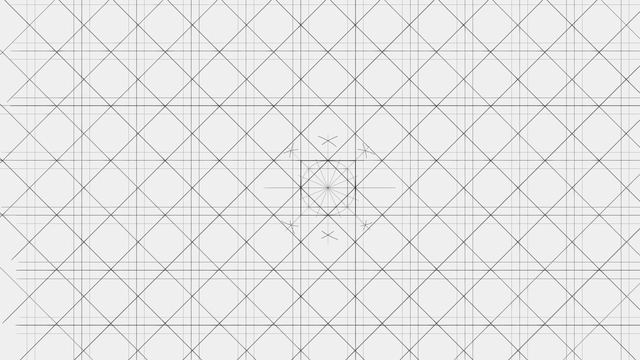
By tracing the outline formed by the overlapping squares we obtain the drawing of an eight-pointed star.
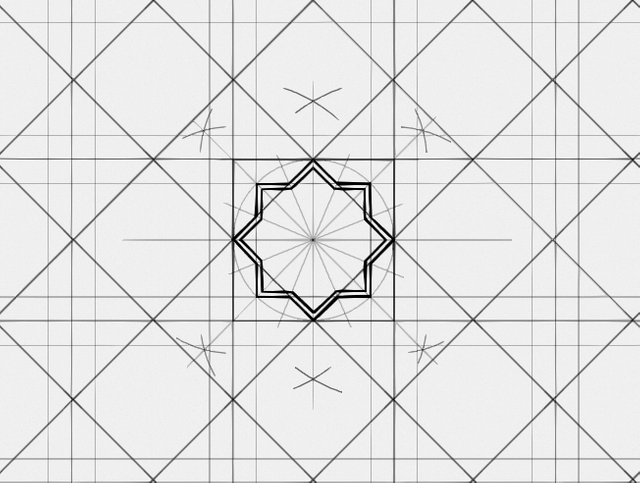
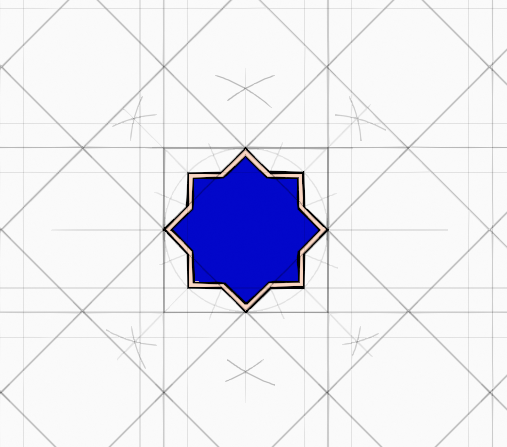
Colouring it...
The design is ready to be tessellated on the grid.
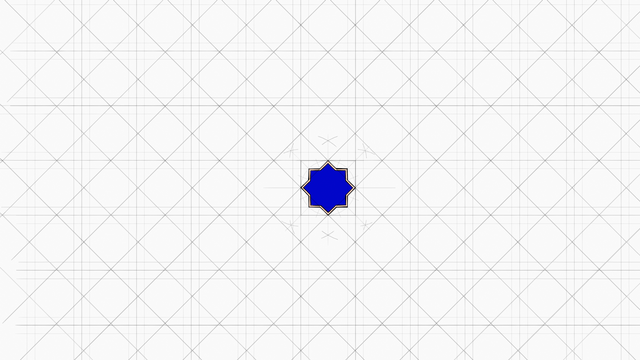
Done!


Islamic Art Tutorial.
--
#artonsteemit
Manual Curation of Seven Network Project
Thank you!
AWESOME! @jorgevandeperre, thanks for sharing.
Thank you! I'm happy you liked it.
Hi Jorge, I am trying to catch up on your lessons, I love the explanation how to draw such a perfect eight-pointed star.
Only I have questions, when you have the centre of a drawing and need to extend the lines to create a grid how you then know how to identify the height and length of other square fields, do you do every single cell again?
Hi Stef! Thank you for being so interested in my posts! I'll give you an answer soon.