I fixed a burnt out charger light with a 5V power supply.
Assalamu alaikum Everyone. I am @imranhassan From #Bangladesh
A few days ago a person gave me a charger light and said that when it is charged with a 220-volt AC input voltage current, it makes noise and sparks inside, and the light does not charge, and its red light does not indicate.
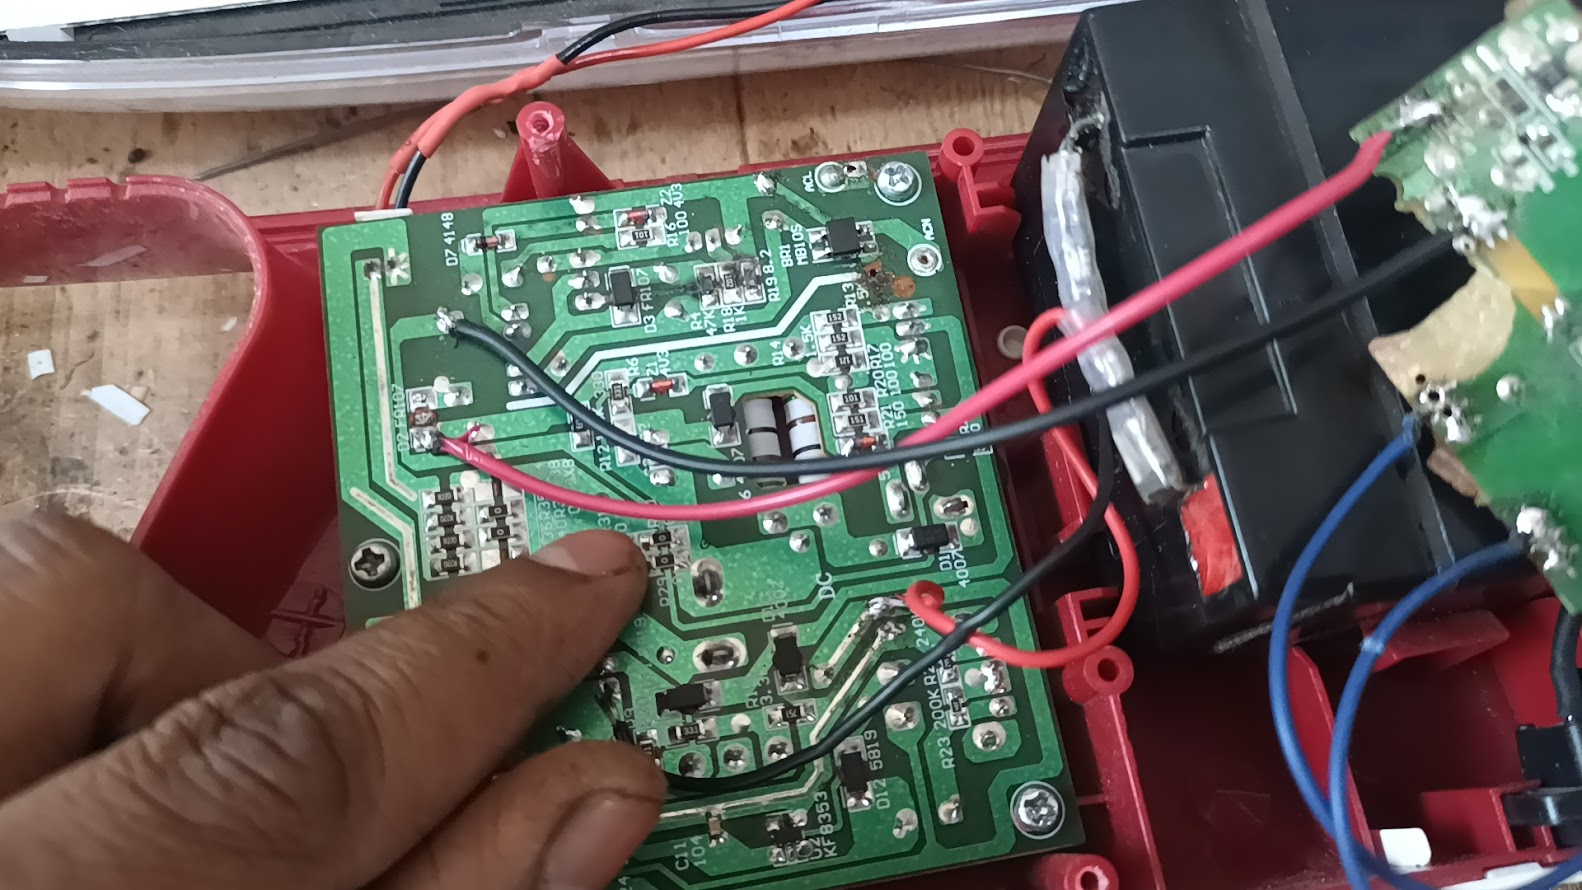
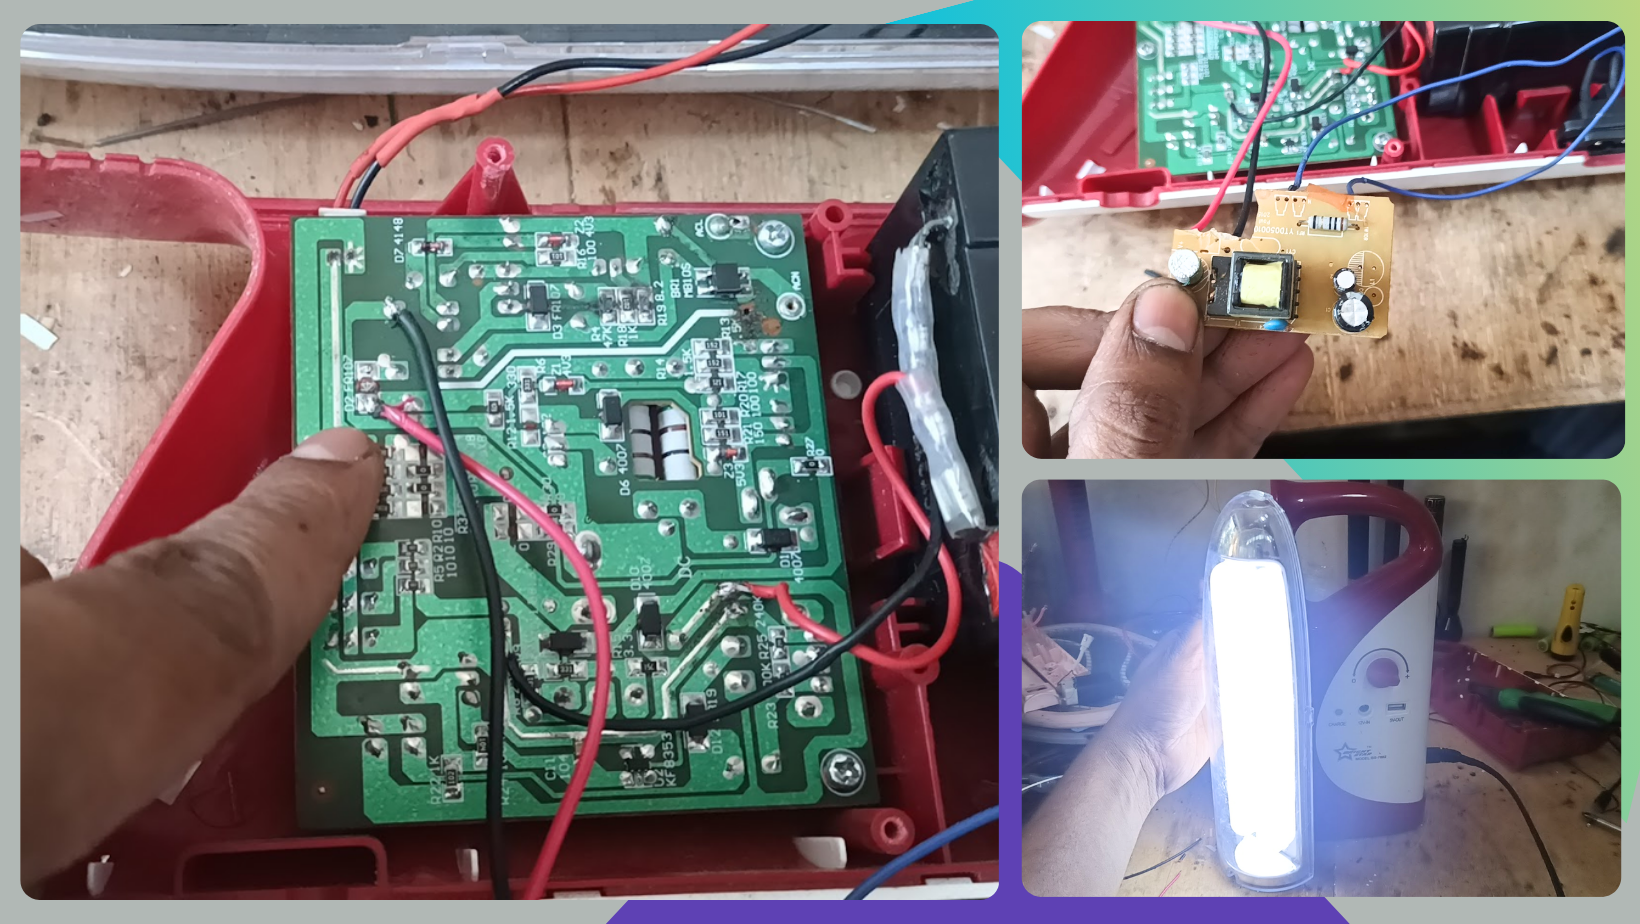
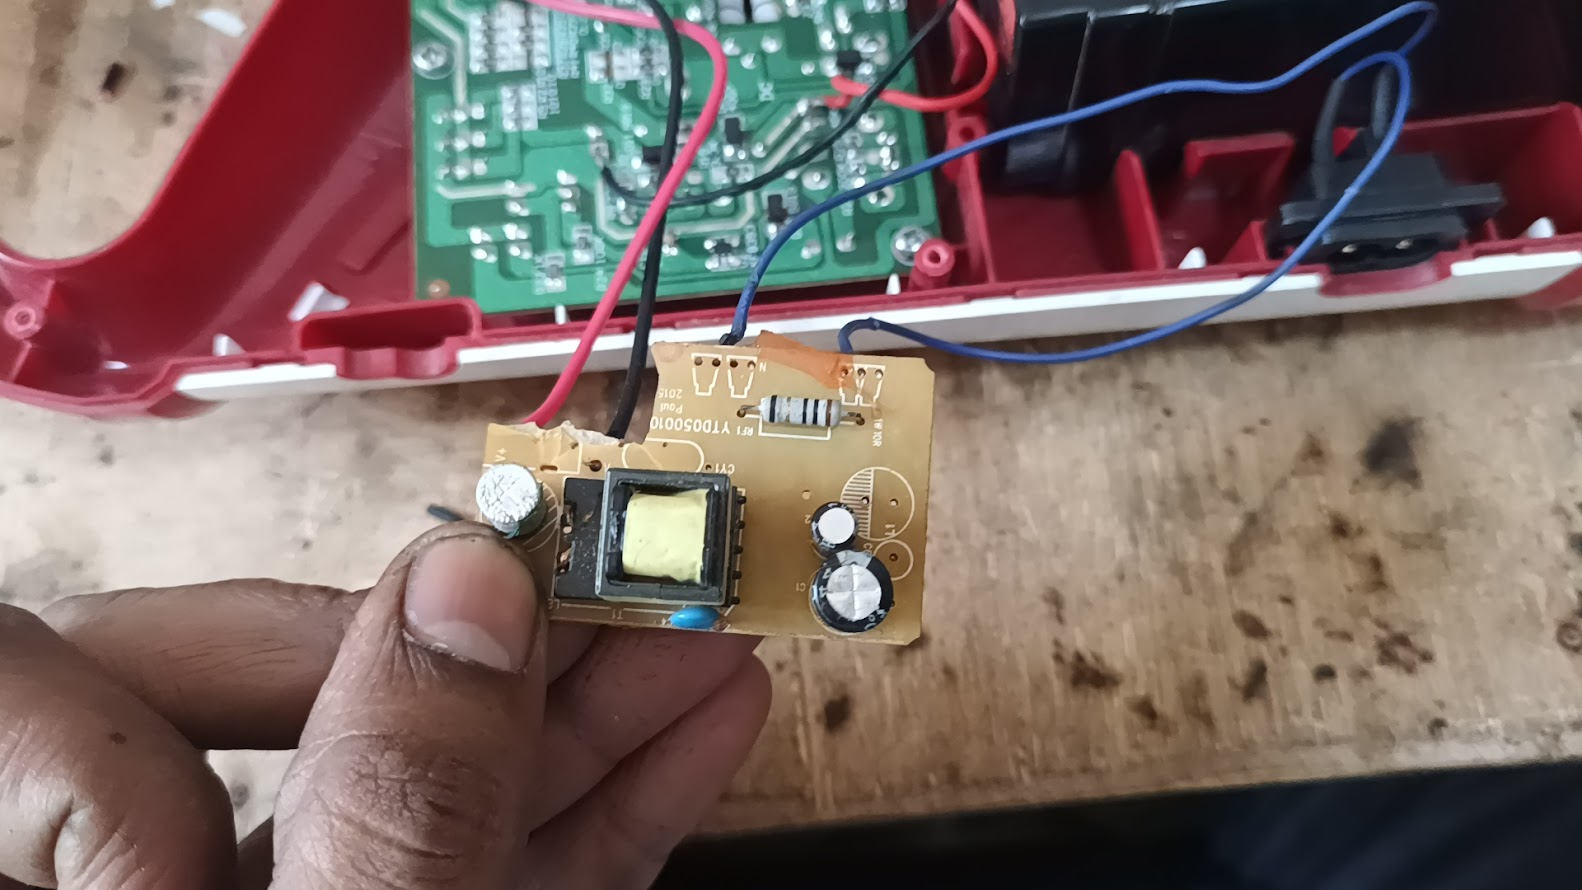
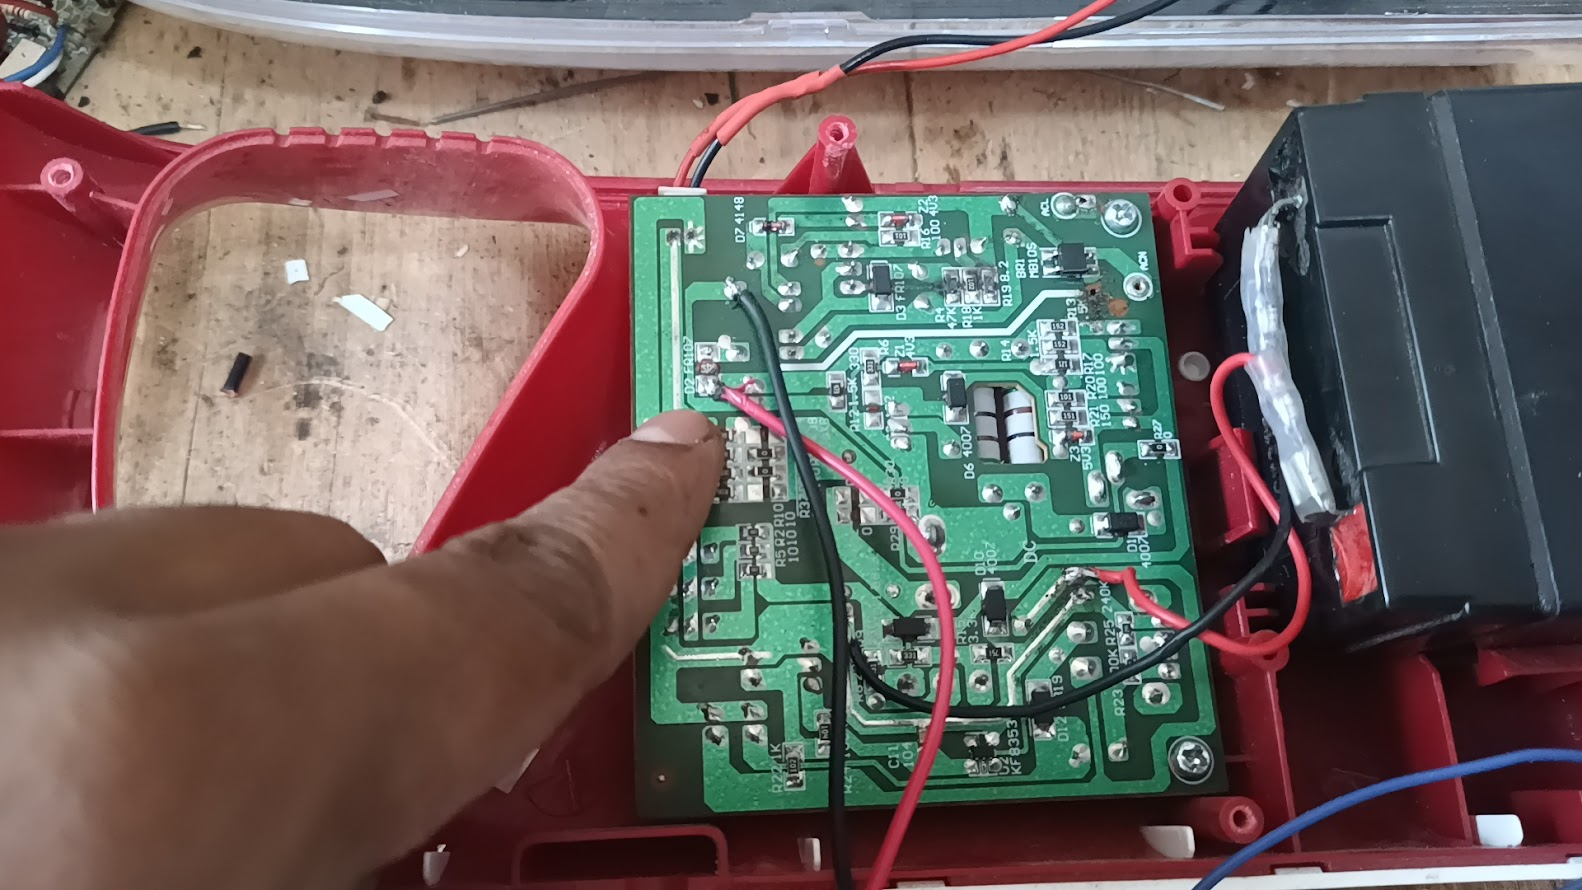
So first I took the charger light apart. You can see that there is a red and black wire attached here. I attached these wires here because, here, I have attached a separate 5-volt power supply and run this circuit. You can see in the upper part where some resistance and diodes have fallen in the AC input voltage line of this complete circuit, due to which this power supply was not able to turn on this controlling circuit, so I attached a 5-volt circuit and ran the circuit.
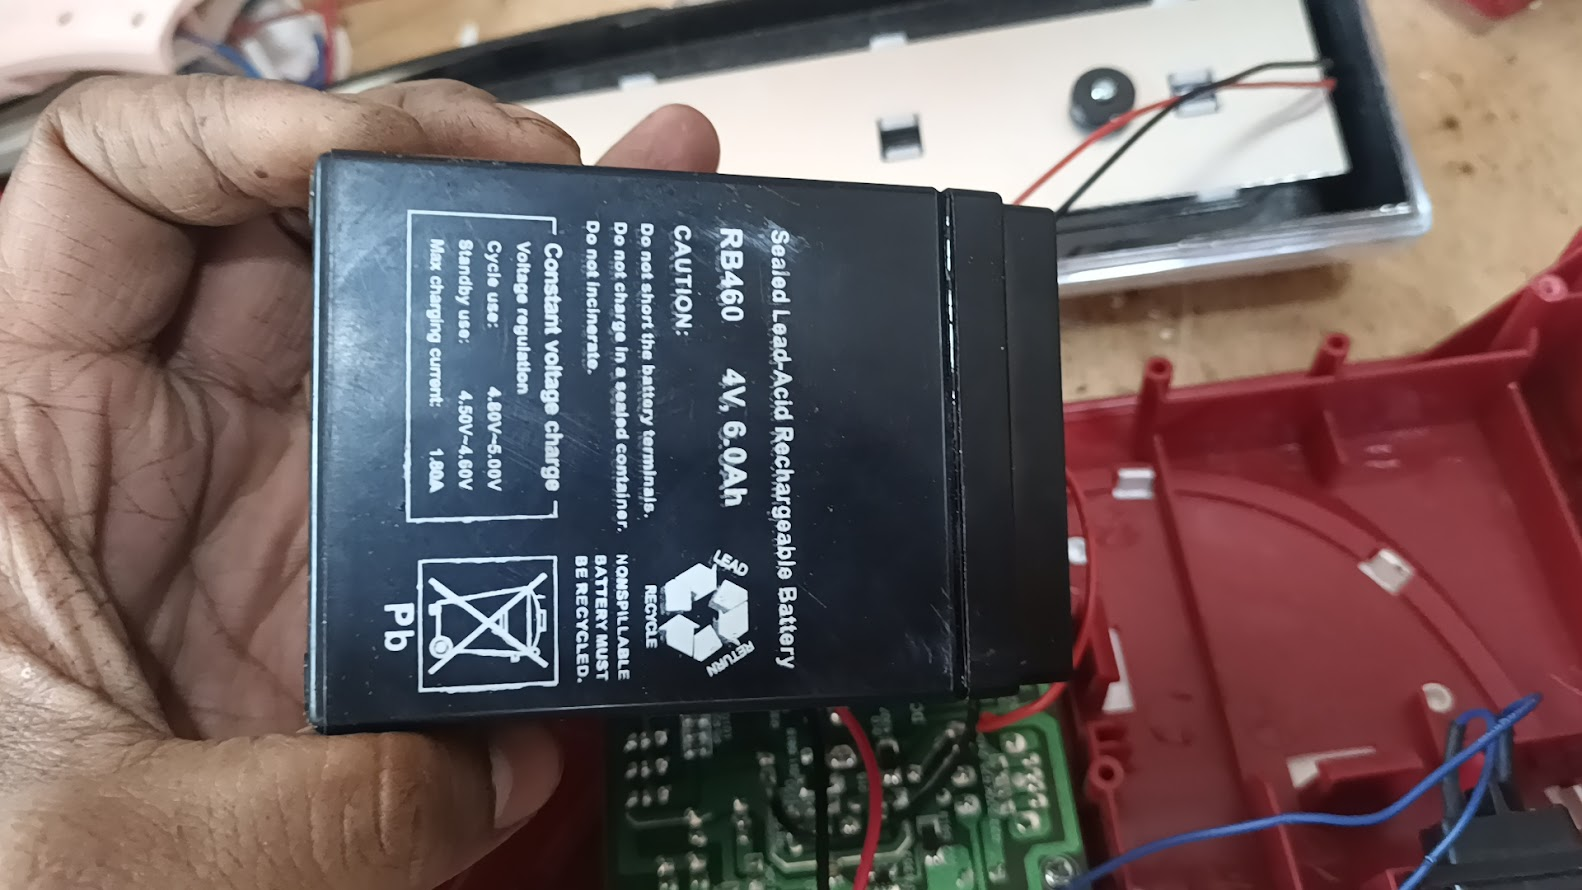
Here you can see it is powered by a four-volt battery. First I installed an 8-volt power supply here. I thought it was a six-volt battery. Then when I saw the circuit and the battery getting hot, I realised that it is a charger light powered by a volt. That is why I installed a 5-volt power supply here. Then my controlling circuit is cold, and the battery is also charging at four volts.
You can see that I have separated the active complete AC circuit and connected the 5-volt power supply to the transformer secondary line and turned on the controlling circuit, and it is working properly.
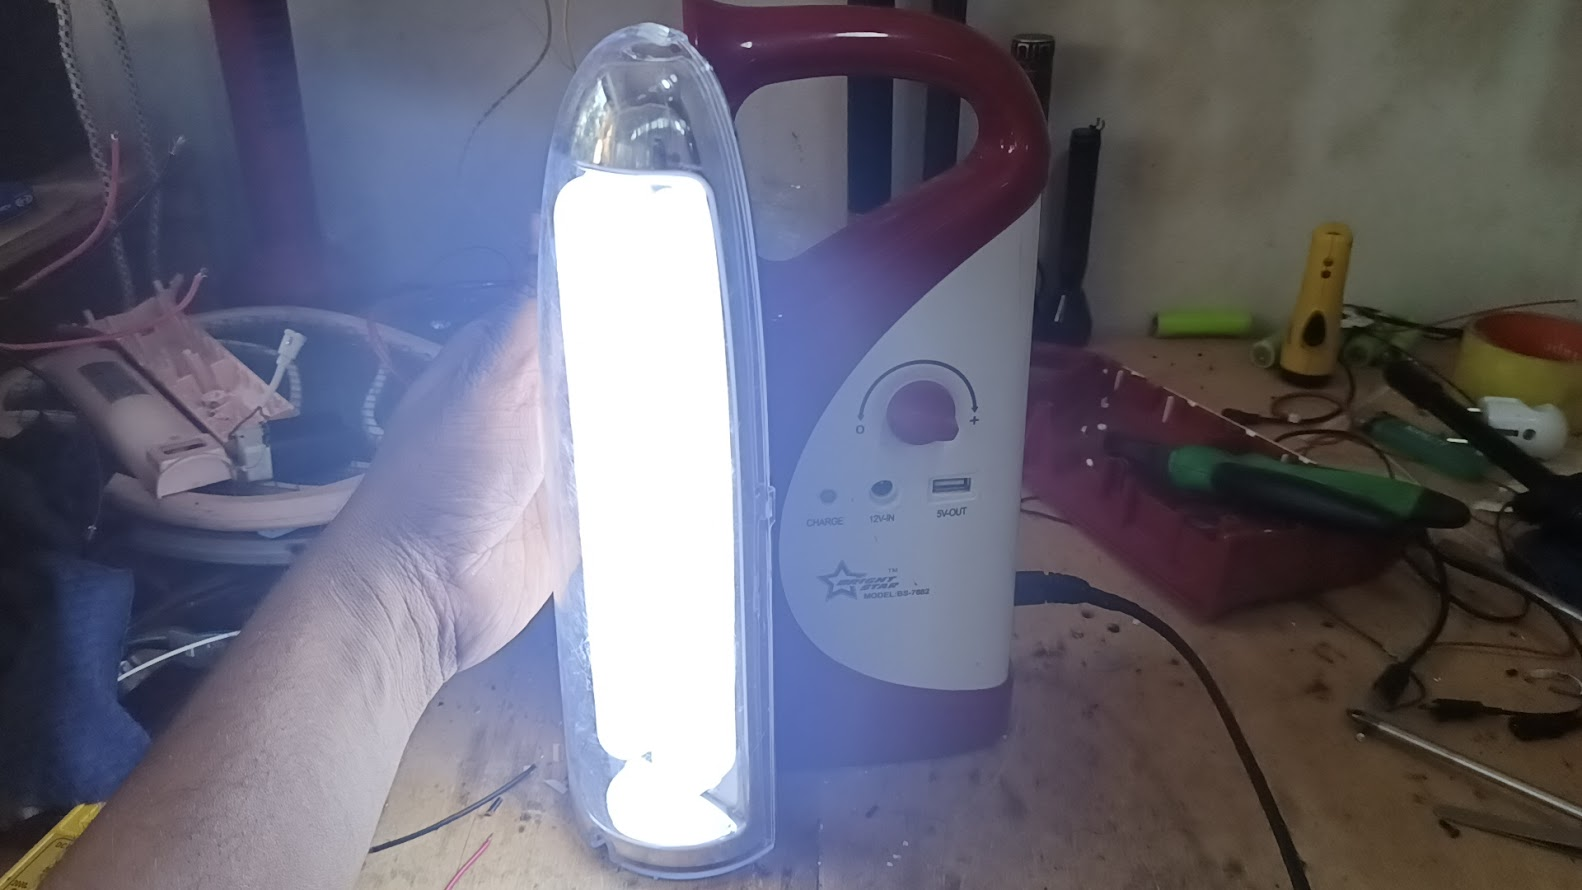
Then I charged the charger light for a while, and it charged, and the charger light is lighting up very well because it was closed in its house for two to three months, and the light was not turning on at all. Now you can see that after installing the power circuit, it is charging very well, and the light is lighting up. You can watch your video to understand the repair work of this post better.
| Video Tutorial: To better understand the practical part of this tutorial, you can watch the video below. |
|---|

✅ CC: My friend @rmm3
| Photography Details | 📱 Device: Walton Xanon90 | 📍 Location: Narayanganj, Bangladesh | 📷 Captured By: @imranhassan |
|---|
Hi,
You have received special support because you (or someone on your behalf) sent SBD to @null to promote your post.
You can now promote your posts on Speak on Steem to increase their visibility and potential rewards.
Learn more here:
Curated by @marvinvelasquez