Animating Adventure: Mastering the Animated Backpack in Procreate
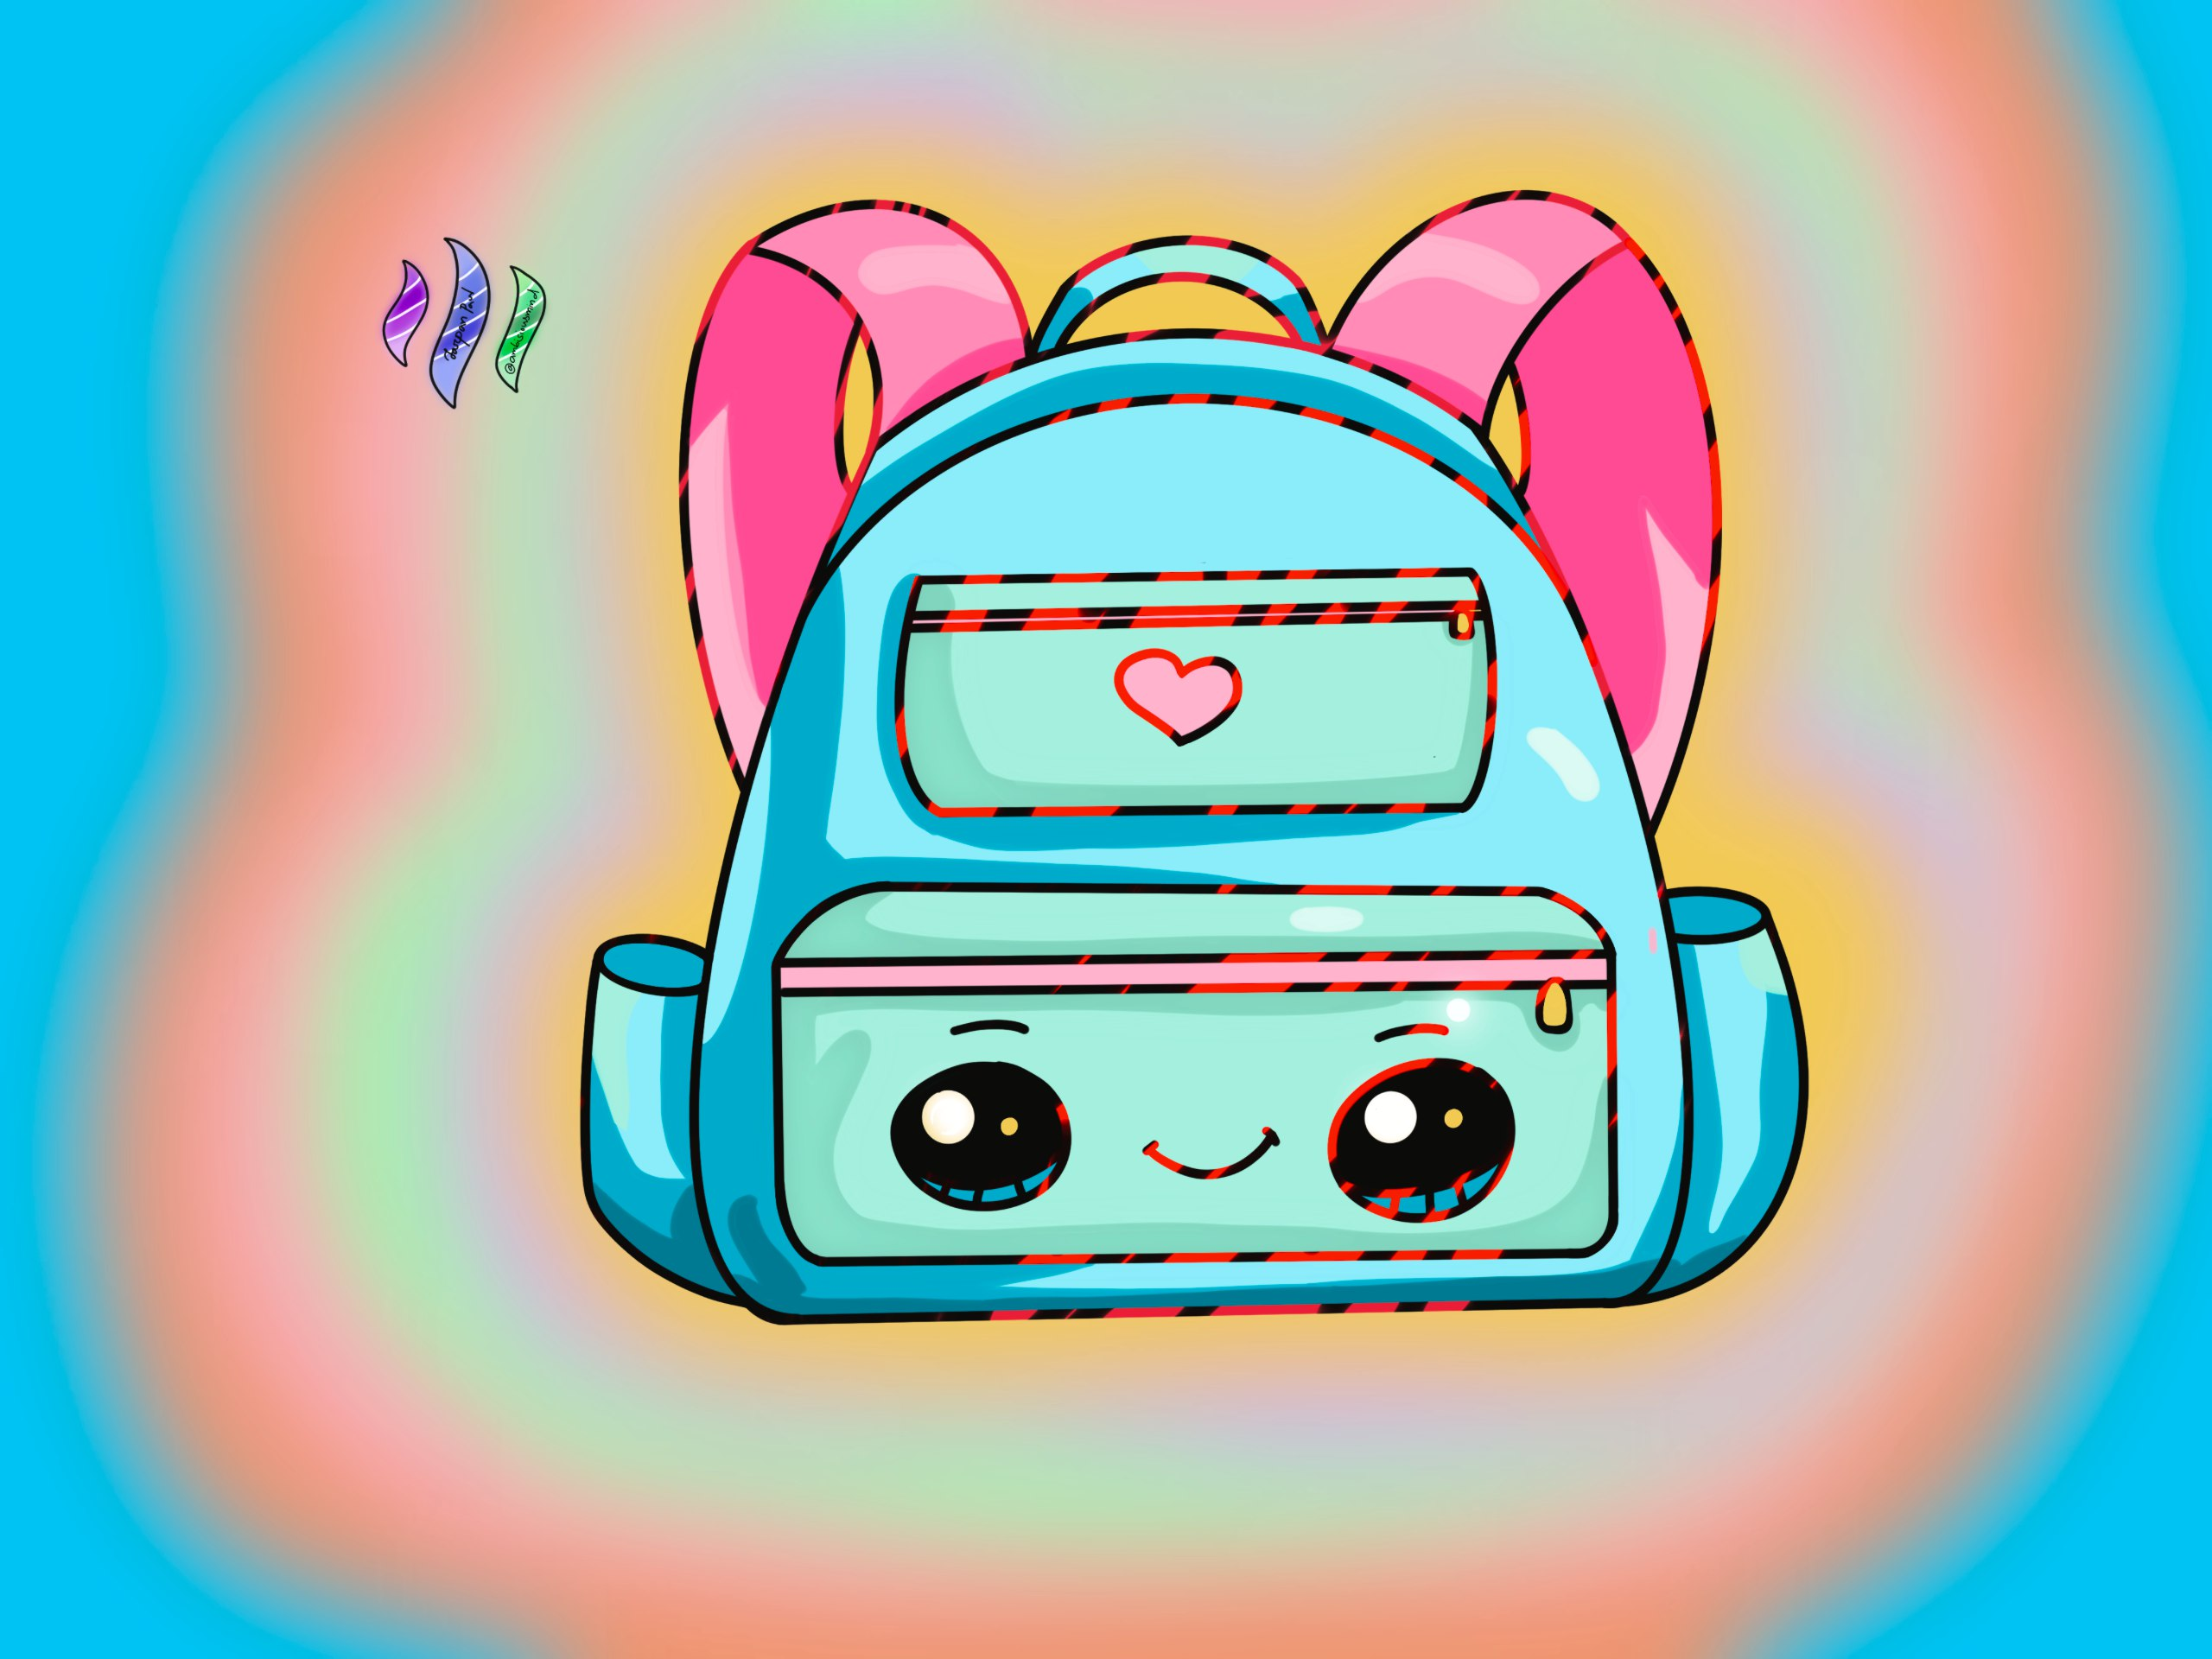
In this tutorial, we'll explore the exciting world of animation in Procreate by creating a lively and animated backpack. Procreate offers powerful tools and features that make it easy to bring your artwork to life. So, let's dive in and learn how to draw and animate a dynamic backpack!
Step 1: Setting up the Canvas
Launch Procreate and create a new canvas by tapping on the "+" button in the top right corner of the gallery.
In the canvas settings, choose the size and resolution suitable for your project. A common choice is 2000 pixels by 2000 pixels at 300 dpi.
Once the canvas is set, you'll be ready to start drawing!
Step 2: Sketching the Backpack
Begin by creating a new layer by tapping on the "+" button on the Layers panel and selecting "Add" or "Add Layer."
Choose a light color from the color palette and select a brush that suits your sketching style. A pencil brush or a basic round brush with low opacity works well for sketching.
Use light strokes to outline the shape of the backpack. Start with a rectangular shape for the main body and add straps, pockets, and any other design elements you desire.
Refine the sketch and add details like zippers, buckles, and decorative patterns. Take your time to achieve the desired look and proportions.
Step 3: Adding Colors and Textures
Create a new layer below the sketch layer for the base colors. Lower the opacity of the sketch layer to make it easier to work with.
Select suitable colors from the color palette or use the Eyedropper tool to sample colors from reference images or your imagination.
Fill in the base colors on the new layer using the Paint Bucket tool or by painting with a brush.
Create additional layers for textures and details. Experiment with different brushes and blending modes to add depth and texture to the backpack. Consider highlights, shadows, and any specific material effects you want to achieve.
Step 4: Animating the Backpack
To animate the backpack, create a new layer above all other layers for each frame of the animation. Make sure the previous frames are visible as you work.
On the new layer, make subtle adjustments to the position, rotation, or shape of the backpack to create the illusion of movement.
Repeat the process by creating a new layer for each subsequent frame and making incremental changes to the backpack's position or appearance.
To preview the animation, go to the Actions menu (wrench icon) and select "Canvas" and then "Play." Adjust the timing and frame rate as desired until you achieve a smooth and captivating animation.
Step 5: Refining and Exporting
Once you're satisfied with the animation, merge all visible layers by swiping right on the Layers panel and tapping "Merge Down" repeatedly until all layers are combined.
Use additional layers or brushes to refine any details or make further adjustments to the colors and textures.
When you're ready to export, tap on the "Share" button in the top right corner of the interface and select the desired file format and export options. Consider saving your animation as a GIF or video file to share it with others.
Here is the full video of my Tutorial, and I am founder of this Channel