Jolly Strokes: Mastering Santa Claus in Procreate
Step 1: Setting up the Canvas
Open Procreate and create a new canvas by tapping on the "+" button on the top right corner of the gallery.
In the canvas settings, choose the size and resolution that suits your preferences. A common choice is 3000 pixels by 3000 pixels at 300 dpi.
Once the canvas is created, you will be taken to the drawing interface.
Step 2: Sketching Santa Claus
Start by creating a new layer by tapping on the "+" button on the Layers panel and selecting "Add" or "Add Layer."
Choose a light color from the color palette and select a brush that suits your sketching style. A pencil brush or a basic round brush with low opacity is a good starting point.
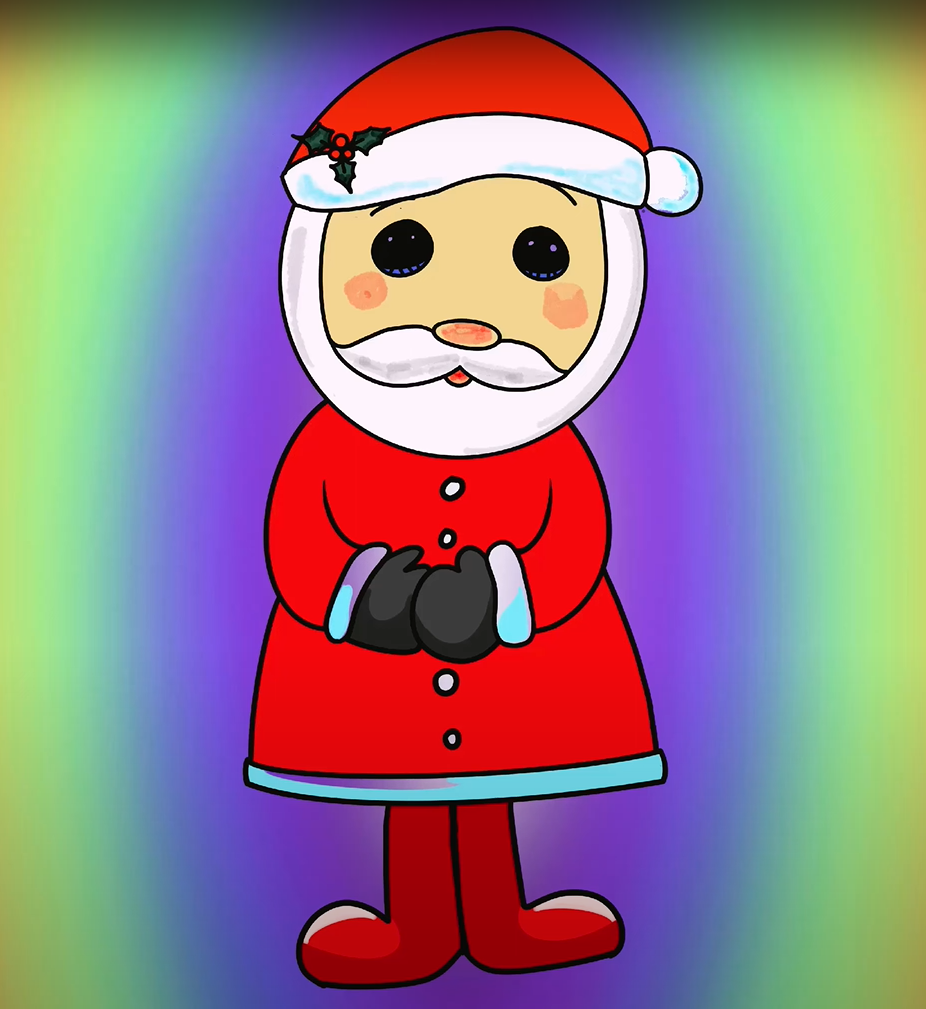
Use light strokes to sketch the basic shapes of Santa Claus. Begin with a circular shape for the head, an oval for the body, and basic lines for the arms and legs.
Refine the shapes and add details like Santa's hat, beard, and facial features. Take your time to get the proportions and details right.
Step 3: Adding Color and Shadows
Create a new layer below the sketch layer for the base colors. Tap on the sketch layer and lower its opacity so that it doesn't obstruct your coloring process.
Select the appropriate colors for Santa's suit, hat, and other elements using the color palette. Use the Eyedropper tool to pick colors from reference images or create your own color scheme.
Fill in the base colors on the new layer using the Paint Bucket tool or by painting with a brush.
Create another new layer above the base color layer for adding shadows and highlights. Choose a darker shade of each color for the shadows and a lighter shade for the highlights.
Use a brush with low opacity and flow to add shadows and highlights to different parts of Santa Claus. Pay attention to the light source and create shadows accordingly. Blend the colors smoothly for a more realistic look.
Step 4: Refining and Detailing
Once you are satisfied with the overall coloring, create a new layer on top of all the other layers for refining the details.
Use a smaller brush with higher opacity to add fine details such as the wrinkles on Santa's clothes, strands of hair, and the texture of his beard.
Add highlights and reflections to make certain areas stand out, like the shiny parts of Santa's suit or the glimmer in his eyes.
Continuously refer to reference images or sketches to ensure accuracy and make any necessary adjustments.
Step 5: Final Touches
When you're finished with the drawing, hide the sketch layer by toggling the visibility icon next to it. This will allow you to see the final artwork without any distracting lines.
Merge all the visible layers by swiping right on the layers panel and tapping "Merge Down" repeatedly until all layers are combined.
Apply any final adjustments or filters if desired. Procreate offers various effects and adjustments that you can experiment with to enhance your artwork.
Save your artwork by tapping on the "Share" button in the top right corner of the interface and selecting the desired file format and export options.
Here is the full video of my Tutorial, and I am founder of this Channel